I have fond memories of my mom and my grandma making sun tea outside when I was a child. I never really drank any until I hit my pre-teen to teenage years, but it always looked so good glowing in the sunshine!
Now I know there is some controversy surrounding sun tea, regarding bacterial growth, and this can happen! If you do not correctly clean out the beverage container or dispenser between each use, if you leave the tea out in the sun for longer than 4 hours and/or if you put any sweetener or fruit in before setting it in the sunshine, there is the potential for harmful bacterial growth!
Fear not friends! I’ve made and drank multiple batches of sun tea with no problems! I’ve written instructions below on what to do to keep your sun tea clean and healthy! Let’s make some!
INGREDIENTS
- Filtered water
- Glass beverage container or dispenser
- Tea bags
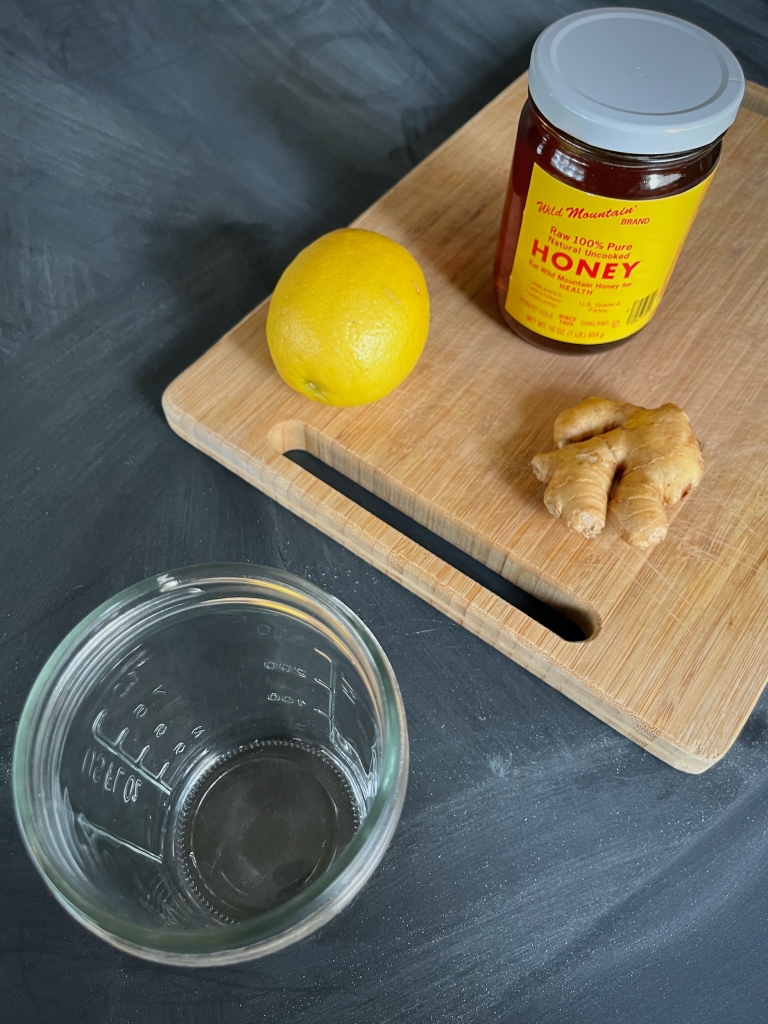
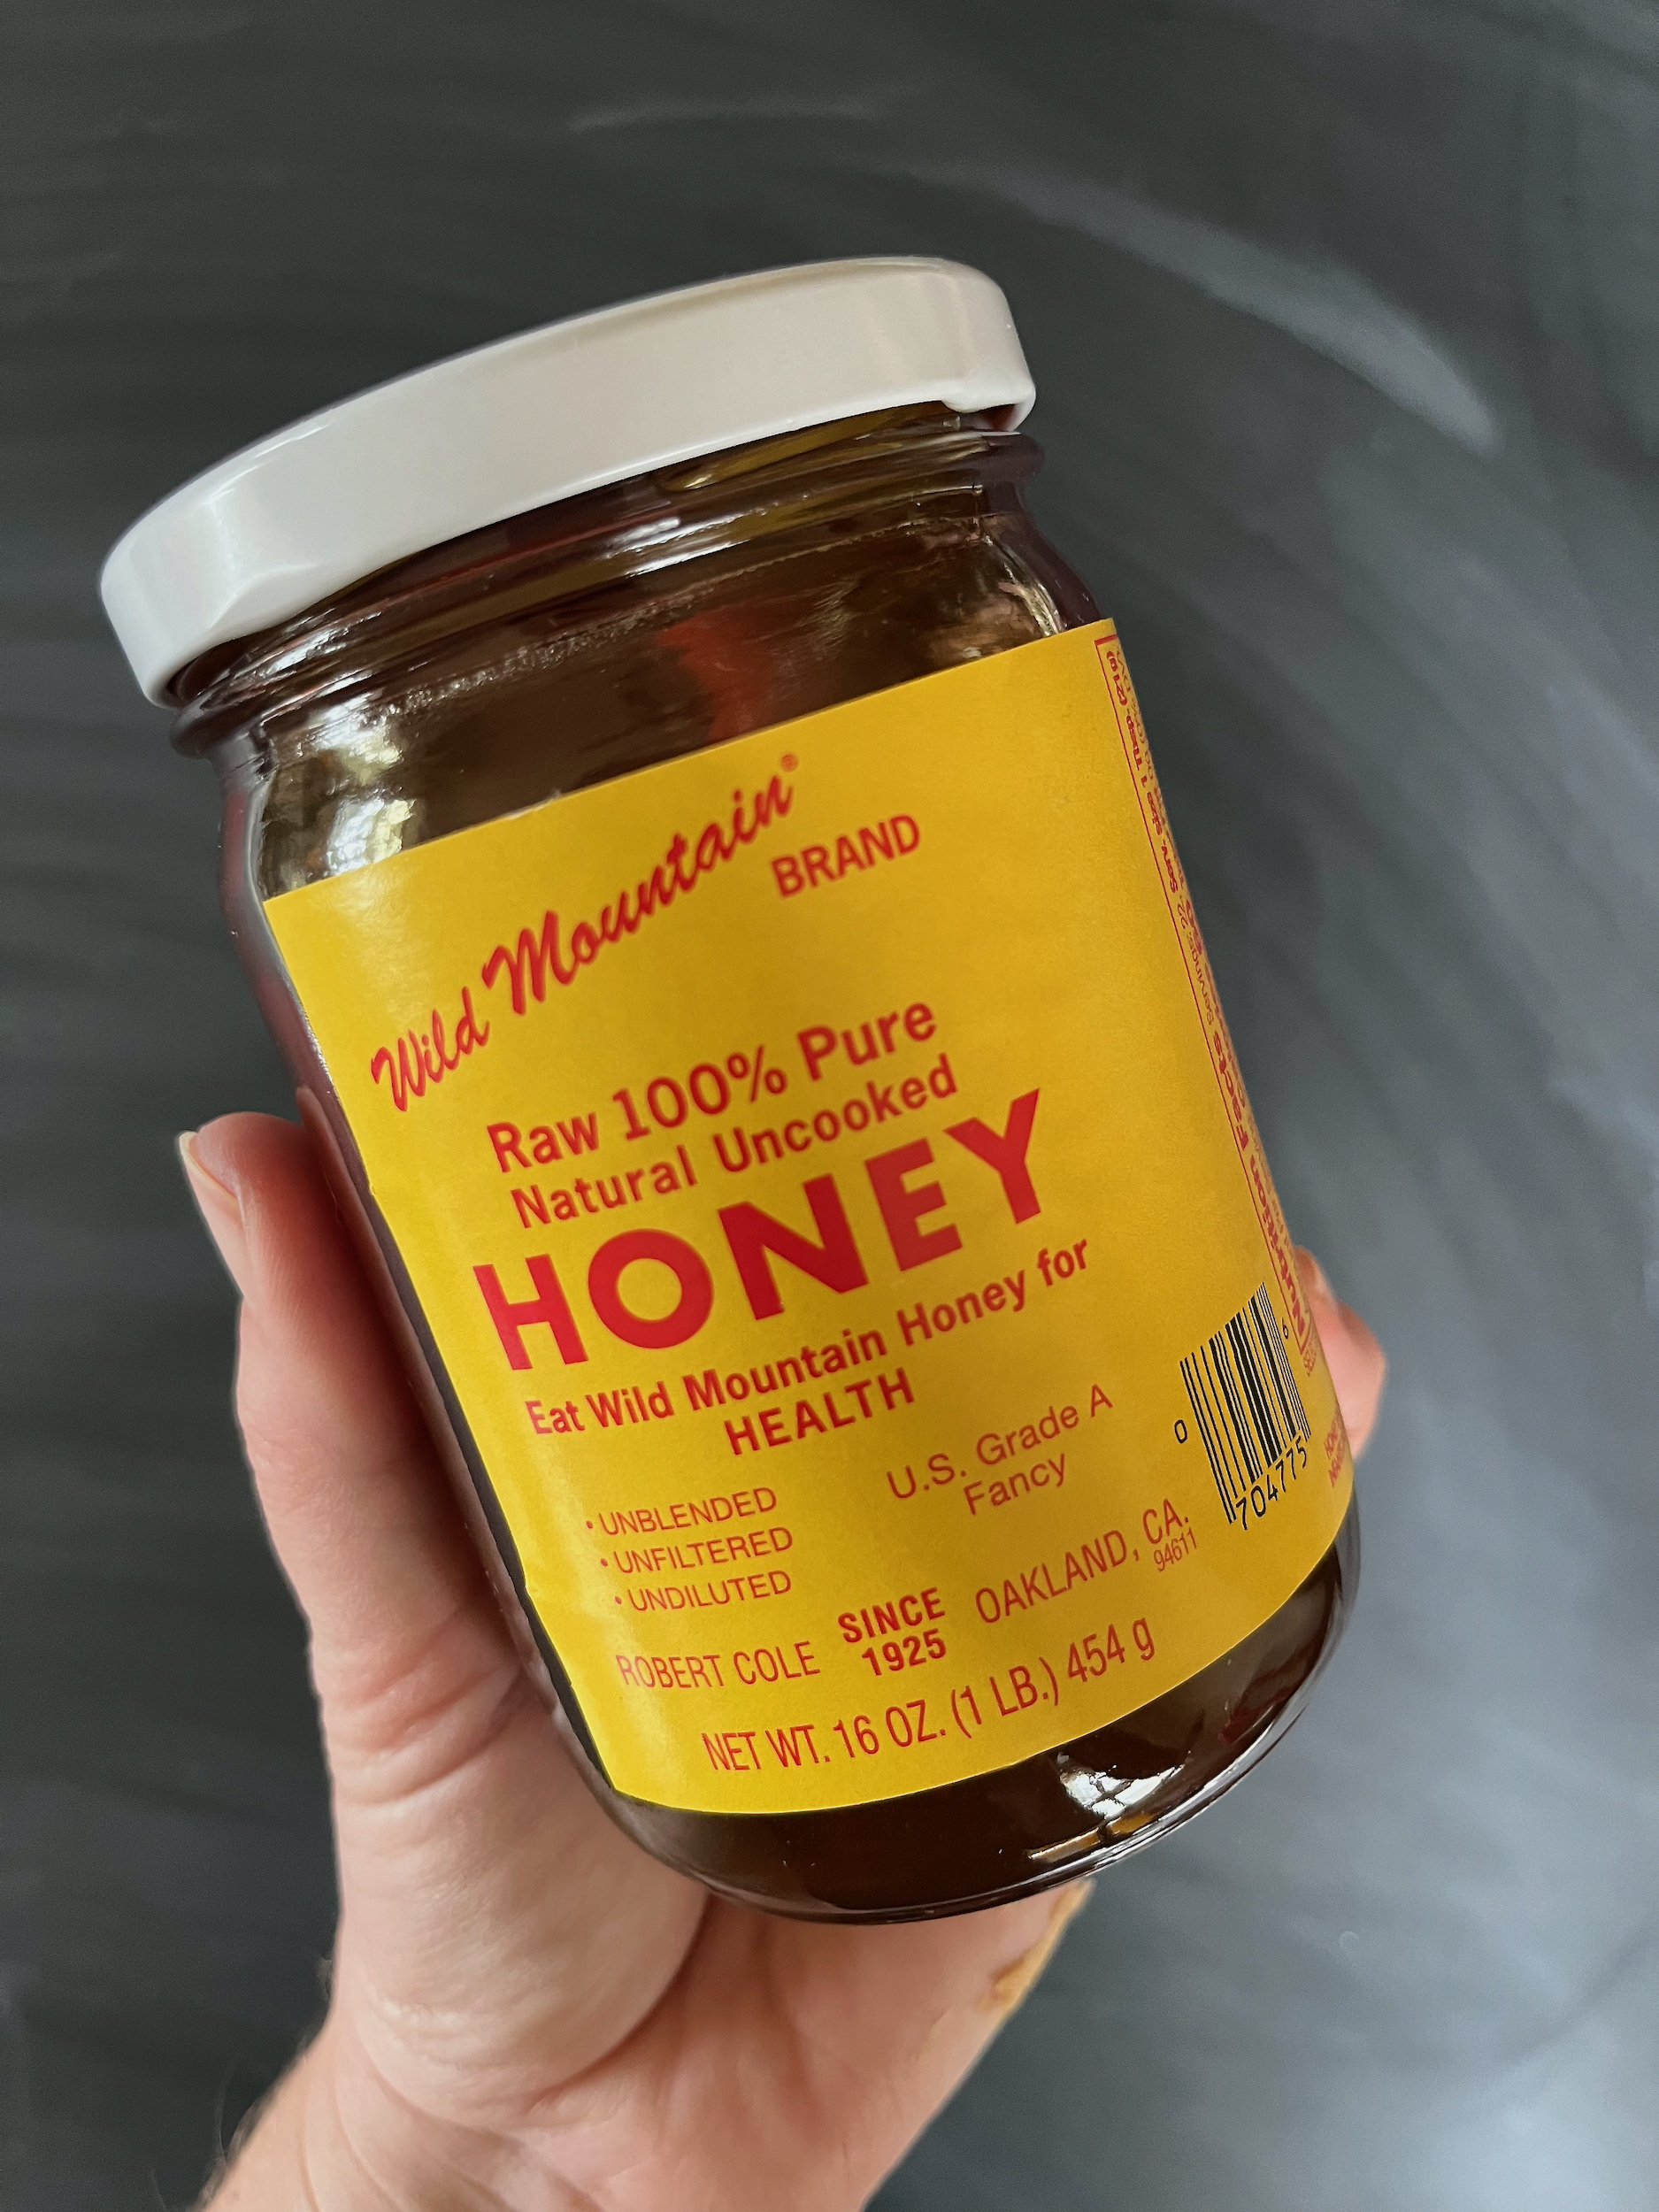
- Honey, optional
INSTRUCTIONS
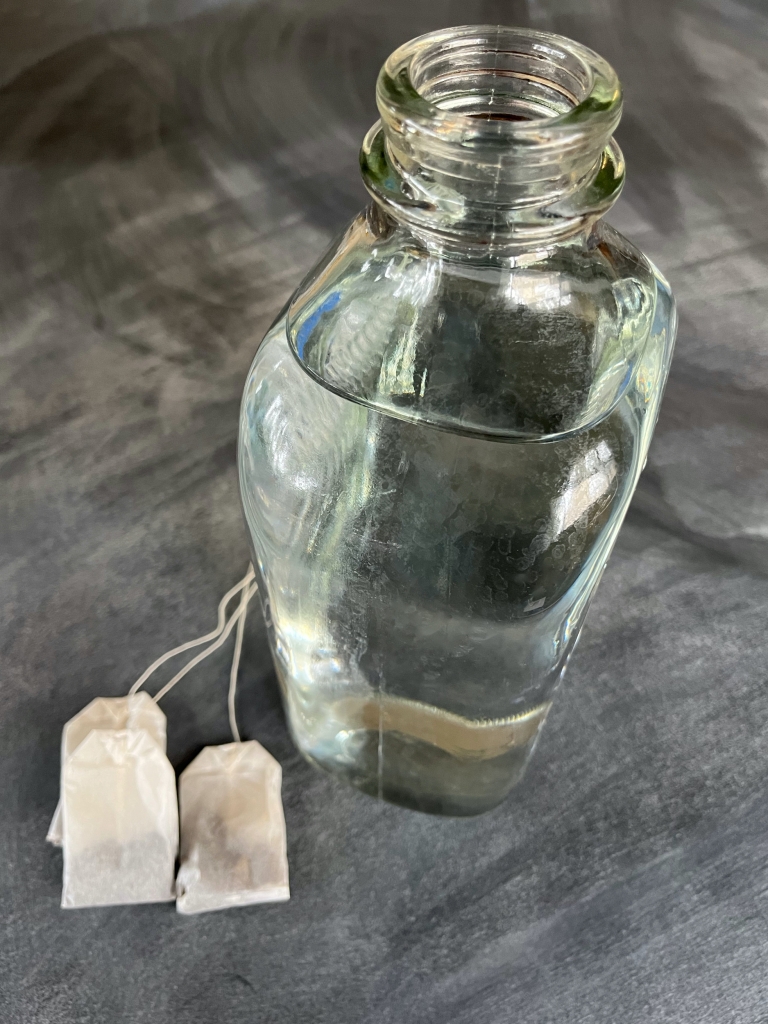
- Wash your glass beverage container or dispenser thoroughly with hot, soapy water and rinse well (if you are using a dispenser, this includes the spigot).
- Fill the container with clean, filtered water.
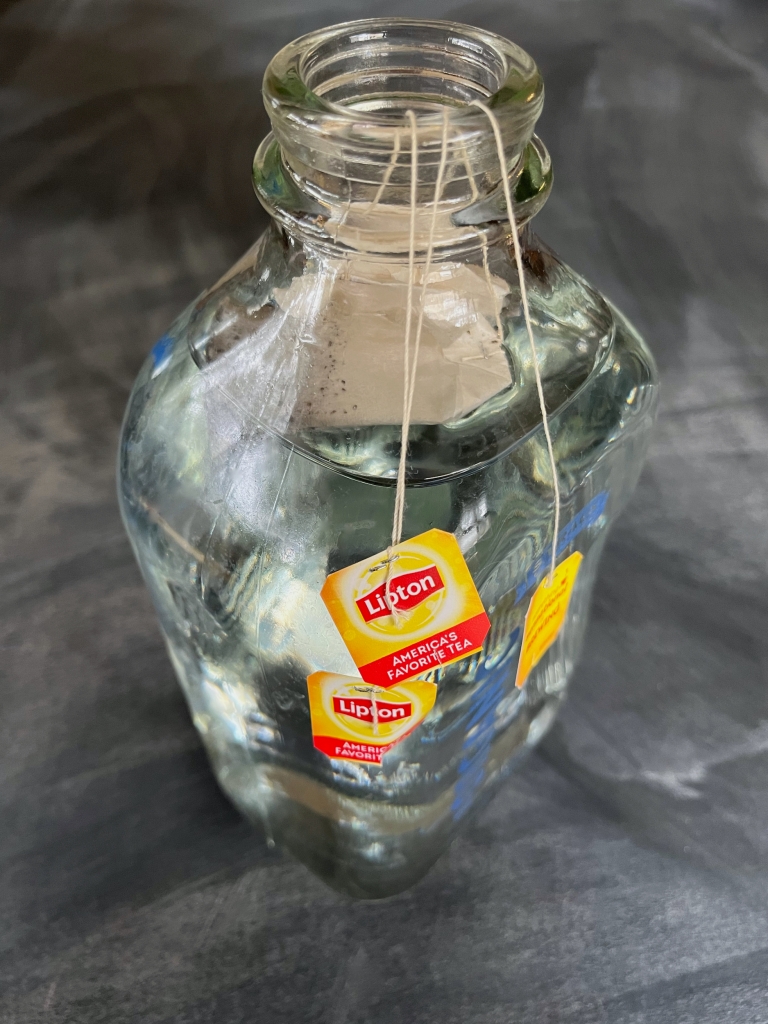
- Select which tea bags you would like to use and place them in the container with the tags on the outside. I used three tea bags for two quarts of water, but you can select how many for how strong you want your tea.
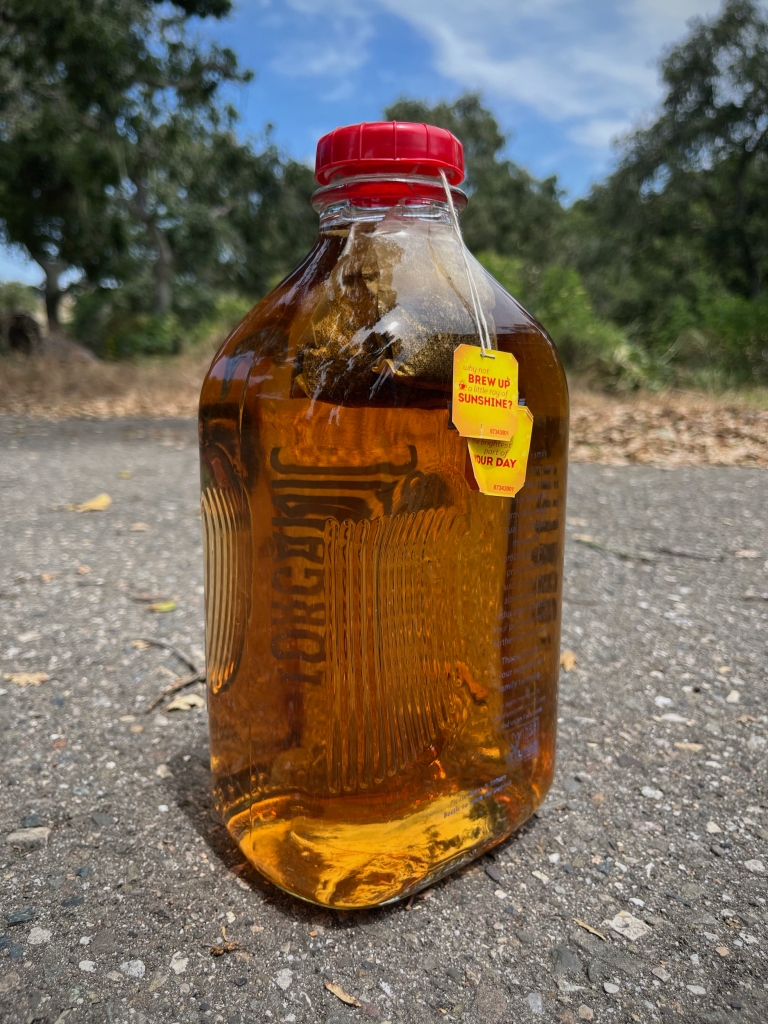
- Replace the lid on the container and set it outside in the sun for up to 4 hours, but no longer! If you leave it in the sun too long, there is a higher chance of bacterial growth!
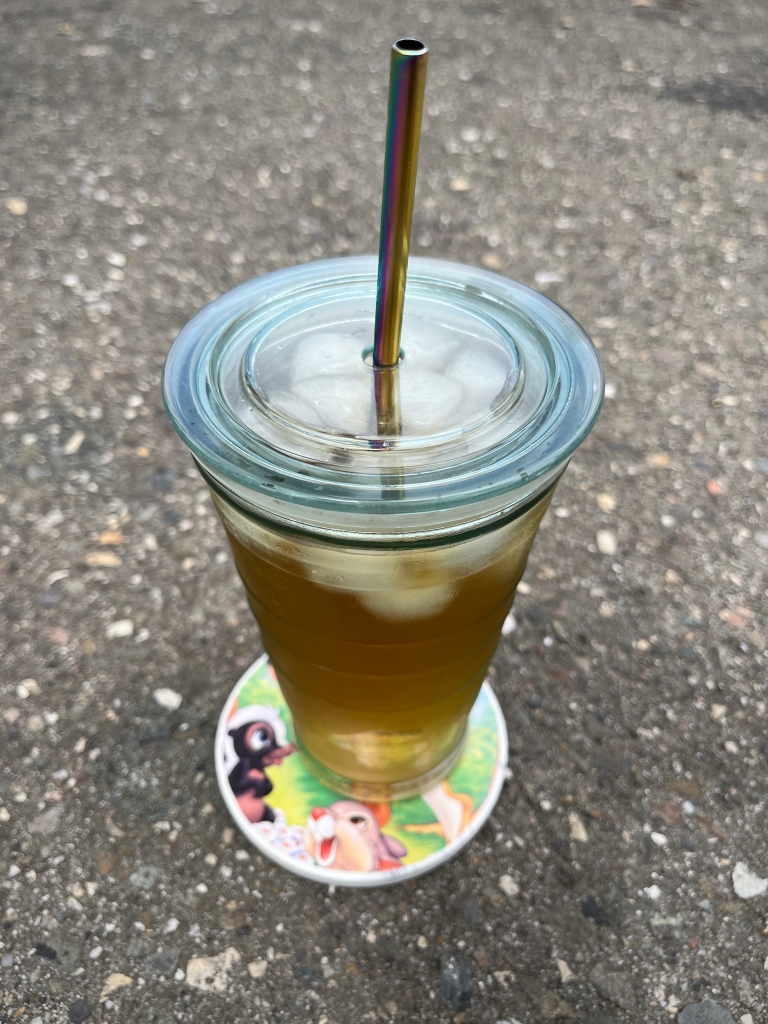
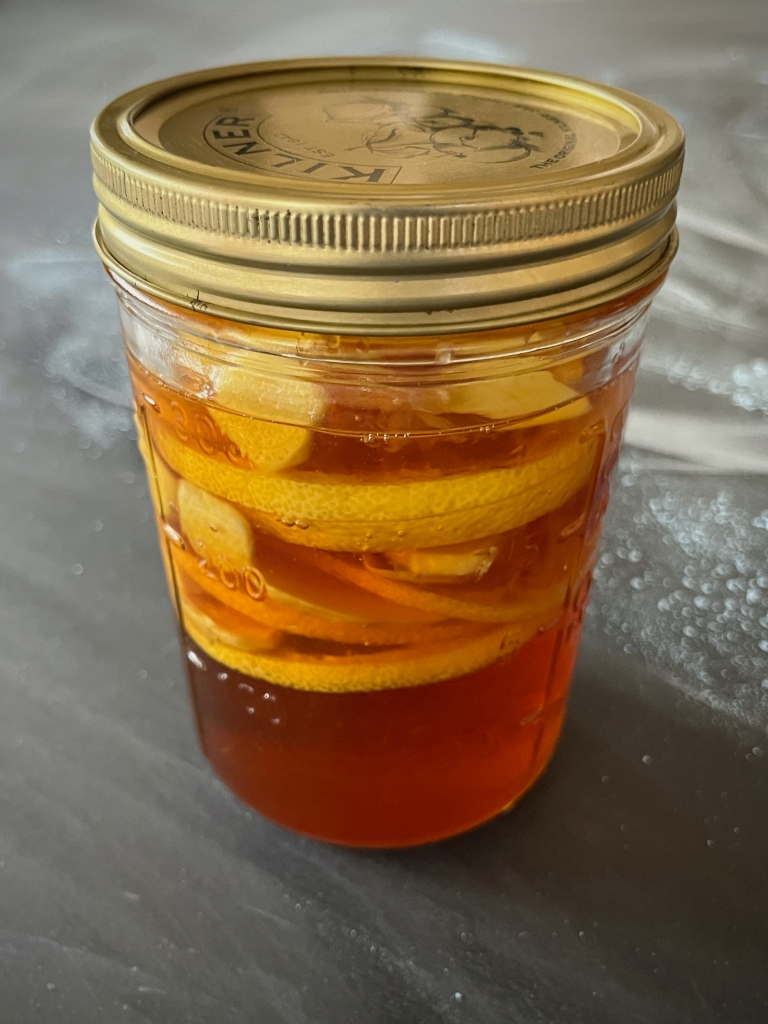
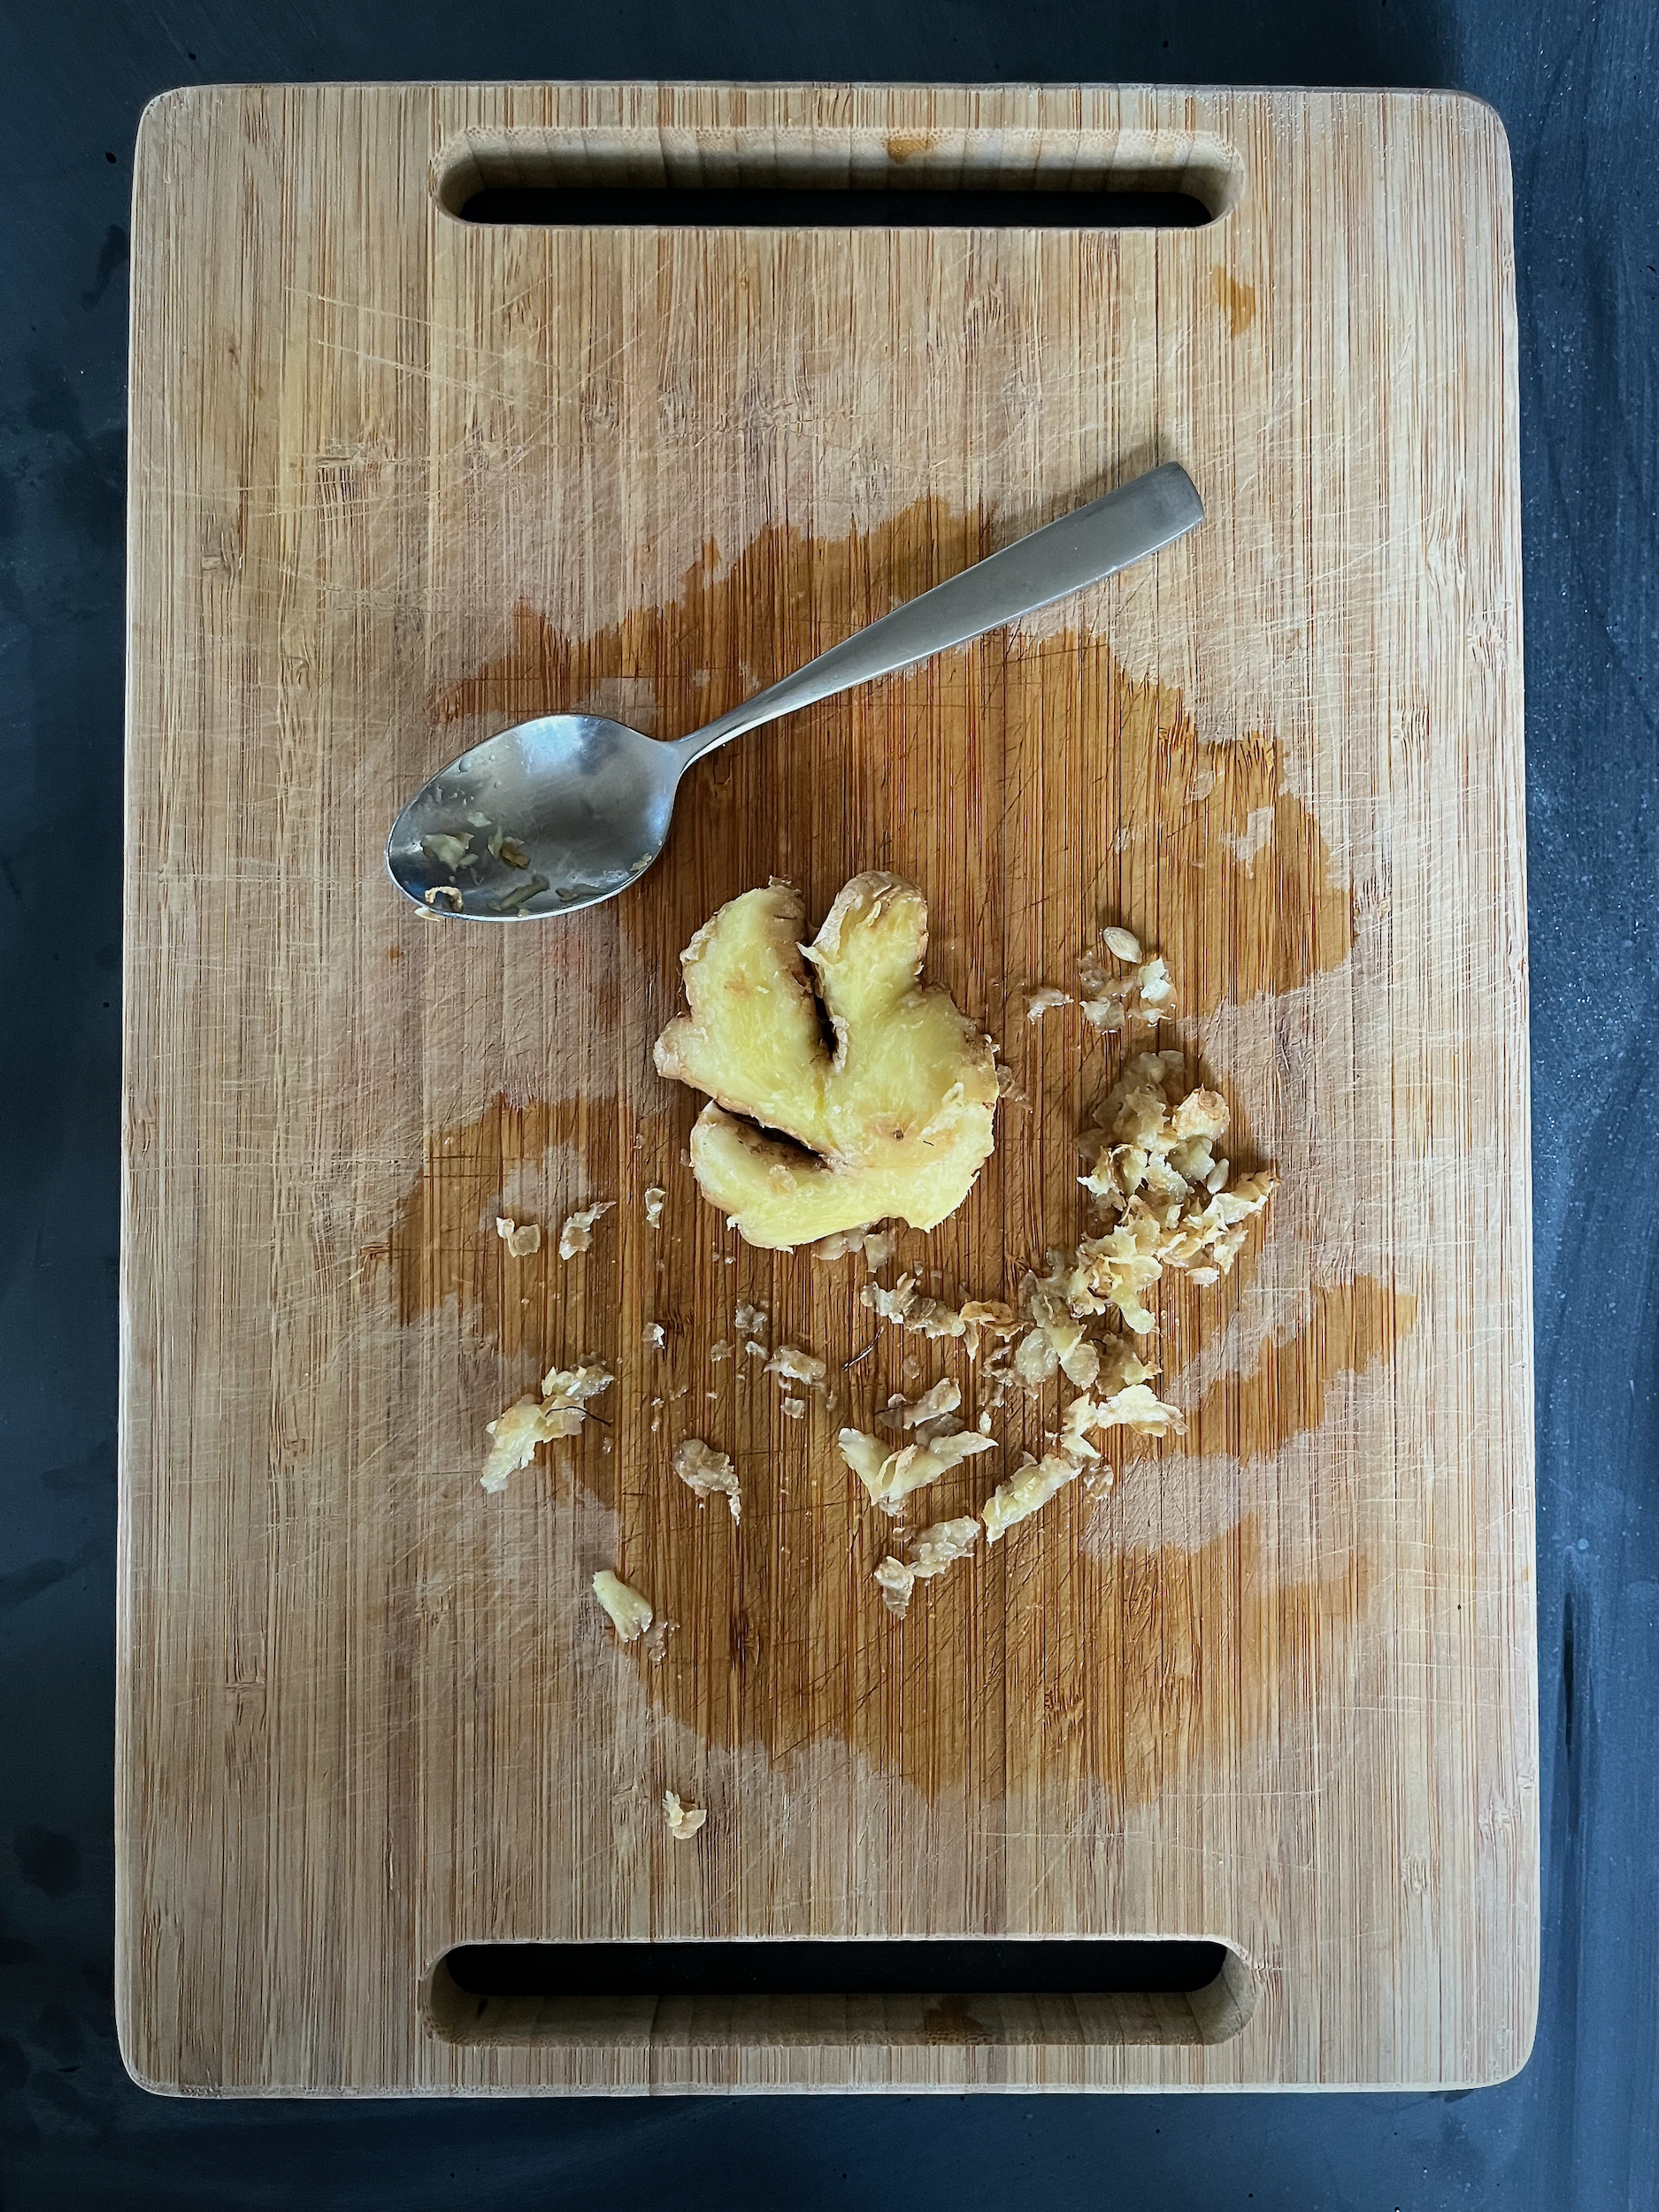
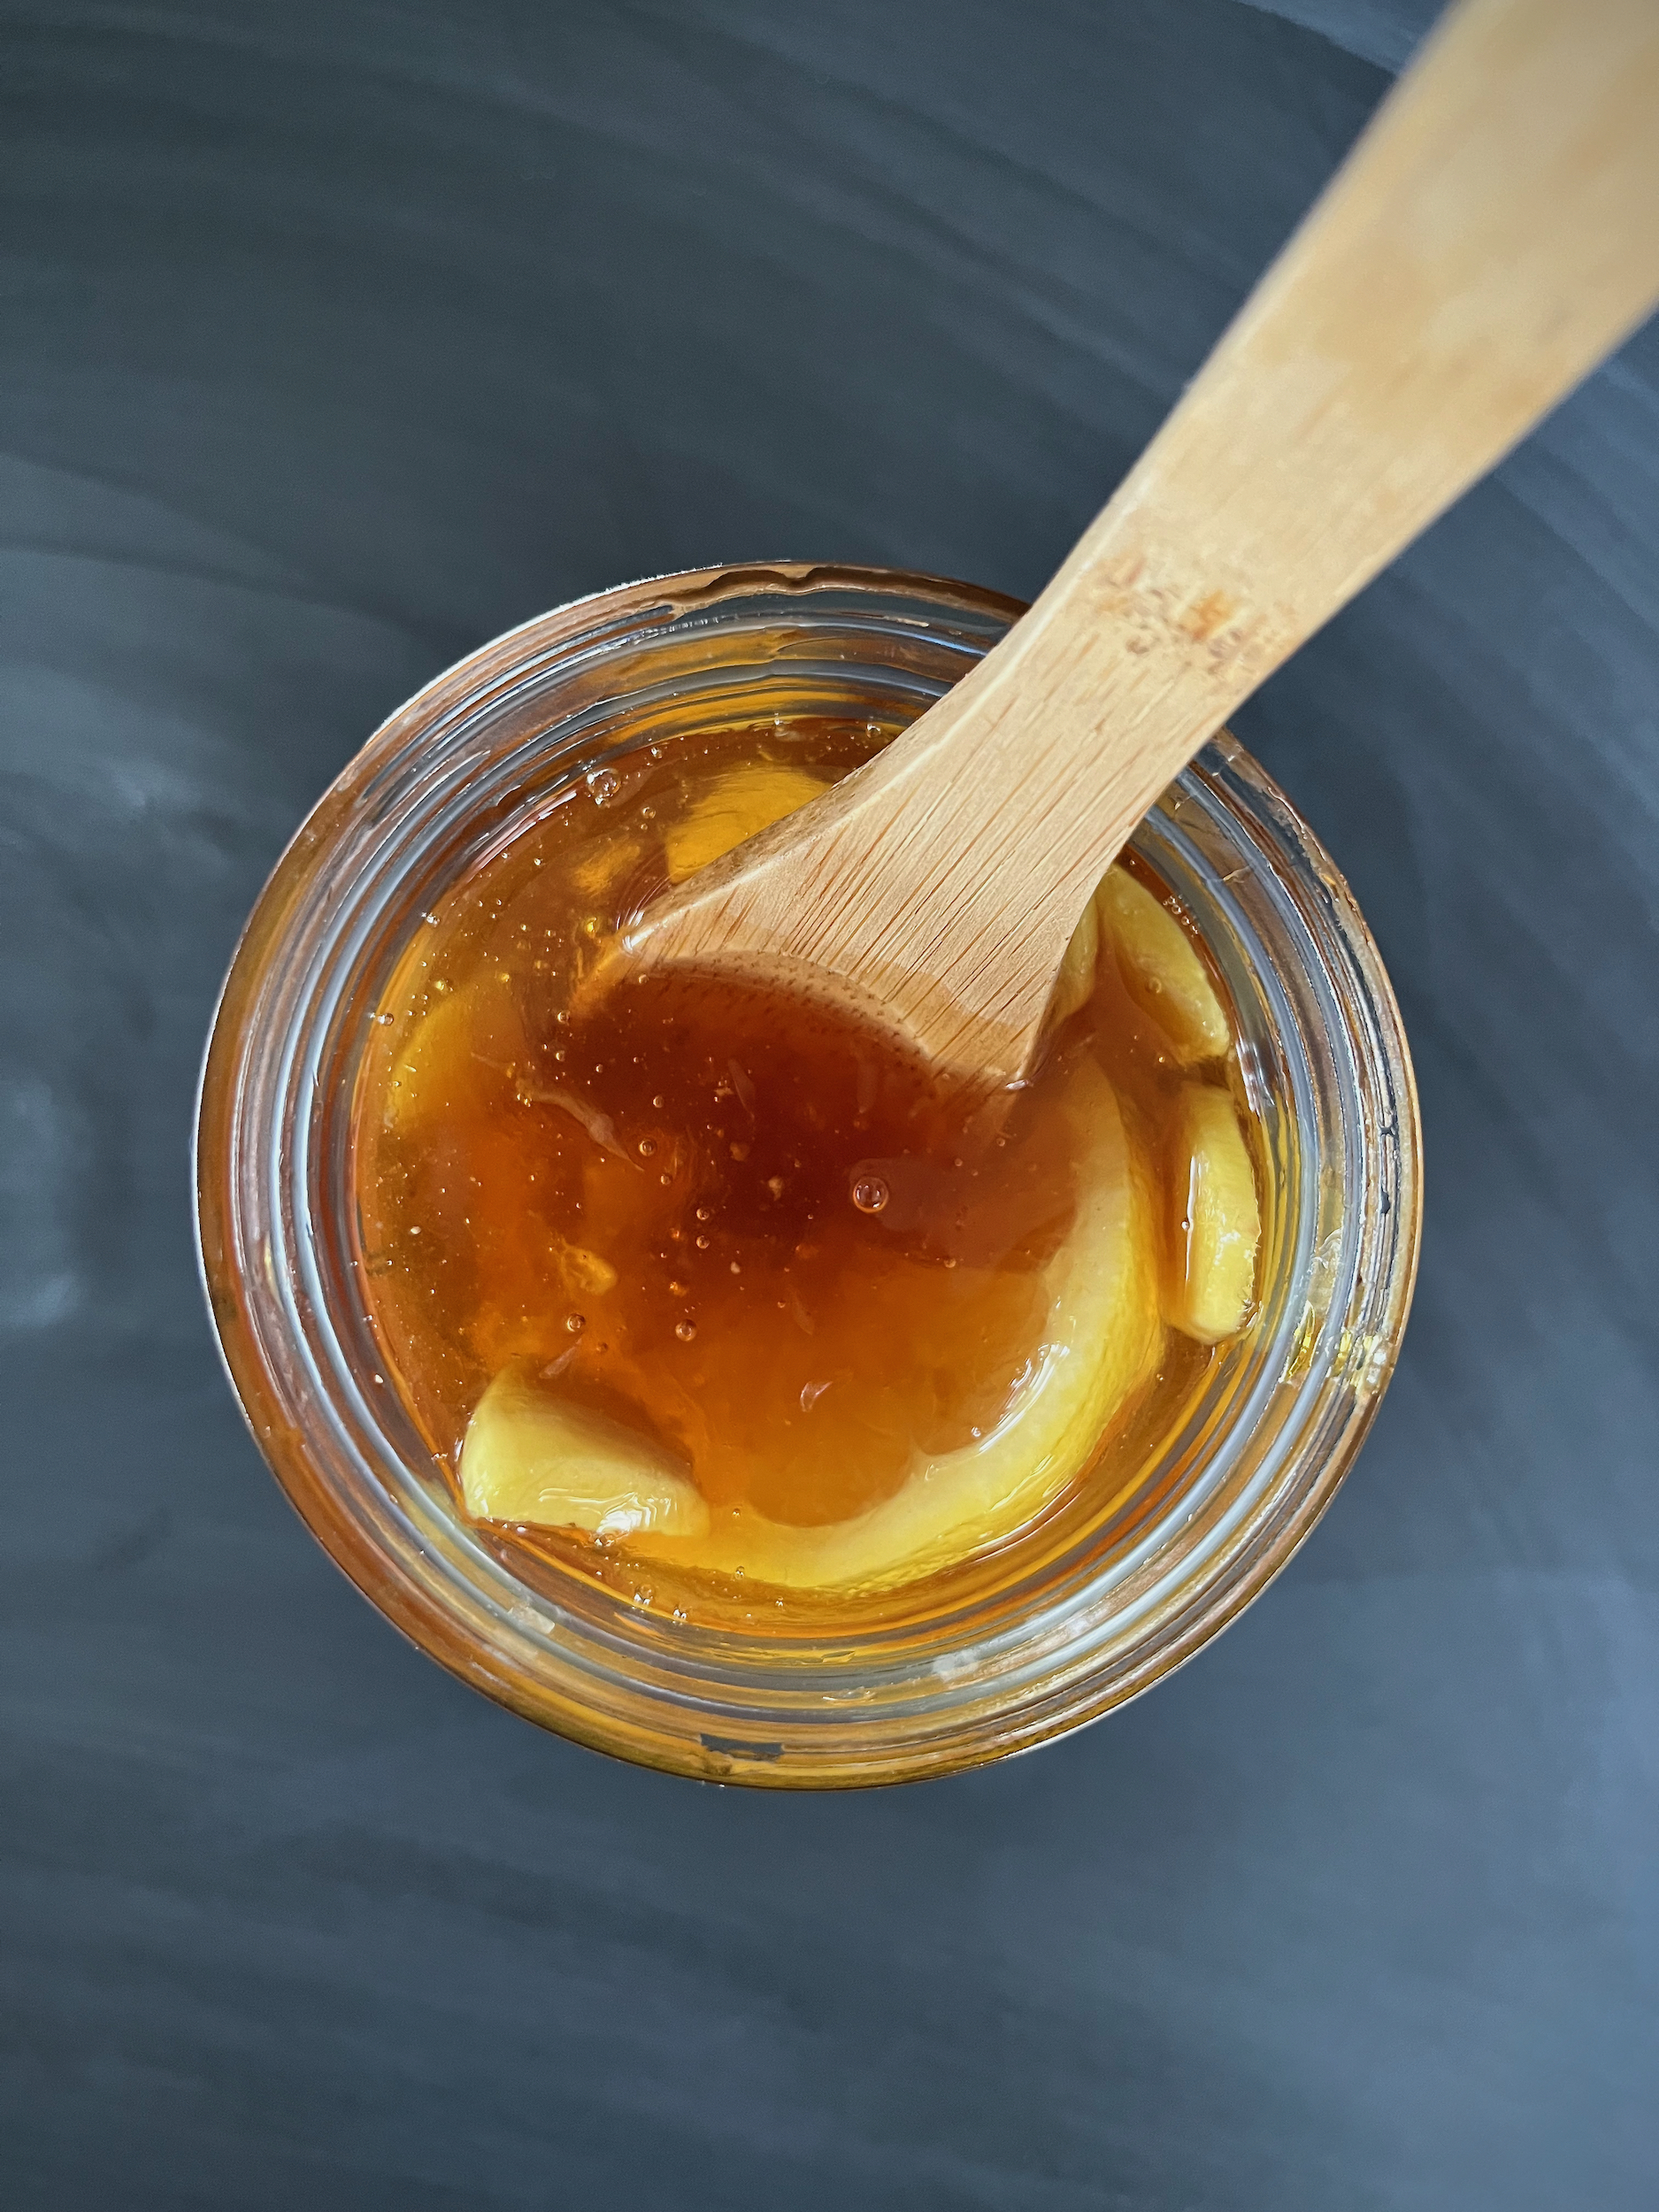
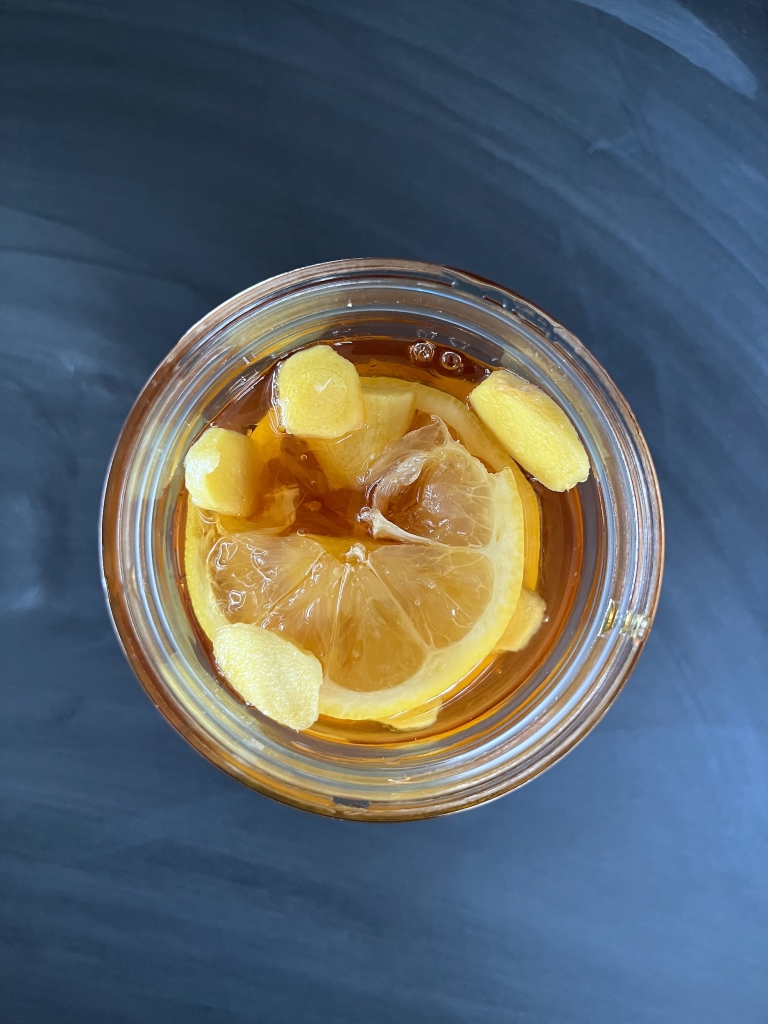
- Once the tea is done, bring it inside and add any sweetener while it’s still warm from the sunshine. I used a few spoonfuls of my ginger and lemon infused honey.
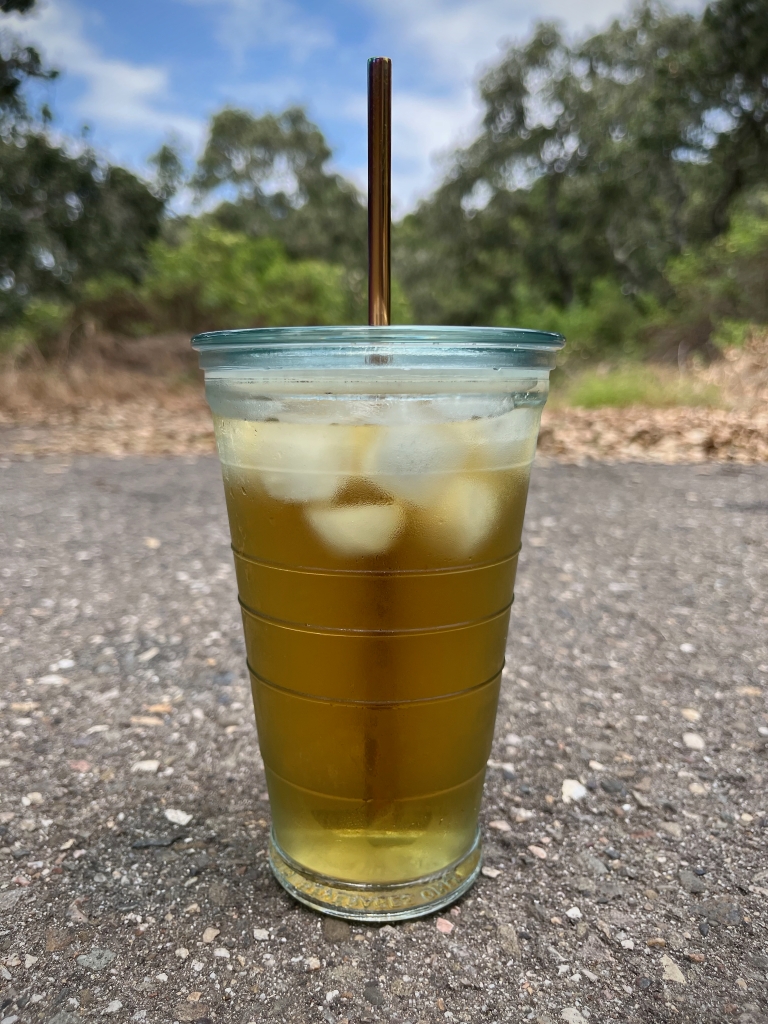
- Once the sweetener of your choice has been stirred in to the warm tea, place the container in the refrigerator to chill.
- Enjoy!