As the leaves crunch underfoot and the scent of cinnamon fills the air, fall is the perfect time to trade screen time for family game time. Whether it’s a rainy afternoon or a post-pumpkin-patch wind-down, fall-themed board games are a great way to keep kids entertained, engaged, and learning — all while celebrating the magic of the season.
From woodland creatures to apple harvests, here are our favorite fall-themed board games just for kids — full of cozy vibes, vibrant colors, and age-appropriate fun!
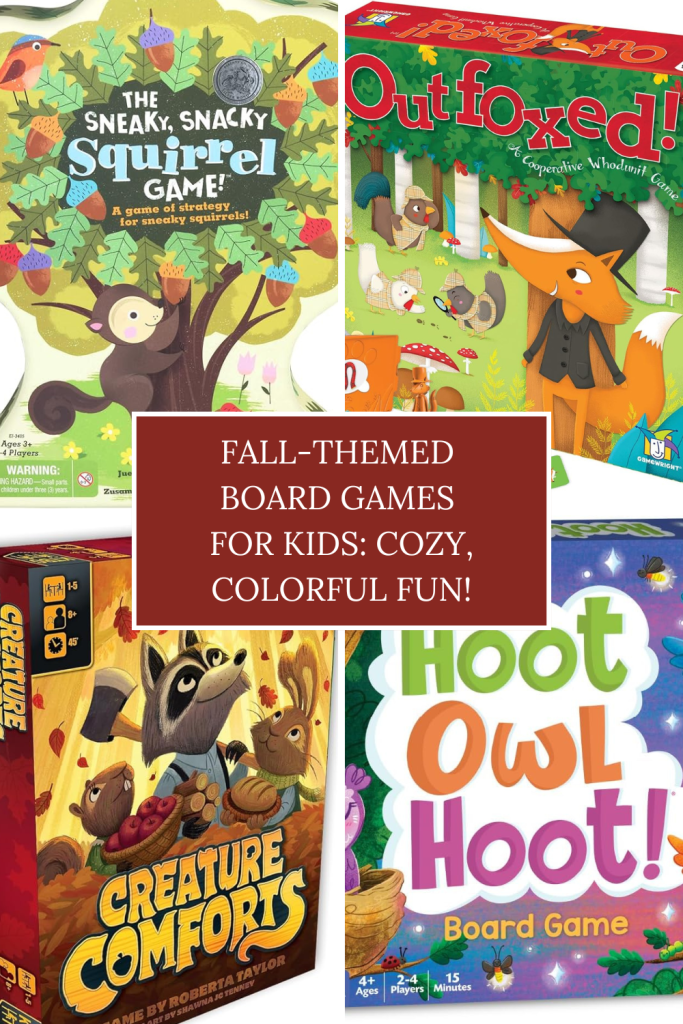
1. Outfoxed!
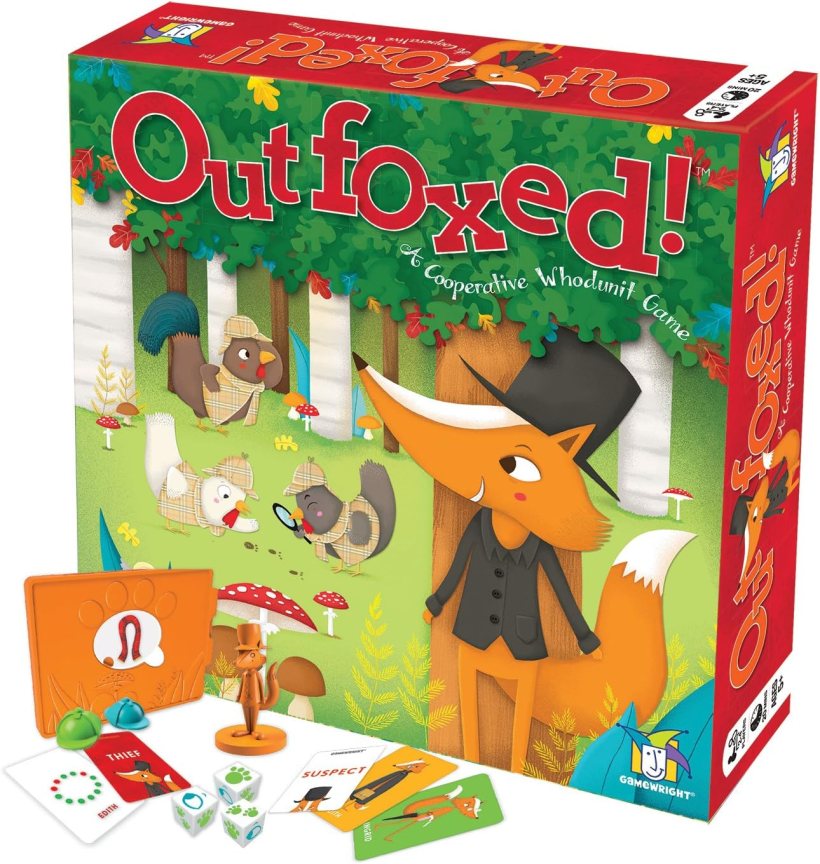
Ages: 5+ | Players: 2–4 | Play Time: 20–30 minutes
In this cooperative detective game, players work together to find out which sneaky fox stole a pie! Using dice, deduction, and a clever clue-revealing gadget, kids solve the mystery before the fox escapes.
Why it’s great for fall: Wholesome woodland characters, cozy pies, and teamwork-focused fun make this perfect for autumn play.
2. Sneaky Snacky Squirrel Game
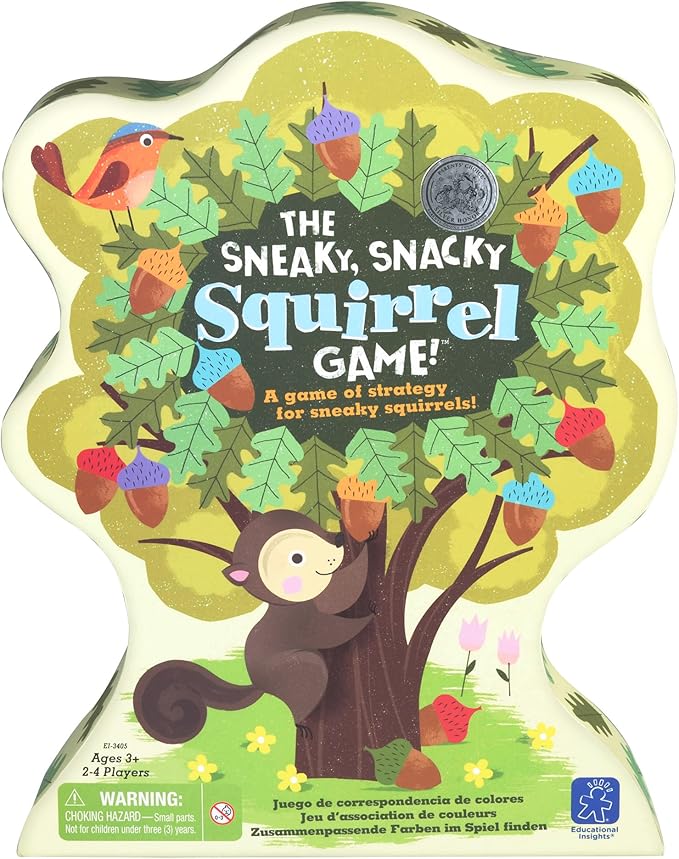
Ages: 3+ | Players: 2–4 | Play Time: 15–20 minutes
This adorable game has kids spin to collect colorful acorns and use a “squirrel squeezer” to place them in their tree stump. It’s simple, fast, and fantastic for fine motor skills and color recognition.
Why it’s great for fall: A forest setting, acorn collection, and fuzzy critters make it a seasonal staple for preschoolers.
3. Hoot Owl Hoot!
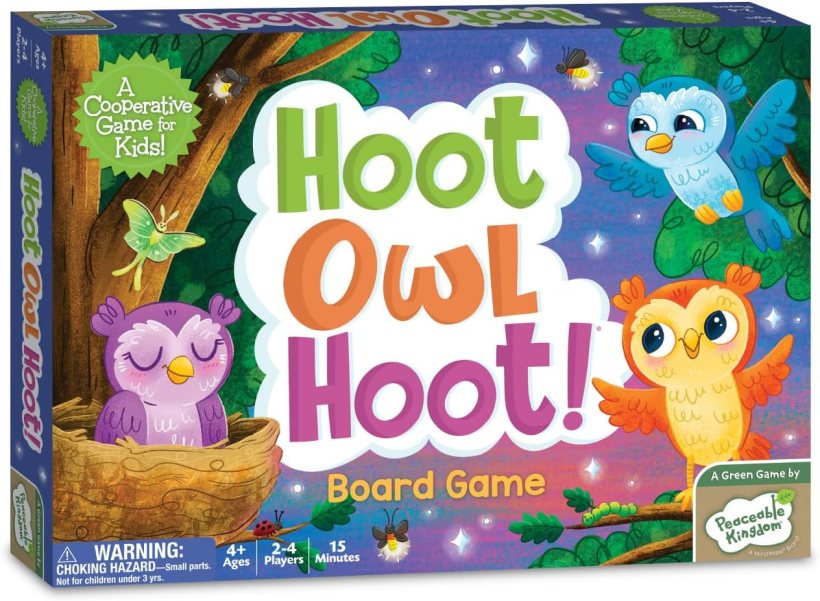
Ages: 4+ | Players: 2–4 | Play Time: 15–20 minutes
In this cooperative game from Peaceable Kingdom, kids work together to help little owls get back to their nest before the sun rises. It’s color-based, simple to learn, and stress-free — perfect for young learners.
Why it’s great for fall: Owls, nighttime forest settings, and a teamwork vibe make it ideal for autumn evenings.
4. Harvest Time

Ages: 3+ | Players: 1–6 | Play Time: 15-20 minutes
Players work together to gather fruits and vegetables from their gardens before the first frost arrives. Each turn brings a chance to harvest or a snowflake that moves winter closer. Everyone wins or loses as a team, making it perfect for younger kids and cooperative play.
Why it’s great for fall: Capturing the spirit of autumn with its focus on gathering crops before winter. It’s a cozy, seasonal game that fits beautifully into fall family nights or classroom activities, reinforcing themes of teamwork, nature, and seasonal change.
5. First Orchard (HABA)

Ages: 2+ | Players: 1–4 | Play Time: 10–15 minutes
Perfect for toddlers and preschoolers, this simplified cooperative game lets players pick fruit before the pesky raven reaches the orchard. It encourages counting, teamwork, and early game-playing skills.
Why it’s great for fall: Bright fruit colors, wooden pieces, and a gentle harvest theme make it a great pick for littlest gamers.
6. Creature Comforts
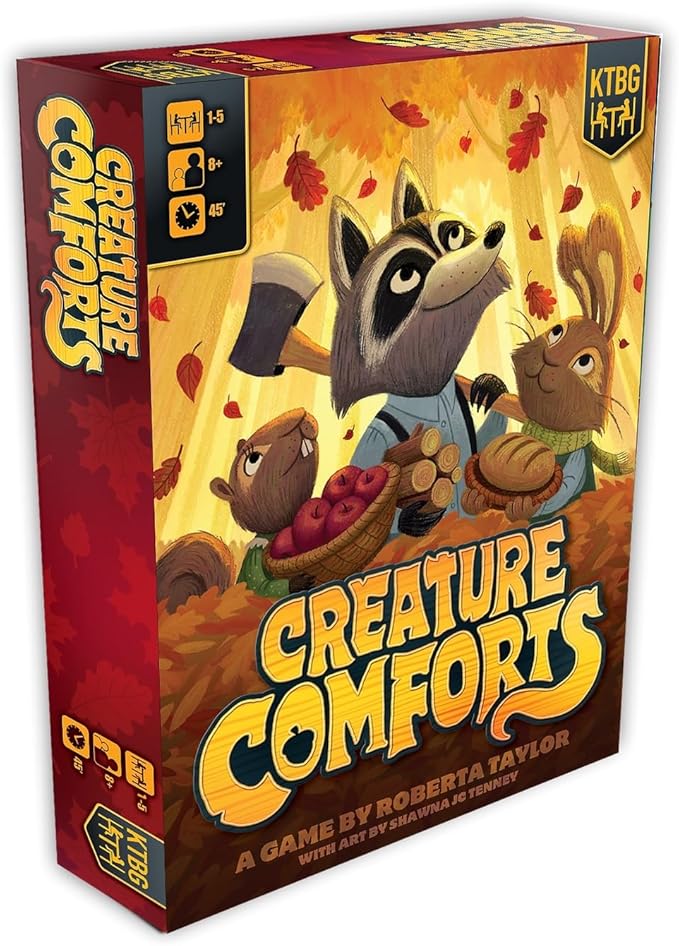
Ages: 8+ | Players: 1–5 | Play Time: 45-60 minutes
Players are woodland animals gathering resources and crafting cozy items to prepare for winter. Each round, you plan actions using dice and send your critters to the forest, meadow, or workshop to collect materials and create comforts like quilts and rocking chairs. It’s a warm, family-friendly game with light strategy and charming artwork.
Why it’s great for fall: With its woodland setting, focus on preparing for winter, and emphasis on coziness, Creature Comforts perfectly reflects the spirit of fall. It’s an ideal game for crisp evenings and family time, bringing autumn vibes right to the table.
7. My First Carcassonne
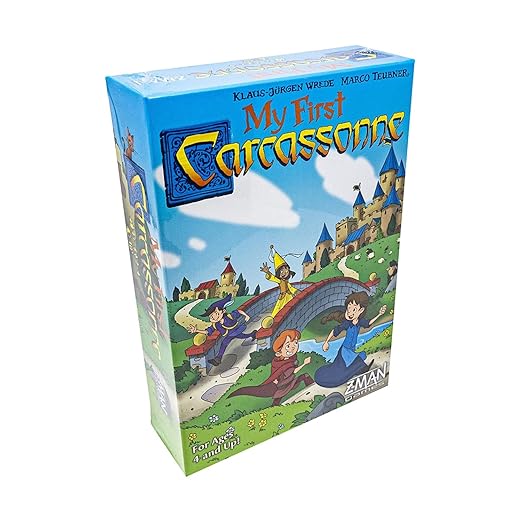
Ages: 4+ | Players: 2–4 | Play Time: 20–30 minutes
This simplified version of the classic tile-laying game is great for little ones. Players build roads and place figures in a pastoral village landscape — think barns, animals, and winding country paths.
Why it’s great for fall: The rural setting and storybook-style artwork make it a lovely pick for the season.
8. Acorn Soup (by Peaceable Kingdom)
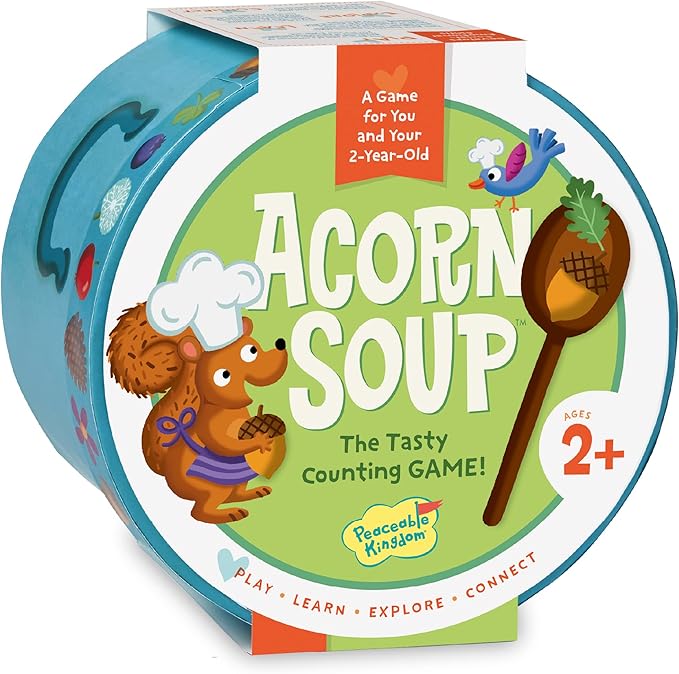
Ages: 2+ | Players: 1+ | Play Time: 10–15 minutes
Designed for toddlers, Acorn Soup invites little ones to help a friendly squirrel make different “soups” using chunky wooden ingredients and recipe cards. Kids follow simple instructions, stir pretend soups, and practice early counting and matching skills.
Why it’s great for fall: Woodland animals, acorns, and the cozy theme of making warm soup — this game is fall comfort in a box for the tiniest players.
Bonus: Make-Your-Own Fall Board Game!
Grab some construction paper, stickers, and dice to create a homemade fall-themed board game. Have kids draw pumpkins, leaves, animals, or apples — then make cards that say things like “Rake the leaves – Move ahead 2 spaces!” or “Spilled your cider – Go back 1!”
Why it’s great for fall: It’s creative, low-cost, and gets kids involved in the fun of both playing and making.
Final Thoughts
Fall is a time of gathering, gratitude, and play. These kid-friendly board games are a wonderful way to bring the season indoors — with colorful leaves, forest creatures, and the joy of spending time together. Whether you’re hosting a game night after a day of apple picking or just want a peaceful indoor activity on a chilly day, these games offer both fun and family connection.
So grab a soft blanket, pour the apple cider, and let the games begin!