Welcome back friends! I find homeopathic preventative care and remedies absolutely fascinating, and I am more than willing to give them a try!
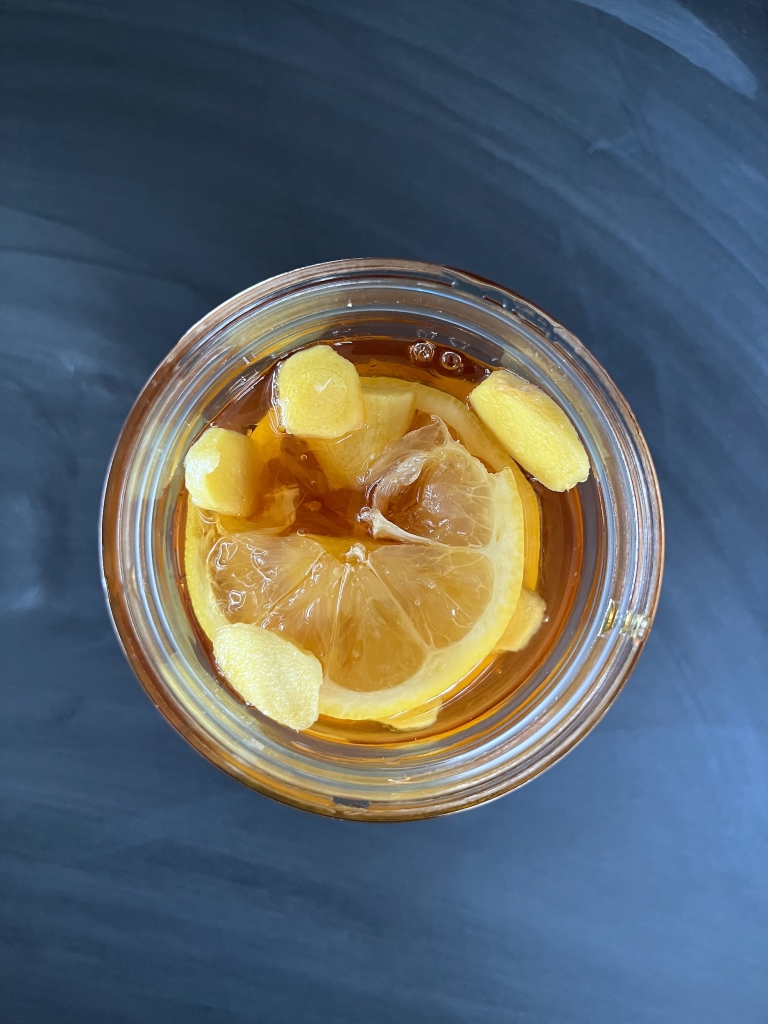
This lemon and ginger infused honey is deliciously healthy for you! Ginger contains anti-inflammatory and antioxidant properties that have been known to help remedy stomach issues, combat cold and/or flu viruses and improve brain and heart health. Lemon is a natural detoxifier and contains antibacterial and antiviral properties. It’s also full of antioxidants and vitamin c to help boost the immune system. Raw honey has (you guessed it) even more antibacterial, antiviral, and antioxidant properties! It also contains enzymes that promote healthy gut flora and can help boost immunity and fight infection.
So many preventative and cleansing properties and it’s so easy to create and implement into everyday use! I personally create and use it to sweeten my tea. But it can also be taken by the spoonful or incorporated in to dishes!
Let’s make some!
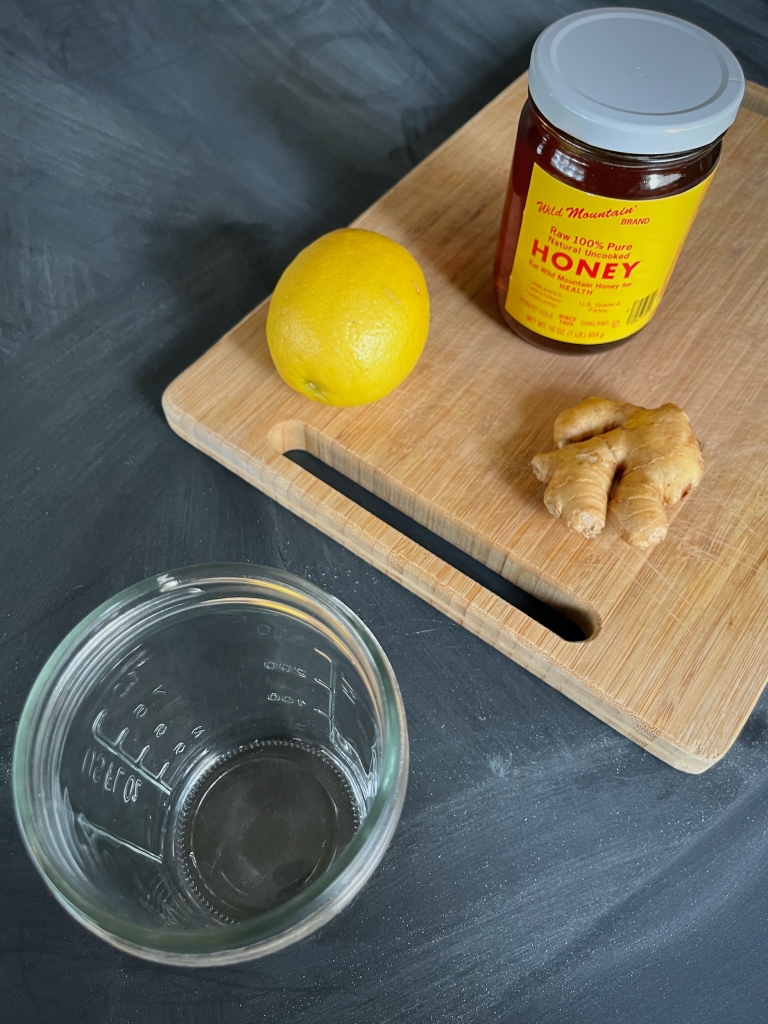
INGREDIENTS
- Fresh ginger, peeled
- Lemon, sliced
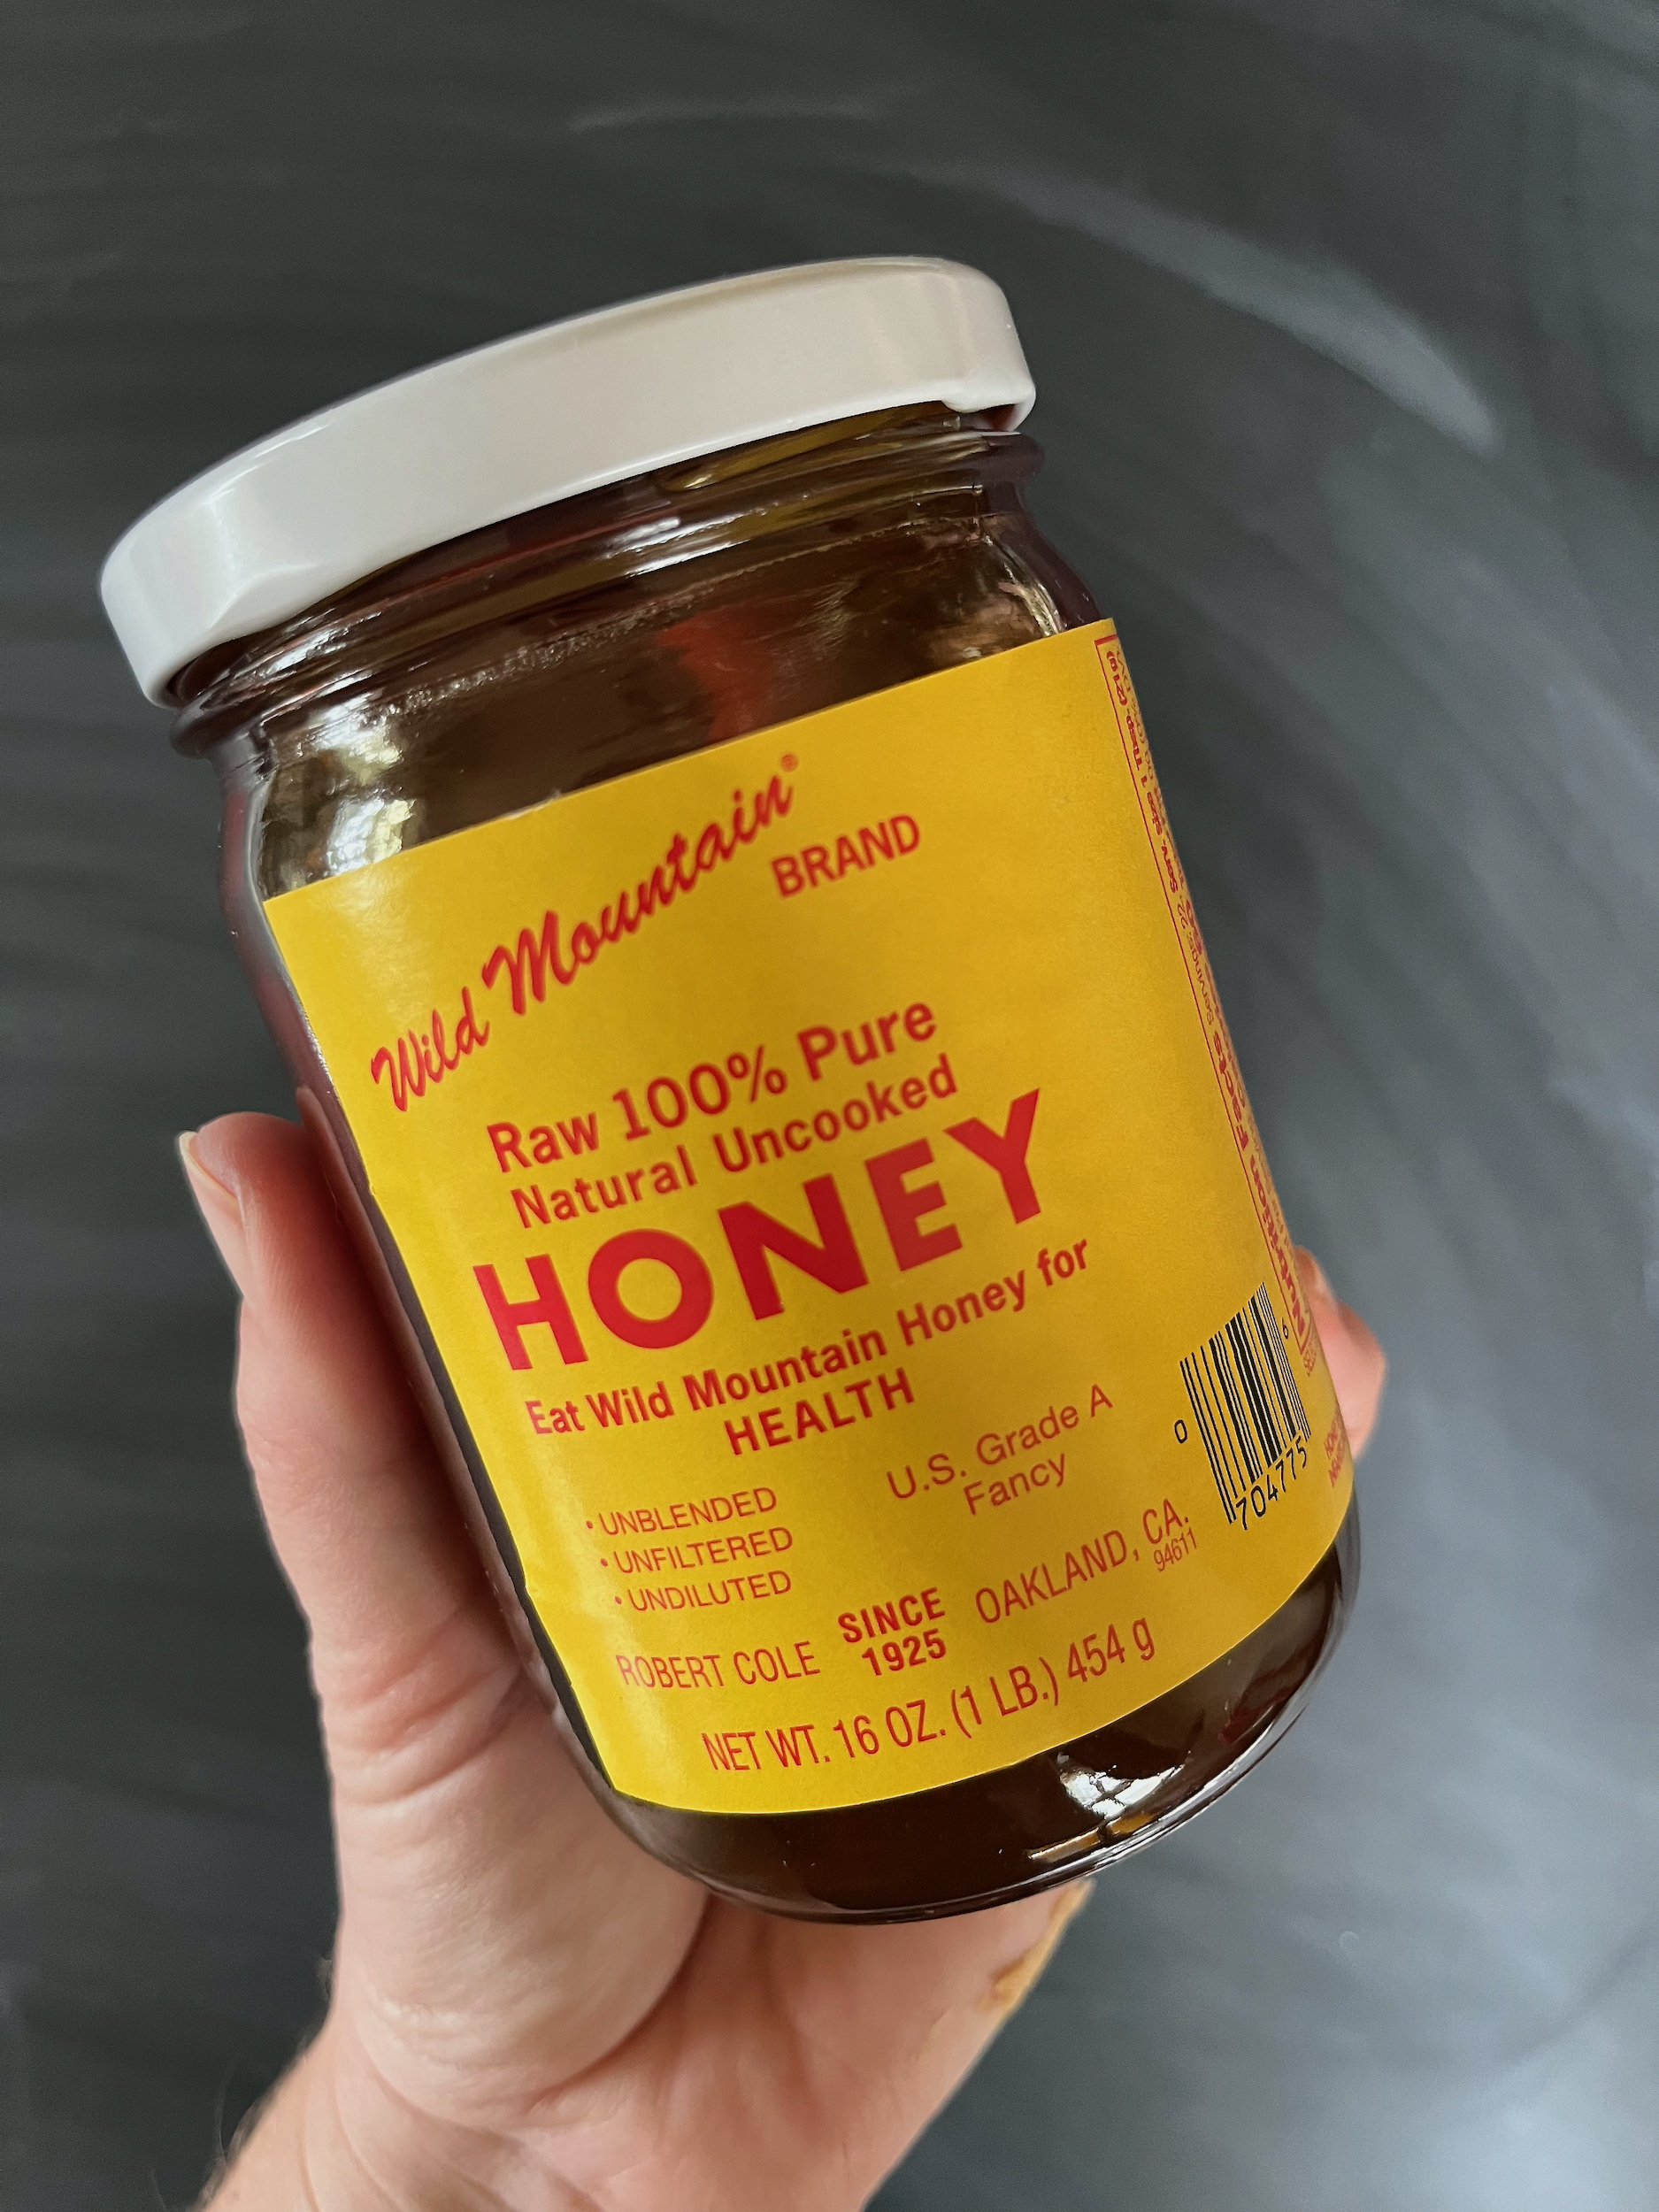
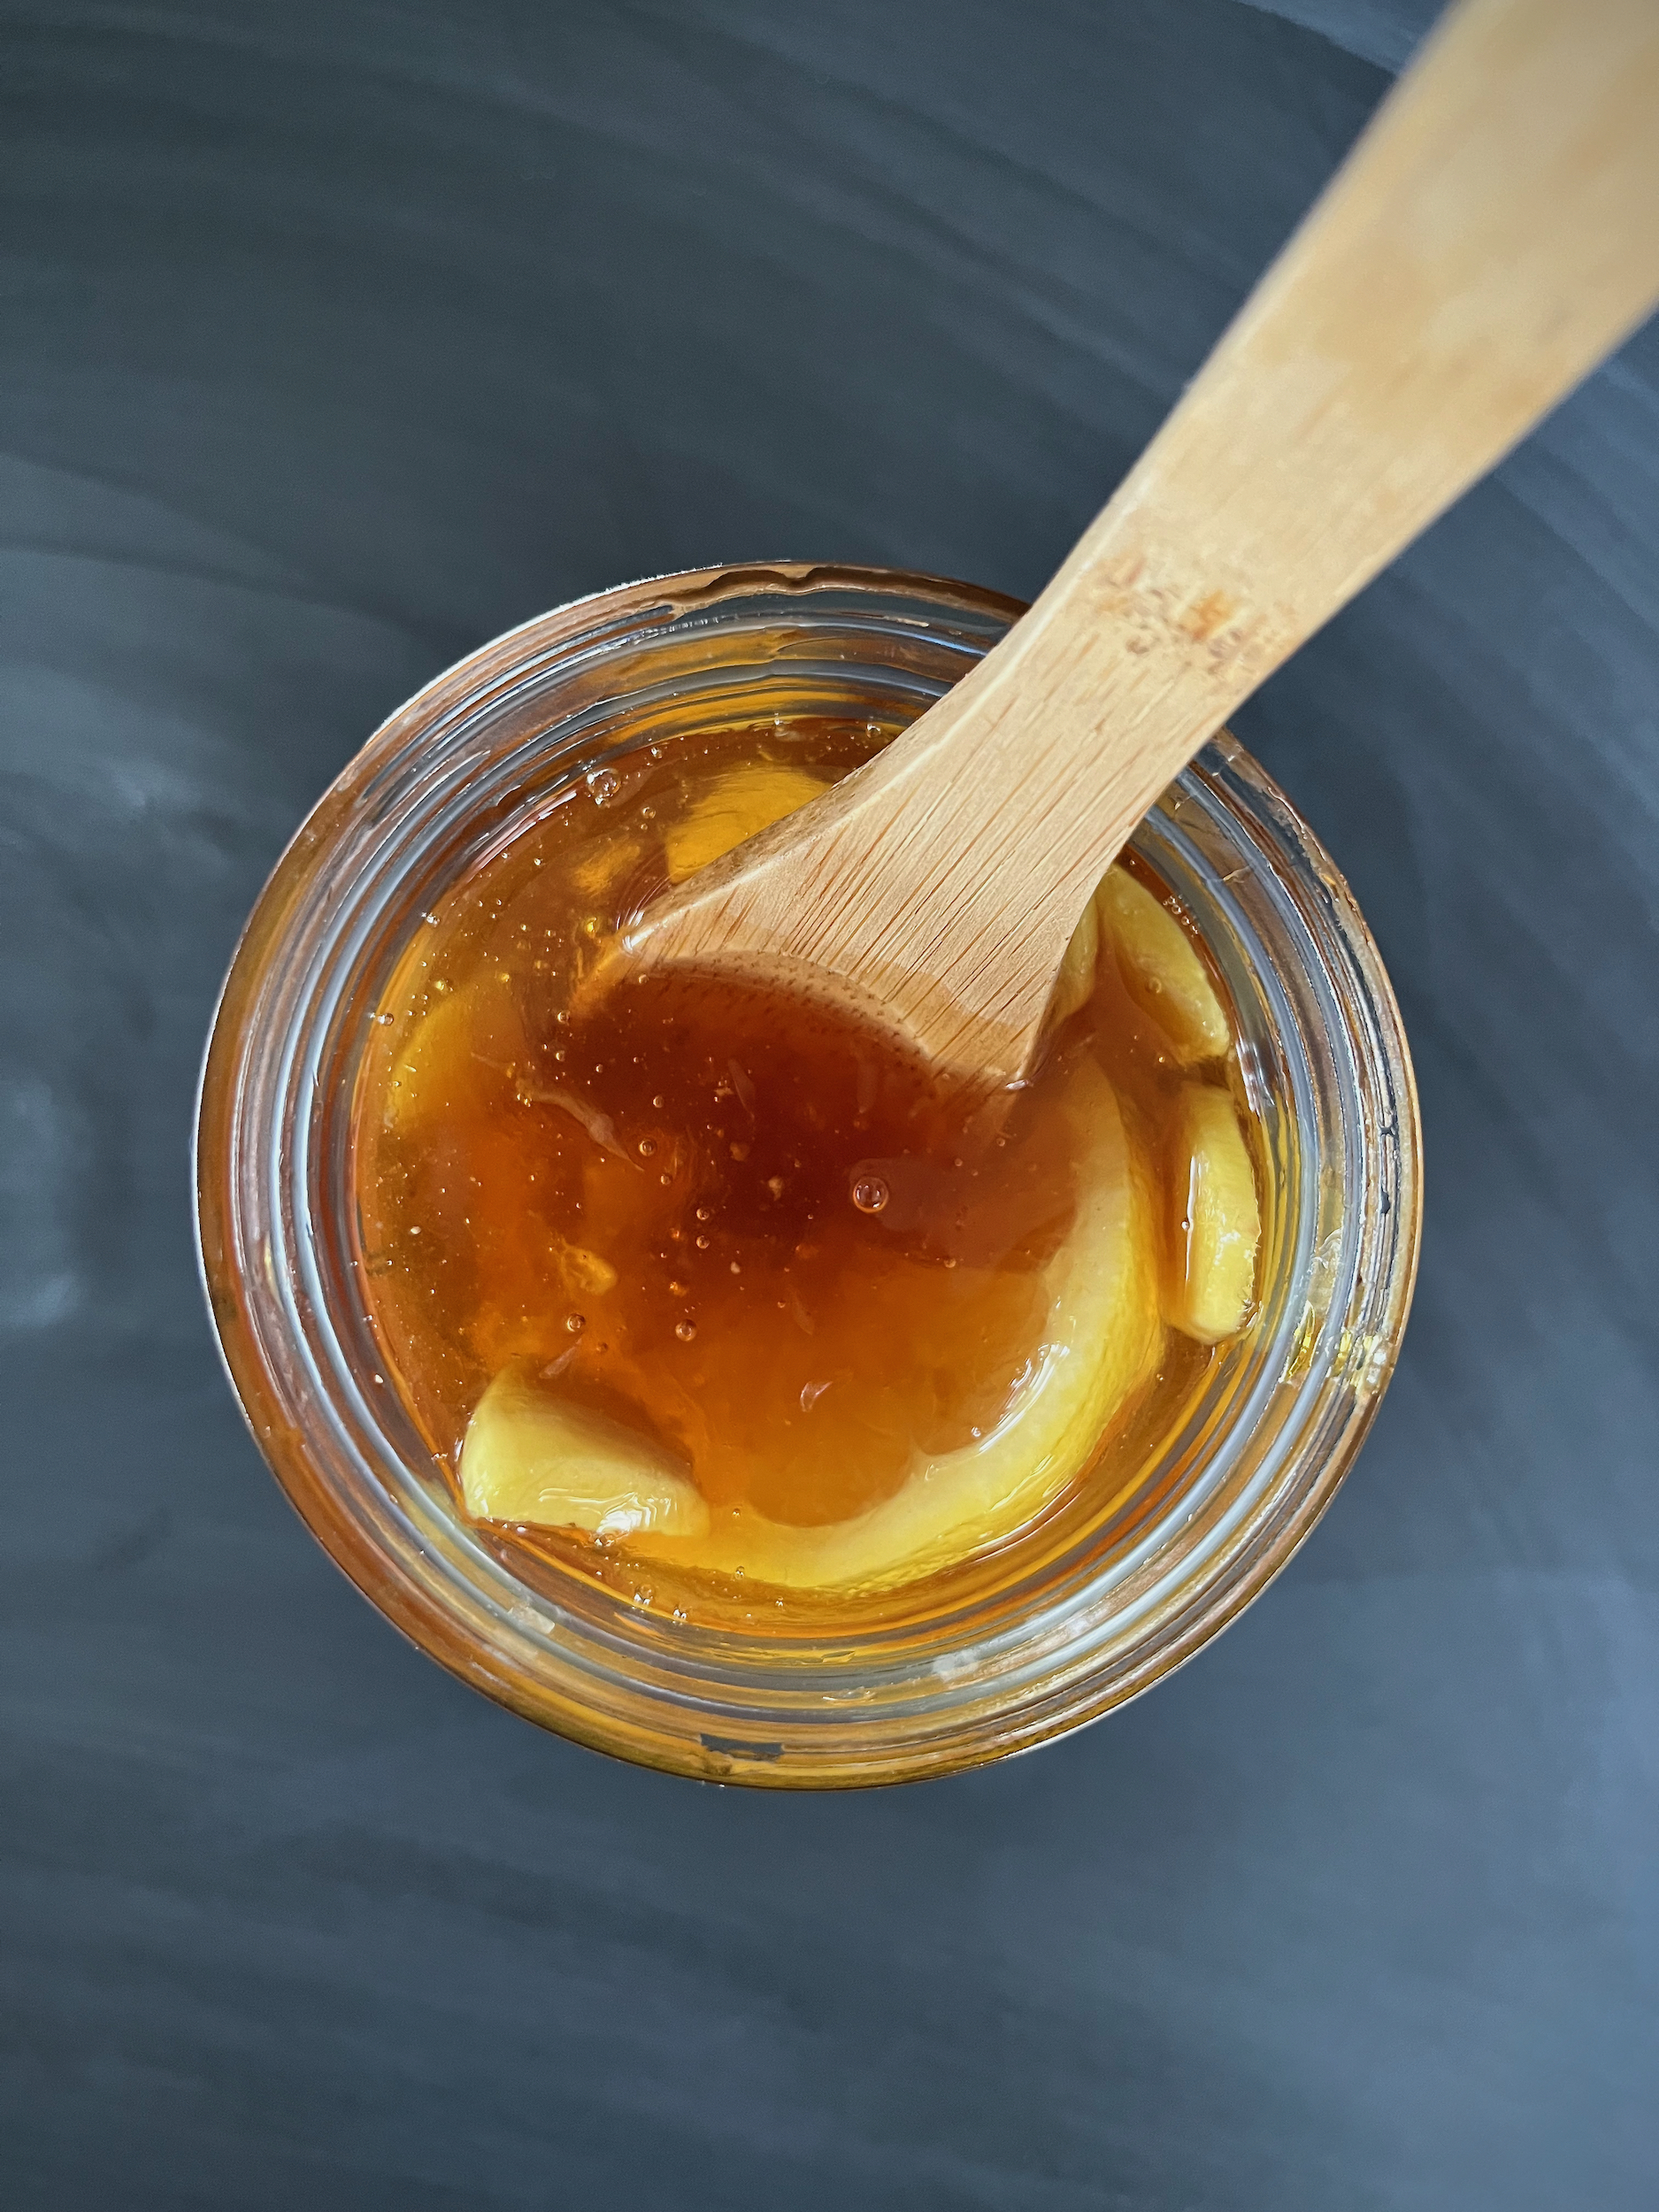
- Unpasteurized raw honey
- Wooden spoon
- Jar
INSTRUCTIONS
- First, sterilize the jar and lid. Wash them thoroughly with hot, soapy water and rinse well. Then submerge the jar lid in boiling water for 5 minutes and the jar for 10 minutes.
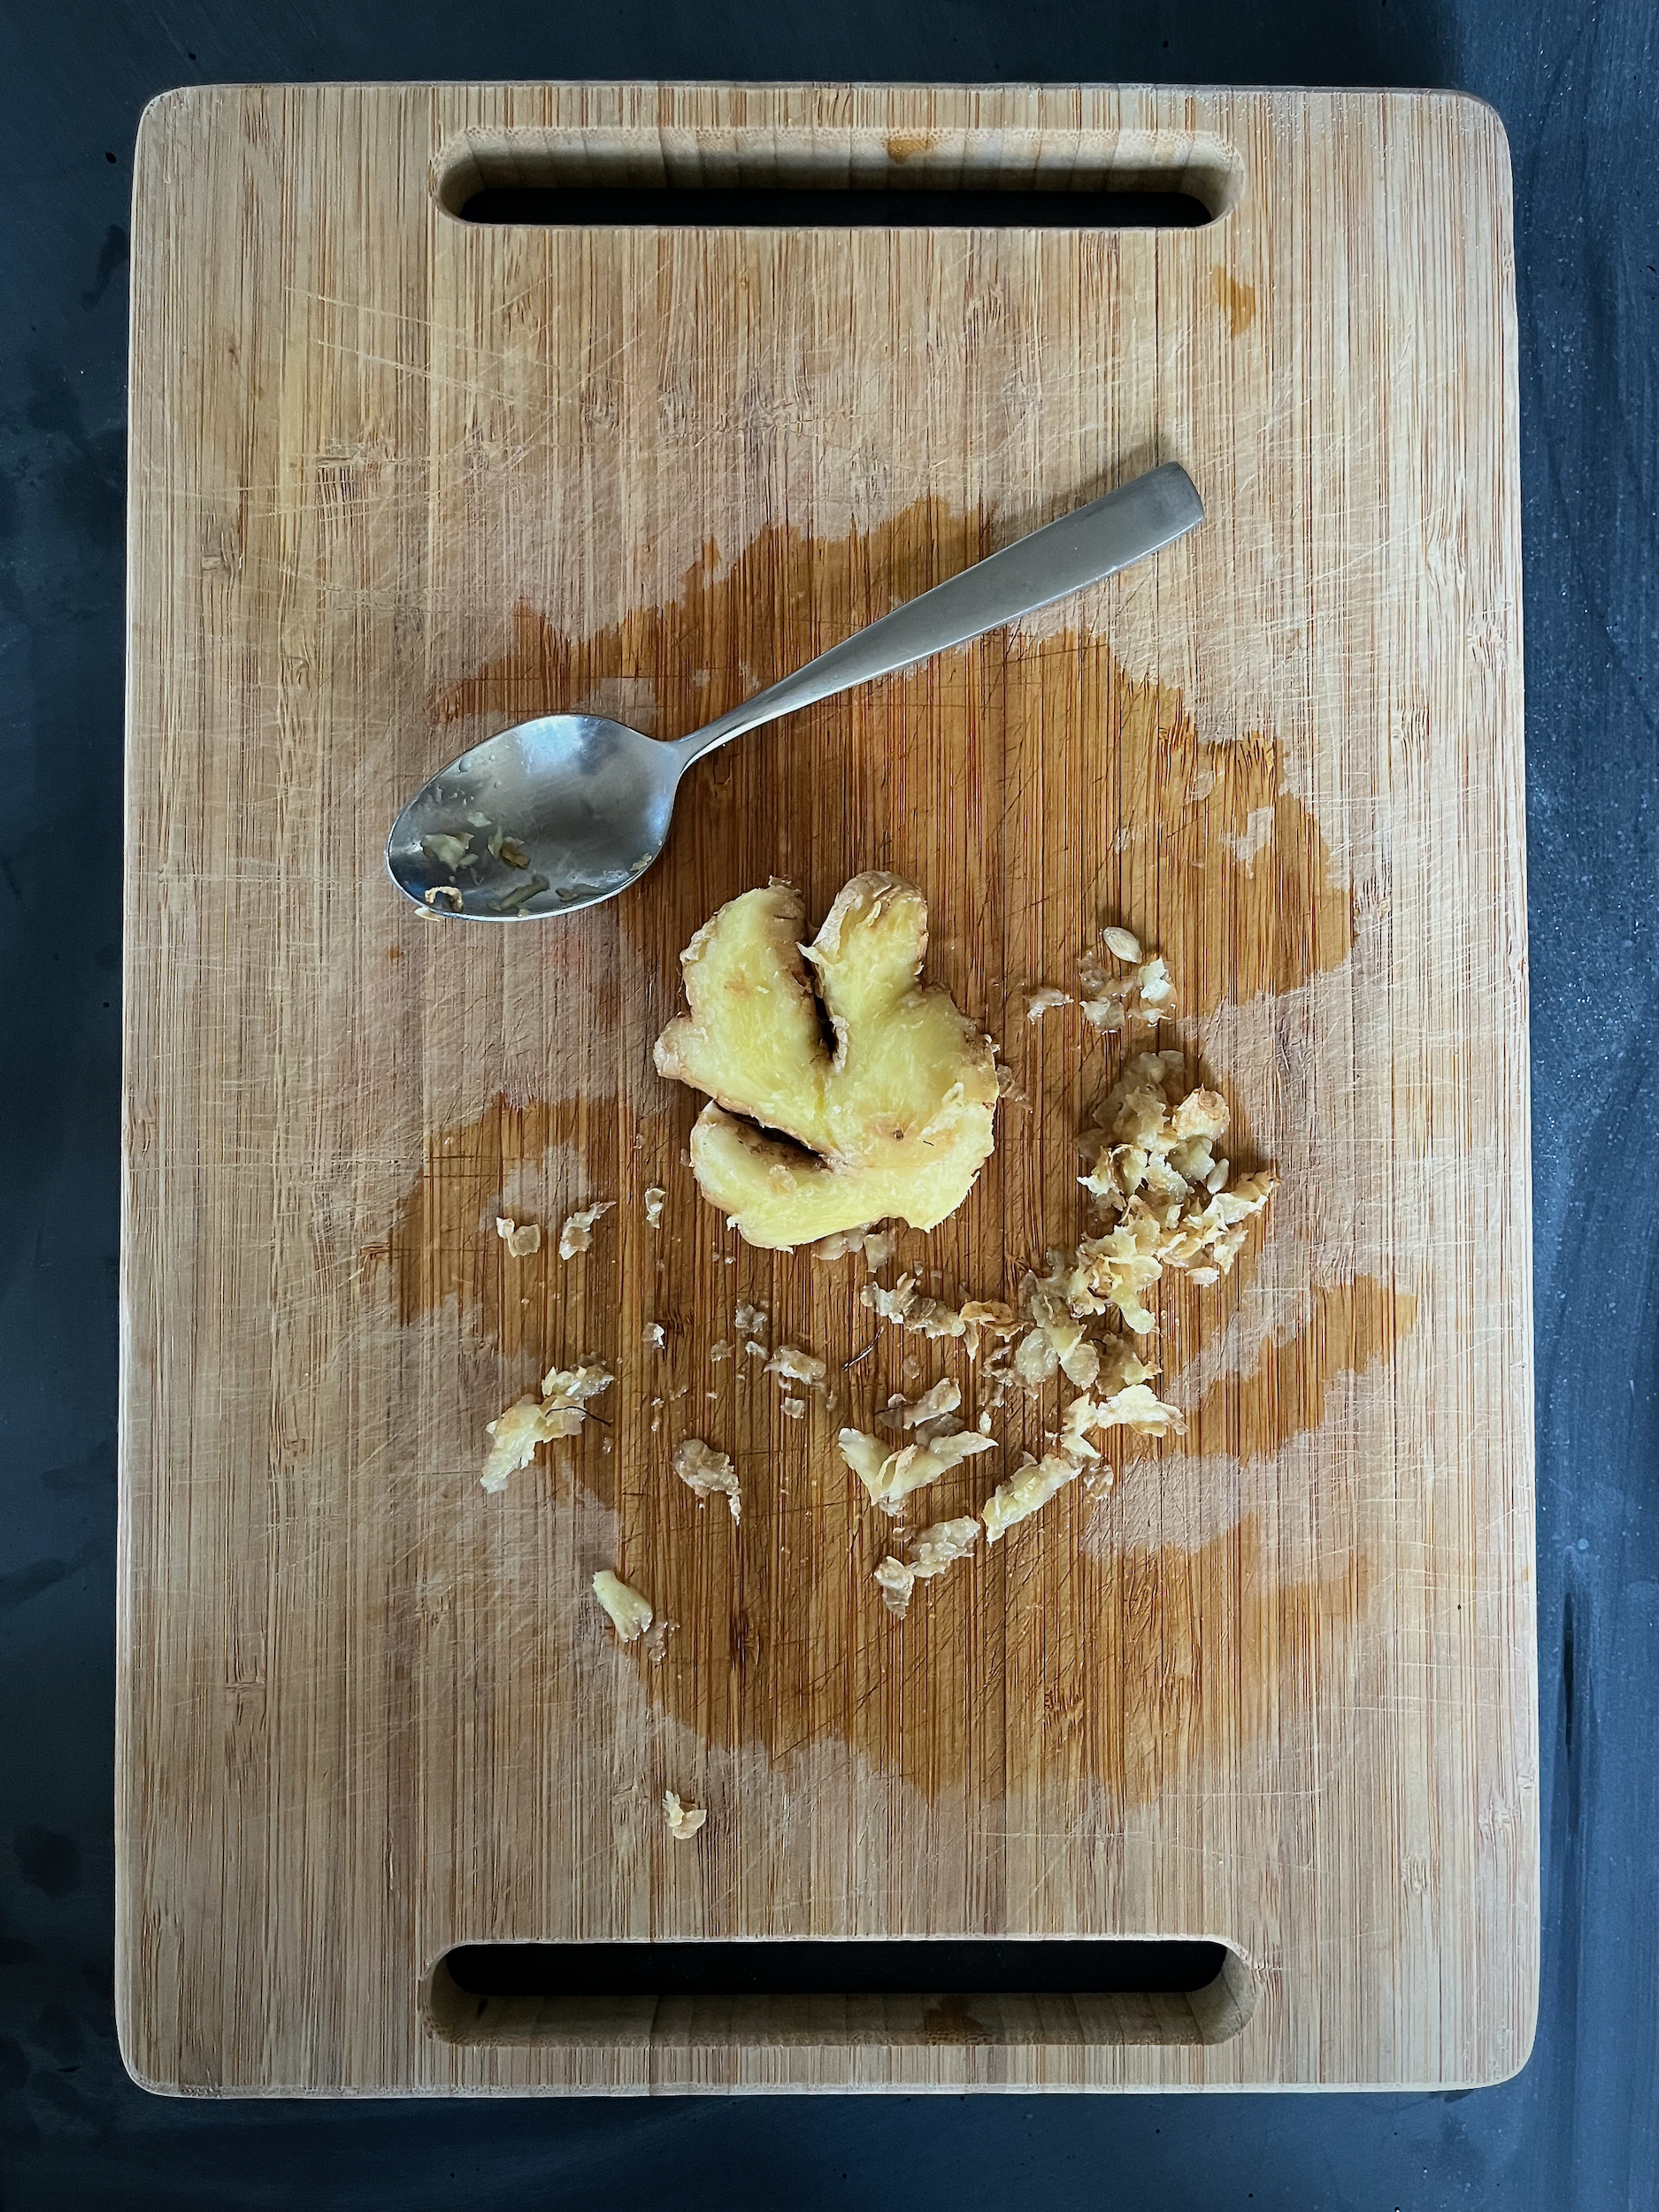
- Wash the ginger and peel it with a spoon, then thinly slice it into rounds.
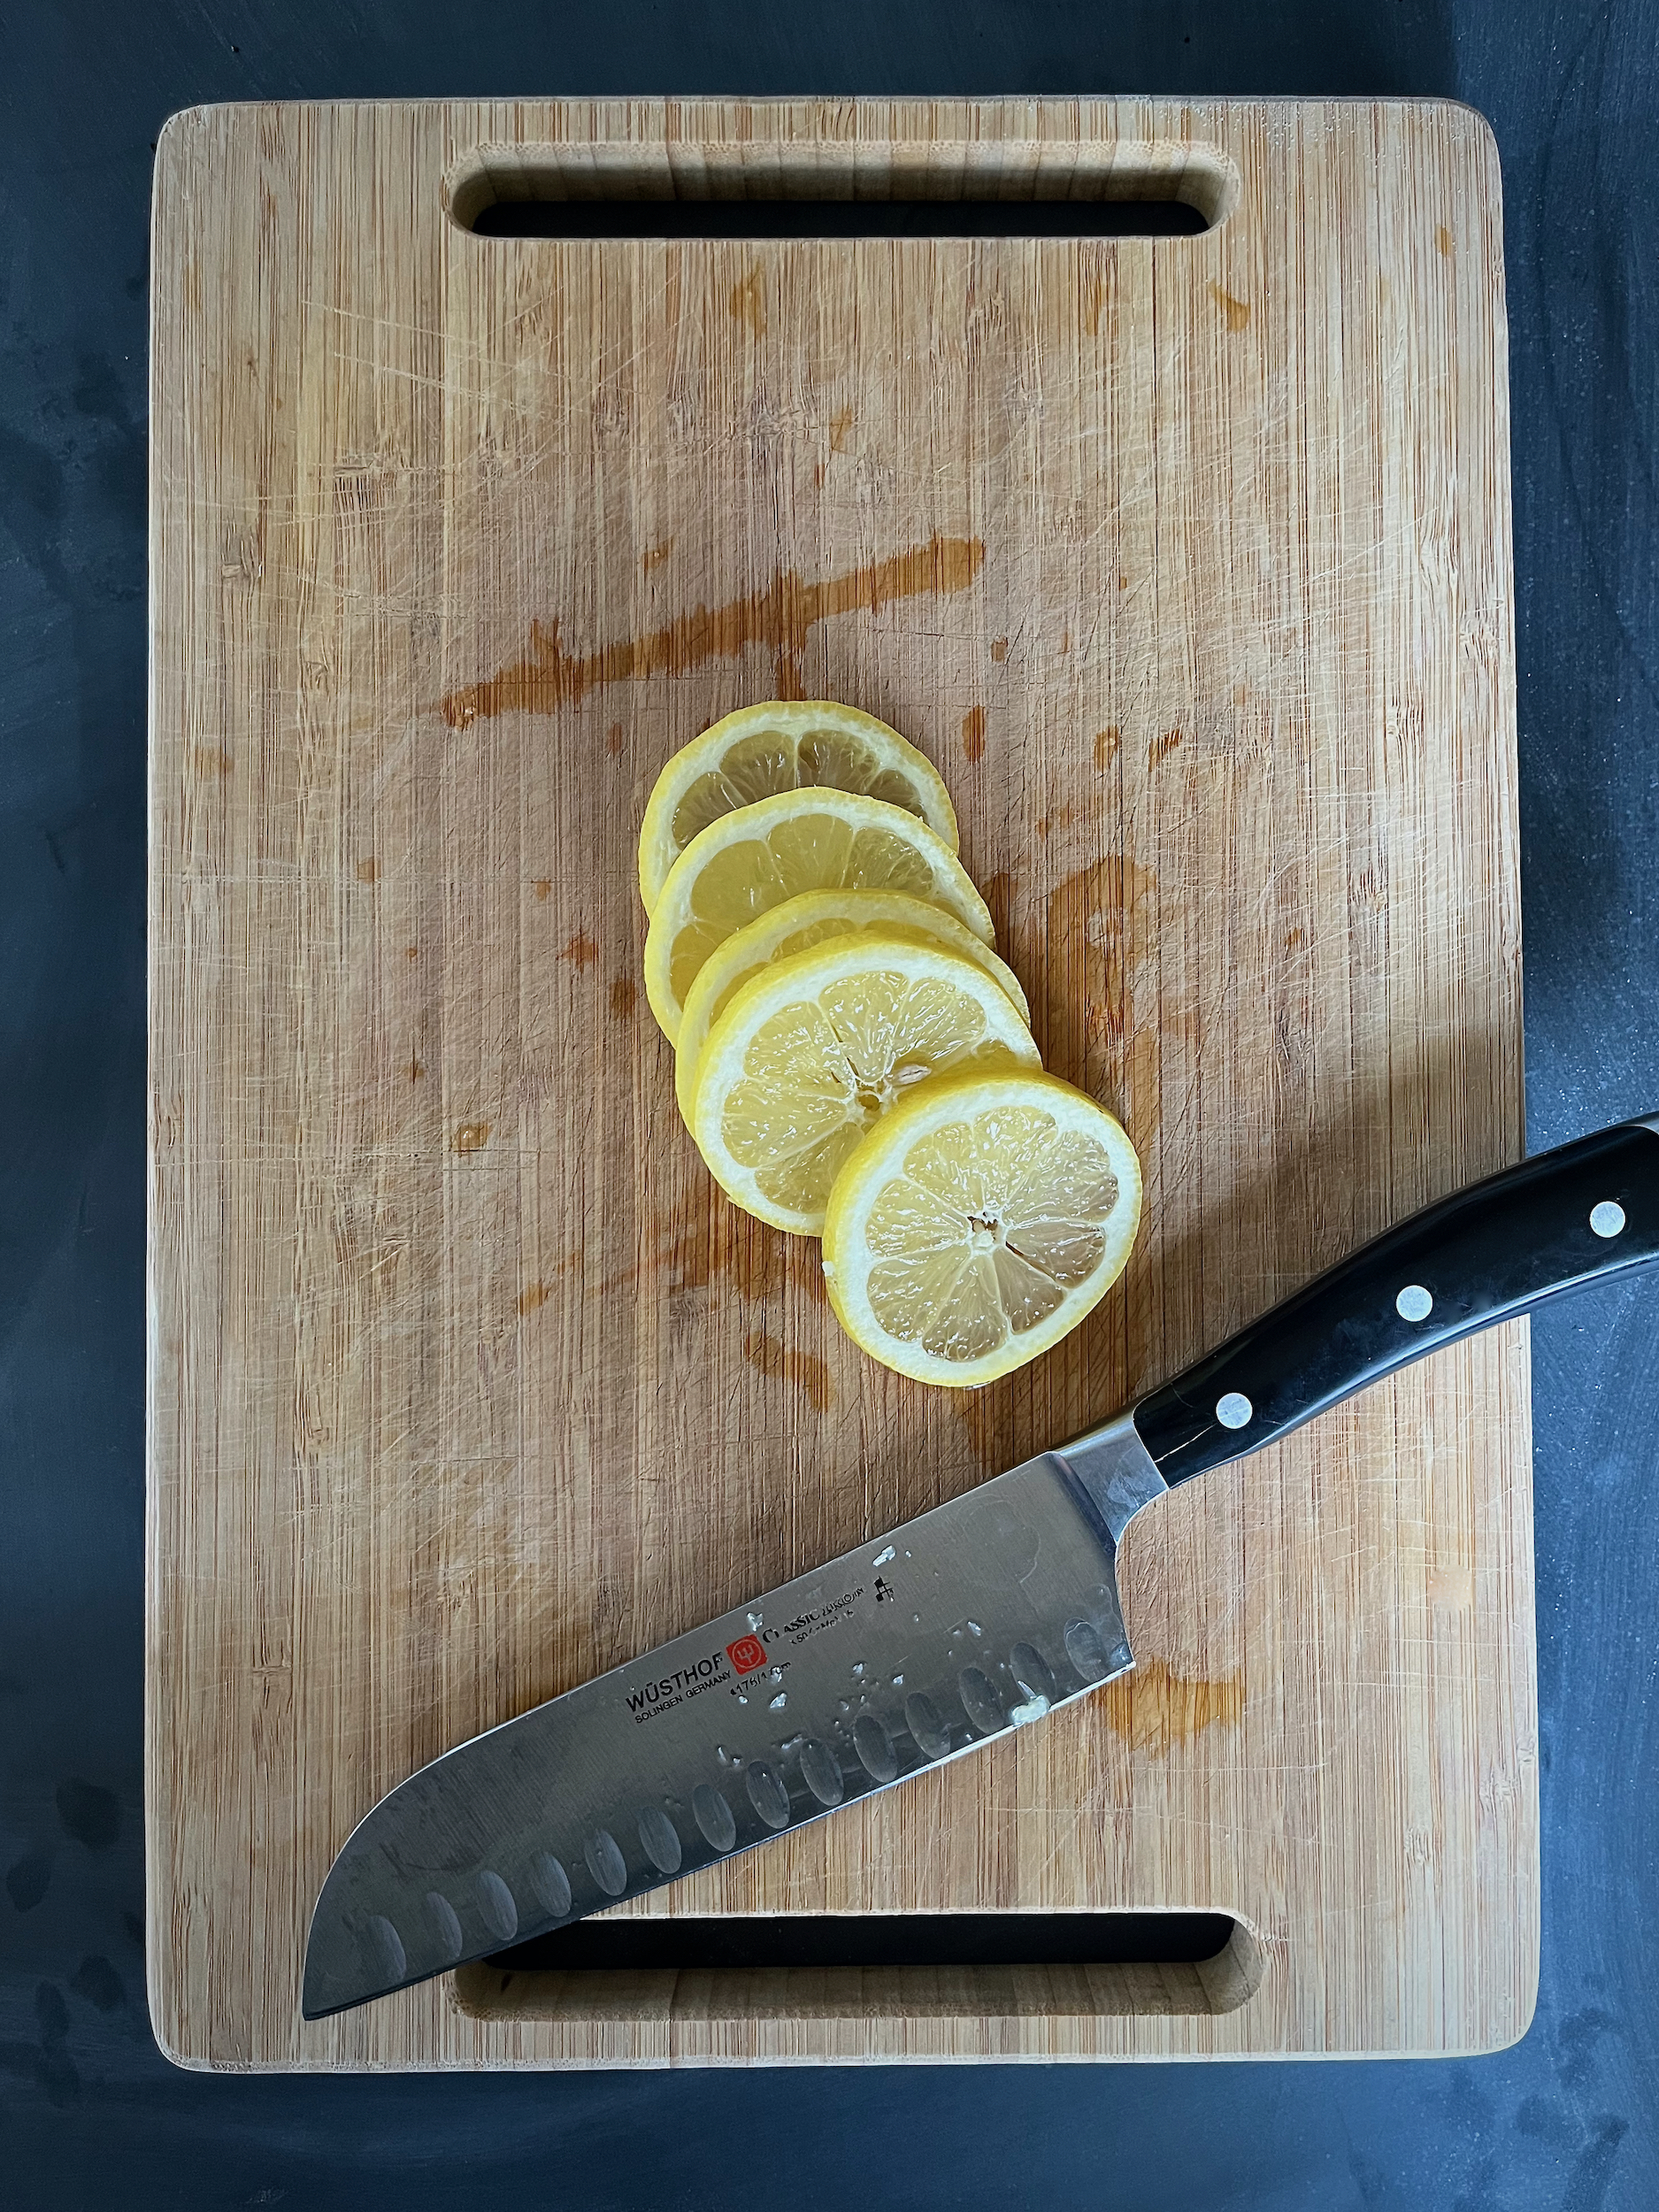
- Wash the lemon and thinly slice it into rounds.
- Add 2 to 3 tablespoons of honey to the jar, then begin alternating layers of ginger, lemon and honey until you’ve used all the ingredients and the ginger and lemon have been fully submerged (leave a small space at the top for the gases to build up).
- Use a wooden spoon to gently stir and move the ingredients around. This is to make sure the honey fully reaches all of the ginger and lemon with no air bubbles.
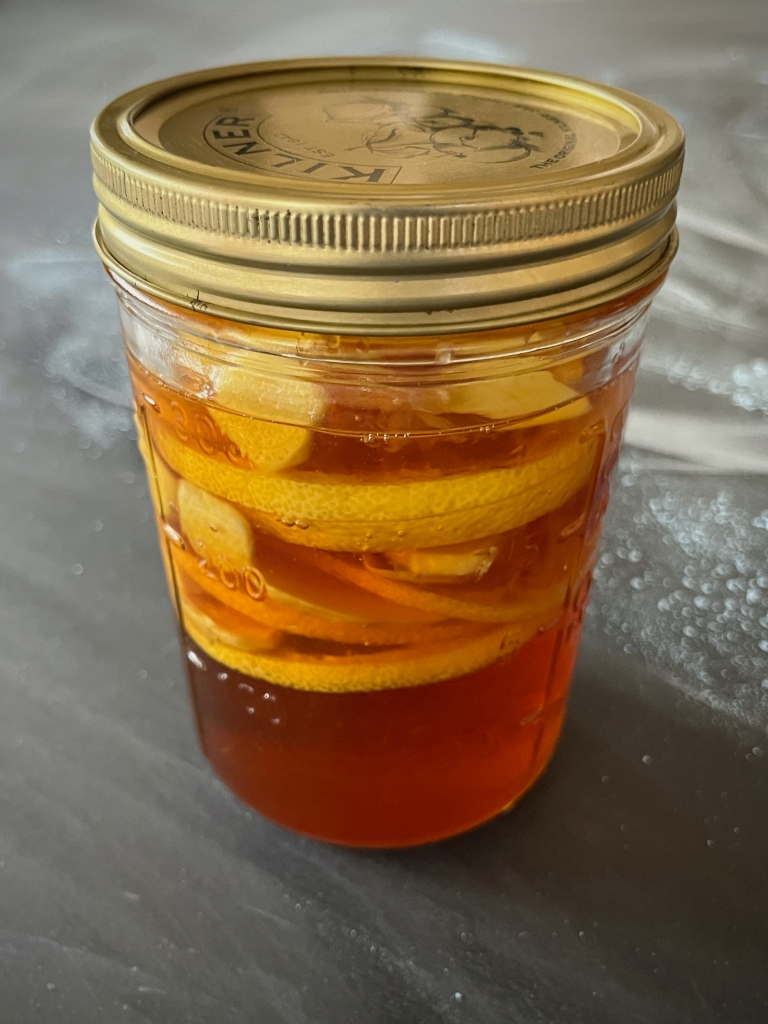
- Seal the lid and leave it to ferment for about two weeks in a cool dark place. During this time you will need to “burp” the jar daily. This means you must open the lid briefly to allow any built up gasses to release, then close it back up!
- Once fermentation is done and the honey has reached your desired taste, move the whole jar into the refrigerator to halt the fermentation process.
*Like most fermented foods, just keep an eye out for bad smells, mold, and other signs of spoilage. This doesn’t happen often, but if it does, it’s time to start a new ferment.