Welcome back friends
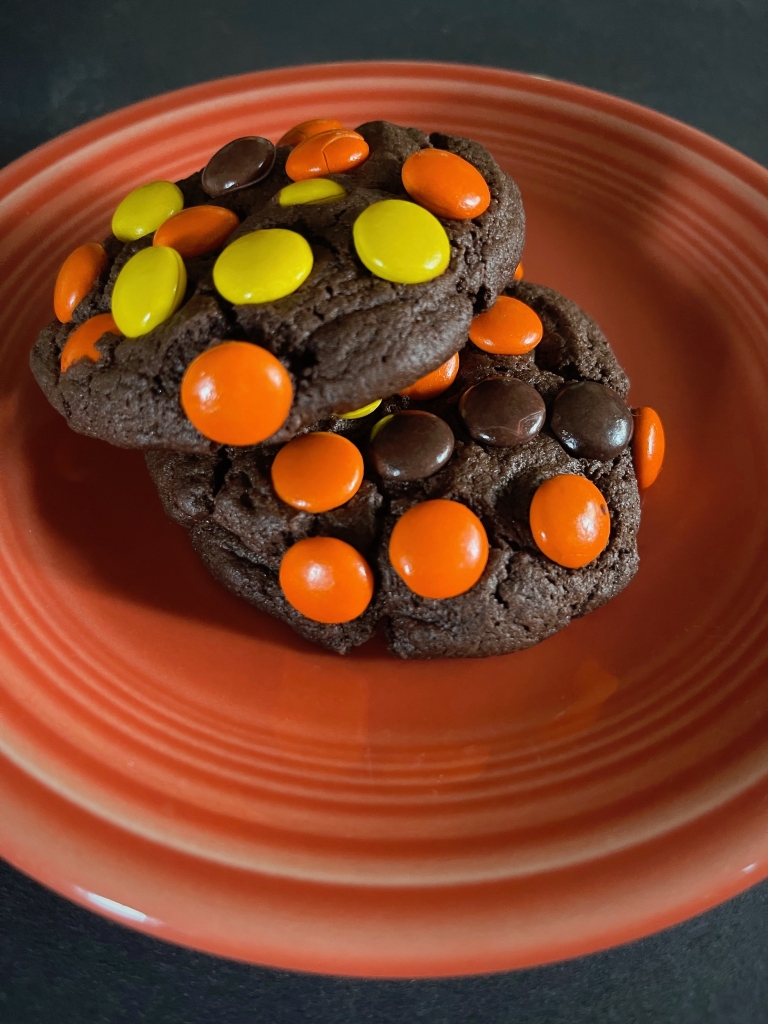
I have some chocolatey, peanut buttery halloween cookies for you!
You may have heard that you can make cookies with boxed cake mix and this recipe does just that, but with a boost of unsweetened cocoa powder and Reeses Pieces! They are delicious; rich and not too sweet. If you’re looking for something tasty to bake for yourself or someone(s) you love, please try these and enjoy!

HALLOWEEN COOKIES
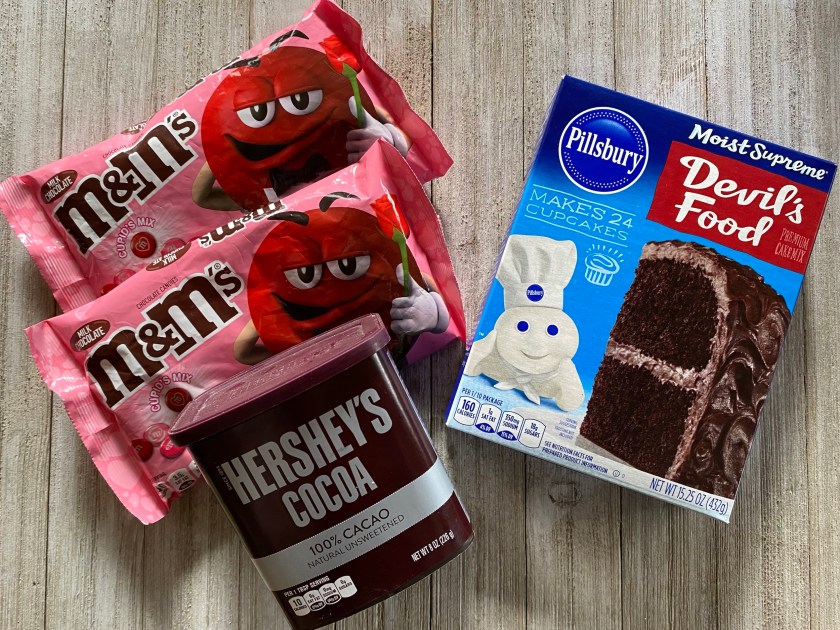
- 1 box of devil’s food chocolate cake mix
- 1/4 cup of unsweetened cocoa powder
- 3/4 cup of butter, softened
- 2 eggs
- 2 cups of Reeses Pieces candy
INSTRUCTIONS


- Pre-heat the oven to 350F and line a baking sheet with parchment paper.
- Open the cake mix and pour it into a large mixing bowl.
- Measure 1/4 cup of unsweetened cocoa into the dry cake mix and stir gently to incorporate.
- Add the softened butter and eggs into the dry ingredients and mix until a thick dough forms.
- Divide the Reeses Pieces: stir one cup into the cookie dough and place the other cup into a separate small bowl.
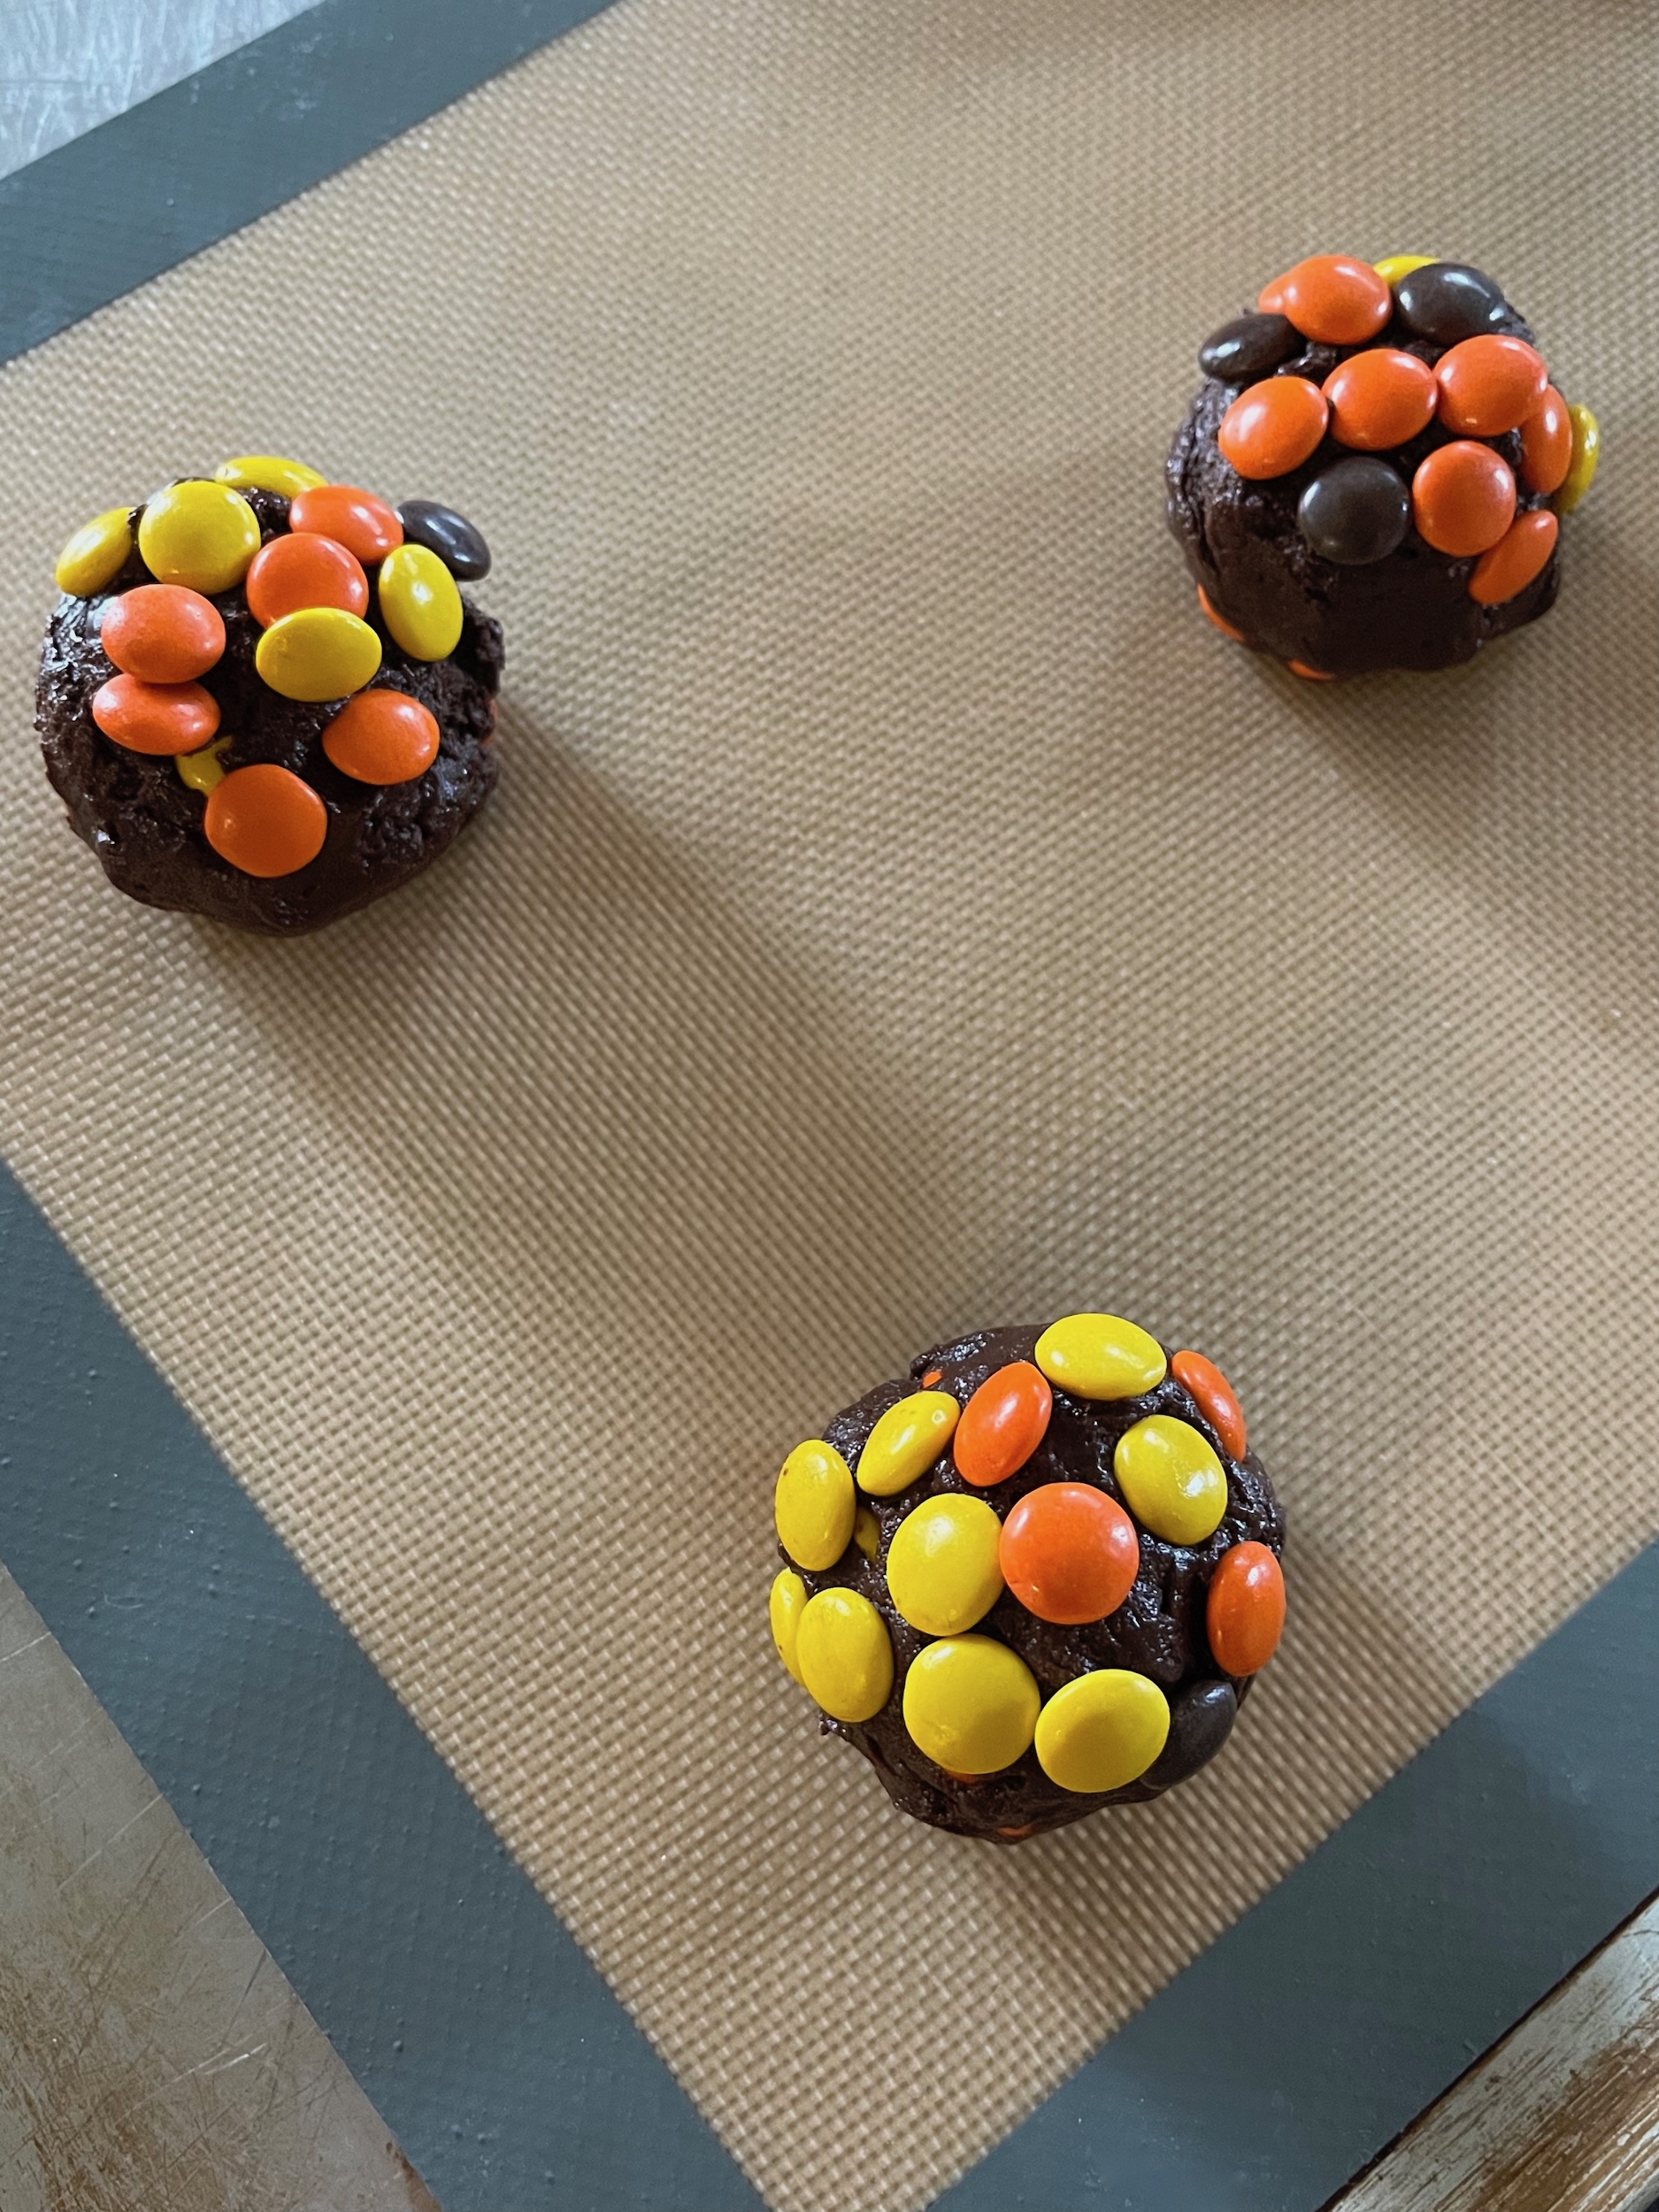
- Roll the dough into 1 to 1 1/2 inch balls, then dip the top of each dough ball into the small bowl of Reeses Pieces. Lightly press the Reeses Pieces on top a little more firmly into the dough if needed but don’t squash the dough ball and place it onto the baking sheet.
- Place the baking sheet into the oven and bake for 10 to 12 minutes depending on the power of your oven.
- Bring the cookies out of the oven and allow them to cool on a rack for about 5 minutes, then transfer the cookies to a cooling rack for another 5 to 10 minutes.
- Enjoy!


 Happy February friends! I have some chocolaty Valentine cookies for you, and whether you celebrate Valentine’s Day or not, cookies are rarely unwelcome!


 This recipe is featured when Lucius Best (Frozone) checks in on Bob Parr (Mr. Incredible) in his new homemaking role. Bob is struggling with Jack Jack’s abundant powers, but has discovered he will temporarily settle down for cookies.
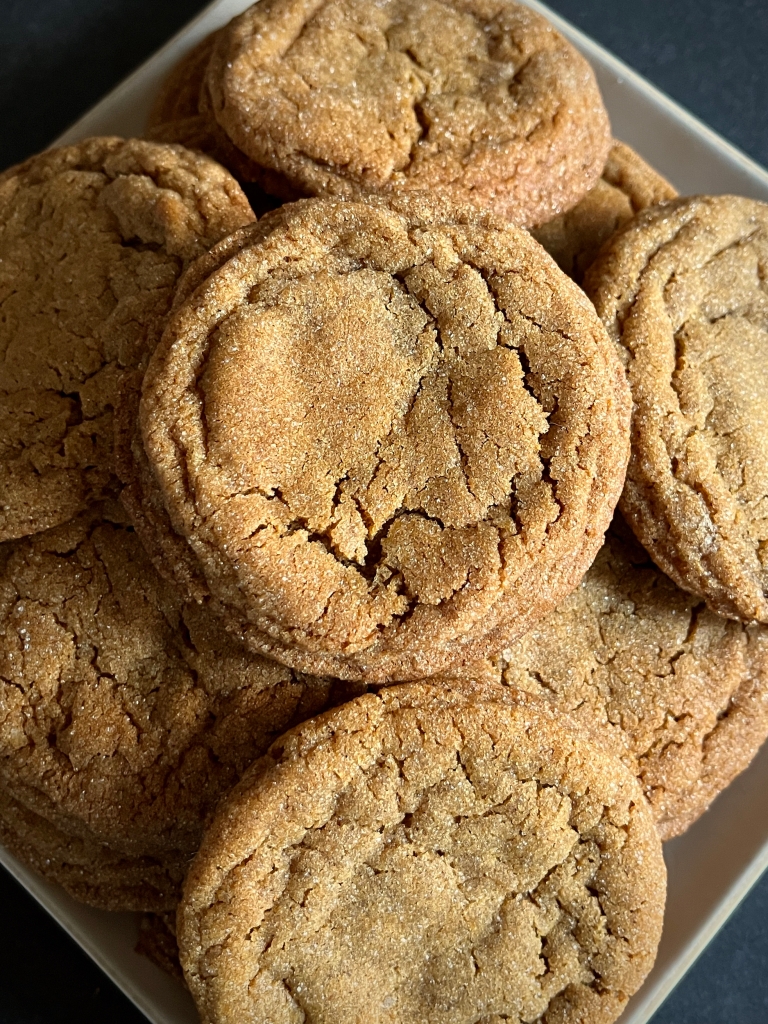
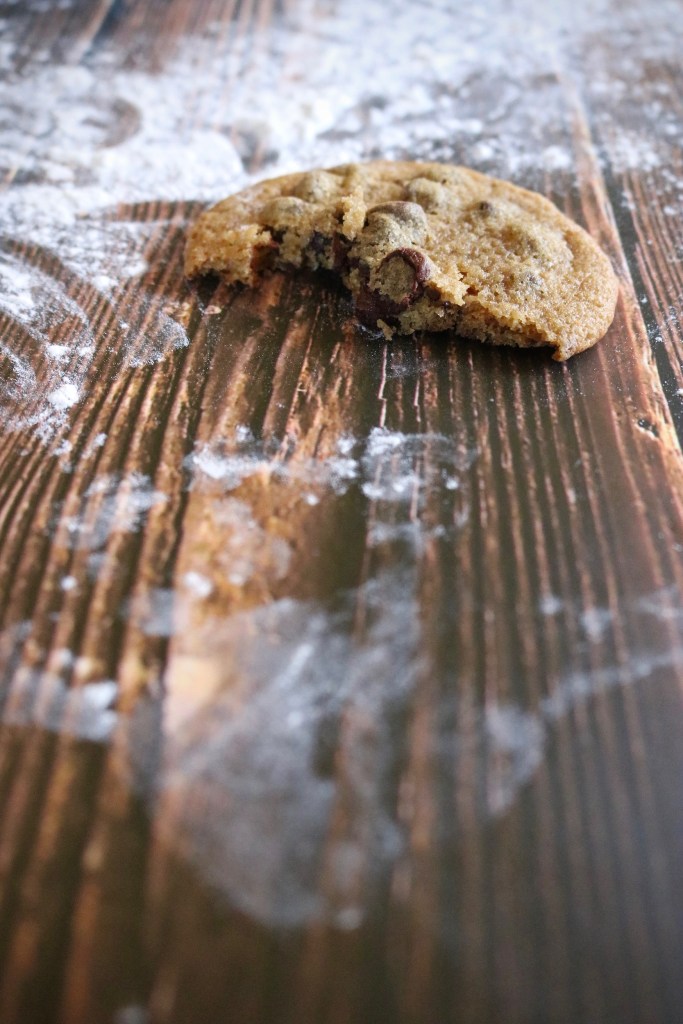
 These chocolate chip cookies are slender, soft and scrumptious.

 Last week,