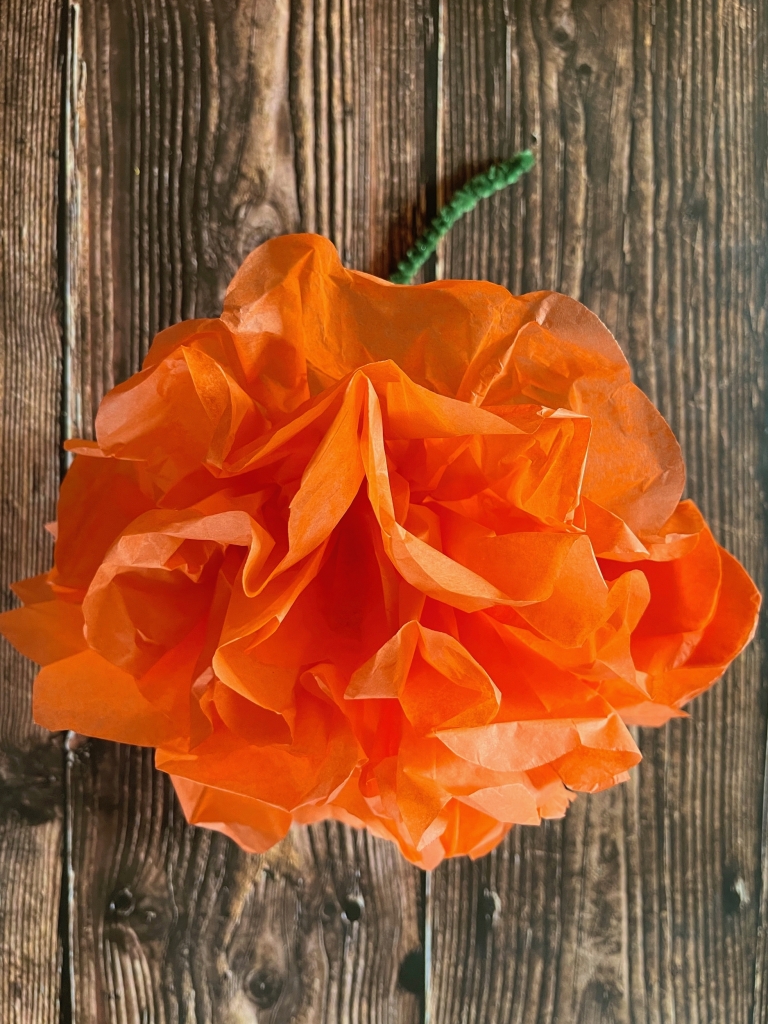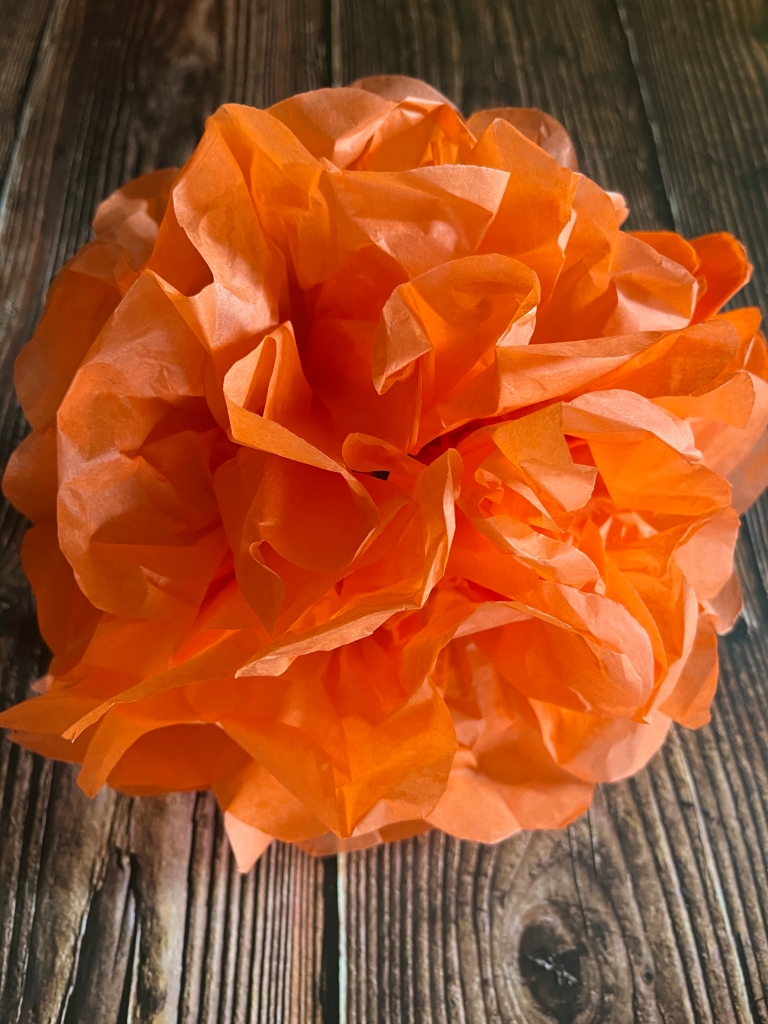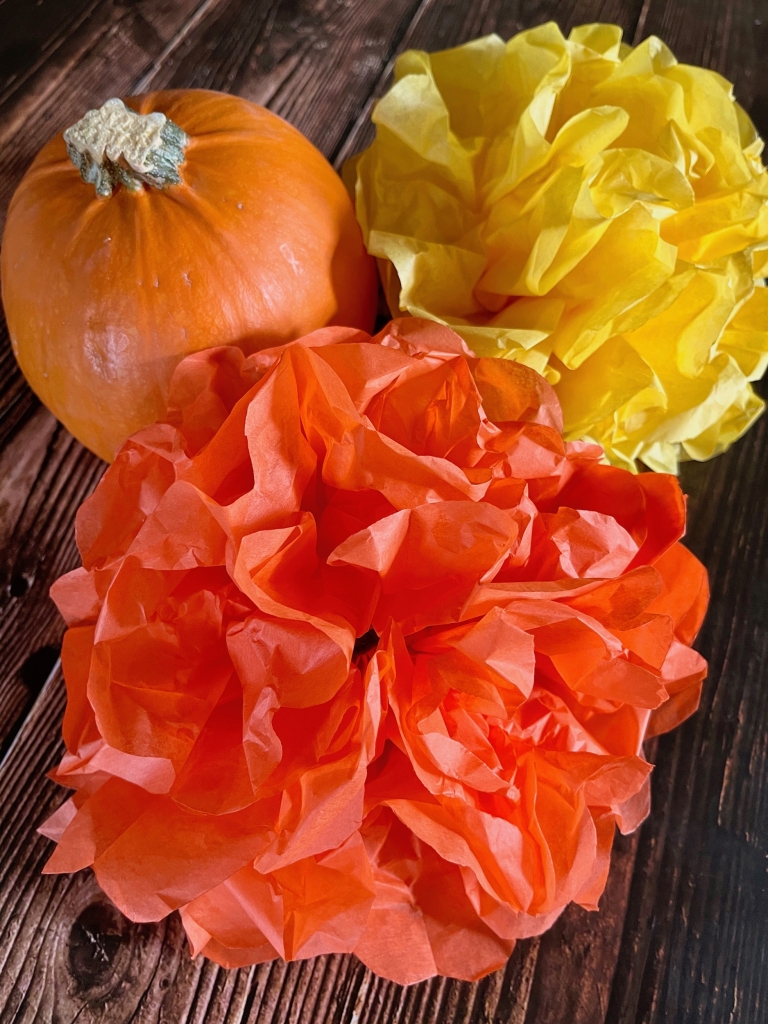
Part of the fun in raising Zoey is making things that delight her; I want to create fun, educational crafts for her that are made with love and will be loved!
This week we’ll be creating paper marigolds in honor of their color and beauty, but also to begin educating Zoey on their significance this time of year.
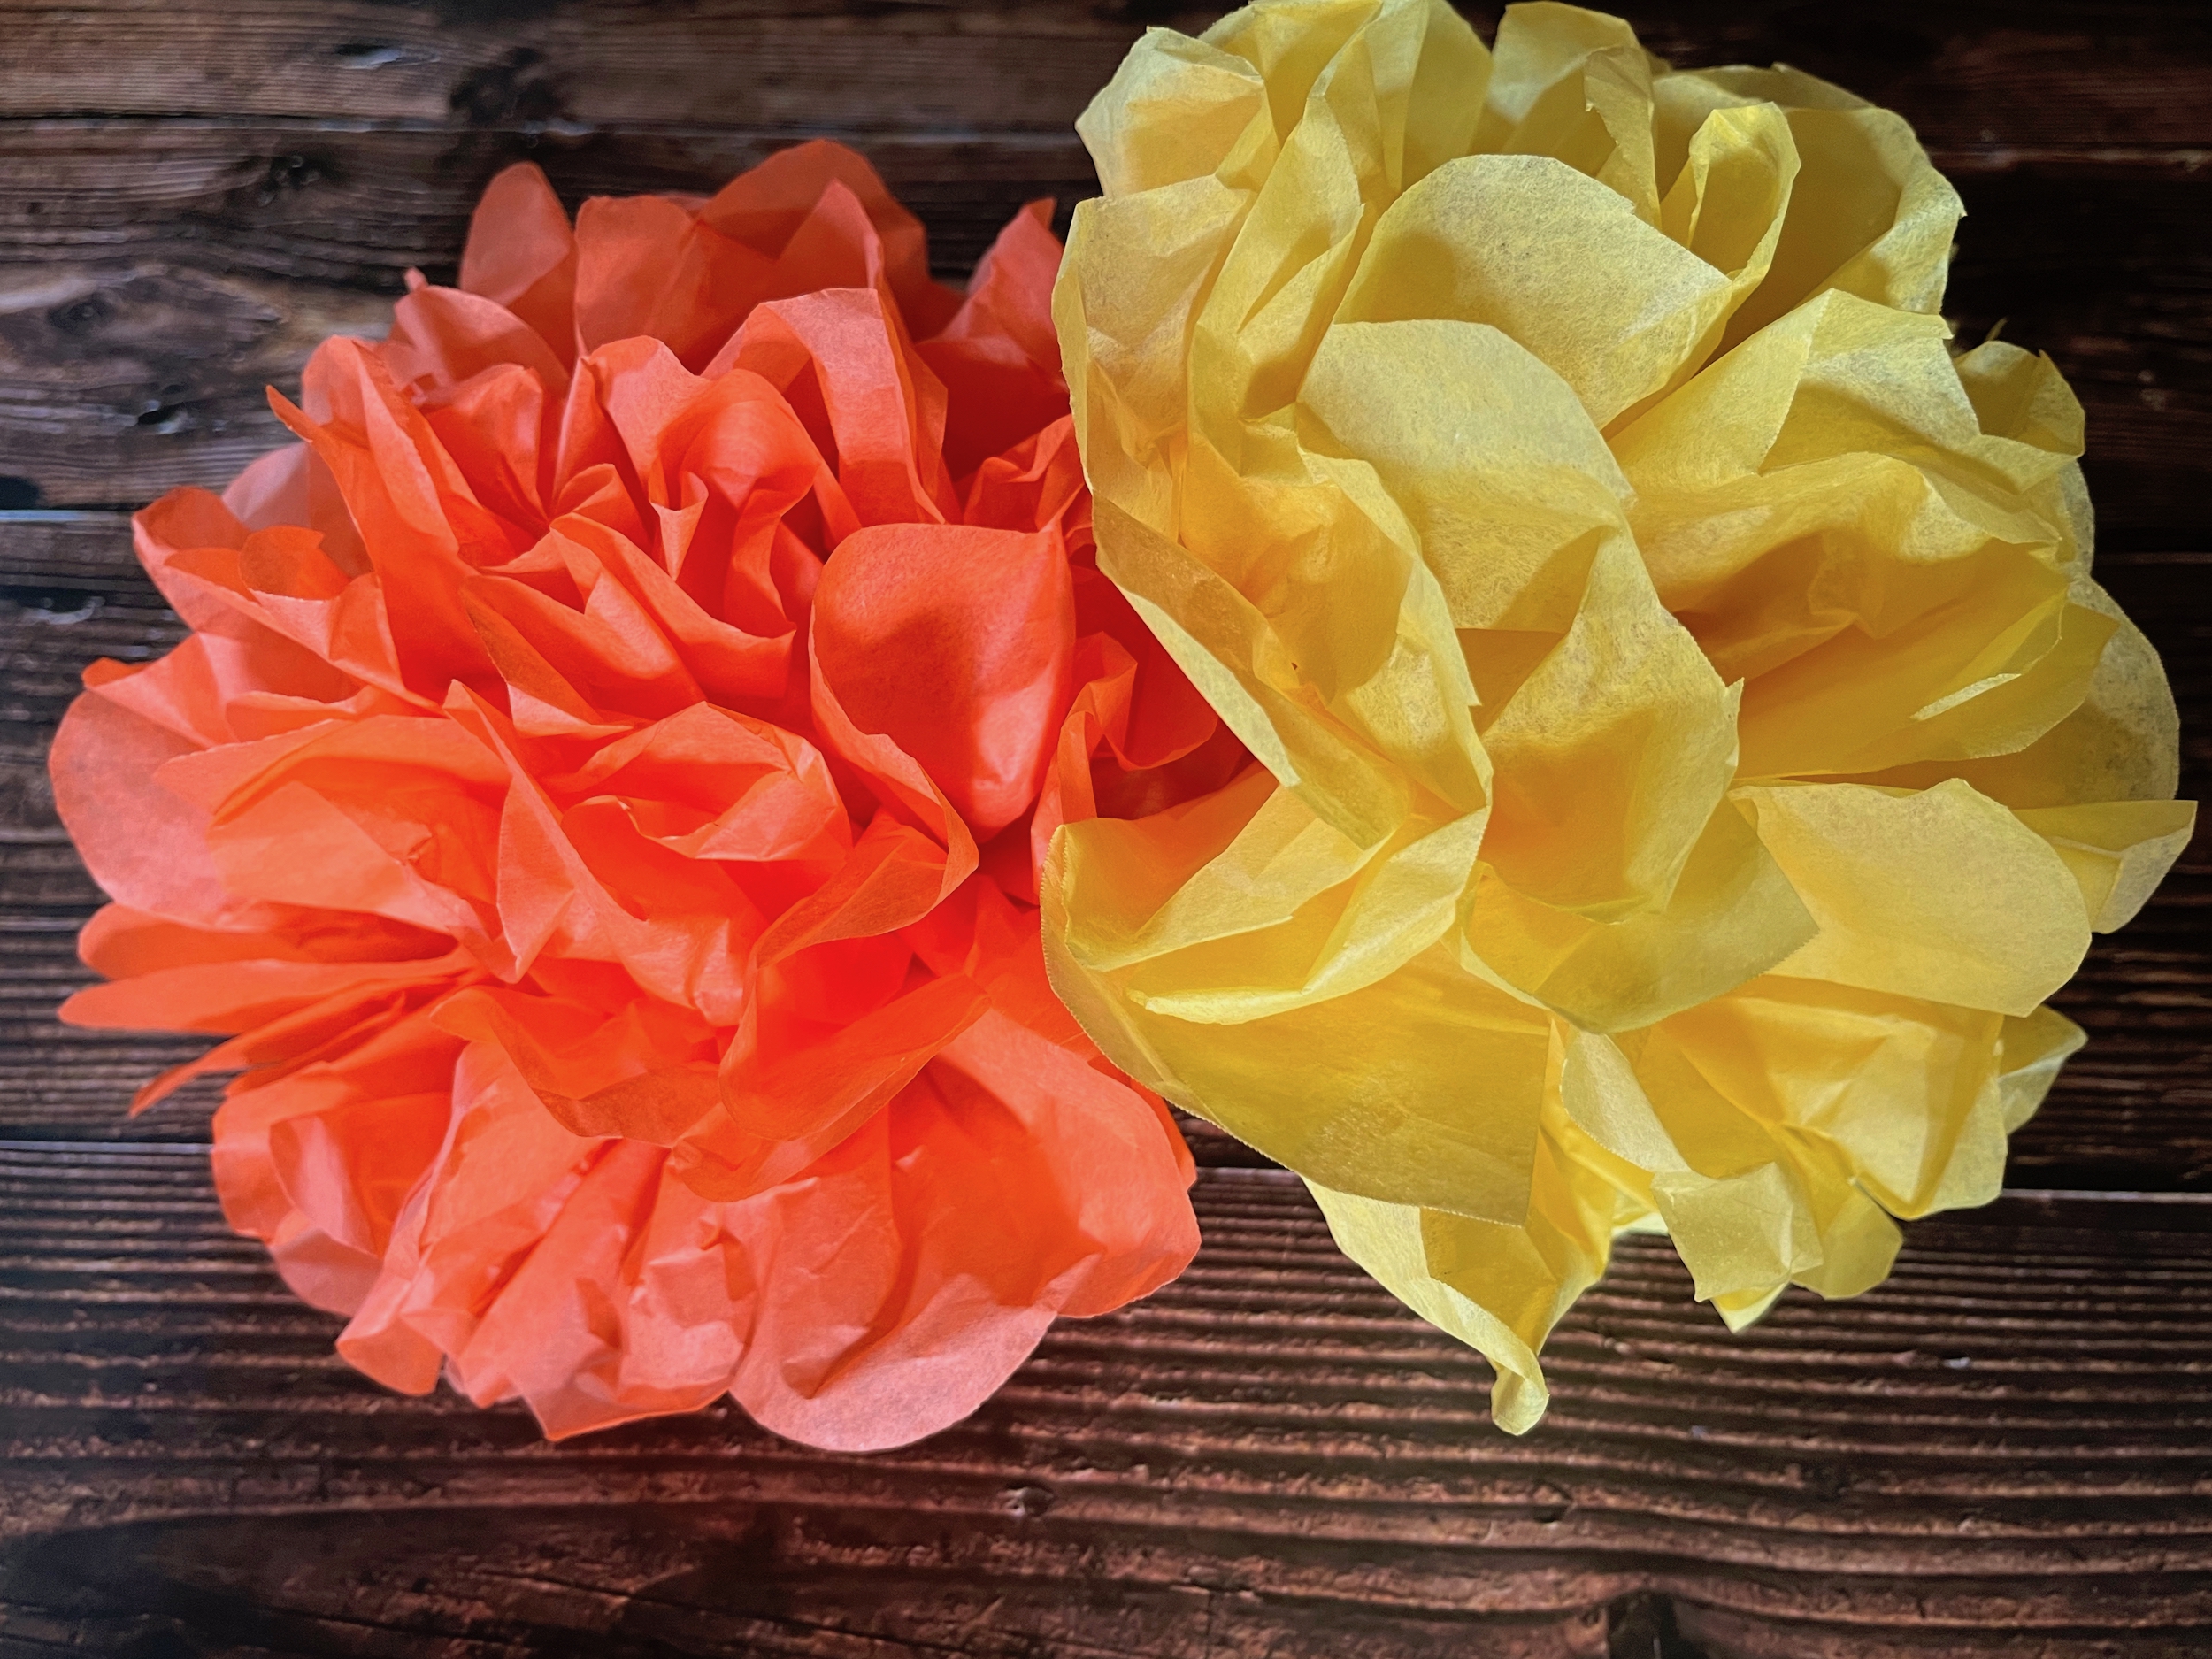
These supplies and instructions create two large paper flowers, but you can multiply and create as many as you like in as many color variations as you like!
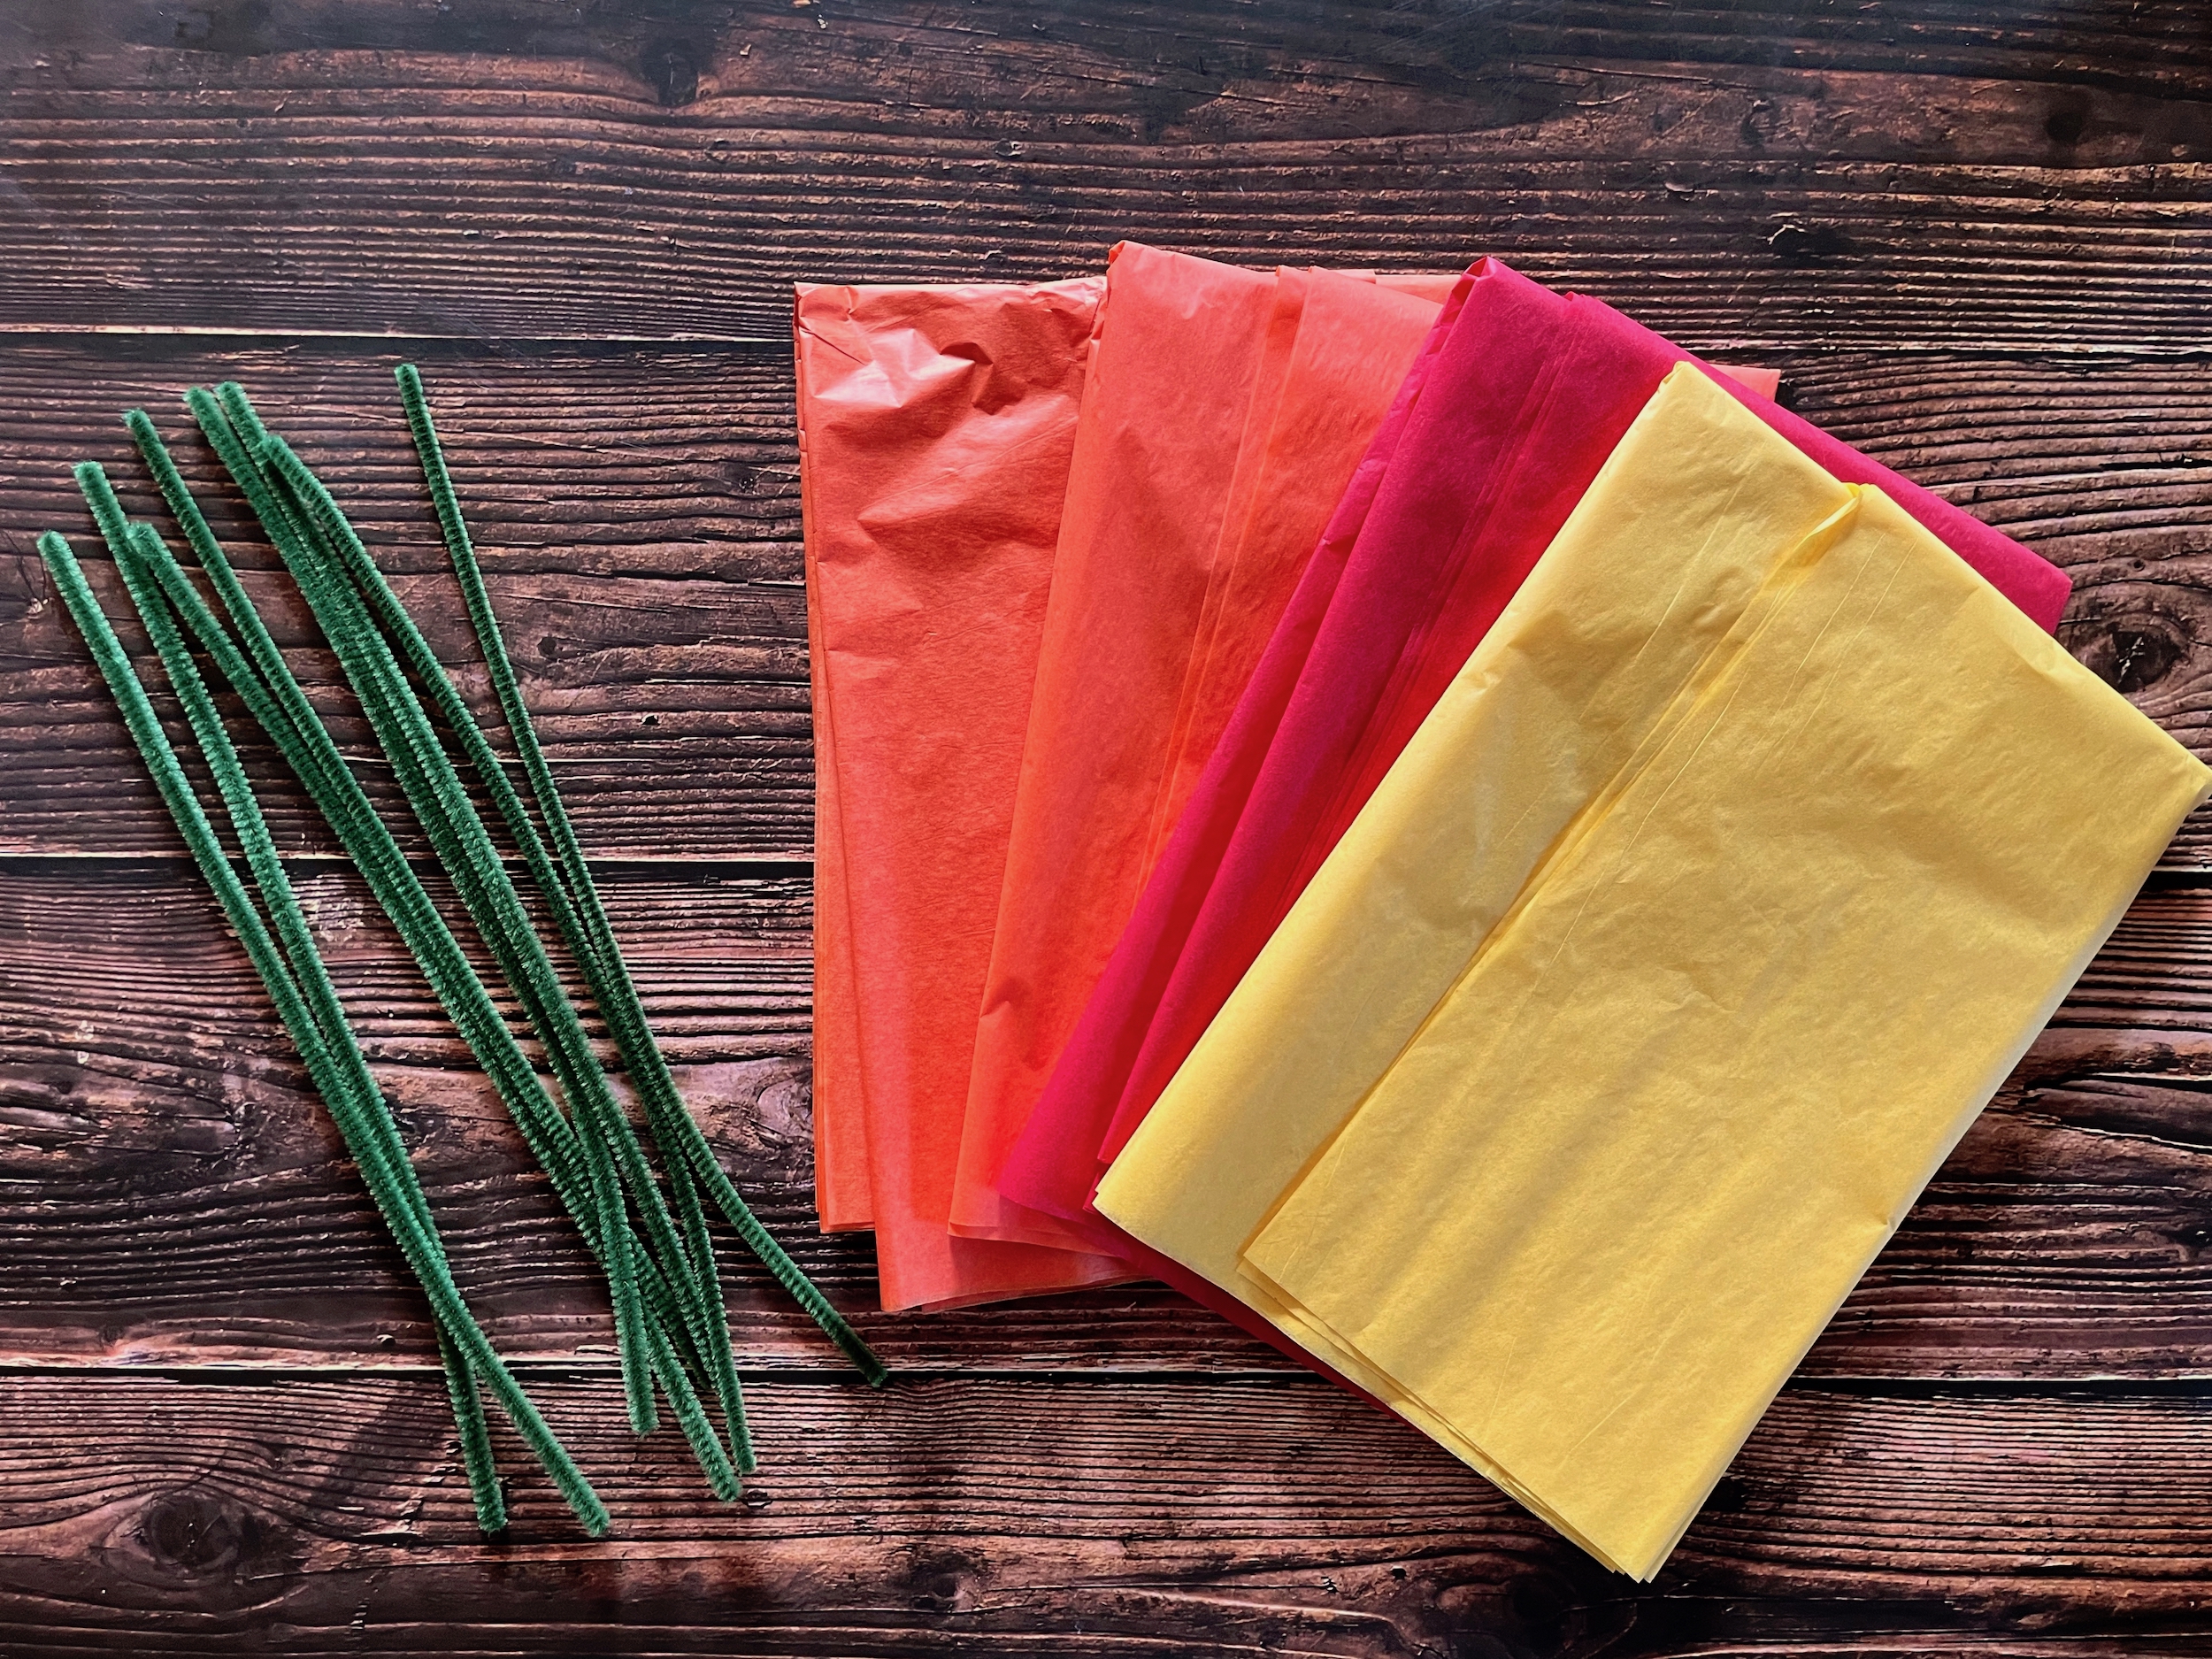
SUPPLIES
- 4 green pipe cleaners
- 5 sheets of 20” x 20” gift-wrapping tissue paper (or similar)
- Scissors
INSTRUCTIONS

- Layer and align the 5 sheets of tissue paper, then fold them in half and crease.
- Cut along the crease line so you now have two groups of tissue sheets, 10” by 20” each.
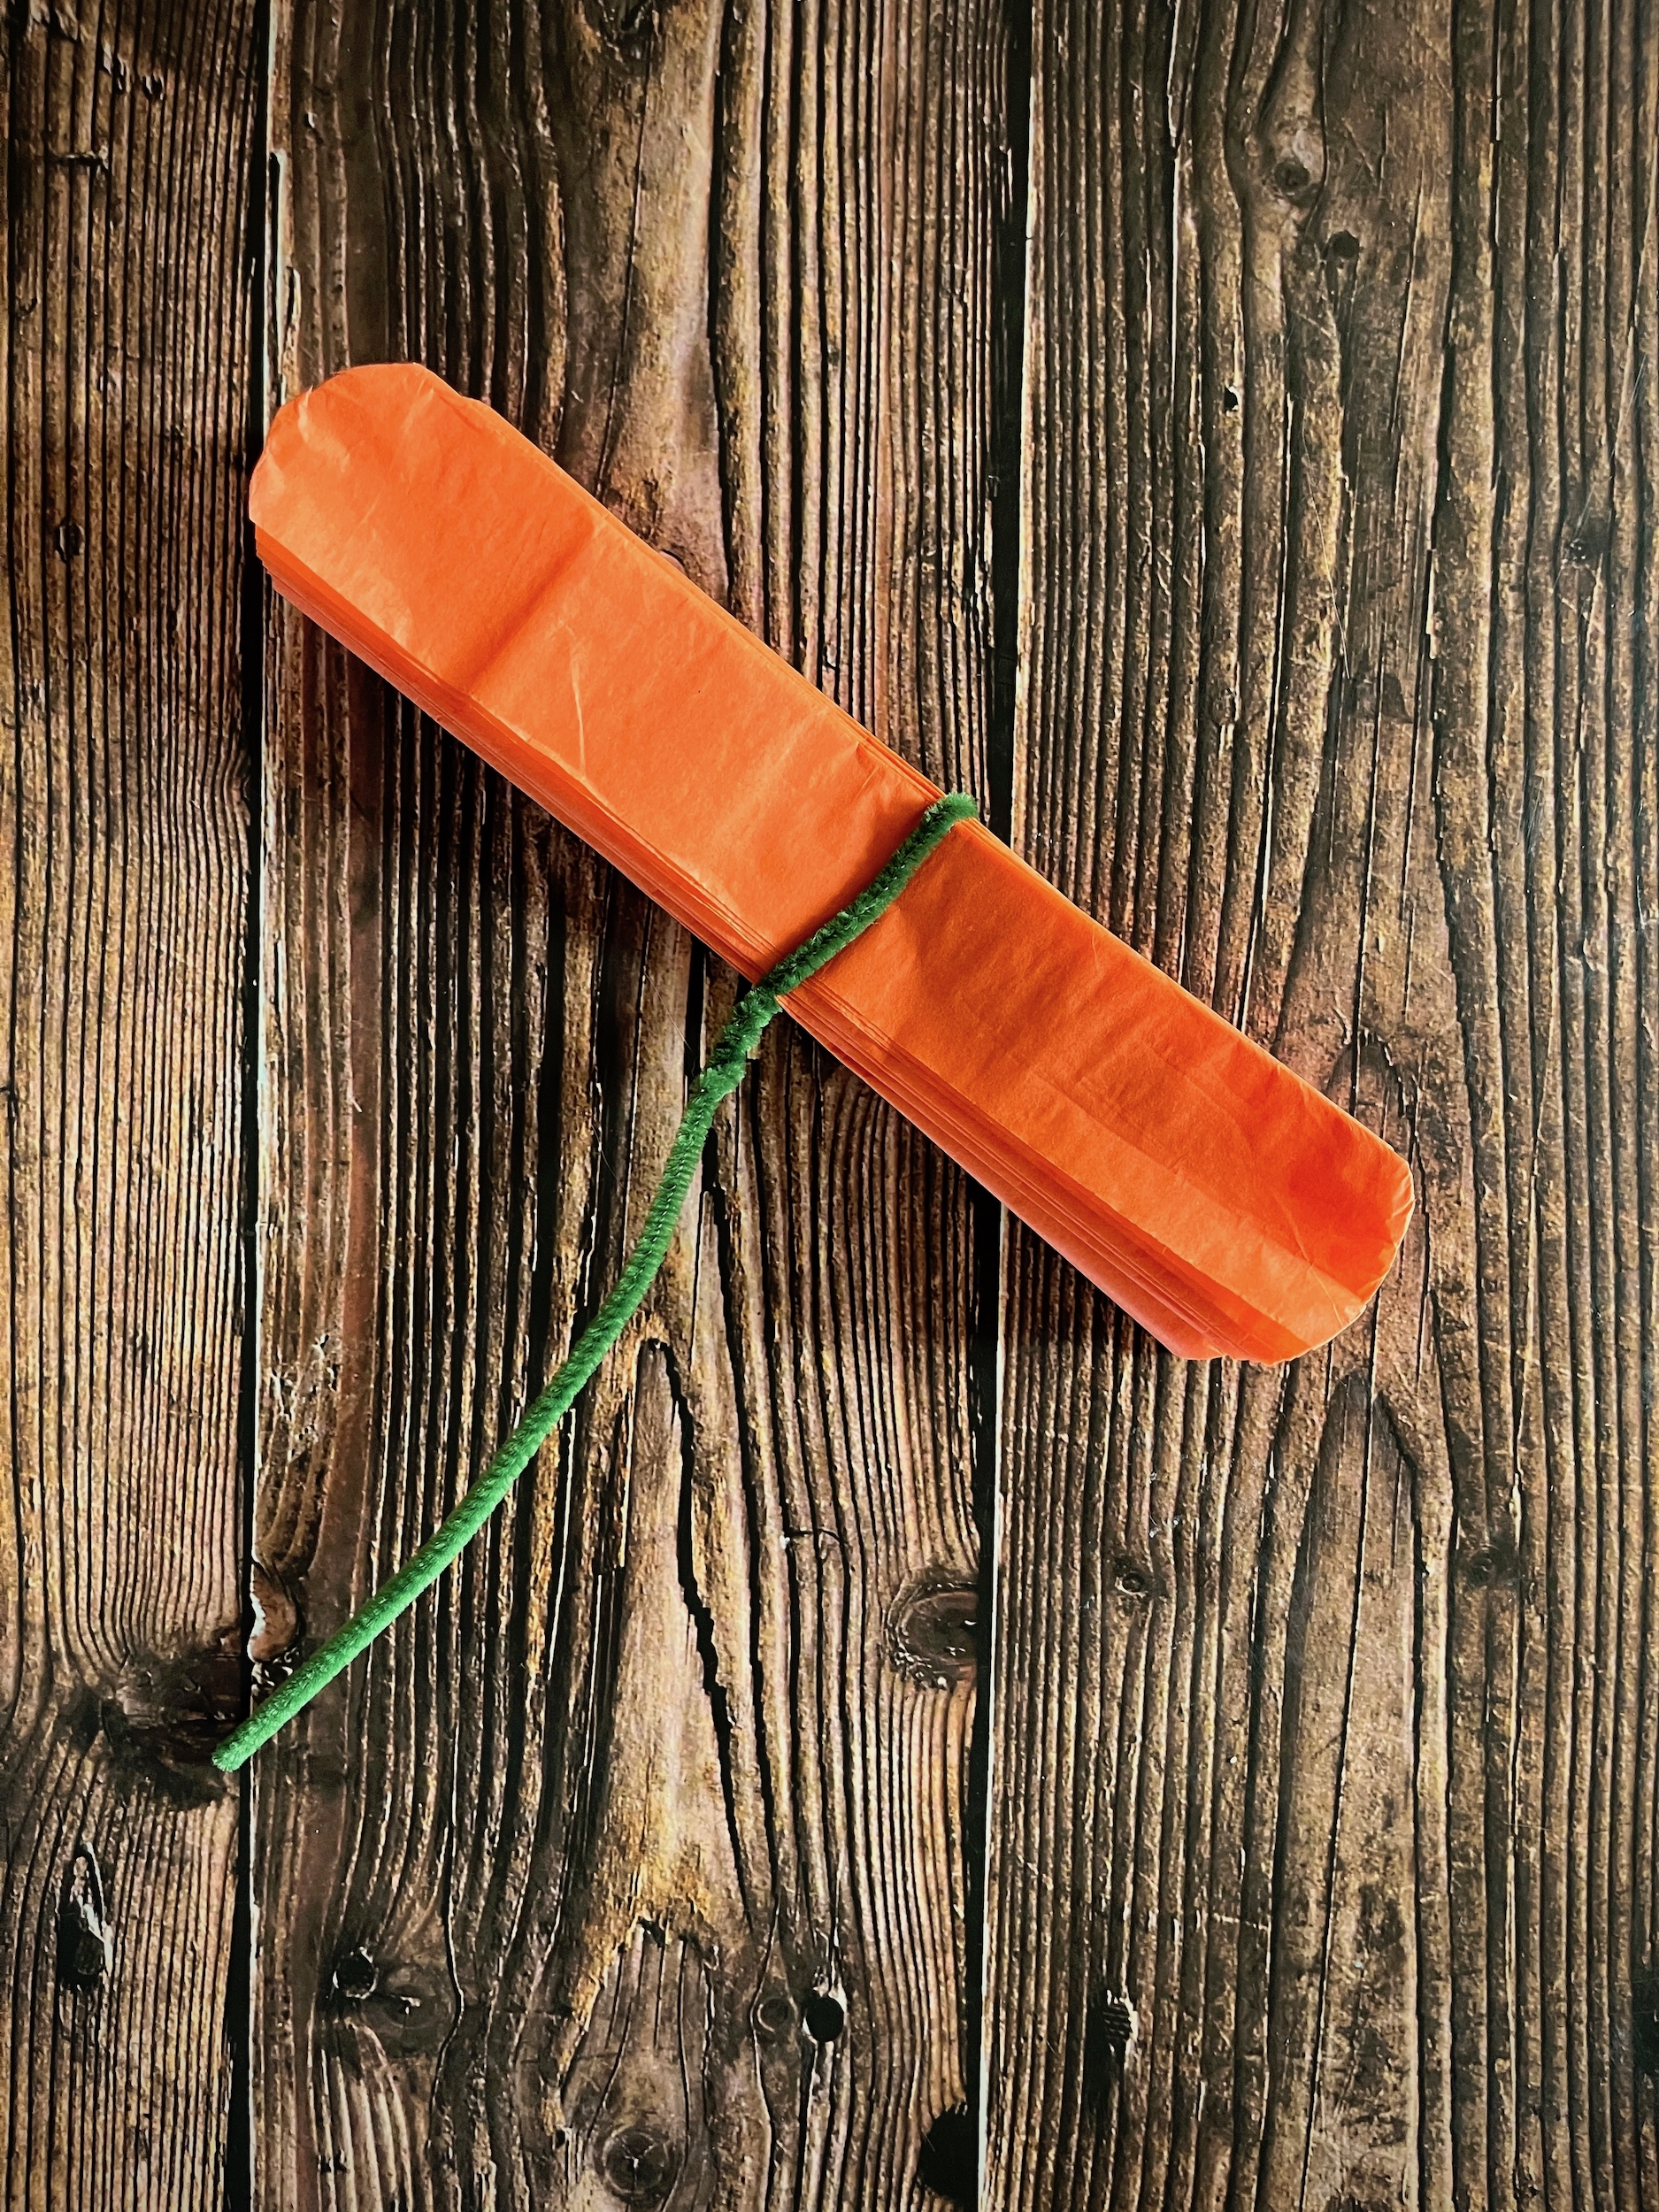
- Keeping each group of tissue sheets layered and aligned, pleat the paper in an accordion fold.
- Holding the accordion fold closed, cut a half-circle shape from each end. (You could also cut a point or zig-zag)
- Holding the accordion fold closed, wrap the top of a pipe cleaner around the middle of the paper and twist it around itself to hold it in place. This will also act as the stem.
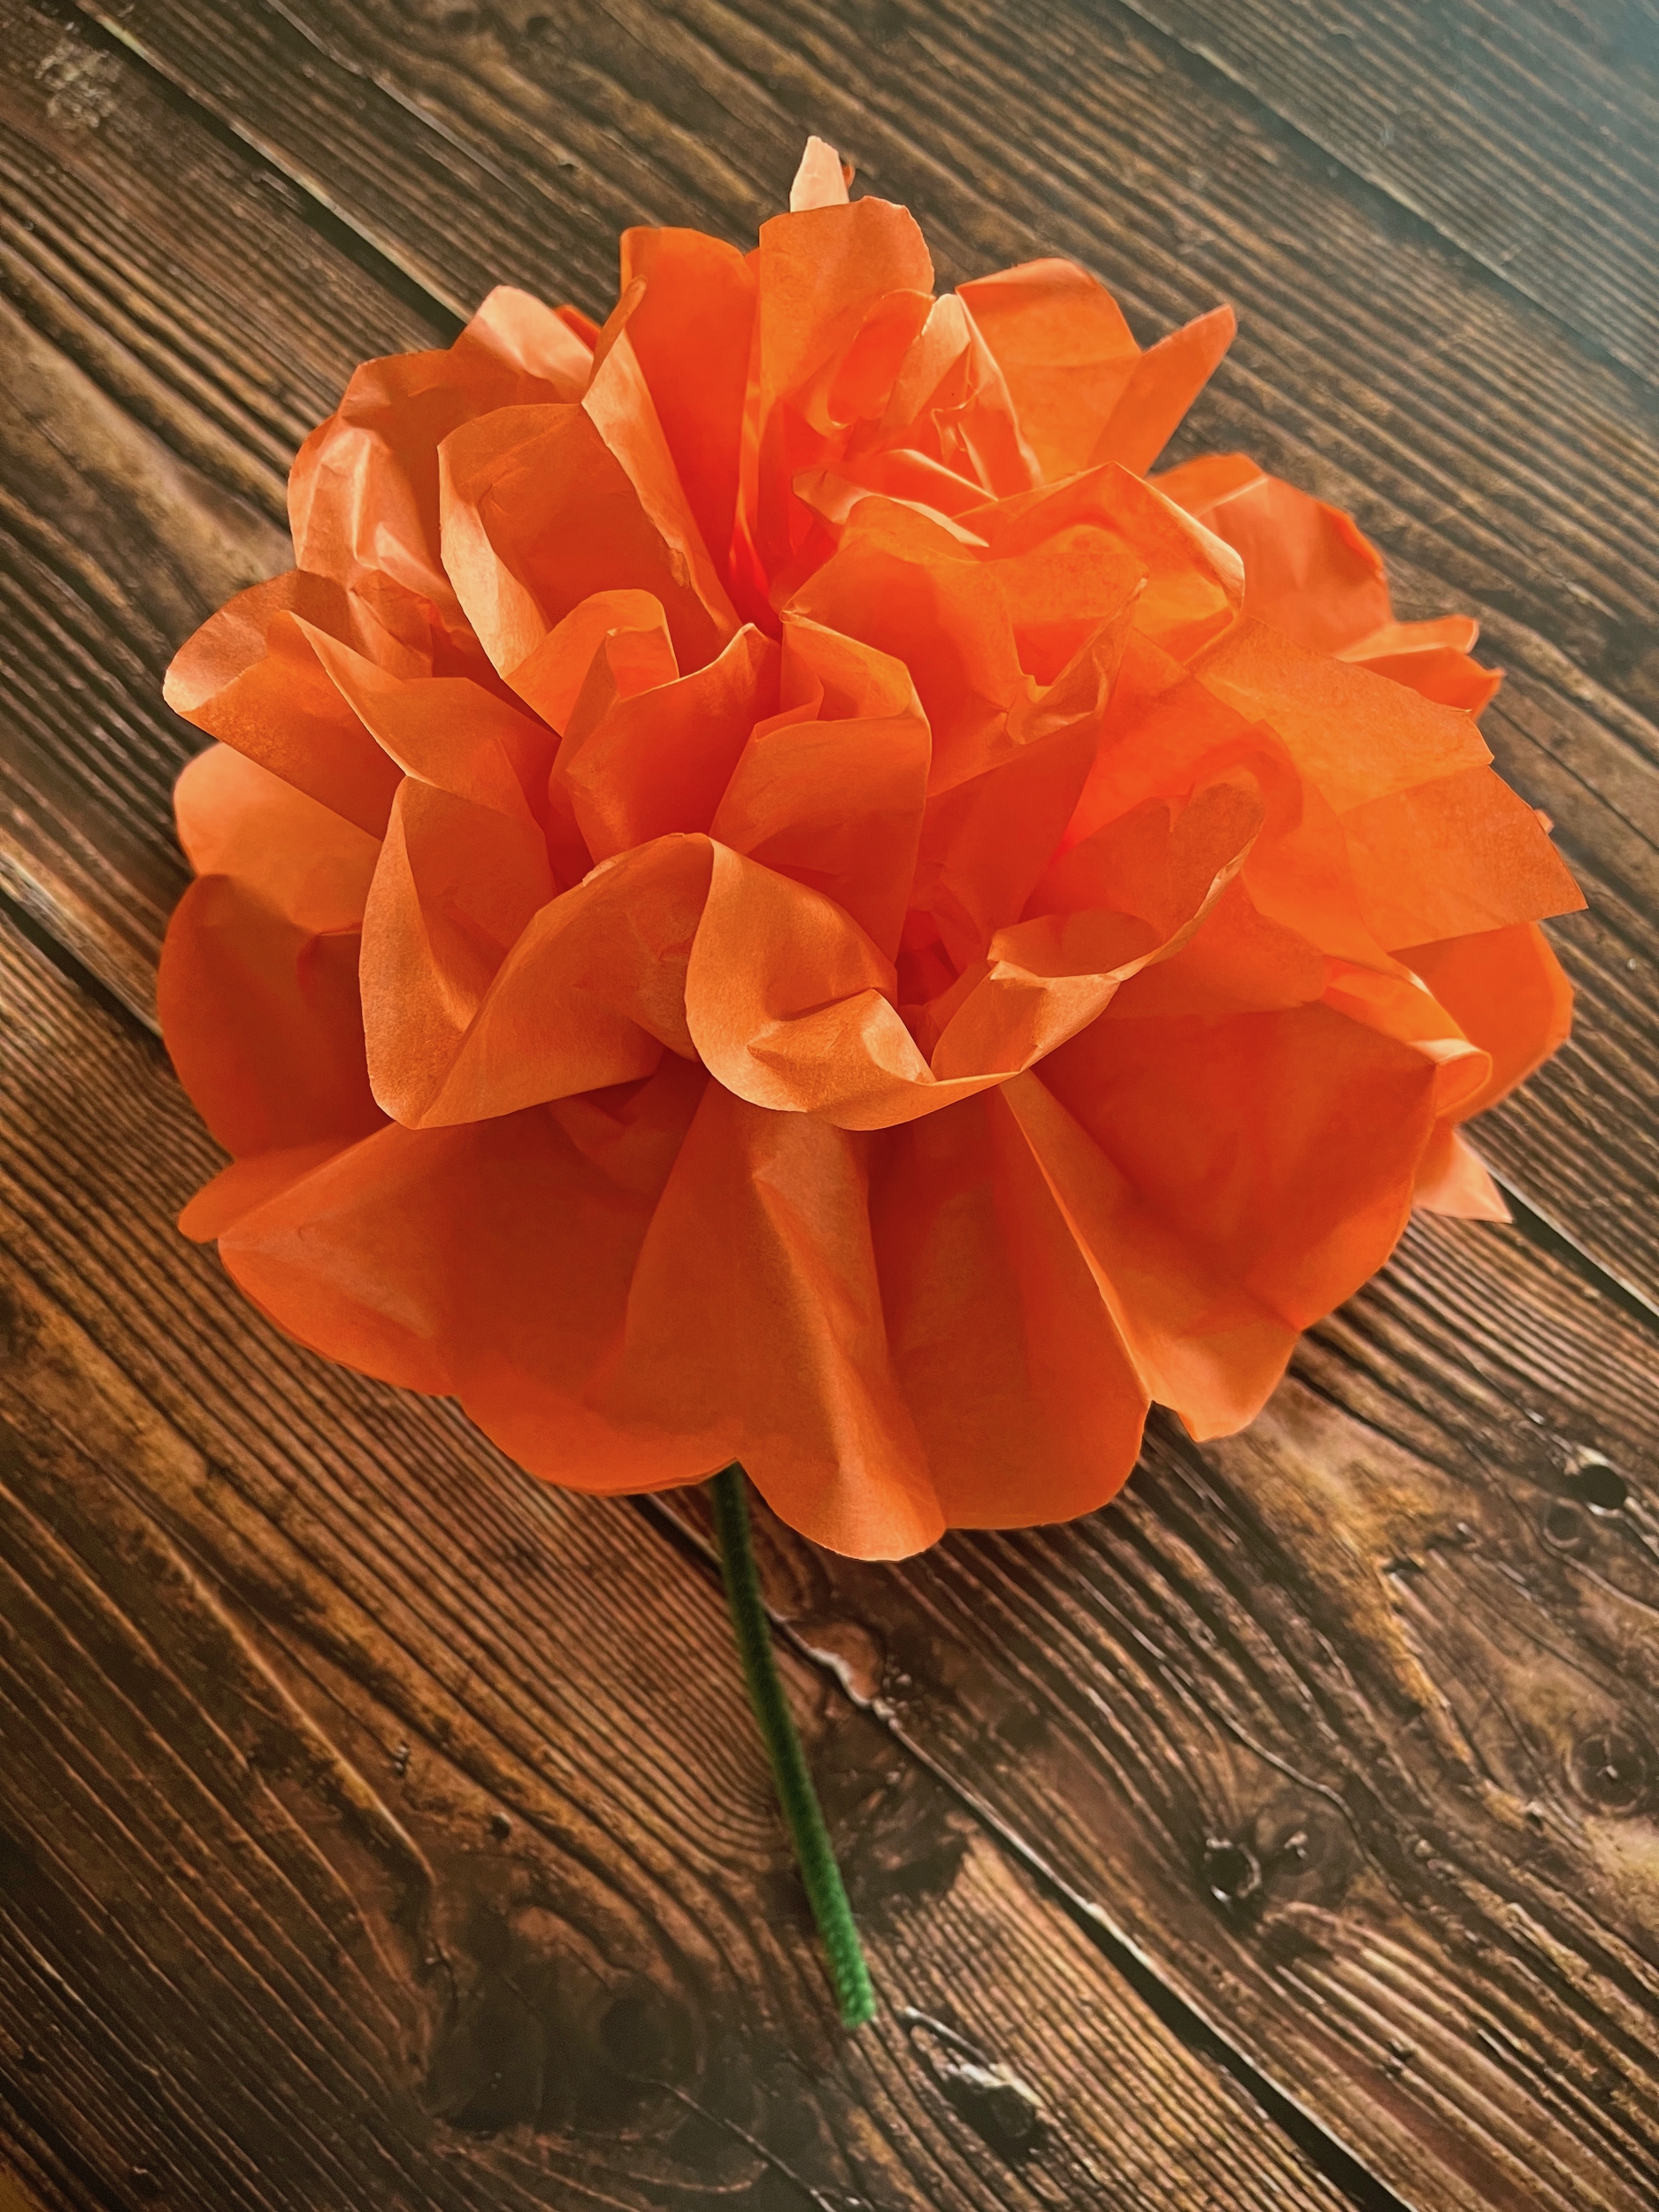
- Fan out the paper, then gently separate the first layer of paper from the rest, and move it up to form the top layer of petals.
- Gently separate the rest of the paper layers and fluff out your flower.
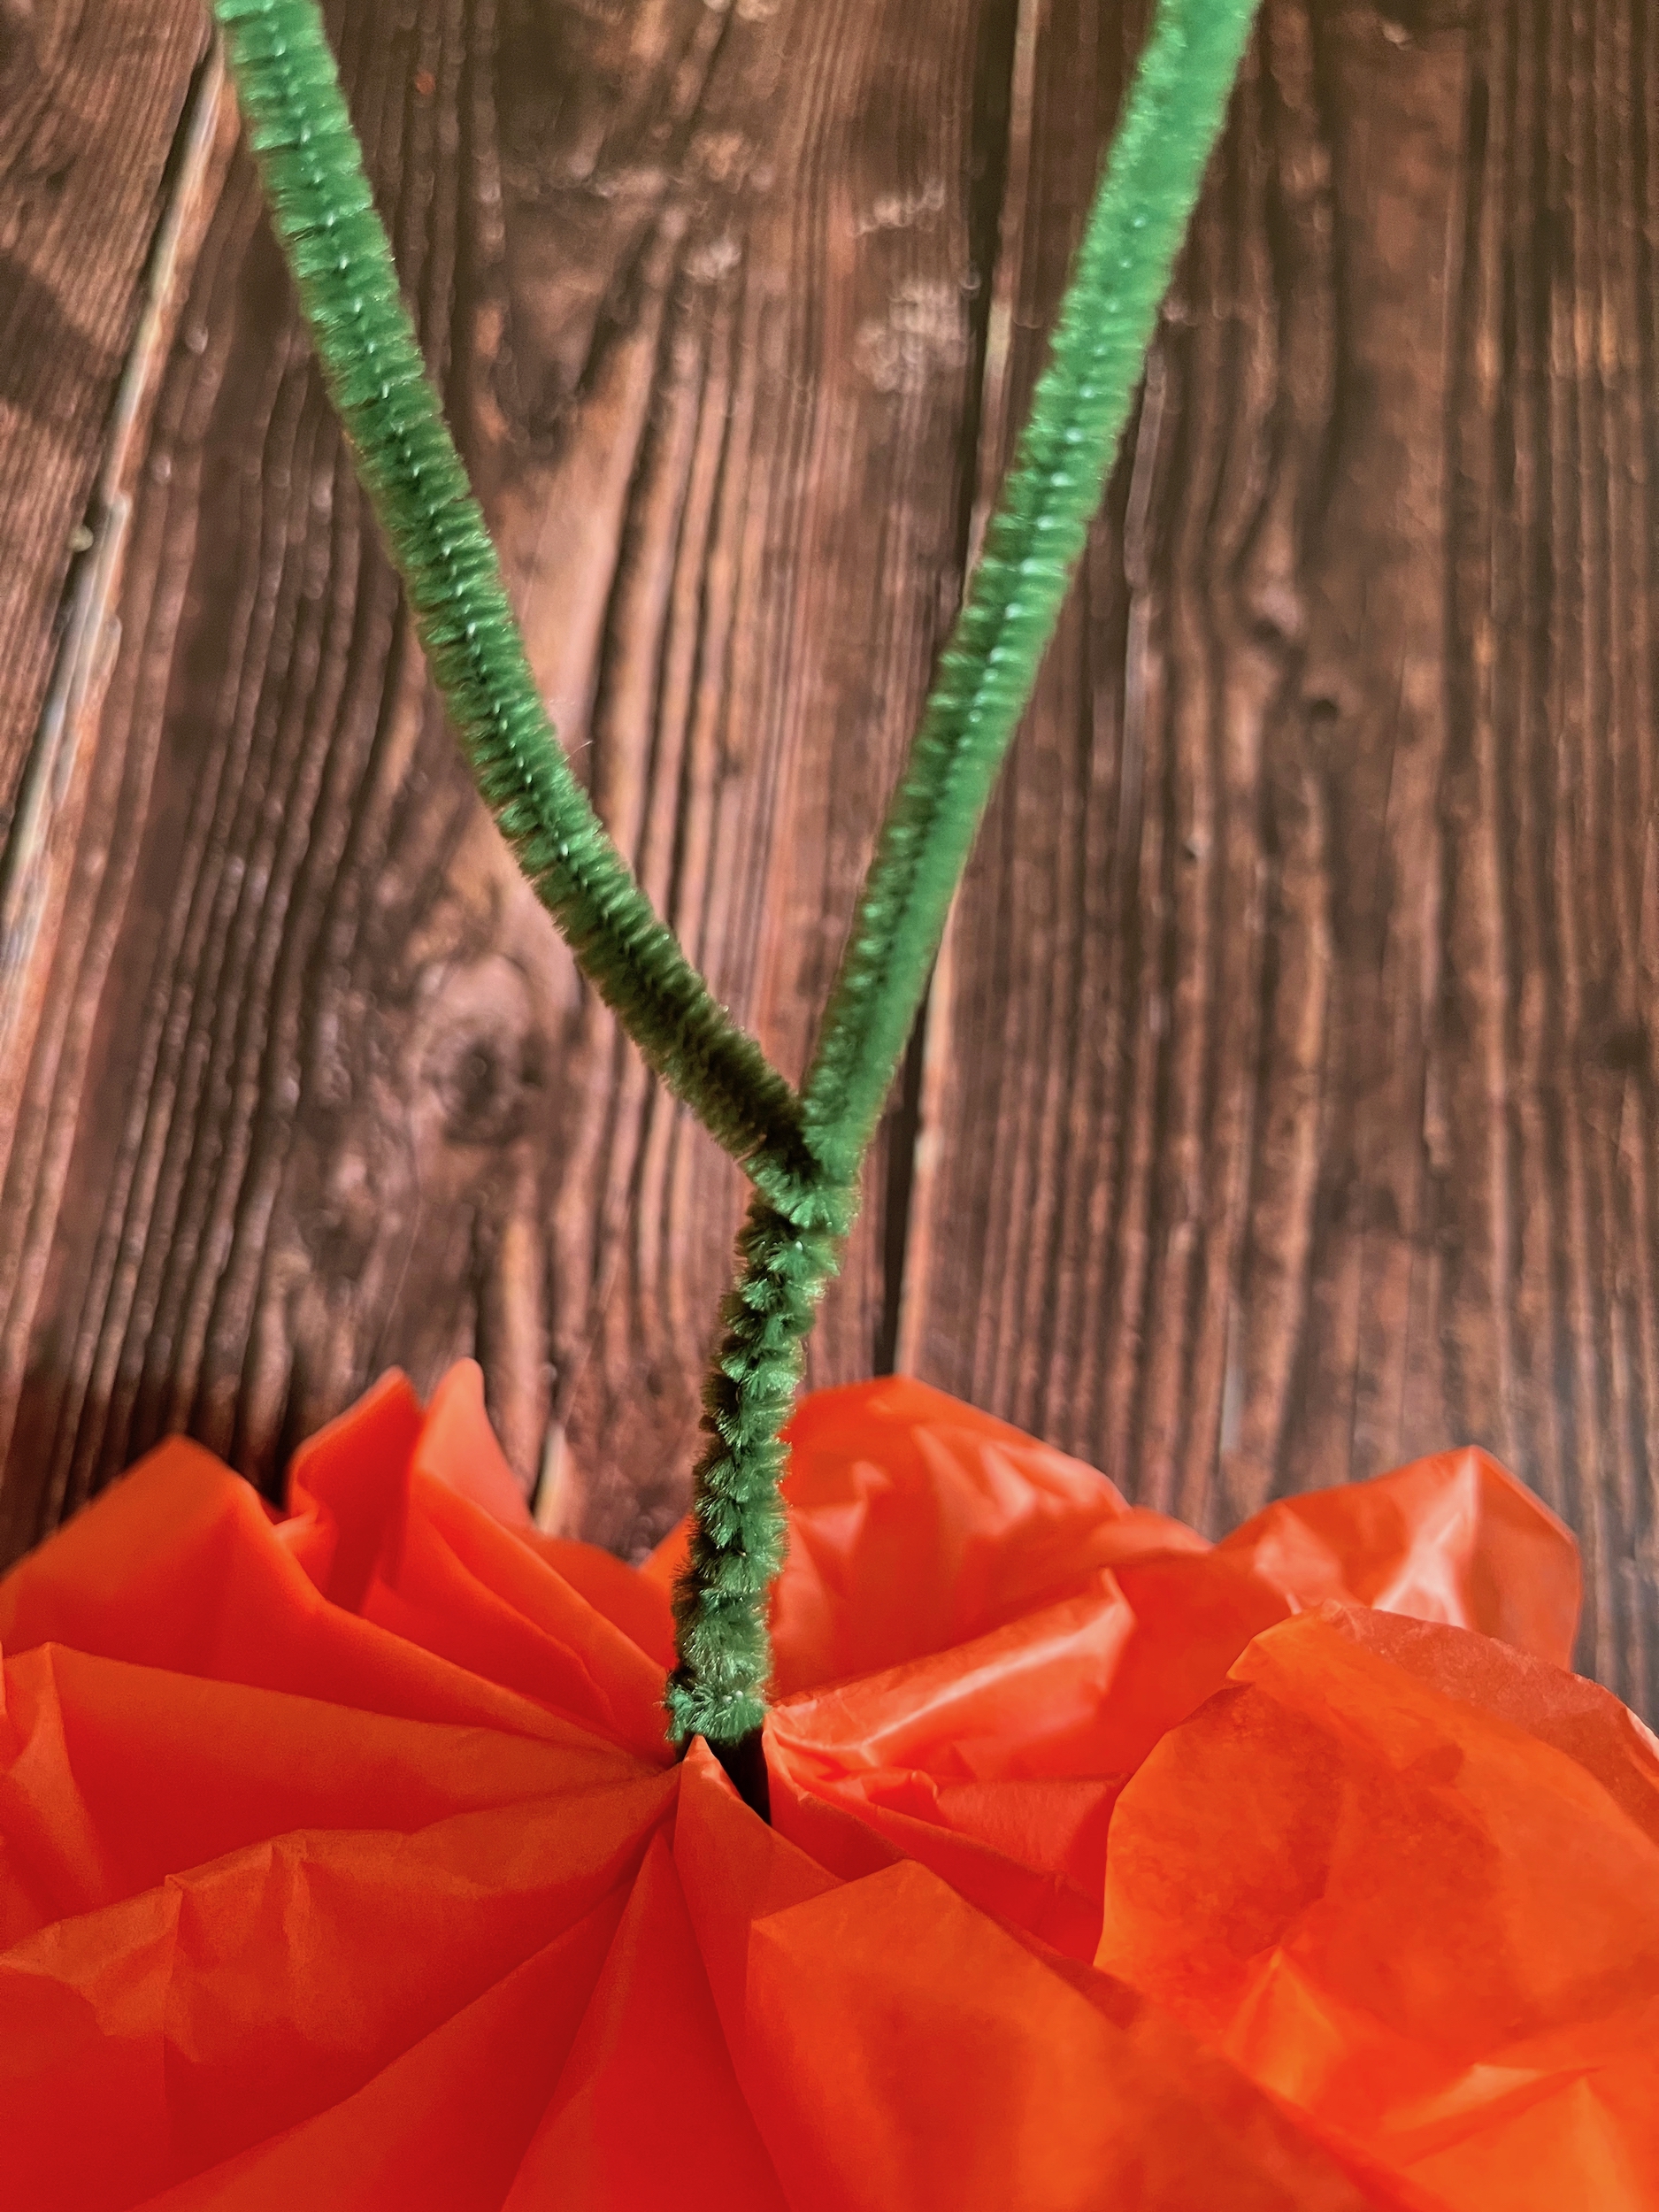
- To bolster the stem a bit more: Secure a second pipe cleaner around the existing pipe cleaner where it meets the flower, and wrap it around the existing pipe cleaner down to the base (start back up if you have extra).
- Repeat steps 3 through 8 with the second group of tissue sheets.
- Enjoy!
