DIY – Snow White and the Seven Dwarfs Peg Dolls

Part of the fun in raising Zoey is making things that delight her; I want to create lasting, meaningful toys for her that are made with love and will be loved! Wooden toys are classic and beautiful, when created and treated right, they can last a lifetime; so let’s make some!

It’s no secret that Cameron and I love Disney. We’ve begun showing Zoey the classics, starting with the first full length animated feature that started them all! Snow White!

This week I’ll be sharing the steps I took to create a Snow White peg doll, along with her friends, the seven dwarfs.

SUPPLIES
  • Blank peg doll(s)
  • Small, flat & fine tip paint brushes
  • Paint palette (or a tray for your paint)
  • Non-toxic acrylic paints
  • Non-toxic varnish (I used Duraclear Ultra Matte Varnish)
INSTRUCTIONS
  1. With a pencil, lightly sketch Snow White onto a blank peg doll.
  2. Begin painting your peg doll with the base layers first. I started with the yellow of her dress and the white of her collar. Allow this paint to dry before moving on to avoid smudging, then apply a few more layers of each until you’re happy with the colors and textures.
  3. Paint the very bottom and its edges of the peg doll black to signify her slippers. Also take this opportunity to paint the black of her hair. Allow this paint to dry and apply a few more layers until you’re happy with the colors and textures.
  4. Move to painting the dark blue of her bodice, the light blue of her sleeves and the red of her cape. Allow this paint to dry and apply a few more layers until you’re happy with the colors and textures.
  5. Paint the red of the accents on her sleeves and the red of the bow in her hair. Allow this paint to dry and apply a few more layers until you’re happy with the colors and textures.
  6. Finish up with outlining and/or adding small details, including a small thin yellow line down the middle of her bodice. Allow this paint to dry and apply a few more layers until you’re happy with the colors and textures.
  7. Taking something small and round (I used the opposite end of one of my smaller paint brushes) dip it in black paint and dot the two eyes. Using the finest tipped paintbrush you can find, give her an eyelash or two on each eye.
  8. Using the same method as the eyes, dip the opposite end of a slightly larger paintbrush into light pink paint and dot the blush under each eye.
  9. Allow for all paint to completely dry, then apply a varnish and allow it to dry. You can apply as many coats as you want for the finish you want, just allow them to dry in between applications and before handing her over to your child.
  10. If you want to paint the dwarfs too, lightly sketch them on blank peg dolls. I used different characteristics to define each one. For example, Grumpy has scowling eyebrows, Bashful has large blush spots on his cheeks, Sneezy has wrinkles above his nose, etc.
  11. The dwarfs are a colorfully dressed bunch! With different colored hats, shirts and pants it may take awhile to paint them all, but take your time and reference the picture for color. Allow each layer paint to dry and keep applying layers until you’re happy with the colors and textures.
  12. Using a fine tipped paintbrush, paint each dwarf’s white beard (except Dopey of course)! Allow this paint to dry and apply a few more layers until you’re happy with the color and texture.
  13. Taking something small and round (I used the opposite end of one of my smaller paint brushes) dip it in black paint and dot the two eyes.
  14. Using a fine tipped paintbrush, paint each dwarf’s nose and cheeks light pink.
  15. Finish up with outlining/and or adding small details like buttons and buckles!
  16. Allow for all paint to completely dry, then apply a varnish and allow it to dry. You can apply as many coats as you want for the finish you want, just allow them to dry in between applications and before handing them over to your child.
  17. Viola! Snow White and the seven dwarfs are done and ready to be played with! Enjoy!

Homemade Valentine’s Bittersweet Fudge Recipe

Welcome back friends! Who would like to celebrate love and create some bittersweet fudge, sprinkled with a little salt this Valentine’s day? Usually I crave a sweeter chocolate, but this fudge has just enough sweet to cut through the bitter dark chocolate taste and if you add a little salt on top? Pure delicious!

Let’s make some!

INGREDIENTS
  • 16 ounces of Baker’s unsweetened chocolate
  • 14 ounce can of sweetened condensed milk
  • 2 teaspoons of vanilla
  • Kosher salt (optional)
INSTRUCTIONS
  1. Line an 8 or 9 inch square pan with foil. 
  2. Break the chocolate down in to smaller pieces and place it and the sweetened condensed milk into a double boiler.
  3. Melt the chocolate into the sweetened condensed milk, stirring to incorporate.
  4. Once the chocolate is melted, add the vanilla.
  5. Remove from the heat and spread the fudge on the bottom of the prepared pan. Sprinkle Kosher salt over the top of the fudge if desired.
  6. Refrigerate for two hours or until firm. 
  7. Use foil to lift fudge from pan before cutting into pieces. I used a heart cookie cutter to create heart shaped fudge pieces for my Valentine(s).
  8. Enjoy!

Travel Mug Cozy – Crochet Pattern

Welcome back friends! Do you crochet? I dabbled in crochet off and on for a few years, always fascinated, but never fully catching on. I kept at it, and suddenly, it clicked! I feel calm and cozy when I’m crocheting, and fiercely proud whenever I complete a project.

It’s that time of year for enjoying hot beverages! Let’s protect our hands from said beverages and add our own flair to the cups by crocheting our own cup cozy, or zarf!

SUPPLIES
  • Crochet hook (size 5.0mm)
  • Medium yarn (size 4)
  • Scissors
  • Yarn needle
INSTRUCTIONS
  1. Create a slip knot and then chain 30 stitches.
  2. Careful not to twist the chain, bring both ends together and slip stitch into the first chain stitch to join them into a circle.
  3. Chain 1 stitch and then loosely slip stitch into the back bump of each of the 30 chain stitches, then join with a final slip stitch.
  4. Chain 2, then turn the work around so you’ll be working around the outside of the circle. Double crochet in each of the 30 stitches around, then join with a slip stitch.
  5. Chain 2 and front post double crochet in a stitch and then double crochet in the next stitch. Continue alternating around the circle, then join with a final slip stitch.
  6. Chain 2 and double crochet in a stitch, then front post double crochet in the next stitch. Continue alternating around the circle, then join with a final slip stitch.
  7. Repeat steps 5 and 6, four or five more times around and at the end of round 8 o 9, slip stitch to join.
  8. Chain 1 and loosely slip stitch in each of the 30 stitches around, join and tie off the yarn.
  9. Flip the cozy inside out and weave in the loose ends using your yarn needle.
  10. Flip the cozy right side out and you’re done! Enjoy!

*This pattern will fit a Starbucks reusable travel cup. Before getting too far into this project, I recommend slipping the joined chain onto the cup you are making the cozy for. If it doesn’t fit well, adjust how many chain stitches there are up or down to fit.

Homemade Comforting Cinnamon Roll Recipe

Welcome back friends! Who would like some warm and comforting, homemade cinnamon rolls on one (or more) of these cold winter mornings? Maybe at a table with some coffee or tea and a good book? Or maybe a good movie or show? I know I do, so let’s bake some!

INGREDIENTS

DOUGH

  • 1 cup of warm milk
  • 2 1/2 teaspoons of instant dry yeast
  • 1/2 cup of salted butter, softened
  • 2 large eggs, room temperature
  • 1/2 cup of granulated sugar
  • 4 1/2 cups of all-purpose flour, divided
  • 1 teaspoon of salt

FILLING

  • 1 cup of brown sugar, packed 
  • 1/2 cup of salted butter, softened
  • 2 tablespoons of cinnamon
  • 1 cup of heavy cream, divided

TOPPING

  • 1/3 cup of salted butter, softened 
  • 6 ounces of cream cheese, softened
  • 2 cups of powdered sugar
  • 1/2 tablespoon of vanilla extract
INSTRUCTIONS
  1. Pour the warm milk into a large bowl and sprinkle it with the yeast.
  2. Add the butter, eggs and sugar, then mix until well combined.
  3. Add 4 cups of the flour and the salt, then mix until well combined.
  4. Scrape the dough off the beater blade and knead for 5 to 7 minutes, or until the dough is elastic and smooth.
  5. Spray another large bowl with cooking spray and use a rubber spatula to remove the dough from the mixer bowl and place in the greased bowl.
  6. Cover the bowl and allow the dough to rise until doubled in size (about 30 minutes to an hour).
  7. While the dough is rising, prepare the filling. In a medium bowl, combine the soft butter, brown sugar, cinnamon and 1/2 cup of heavy cream; mixing it until well combined, then set it aside.
  8. Once the dough has risen, sprinkle a pastry mat generously with flour, and turn the dough onto the mat. Sprinkle the top of the dough with more flour.
  9. Flour a rolling pin and roll the dough to about 24” x 15” rectangle (though it does not have to be exact).
  10. Use a rubber spatula to smooth the filling over the whole dough rectangle.
  11. Starting at the long end, roll the dough up tightly.
  12. Cut the roll into 12 slices and place in a greased 9×13” baking pan.
  13. Cover the pan and allow the rolls to rise for 20 minutes or until nearly double.
  14. Pre-heat the oven to 375F.
  15. Warm the remaining 1/2 cup of heavy cream until the chill is off, then pour if over the risen rolls, allow it to soak in and around.
  16. Bake for 20 to 22 minutes, until gold brown and the center rolls are cooked through. Time will vary so keep an eye on them! If they are getting too brown, cover with aluminum foil.
  17. While the rolls are cooling, prepare the cream cheese frosting. In a large bowl combine the cream cheese and butter, blending well.
  18. Add the vanilla extract and powdered sugar, then beat until combined.
  19. Spread the frosting over the cooled rolls.

*To save time in the mornings, you can also prepare the dough the night before. Make the dough and proceed to the second rise when the rolls are in the pan. Once risen, cover them up again and put them in the refrigerator until morning. In the morning, remove them from the refrigerator and allow them to sit for about 30 minutes before baking.

Homemade Hot Cocoa Mix Recipe

Welcome back friends! Who wants some warm and comforting hot cocoa on a cold winter morning or evening? Maybe with some homemade marshmallows and a good book or movie? I know I do, so let’s make some mix!

HOT COCOA MIX
  • 3/4 cup of natural unsweetened cocoa powder 
  • 1 1/2 cups of dry nonfat or whole milk powder
  • 1 cup of powdered sugar
  • 3/4 cup of white chocolate chips
  • 1/4 teaspoon of salt
INSTRUCTIONS
  1. Whisk together the cocoa powder, milk powder, powdered sugar and salt in a large bowl, then add the white chocolate chips and stir again to evenly distribute them.
  2. Add the mixture to a food processor and pulse until everything is finely ground and smooth.
  3. This dry cocoa mix can be store in an airtight container for up to 3 months.
  4. To make hot cocoa, put 1/4 to 1/3 cup of the cocoa mix in a mug and stir in 1 cup of hot milk (whichever milk you prefer).
  5. Top with whipped cream or miniature marshmallows, if desired and enjoy!

Homemade Peasant Bread Recipe

Welcome back friends! Who wants some fresh, oven baked peasant bread to enjoy on one (or more) of these beautiful autumn mornings? Or afternoons? Or evenings? Honestly, anytime is the right time for freshly baked bread!

So let’s bake!

HOMEMADE PEASANT BREAD
  • 4 cups of flour
  • 2 teaspoons of salt
  • 2 teaspoons of sugar
  • 2 teaspoons of yeast
  • 2 cups of lukewarm water
  • Butter, for greasing
INSTRUCTIONS
  1. Whisk together the flour, salt, sugar and yeast, then add the warm water and stir until well combined.
  2. Cover the bowl and allow the dough to rise for about 1 1/2 to 2 hours or until doubled in volume.
  3. Grease two bread pans with the butter, then set them aside.
  4. When ready, remove the cover from the bowl and using two forks gently pull the dough away from the sides of the bowl, then use the two forks again to split it in half down the middle.
  5. Transfer each half of the dough into a greased bread pan.
  6. Cover each pan and allow the dough to rise again for 20 to 30 minutes.
  7. Preheat the oven to 350F.
  8. Transfer your baking vessels to the oven and allow them to bake for 30 to 35 minutes or until golden all around.
  9. Allow to cool in the baking pan for at least 10 minutes, then turn out onto a cooling rack to finish cooling.
  10. Enjoy!

Homemade Buttery Tortilla Recipe

Welcome back friends! 

Who wants some warm, buttery and freshly made tortillas to use for breakfast, lunch or dinner? 

I know I do, so let’s make some!

BUTTERY TORTILLAS
  • 3 cups of flour 
  • 1 tablespoon of baking powder
  • 2 teaspoons of salt
  • 1/2 cup of butter
  • 1 cup of water
INSTRUCTIONS
  1. Add the flour, baking powder and salt to a large bowl and whisk to combine.
  2. Melt 1/2 cup of butter in 1 cup of water and stir until well combined.
  3. Gently pour the butter and water mixture into the flour mixture and mix with your hands until a dough forms, then knead that dough into a smooth ball.
  4. Put the dough ball back into the bowl and cover it with plastic. 
  5. Allow the dough to rest for 10 to 15 minutes, then remove it and separate it out into smaller balls of dough.
  6. Transfer them back into the bowl, cover them with plastic, and allow them to rest for another 10 to 15 minutes.
  7. Pre-heat your pan or skillet to a medium heat.
  8. On a lightly floured surface, roll out a ball of dough into an 8 to 10 inch round.
  9. Place your tortilla in the middle of the pan.
  10. When bubbles form, flip your tortilla and cook for an additional 30 seconds, then remove it from the heat.
  11. Repeat steps 8 through 10 until all of the tortillas are cooked!
  12. Enjoy!

DIY – Tissue Paper Flowers

Part of the fun in raising Zoey is making things that delight her; I want to create fun, educational crafts for her that are made with love and will be loved! 

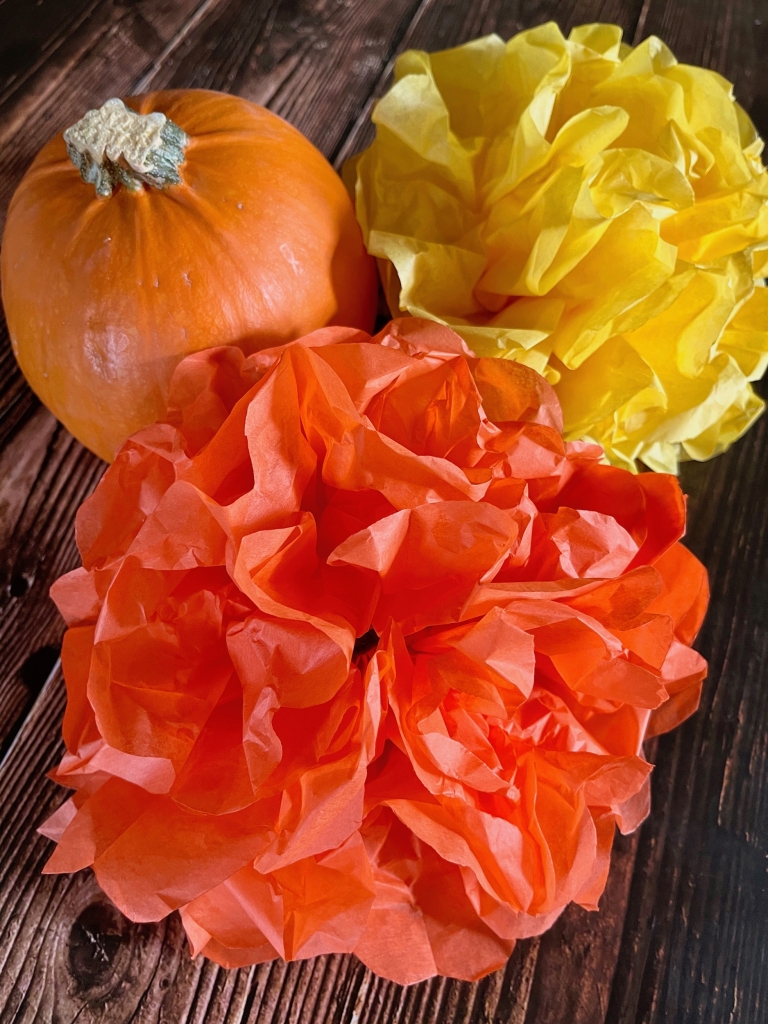
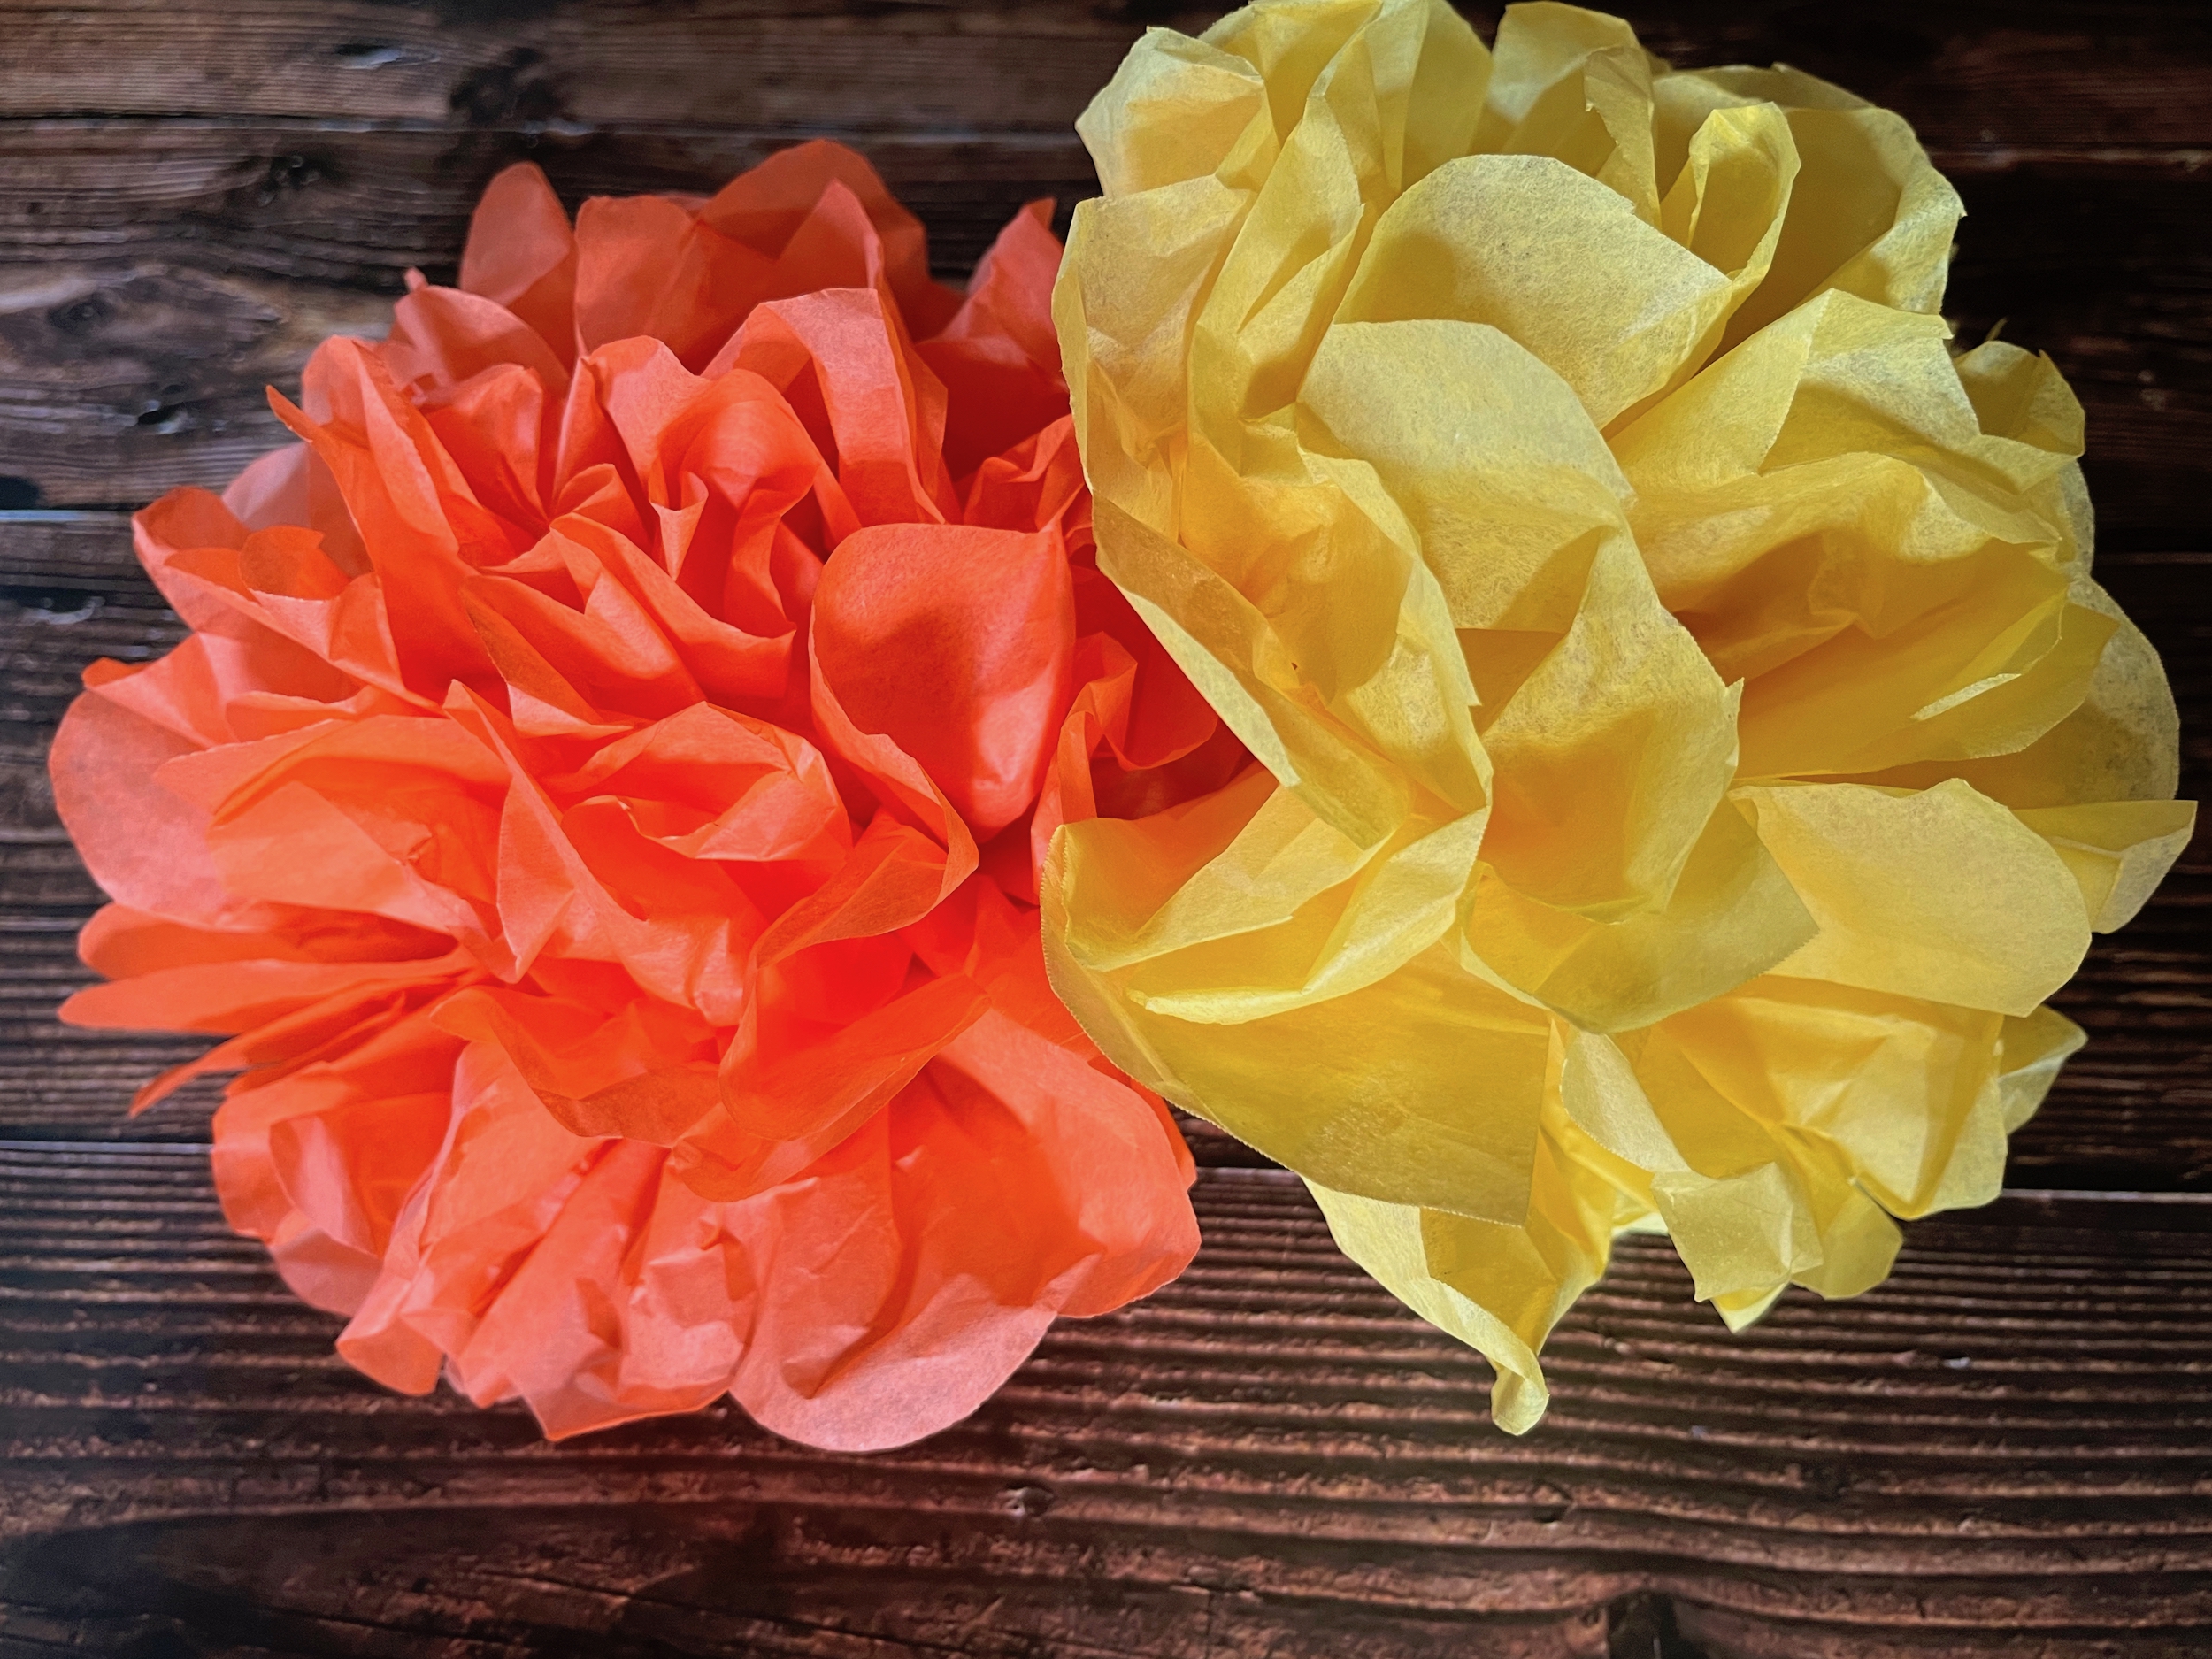
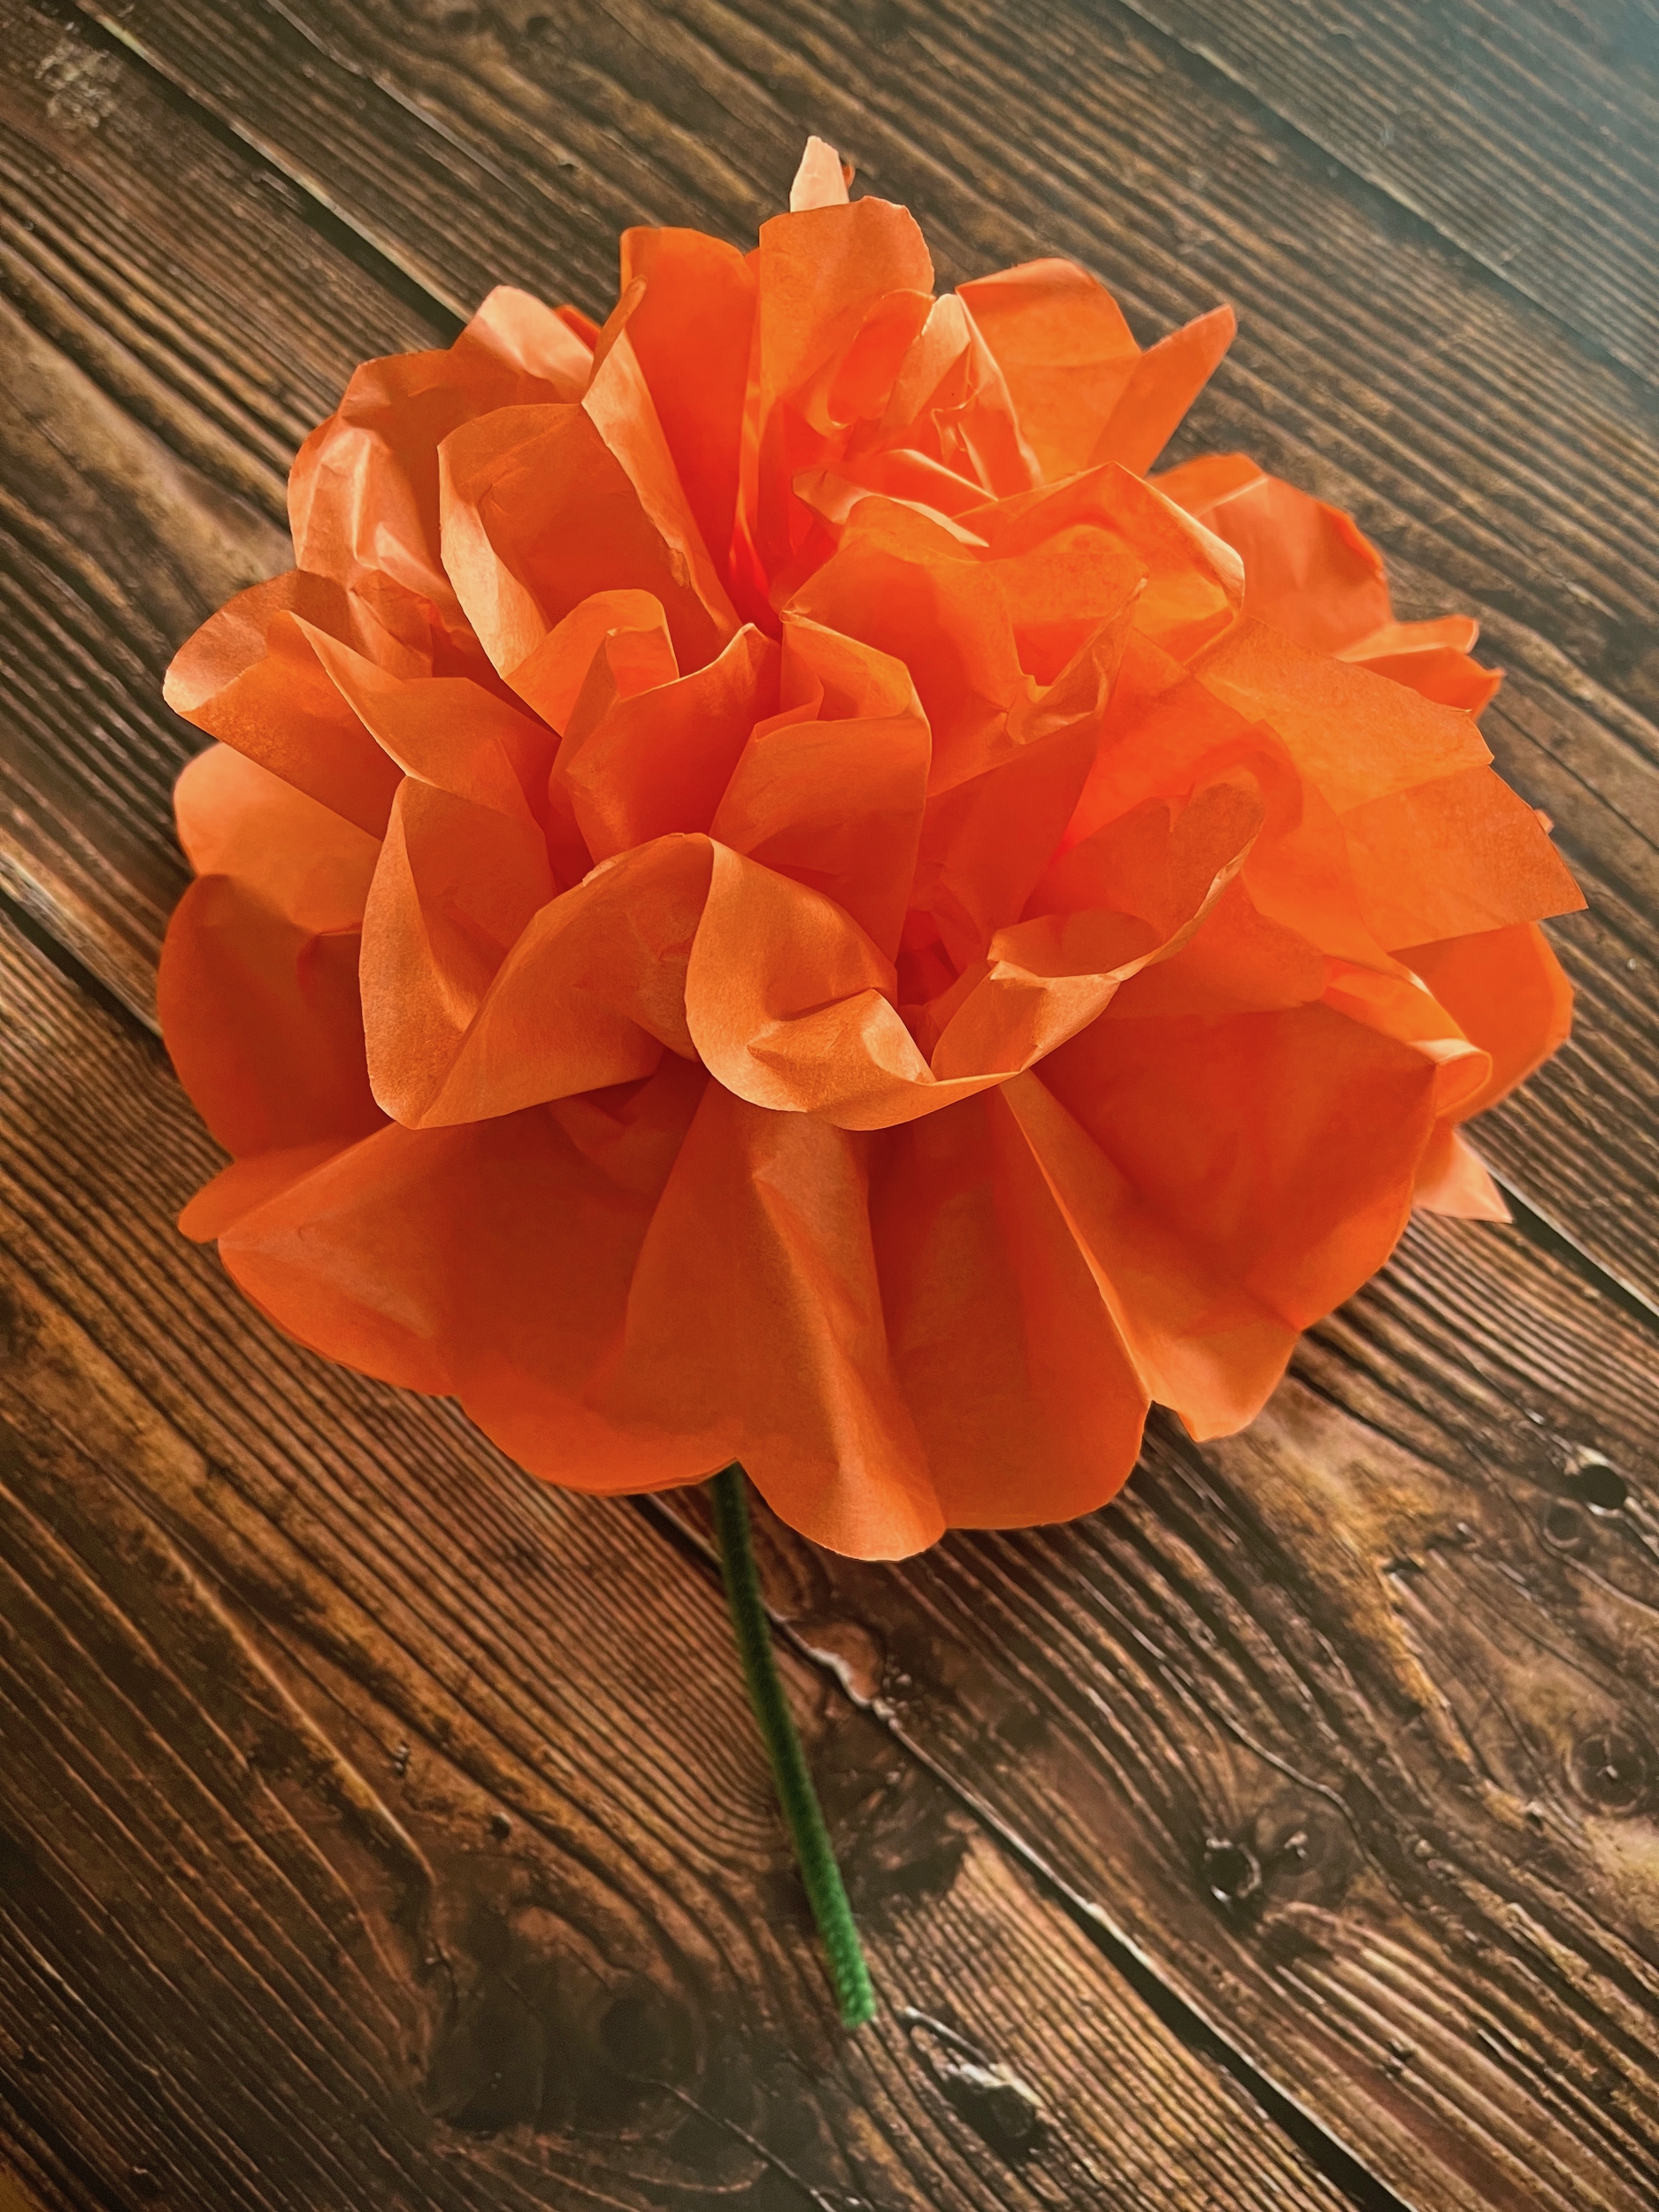
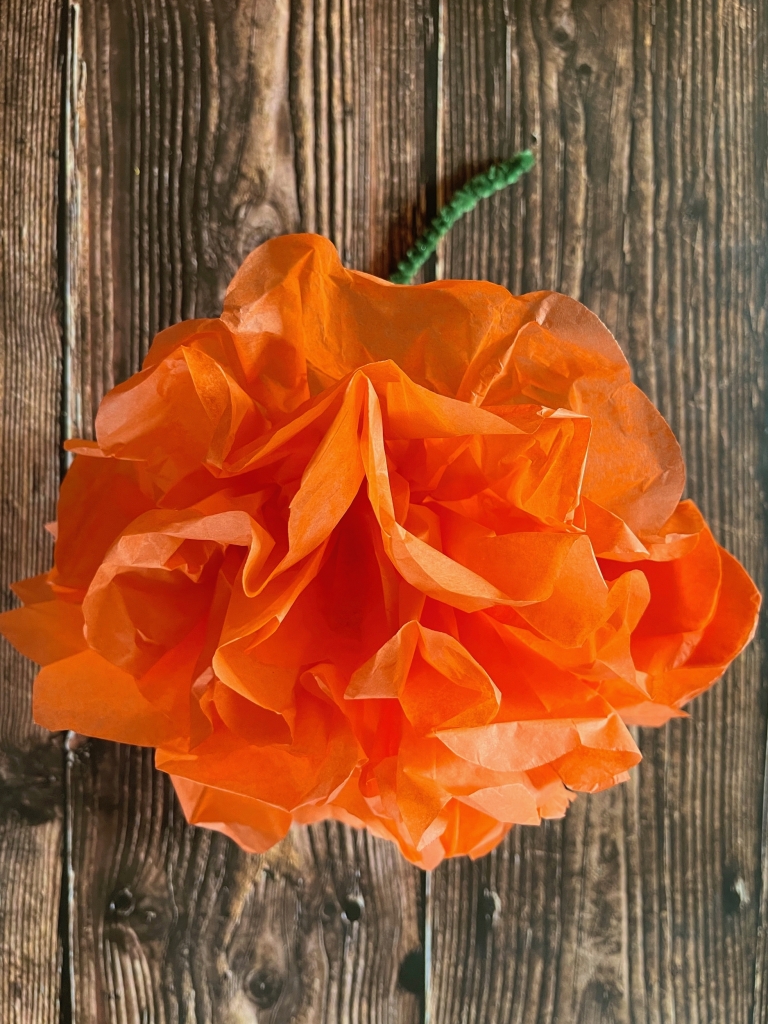
This week we’ll be creating paper marigolds in honor of their color and beauty, but also to begin educating Zoey on their significance this time of year. 

These supplies and instructions create two large paper flowers, but you can multiply and create as many as you like in as many color variations as you like!

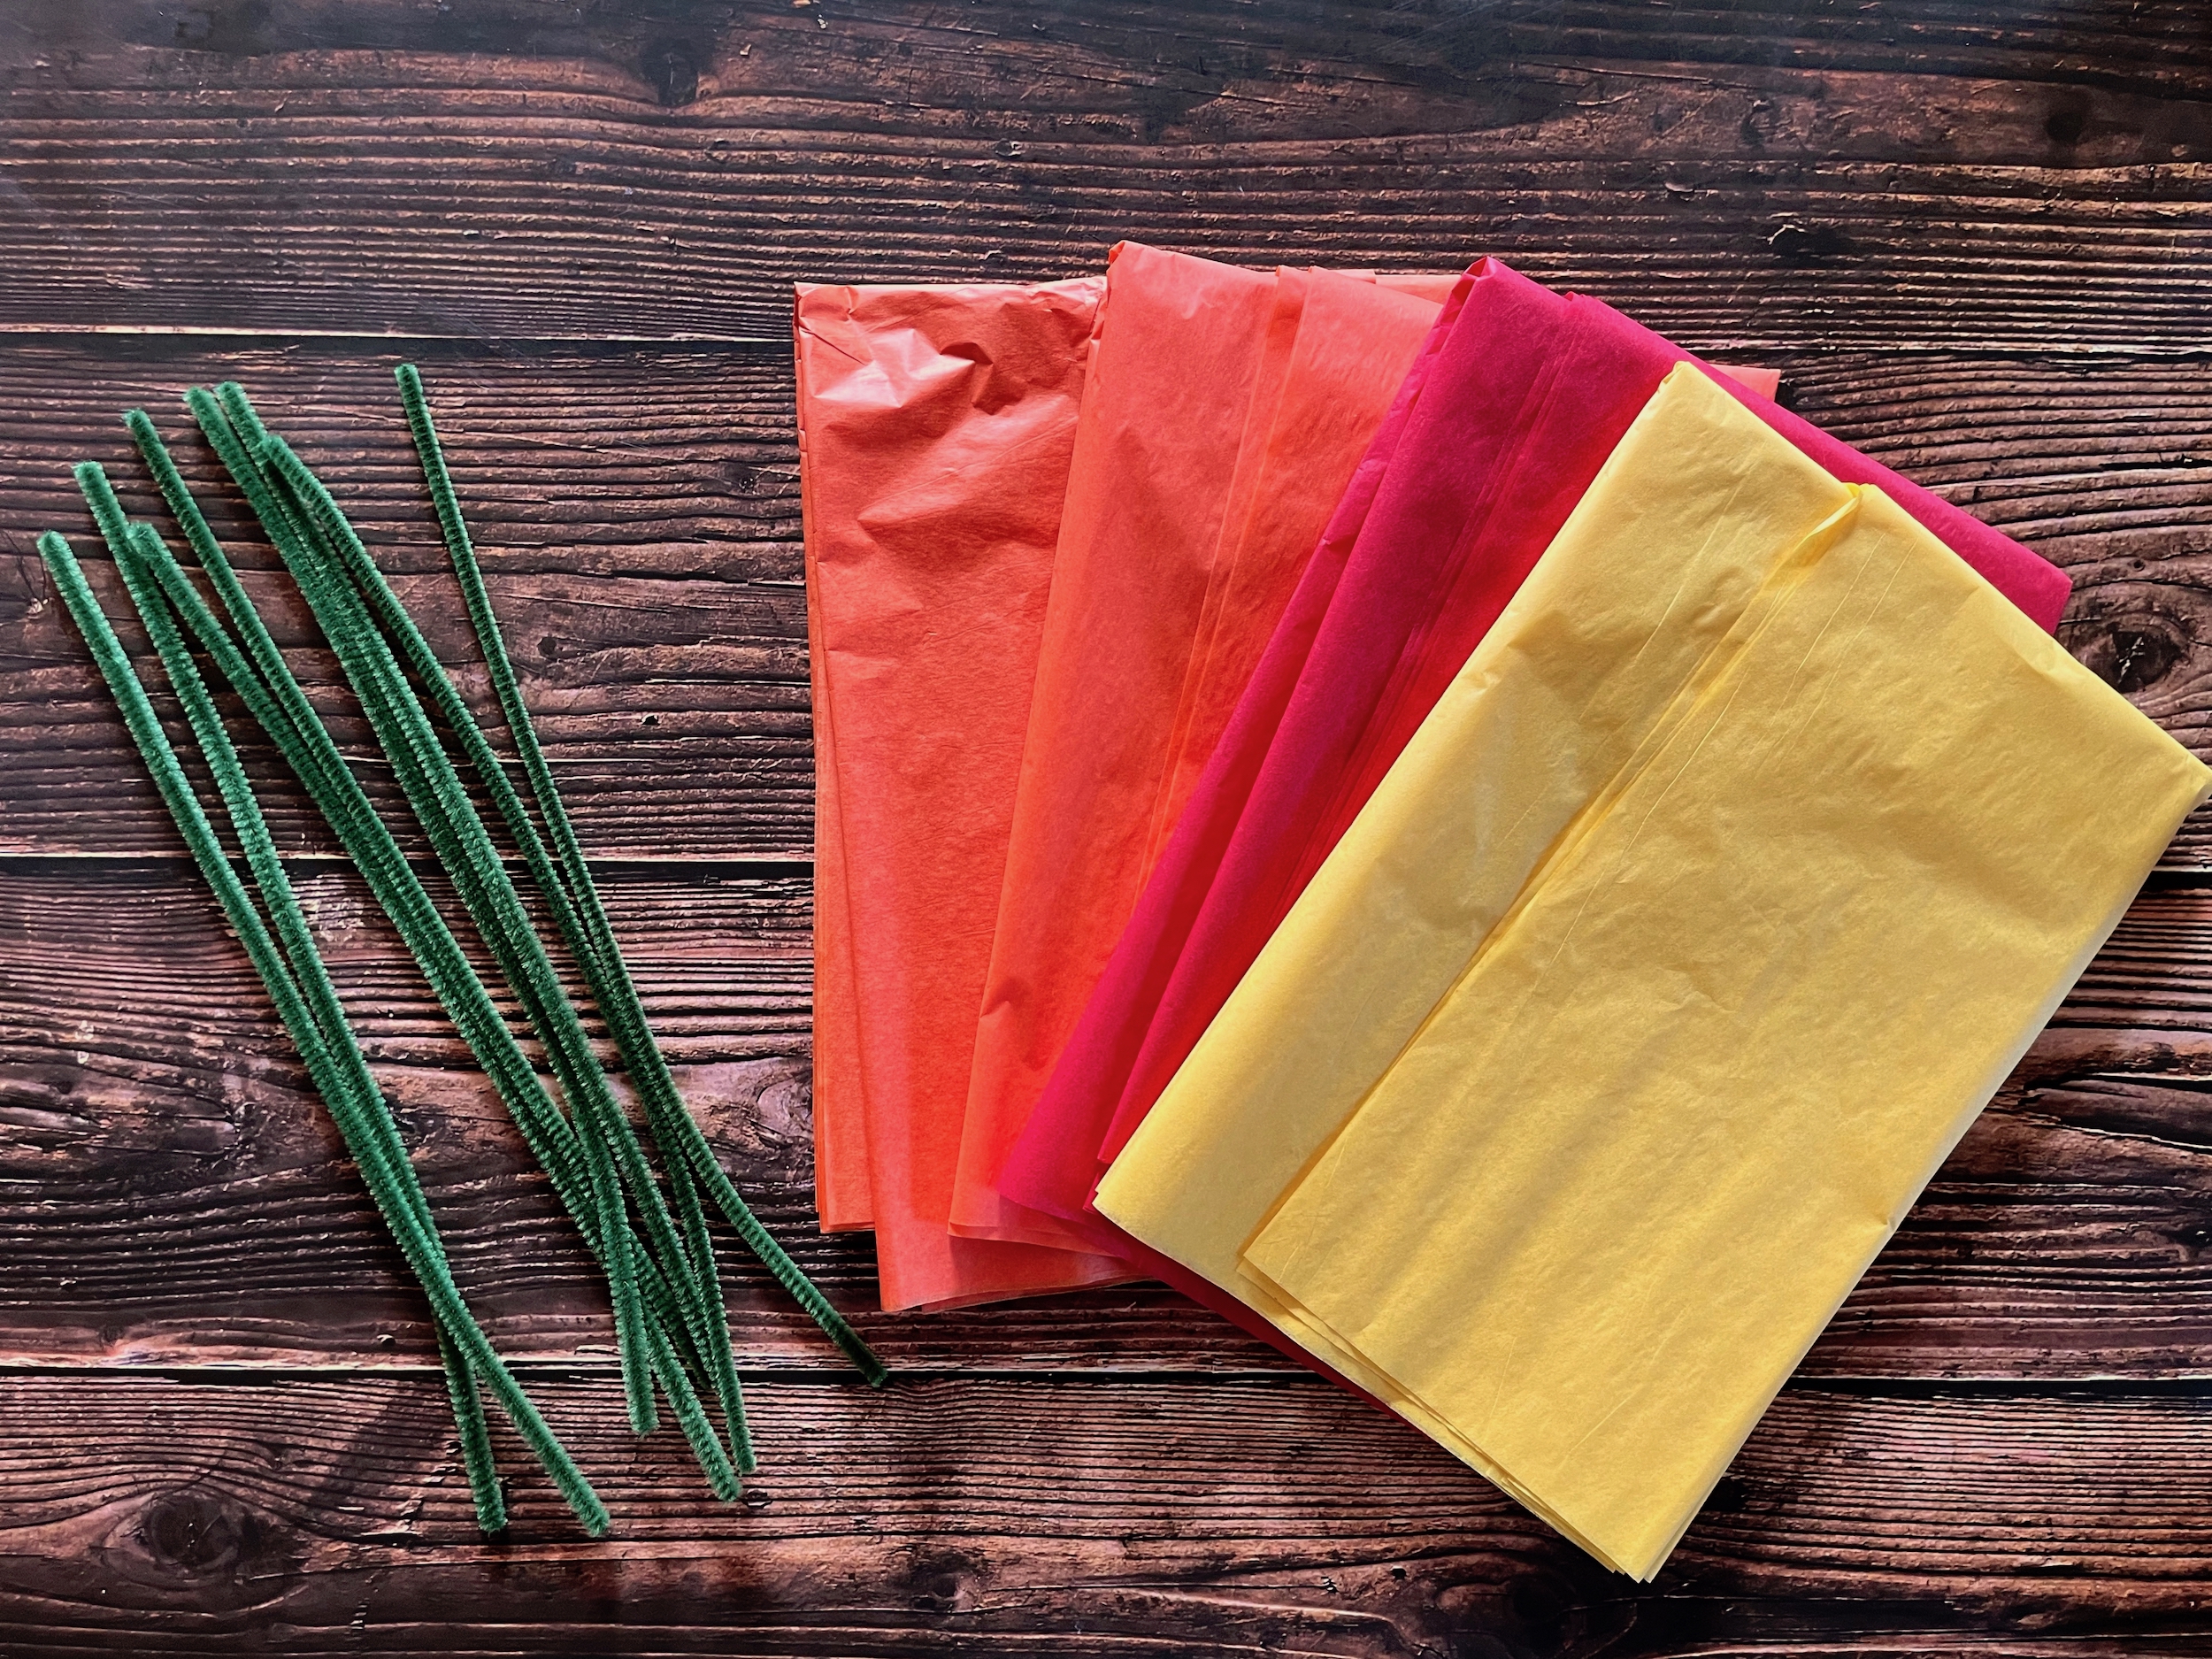
SUPPLIES
  • 4 green pipe cleaners
  • 5 sheets of 20” x 20” gift-wrapping tissue paper (or similar)
  • Scissors
INSTRUCTIONS
  1. Layer and align the 5 sheets of tissue paper, then fold them in half and crease.
  2. Cut along the crease line so you now have two groups of tissue sheets, 10” by 20” each.
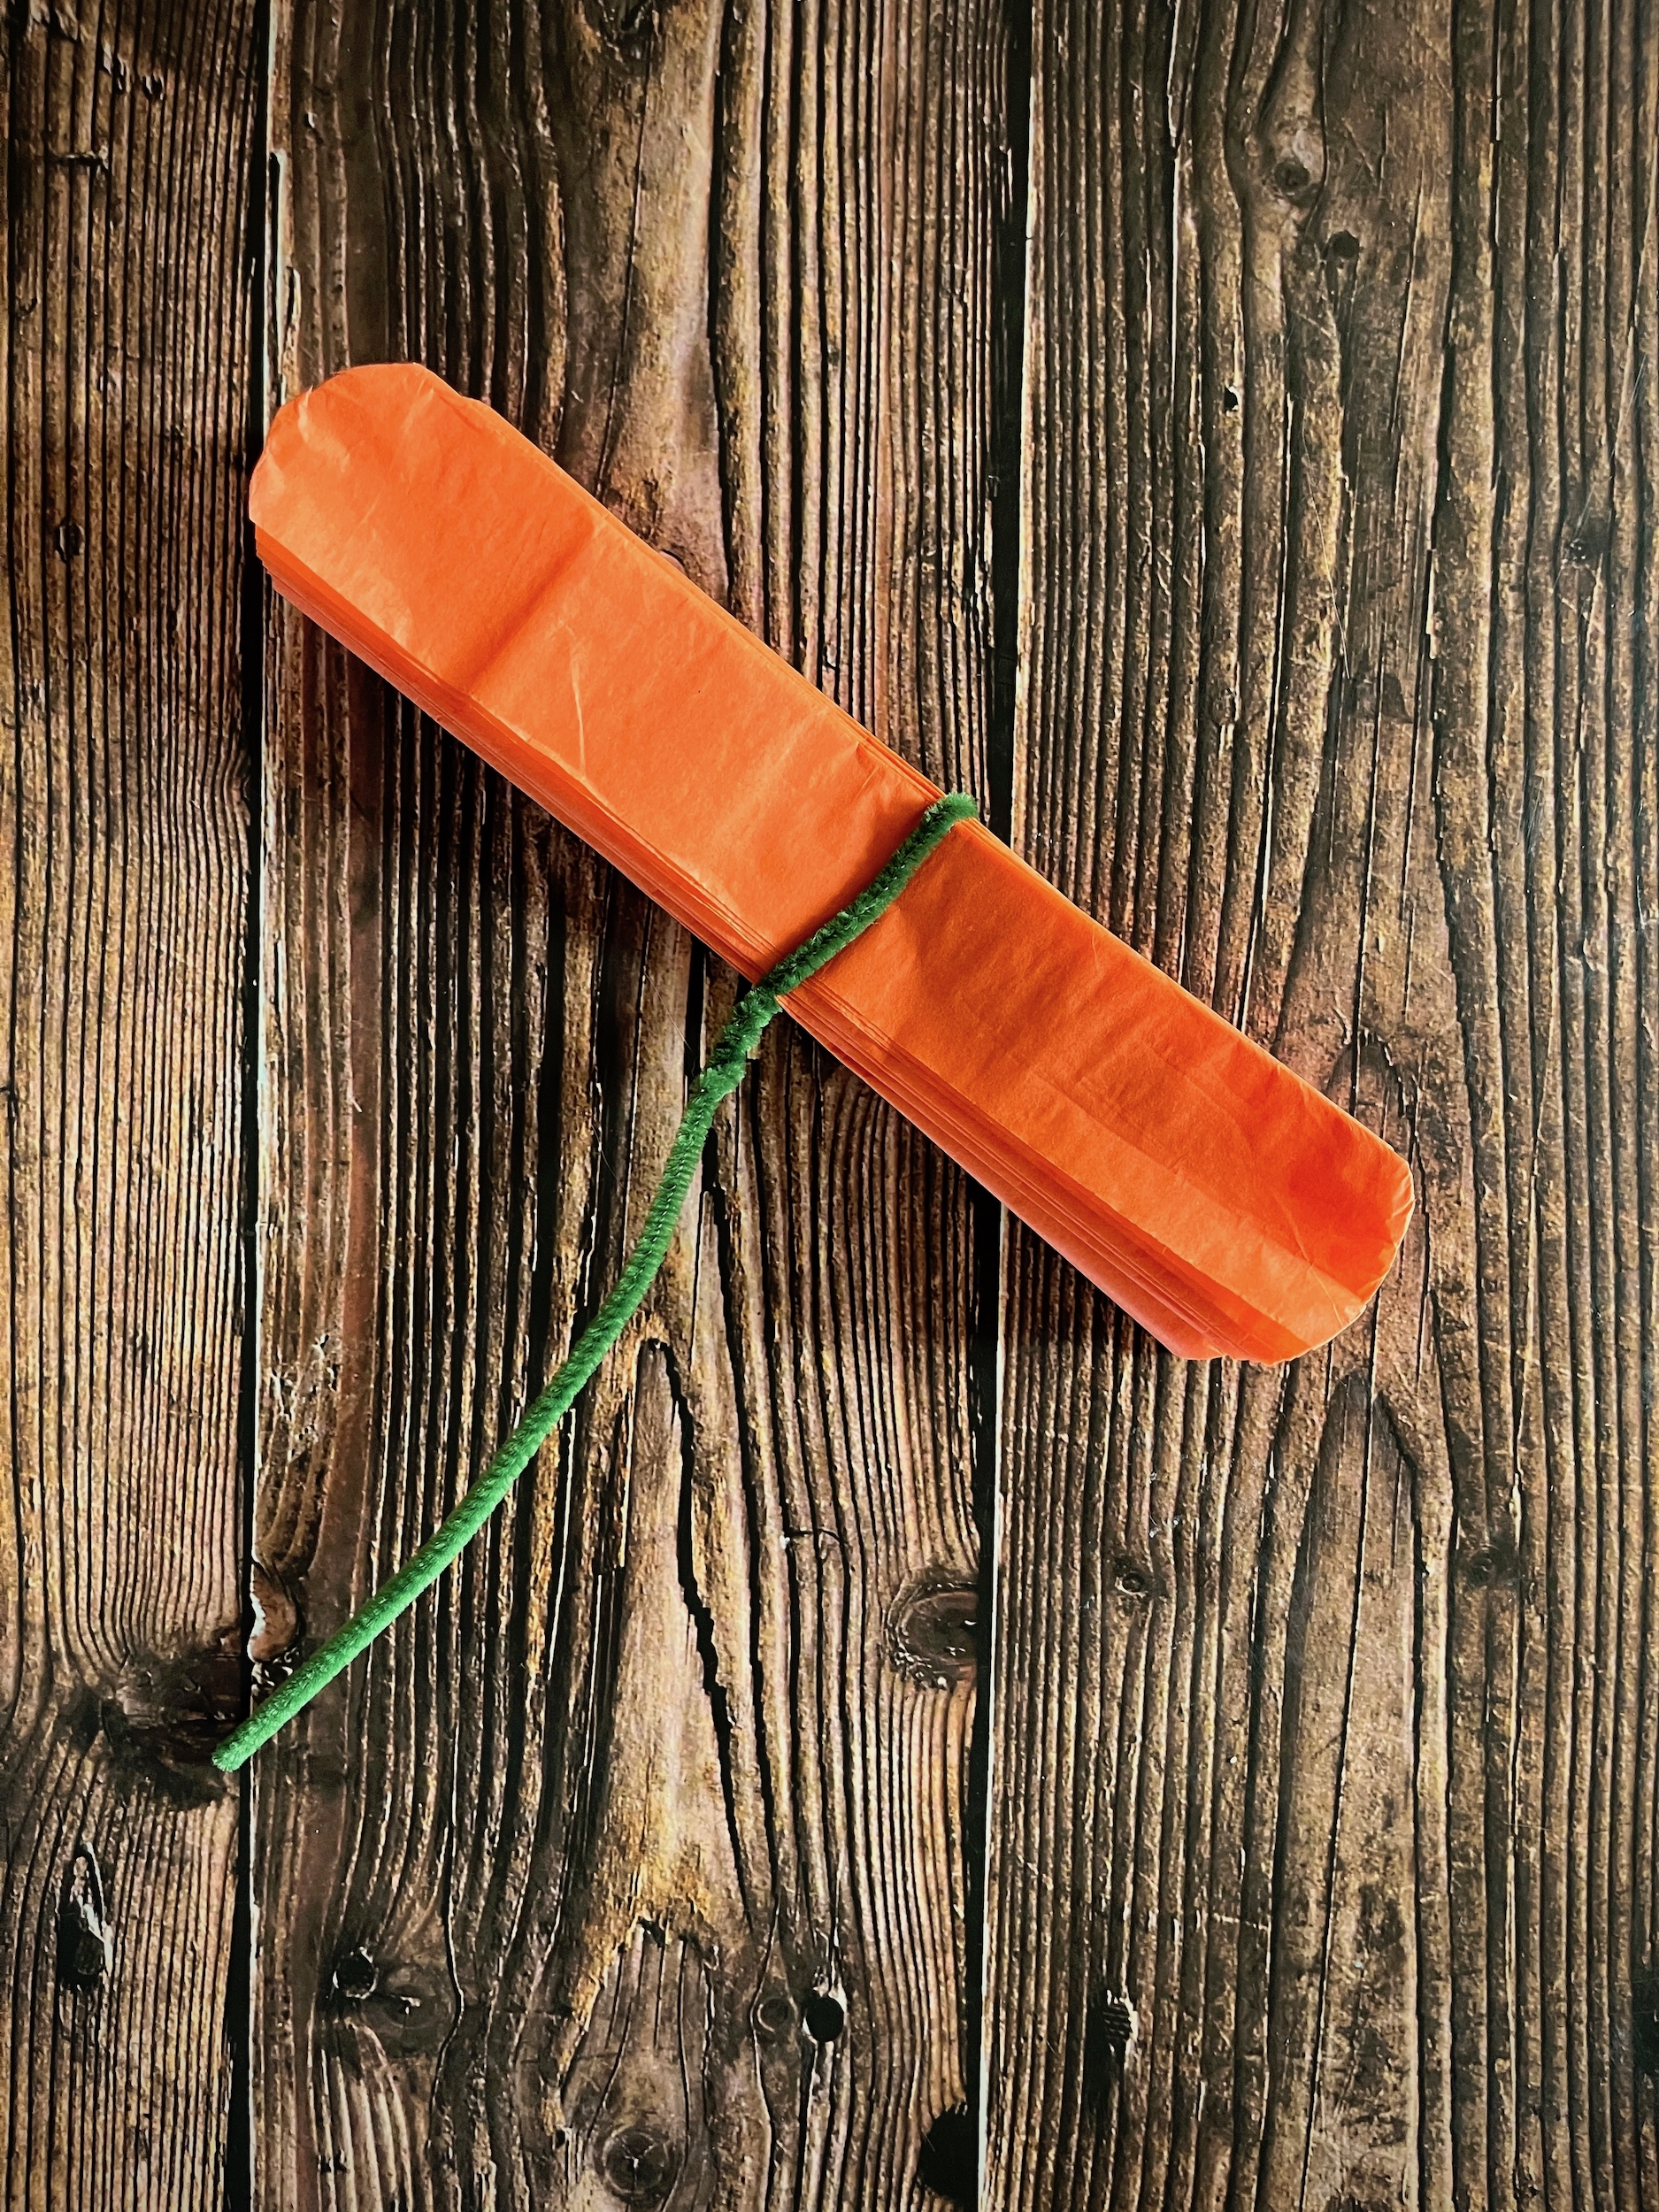
  3. Keeping each group of tissue sheets layered and aligned, pleat the paper in an accordion fold.
  4. Holding the accordion fold closed, cut a half-circle shape from each end. (You could also cut a point or zig-zag)
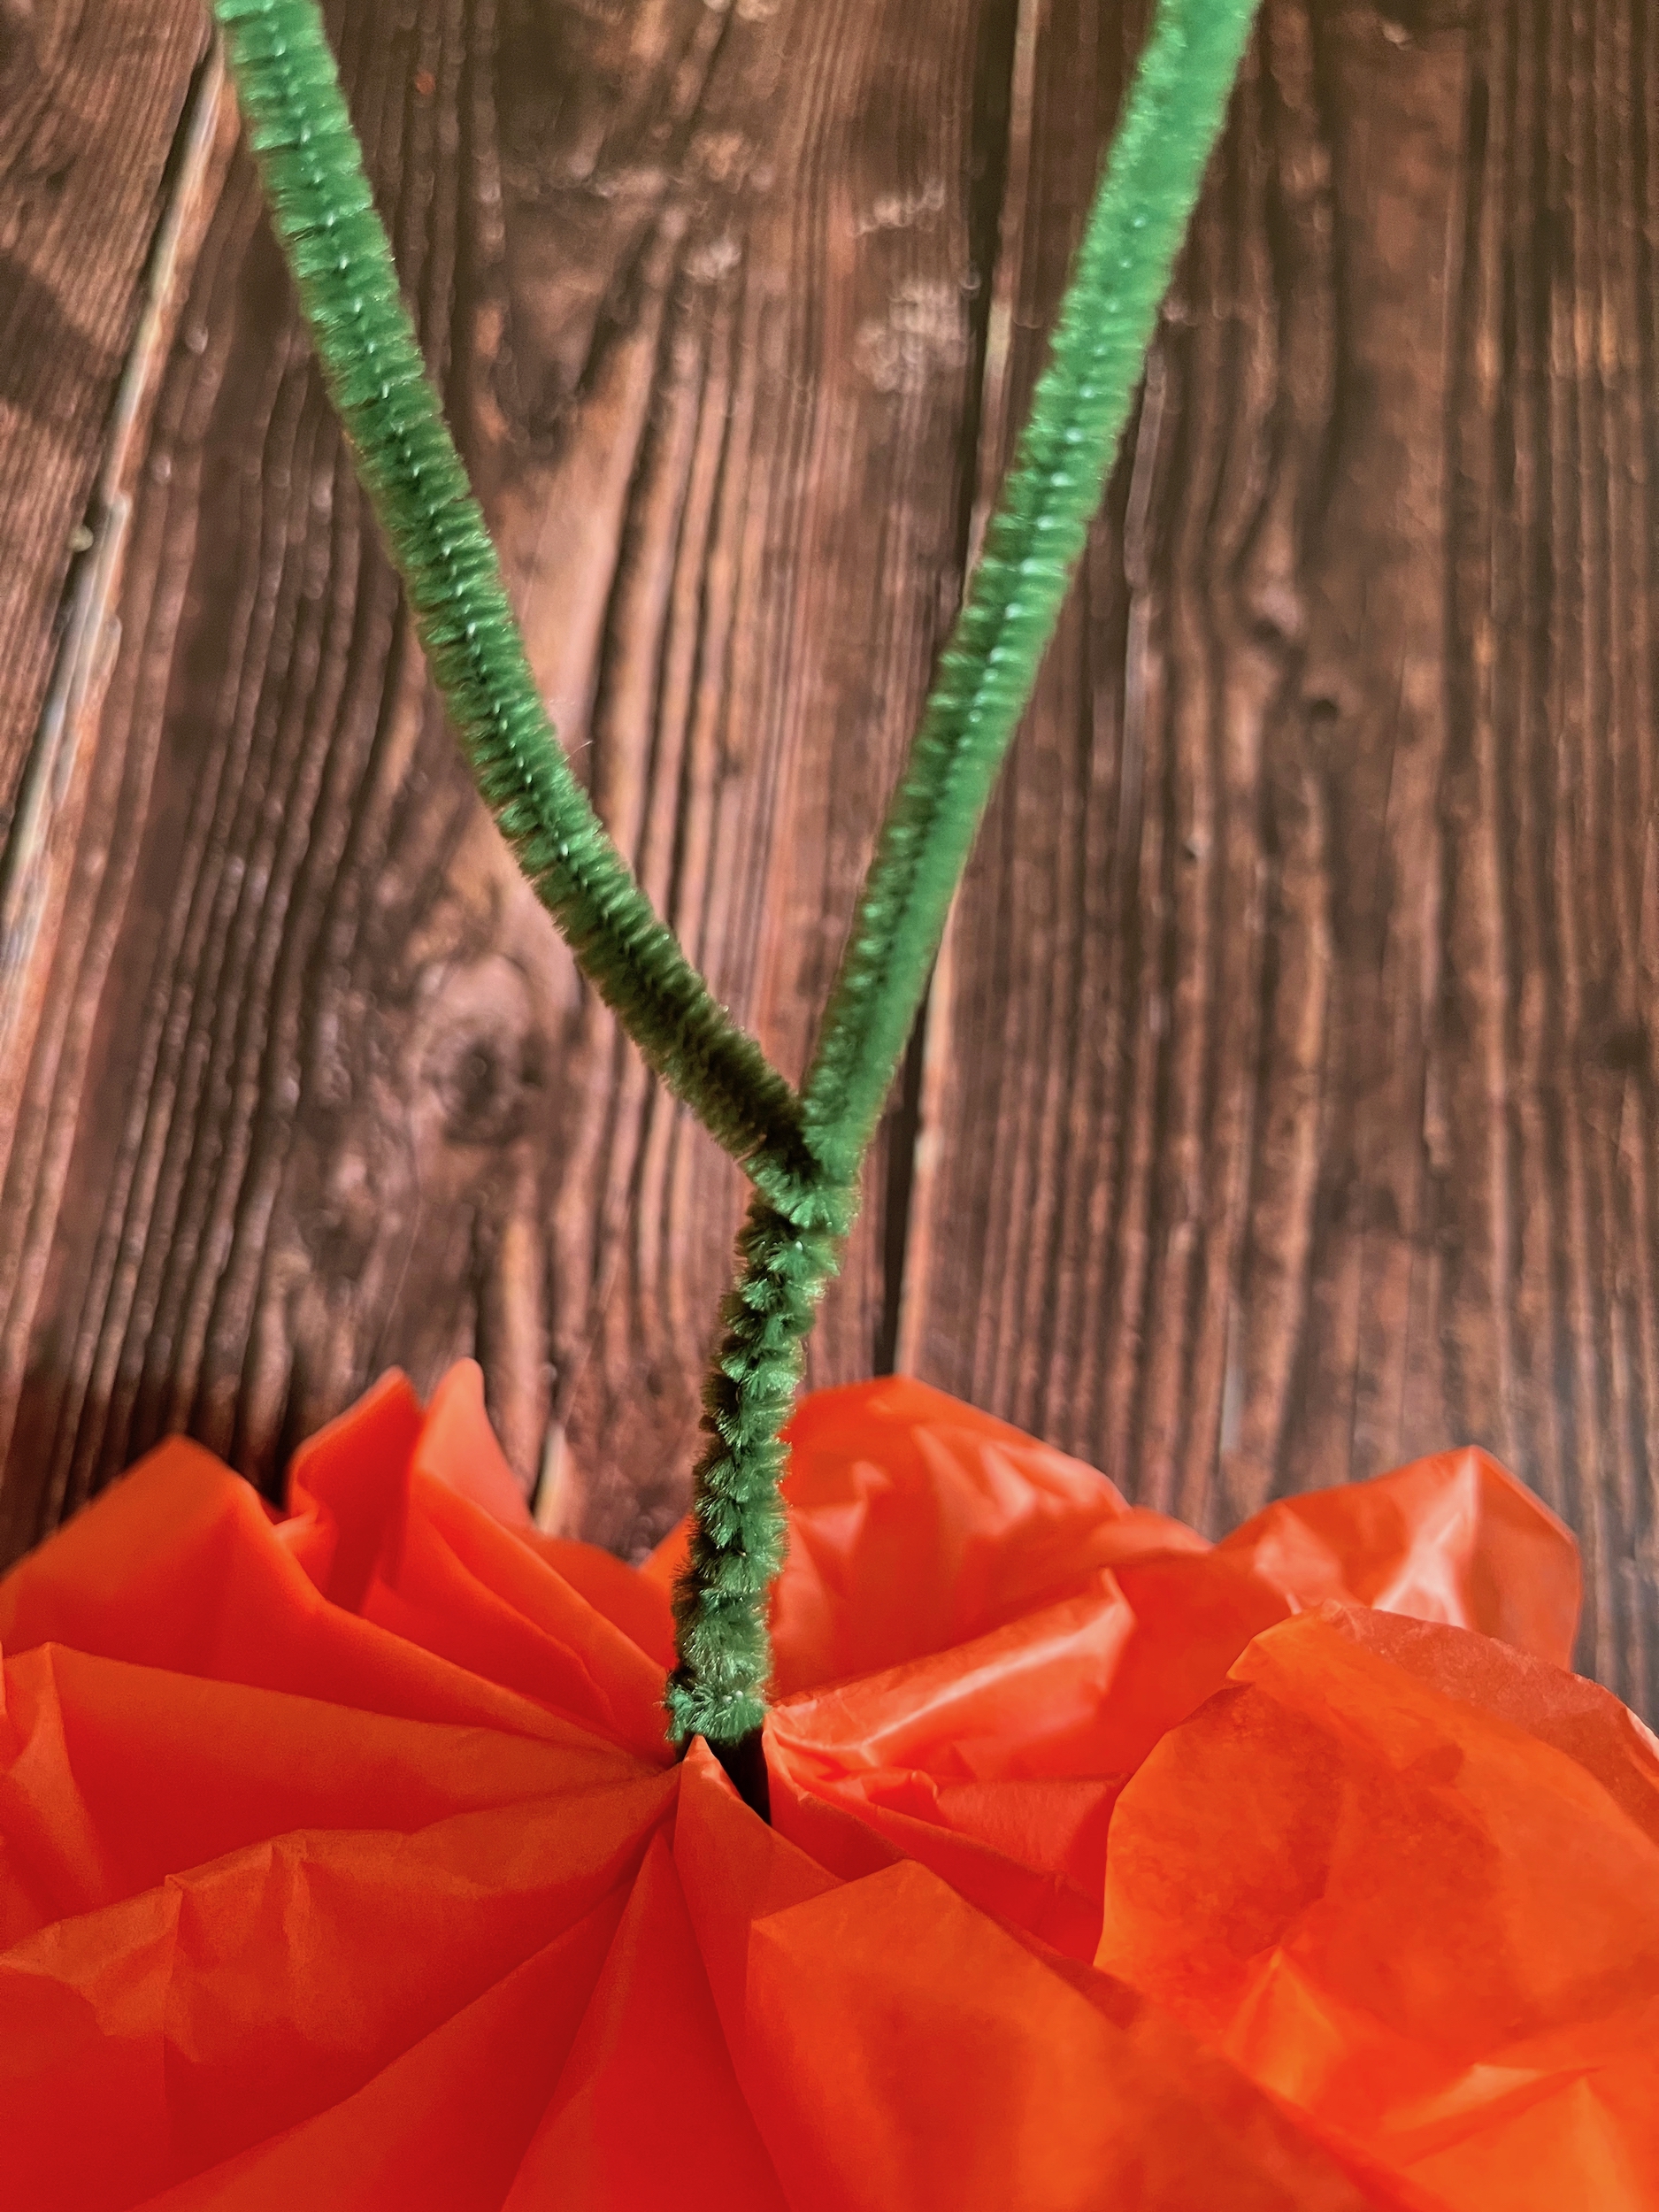
  5. Holding the accordion fold closed, wrap the top of a pipe cleaner around the middle of the paper and twist it around itself to hold it in place. This will also act as the stem.
  6. Fan out the paper, then gently separate the first layer of paper from the rest, and move it up to form the top layer of petals.
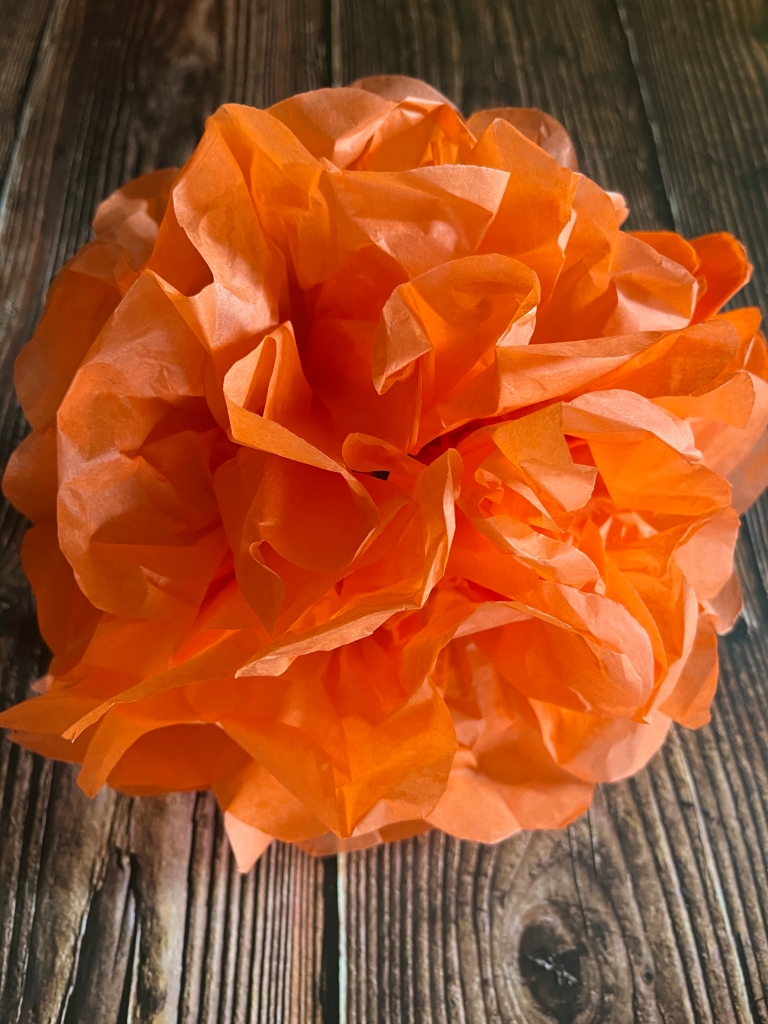
  7. Gently separate the rest of the paper layers and fluff out your flower.
  8. To bolster the stem a bit more: Secure a second pipe cleaner around the existing pipe cleaner where it meets the flower, and wrap it around the existing pipe cleaner down to the base (start back up if you have extra).
  9. Repeat steps 3 through 8 with the second group of tissue sheets.
  10. Enjoy!

Homemade Ghostly Brownie Recipe

Welcome back friends!

Who wants some fresh from scratch, oven baked ghostly brownies to enjoy on one (or more) of these beautiful autumn evenings? Maybe at a movie night, or a game night?

I know I do, so let’s bake some!

GHOSTLY BROWNIES
  • 1/2 cup of butter, melted
  • 2/3 cup of unsweetened cocoa powder
  • 1 1/3 cups of sugar
  • 2 tablespoons of vegetable oil
  • 2 large eggs, room temperature
  • 1/2 teaspoon of salt
  • 1 teaspoon of vanilla extract
  • 1/2 cup of flour
  • 1/2 cup of semi-sweet chocolate chips
  • Powdered sugar (for dusting)
INSTRUCTIONS
  1. Pre-heat the oven to 350F and coat a baking pan with cooking spray (I used a 13×9 pan).
  2. Combine the melted butter, oil, sugar and cocoa powder in a large bowl and whisk until smooth.
  3. Add the eggs, vanilla and salt.
  4. Slowly stir in the flour a little at a time until a thick batter forms, then fold in the chocolate chips.
  5. Spread the batter into a prepared pan and bake for 21 to 25 minutes or until they become glossy around the edges and a toothpick comes out clean.
  6. Place a little powdered sugar into a sifter and lightly sift the tops of the brownies until white.
  7. Using a ghost shape cookie cutter, cut ghost shapes into the brownies (leave them where they are) and add 3 chocolate chips for the eyes and the mouth of each ghost.
  8. Allow the brownies to completely cool and solidify, then carefully remove the ghosts from the pan. I peeled away the edges and extra spaces first, then used a flat metal spatula to lift the ghosts out.
  9. Enjoy!

Homemade Baked Pumpkin Doughnut Recipe

Welcome back friends!

Who wants some fresh, oven-baked, cinnamon and sugar coated pumpkin doughnuts to enjoy on one (or more) of these beautiful Autumn mornings? Maybe at a table with some coffee or tea and a good book?

I know I do, so let’s bake some!

PUMPKIN DOUGHNUTS
  • 2 cups of all purpose flour
  • 2 teaspoons of baking powder
  • 1 teaspoon of kosher salt
  • 2 teaspoons of pumpkin pie spice
  • 1 15 oz can of pumpkin puree
  • 3 large eggs
  • 1 1/2 cups of sugar
  • 4 tablespoons of unsalted butter
  • 1 teaspoon of vanilla extract
  • 1/3 cup of vegetable oil
TOPPING
  • 3/4 cup of sugar
  • 2 teaspoons of ground cinnamon
  • 3 tablespoons of unsalted butter, melted
INSTRUCTIONS
  1. Pre-heat the oven to 350F.
  2. Whisk the flour, baking powder, salt, and pumpkin pie spice together in a medium bowl.
  3. Beat the pumpkin puree, eggs, sugar, butter, vanilla and vegetable oil together in a large bowl.
  4. Slowly add the flour mixture to the pumpkin mixture and beat until well combined.
  5. Fill 3, six cup nonstick doughnut pans with batter so each mold is almost full, then smooth the tops with a small spoon.
  6. Bake the doughnuts for about 15 minutes or until a toothpick comes out clean, then remove them from the oven and invert them onto a cooling rack.
  7. While the doughnuts are baking and/or cooling, stir the sugar and cinnamon together in a shallow bowl and melt the topping butter in another bowl.
  8. Once the doughnuts have cooled to a comfortable handling temperature, brush both sides of each one with butter and then dip each side in the cinnamon and sugar to coat.
  9. Enjoy!