

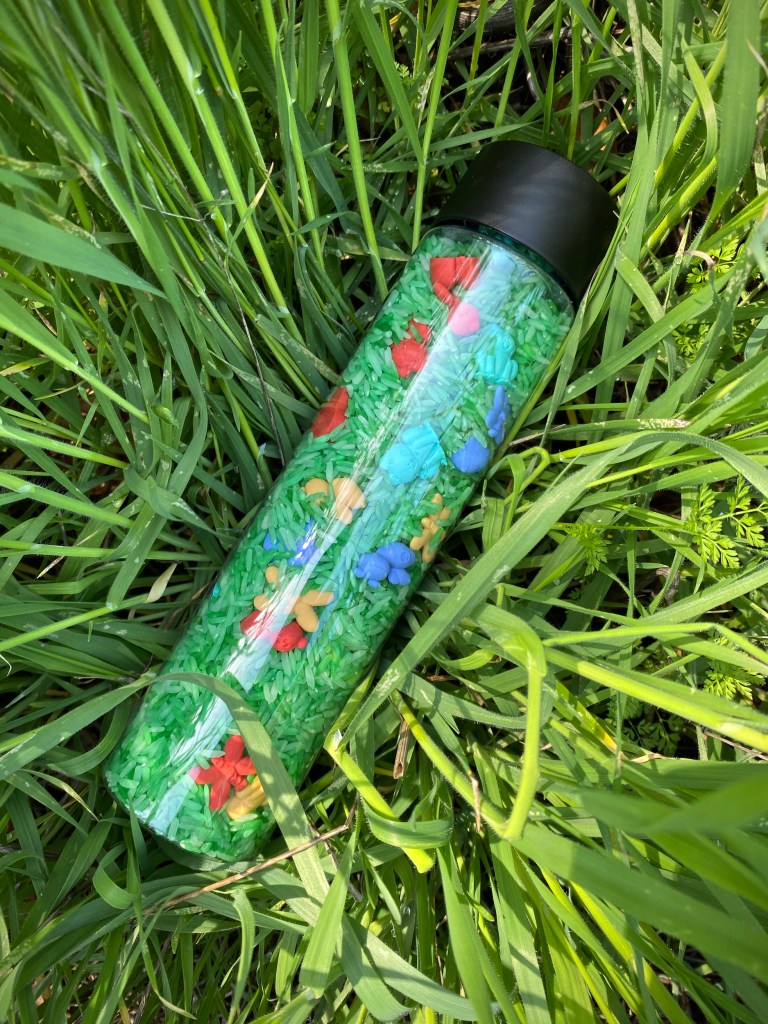
Happy Spring everyone! Spring has now sprung and it’s a time for fresh growth, vibrant colors and new life! Part of the fun in raising Zoey is making things that teach and fascinate her. And, if I’m being completely honest, I find sensory bottles fascinating too, so let’s make one!
SUPPLIES
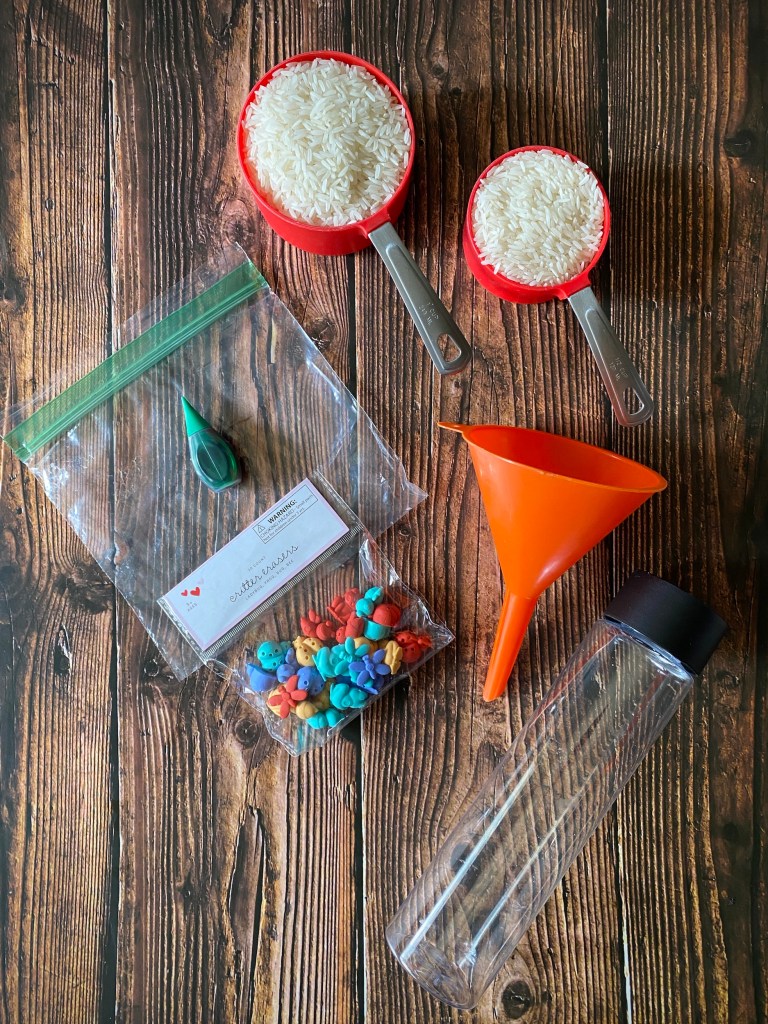
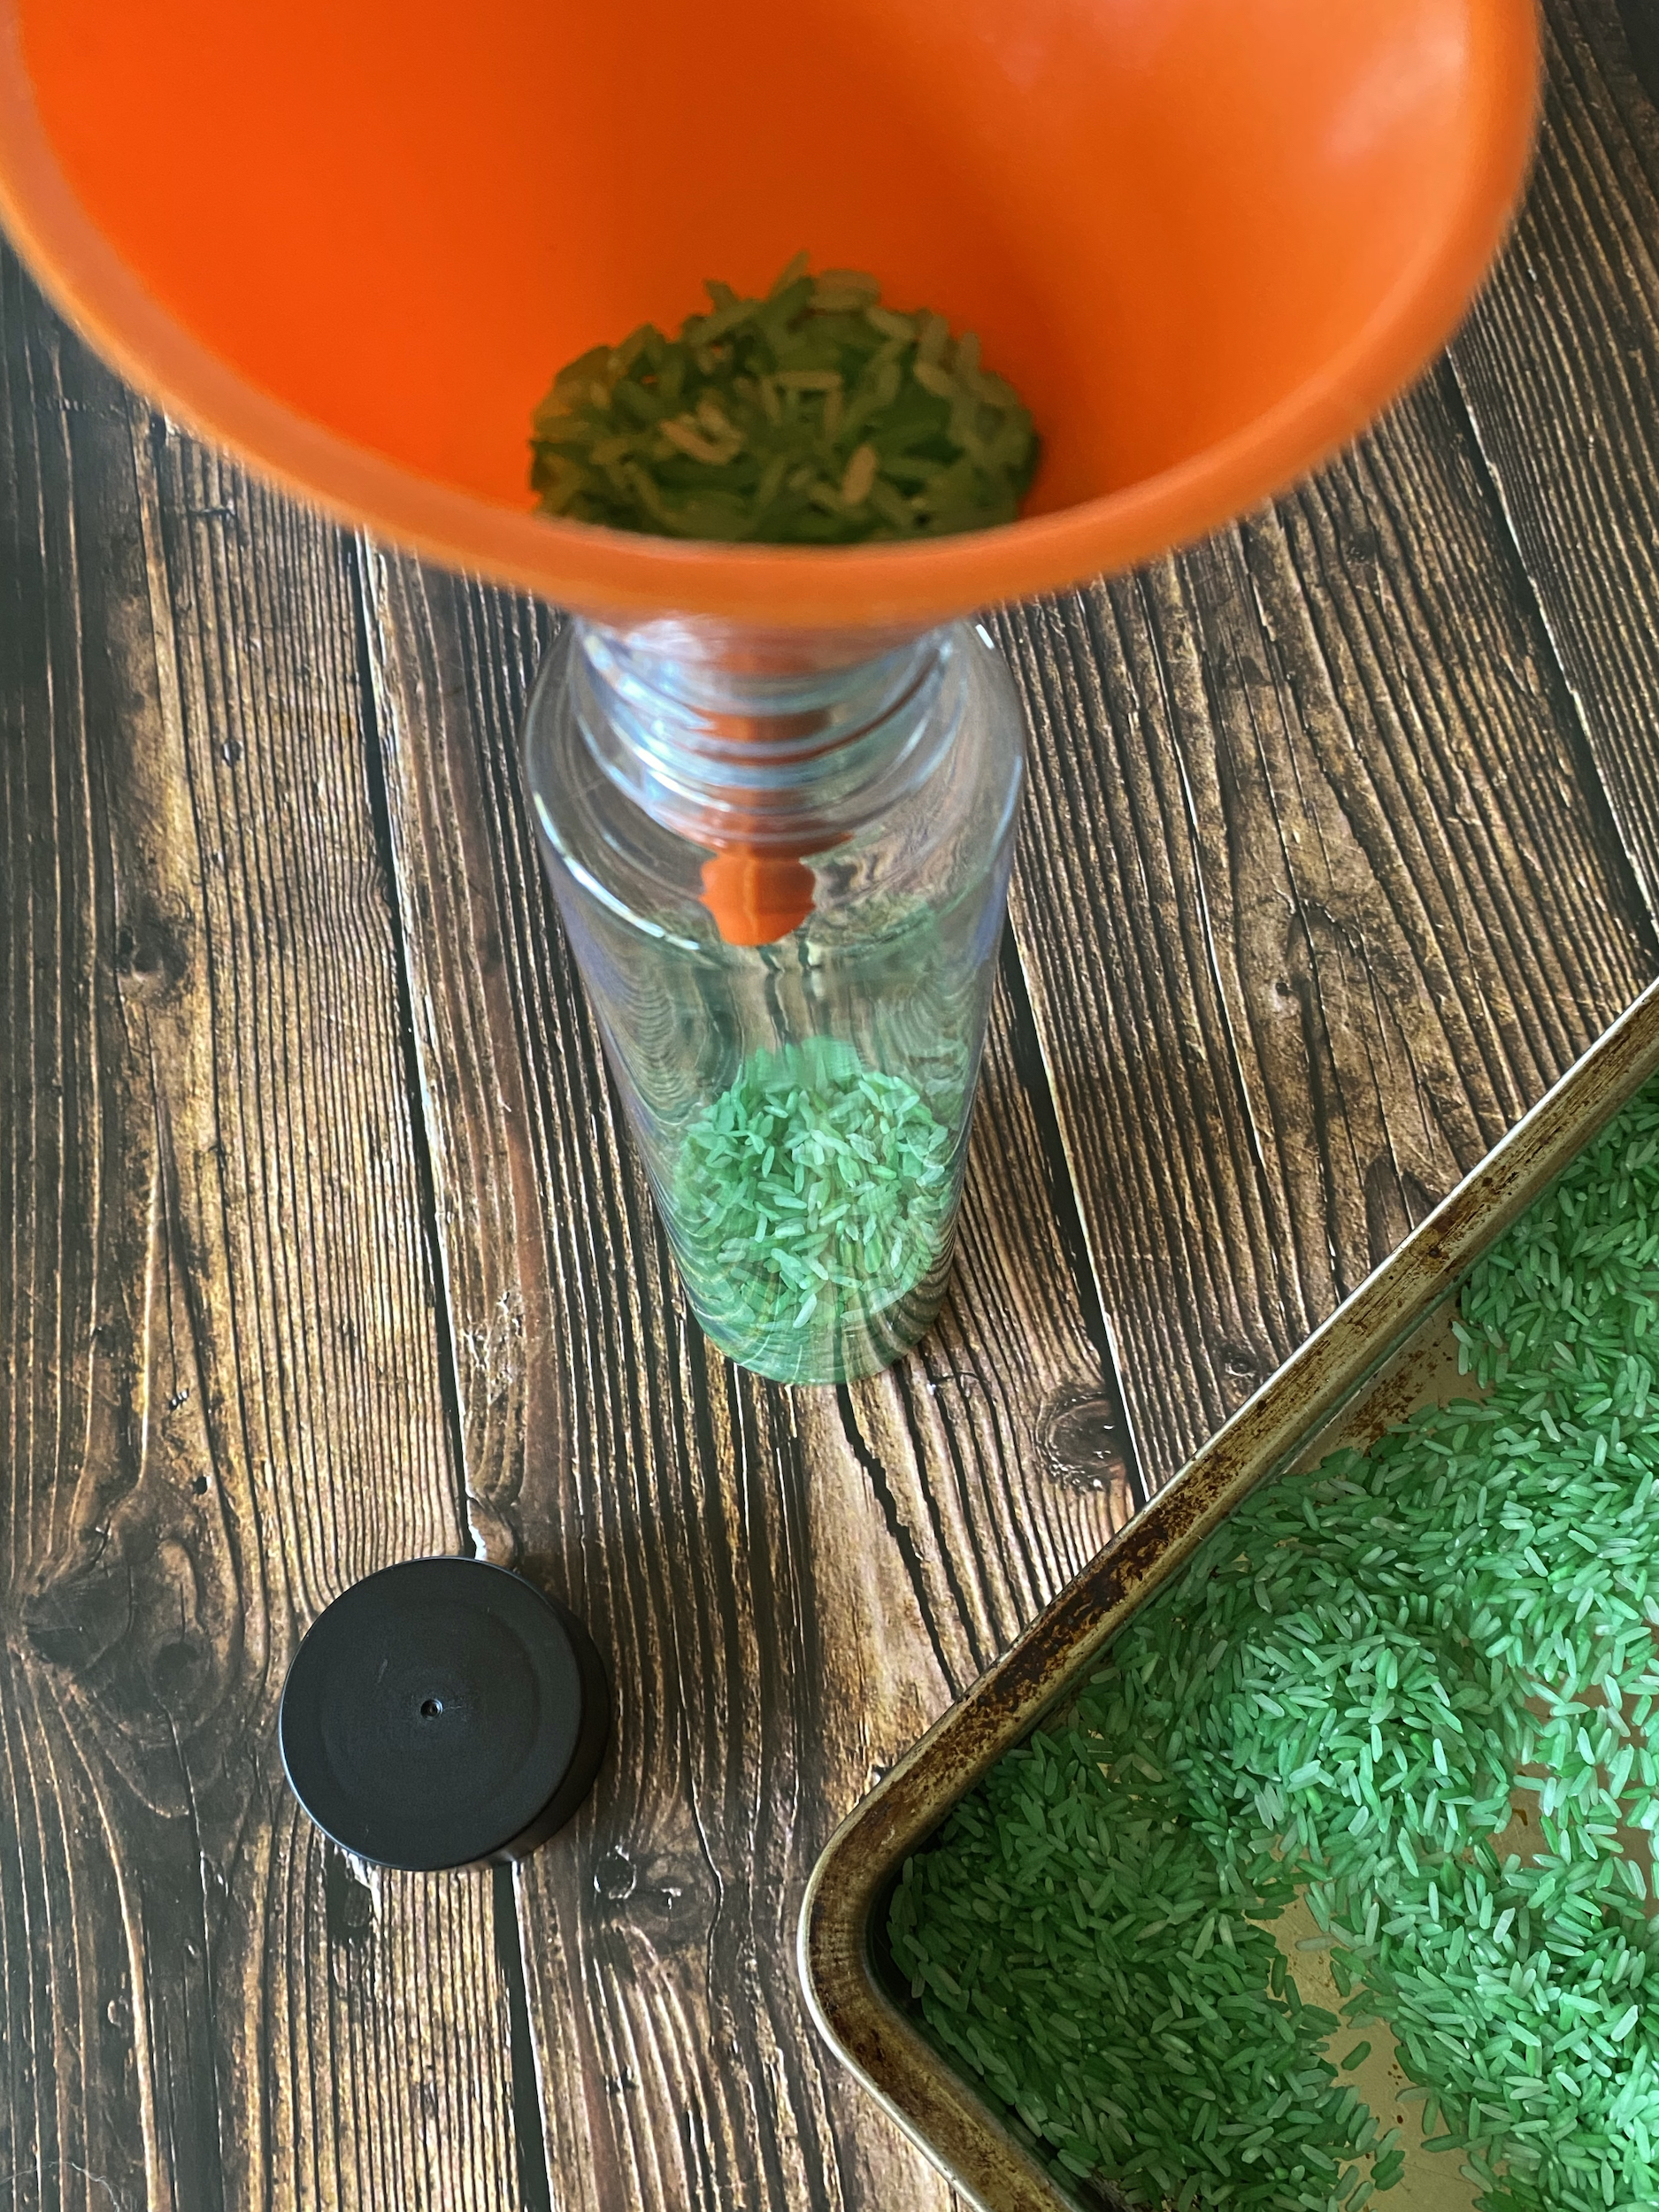
- A 16 ounce clear, plastic bottle
- A funnel
- 1 1/2 cups of white rice
- 3/4 teaspoon of white vinegar
- Green food coloring
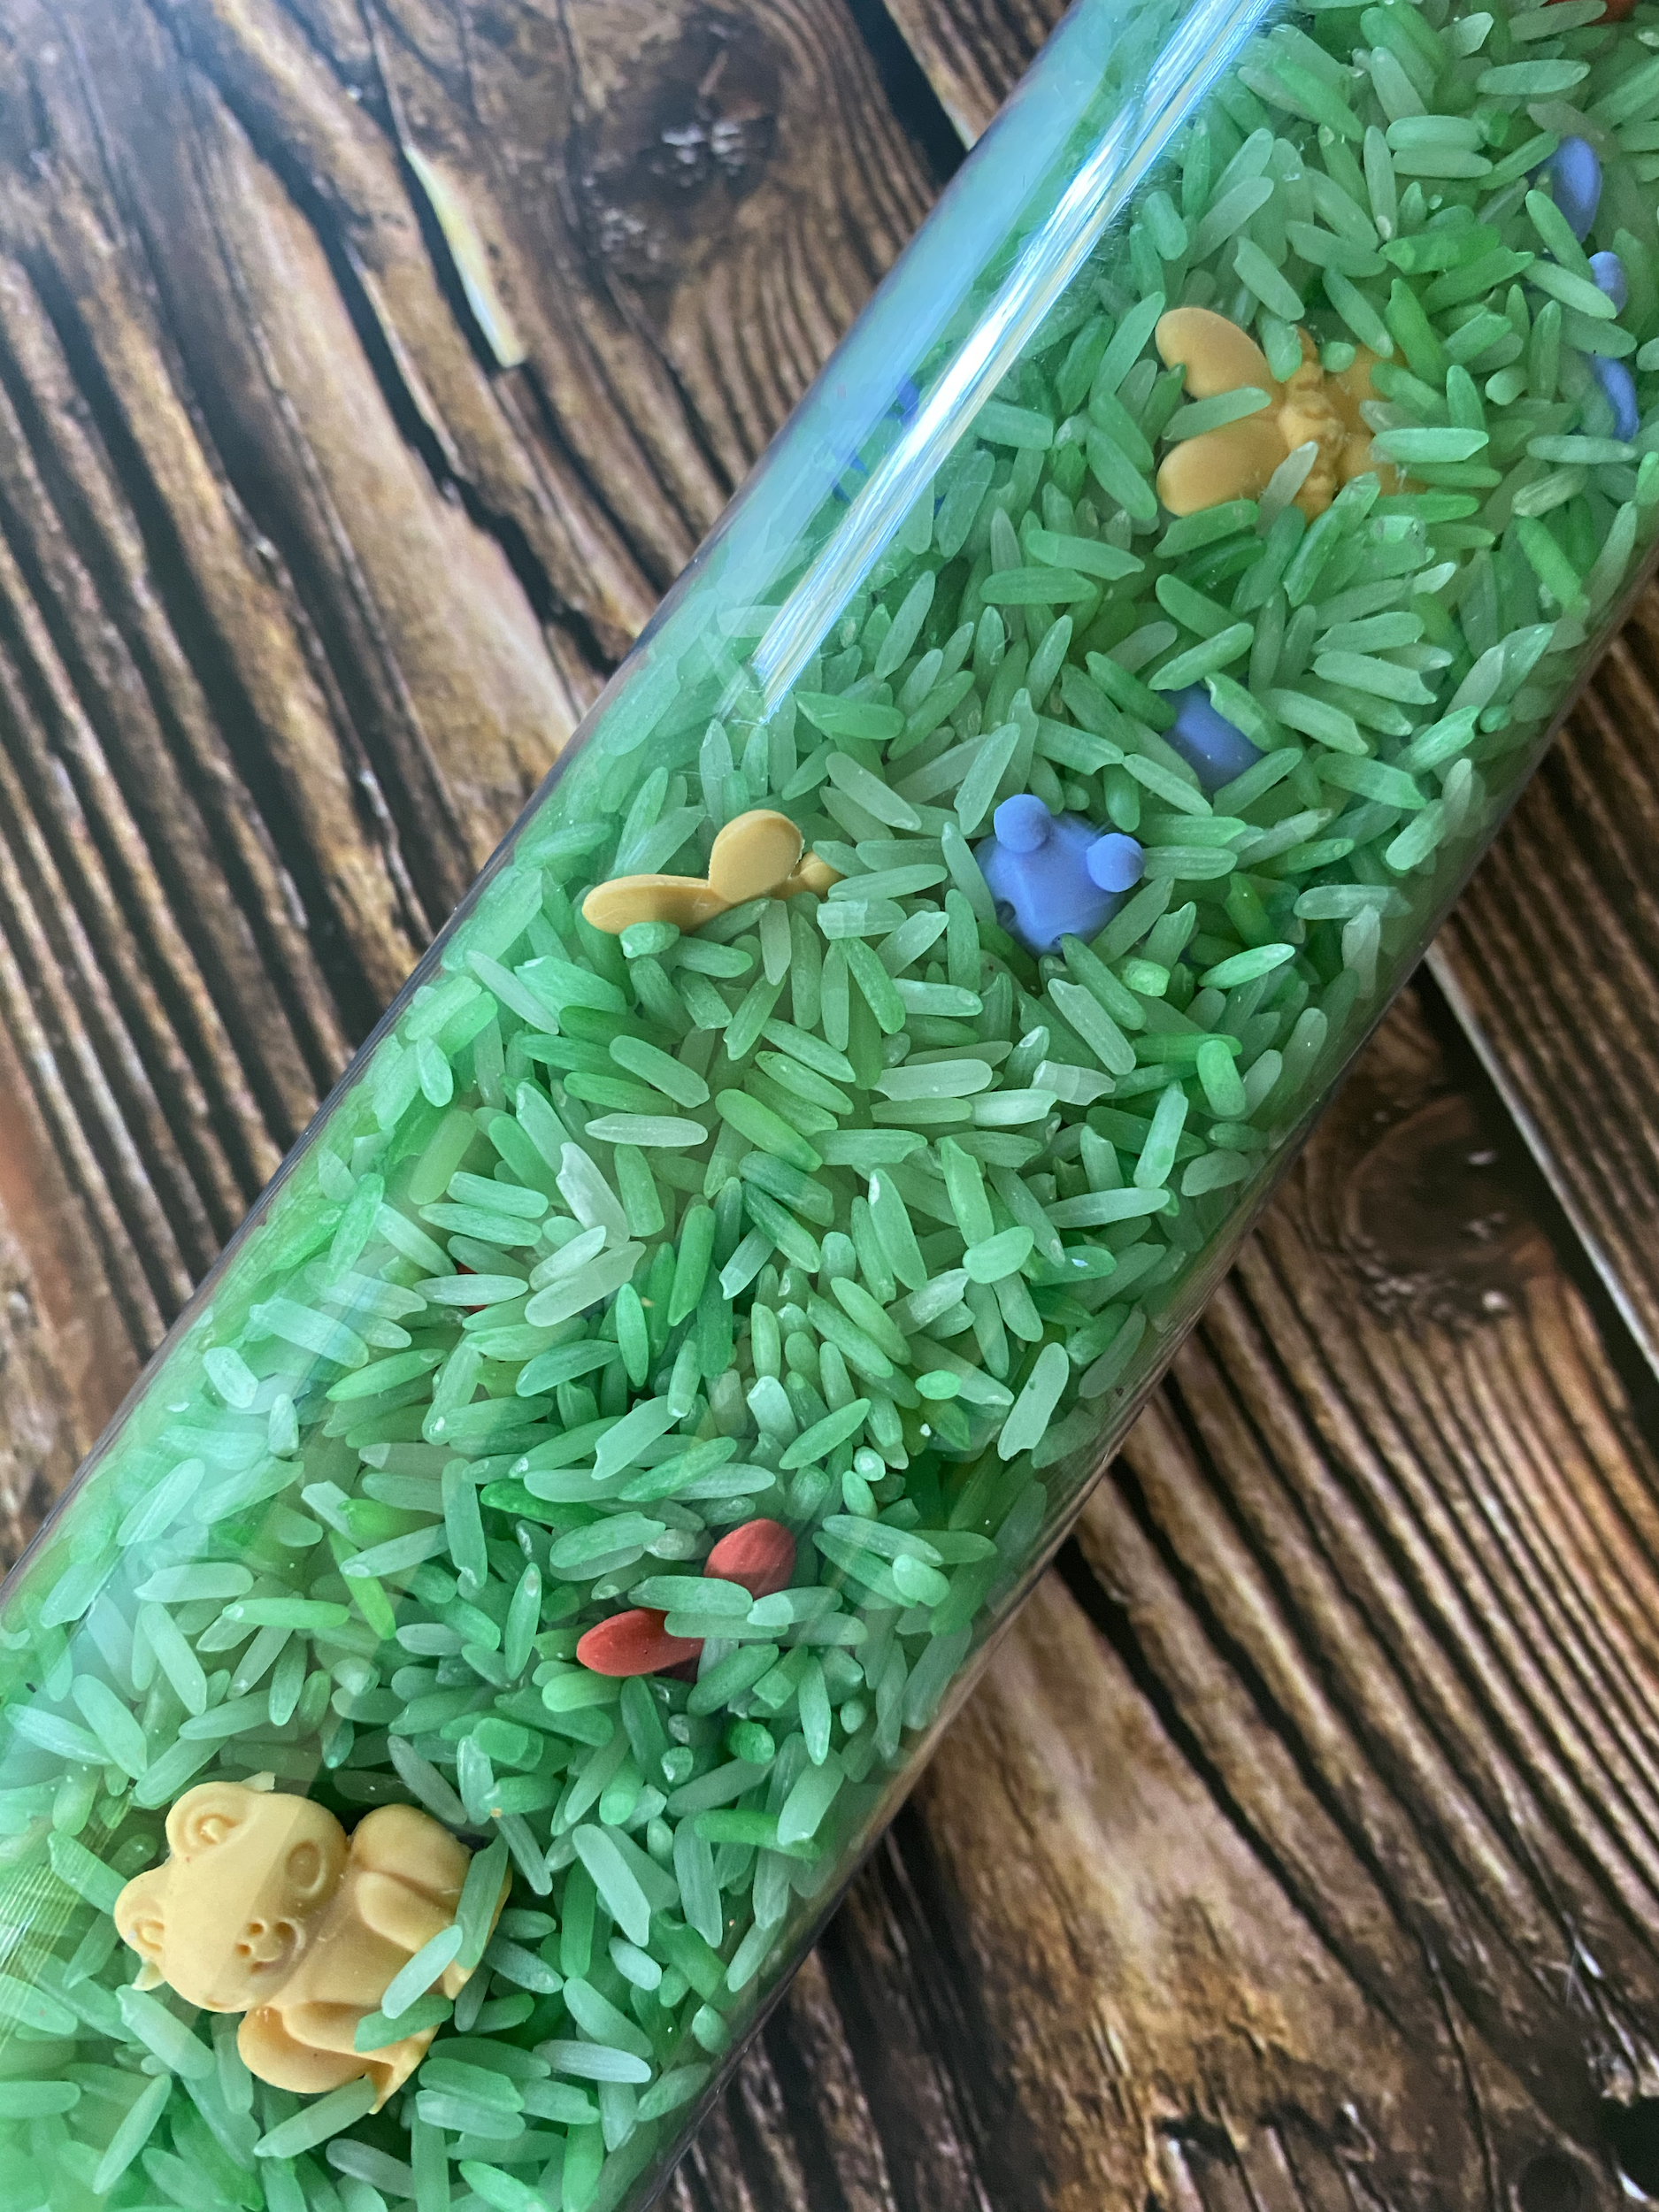
- Miniature insect (or other spring inspired) erasers
- Glue (optional)
INSTRUCTIONS
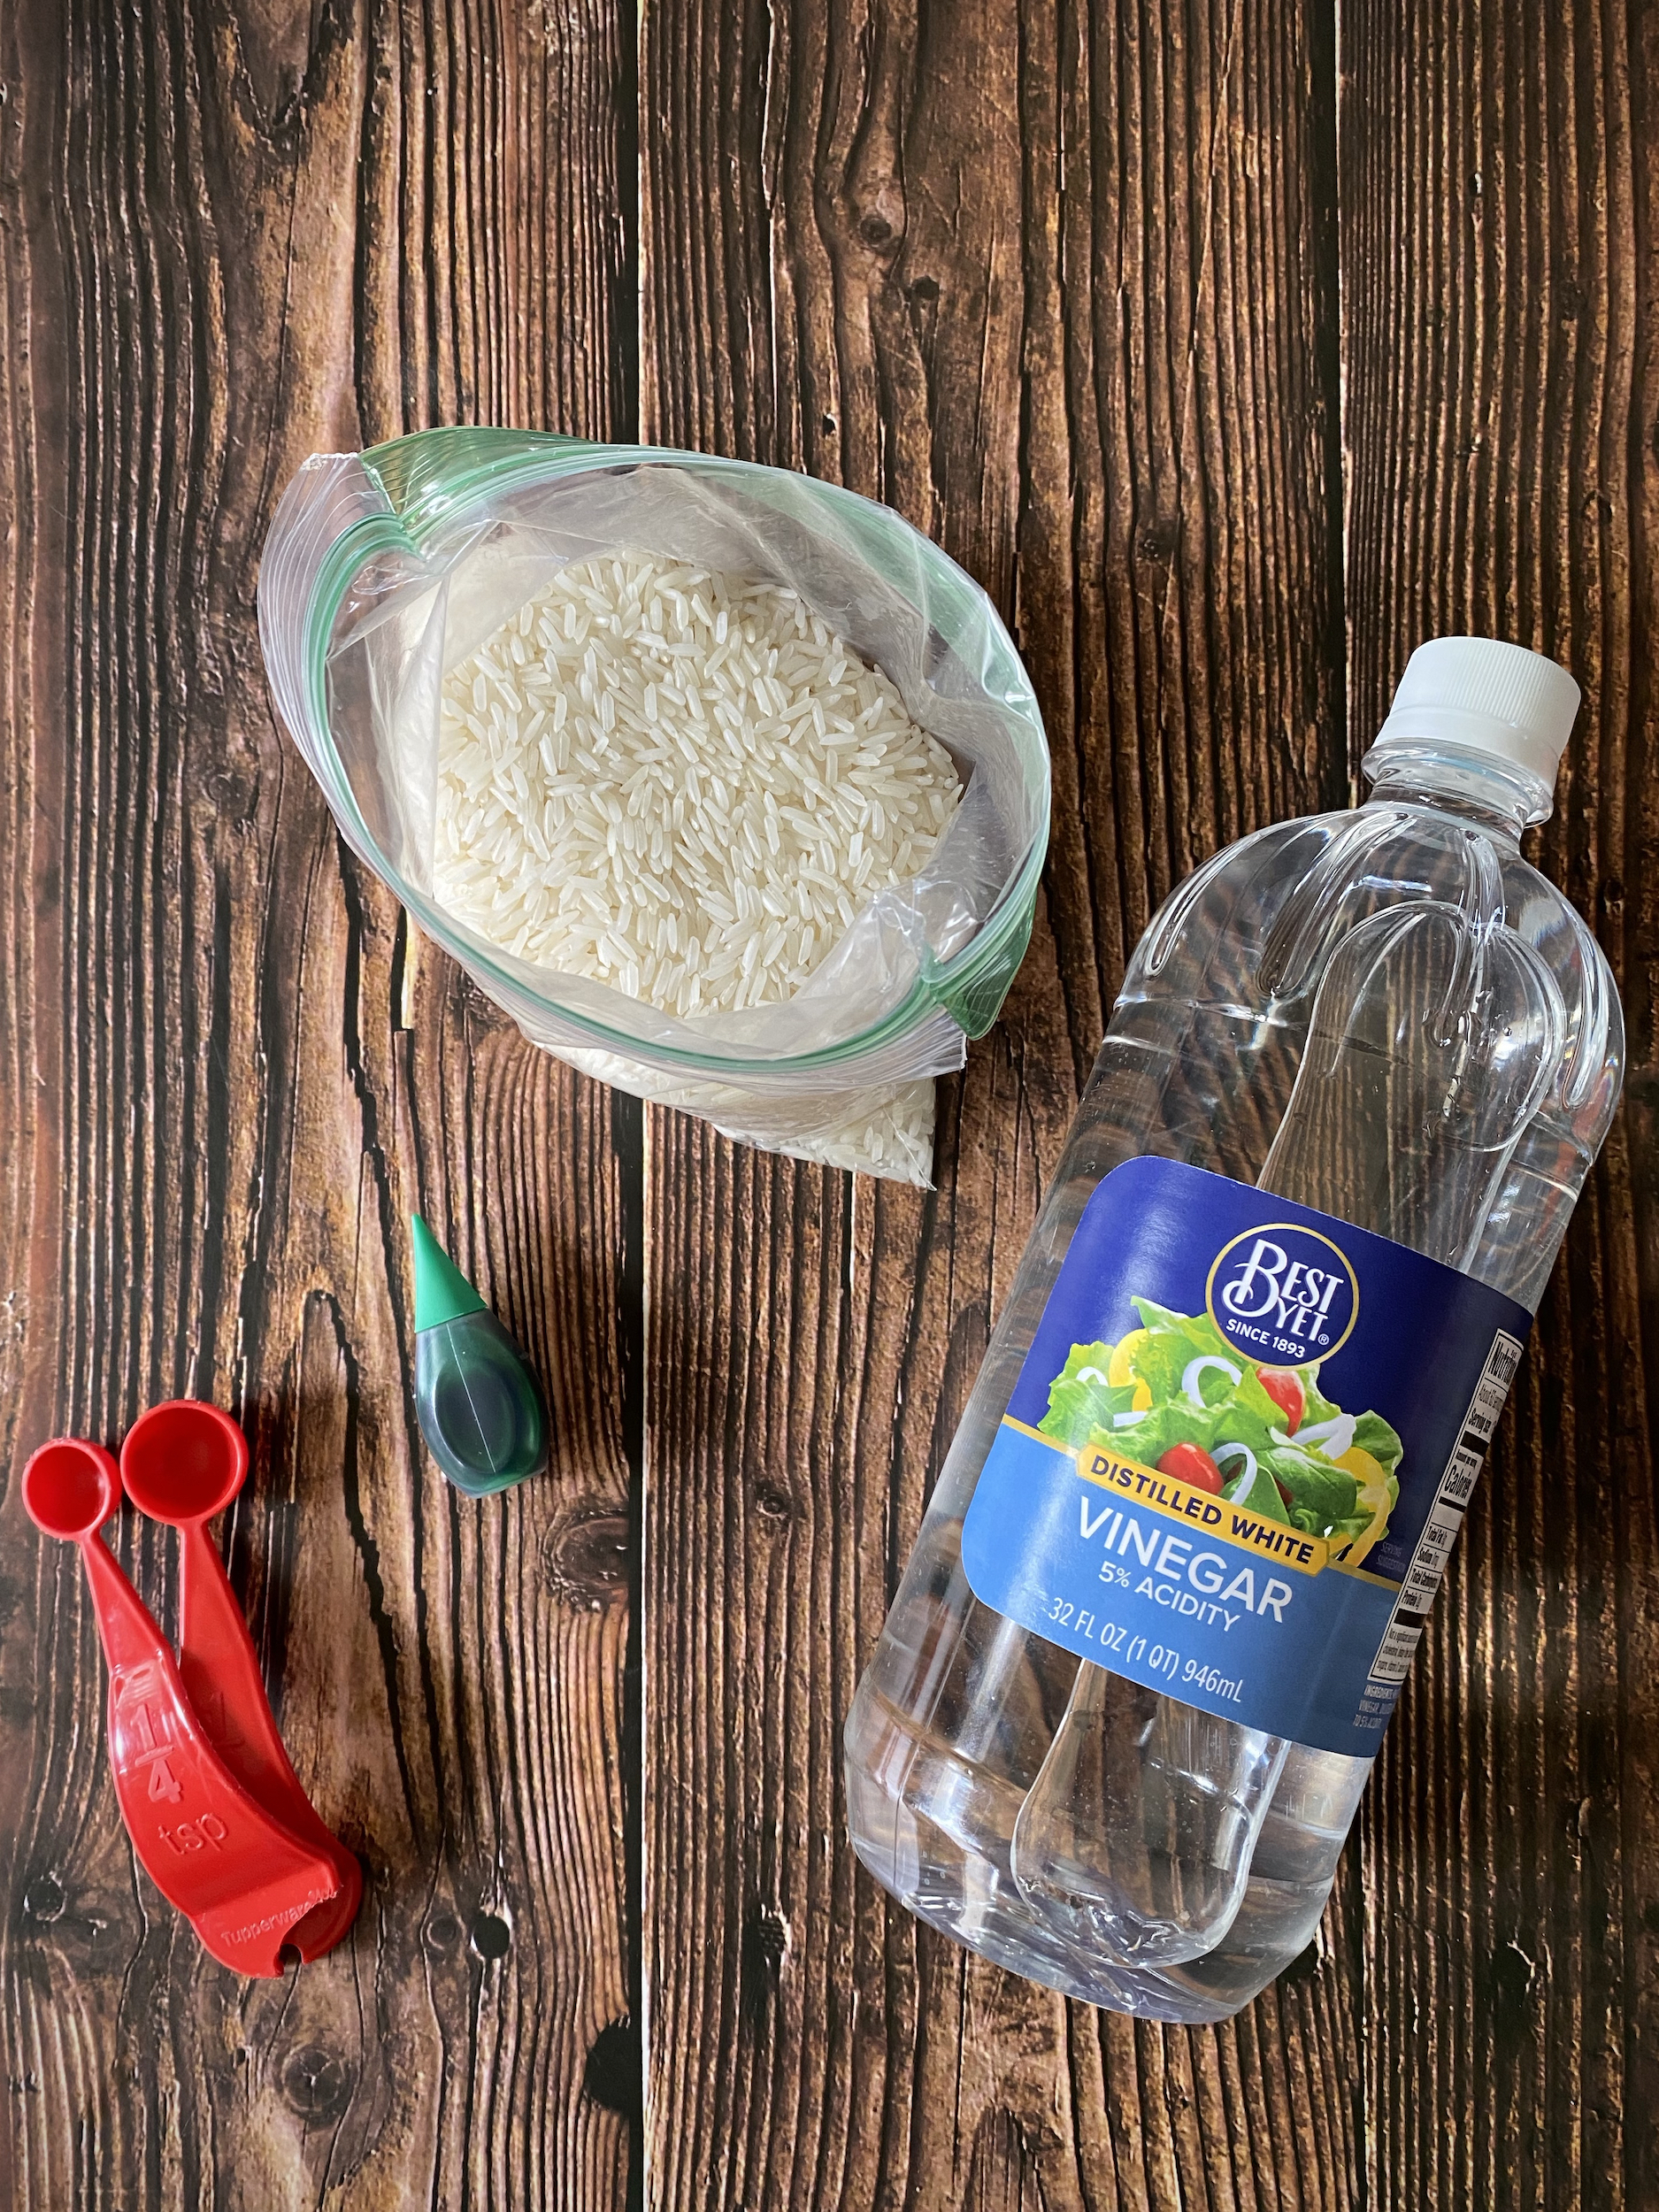
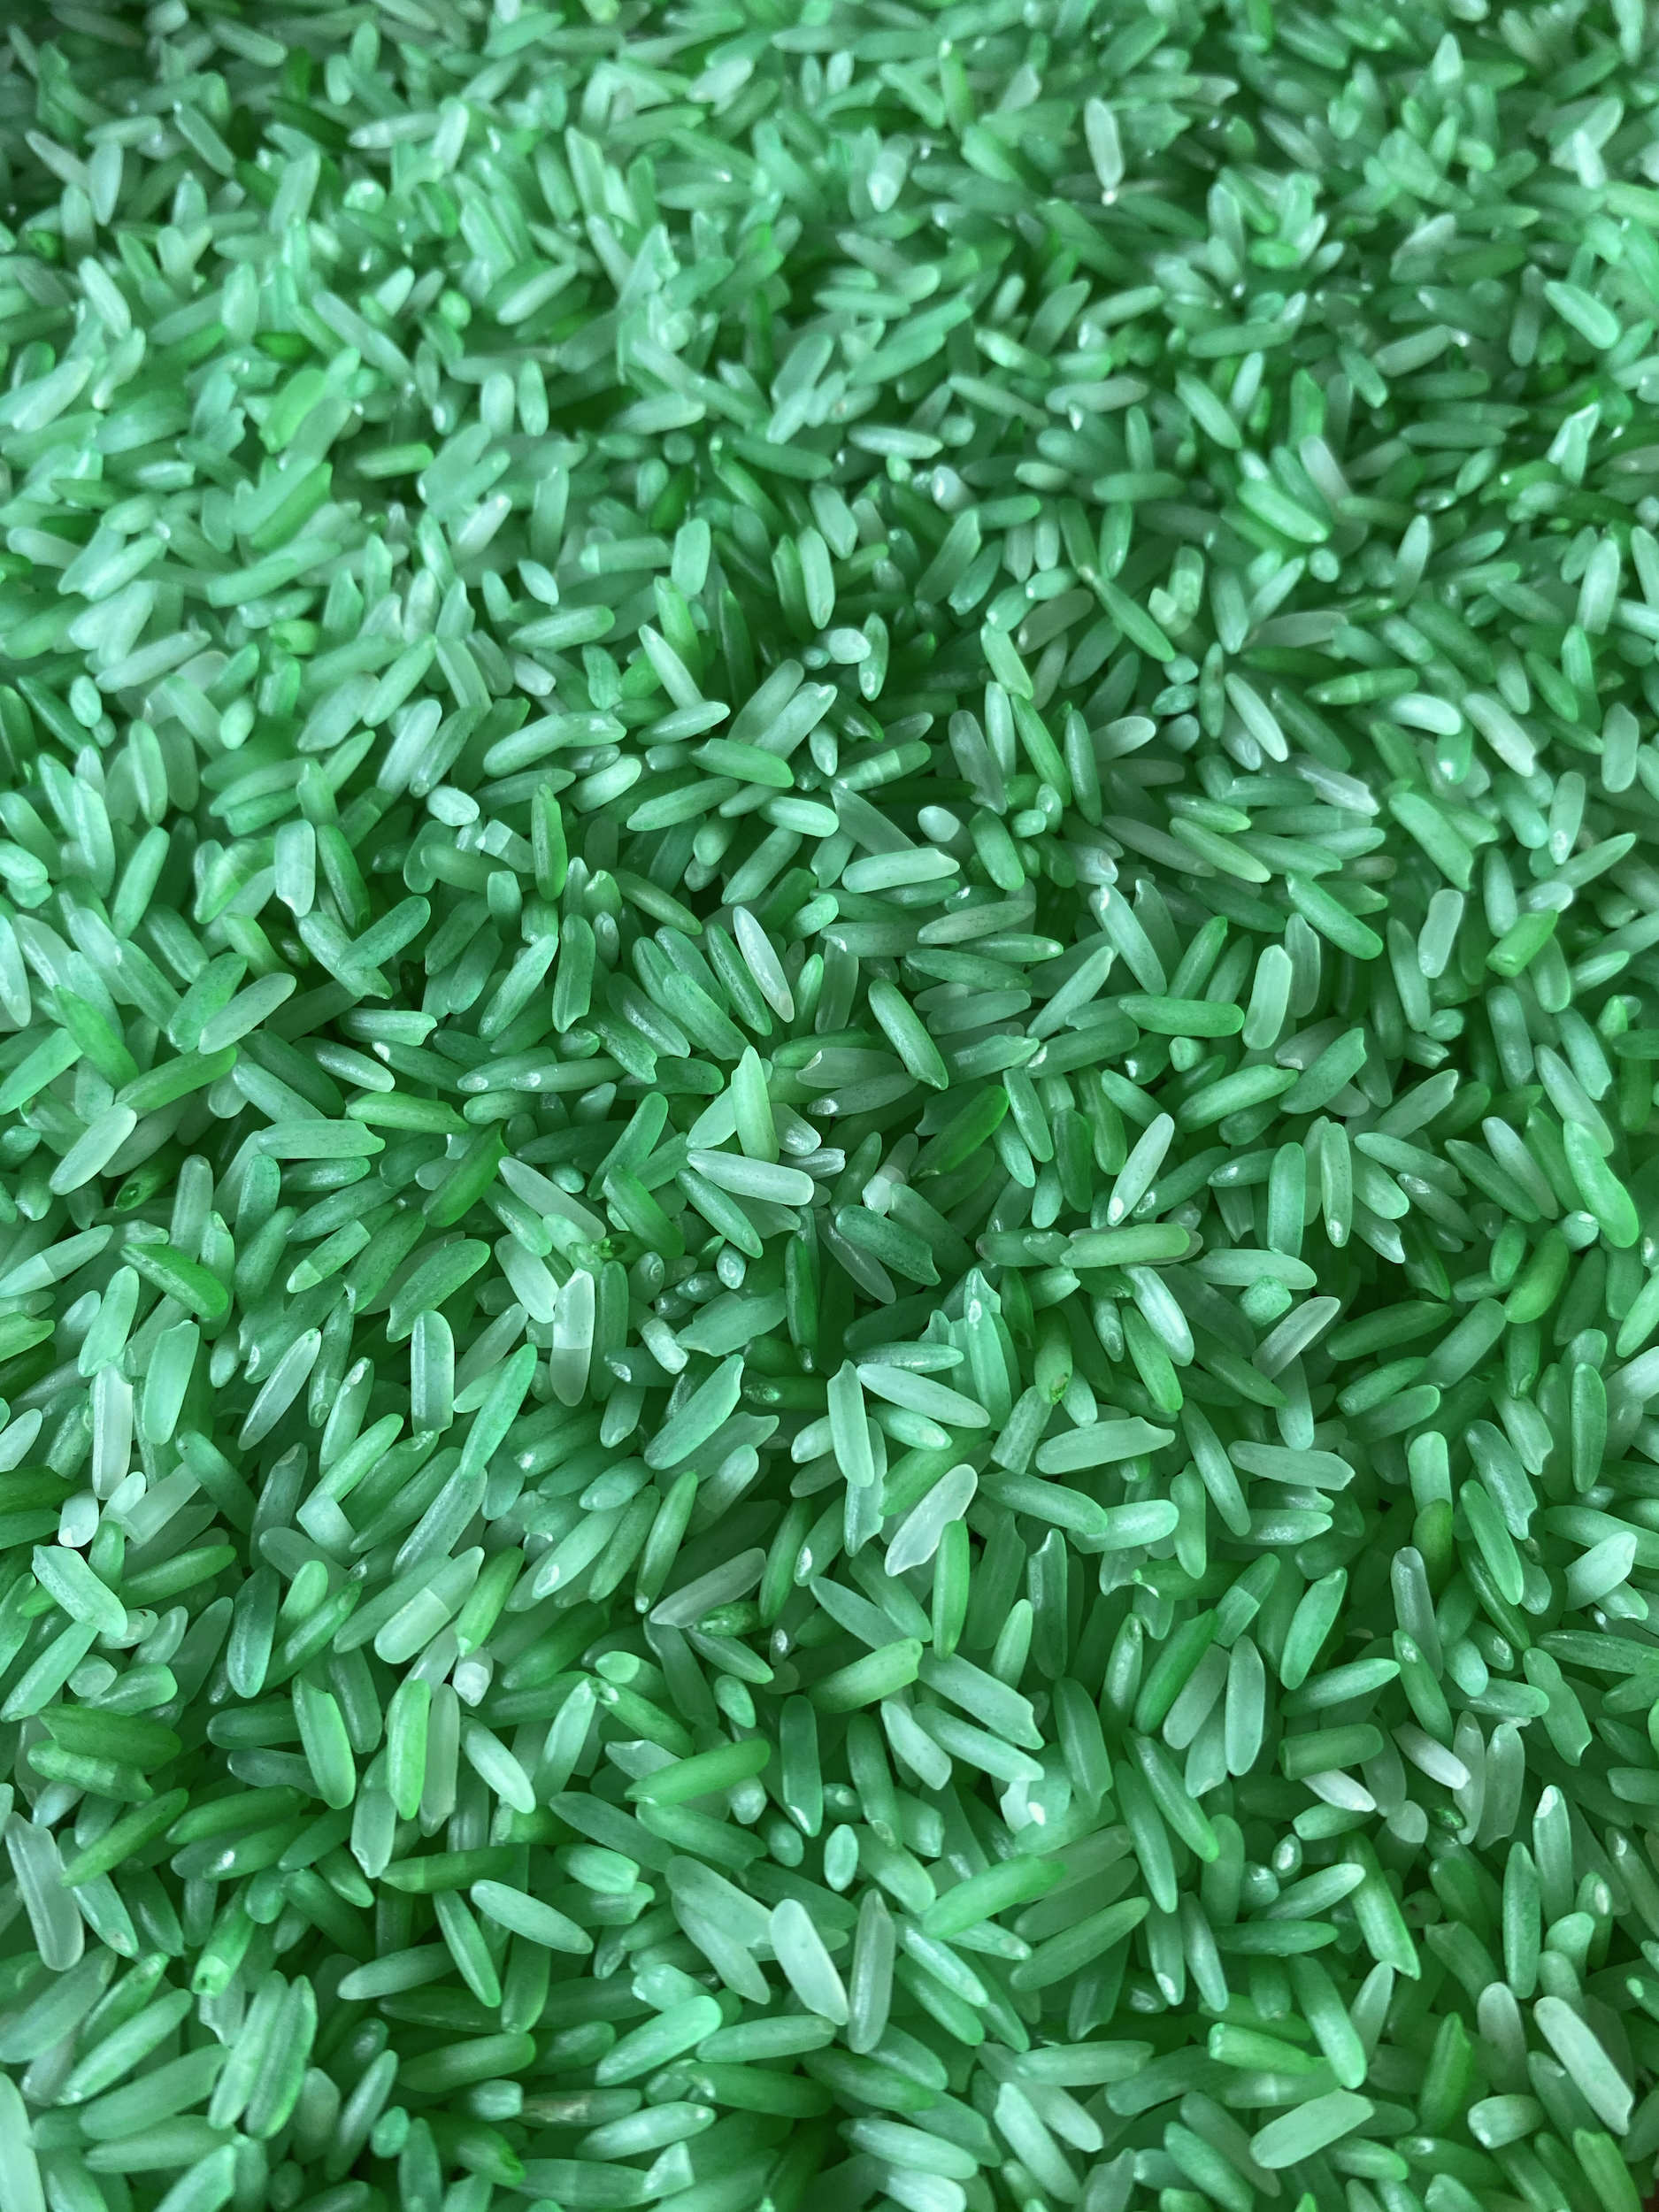


- Place the rice in a resealable plastic sandwich bag.
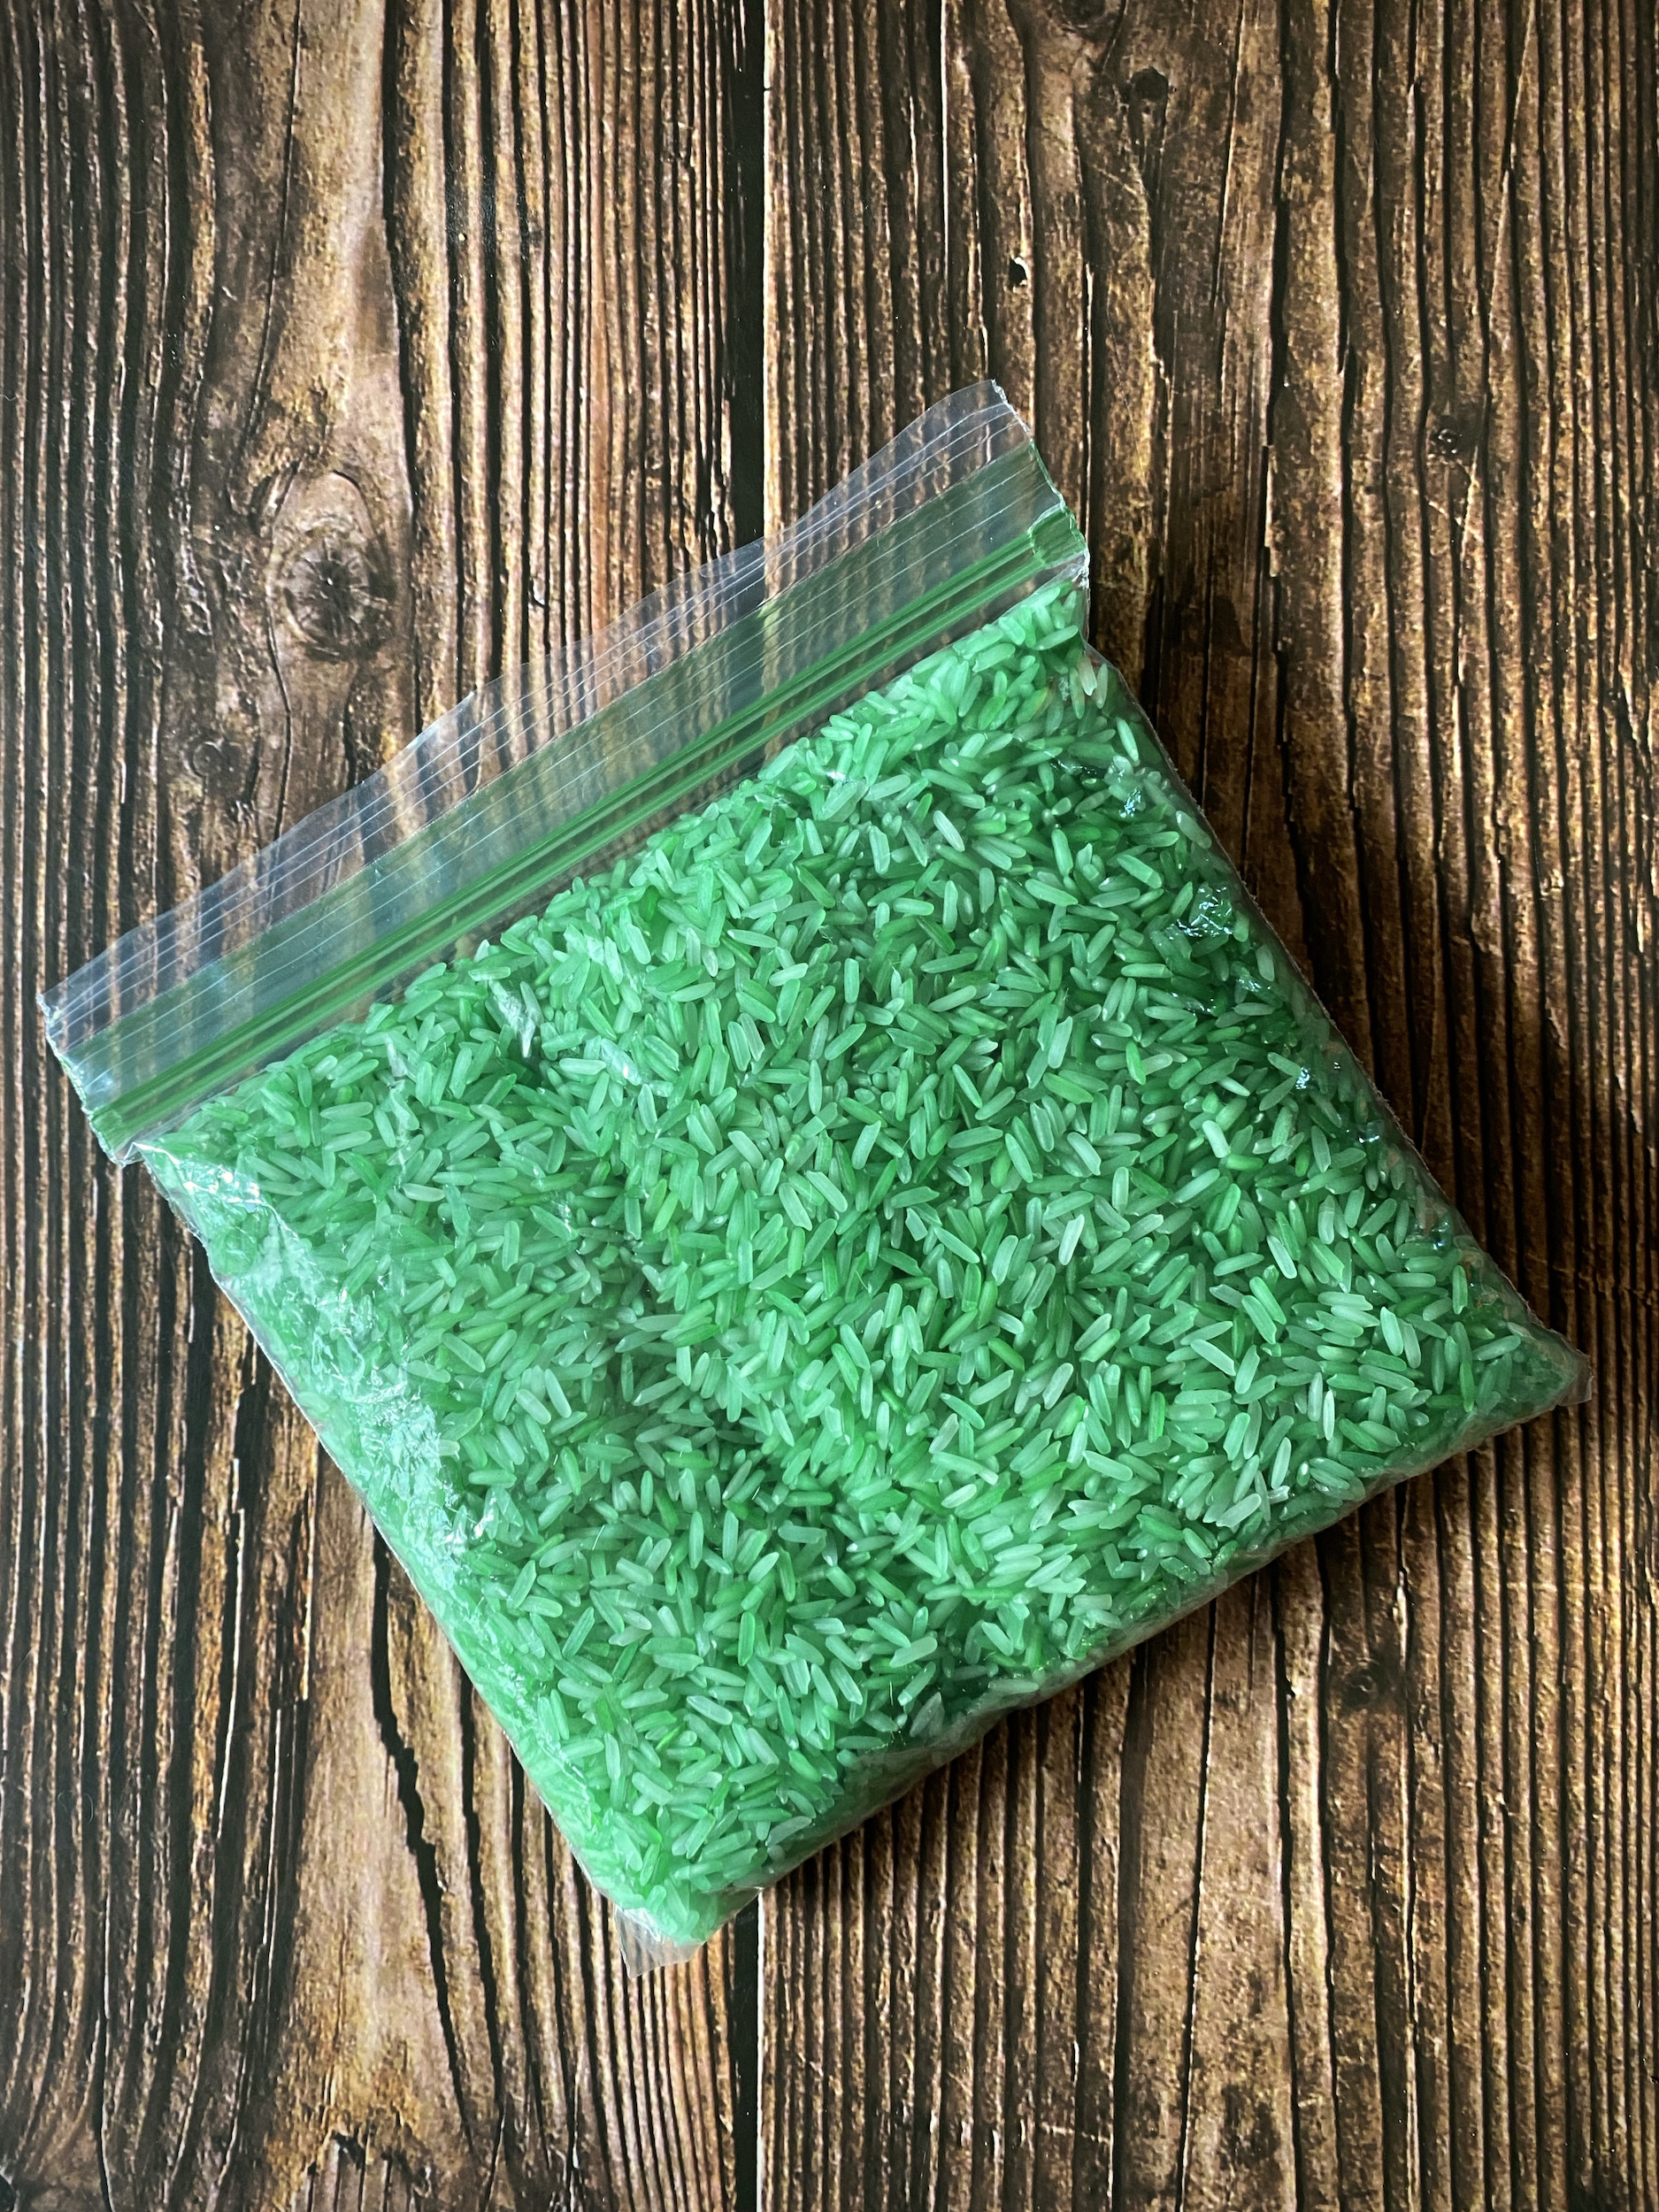
- Add the vinegar and food coloring to the rice. You can add however many drops of food coloring you’d like, I added 20 drops.
- Seal the bag and shake well until the color is well dispersed throughout.
- Spread the rice onto a baking sheet and allow it to dry overnight.
- Place the funnel in the mouth of your bottle and use it to fill the bottle with half of the rice.
- Remove the funnel and add half of the insect erasers.
- Screw the lid back onto the bottle and shake until well incorporated, then remove the lid and replace the funnel.
- Add the rest of the rice and the rest of the insect erasers.
- Replace the lid onto the bottle and shake well again until well incorporated.
- If your child is older and you worry about him/her undoing the lid, you can coat the inside of the lid with glue, then screw it back onto the bottle. This will secure the lid and make it harder for little ones to unscrew the lid and create a leak or spill the bottle’s contents.
Enjoy!
