Part of the fun in raising Zoey is making things that teach and fascinate her. I’ve seen the stacking toy done in so many fun and creative ways, but I don’t believe I’ve seen a felt doughnut stacking toy yet, so let’s make one!
My Dad, Zoey’s Grandpa Kev, made the base of this toy. If you do not have access to a competent woodworker/carpenter to make a base, I would recommend using the base of another stacking toy. You can switch out between the rings that came with the toy and felt doughnuts!
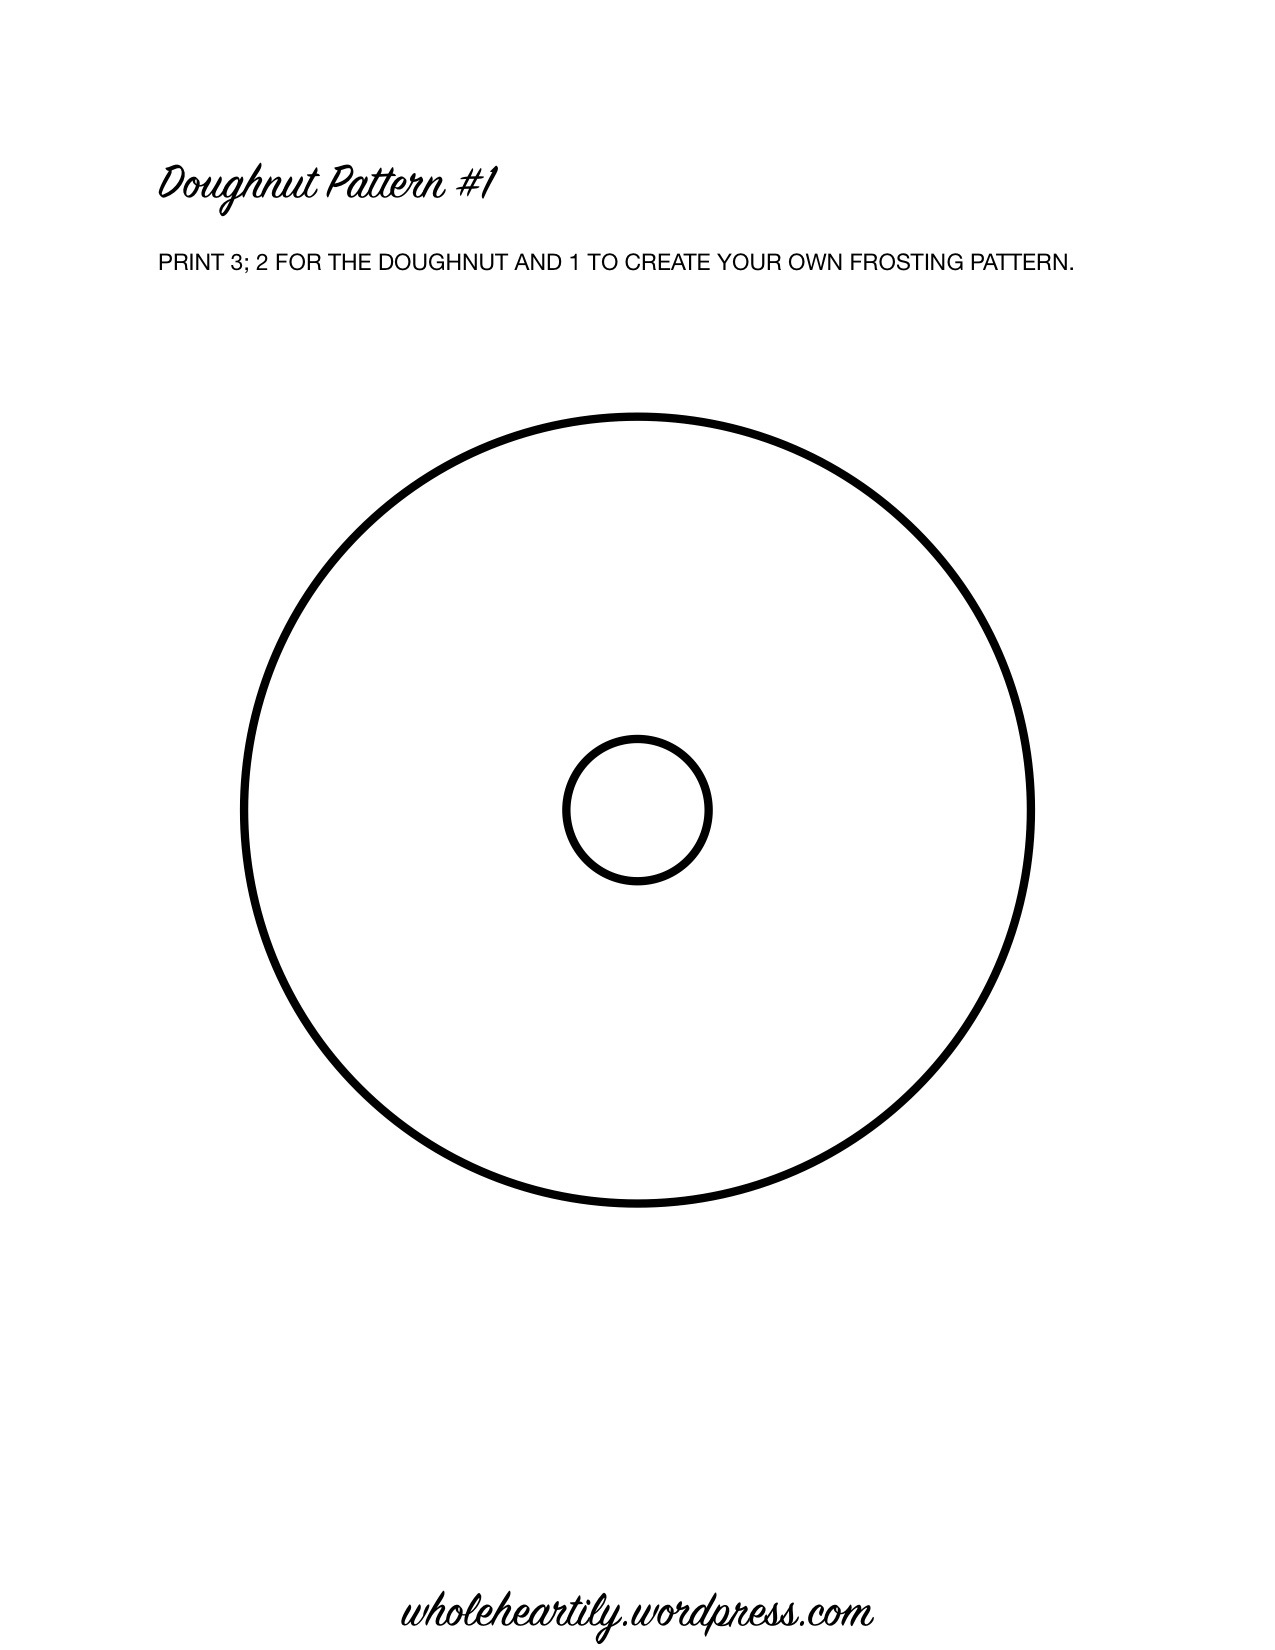
 I have provided the patterns I used to make the four different sizes of donuts for my stacking toy. You’re welcome to use them if the base of your toy closely resembles mine, or you can make them as play food without the base. Another option would be to create your own patterns using the measurements of your base and a compass.

SUPPLIES
- Doughnut and frosting patterns
- Scissors
- 4 sheets (9” x 12”) of a doughnut colored felt of your choice
- A skein of closely matching doughnut colored embroidery thread
- 4 sheets (9” x 12”) of frosting colored colored felt of your choice
- 4 skeins of closely matching frosting colored embroidery thread
- Embroidery needle
- Fiber filling (stuffing)
INSTRUCTIONS
- Print 3 copies each of the two supplied pattern pages.
- Use the first two copies to cut out a pair of each size of circle, one for either side of the doughnut.
- Create your own wavy frosting pattern within each of the circles on the third pages, and cut those patterns out for your frosting.
- Lay the circular patterns on the felt you’ve chosen for you doughnuts and pin them in place.
- Lay the frosting patterns on the felt you’ve chosen for the frosting; these can be all the same color, or different colors.
- Cut around the patterns. You can do this directly or trace around the edges of the patterns with a pen, then remove the patterns and cut out each shape.

- Place the frosting for each doughnut on one of the doughnut halves, aligning the center holes, and pin them to keep them secure.
- Cut a length each of three different colored embroidery threads for the sprinkles; there are 6 strands in each embroidery thread, split them in half three by three and peel them apart.
- Thread the needle with your first sprinkle color, and poke the threaded needle up from the bottom of the top of the doughnut, emerging through the top of the frosting, and pull it through. Create a sprinkle size length in any direction you choose and poke the needle back down through the frosting to underneath the doughnut. Repeat this process all around the doughnut in a pattern you prefer and tie it off underneath.
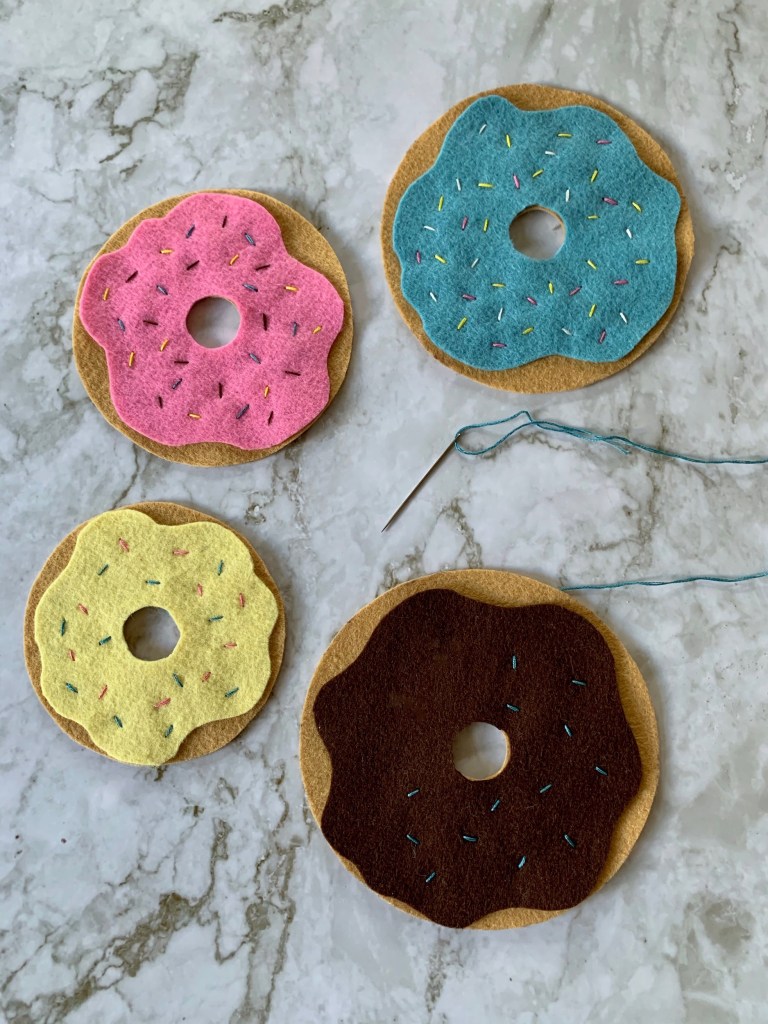

- Remove the pins, repeat this process and create sprinkles in two more colors.
- Thread the needle with thread that matches the color of your frosting. Begin using neat whip stitches around the outside edges of the frosting starting with your knot underneath the top half of the doughnut.


- Using the same thread color as your frosting, align the bottom half of the doughnut to the top, frosted half and use neat whip stitches around the center hole. To hide your thread, knot it and pull it up through the bottom of the frosted layer to begin. When finished, poke the needle through the bottom doughnut layer, but only come through the middle in between the top and bottom of the doughnut to tie off your knot.
- Thread the needle with embroidery thread the color of your doughnut. Once again, use neat whip stitching along the outside edge of your doughnut, concealing the knot inside. About two thirds around, stop stitching and begin adding stuffing. Keep stitching and stuffing as space allows until you’ve made your doughnut whole.


- To conceal the knot, tie a knot at the base of your string still attached to the doughnut and pull it within the edges of the doughnut, going through the stuffing and coming out somewhere near he center hole, then trim this piece off.
- Repeat steps 7 through 10 to complete each size doughnut.
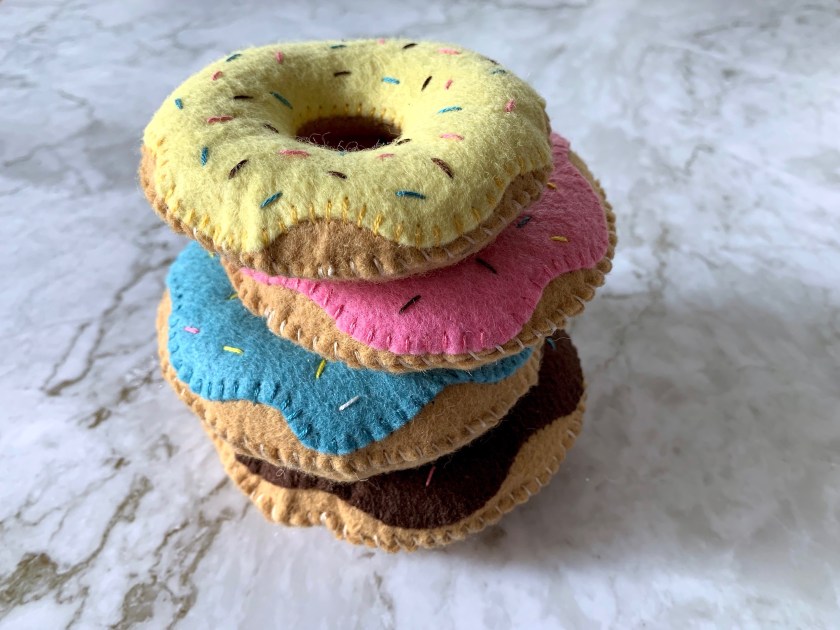
- Enjoy!


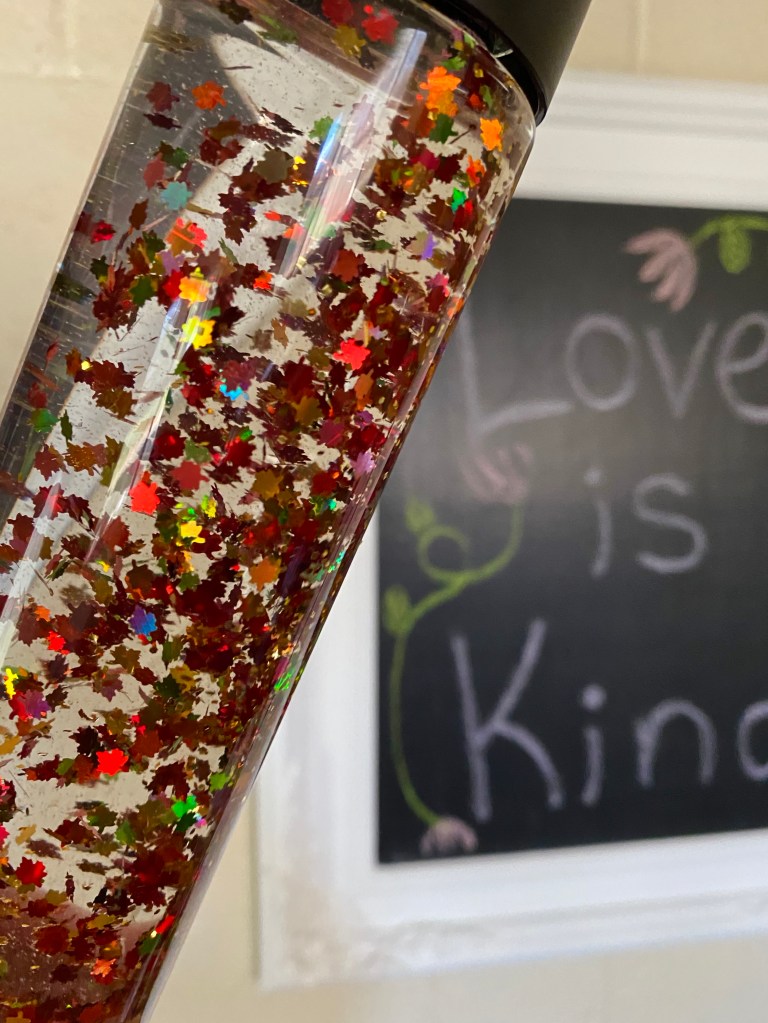
 I love Autumn, it has to be my favorite season of the year!


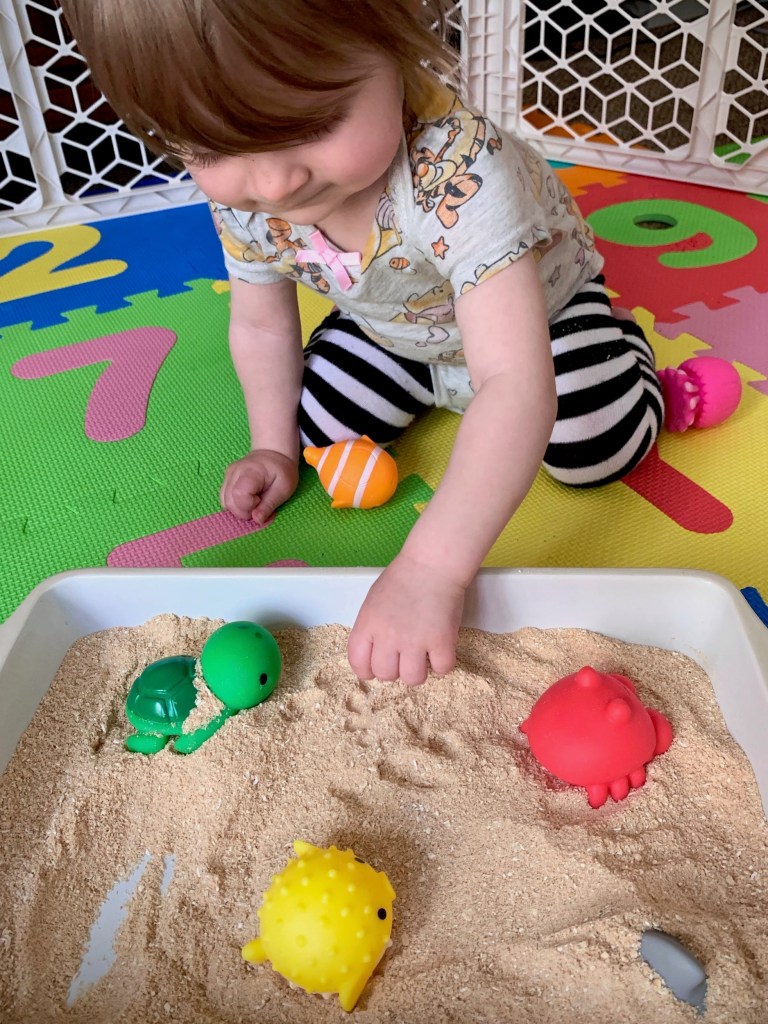
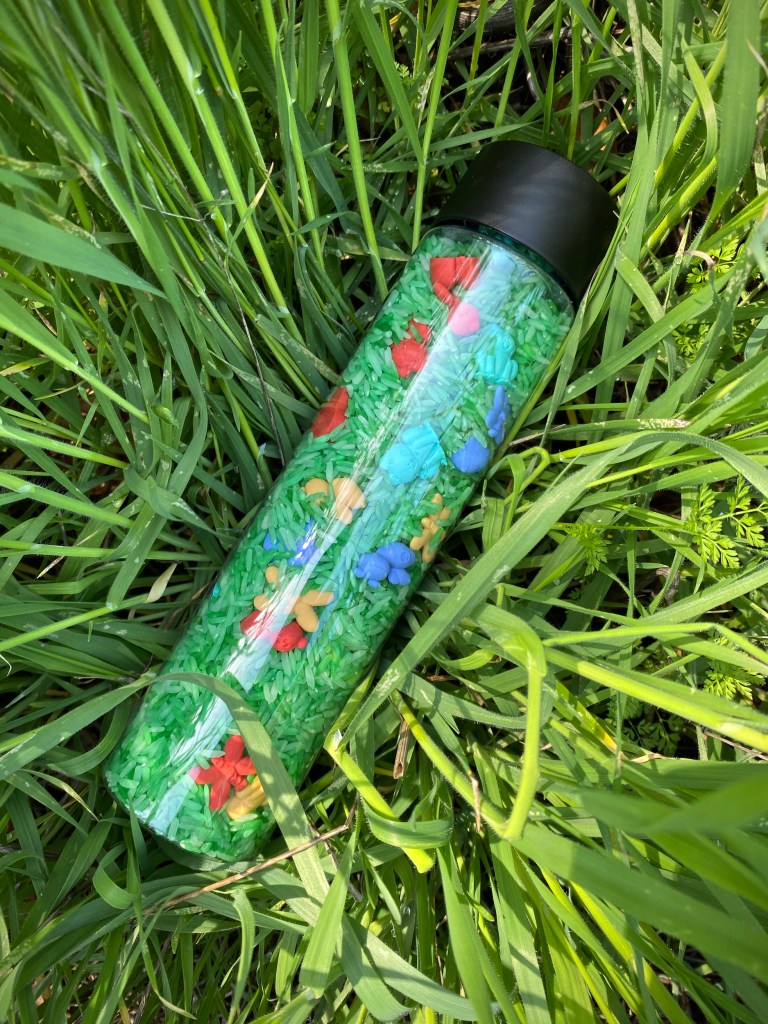
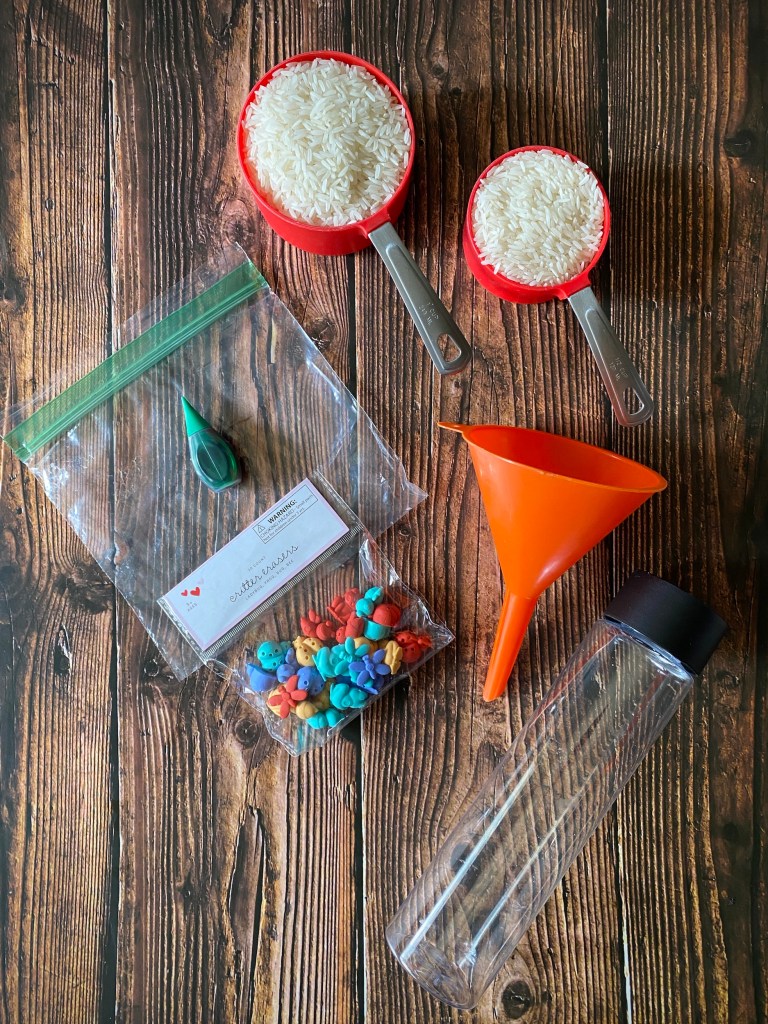
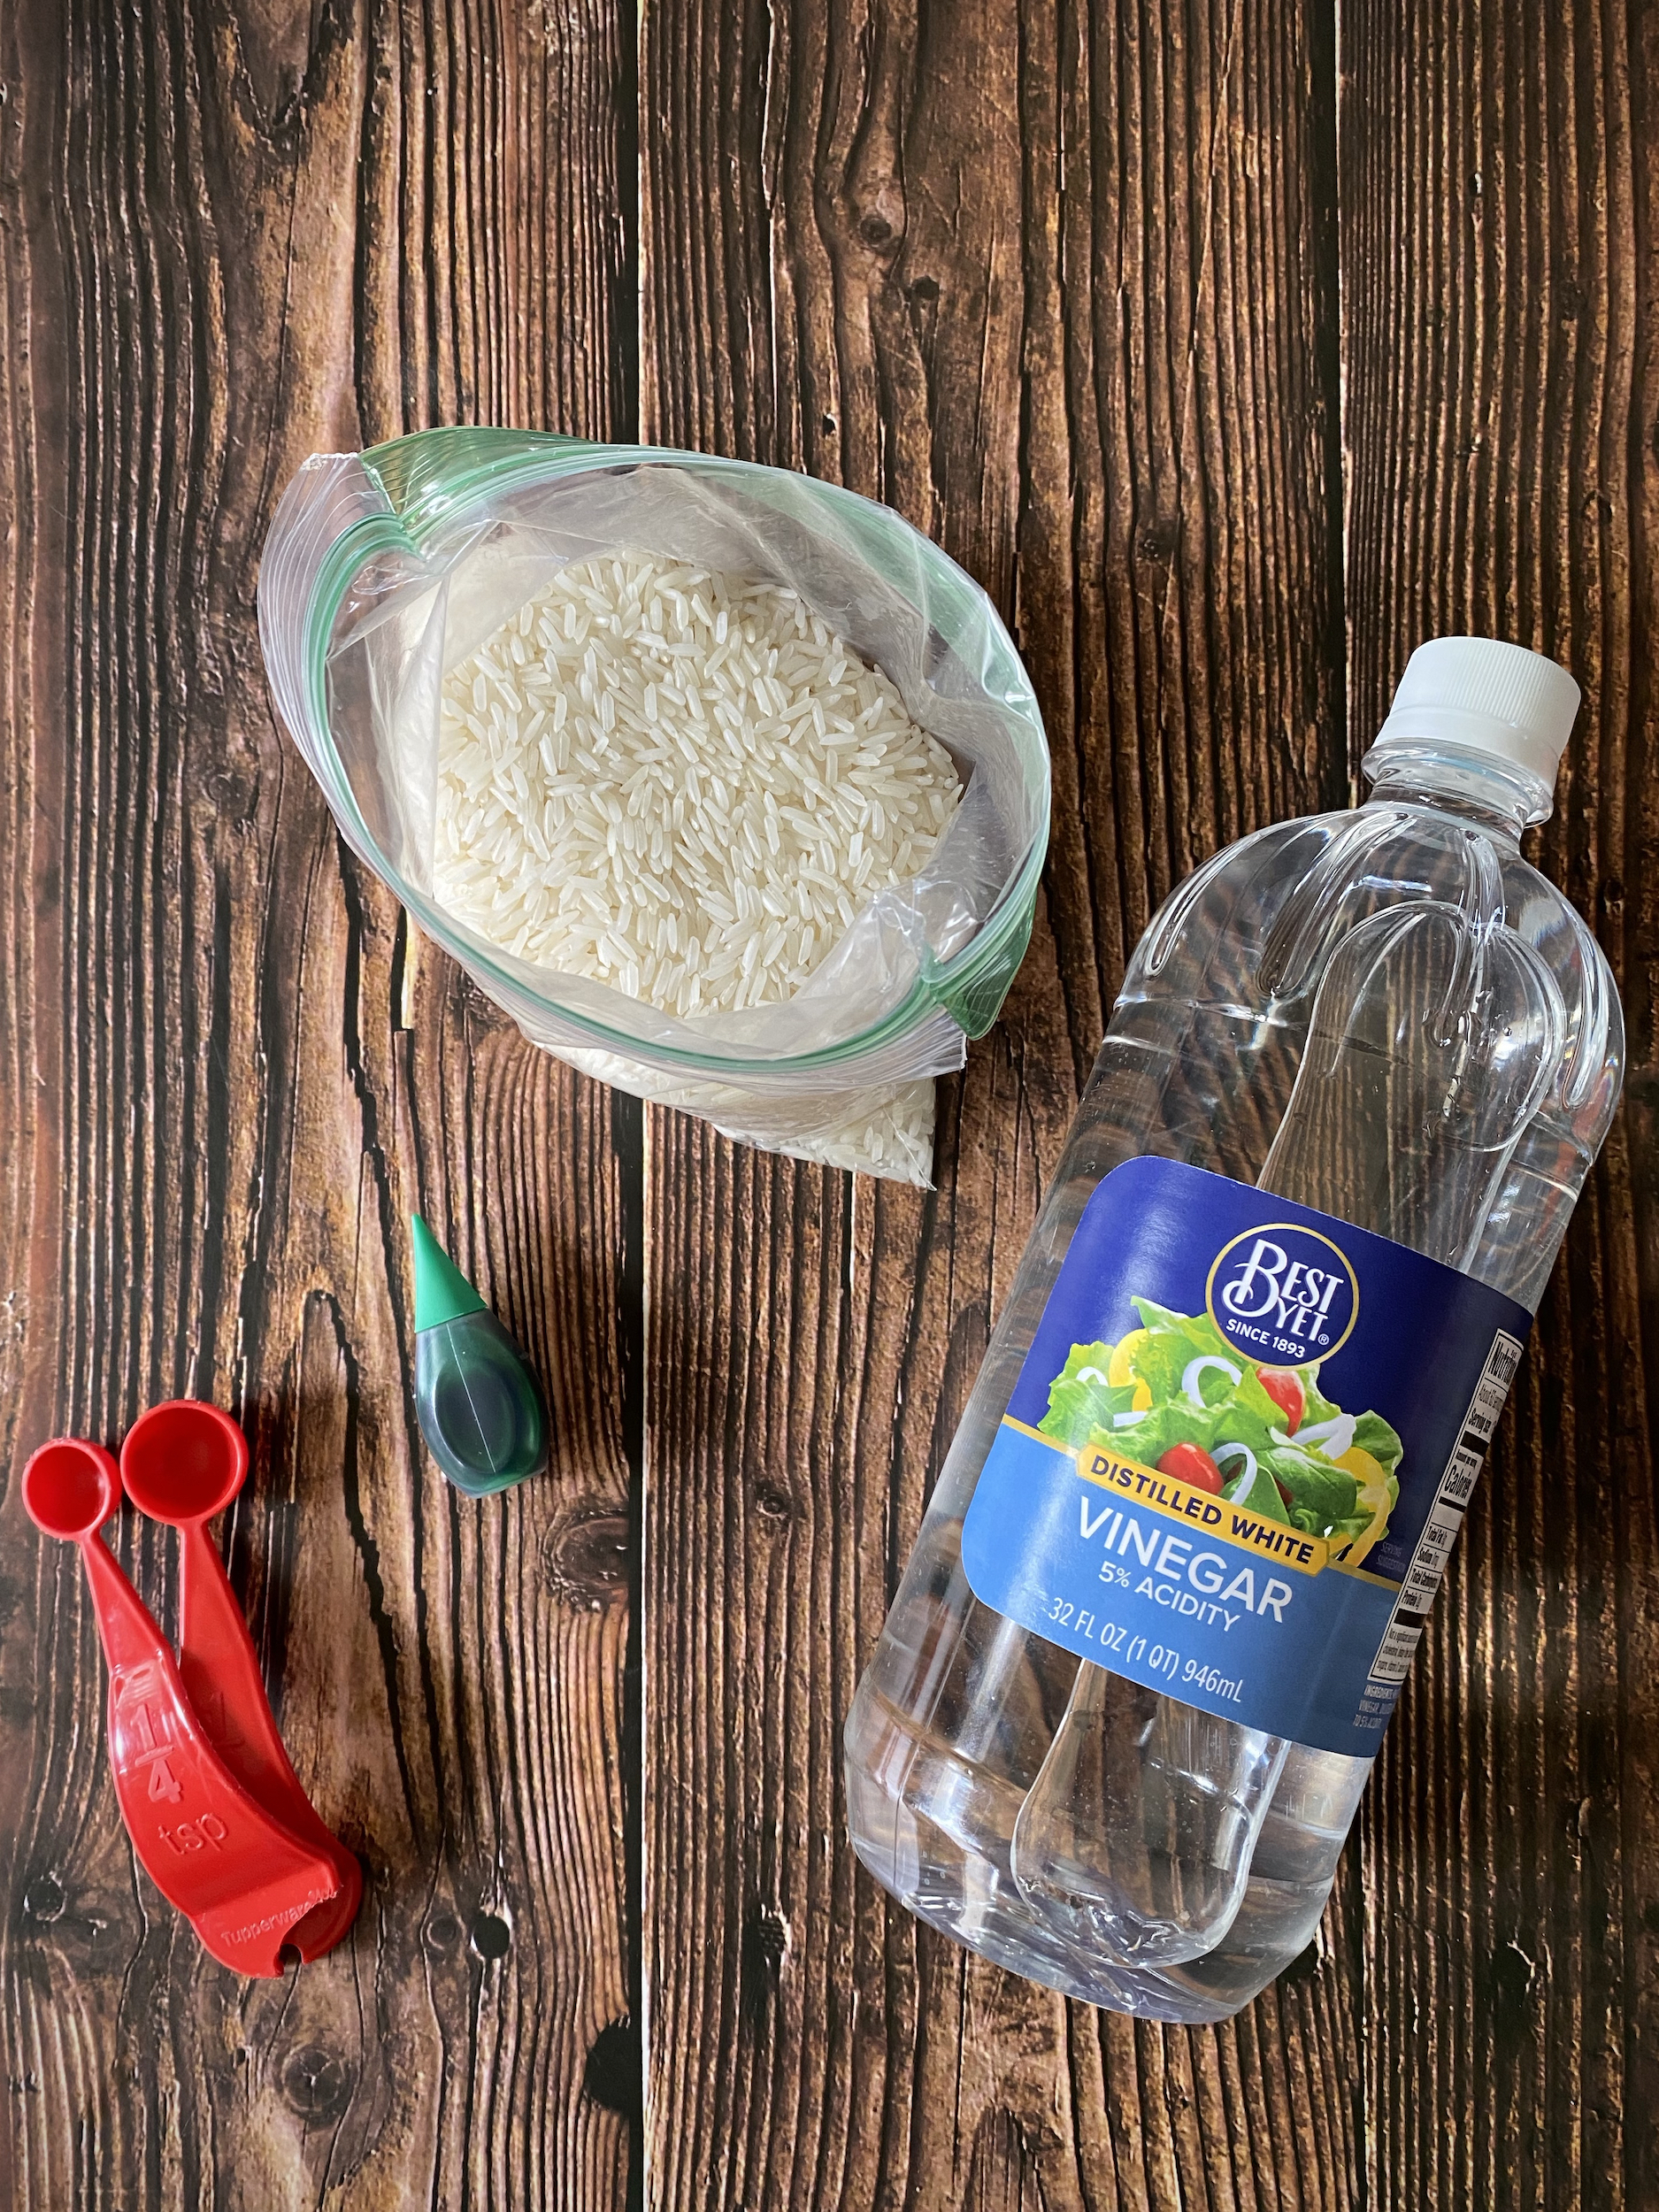
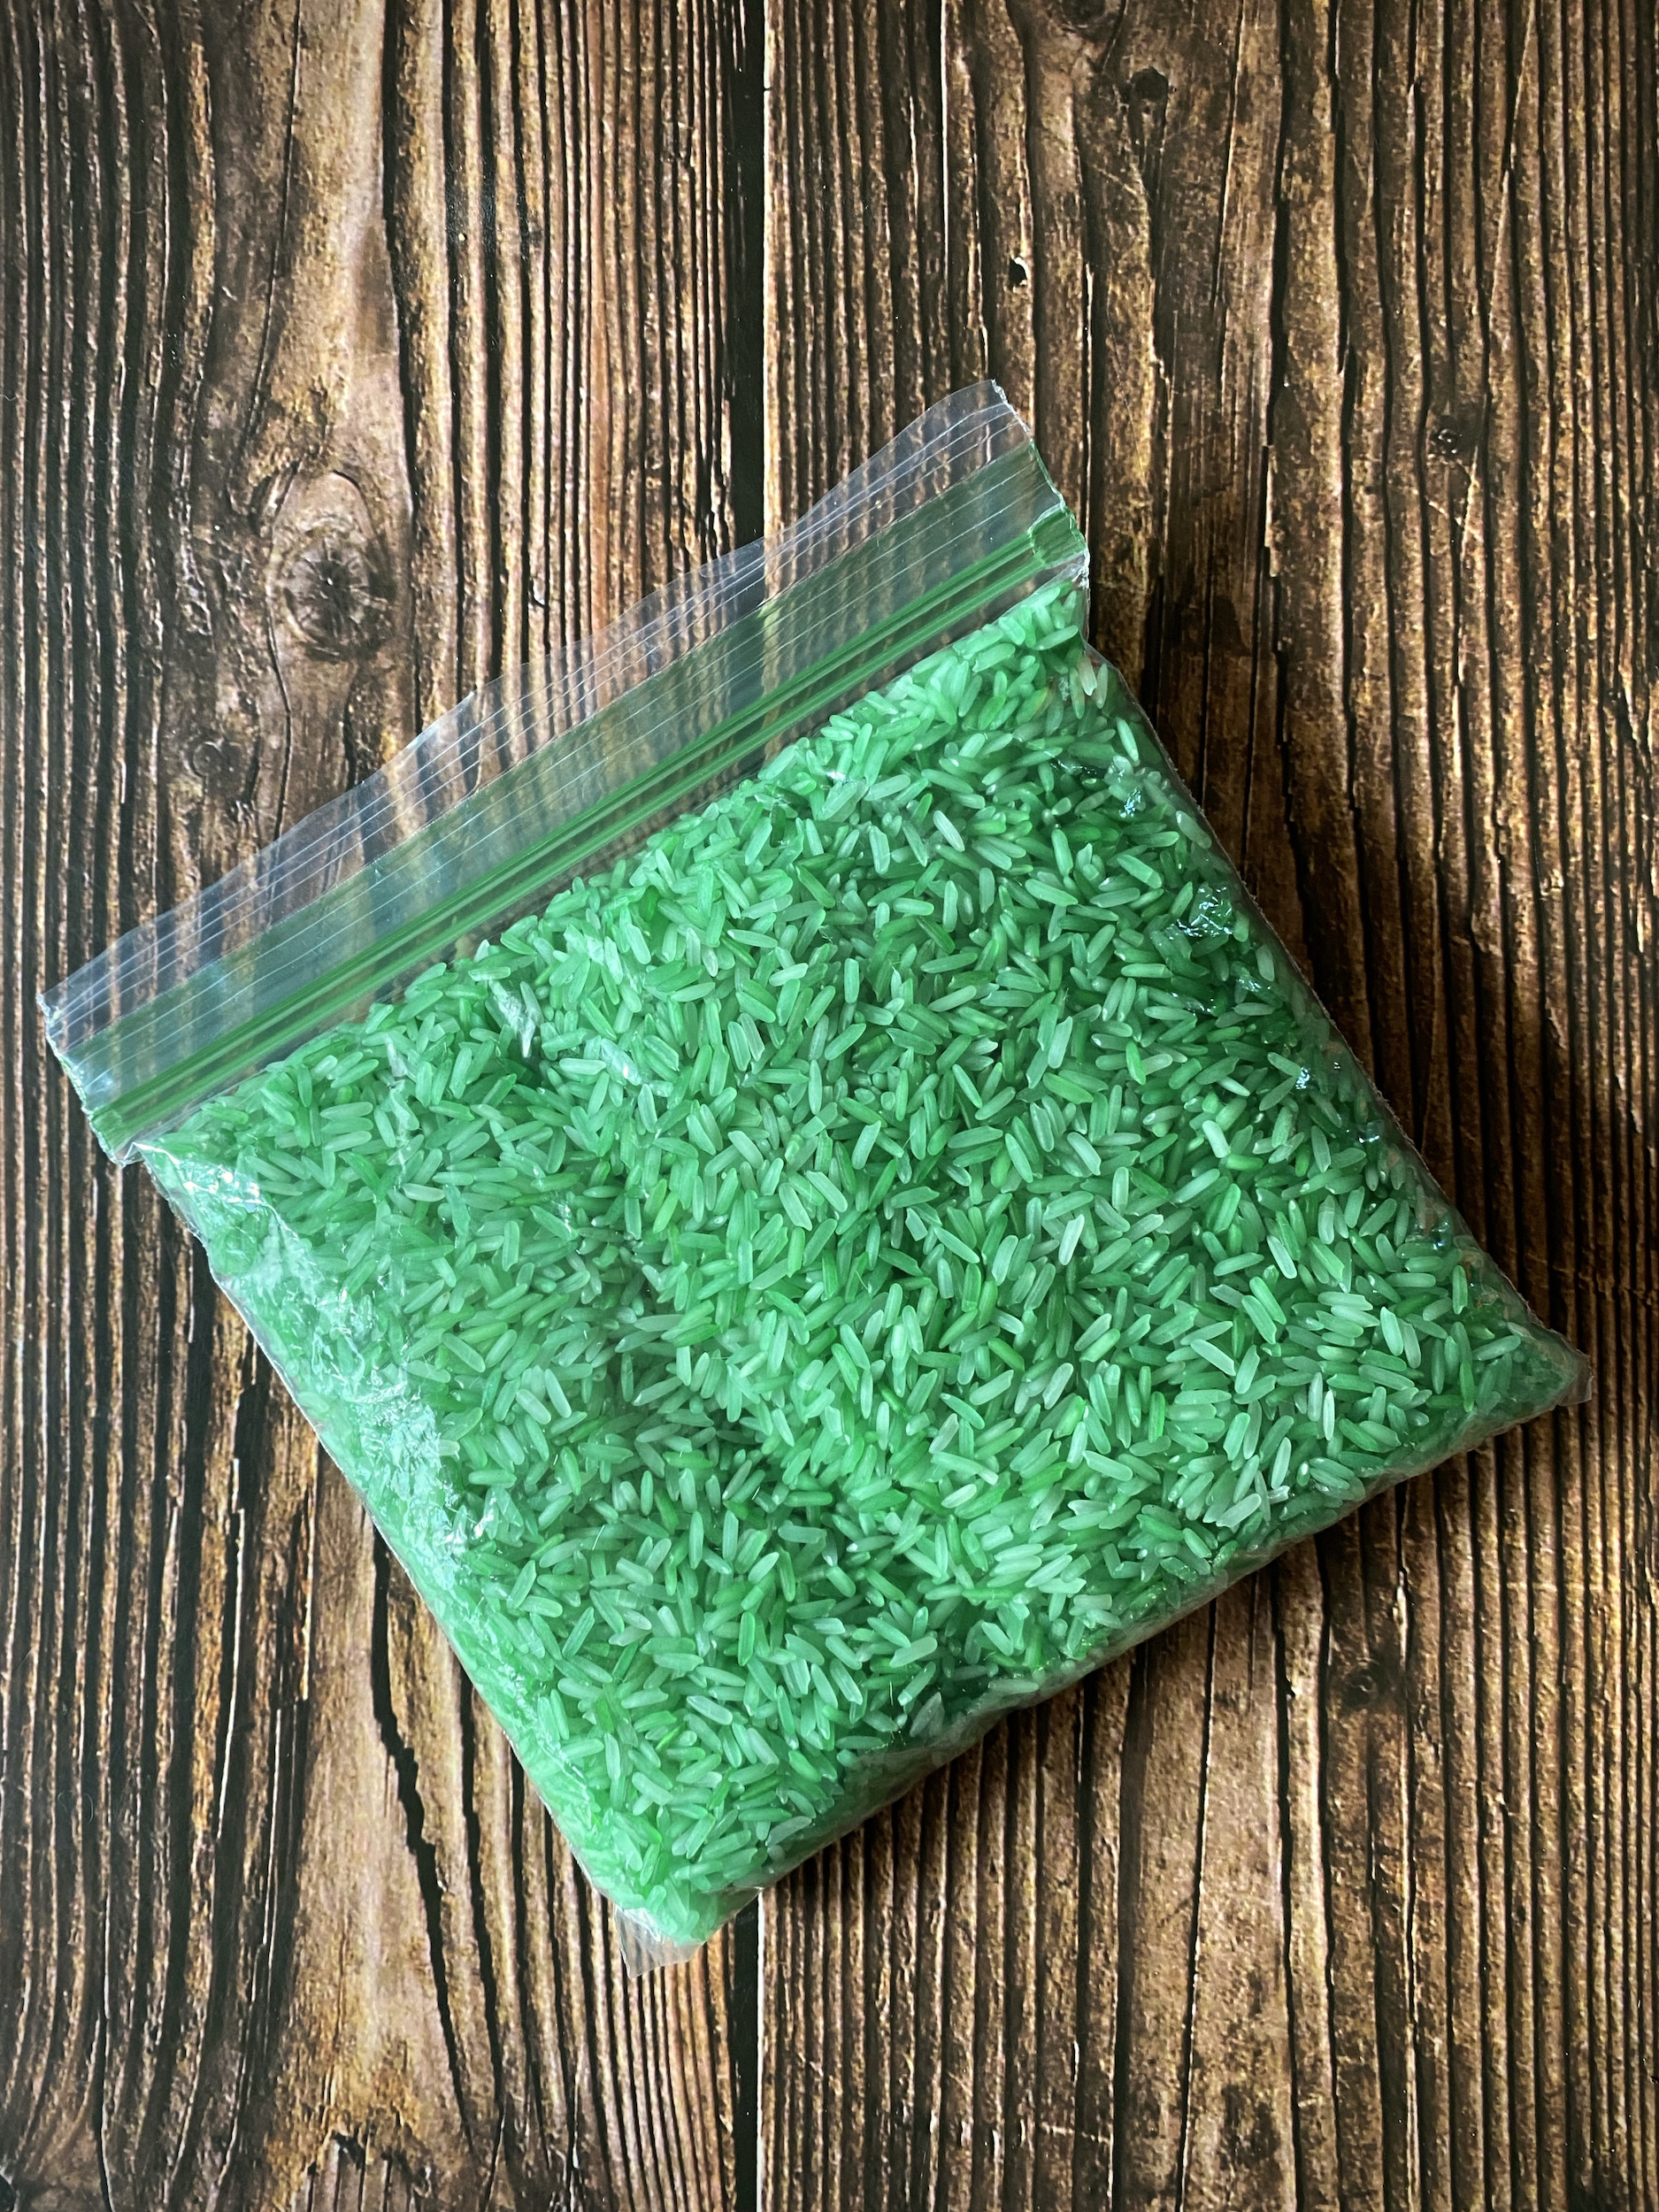
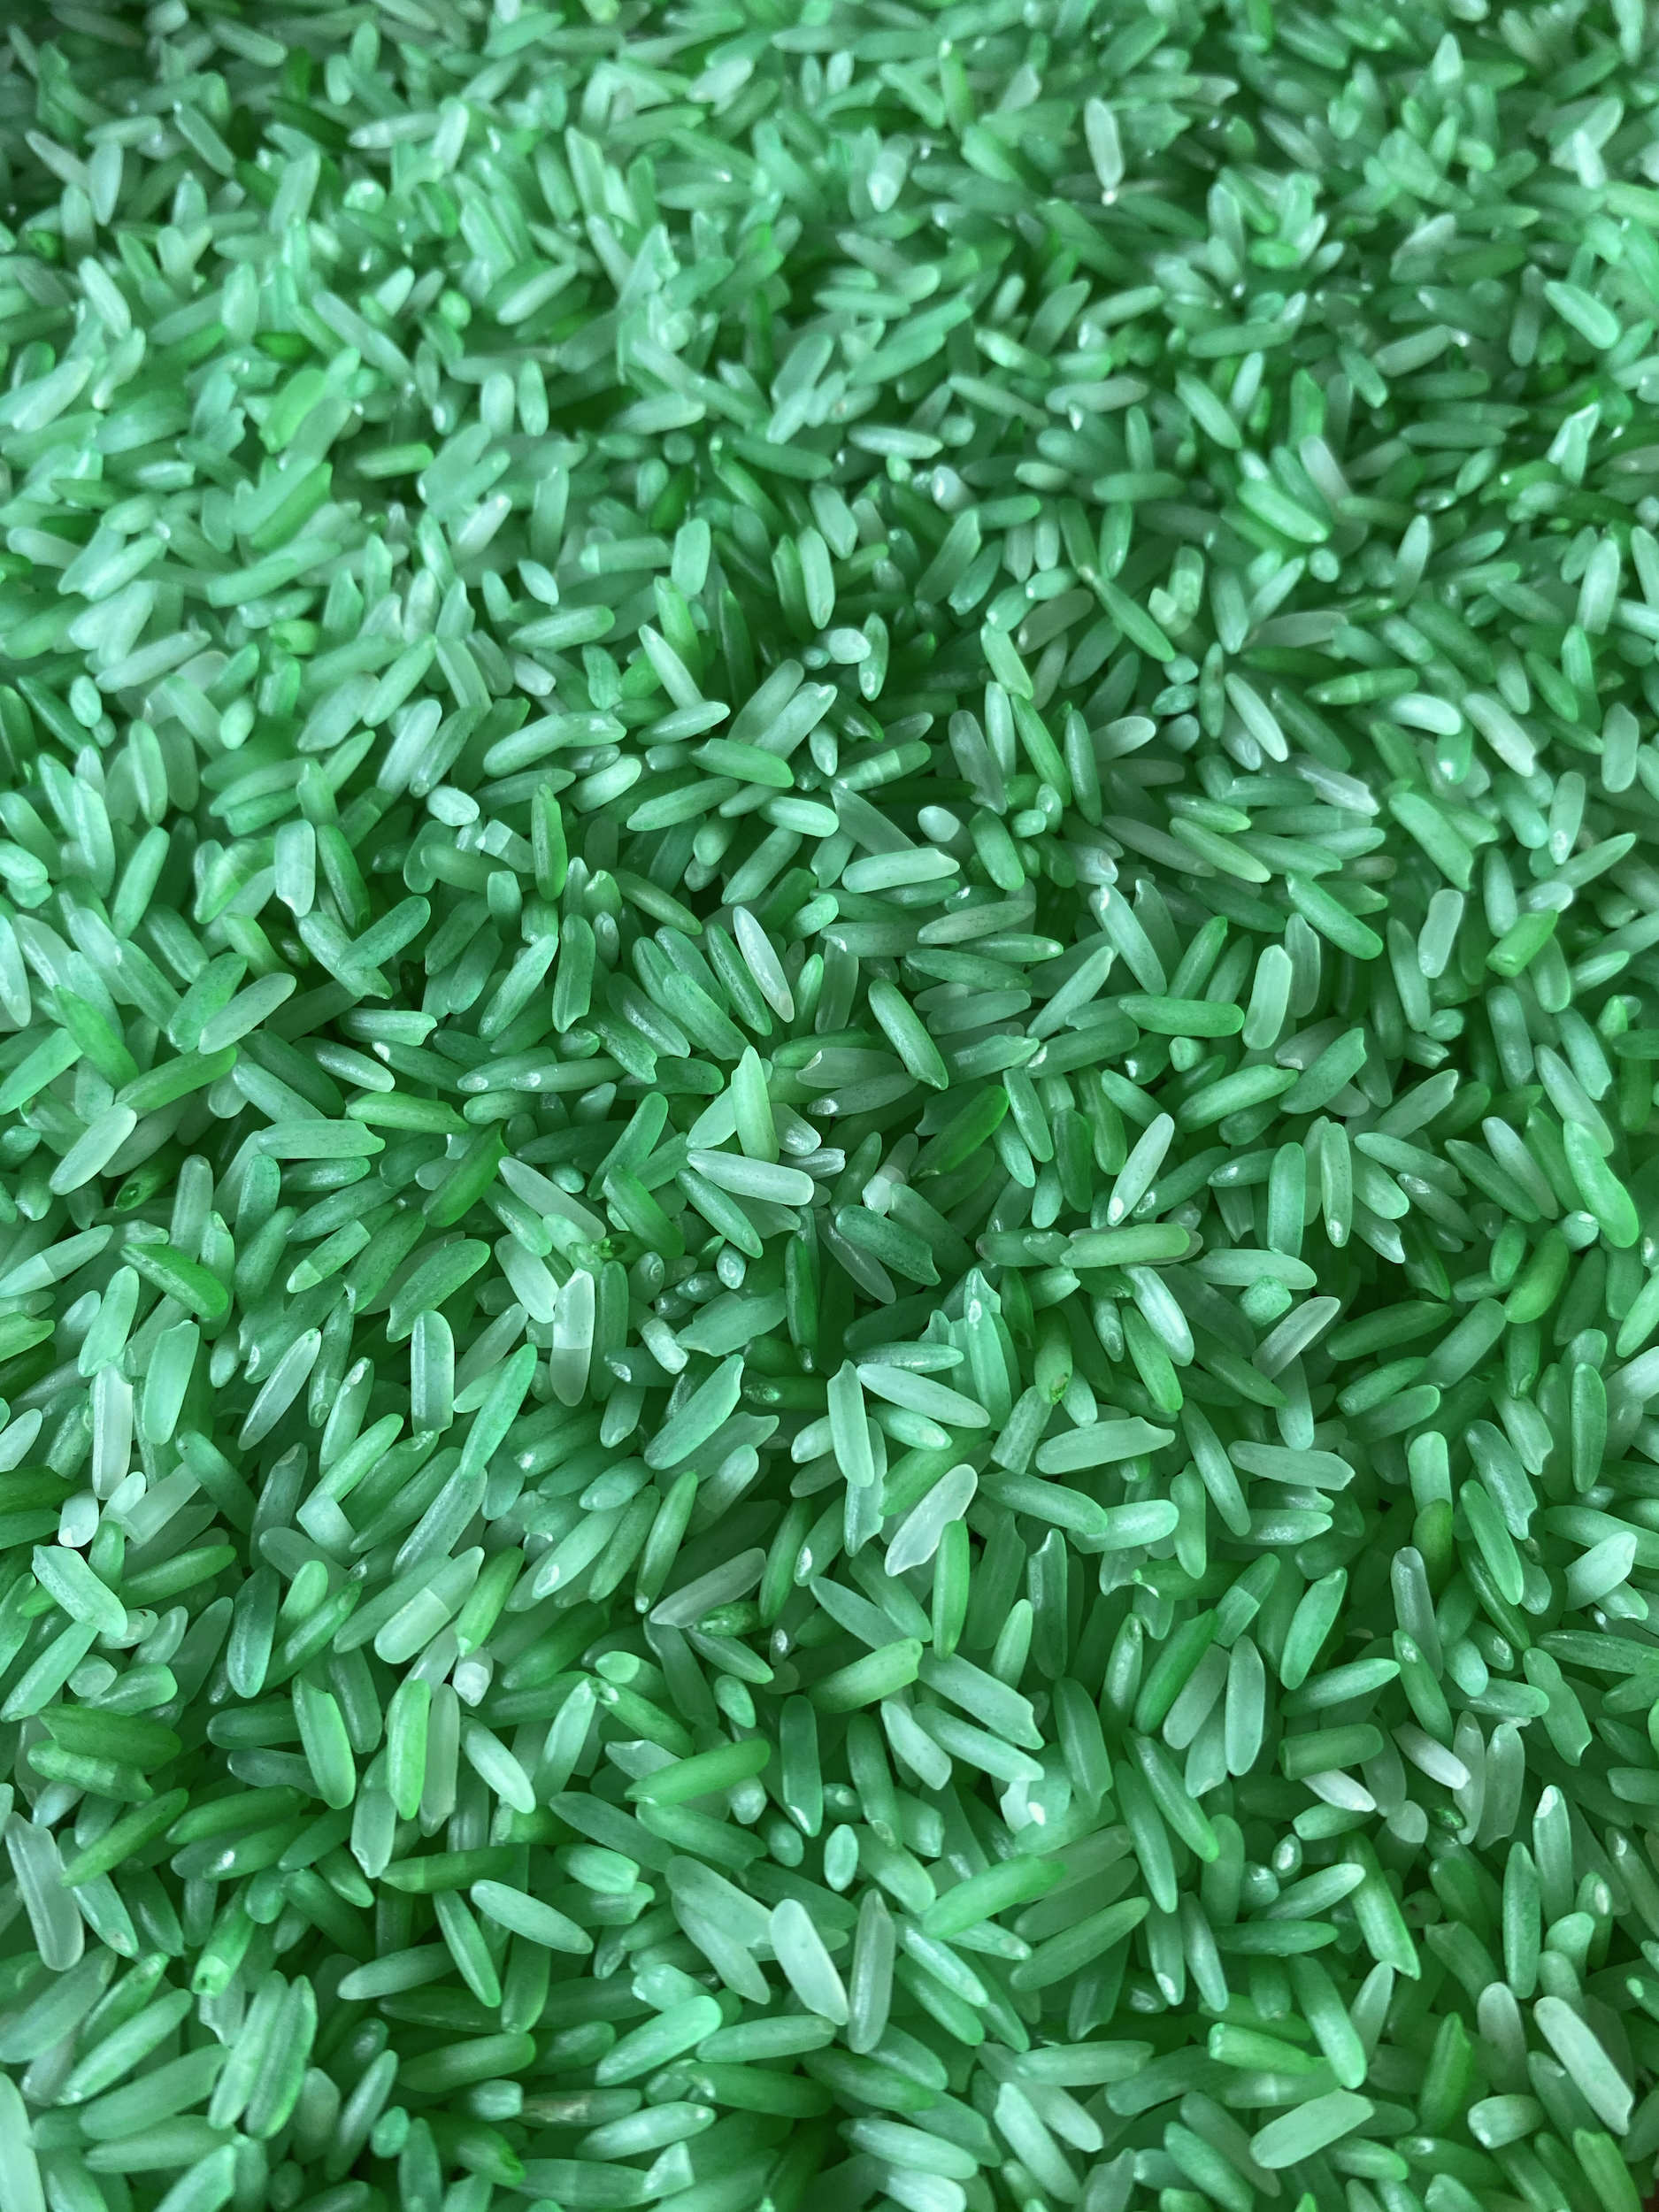
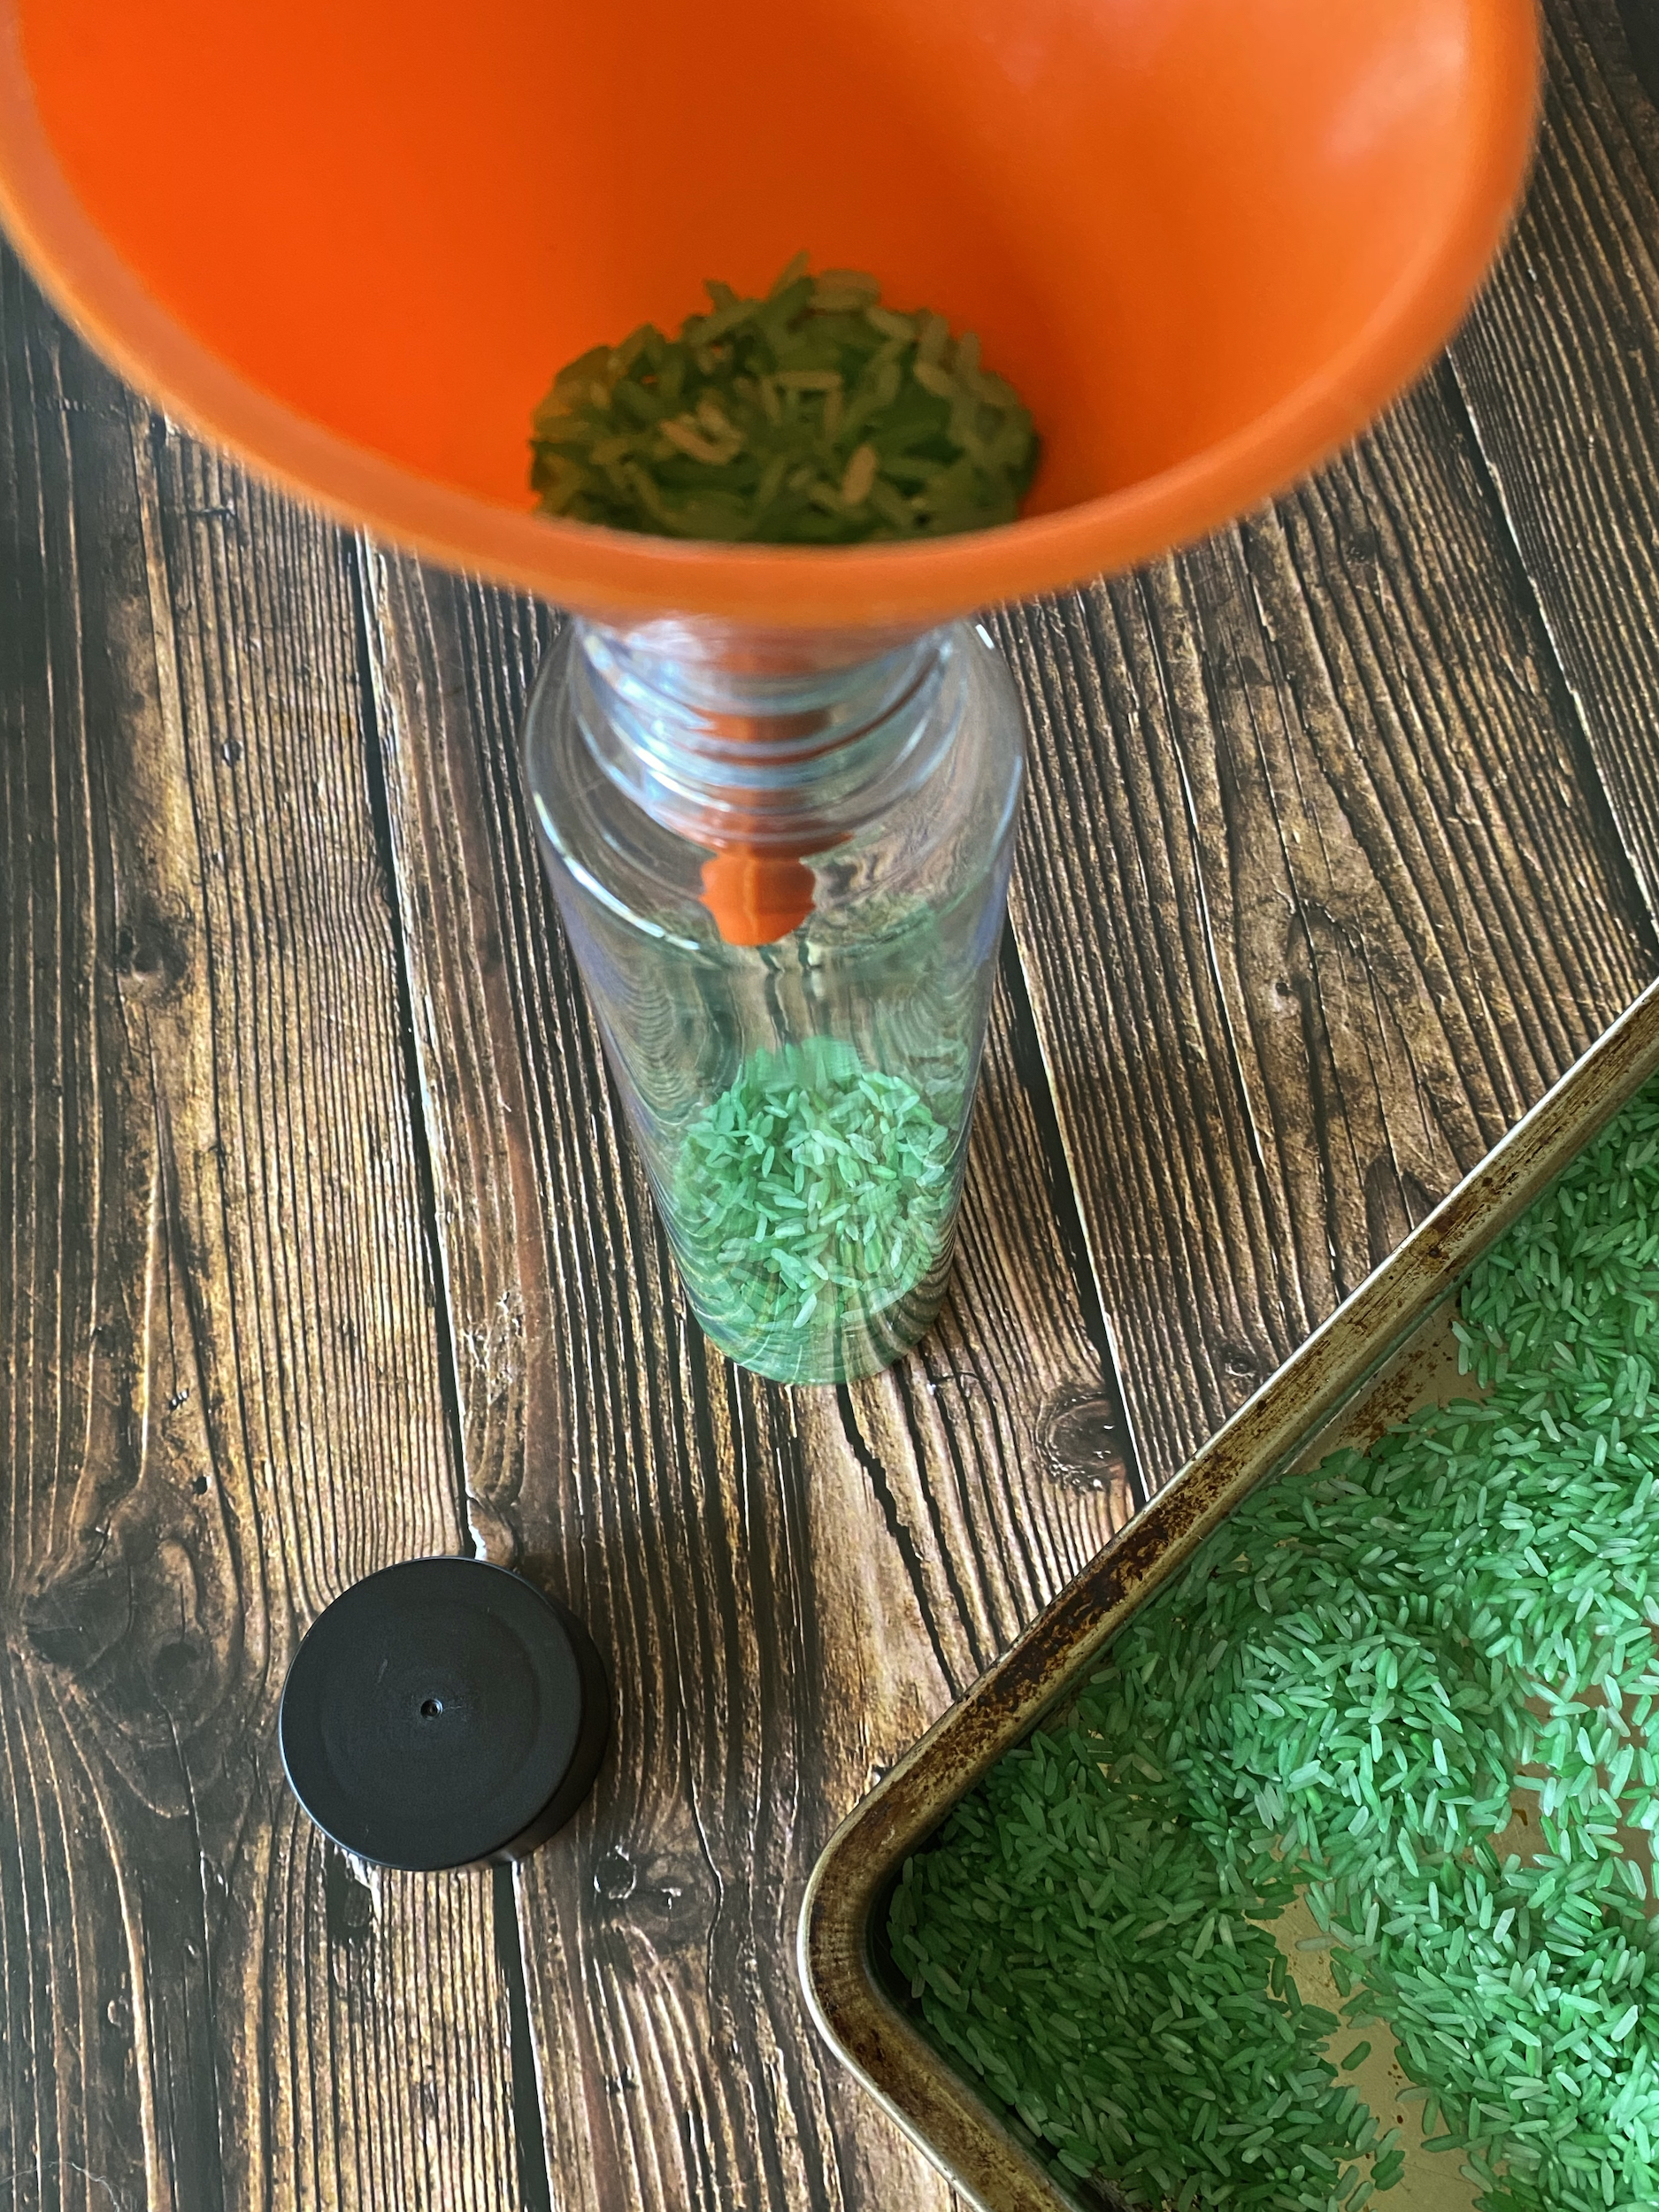
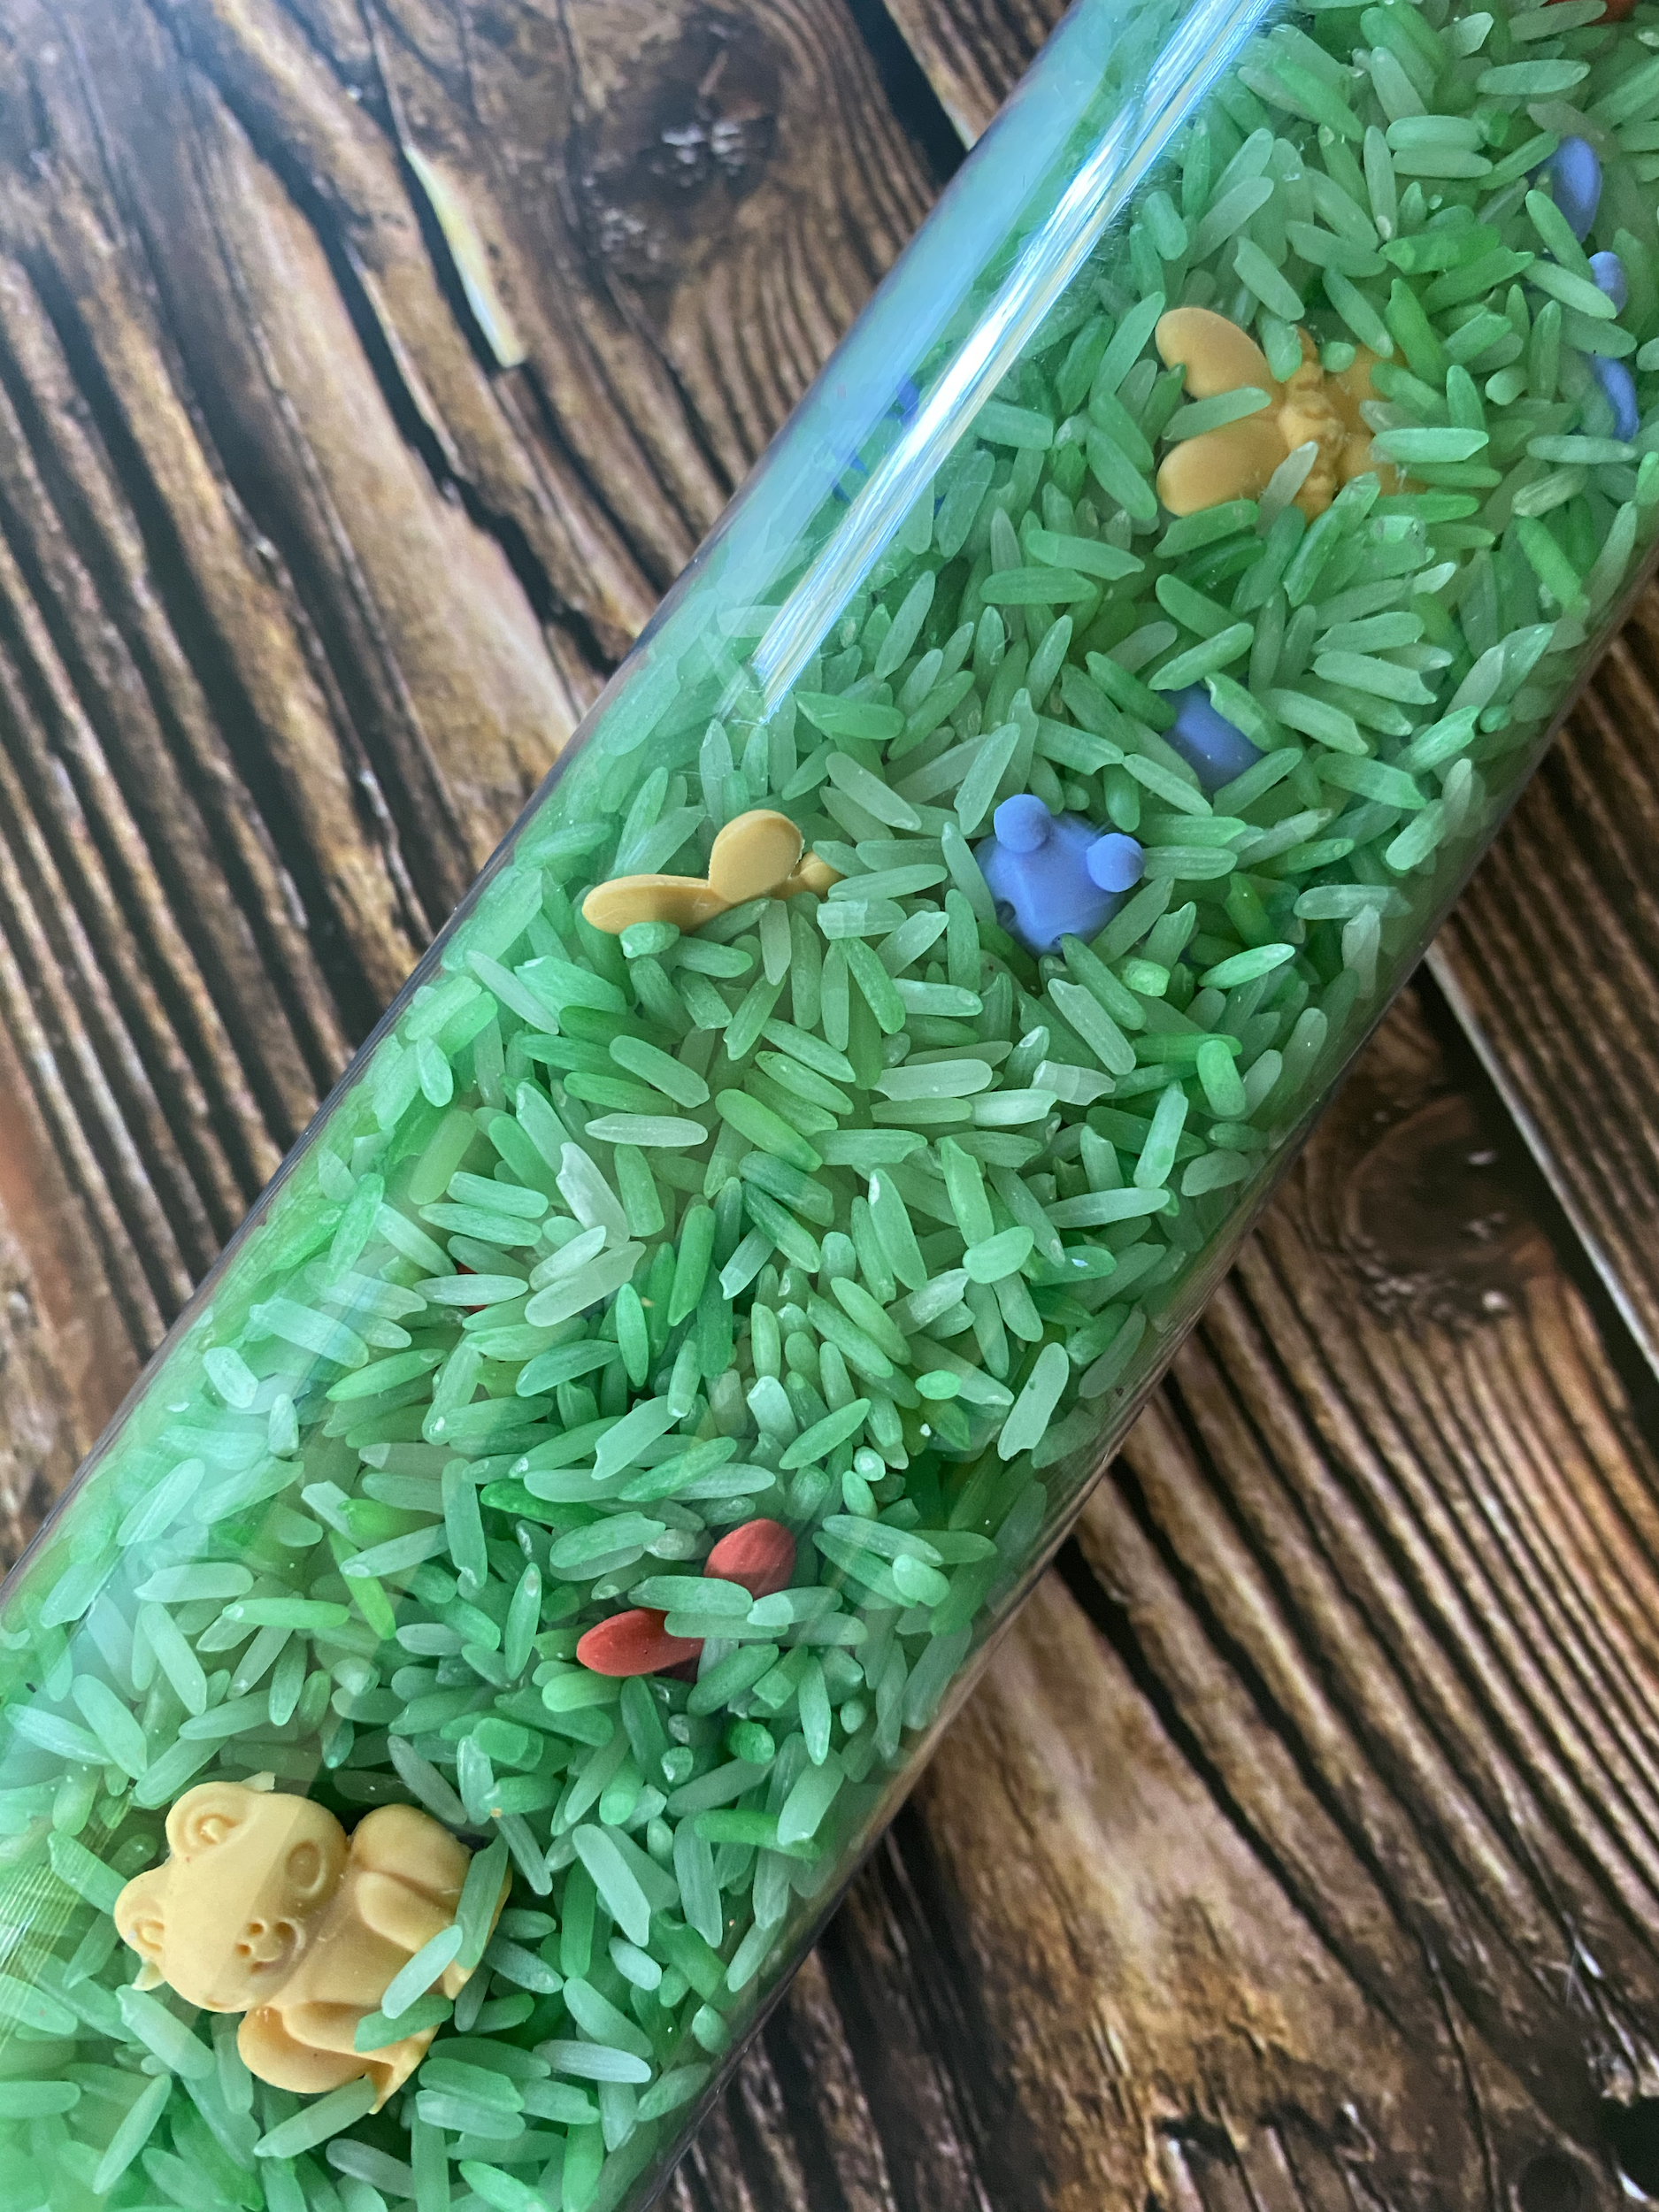
 It’s the middle of Summer and I would love to take Zoey to the beach for the first time, but just about everything she picks up is quickly introduced to her mouth! I understand she’s figuring things out (and more power to her), but I’m not super enthusiastic about her ingesting beach sand. So, until she gets a little less eager to put everything in her mouth, why not bring a little beach experience to her?