DIY – Up-cycled Coffee Can Plant Containers

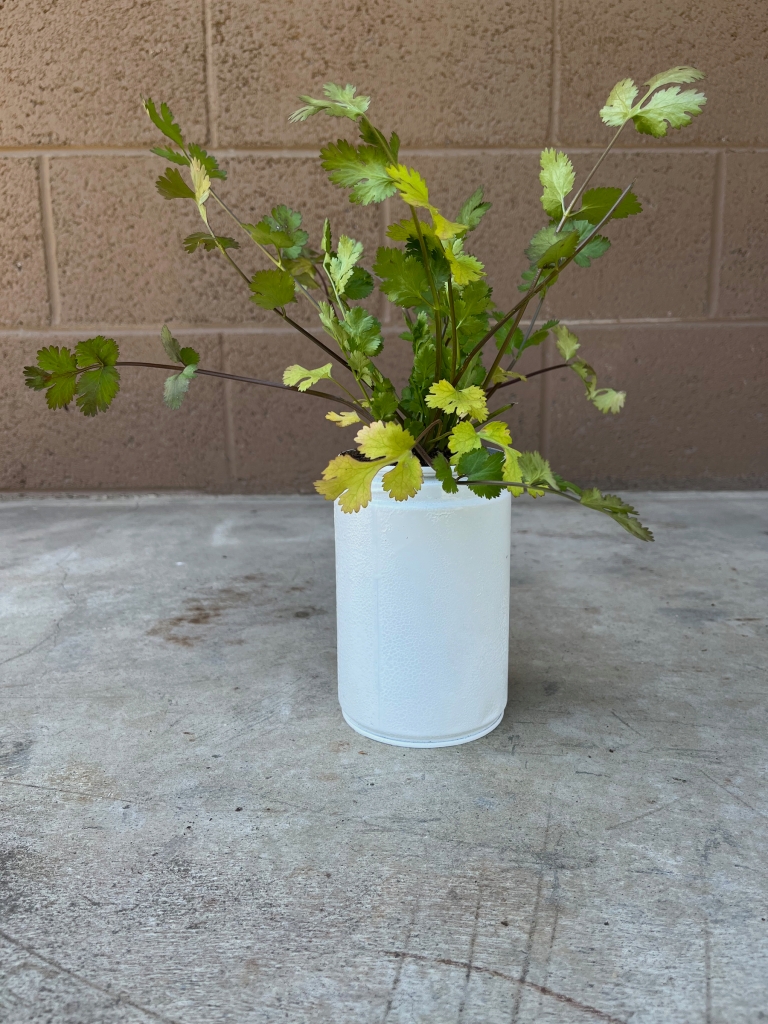
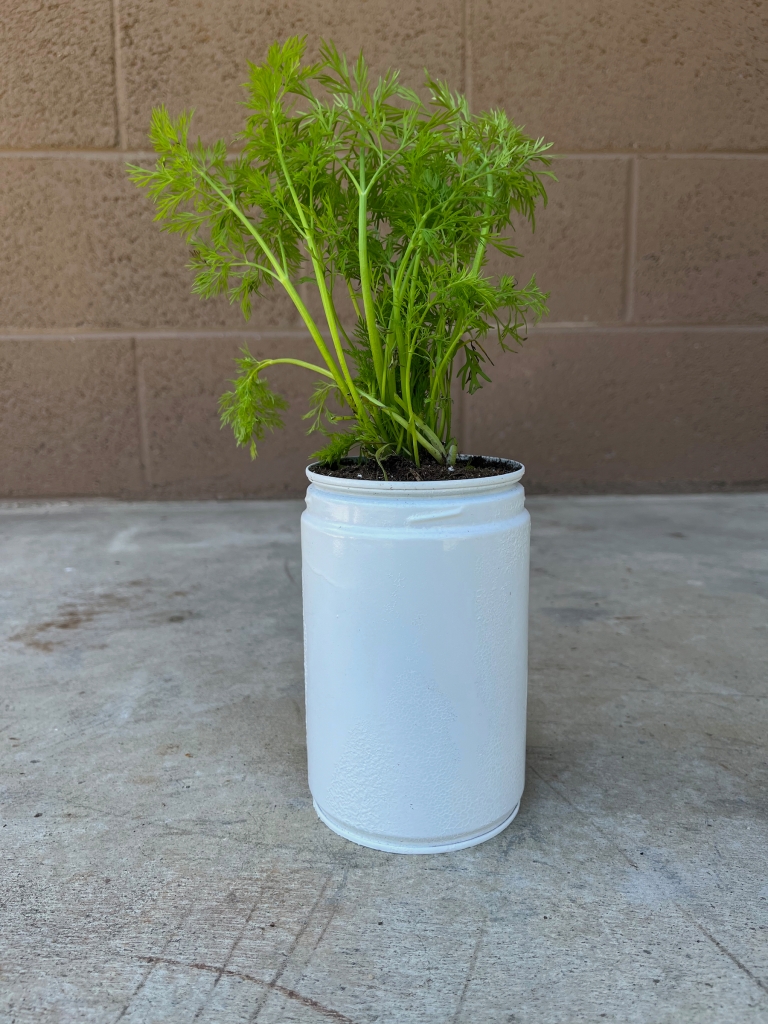
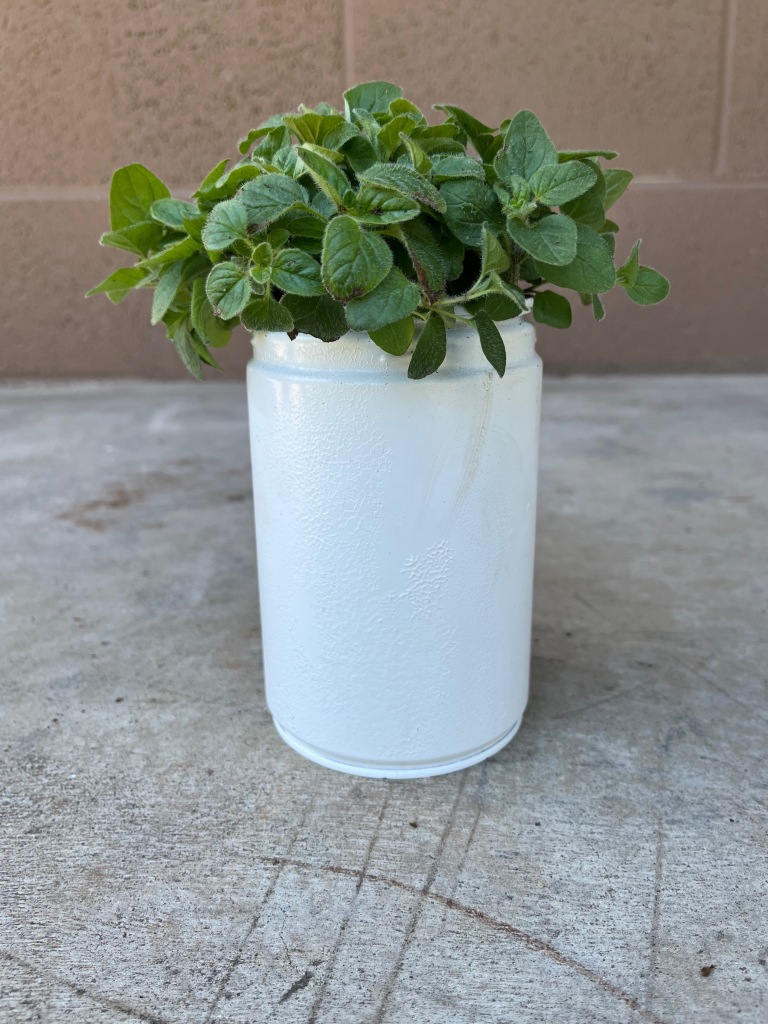
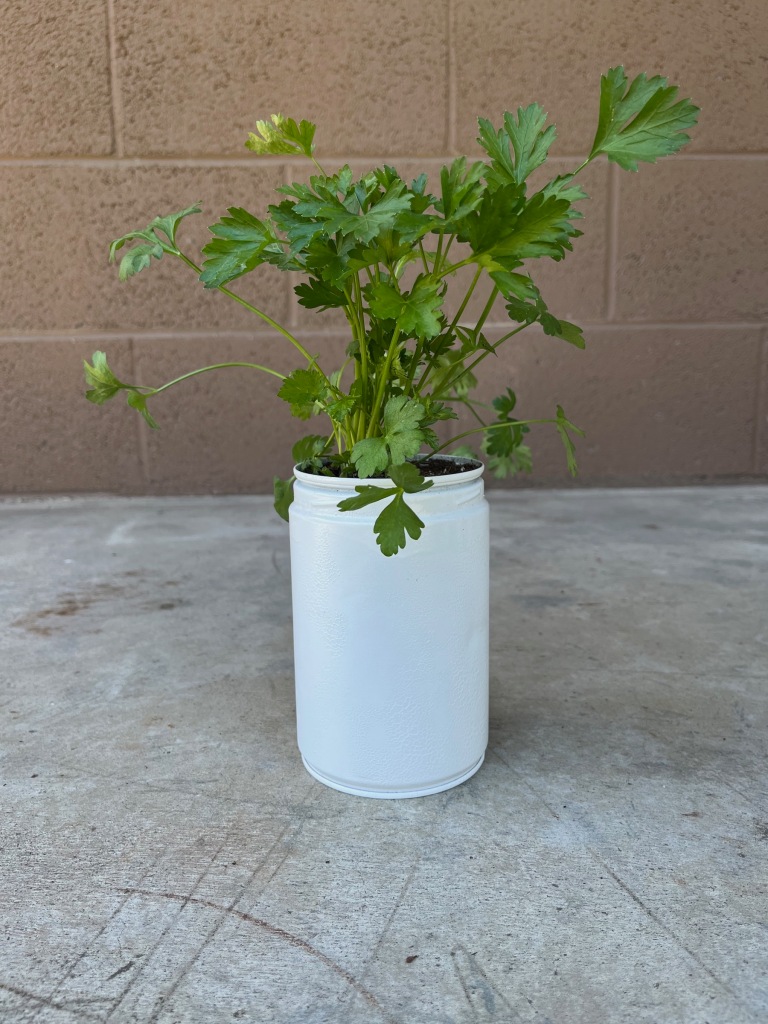
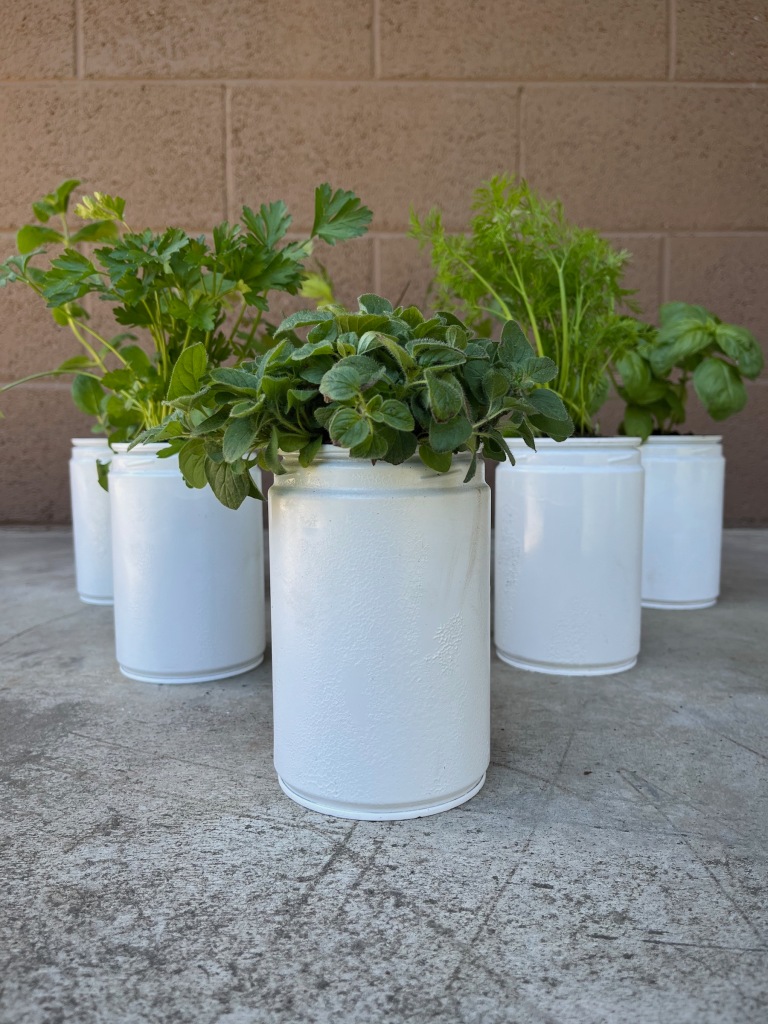
I created an up-cycled container herb garden using a hammer, nail, empty coffee cans and paint. This is a straightforward craft that’s perfect for DIYers of any level (beginners included)! To make it even more unique, you can choose what type/shape of can to use as well as whichever color of paint your heart desires! Have fun with it!

You can also choose what types of plants you want to place in these containers. Succulents are perfect and fresh herbs are fantastic! I’ve always wanted a small herb garden to pick and choose from when my husband or I are cooking and, now is the time!
SUPPLIES
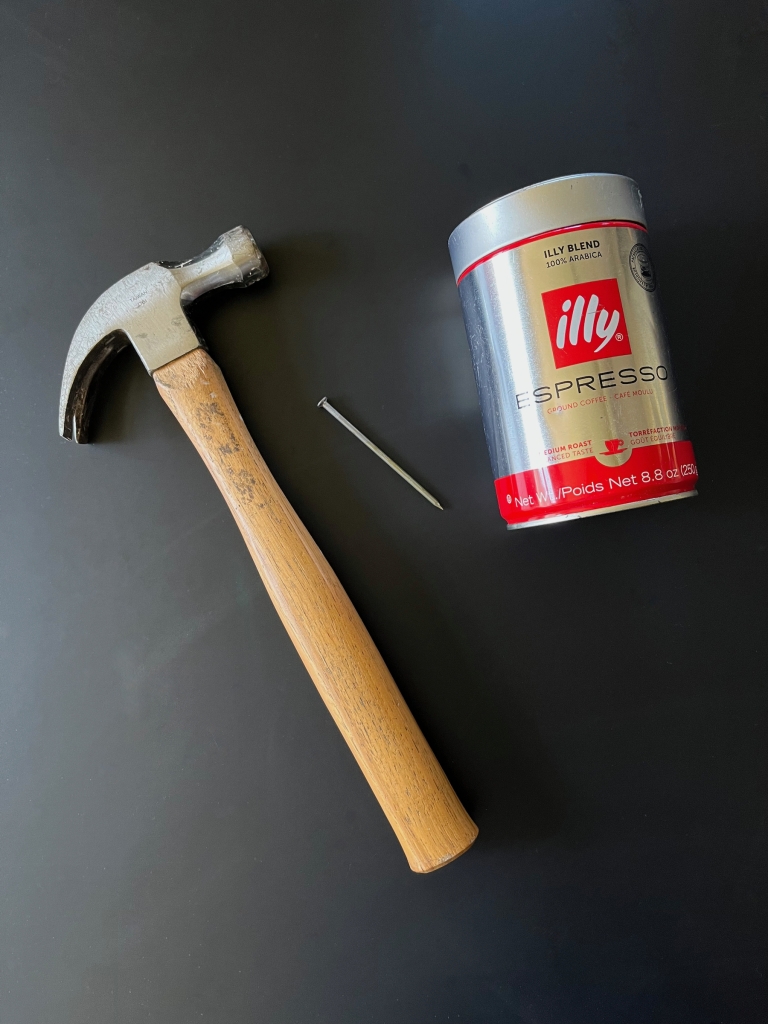
  • Sturdy cans
  • Hammer
  • Nail
  • All-in-One spray paint (color of your choice)
  • Soil
  • Herbs of choice
INSTRUCTIONS
  1. Wipe down the outside of each can so it’s clean from any dust or debris.
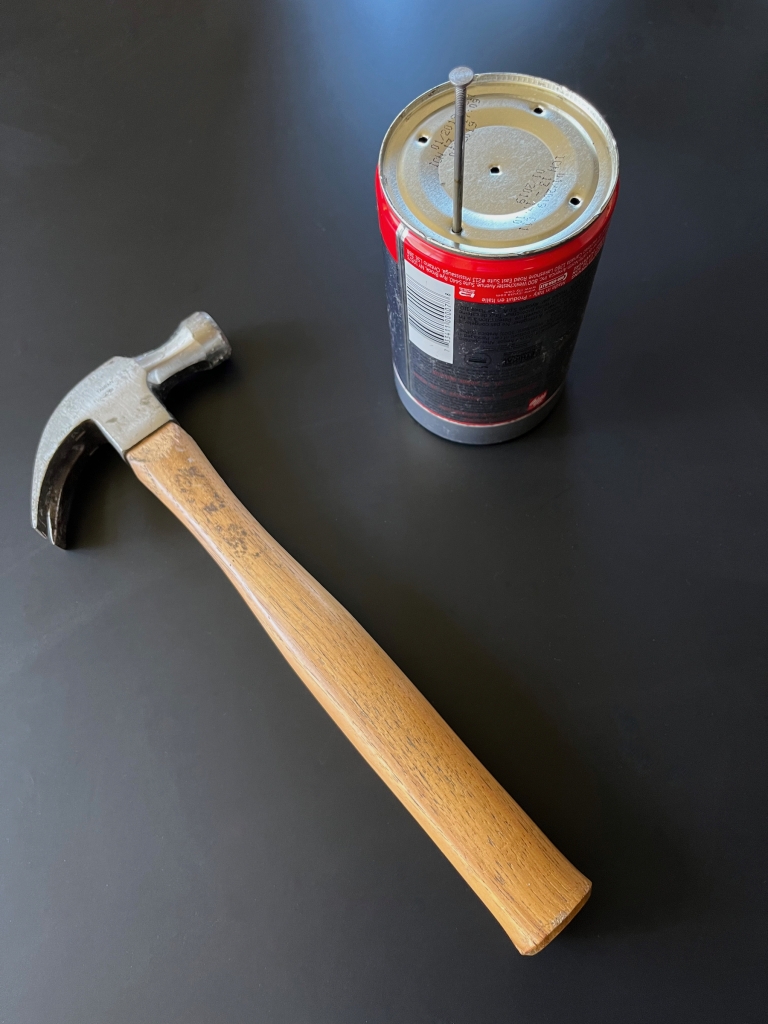
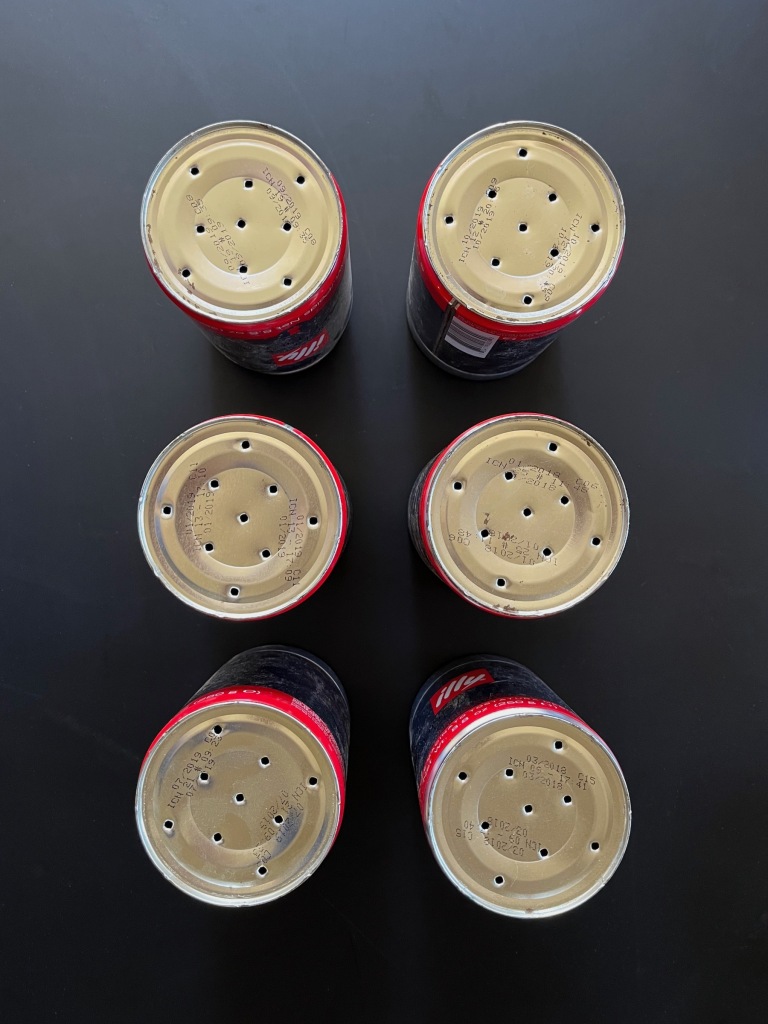
  2. Flip the cans over and using a hammer and nail, gently tap drain holes into the bottom of each can. I poked 9 holes into the bottom of each can.
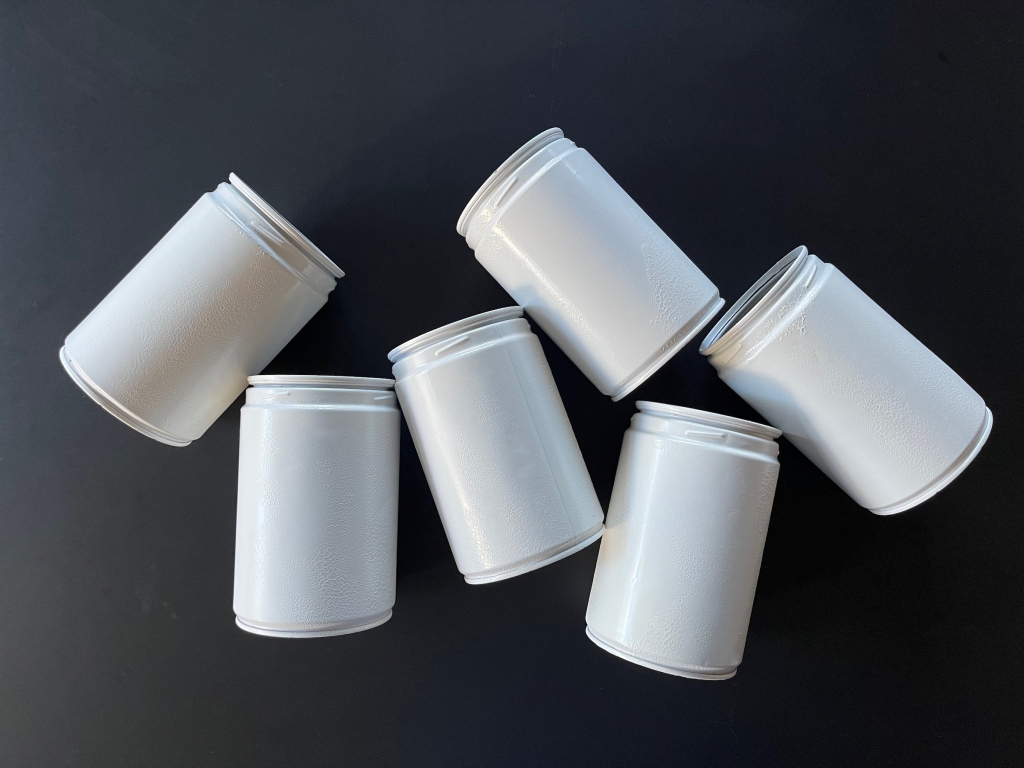
  3. In a well ventilated, paint-protected space, spray each can in several layers with your chosen spray paint. Allow each layer to dry before painting another. If there is more moisture in the air, it will take longer for each layer to dry. Allow for each layer to dry thoroughly before painting another or you will experience a bubbling/crackled effect on the paint. I liked this look, so I allowed for it.
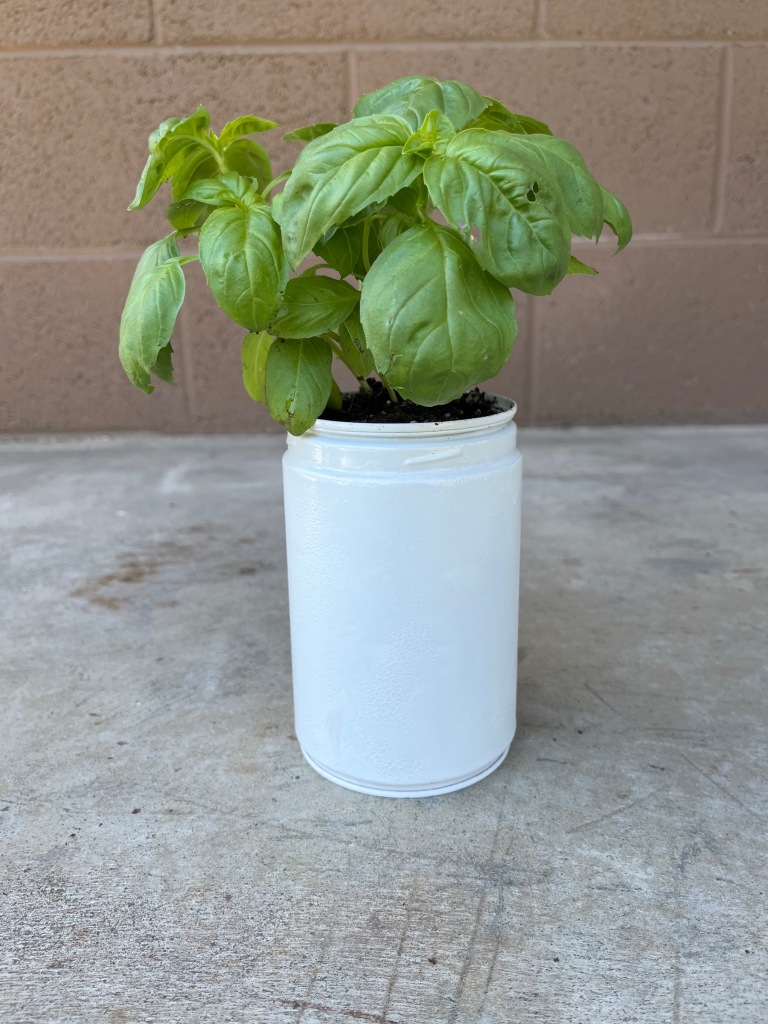
  4. Once the final layer is on and the cans are dry, flip them back over and place a layer of soil in the bottom. Place your herbs in the can and surround with more soil to stabilize the planted herb.
  5. Set in a space that gets warmth and sunlight. Water from the bottom and enjoy!
How to Play – Boggle Jr.

Part of the fun in raising Zoey is finding things that delight and educate her; I want to find fun, creative board games to play with her during our family game nights! This week we played Boggle Jr. by Hasbro for 1 to 2 players! 

This game will help children with their spelling in a fun, rewarding way! If this means setting up a reward system for if they could finish all the 3 letter words, then the 4 letter words and then the combined deck, do it! Education should be fun and rewarding! I could see improvement in Zoey’s word recognition and spelling almost immediately.

Let’s play!

IN THE BOX
  • Boggle Jr. game tray
  • 8 letter cubes
  • 30 picture/word cards (double-sided)
INSTRUCTIONS

Game # 1: Match it-Spell it

  1. Shuffle and stack the picture/word cards so the 3-letter words are all face up and turned in the same direction.
  2. Place the stack in the tray above the cube slots, facing the child (the word cover is flipped down & out of use).
  3. Point to the picture on the card and ask the child what it is — i.e. a pig, a jar, a pie, the sun, etc.
  4. Point to the word below the picture and say the word, then spell the word out loud letter by letter.
  5. Go back to the first letter and have the child find that letter on one of the cubes and place the cube in the first slot of the tray, directly under the letter as it appears on the card.
  6. Proceed through the other two letters until the 3-letter word is spelled out in cubes under the card.
  7. Reinforce what the child has just accomplished by saying the word and spelling together. Give the child the top card and proceed through the rest of the remaining 3-letter words in the same manner.
  8. Next play with 4-letter word cards. Then shuffle the cards and play with 3 and 4 letter words mixed.

Game # 2: Cover it-Spell it

  1. Shuffle and stack the picture/word cards so the 3-letter words are all face up and turned in the same direction.
  2. Place the stack in the tray above the cube slots, facing the child (the word cover is flipped up & in use).
  3. The child glances at the word under the cover, then hides it again. Now he/she is no longer matching letters with letter, but is actually spelling the word from memory.
  4. Next play with 4-letter word cards. Then shuffle the cards and play with 3 and 4 letter words mixed.
  5. For two players the children take turns. Each time a child successfully spells a word from memory, he or she wins that card and continues to the next.
  6. If a child spells a word incorrectly, that card is placed on the bottom of the pile of cards and that child’s turn ends. When the card comes up again, the player whose turn it is attempts to spell the word.
  7. The children alternate turns until all the cards have been used, whoever has won more cards during the game wins!

ENJOY!

How to Play – Candy Land

Part of the fun in raising Zoey is finding things that delight and educate her; I want to find fun, creative board games to play with her during our family game nights! This week we played Candy Land by Hasbro for up to 4 players! 

This is one of my childhood favorites that I hope will also be one of Zoey’s childhood favorites. Gameplay is relatively easy with movement based on drawing cards and associating colors, but the board is very busy to navigate. Zoey is currently more interested in playing independently with the gingerbread characters than progressing the game, but we’re hoping her attention will change over time!

Let’s play!

IN THE BOX
  • A game-board
  • 4 gingerbread character pawns
  • 64 cards
INSTRUCTIONS
  1. Open up the game board and place it on a flat surface.
  2. Shuffle the cards and place them facedown in a pile with easy reach of all the players.
  3. The youngest player takes the first turn. Play then passes to the left of that player and onward.
  4. Each player picks a gingerbread character pawn and places it as the start of the path near the four children.
  5. The youngest player goes first, play then passes to the left.
  6. On your turn, draw one card from the deck and then move the gingerbread pawn as directed. Always move towards the castle, unless a picture directs you to move backwards on the path.
    • When you draw a picture card, move your pawn forward or backward on the path of to the pink picture space on the board that matches the pink pictures pace on your card. For example if you draw a lollypop card, move your pawn to the pink space on the board that shows the lollipop.
    • Two or more gingerbread pawns can be on the same space at the same time.
    • When you draw a card with one color block, move your pawn forward toward the castle to the first matching color space on the path.
    • When you draw card that has two color blocks, move your pawn forward toward the castle to the second matching color space on the path.
    • There are two shortcuts on the path, Gummy Pass and Peppermint Pass. If your gingerbread lands by exact count on the yellow space below Gummy pass, or the blue space below Peppermint Pass you can take the shortcut immediately to yellow space above Gummy Pass or the yellow space above Peppermint Pass.
    • There are two licorice spaces on the path. If you land on one of these sticky spaces by exact count, your gingerbread pawn is stuck there for one turn.
  7. Your turn is over. Place the used card in a discard pile.
  8. If you are the first person to reach the multi-colored rainbow space, you’ve reached King Kandy’s Castle. You win!

ENJOY!

How to dye Easter eggs with food coloring!

Dyeing Easter Eggs with Food Coloring

I had every intention of making naturally dyed eggs this year. Every. Intention. Then I realized I did not leave myself enough time to prepare and create the dyes. Going natural is a labor of love that I would still love to do…next year.

This year, I dyed a small amount of eggs using food coloring, vinegar and water. It was a lot quicker, a lot simpler, and I was pretty happy with the results!

Dyeing Easter Eggs with Food Coloring
SUPPLIES
  • 4 16 ounce mason jars
  • 8 teaspoons of vinegar (2 for each color/jar)
  • 4 cups of water (1 for each color/jar)
  • Food coloring of your choice
  • 8 hard boiled eggs
INSTRUCTIONS
  1. Prepare each mason jar by adding two teaspoons of vinegar to each one.
  2. Boil the four cups of water and carefully pour one cup into each mason jar.
  3. Add drops of food coloring to create the desired shade (don’t be afraid to add a lot, I used 40 drops of blue in one jar) and stir until the color, vinegar and water are well incorporated.
  4. Gently add two eggs to each color, allow the the water to cool slightly, then seal the lids and put them in the refrigerator overnight.
  5. Remove the mason jars from the refrigerator and carefully remove the eggs from the dye, then drain the rest.
  6. Rinse the eggs, gently rubbing with your fingers to remove the darker colored film covering the eggs.
  7. Gently pat the eggs dry with paper towels.

I used the mason jars I had available, which were 16 ounces with regular mouths. I dyed two eggs within each jar; I probably could have crammed 3 eggs into each jar, but I didn’t think that would have given them an even coating of the dye. Please feel free to multiply the recipe and enjoy!

DIY Spring Sensory Bottle

Happy Spring everyone! Spring has now sprung and it’s a time for fresh growth, vibrant colors and new life! Part of the fun in raising Zoey is making things that teach and fascinate her. And, if I’m being completely honest, I find sensory bottles fascinating too, so let’s make one!

SUPPLIES

  • A 16 ounce clear, plastic bottle
  • A funnel
  • 1 1/2 cups of white rice
  • 3/4 teaspoon of white vinegar
  • Green food coloring
  • Miniature insect (or other spring inspired) erasers 
  • Glue (optional)

INSTRUCTIONS

  1. Place the rice in a resealable plastic sandwich bag.
  2. Add the vinegar and food coloring to the rice. You can add however many drops of food coloring you’d like, I added 20 drops.
  3. Seal the bag and shake well until the color is well dispersed throughout.
  4. Spread the rice onto a baking sheet and allow it to dry overnight.
  5. Place the funnel in the mouth of your bottle and use it to fill the bottle with half of the rice.
  6. Remove the funnel and add half of the insect erasers.
  7. Screw the lid back onto the bottle and shake until well incorporated, then remove the lid and replace the funnel.
  8. Add the rest of the rice and the rest of the insect erasers.
  9. Replace the lid onto the bottle and shake well again until well incorporated.
  10. If your child is older and you worry about him/her undoing the lid, you can coat the inside of the lid with glue, then screw it back onto the bottle. This will secure the lid and make it harder for little ones to unscrew the lid and create a leak or spill the bottle’s contents.

Enjoy!