Part of the fun in raising Zoey is making things that delight her; I want to create fun, educational toys for her that are made with love and will be loved! I loved dinosaurs as a child and quite honestly I still do! I see that interest piquing in Zoey too and of course I’m going to encourage it!
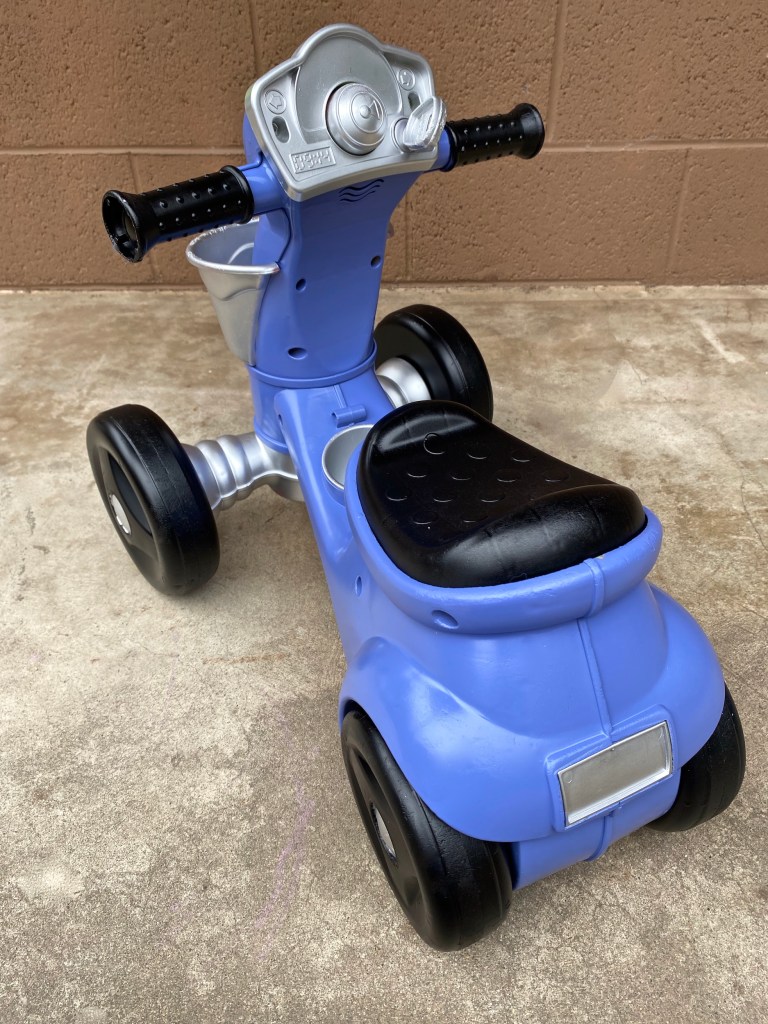
I was always fascinated by power wheels as a child and envious of any of my friends who owned one! When my parents found this one at a thrift store, I jumped at the chance to get one for Zoey, but it needed a little work! As you can see it started out as Barbie themed, and while I loved Barbies too this was the opportunity to try something new!
Let’s create a Jurassic Park themed power wheels! Please feel free to use this information to breathe new life into an old toy and, if you have any new tips, please feel free to share!

SUPPLIES
- Power Wheels Ride On Jeep
- Krylon Fusion All-in One spray paint or similar
- Screwdriver
- Sandwich bag (to hold the screws)
- Cardboard (optional)
- Newspaper or scratch paper
- Disposable bags
- Painter’s tape
- Power Wheels decal sheet for Jurassic Park Jeep Wrangler
INSTRUCTIONS


- Using a screwdriver, dismantle the toy as much as possible without breaking anything. If a piece is not coming off and you’re worried it will break if you force it, don’t force it, and don’t worry! Painter’s tape and paper are your friends!
- Remove any old stickers and completely wash/clean the plastic toy and it’s pieces, then allow to dry.
- Wipe the toy down with rubbing alcohol to prepare the surfaces before painting, then allow to dry.
- Spread flattened cardboard (or something similar) in a well ventilated space to protect the floor.
- Paint the removed items first, taking care not to pile the paint on too thickly, instead try misting it on and applying multiple layers.
- Tape and paper the wheels surrounding the hubcaps, then paint the hubcaps red in layers.
- Once you’re satisfied with the hubcaps, and they are fully dried, you can cover each whole wheel with a disposable bag.
- Flip the car over and paint the undercarriage first with whichever color you choose.
- Once you’re satisfied with the undercarriage and it is fully dried, you can flip the car back over and place it on the cardboard directly or place it on a couple of sawhorses.
- Tape up anything you do not want painted, i.e. the pedal and shifter.
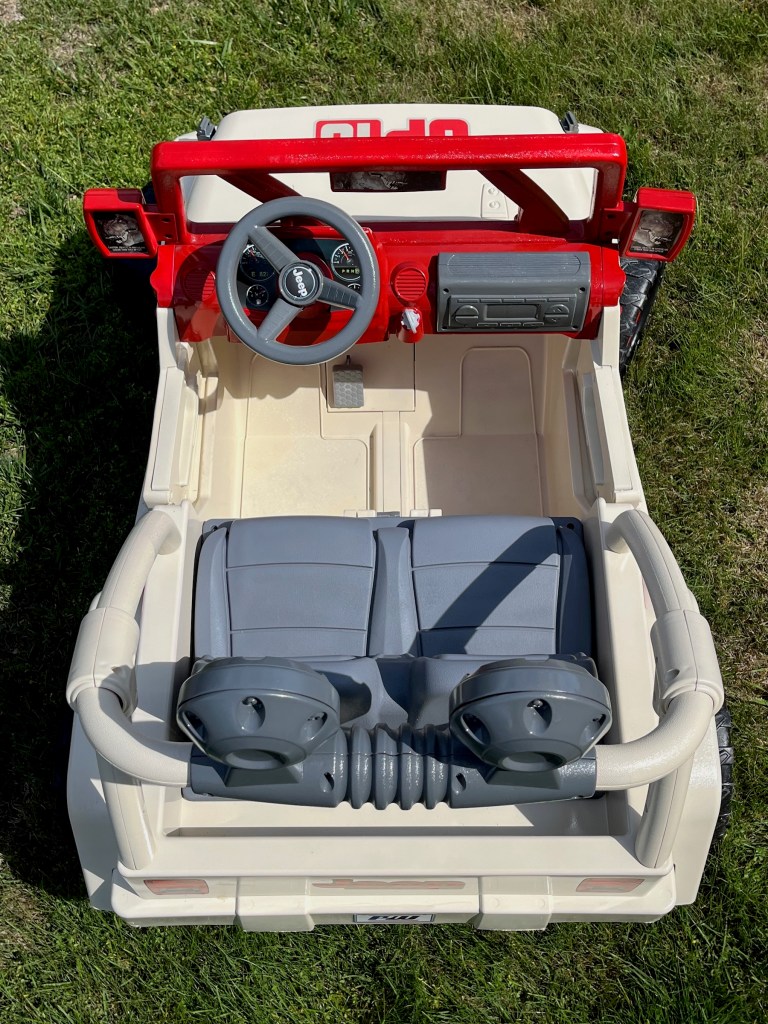
- Paint the base layers first (where any surrounding paint can be covered with top layers) and allow to dry completely. This may take a few layers so be patient and wait for each coat to dry a bit before painting another. I started with the red of the dashboard/windshield piece, then the gray of the front bumper.
- Using painter’s tape, bags and/or paper, cover the painted items that cannot be removed once they are completely dried. I covered the dashboard/windshield piece, but left the steering wheel exposed. I also covered the front bumper.
- Once these layers are covered, paint the next layer up and allow to dry completely. This may take a few layers so be patient and wait for each coat to dry a bit before painting another. For me, this was painting the steering wheel gray.
- Using painter’s tape, bags and/or paper, cover everything painted that cannot be removed. In addition to the previously covered items, I also covered the steering wheel with a disposable bag after it was completely dry.
- Once everything is covered, paint the body of the toy and allow it to dry completely. This may take a few layers so be patient and wait for each coat to dry a bit before painting another.
- Gently remove all of the coverings and reassemble the Power Wheels Ride On Jeep.
- Carefully peel and stick the Jurassic Park Jeep Wrangler decals to your Jeep.
- Let’s go find some Dinosaurs!