DIY – Up-cycled Coffee Can Plant Containers

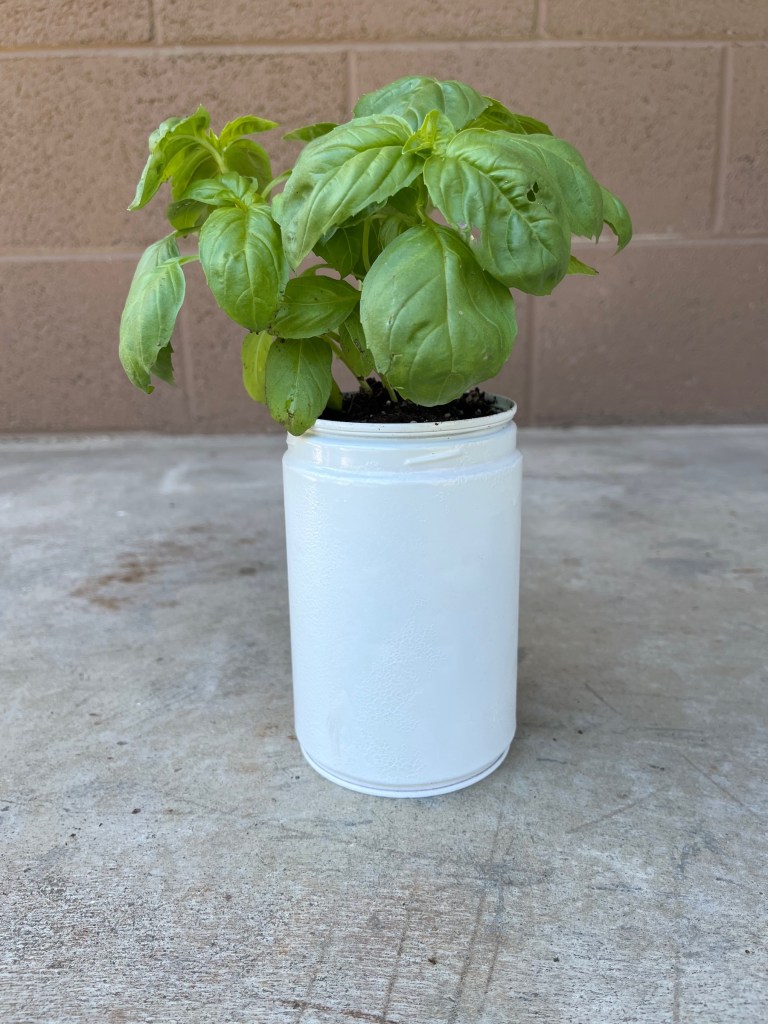
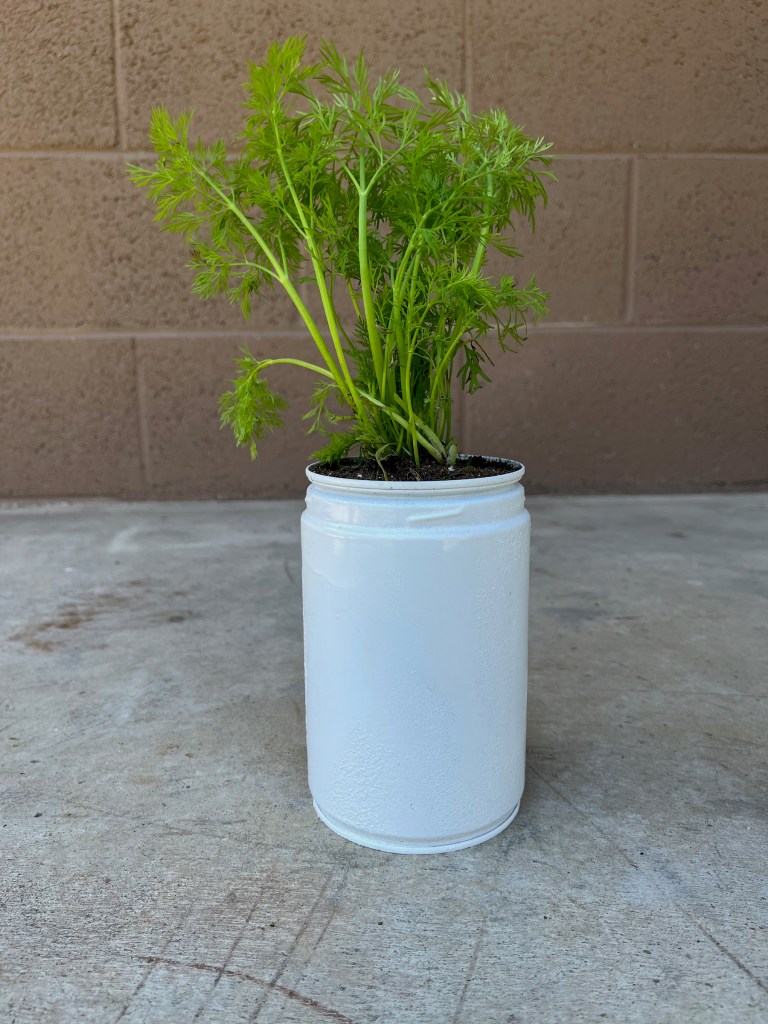
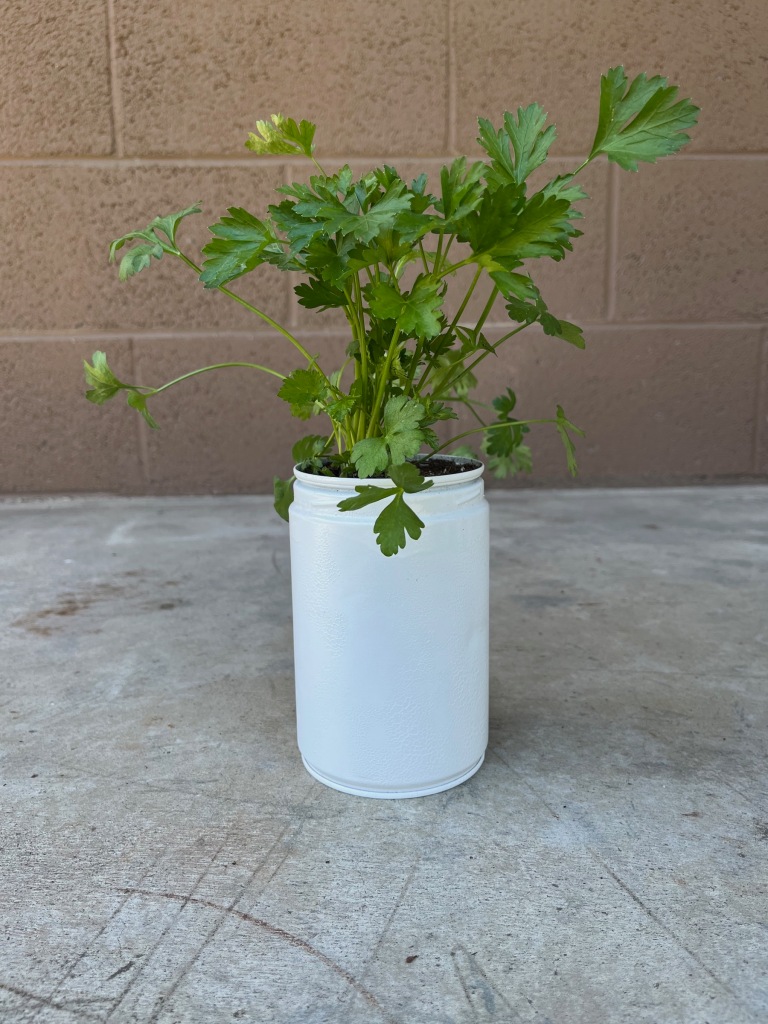
I created an up-cycled container herb garden using a hammer, nail, empty coffee cans and paint. This is a straightforward craft that’s perfect for DIYers of any level (beginners included)! To make it even more unique, you can choose what type/shape of can to use as well as whichever color of paint your heart desires! Have fun with it!

You can also choose what types of plants you want to place in these containers. Succulents are perfect and fresh herbs are fantastic! I’ve always wanted a small herb garden to pick and choose from when my husband or I are cooking and, now is the time!

SUPPLIES
  • Sturdy cans
  • Hammer
  • Nail
  • All-in-One spray paint (color of your choice)
  • Soil
  • Herbs of choice
INSTRUCTIONS
  1. Wipe down the outside of each can so it’s clean from any dust or debris.
  2. Flip the cans over and using a hammer and nail, gently tap drain holes into the bottom of each can. I poked 9 holes into the bottom of each can.
  3. In a well ventilated, paint-protected space, spray each can in several layers with your chosen spray paint. Allow each layer to dry before painting another. If there is more moisture in the air, it will take longer for each layer to dry. Allow for each layer to dry thoroughly before painting another or you will experience a bubbling/crackled effect on the paint. I liked this look, so I allowed for it.
  4. Once the final layer is on and the cans are dry, flip them back over and place a layer of soil in the bottom. Place your herbs in the can and surround with more soil to stabilize the planted herb.
  5. Set in a space that gets warmth and sunlight. Water from the bottom and enjoy!

Refurbished Fisher-Price Ready Steady Rider

Refurbished Fisher-Price Ready Steady Rider

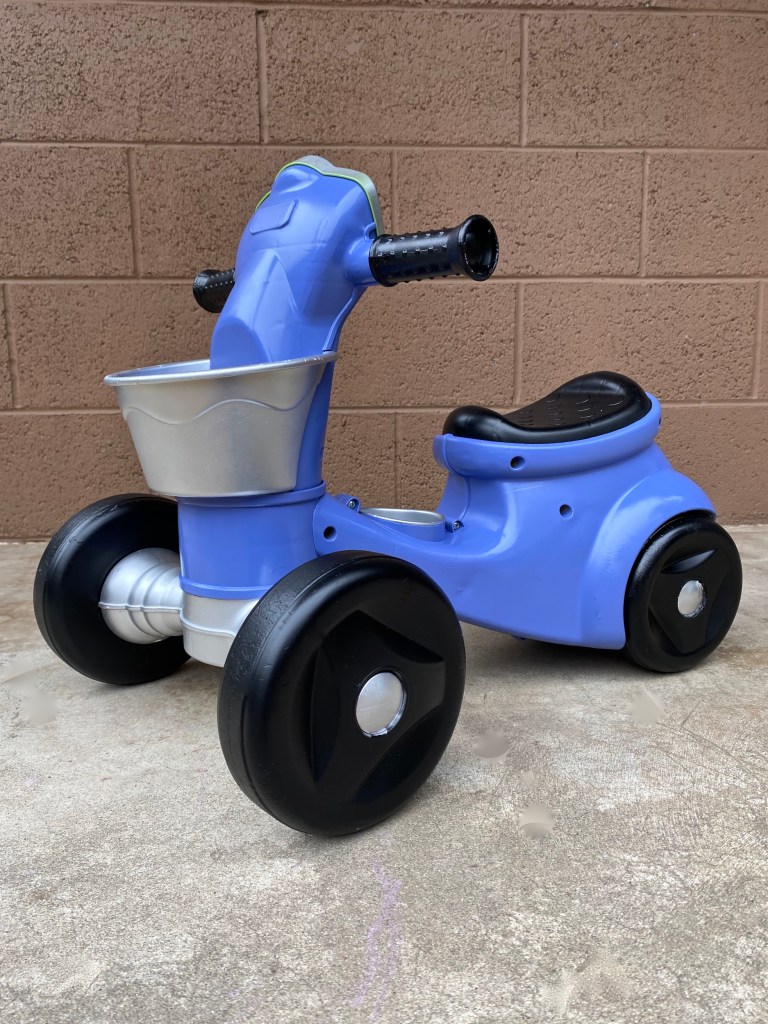
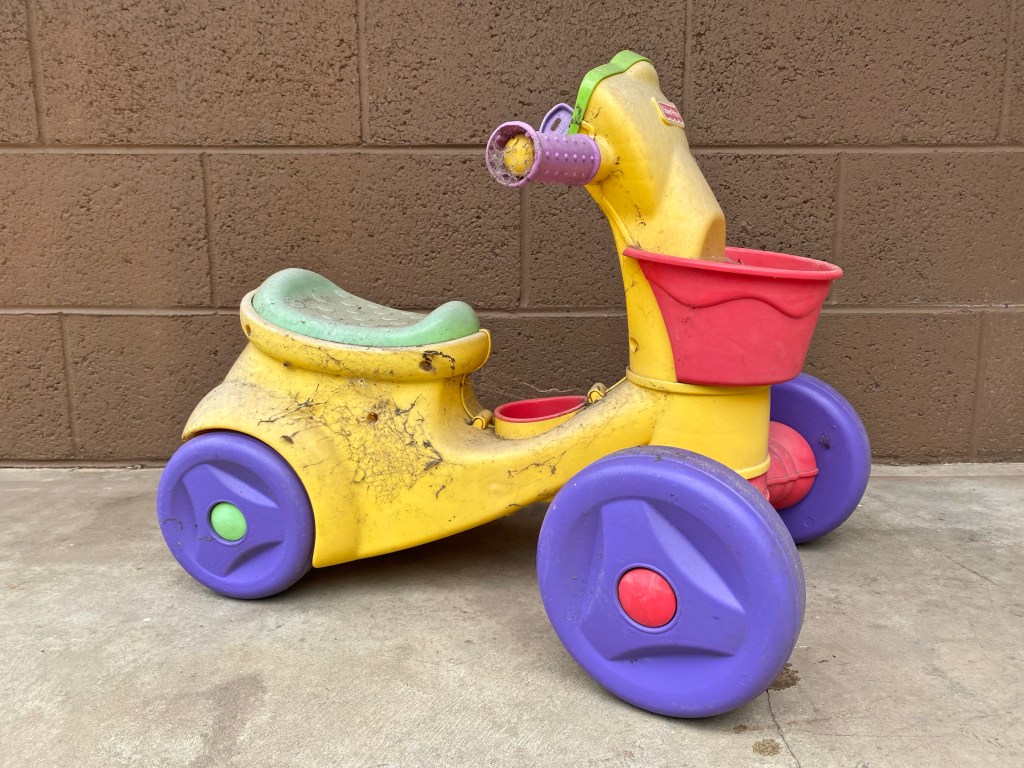
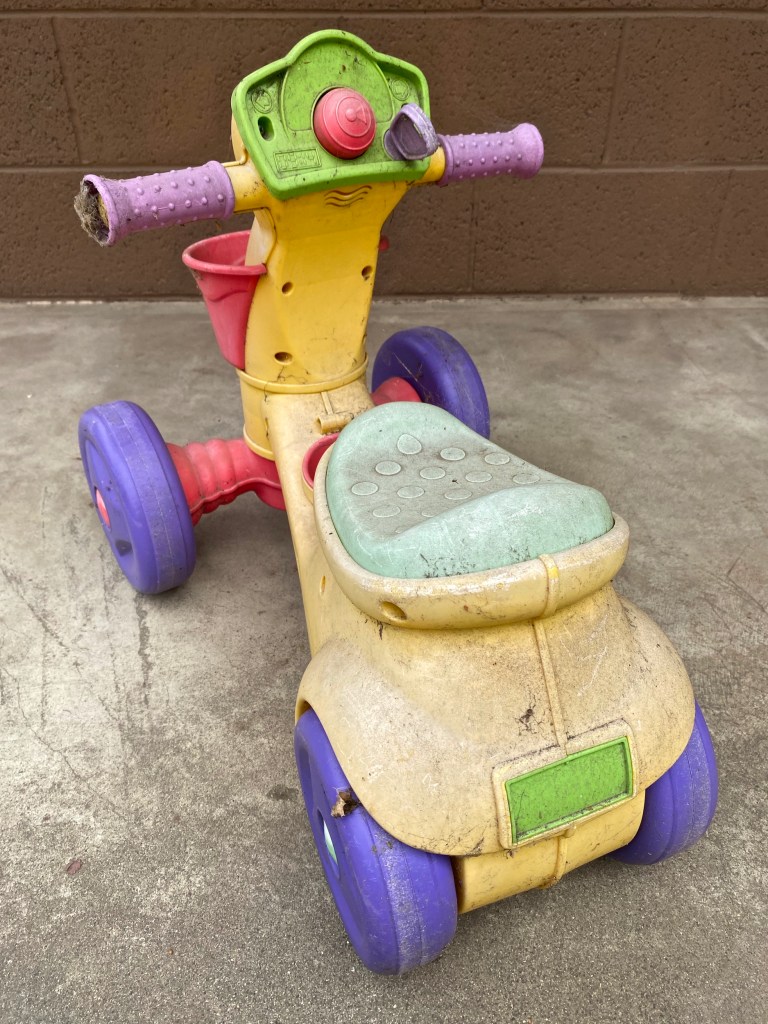
This little Fisher-Price Ready Steady Ride On has seen better days! It was ridden hard and well-loved by its previous owner. Once outgrown, it was set to the side of the road for my Aunt to find and bring to me for my daughter. Zoey wasn’t quite ready for it yet, so I left it sitting outside for another year, yikes! Now she’s ready to scoot, and it’s time to give this toy a makeover!

Please feel free to use this information to breathe new life into an old toy and, if you have any new tips, please feel free to share!

SUPPLIES
  • Fisher-Price Ready Steady Ride On or similar
  • Krylon Fusion All-in-One spray paint
  • Cardboard (optional)
  • Newspaper or scratch paper
  • Disposable bags
  • Painter’s tape
  • Screwdriver
  • Sandwich bag (to hold the screws)
INSTRUCTIONS
  1. Using a screwdriver, dismantle the toy as much as possible without breaking anything. The Ready Steady Ride On was mostly made to click together and stay there! I was only able to remove the bottom of the front axle with the front wheels, the cupholder, the dashboard and the seat.
  2. Completely wash and clean the plastic toy, then allow it to dry.
  3. Wipe the toy down with rubbing alcohol to prepare the surfaces before painting, then allow it to dry.
  4. Spread flattened cardboard (or something similar) in a well ventilated space to protect the floor.
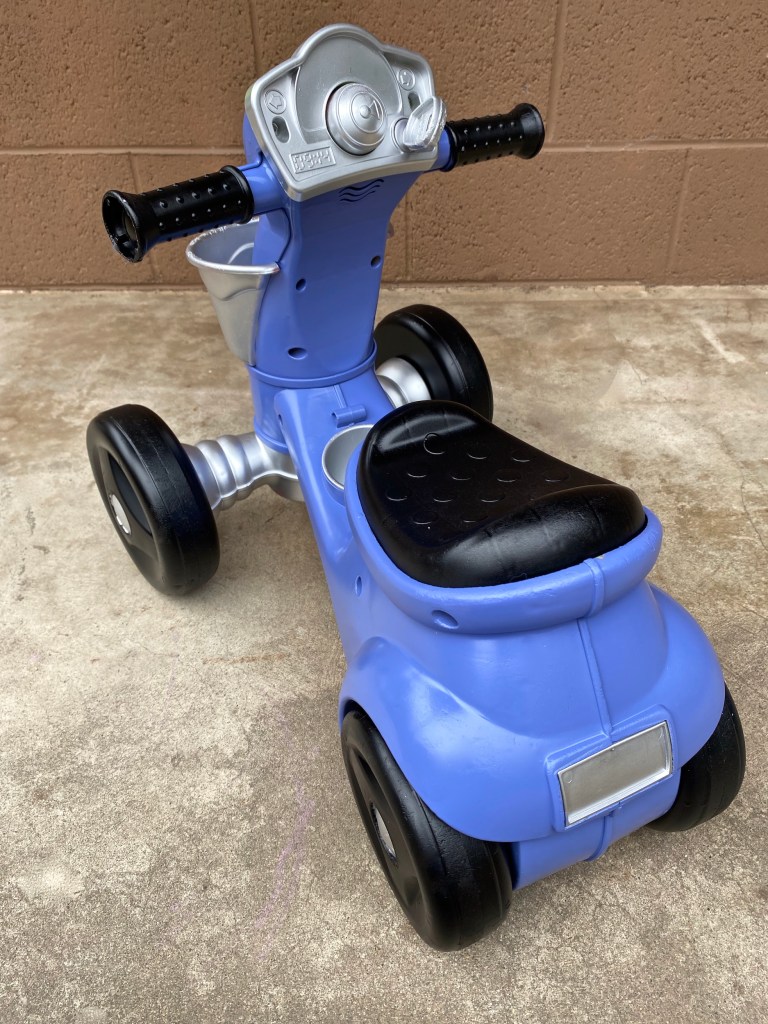
  5. Paint base layers first (where any surrounding paint can be covered with top layers) and allow to dry completely. This may take a few layers so be patient and wait for each coat to dry before painting another. I started with the chrome pieces: the axles, basket, cupholder, dashboard and wheel hubcaps. 
  6. Using painter’s tape, bags and/or paper, cover the painted items that cannot be removed. I covered the basket with paper and tape, wheel hubcaps with painter’s tape, and the top of the front axle with bags and tape.
  7. Once this layer is covered, paint the next layer up and allow to dry completely. This may take a few layers so be patient and wait for each coat to dry before painting another. For me, this was painting the handlebars, seat, and tires black.
  8. Using painter’s tape, bags and/or paper, cover everything painted that cannot be removed. In addition to the previously covered items, I also covered the handlebars with paper and tape, and the wheels with bags and painter’s tape.
  9. Once everything is covered, paint the body of the toy and allow it to dry completely. This may take a few layers so be patient and wait for each coat to dry before painting another.
  10. 10.Gently remove all of the coverings and reassemble the Fisher-Price Steady Ride On.
  11. Scoot, scoot and enjoy!

*This was my first time painting plastic and a learning experience. Heavily used pieces like the wheels normally would not be painted because the paint is much more likely to chip and flake off. I did this for aesthetic reasons and my daughter is only using the scooter indoors. Even so, the paint on the wheels is working its way off slowly in some places. There are other methods (suggested to me after I finished the paint) that may help paint adhere to the plastic better, but I have yet to try them and want to test them before recommending.

Refurbished Fisher-Price Ready Steady Rider

Refurbished Lamp – Inspired by Disneyland’s “Jingles”

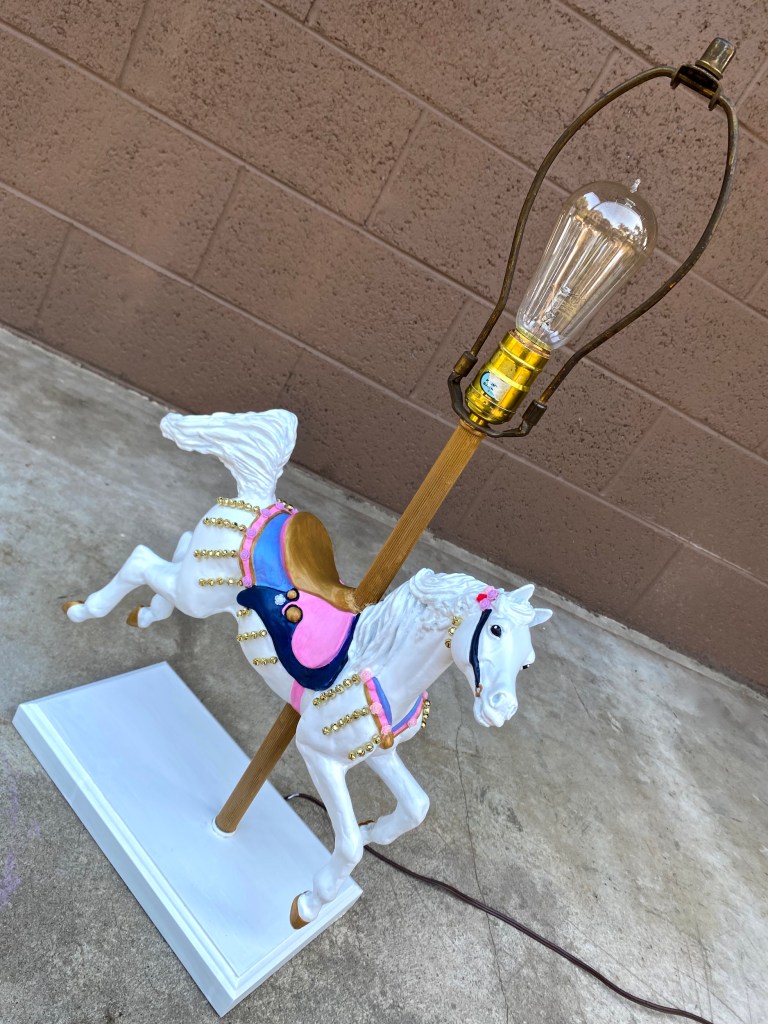
Disneyland is one of my happy places! Is it yours? I’ve always wanted to bring a little bit of the magic into my home by theming one of my rooms after the park and I’m finally getting started! My first piece of the room is a lamp inspired by “Jingles” from King Arthur’s Carousel!

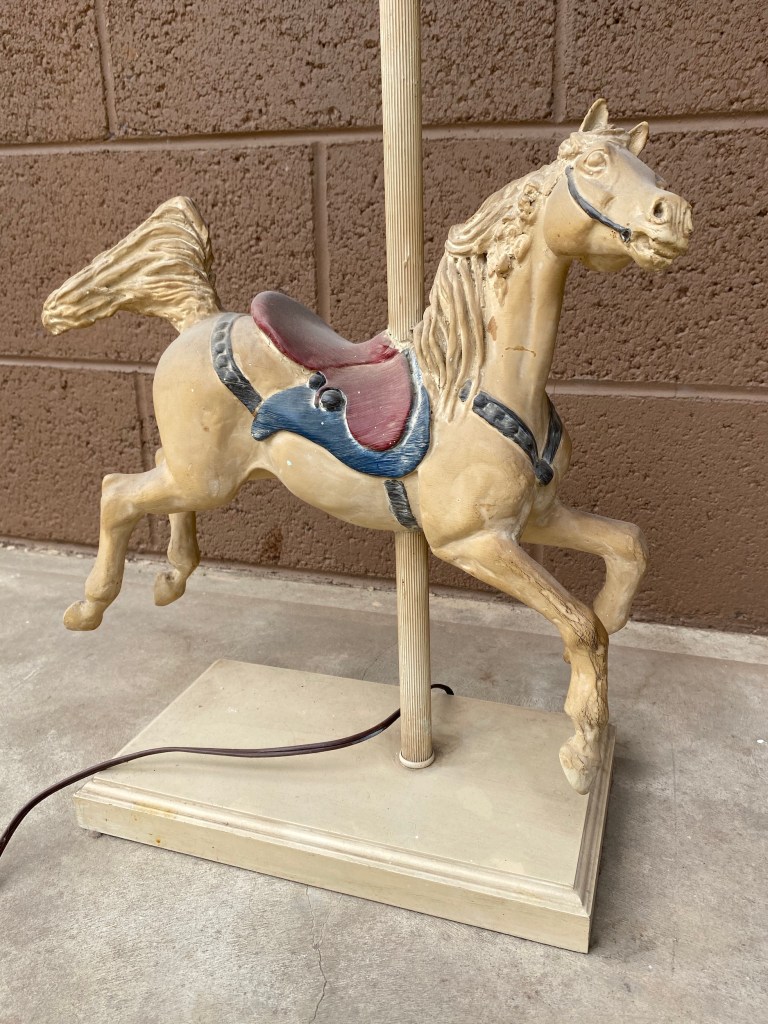
My mom has had this carousel horse lamp for as long as I can remember and when they moved, she offered it to me. I took it, immediately re-imagining it as Jingles. It was a little difficult to get started, since this horse is in a different style and pose, but I took inspiration from the bells, flowers and colors!

Now I know not many people have spare carousel horse lamps lying around, but you’re welcome to follow my instructions if you do, or if you have something else similar that you would like to repaint and/or retheme. Have fun with your imagination!

SUPPLIES
  • Carousel horse lamp
  • Washcloth
  • Rubbing alcohol (optional)
  • Small disposable bags and painters tape
  • Krylon paint and primer spray (white)
  • Sand paper
  • Paint brushes
  • Acrylic paints
  • Hot glue gun with glue inserted
  • 6mm gold jingle bells
  • 8mm acrylic rosettes
  • Varnish
INSTRUCTIONS
  1. Clean the lamp; wipe it down with a damp washcloth, then rubbing alcohol (if needed) and allow the lamp to dry. 
  2. Wrap the cord, and the socket and light fixture up in plastic bags and secure them with painter’s tape.
  3. In a well ventilated area, spray the lamp with the white primer/paint. I am still getting the hang of spray painting, so if you’re like me and drips or bubbles form, wait for the lamp to completely dry then lightly sand out the rough parts. Wipe the lamp down with a damp washcloth and allow it to dry, then try again. I finished with brushing on white acrylic paint.
  4. Once you’re satisfied with the white coat and it’s dry, paint the saddle, bridle, eyes, hooves, pole and base. This may take more than one coat so be patient and allow them to dry in between each application.
  5. Once the paint is dry, paint or spray the lamp with a varnish. The finish is based on preference, I used matte, but you can up the gloss if you want!
  6. Once the varnish is dry, use the hot glue gun to glue roses along the bridle and anywhere else you prefer.
  7. Trace light pencil guidelines where you want the jingle bells to be, then attach them with hot glue.
  8. Insert a light bulb of your choice and enjoy!

DIY Chalkboard – Made from a Vintage Wall Frame

DIY upcycled chalkboard made from vintage wall frame.Years ago, I purchased an old empty frame from a Goodwill store. I didn’t know exactly what I wanted to use it for, I just knew that I loved the decals on each corner and wanted to fix it up and give it a home. After years of procrastinating while the frame sat around and gathered dust, I finally decided to paint it and create a chalkboard.
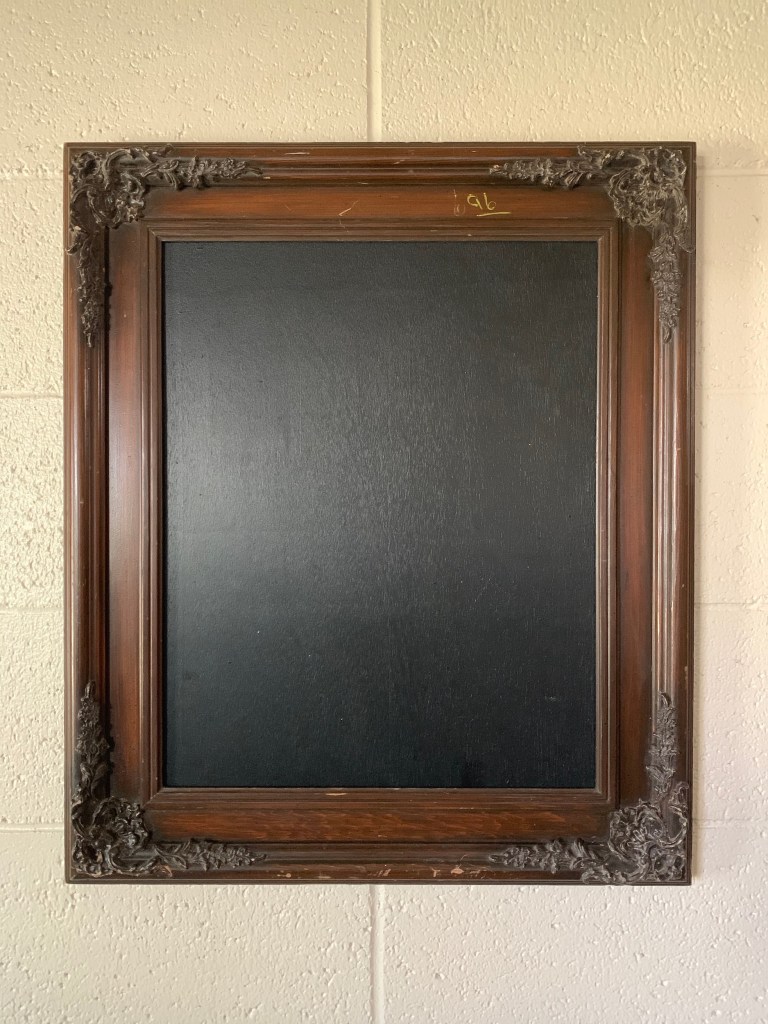
DIY upcycled chalkboard made from vintage wall frame.First, remove and sand one side of the mounting board to smooth it out. Once it’s as smooth as you prefer clean it off and prime it, then begin layering coats of chalkboard paint until you’ve reached your desired chalkboard depth and texture.

Scuff the frame with sanding paper all over to allow for the paint to adhere better. Clean the frame and prime it, then begin layering coats of white paint until you’ve reached your desired depth of color (or lack of color in my case since I used white); I used acrylic paint.

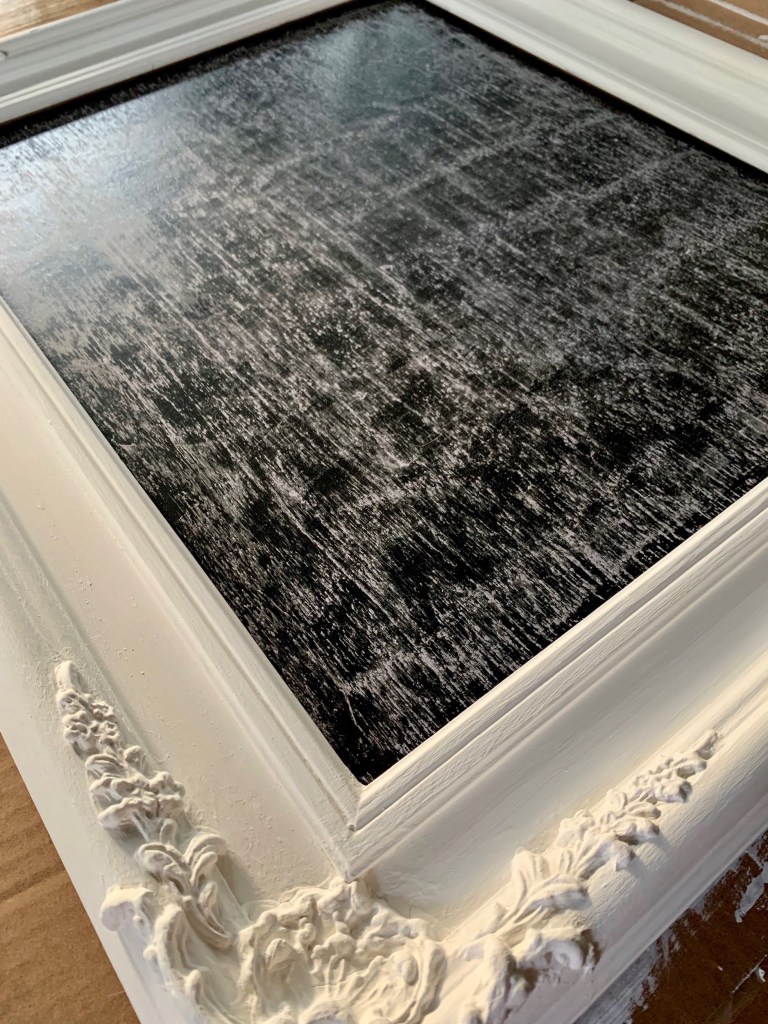
DIY upcycled chalkboard made from vintage wall frame.DIY upcycled chalkboard made from vintage wall frame.Once both pieces are dry, you can reassemble the frame. Before writing or drawing on the chalkboard, you’ll need to prime it by coating it with chalk.
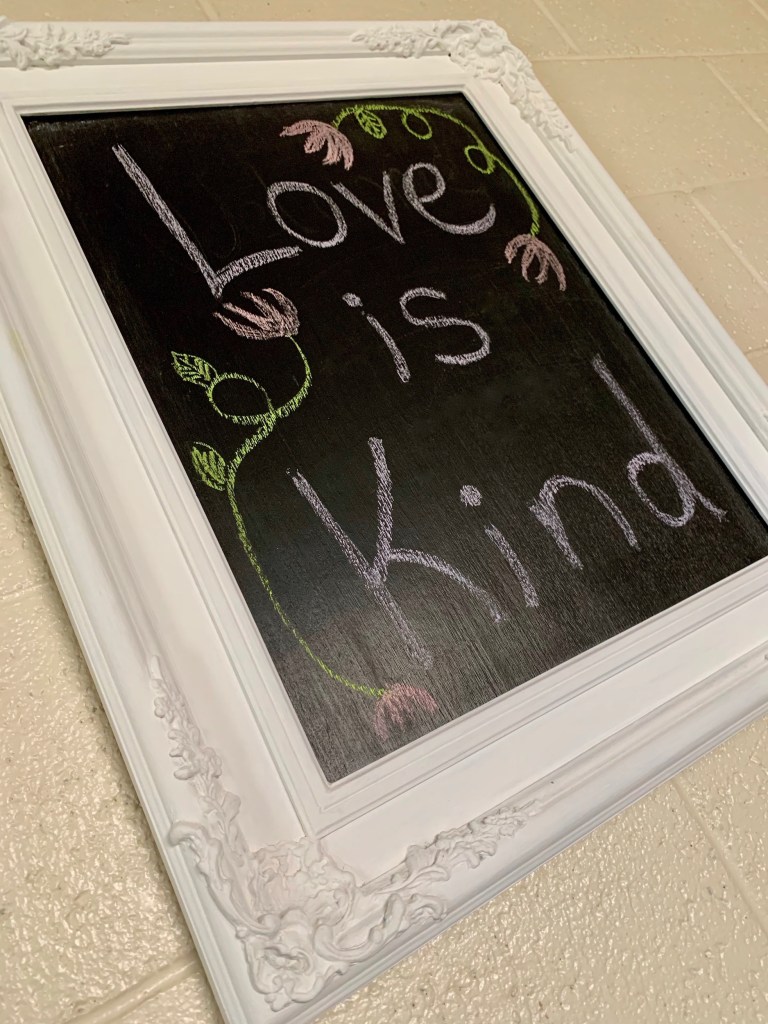
DIY upcycled chalkboard made from vintage wall frame.As you can see I just wrote the first thing that came to my mind here, but I intend on leaving this frame up as decor year round and changing it for different events, seasons or holidays!

DIY upcycled chalkboard made from vintage wall frame.