Skillet Roasted Pumpkin Seed Recipe

Skillet Roasted Pumpkin Seeds

I love snacking on roasted pumpkin seeds! So delicious, easy to prepare and eat, and with numerous health benefits, who could say no? Traditionally I make large batches every year after we carve our Halloween Jack-O-Lanterns and we snack on them for weeks!

I do not use oil in this recipe.

Skillet Roasted Pumpkin Seeds
ROASTED PUMPKIN SEEDS
  • Pumpkin seeds
  • Salt
  • Seasoned salt (optional)
  • Water
INSTRUCTIONS
  1. As you carve your pumpkins, keep all the seeds in a bowl. I find it easier to separate the seeds and pulp into two separate bowls as I go, rather than sort that mess out later.
  2. Place the seeds into a colander and rinse them under cold water, stirring with your hands to make sure they are all rinsed thoroughly.
  3. Place the seeds in a medium saucepan, then add 4 to 6 cups of water and about 1 tablespoon of salt for each half cup of seeds.
  4. Bring the saltwater and seeds to a boil for 10 minutes, then remove them from the heat and strain.
  5. Spread the seeds out on a baking sheet or two and allow them to completely dry (this may take up to a week).
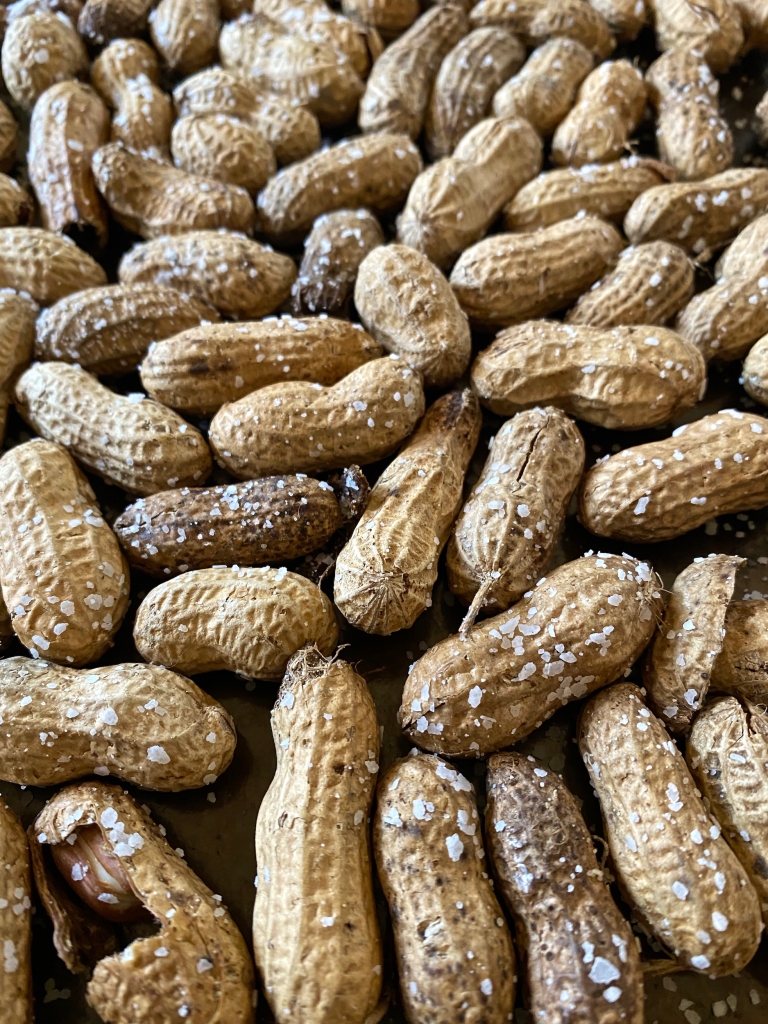
  6. Once the seeds are completely dry, prepare a small bowl with salt water. This is to crystalize on the outer shell, so dissolve as much salt as you want for a saltier outer shell, or less if you feel the brine was enough.
  7. Place the seeds into a skillet and roast on medium to low heat, stirring continuously for an even cook.
  8. When they nearly roasted to your liking, dip your fingers into the salt water and splash it as evenly as possible over the roasted seeds, then continue to stir until the water has evaporated.
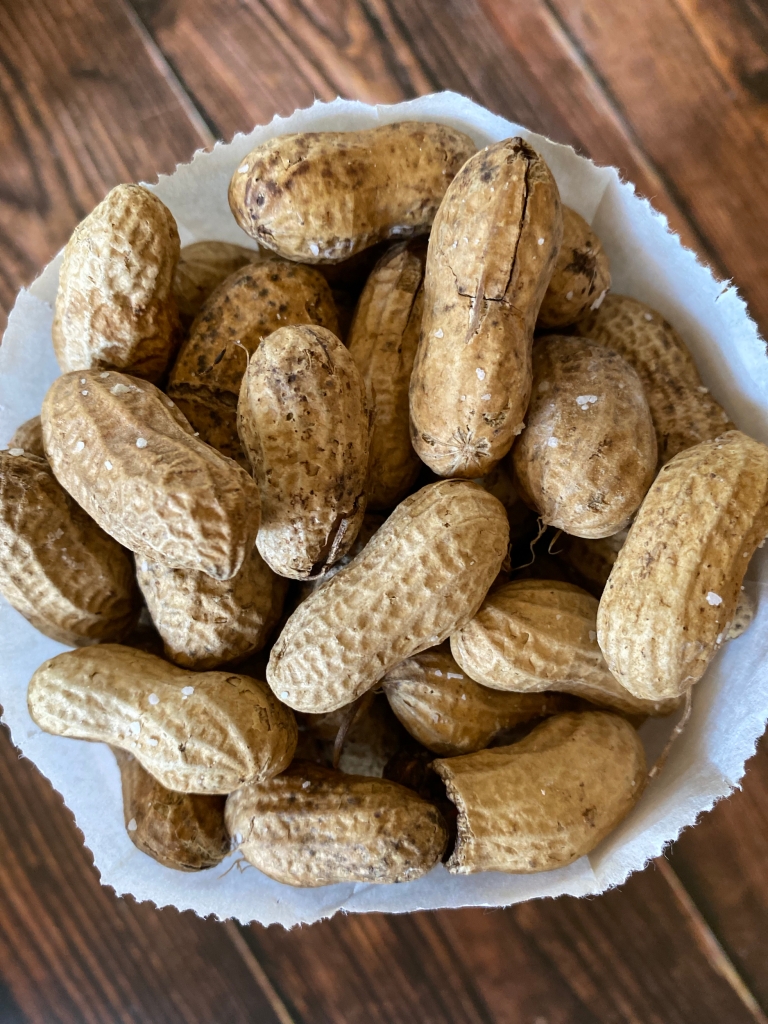
  9. Remove the seeds from the heat and allow them to cool.
  10. Enjoy!
Skillet Roasted Pumpkin Seeds
Advertisement

WDP Roasted Peanut Recipe (Dumbo)

WDP Peanut Recipe
INTRODUCTION

Welcome back friends! We took a little break from creating Disney recipes, but I’ve missed this, so we’re picking things back up again! This month we’ll be roasting the peanuts from the WDP Circus in Disney’s Dumbo.

This recipe is featured twice in the film. Timothy mouse is snacking on them when he first meets Dumbo, and when Dumbo stretches his ears to fly, he sucks them up and sprays over all the rude elephants.

I love salted peanuts! These are brined to get the salted flavor within the the shell, then tossed with peanut oil and salt before roasting. These are a healthy and delicious snack, I hope you enjoy them!

WDP Peanut Recipe
WDP Peanut Recipe
WDP CIRCUS’S ROASTED PEANUTS
  • 1 1/2 pounds in-shell raw dried peanuts
  • 2 quarts of water
  • 1/2 cup of kosher salt
  • 2 tablespoons of peanut oil
  • 2 tablespoons of kosher salt
INSTRUCTIONS
  1. Thoroughly rinse the peanuts under cool water to remove any excess dirt.
  2. In a large bowl or pot, dissolve the 1/2 cup of salt in the water, then add the peanuts. 
  3. Place a plate over the water’s surface to ensure the peanuts are submerged and brine for 24 hours.
  4. Drain the water, and spread the peanuts on baking sheets in a single layer to dry (this may take several days).
  5. Once the peanuts are dry, preheat the oven to 350 degrees F.
  6. Place the peanuts in a large bowl and toss them with the peanut oil and salt until well coated.
  7. Spread the peanuts back out onto baking sheets in a single layer. 
  8. Roast in the oven for 40 to 45 minutes, rotating the pan(s) after 20 minutes. Everyone’s oven is different, so keep an eye on them so they won’t burn!
  9. Remove the peanuts from the oven. They will continue to “cook” and become crunchy as they cool.
  10. Allow them to cool before eating and enjoy!
WDP Peanut Recipe

Sir Kay’s Turkey Leg Recipe

Sir Kay's Turkey Leg Recipe (Sword in the Stone)

INTRODUCTION

Welcome back friends! This week we are roasting the turkey legs Sir Kay eats in Disney’s The Sword in the Stone.

Sir Kay's Turkey Leg Recipe (Sword in the Stone)

This recipe is featured near the beginning of the film, in a scene that establishes Sir Kay’s contemptible nature. He munches on this turkey leg as he declares his indifference about Arthur’s whereabouts and safety. When I was little, I remember being fascinated at how easily he eats the meat off the bone.

Sir Kay's Turkey Leg Recipe (Sword in the Stone)

Sir Kay's Turkey Leg Recipe (Sword in the Stone)

This was an experimental recipe to be sure, but super fun to research! I looked up what kind of spices cooks had available and used on their meat during the Sword in the Stone’s time period, then created this rub! It is delicious, but I will warn you it is rich. I would definitely pair it with something fresh like a salad or another fruit or vegetable.

Sir Kay's Turkey Leg Recipe (Sword in the Stone)

Sir Kay's Turkey Leg Recipe (Sword in the Stone)

TURKEY LEGS
  • 2 Turkey legs
  • 1/16 teaspoon of black pepper
  • 1/2 teaspoon of cinnamon
  • 1 tablespoon of garlic powder
  • 1/8 teaspoon of ginger
  • 1 tablespoon of minced onion
  • 1/8 teaspoon of nutmeg
  • 3/4 tablespoon of salt
  • 1 cup of chicken broth
  • Honey
INSTRUCTIONS (TURKEY LEGS)
  1. Combine the black pepper, cinnamon, garlic powder, ginger, minced onion, nutmeg and salt in a small bowl and set aside.
  2. Preheat the oven to 350 F.
  3. Pat the turkey legs dry and place them in a large roasting pan. 
  4. Rub and pat the seasoning over and into the turkey legs.
  5. Pour the chicken broth into the bottom of the pan around the turkey legs.
  6. Roast the turkey legs for about 1 hour and 20 minutes.
  7. Bring the drumsticks out of the oven and glaze with honey then put them back into the oven for 10 to 20 minutes or until a meat thermometer registers 170 F.
  8. Remove the roasting pan from the oven, cover it with foil, and let it stand for 10 minutes.
  9. Once cool enough to eat, remove the foil and enjoy!

Ichabod’s Turkey Recipe (The Adventures of Ichabod and Mr. Toad)

Ichabod's Turkey Recipe from Disney's The Adventures of Ichabod and Mr. Toad, or Sleepy Hollow.INTRODUCTION

Welcome back friends! This week we’ll be baking what must be one of the many turkey’s Ichabod Crane is fed by the ladies of Sleepy Hollow in Disney’s The Adventures of Ichabod and Mr. Toad.

Ratty and Mole's Crumpet, Ichabod's Red Velvet Cake and Ichabod's Turkey Recipe from Disney's The Adventures of Ichabod and Mr. Toad or the Wind in the Willows.
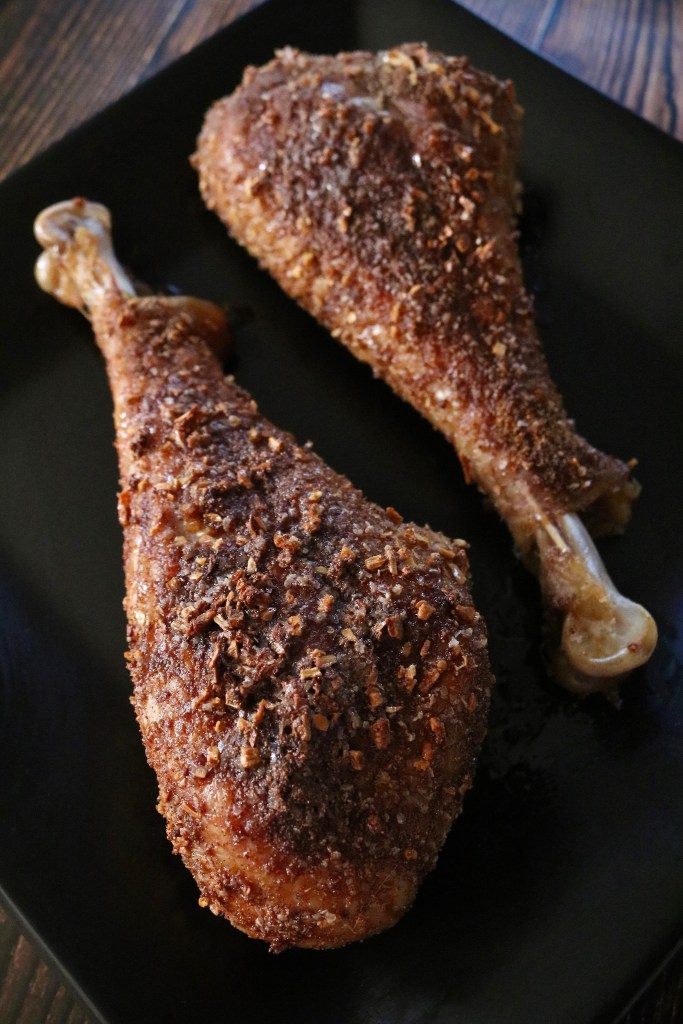
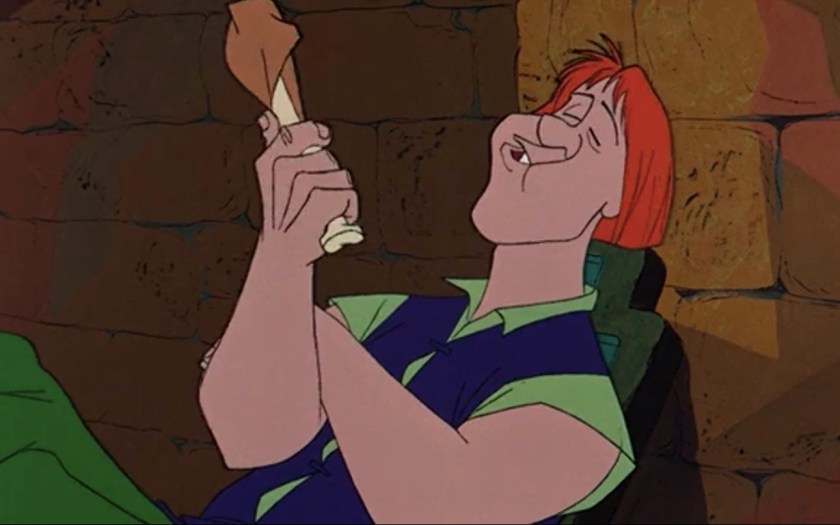
This turkey is featured when Ichabod visits one of his student’s households for supper and is fed a turkey by the lady of the house.

Ichabod's Turkey Recipe from Disney's The Adventures of Ichabod and Mr. Toad, or Sleepy Hollow.
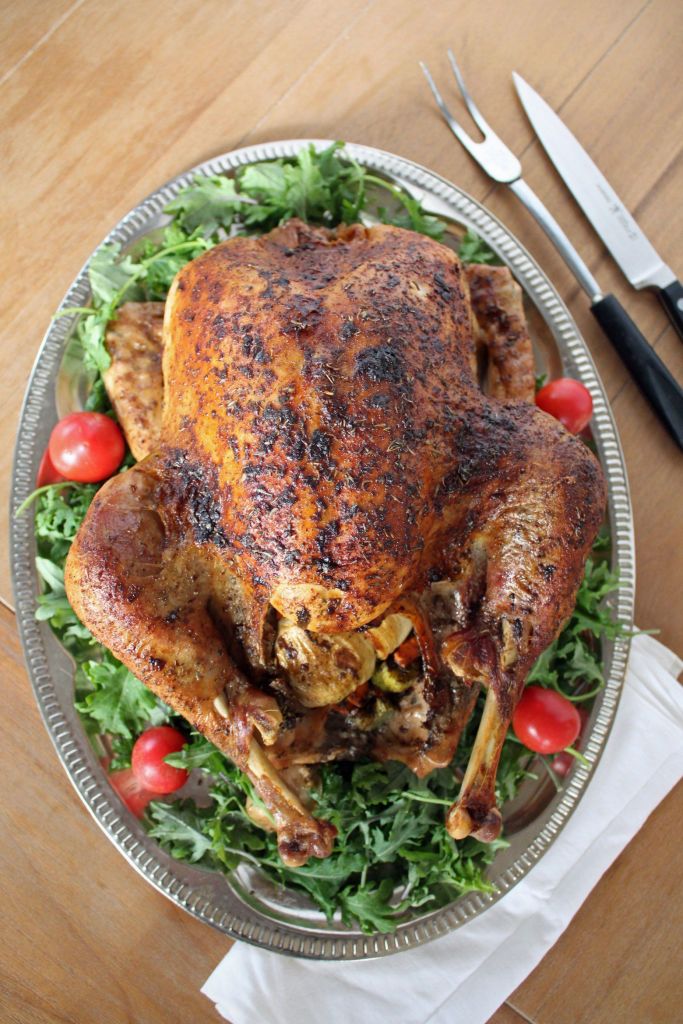
I highly doubt the residents of Sleepy Hollow had access to the Godzilla size turkeys we have available today, so I chose to work with a smaller size turkey. Smaller stature, paired with classic and simple seasoning and cooking methods resulted in the best tasting turkey I think I’ve ever created!

Ichabod's Turkey Recipe from Disney's The Adventures of Ichabod and Mr. Toad, or Sleepy Hollow.TURKEY
  • 12 to 14 pound turkey (thaw if frozen)
  • freshly ground pepper
  • kosher salt
  • 1 carrot, cut into chunks
  • 1 rib of celery, cut into chunks
  • 1 onion, quartered
  • 3 sprigs of sage, plus 1 tablespoon of chopped leaves
  • 3 sprigs of thyme, plus 1 tablespoon of chopped leaves
  • 12 tablespoons of unsalted butter
  • 2 teaspoons of paprika
INSTRUCTIONS (TURKEY)
  1. Let the turkey sit at room temperature for 30 minutes.
  2. Position an oven rack in the lowest position and remove the other racks, then preheat to 350 degrees F.
  3. Remove the neck and giblets from the turkey and reserve for gravy if desired.
  4. Pat the turkey very dry with paper towels and rub inside and out with pepper and salt.
  5. Stuff the cavity with the carrot, celery, onion, sage and thyme sprigs; then tie the legs together with kitchen twine.
  6. Put the turkey on a rack set it in a large roasting pan and tuck the wings under the body.
  7. Melt the butter in a small saucepan over low heat and whisk in the paprika, chopped sage and thyme leaves.
  8. Let the paprika butter cool slightly, then brush it all over the turkey.
  9. Transfer the turkey to the oven and roast for 1 hour.
  10. After the turkey has roasted for 1 hour, baste with the drippings.
  11. Continue roasting and basting every 30 minutes until the skin is golden brown and a thermometer inserted into the thigh registers 165 degrees F.
  12. Transfer the turkey to a cutting board and let it rest for 30 minutes before carving; reserve the drippings for gravy if desired.