
As the new school year kicks off, many parents and teachers are looking for ways to keep kids engaged, learning, and motivated — both in and out of the classroom. Thankfully, educational apps can bridge the gap between fun and learning, helping children sharpen their skills in math, reading, science, and even social-emotional development.
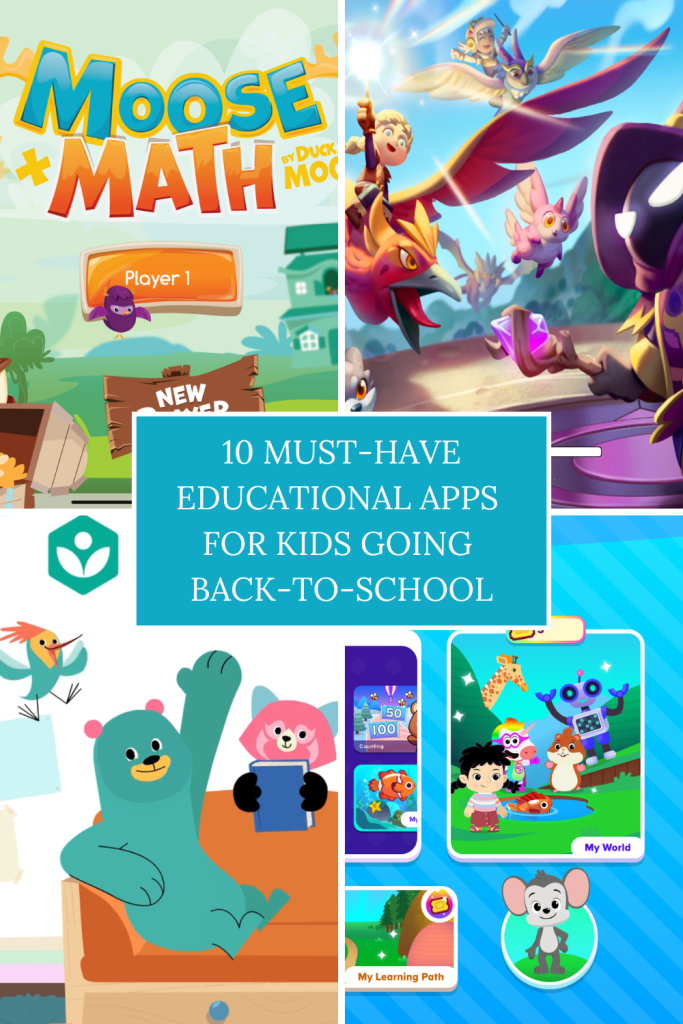
Here are 10 highly recommended educational apps for kids heading back to school in 2025 — suitable for a range of ages and subjects.
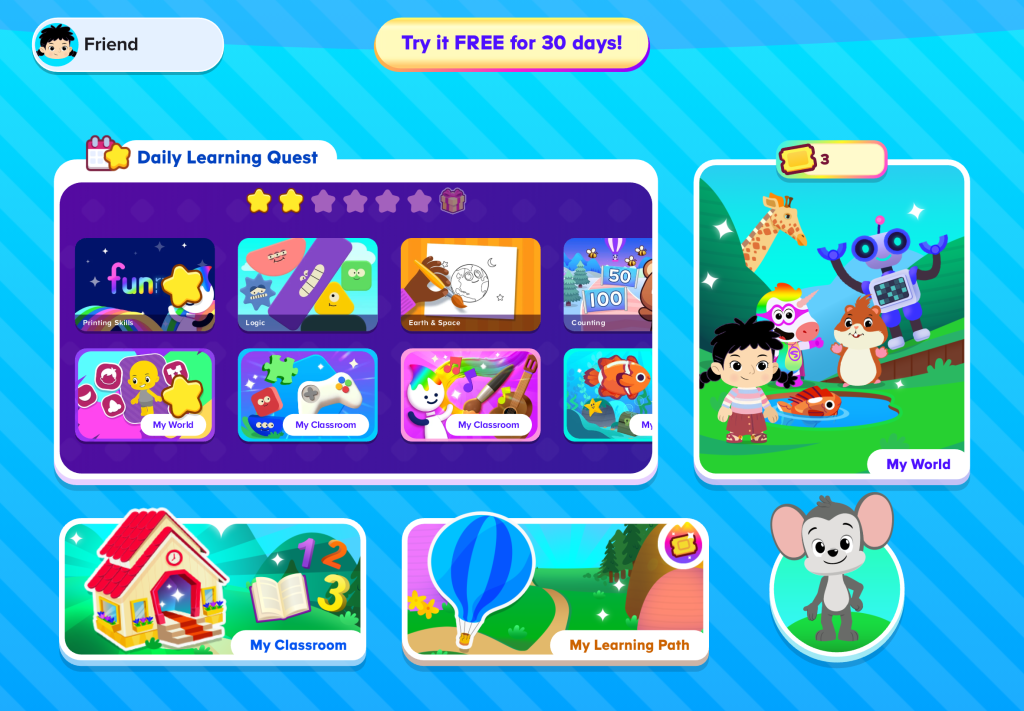
1. Khan Academy Kids (Ages 2–8)

Subjects: Reading, Math, SEL, Logic.
Why it’s great: This award-winning, free app covers a wide range of topics through colorful characters, story-based lessons, and hands-on activities. Perfect for preschool and early elementary learners.
Price: Free.
Available on: iOS, Android.
2. Prodigy Math (Ages 6–12)


Subjects: Math.
Why it’s great: Combines curriculum-based math practice with a fantasy-style role-playing game. Kids solve math problems to battle monsters and complete quests.
Price: Free with premium options.
Available on: Web, iOS, Android.
3. Duolingo ABC (Ages 3–7)


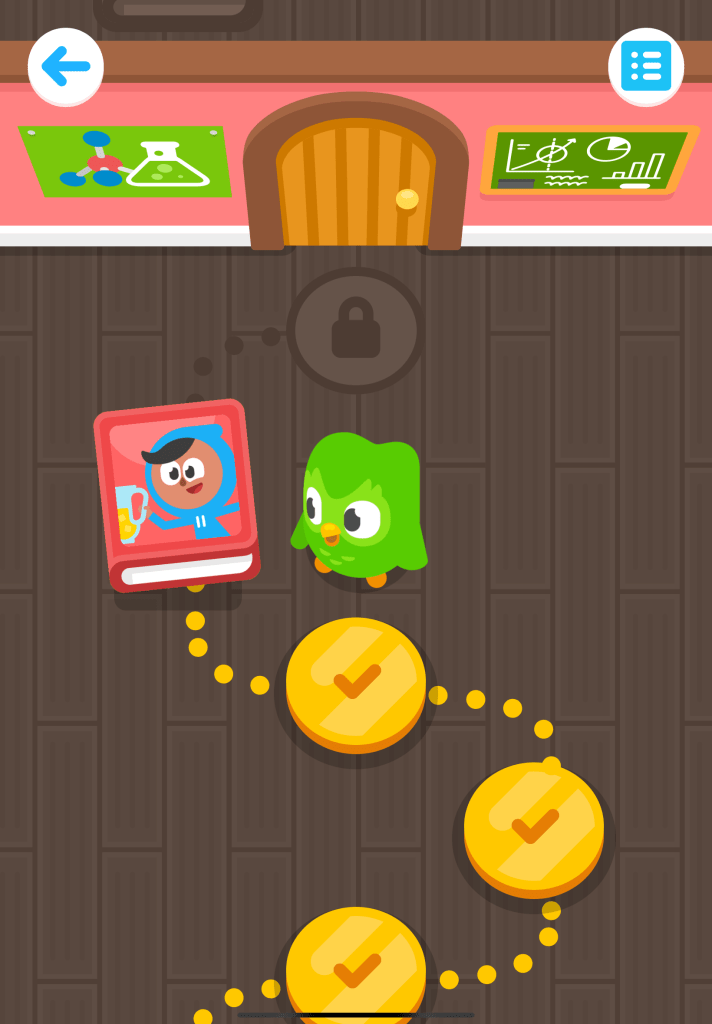
Subjects: Early Reading & Phonics.
Why it’s great: From the makers of Duolingo, this app helps young children develop basic reading skills with bite-sized lessons, traceable letters, and no ads.
Price: Free.
Available on: iOS, Android.
4. Moose Math (Ages 3–7)


Subjects: Counting, Addition/Subtraction, Number Patterns, Geometry, Measurement.
Why it’s great: Moose Math uses fun, interactive games like smoothie-making and pet bingo to teach math skills. It offers personalized feedback and encouragement as kids play. Children earn rewards to decorate their own city, keeping them motivated. The app follows Common Core standards for kindergarten and first grade and includes progress tracking for parents and teachers.
Price: Free. No ads or in-app purchases.
Available on: iOS, Android.
5. Toca Boca Jr. (Ages 6–12)


Subjects: Creativity, Storytelling, Imaginative Play.
Why it’s great: While not strictly academic, this app encourages creativity, emotional expression, and storytelling — all key developmental skills.
Price: Free with in-app purchases.
Available on: iOS, Android.
6. BrainPOP Jr. (Ages 5–9)

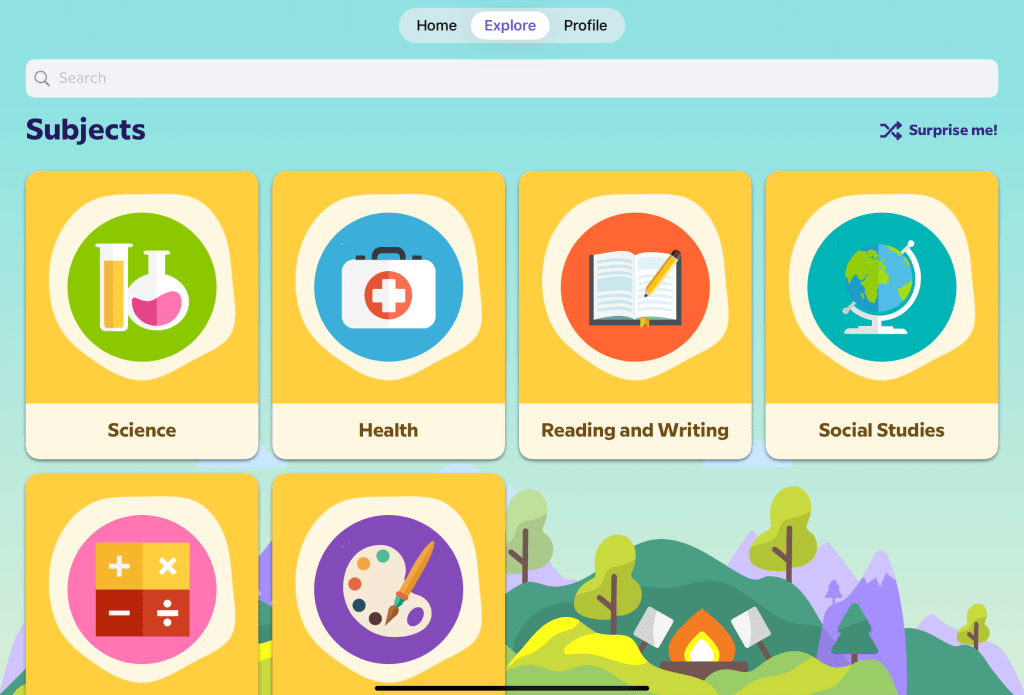
Subjects: Science, Social Studies, Reading, Health.
Why it’s great: Animated videos, short quizzes, and interactive games make big topics easy to understand. Used widely in schools.
Price: Subscription required (some free content).
Available on: iOS, Android, Web.
7. Writing Wizard (Ages 4–8)
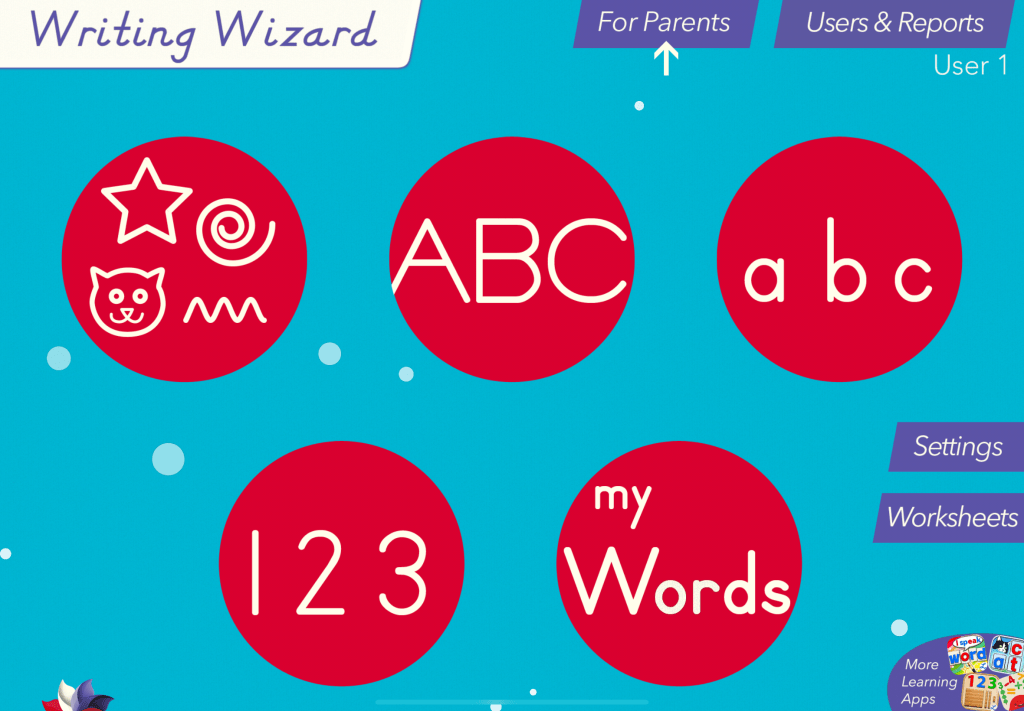

Subjects: Handwriting.
Why it’s great: Helps kids trace and write letters and words with audio feedback and customizable word lists. Great for early learners and special education.
Price: Paid app.
Available on: iOS, Android.
8. ABCmouse 2 (Ages 2–8)


Subjects: Math, Reading, Art, Music, Science.
Why it’s great: A full curriculum in one app — kids earn rewards as they progress through thousands of lessons across multiple subjects.
Price: Paid subscription (with free trial).
Available on: iOS, Android, Web.
9. Epic! (Ages 5–12)


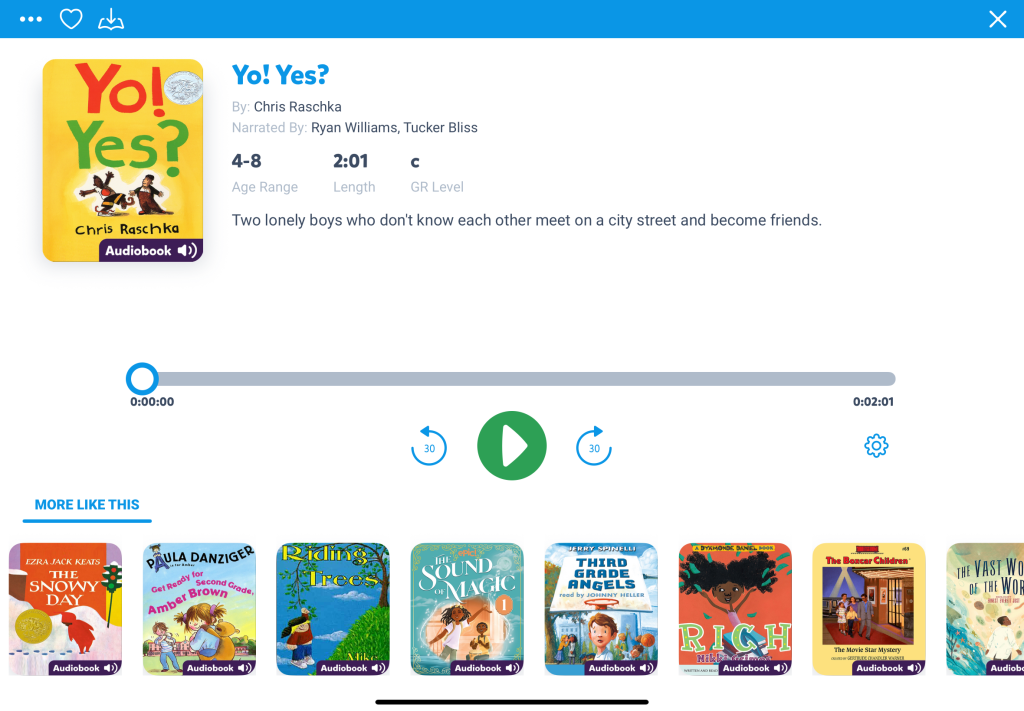
Subjects: Reading.
Why it’s great: A digital library of over 40,000 books, audiobooks, and videos — sorted by age, grade level, and interest. Great for reluctant or advanced readers.
Price: Free for educators, paid for parents.
Available on: iOS, Android, Web.
10. Sago Mini First Words (Ages 2–5)


Subjects: Speech and Language Development.
Why it’s great: Designed with speech therapists, this app helps toddlers and preschoolers expand their vocabulary through interactive play.
Price: Free trial, then subscription.
Available on: iOS.
Tips for Parents:
- Set a daily screen time limit to encourage balance.
- Use apps alongside real-life learning (e.g., reading books or practicing math at the grocery store).
- Let kids choose topics that excite them — curiosity is the best teacher.
Whether your child is in preschool or upper elementary school, these apps can make back-to-school season a little smoother — and a lot more fun.
Do you have a favorite educational app you swear by? Share it in the comments!


 Years ago, I purchased an old empty frame from a Goodwill store. I didn’t know exactly what I wanted to use it for, I just knew that I loved the decals on each corner and wanted to fix it up and give it a home. After years of procrastinating while the frame sat around and gathered dust, I finally decided to paint it and create a chalkboard.
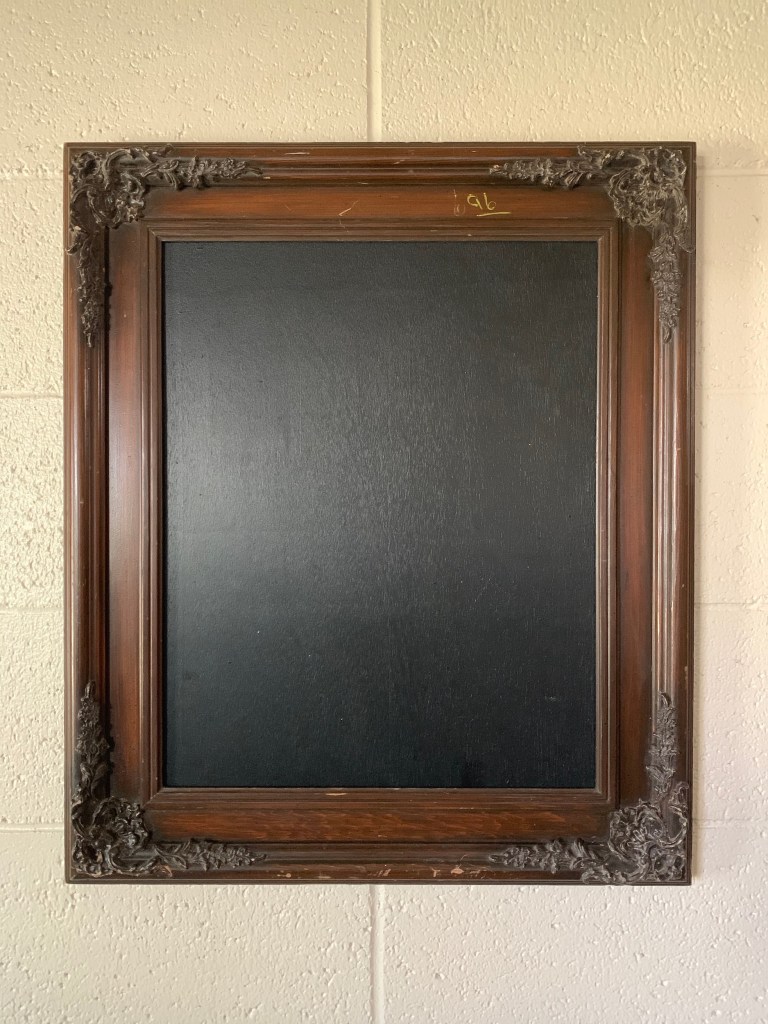 First, remove and sand one side of the mounting board to smooth it out. Once it’s as smooth as you prefer clean it off and prime it, then begin layering coats of chalkboard paint until you’ve reached your desired chalkboard depth and texture.
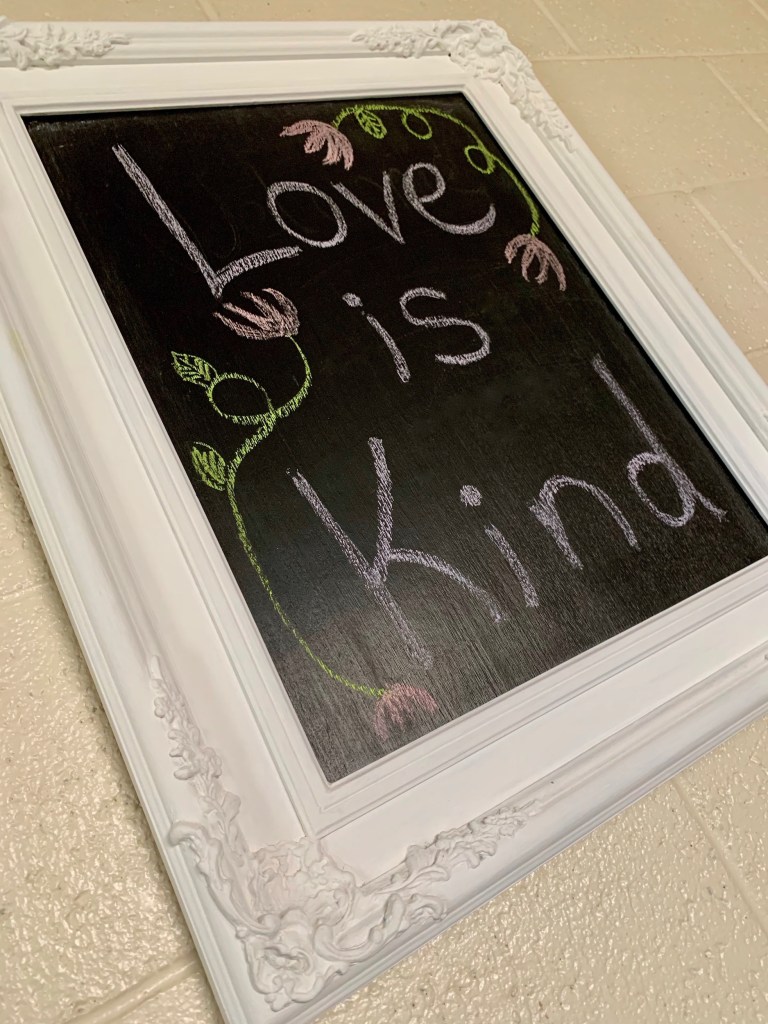
 Once both pieces are dry, you can reassemble the frame. Before writing or drawing on the chalkboard, you’ll need to prime it by coating it with chalk.
 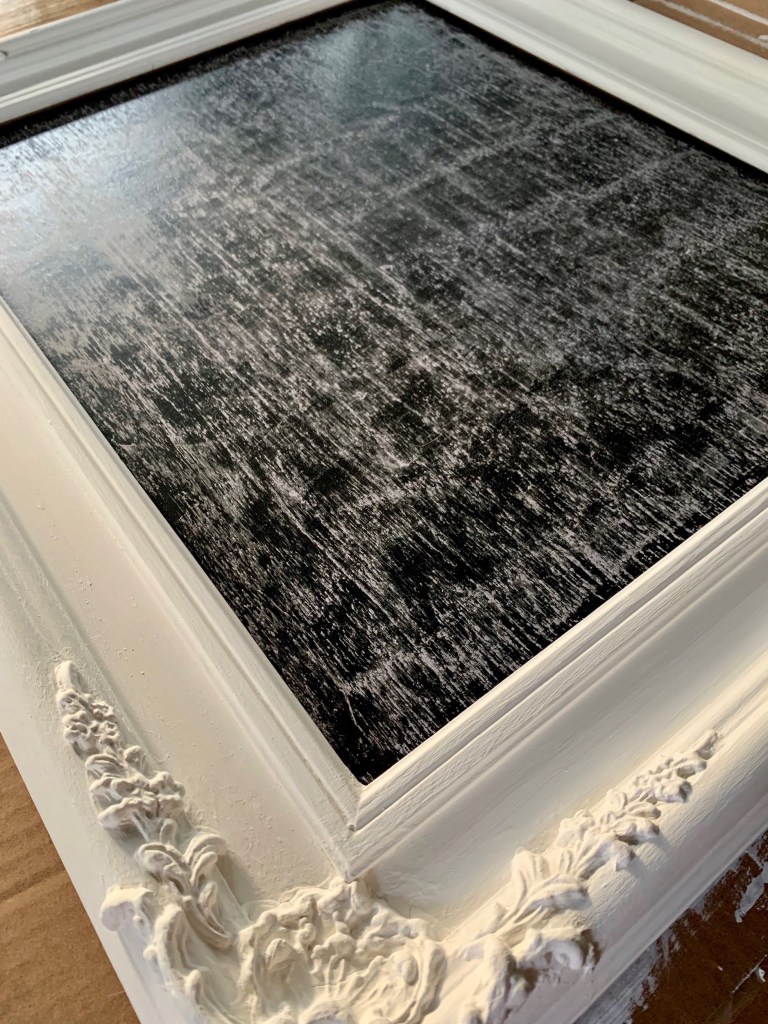 As you can see I just wrote the first thing that came to my mind here, but I intend on leaving this frame up as decor year round and changing it for different events, seasons or holidays!
