DIY – Up-cycled Coffee Can Plant Containers

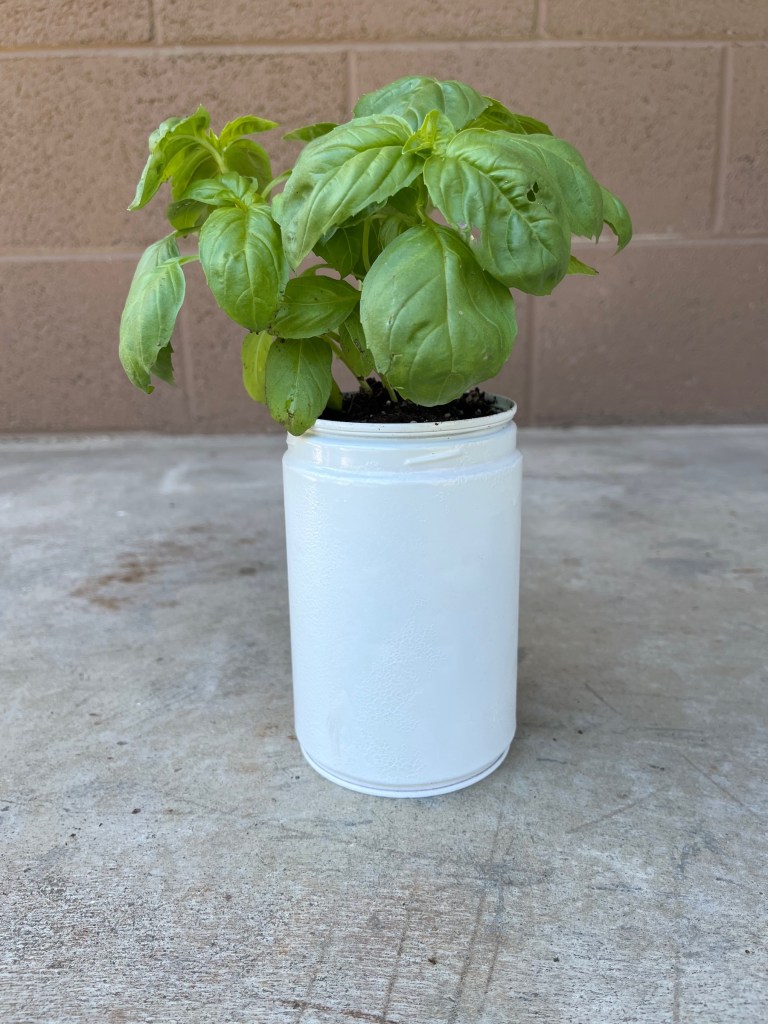
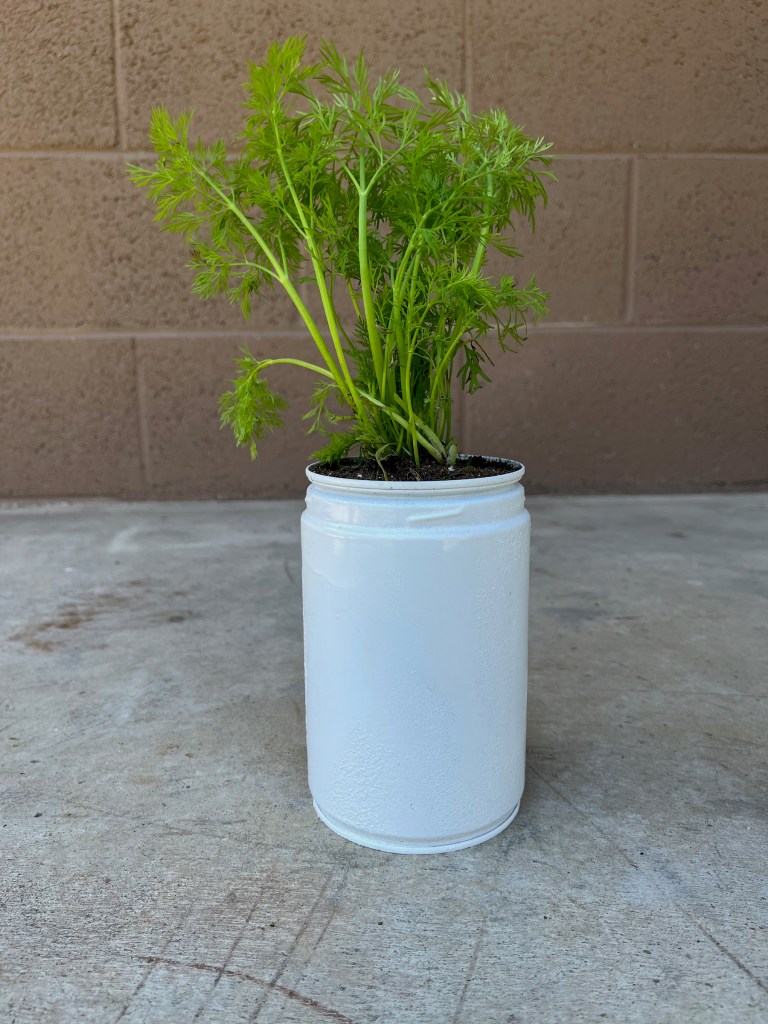
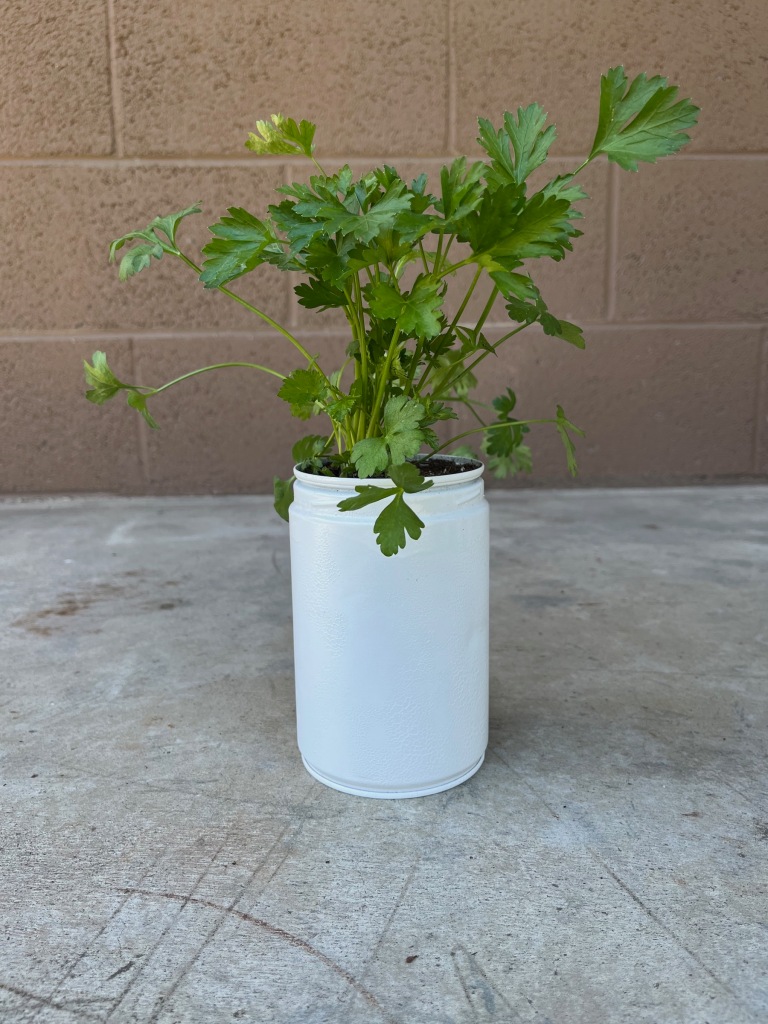
I created an up-cycled container herb garden using a hammer, nail, empty coffee cans and paint. This is a straightforward craft that’s perfect for DIYers of any level (beginners included)! To make it even more unique, you can choose what type/shape of can to use as well as whichever color of paint your heart desires! Have fun with it!

You can also choose what types of plants you want to place in these containers. Succulents are perfect and fresh herbs are fantastic! I’ve always wanted a small herb garden to pick and choose from when my husband or I are cooking and, now is the time!

SUPPLIES
  • Sturdy cans
  • Hammer
  • Nail
  • All-in-One spray paint (color of your choice)
  • Soil
  • Herbs of choice
INSTRUCTIONS
  1. Wipe down the outside of each can so it’s clean from any dust or debris.
  2. Flip the cans over and using a hammer and nail, gently tap drain holes into the bottom of each can. I poked 9 holes into the bottom of each can.
  3. In a well ventilated, paint-protected space, spray each can in several layers with your chosen spray paint. Allow each layer to dry before painting another. If there is more moisture in the air, it will take longer for each layer to dry. Allow for each layer to dry thoroughly before painting another or you will experience a bubbling/crackled effect on the paint. I liked this look, so I allowed for it.
  4. Once the final layer is on and the cans are dry, flip them back over and place a layer of soil in the bottom. Place your herbs in the can and surround with more soil to stabilize the planted herb.
  5. Set in a space that gets warmth and sunlight. Water from the bottom and enjoy!

How to Dry Mint Leaves for Tea

Welcome back friends! Let’s get cozy and have a cup of tea! 

I am fortunate enough to own a spearmint plant that has flourished in its container and I want to show you how to harvest, dry and brew your own spearmint tea!

Beyond being a warm and comforting beverage, spearmint tea has numerous proven and/or potential health benefits, including:

  • Fighting bacterial infections. 
  • Relieving digestive upsets.
  • High in antioxidants.
  • May aid in balancing hormones.
  • May lower blood pressure.
  • May lower blood sugar.
  • May help reduce stress.
  • May help relieving arthritis pain.
  • May improve memory function.
INGREDIENTS
  • Mint leaves
INSTRUCTIONS
  1. Trim the mint back, then pluck the best leaves from the stems. If you do not want or need to trim the mint back, you could also pluck the best leaves directly from the plant.
  2. Wash the leaves thoroughly with fresh water, then place them in a salad spinner to remove any excess water.
  3. Line a baking sheet with with a baking mat or parchment paper and spread the mint leaves on the prepared baking sheet. Be careful not to crowd them.
  4. Turn your oven on to it’s lowest setting (for many this will be 170F). 
  5. Place the mint leaves in the oven and bake them until dry. This could only take 10 to 15 minutes, but it varies by oven strength so keep an eye on them! They will be curled and make a dry rustling sound when nudged with a utensil.
  6. Remove the tray from the oven and allow to cool.
  7. You can store the leaves in an airtight container or brew some tea right away!
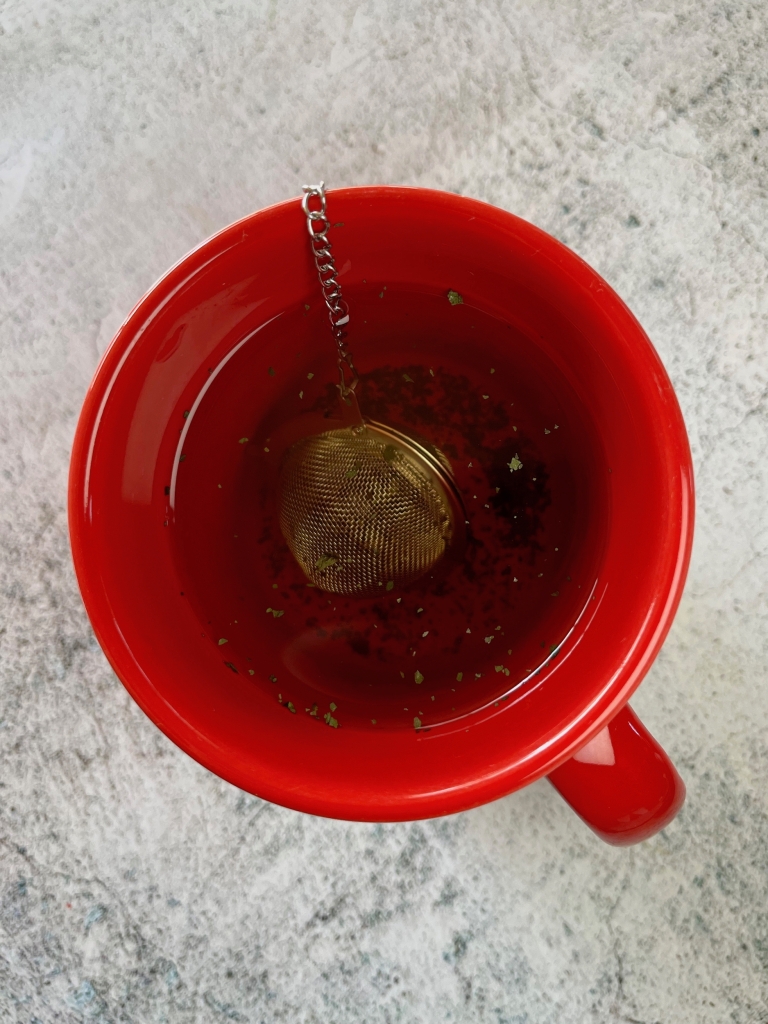
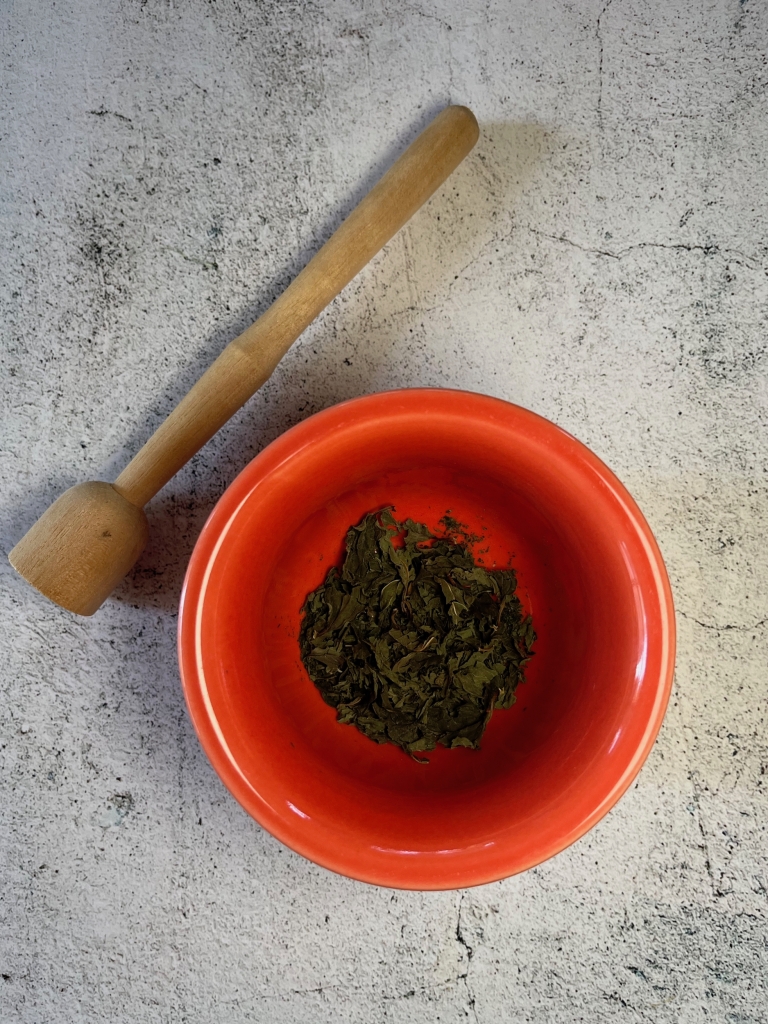
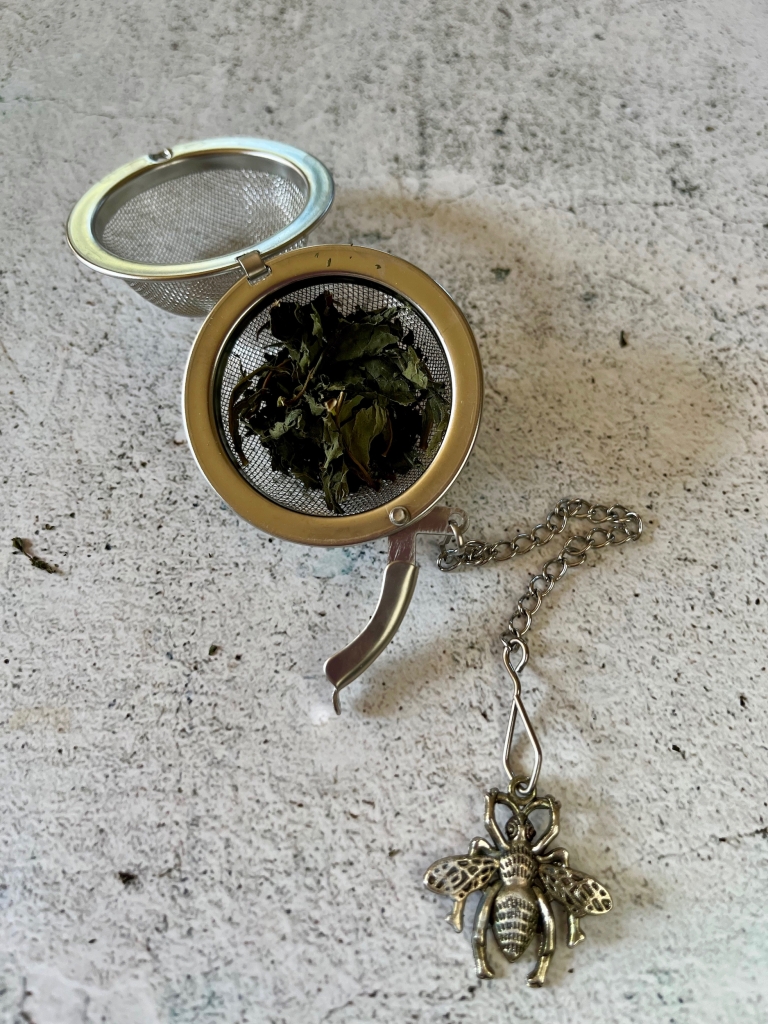
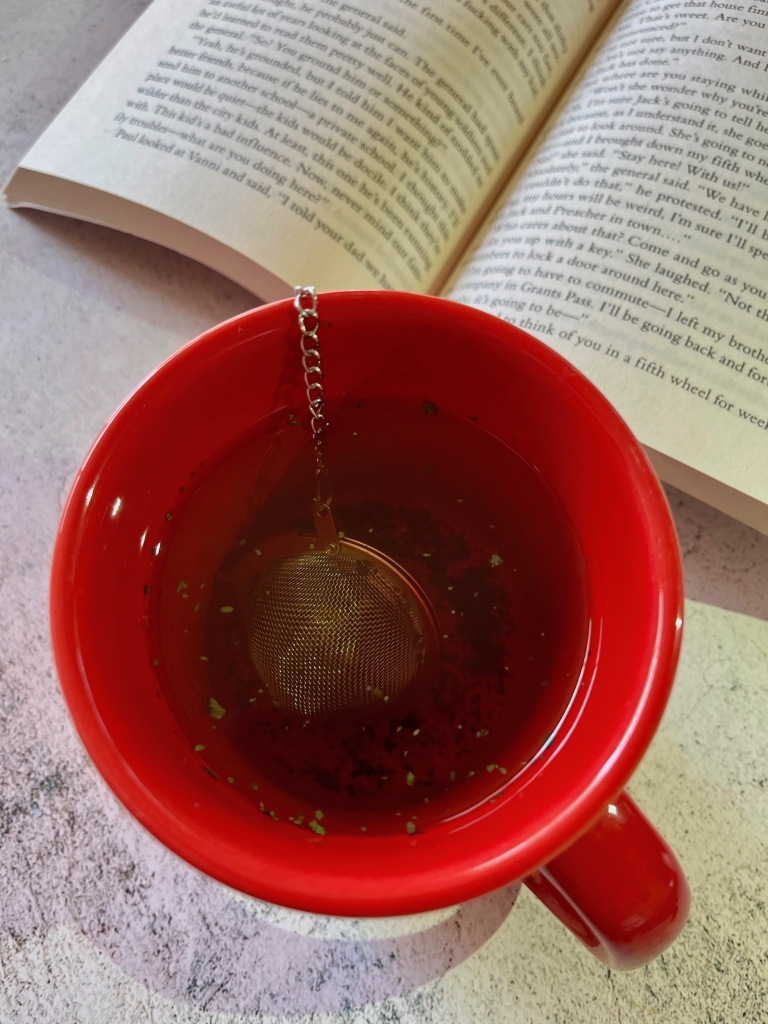
  8. Use an infuser and keep the leaves whole or grind them up. If you do grind them up, smaller pieces will make their way out of the infuser and float around in your tea. This isn’t a bad thing, just personal preference!
  9. Enjoy!