Part of the fun in raising Zoey is making things that delight her; I want to create lasting, meaningful toys for her that are made with love and will be loved! Wooden toys are classic and beautiful, when created and treated right, they can last a lifetime; so let’s make some!
It’s no secret that Cameron and I love Disney. We’ve begun showing Zoey the classics, starting with the first full length animated feature that started them all! Snow White!
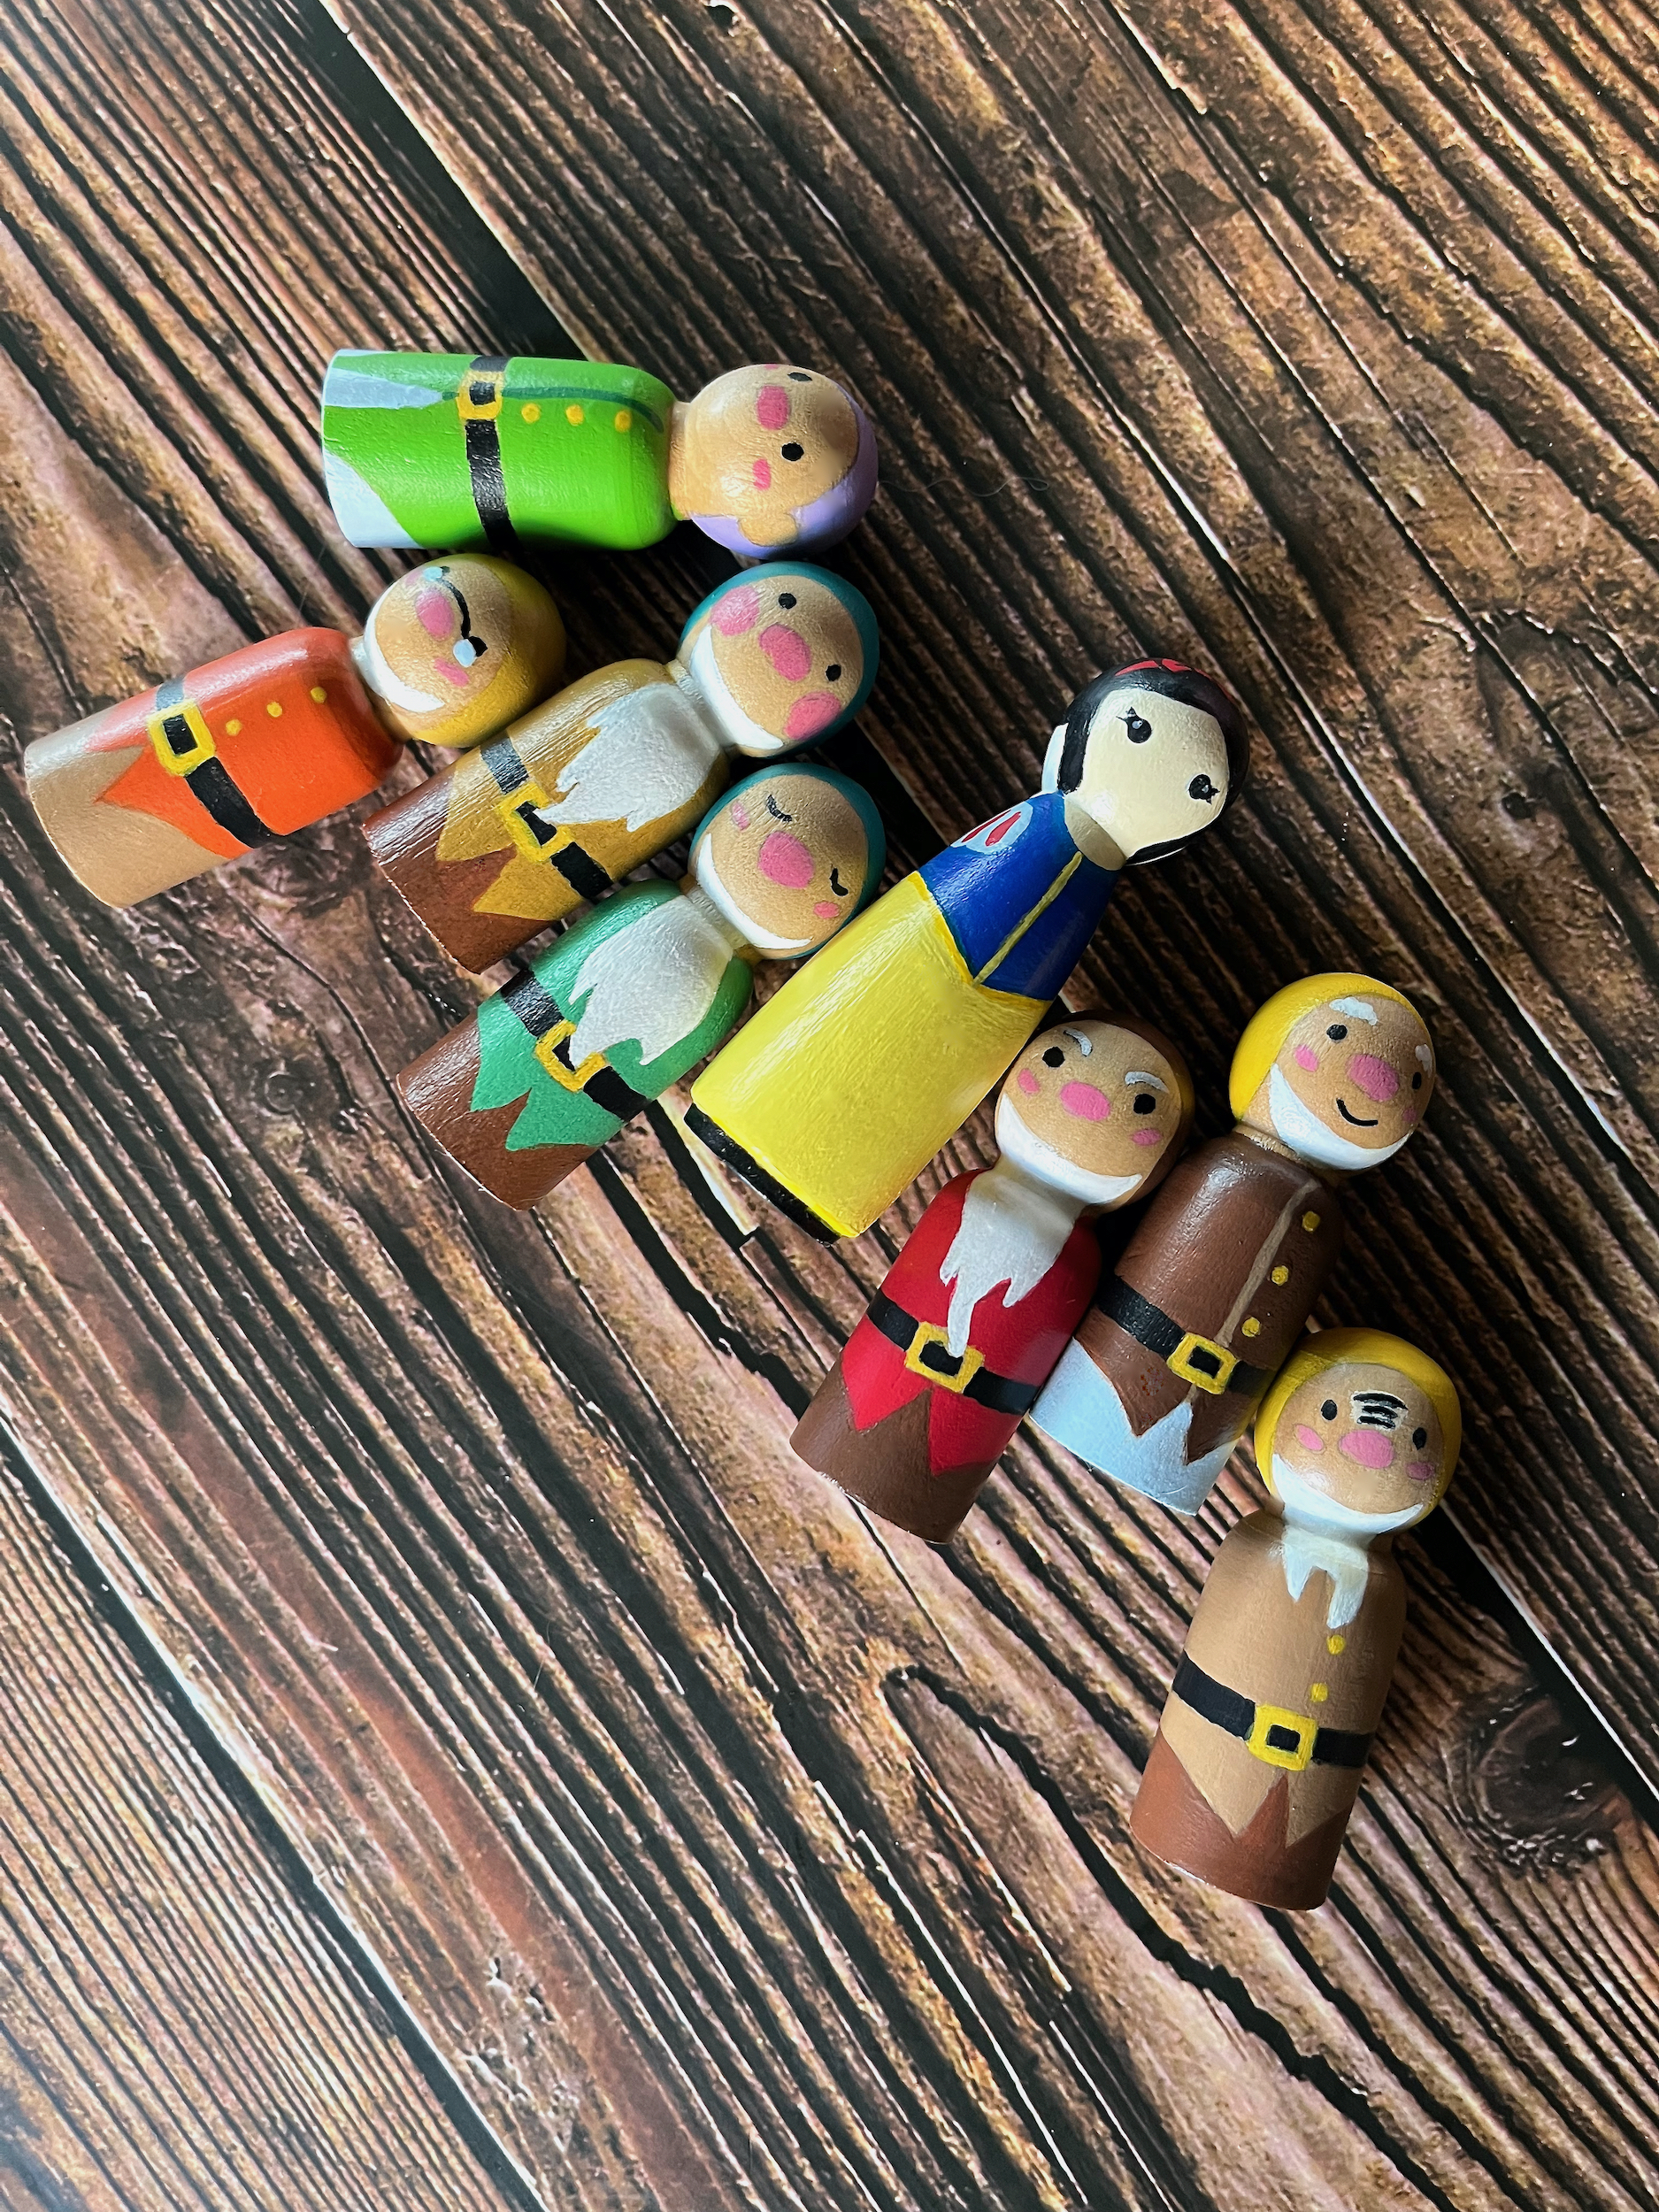
This week I’ll be sharing the steps I took to create a Snow White peg doll, along with her friends, the seven dwarfs.


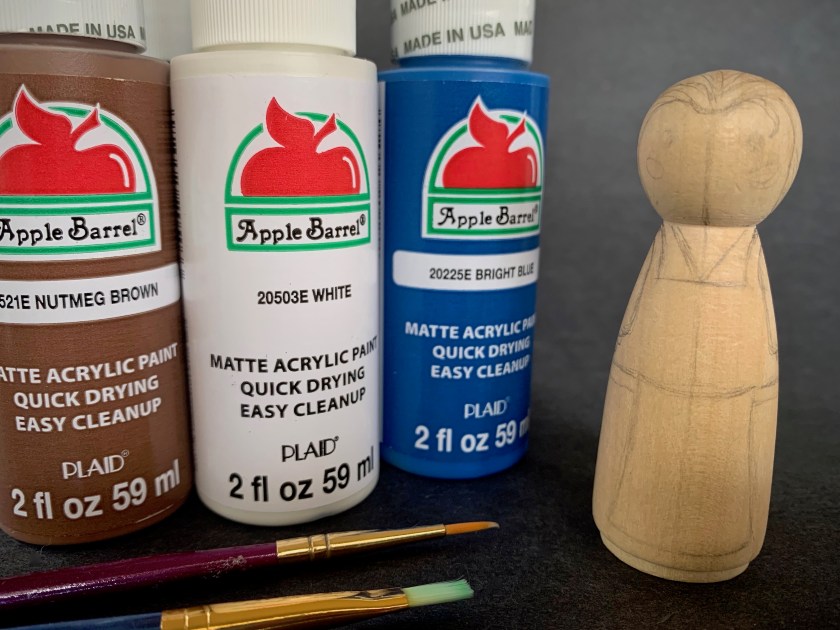
SUPPLIES
- Blank peg doll(s)
- Small, flat & fine tip paint brushes
- Paint palette (or a tray for your paint)
- Non-toxic acrylic paints
- Non-toxic varnish (I used Duraclear Ultra Matte Varnish)
INSTRUCTIONS
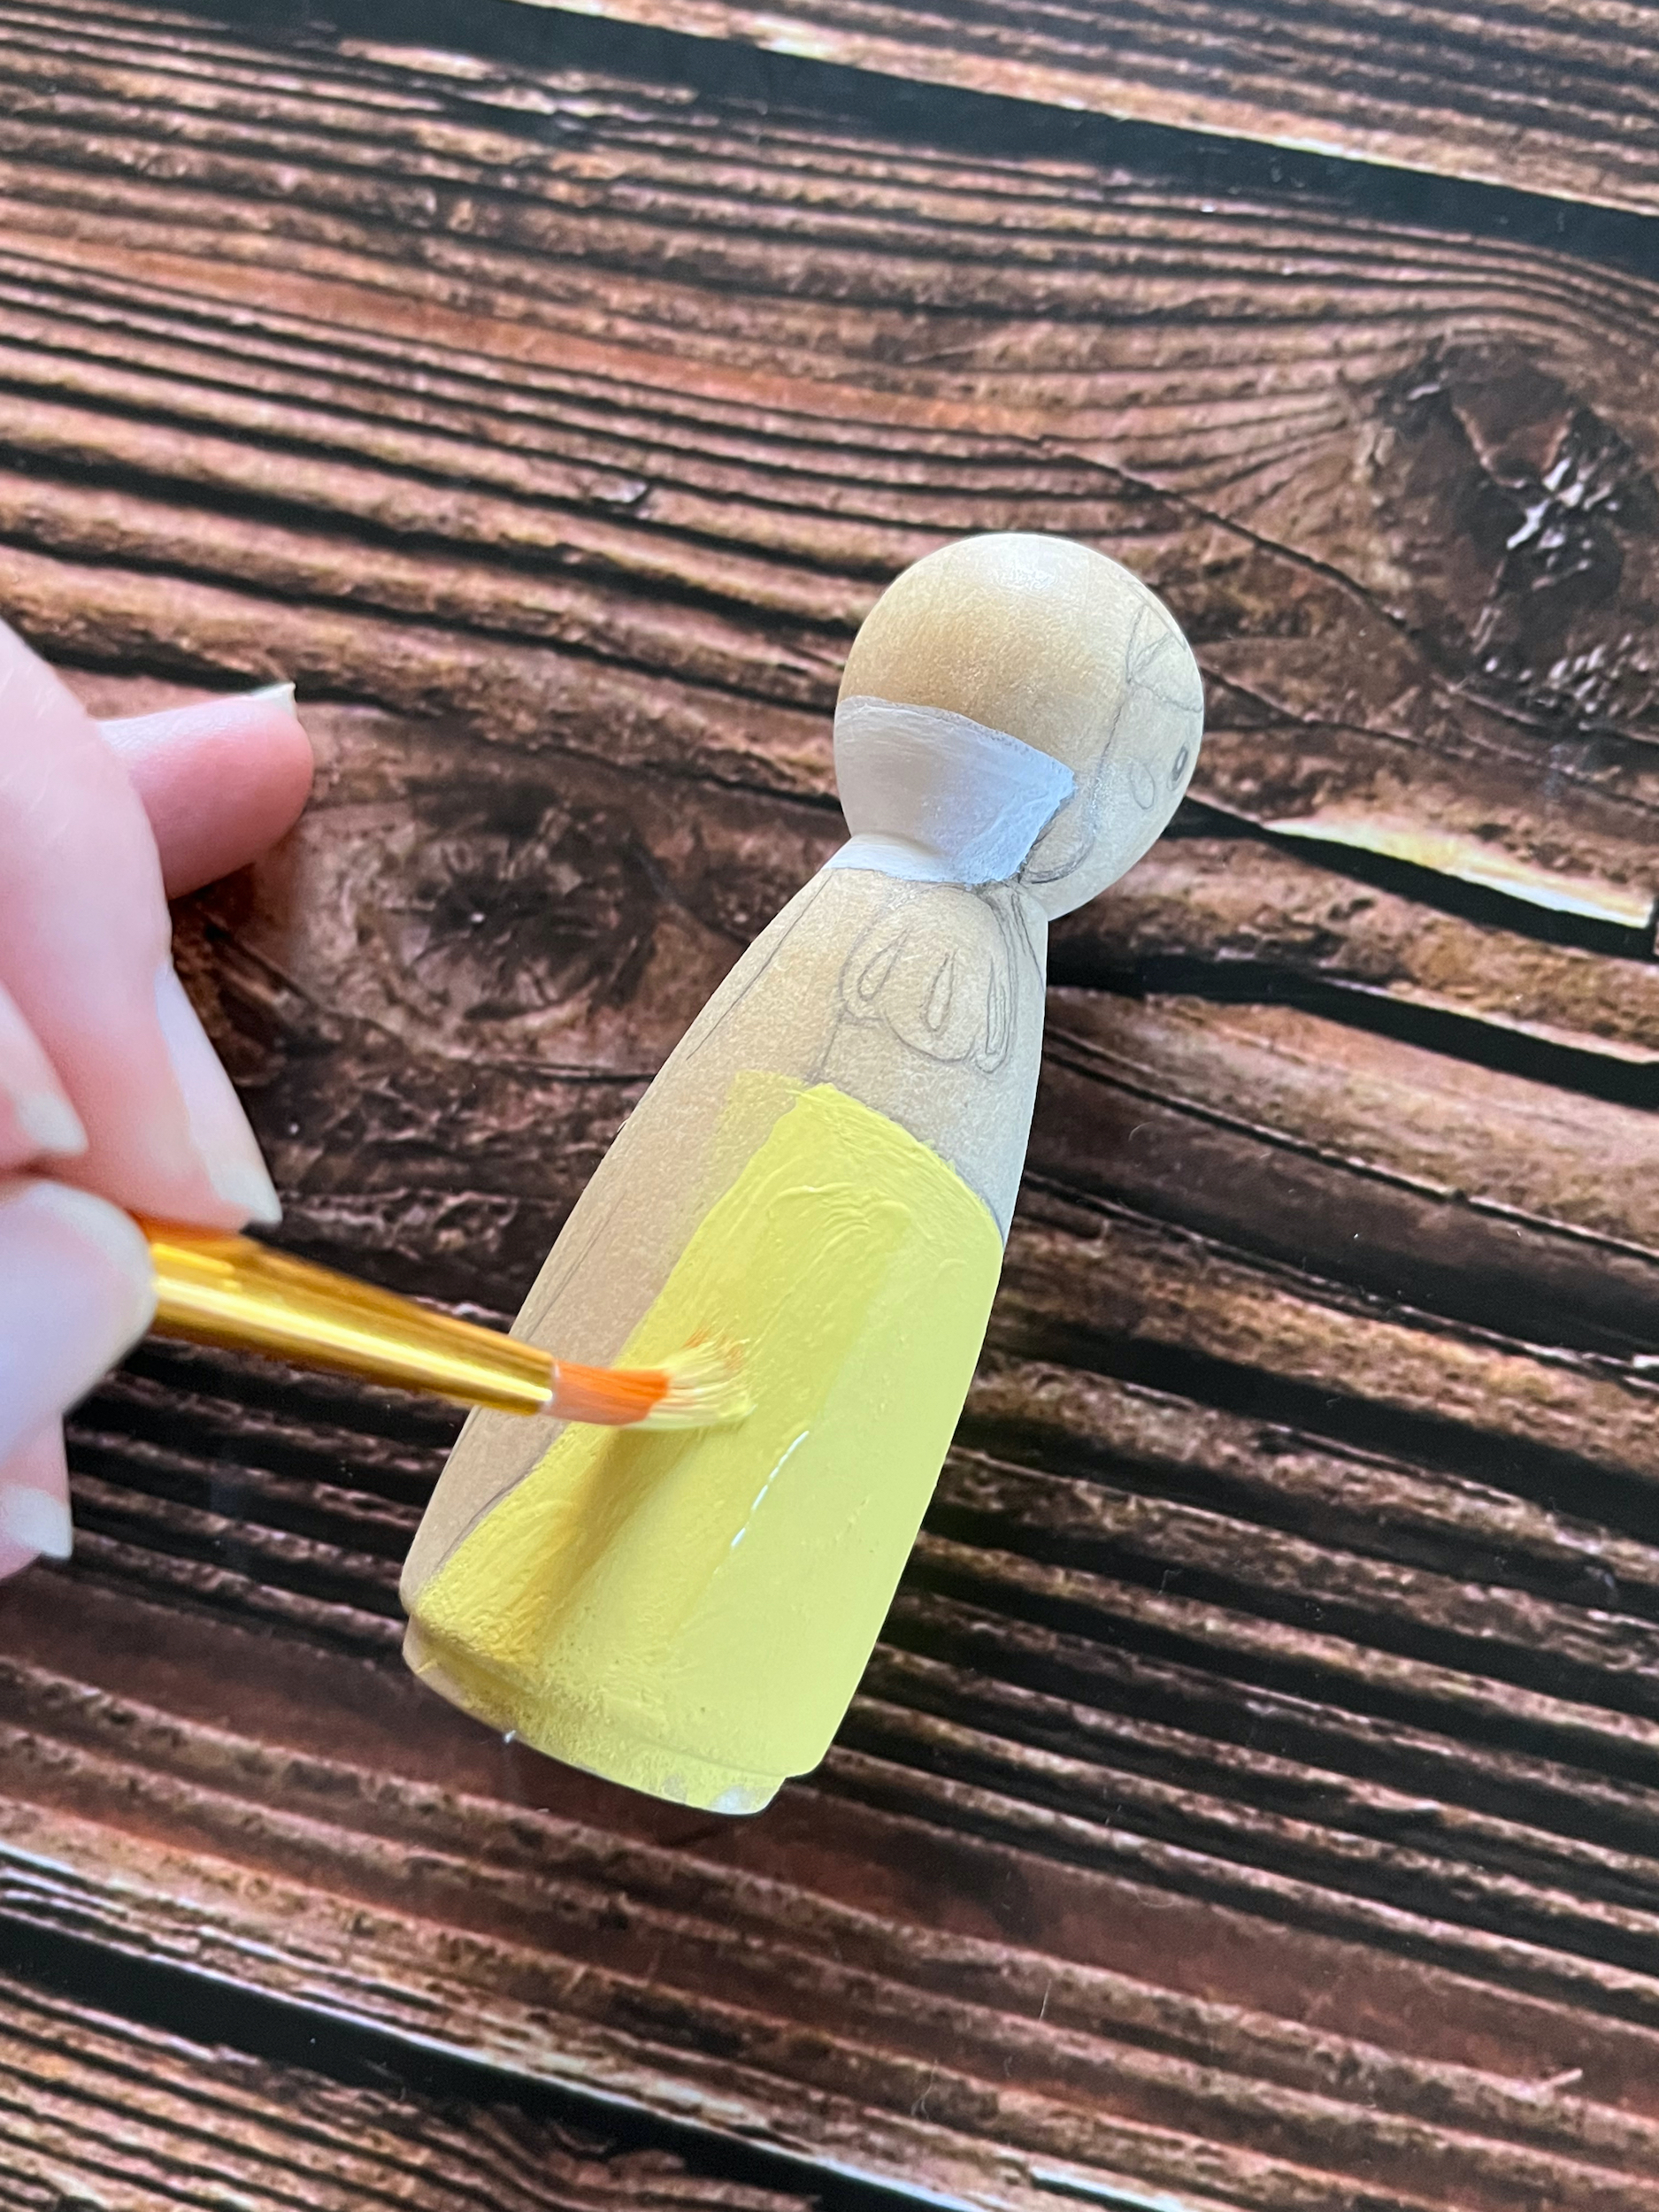
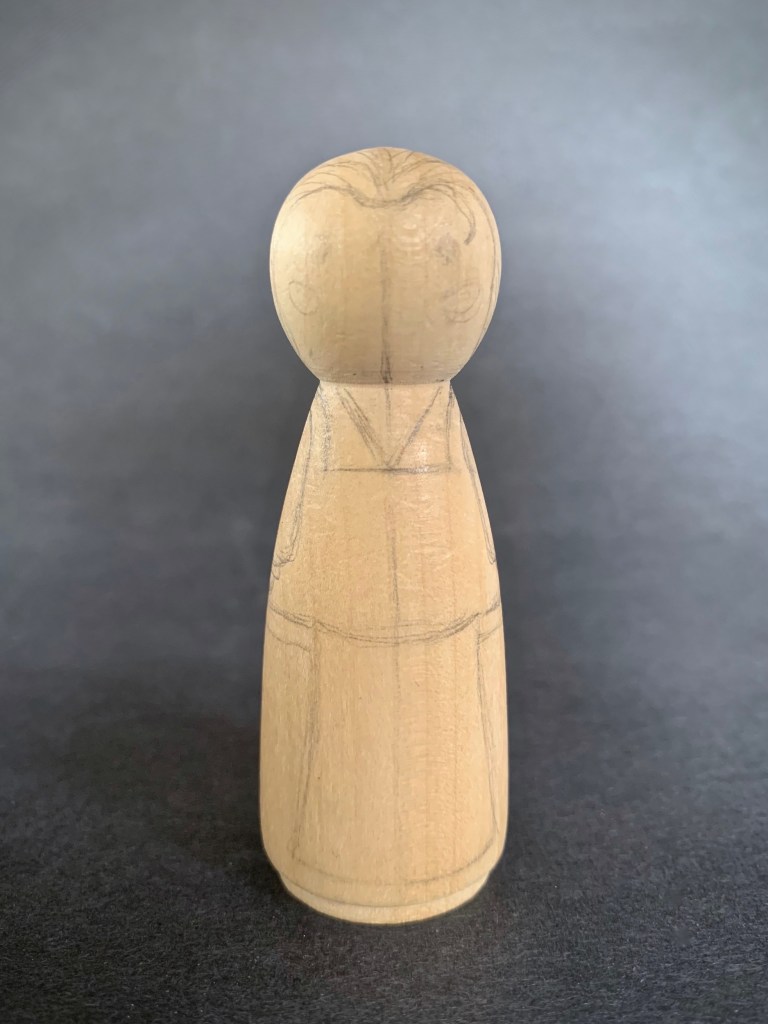
- With a pencil, lightly sketch Snow White onto a blank peg doll.
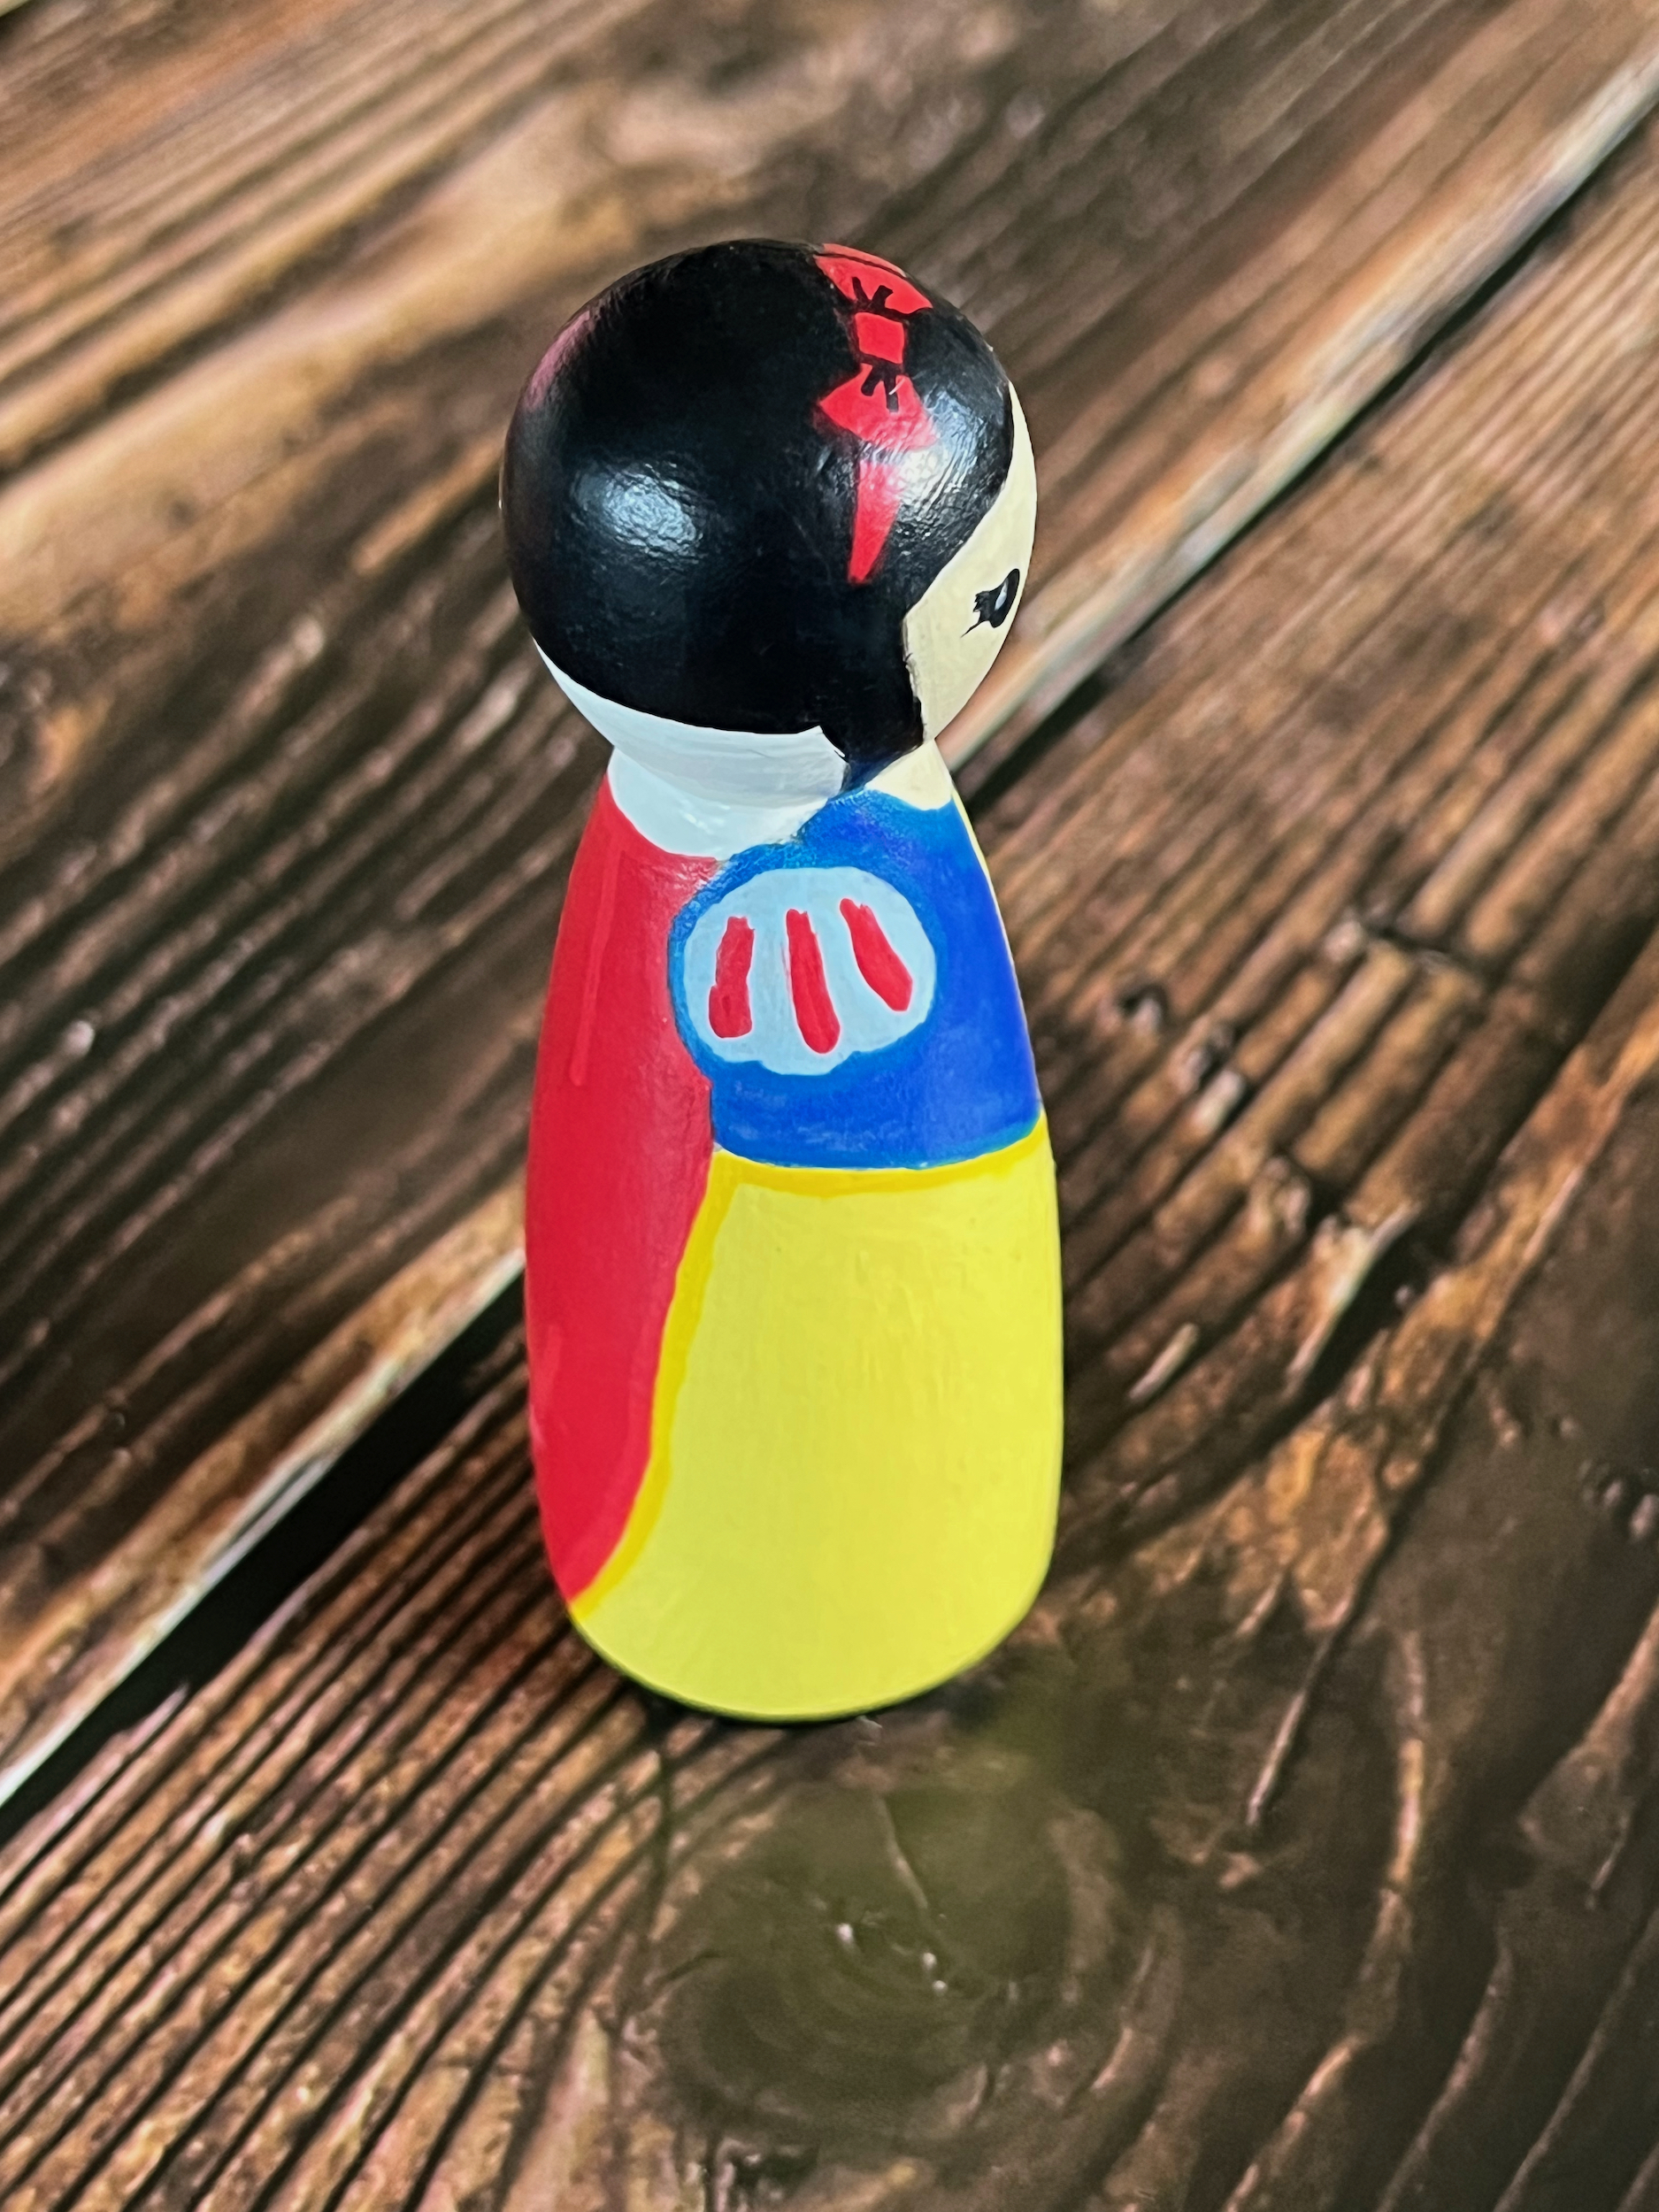
- Begin painting your peg doll with the base layers first. I started with the yellow of her dress and the white of her collar. Allow this paint to dry before moving on to avoid smudging, then apply a few more layers of each until you’re happy with the colors and textures.
- Paint the very bottom and its edges of the peg doll black to signify her slippers. Also take this opportunity to paint the black of her hair. Allow this paint to dry and apply a few more layers until you’re happy with the colors and textures.
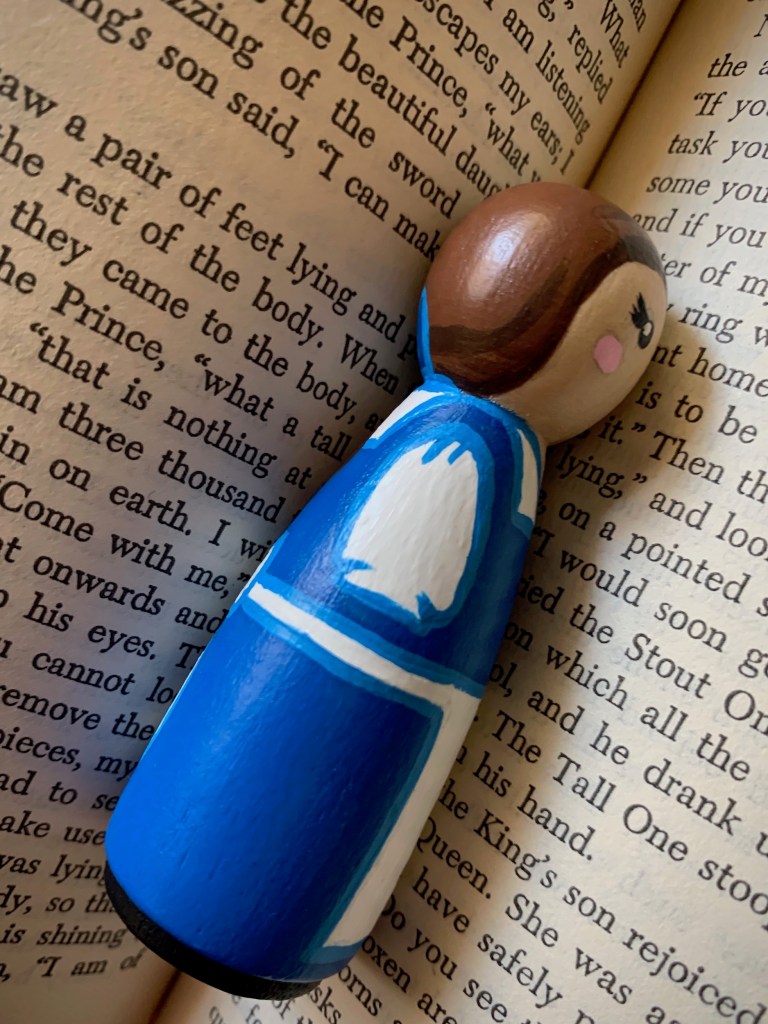
- Move to painting the dark blue of her bodice, the light blue of her sleeves and the red of her cape. Allow this paint to dry and apply a few more layers until you’re happy with the colors and textures.
- Paint the red of the accents on her sleeves and the red of the bow in her hair. Allow this paint to dry and apply a few more layers until you’re happy with the colors and textures.
- Finish up with outlining and/or adding small details, including a small thin yellow line down the middle of her bodice. Allow this paint to dry and apply a few more layers until you’re happy with the colors and textures.
- Taking something small and round (I used the opposite end of one of my smaller paint brushes) dip it in black paint and dot the two eyes. Using the finest tipped paintbrush you can find, give her an eyelash or two on each eye.
- Using the same method as the eyes, dip the opposite end of a slightly larger paintbrush into light pink paint and dot the blush under each eye.
- Allow for all paint to completely dry, then apply a varnish and allow it to dry. You can apply as many coats as you want for the finish you want, just allow them to dry in between applications and before handing her over to your child.
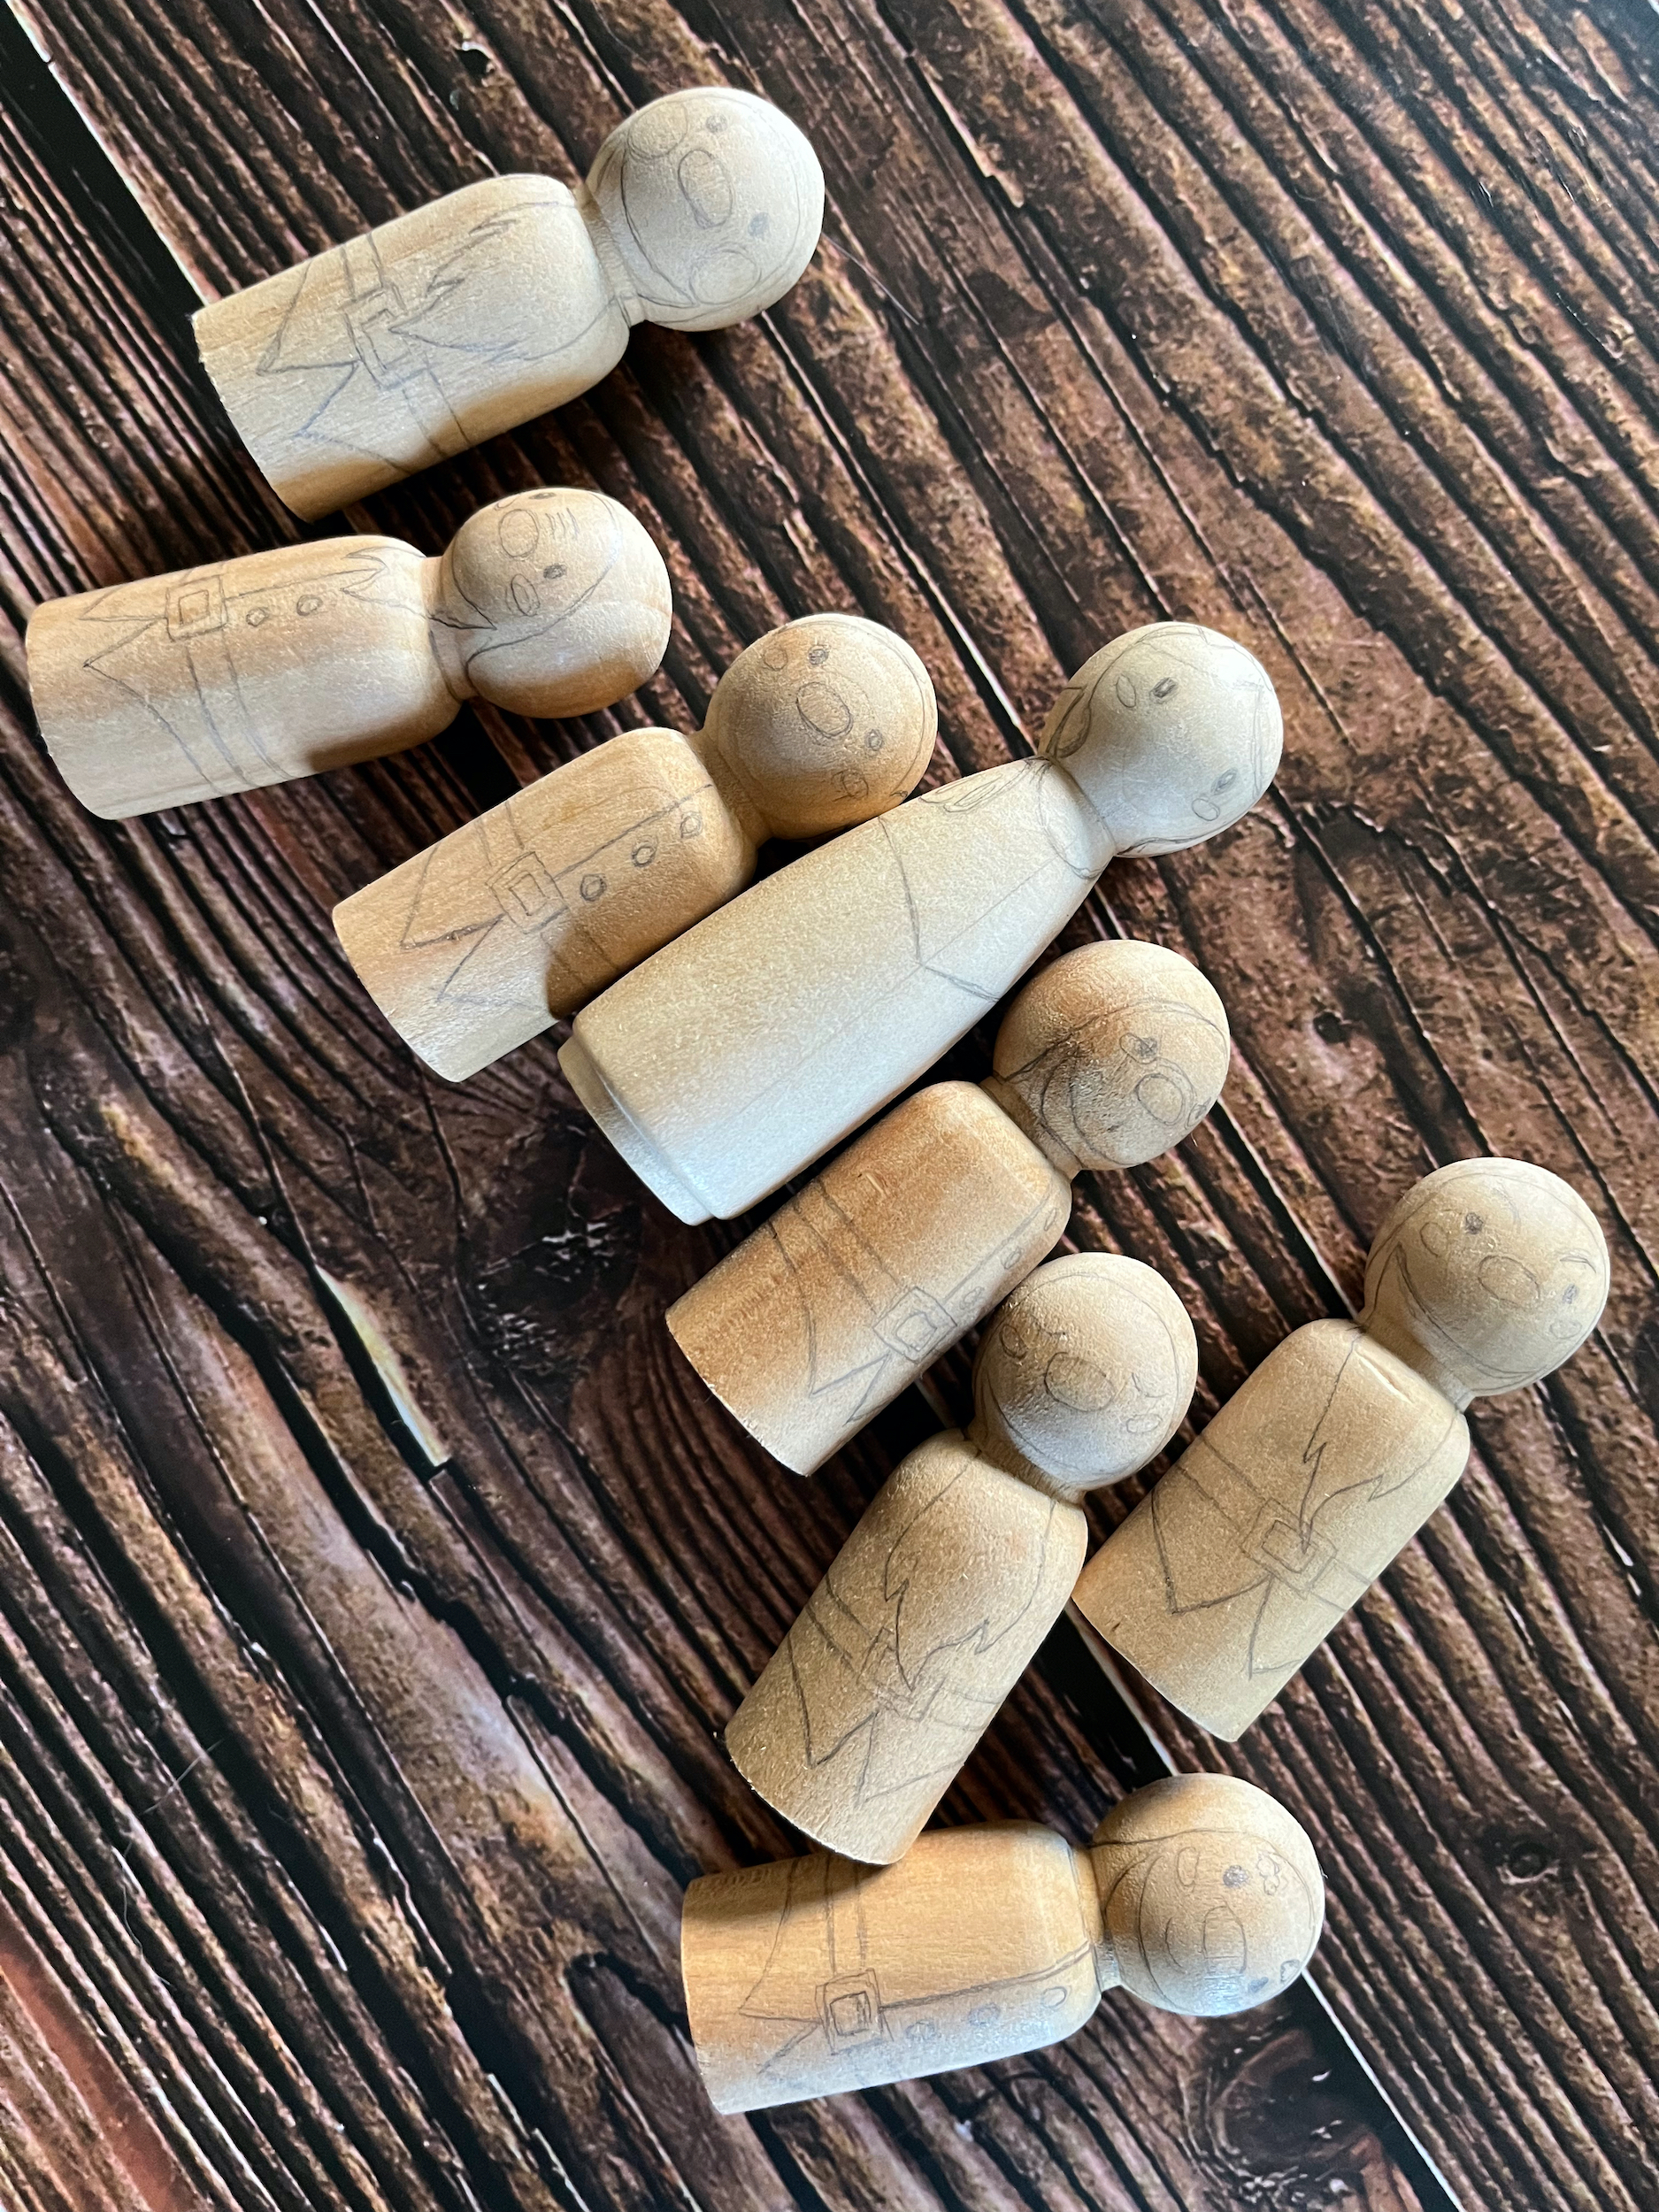
- If you want to paint the dwarfs too, lightly sketch them on blank peg dolls. I used different characteristics to define each one. For example, Grumpy has scowling eyebrows, Bashful has large blush spots on his cheeks, Sneezy has wrinkles above his nose, etc.
- The dwarfs are a colorfully dressed bunch! With different colored hats, shirts and pants it may take awhile to paint them all, but take your time and reference the picture for color. Allow each layer paint to dry and keep applying layers until you’re happy with the colors and textures.
- Using a fine tipped paintbrush, paint each dwarf’s white beard (except Dopey of course)! Allow this paint to dry and apply a few more layers until you’re happy with the color and texture.
- Taking something small and round (I used the opposite end of one of my smaller paint brushes) dip it in black paint and dot the two eyes.
- Using a fine tipped paintbrush, paint each dwarf’s nose and cheeks light pink.
- Finish up with outlining/and or adding small details like buttons and buckles!
- Allow for all paint to completely dry, then apply a varnish and allow it to dry. You can apply as many coats as you want for the finish you want, just allow them to dry in between applications and before handing them over to your child.
- Viola! Snow White and the seven dwarfs are done and ready to be played with! Enjoy!


 Part of the fun in raising Zoey is making things that delight her; I want to create lasting, meaningful toys for her that are made with love and will be loved! Wooden toys are classic and beautiful, when created and treated right, they can last a lifetime; so let’s make some!