
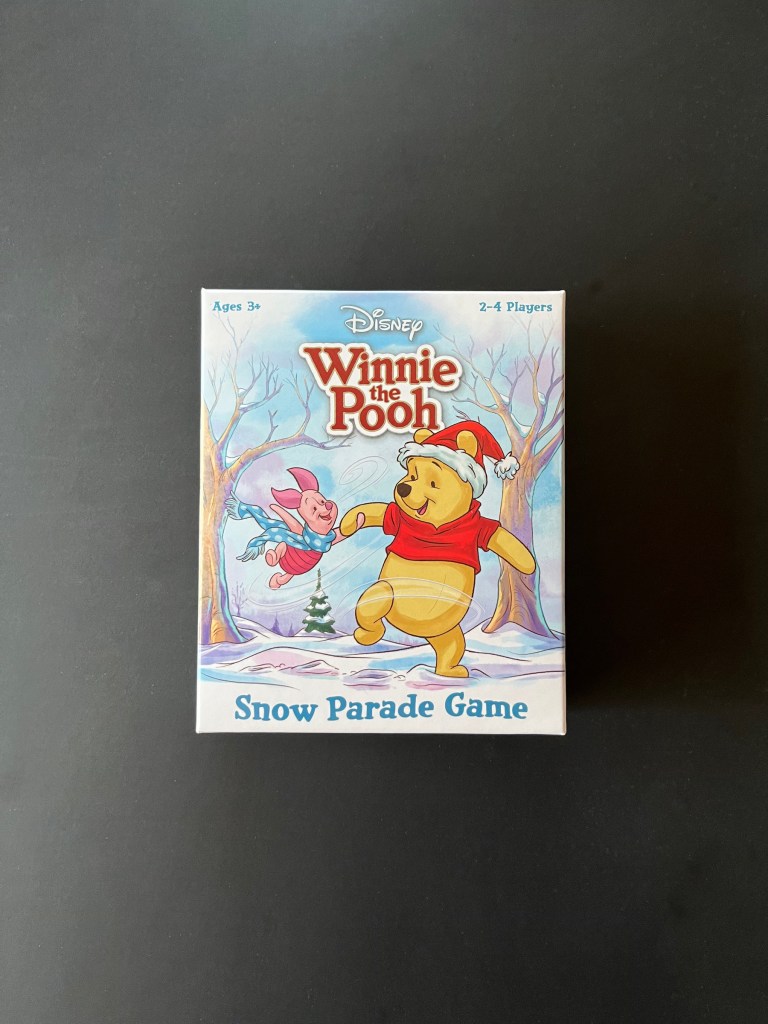
Part of the fun in raising Zoey is finding things that delight and educate her; I want to find fun, creative board games to play with her during our family game nights! This week we played Winnie the Pooh – Snow Parade Game for 2 to 4 players!
I purchased this game on a whim! I saw Winnie the Pooh and I saw the Christmas/Winter theme, and it piqued my curiosity! It was worth it! We enjoy that this game is cooperative, which is a nice departure from the competitive games we’ve been playing!
So let’s play!
IN THE BOX
- Home tile
- 6 character tiles
- 6 parade tiles
- 40 cards
INSTRUCTIONS
- This is a cooperative game, you will all win or lose together! Play cards to move or swap the order of the character tiles in the parade. If you can complete the goal number of parade tiles without running out of cards, you all win the game!
- Easy – Complete 3 parade tiles
- Medium – Complete 4 parade tiles.
- Hard – Complete 5 parade tiles.
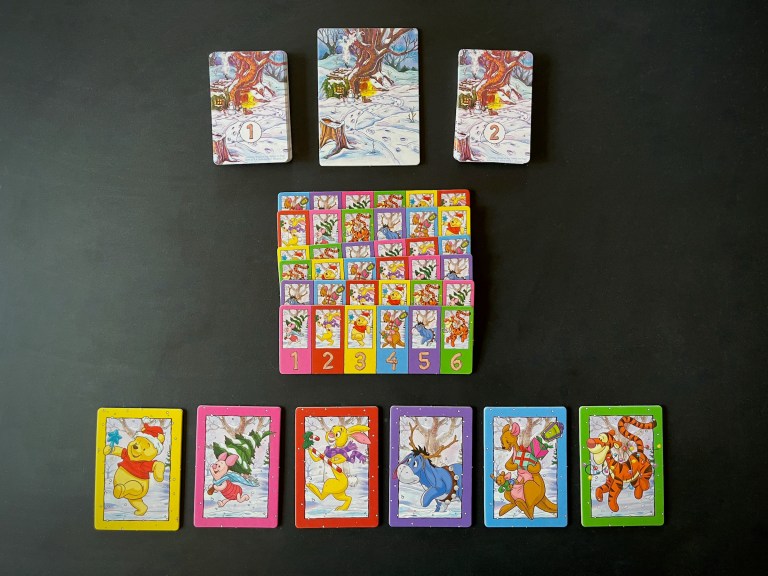
- Place all the tiles in the middle, where everyone can reach them.
- Place the six character tiles face up in a line to the right of the home tile in order from 1 to 6 (the numbers are on the backs). This is the parade!
- Separate the cards into two piles by the numbers on the backs (1 or 2). Shuffle each pile.
- Place the number 1 pile of cards on top of the number 2 pile, then place this single deck on top of the home tile.
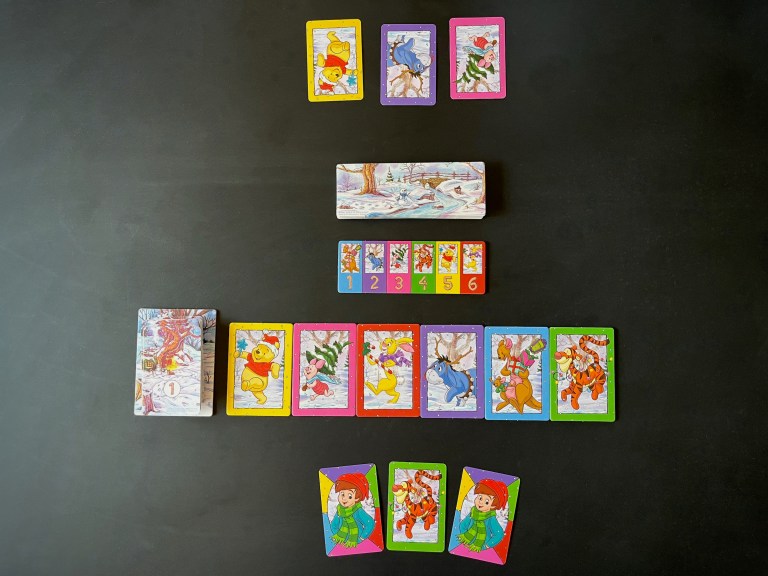
- Each player draws a number of cards based on the number of players. Place your cards face up so all the players can see them.
- 2 players: 3 cards each
- 3 to 4 players: 2 cards each.
- Mix the parade tiles and place them in a pile above the character tiles, face-down. Flip one tile face-up.
- Starting with the youngest player and moving clockwise, you can do one of these 3 actions on your turn:
- Move a character: Play a card to move the matching character tile forward or backward one spot in the parade. Character tiles at the front of the parade can only be moved backward and character tiles at the back of the parade can only be moved forward.
- Swap: Play a card and choose another player to also play a card. Swap the spots of those two matching character tiles in the parade.
- Discard: Discard your cards and draw all new cards from the deck.
- Christopher Robin: The Christopher Robin card is wild and can be played as any character.
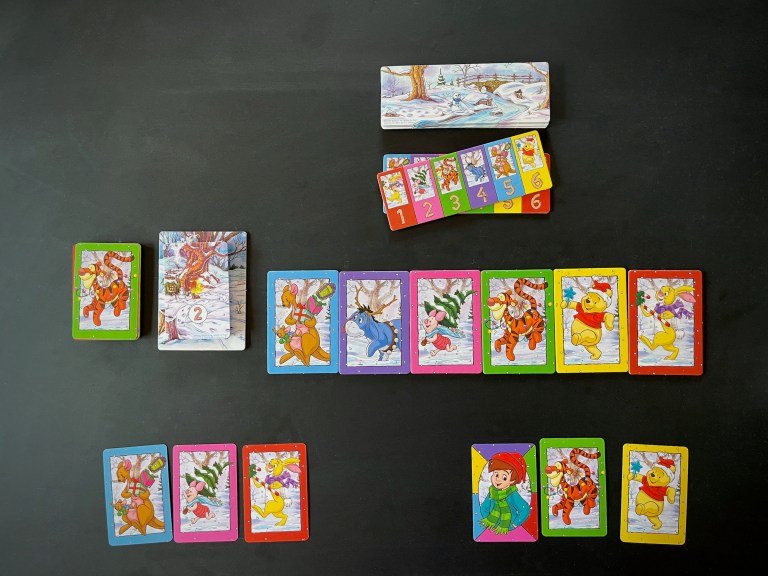
- If all character tiles in the parade match the order on the current parade tile, you’ve completed it! Set it aside and flip the next parade tile over!
- At the end of your turn, if you played a card, draw a new one from he deck. If another player helped you swap, you each draw a card.
- If the deck runs out, keep taking turns until players have no cards left to play.
- If you complete the goal number of parade tiles before you run out of cards to play, all the players win!
ENJOY!

 INTRODUCTION
 Winnie the Pooh’s hero cake (and the hero cookies we made last week) is featured in the “Blustery Day” featurette when Christopher Robin throws a Hero Party for Pooh Bear, believing him to be Piglet’s rescuer during the flood. Pooh and Piglet really just happened to be in the same predicament at the same time and came out together perfectly alright, but it was still sweet of Christopher Robin and their friends to celebrate them all the same!
 This is a surprisingly complex cake, and I had a lot of fun creating and tasting it! I chose to make pink velvet cake (my own interpretation of what flavor the pink color stood for) with chocolate frosting. White buttercream frosting surrounds the base of each of the orange candles and orange buttercream, in color and in flavor, whimsically dots the chocolate frosting in puffs. If you take the cake with the chocolate frosting and orange buttercream in the same bite it is absolute heaven and will definitely satisfy the rumbly of any tumbly!
 HERO CAKE
 INTRODUCTION
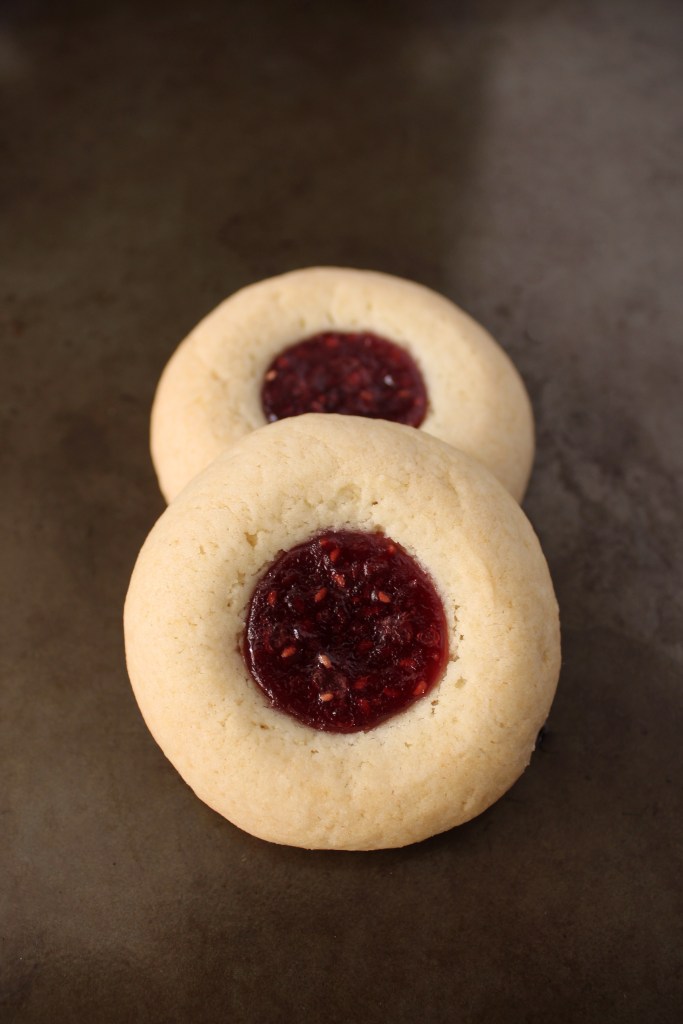 HERO COOKIES