

Welcome back friends! Do you crochet? I dabbled in crochet off and on for a few years, always fascinated, but never fully catching on. I kept at it, and suddenly, it clicked! I feel calm and cozy when I’m crocheting, and fiercely proud whenever I complete a project.
It’s that time of year for autumn and Halloween decor, so let’s create a chevron Halloween blanket! I thought it would be creative to make a candy corn color pattern framed by black on either side. Mine is the size of a lap blanket, but you can use this pattern to create any size you choose!

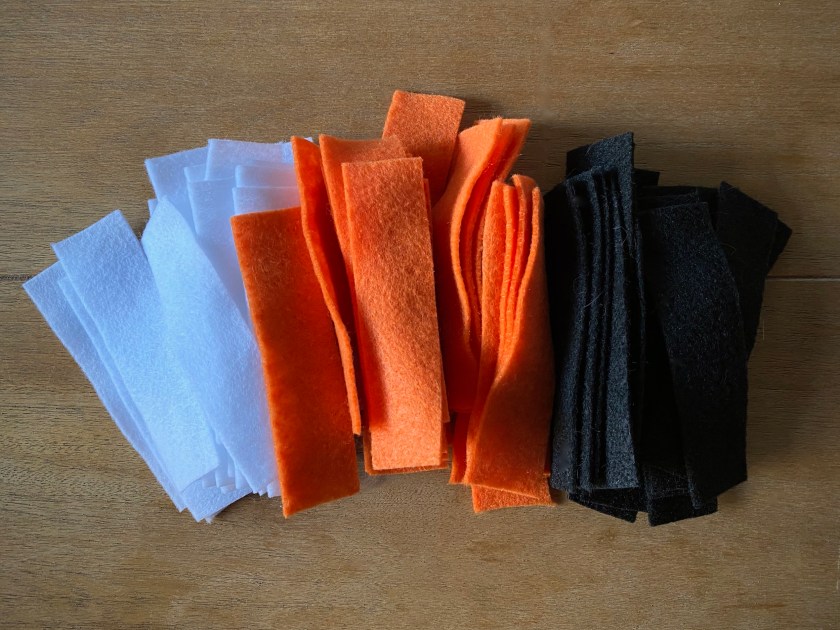
SUPPLIES
- Crochet hook (size 6.5mm)
- Medium yarn (size 4) in black, yellow, orange and white
- Scissors
- Yarn needle or small crochet hook
INSTRUCTIONS


- Starting with the black yarn, create a slip knot and then chain stitches in increments of 27, then add 5 extra stitches to whatever amount you choose. I chained 216, plus five came to a total of 221 stitches.
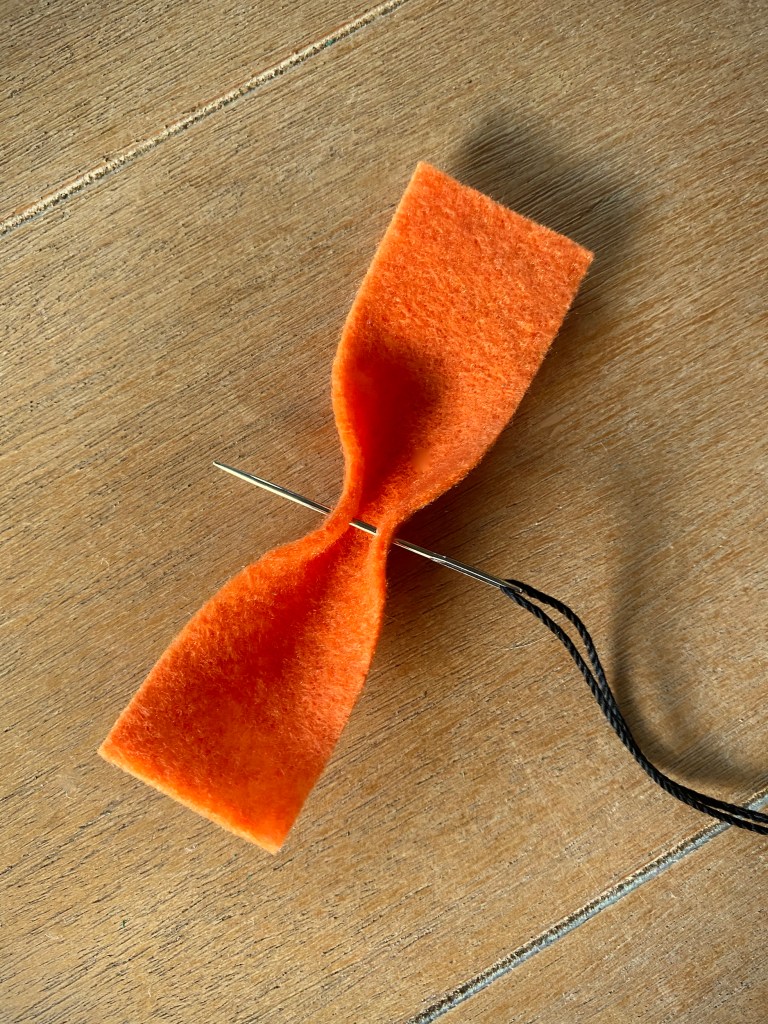
- Turn your chain around and single crochet (sc) into the back-loops of the second and third stitch from the hook, then skip the next stitch.
- Single crochet into the back-loops of the next 12 stitches.
- After completing the 12th sc, put three single crochets together into the back-loop of the next stitch (this will create the peak of our chevron).
- Single crochet into back-loops of the next 12 stitches, then skip the following two stitches after that (this will create the valley of our chevron).
- Now we’ve reached the start of our next chevron and we are going to repeat steps 3 through 5 until we have 3 stitches left in our chain.
- When you have 3 stitches left in the chain, skip the next stitch after your hook and sc into the last two stitches in the chain. Chain 1 and turn your blanket around.
- For the rest of the blanket, we will be working in both loops.
- Repeat steps 2 through 7, for the next 6 rows, then we’ll change colors.
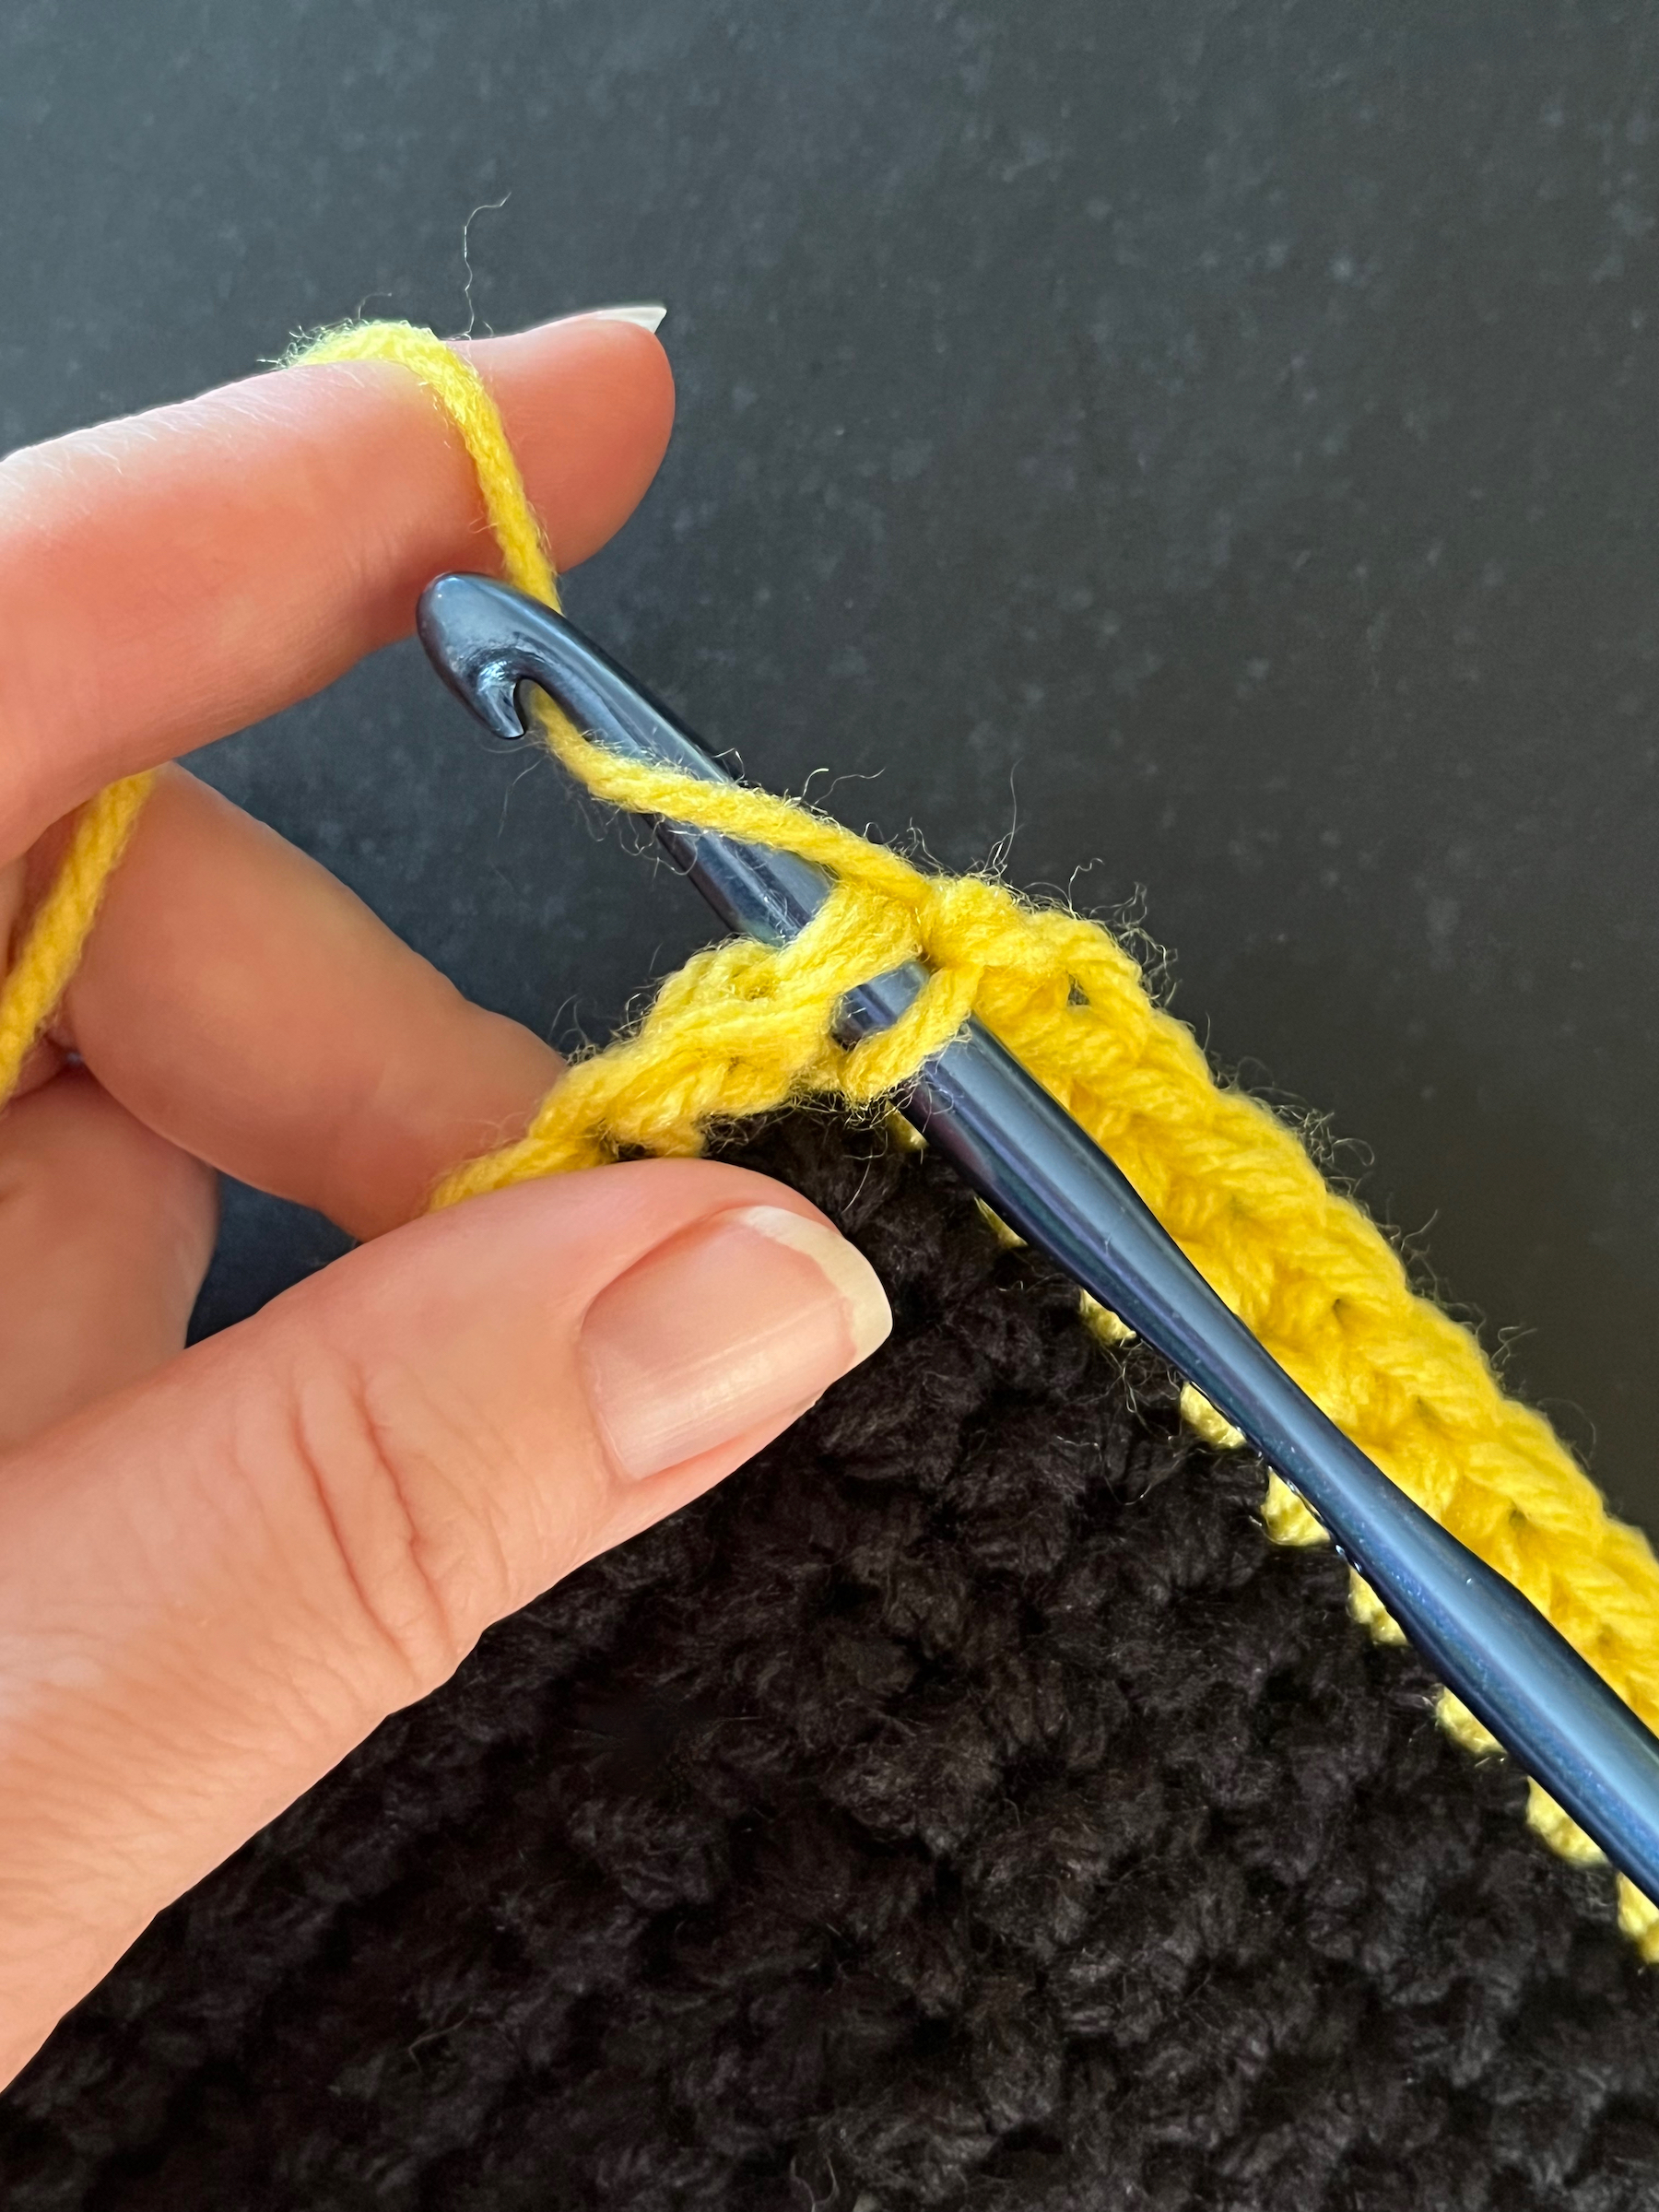
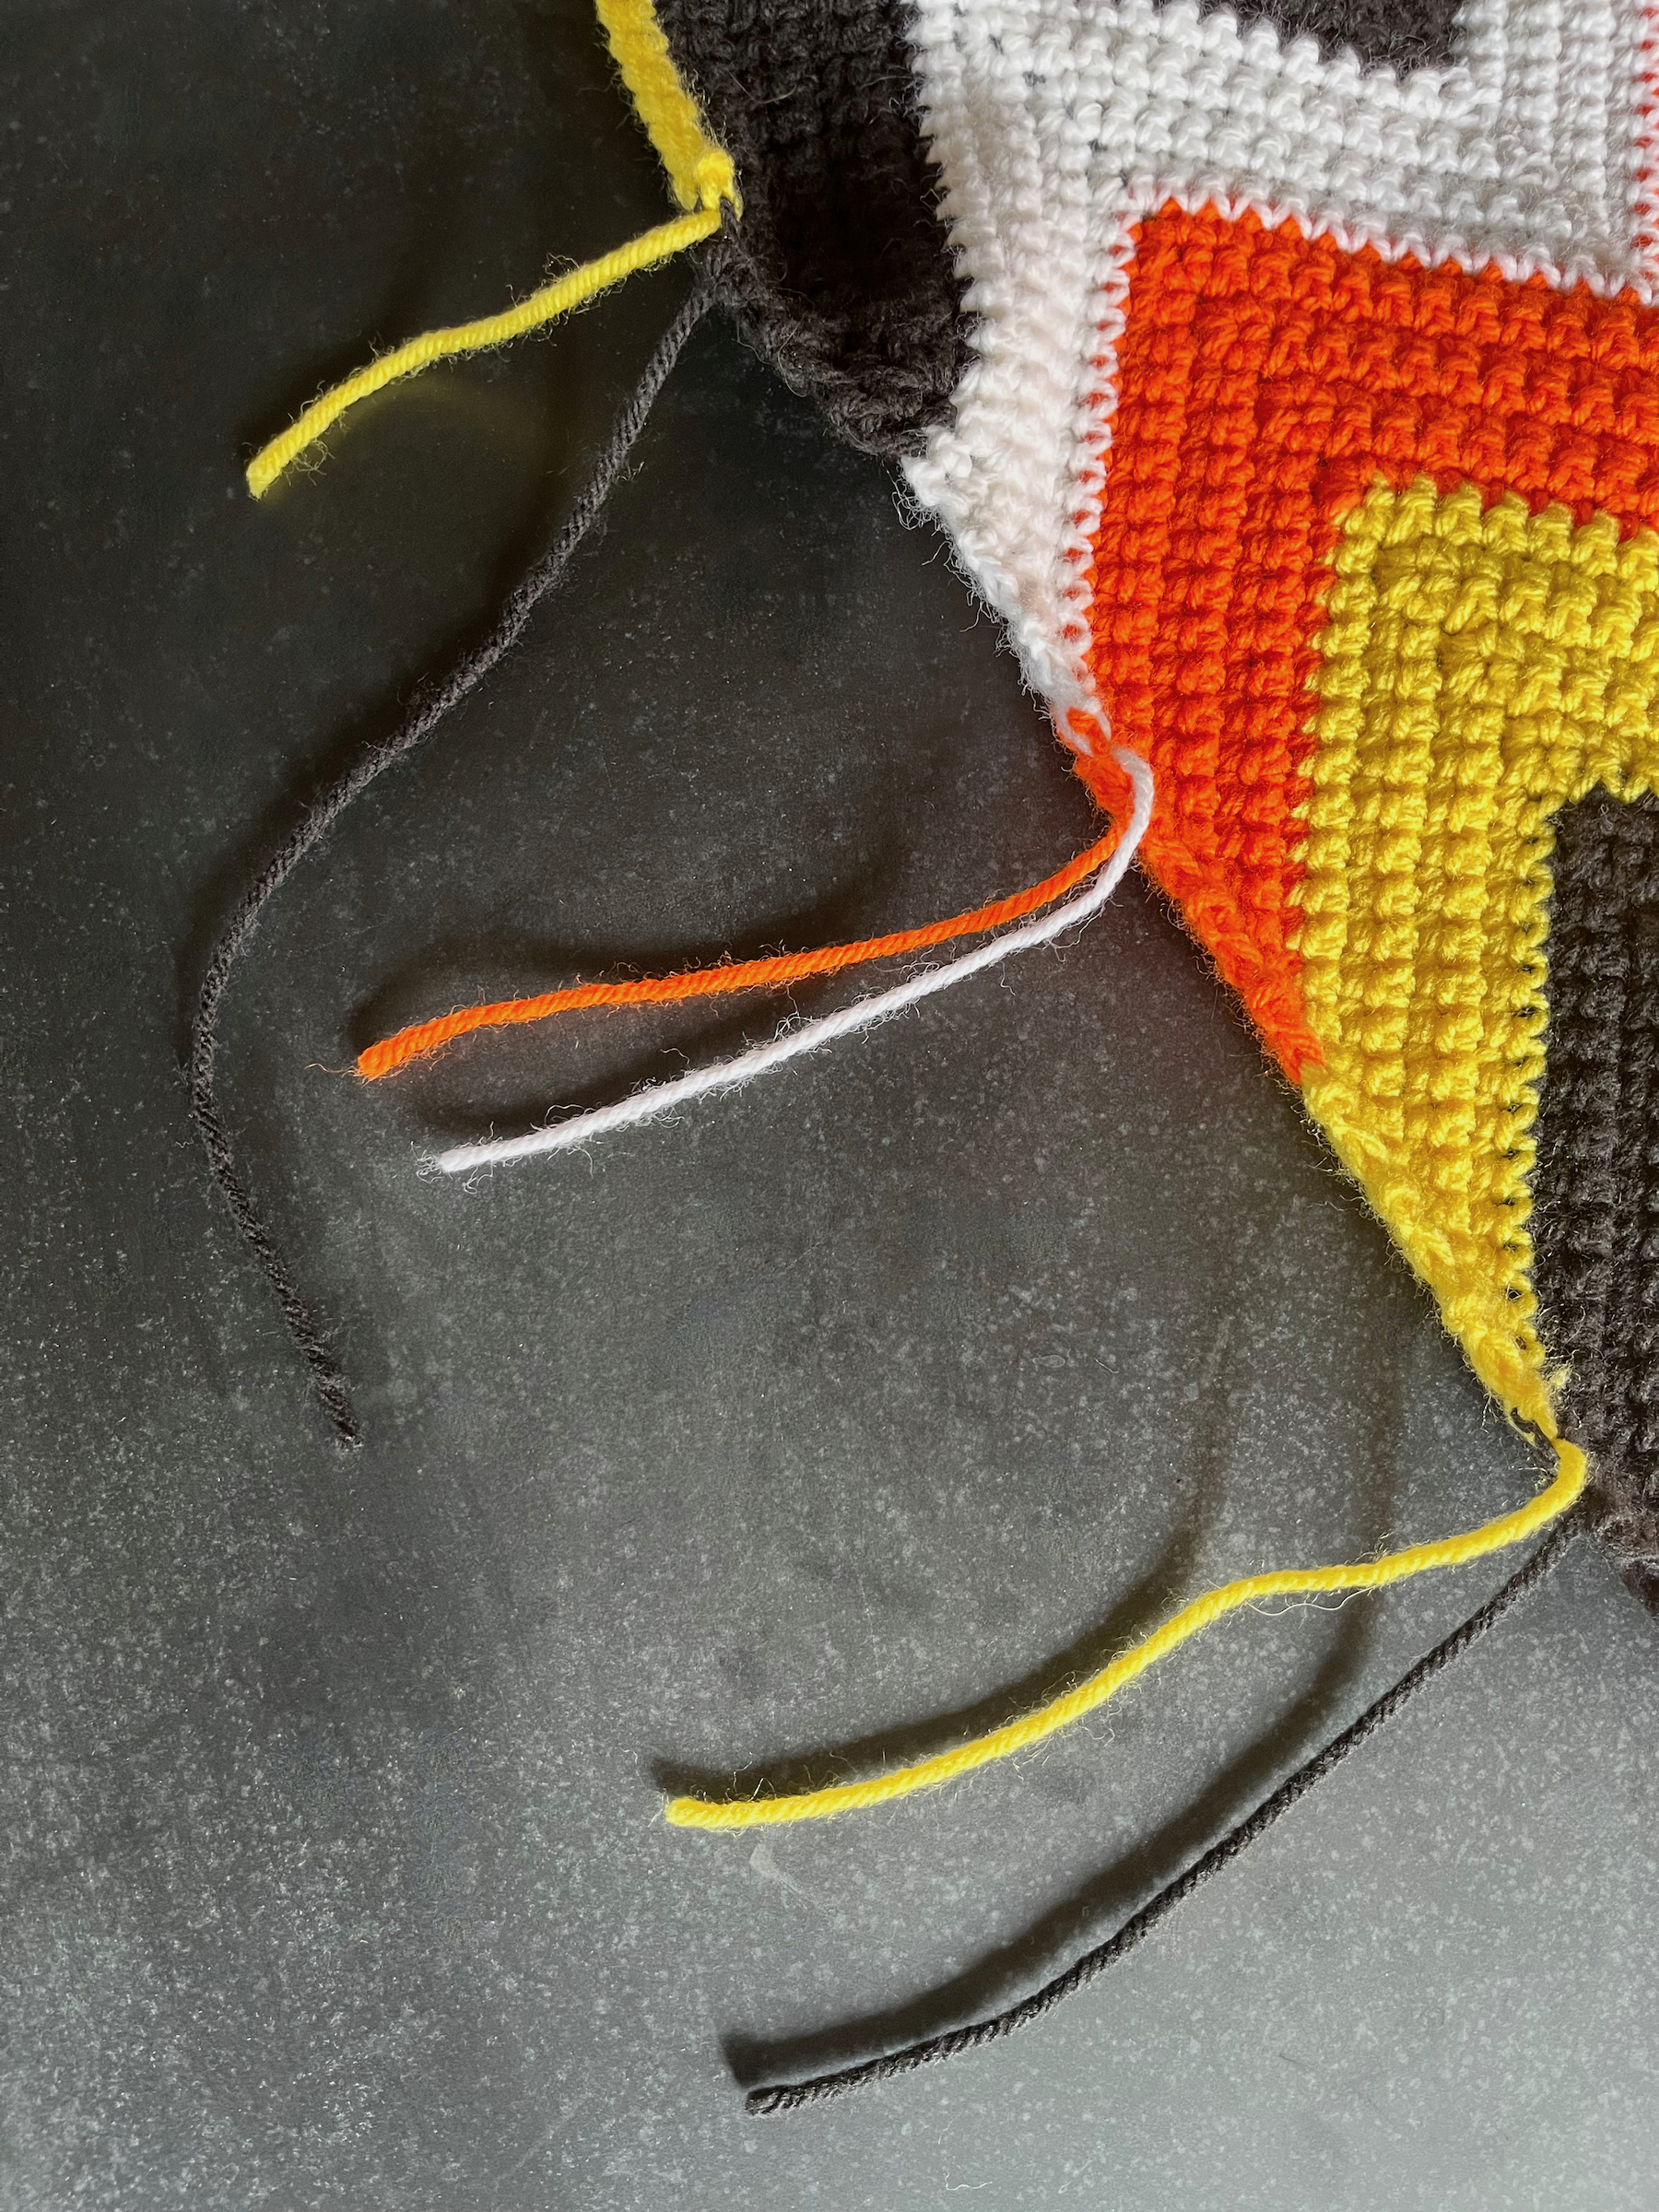
- To change colors, halt halfway through your final single crochet of the row when two loops are over your hook, hook onto your new color (yellow), and pull it through. Cut off the previous color of yarn and weave the tail into the blanket with a yarn needle or small crochet hook to secure it.
- Chain 1 with the new color and turn your blanket around.
- Repeat steps 2 through 7, for the next 7 rows, then we’ll change colors to orange and do seven rows, then white and then back to black. We’ll keep going in this pattern until we’ve created the length of blanket we desire.
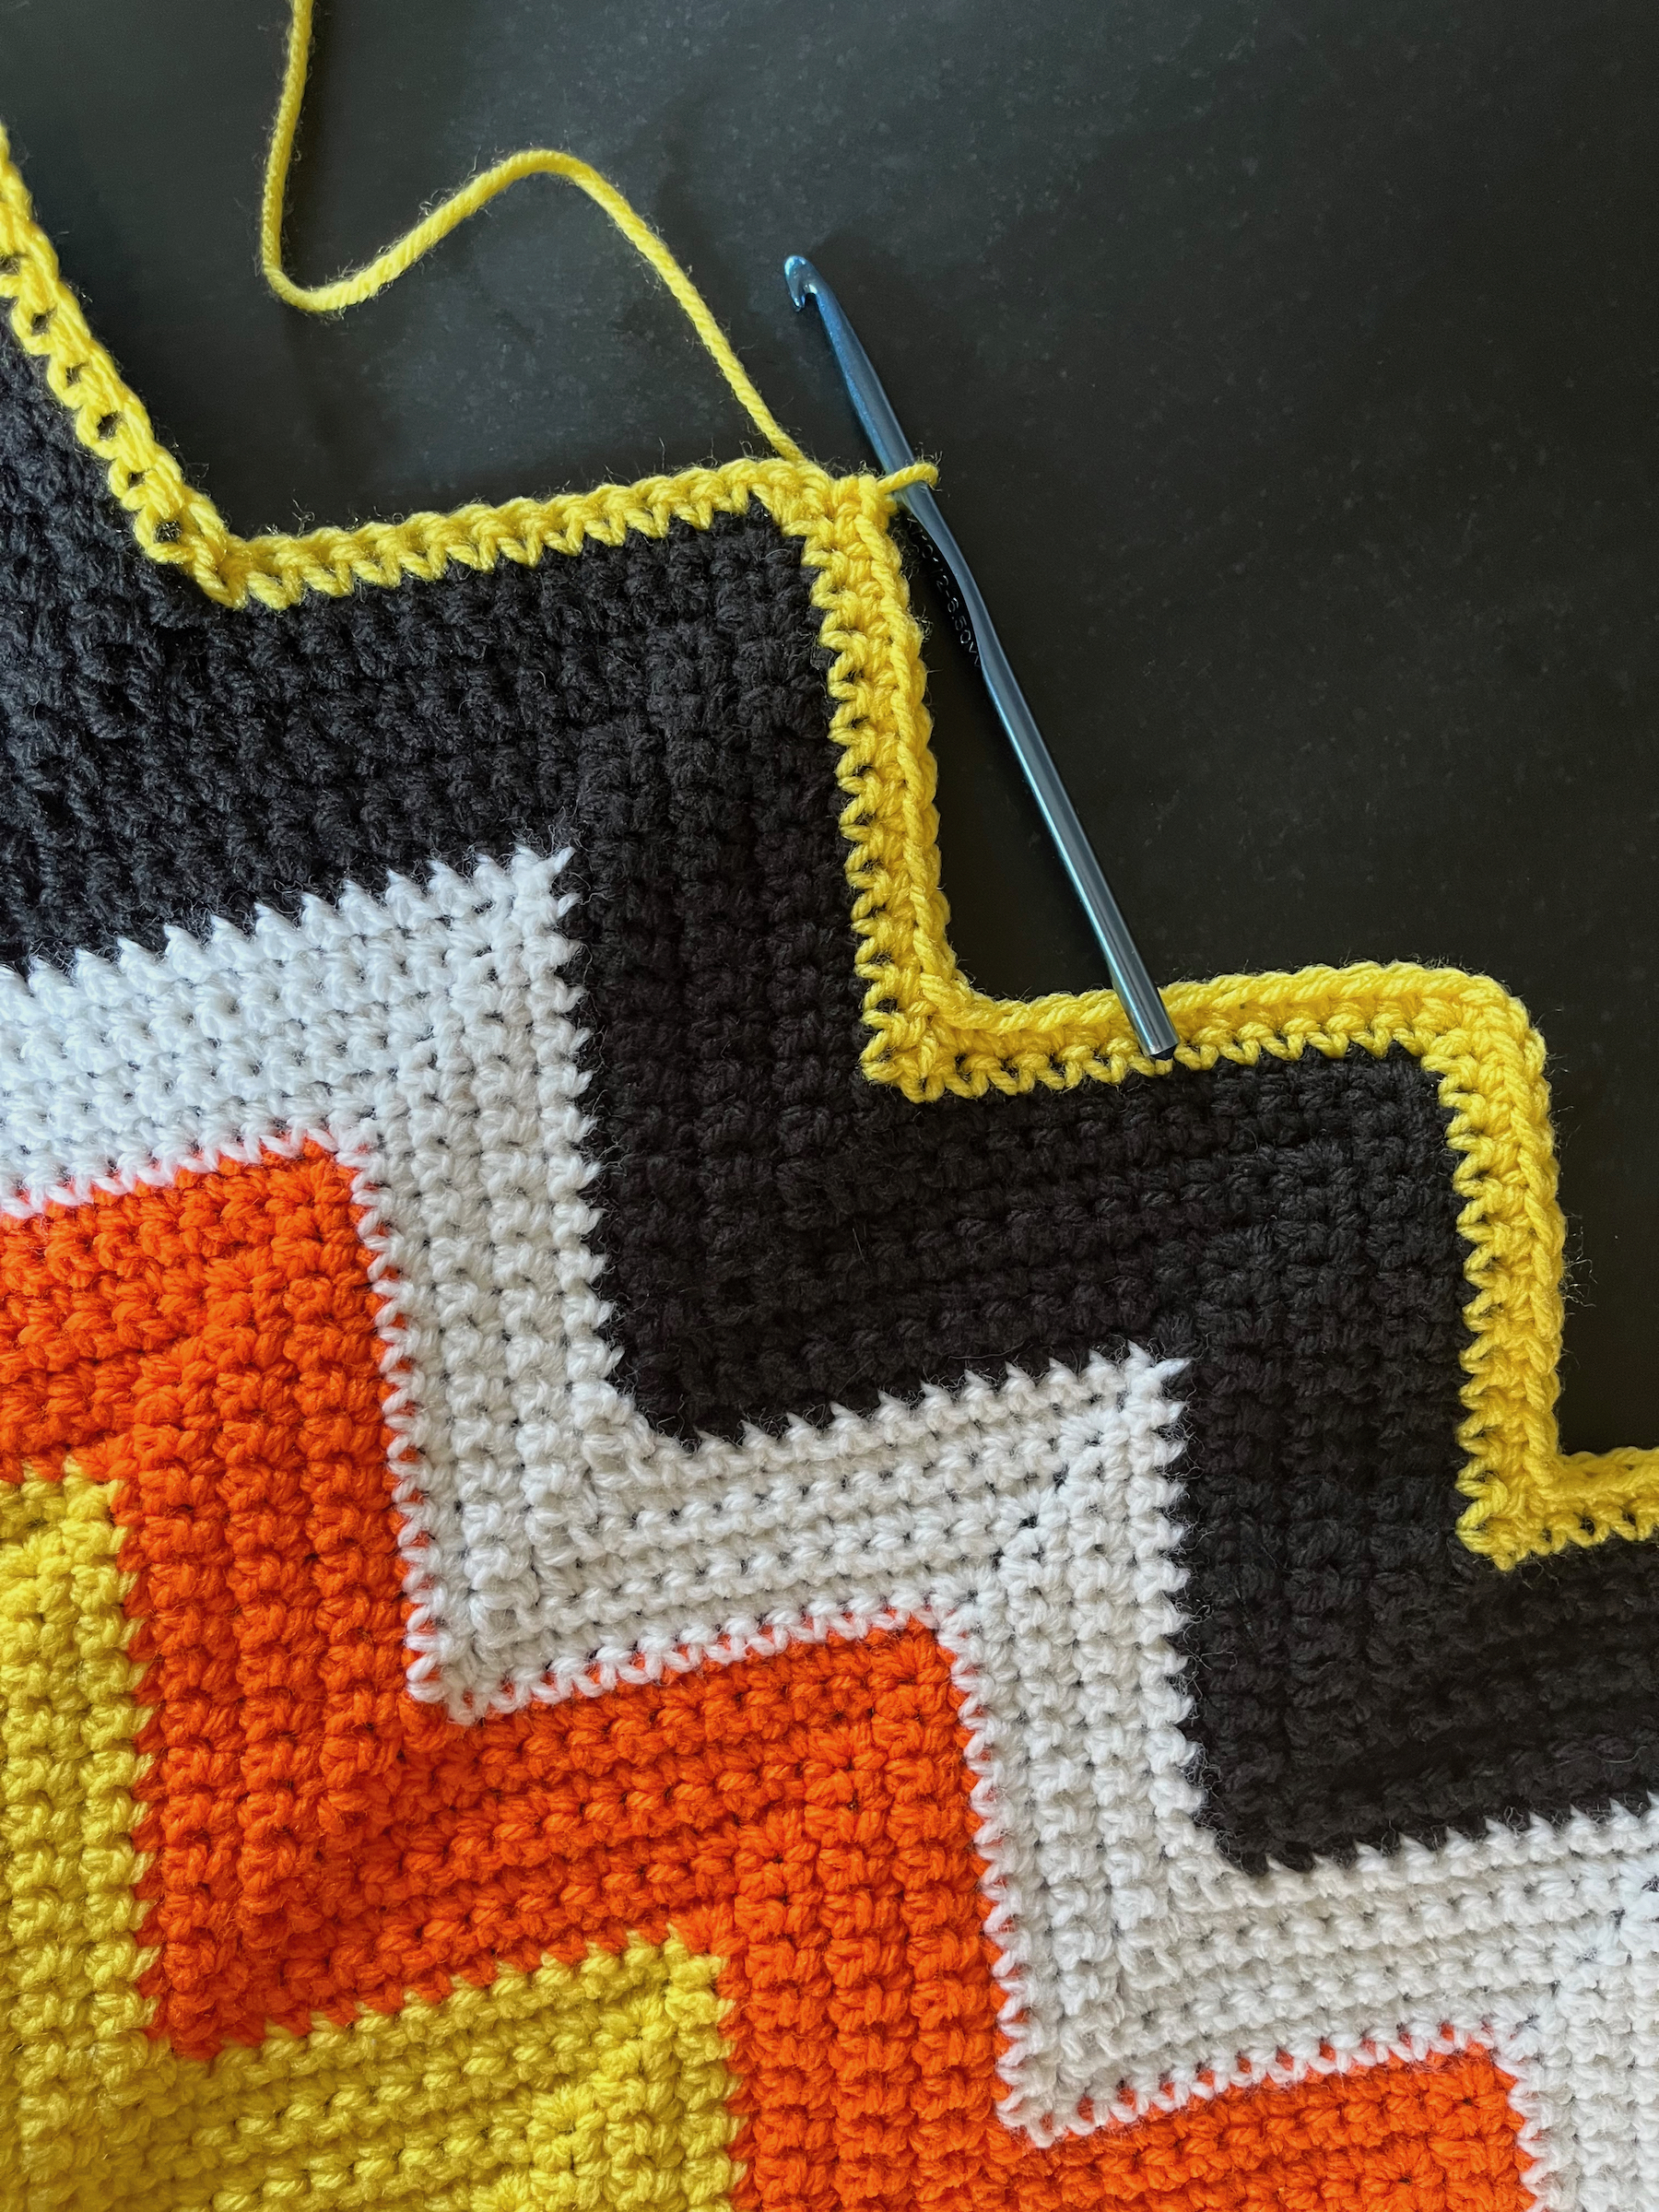
- When you’ve reached the end of your last black row, chain two and rotate the blanket 90 degrees. Begin single crocheting down the side of the blanket.
- At the end of this side of the blanket, chain 2 and rotate the blanket 90 degrees. Single crochet along the starting chain of the blanket, following the chevron rules from above (steps 3 through 5) over the peaks and valleys.
- At the end of the starting chain of the blanket, chain 2 and rotate the blanket 90 degrees. Single crochet down this side of the blanket.
- At the end of this side of the blanket, chain 2 and rotate the blanket 90 degrees. Single crochet along the top row of the blanket, following the chevron rules from above (steps 3 through 5) over the peaks and valleys.
- Repeat steps 13 through 16 until you are happy with the width of the blanket’s borders (I did 6 passes around).
- Cut the yarn and pull the loose end through your last loop, then weave the tail into the blanket with a yarn needle or small crochet hook.
- Place in your house, cuddle up under it and enjoy!


 INTRODUCTION
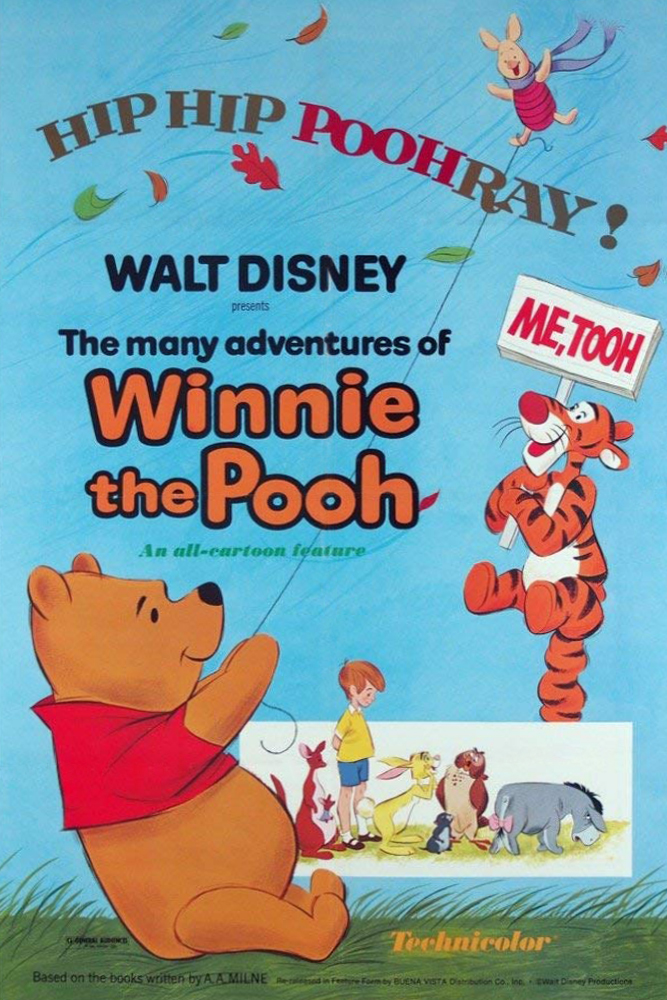 Winnie the Pooh’s hero cake (and the hero cookies we made last week) is featured in the “Blustery Day” featurette when Christopher Robin throws a Hero Party for Pooh Bear, believing him to be Piglet’s rescuer during the flood. Pooh and Piglet really just happened to be in the same predicament at the same time and came out together perfectly alright, but it was still sweet of Christopher Robin and their friends to celebrate them all the same!
 This is a surprisingly complex cake, and I had a lot of fun creating and tasting it! I chose to make pink velvet cake (my own interpretation of what flavor the pink color stood for) with chocolate frosting. White buttercream frosting surrounds the base of each of the orange candles and orange buttercream, in color and in flavor, whimsically dots the chocolate frosting in puffs. If you take the cake with the chocolate frosting and orange buttercream in the same bite it is absolute heaven and will definitely satisfy the rumbly of any tumbly!
 HERO CAKE