

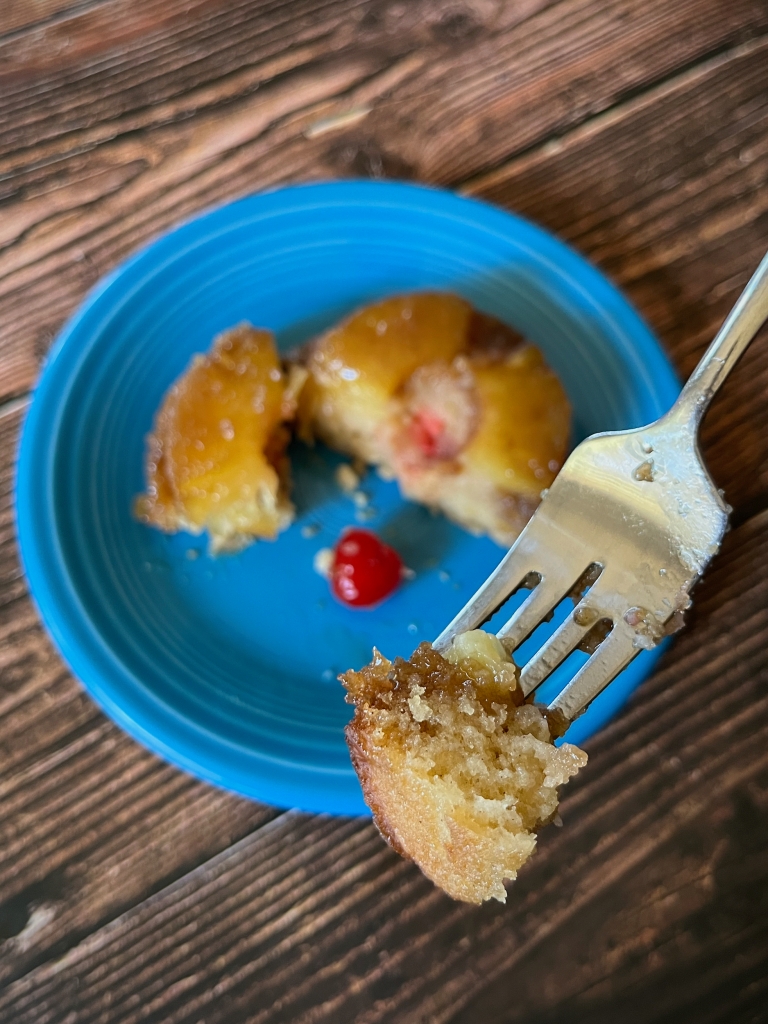
Welcome back friends! This week we’ll be baking miniature pineapple upside down cakes from Disney’s The Reluctant Dragon.
This recipe is featured when the dragon recites his poem “To An Upside-Down Cake” to the boy and Sir Giles.

Sweet little upside-down cake,
Cares and woes, you’ve got’em,
Poor little upside-down cake,
Your top is on your bottom.
Alas, little upside-down cake,
Your troubles never stop,
Because, little upside-down cake,
Your bottom’s on your top.
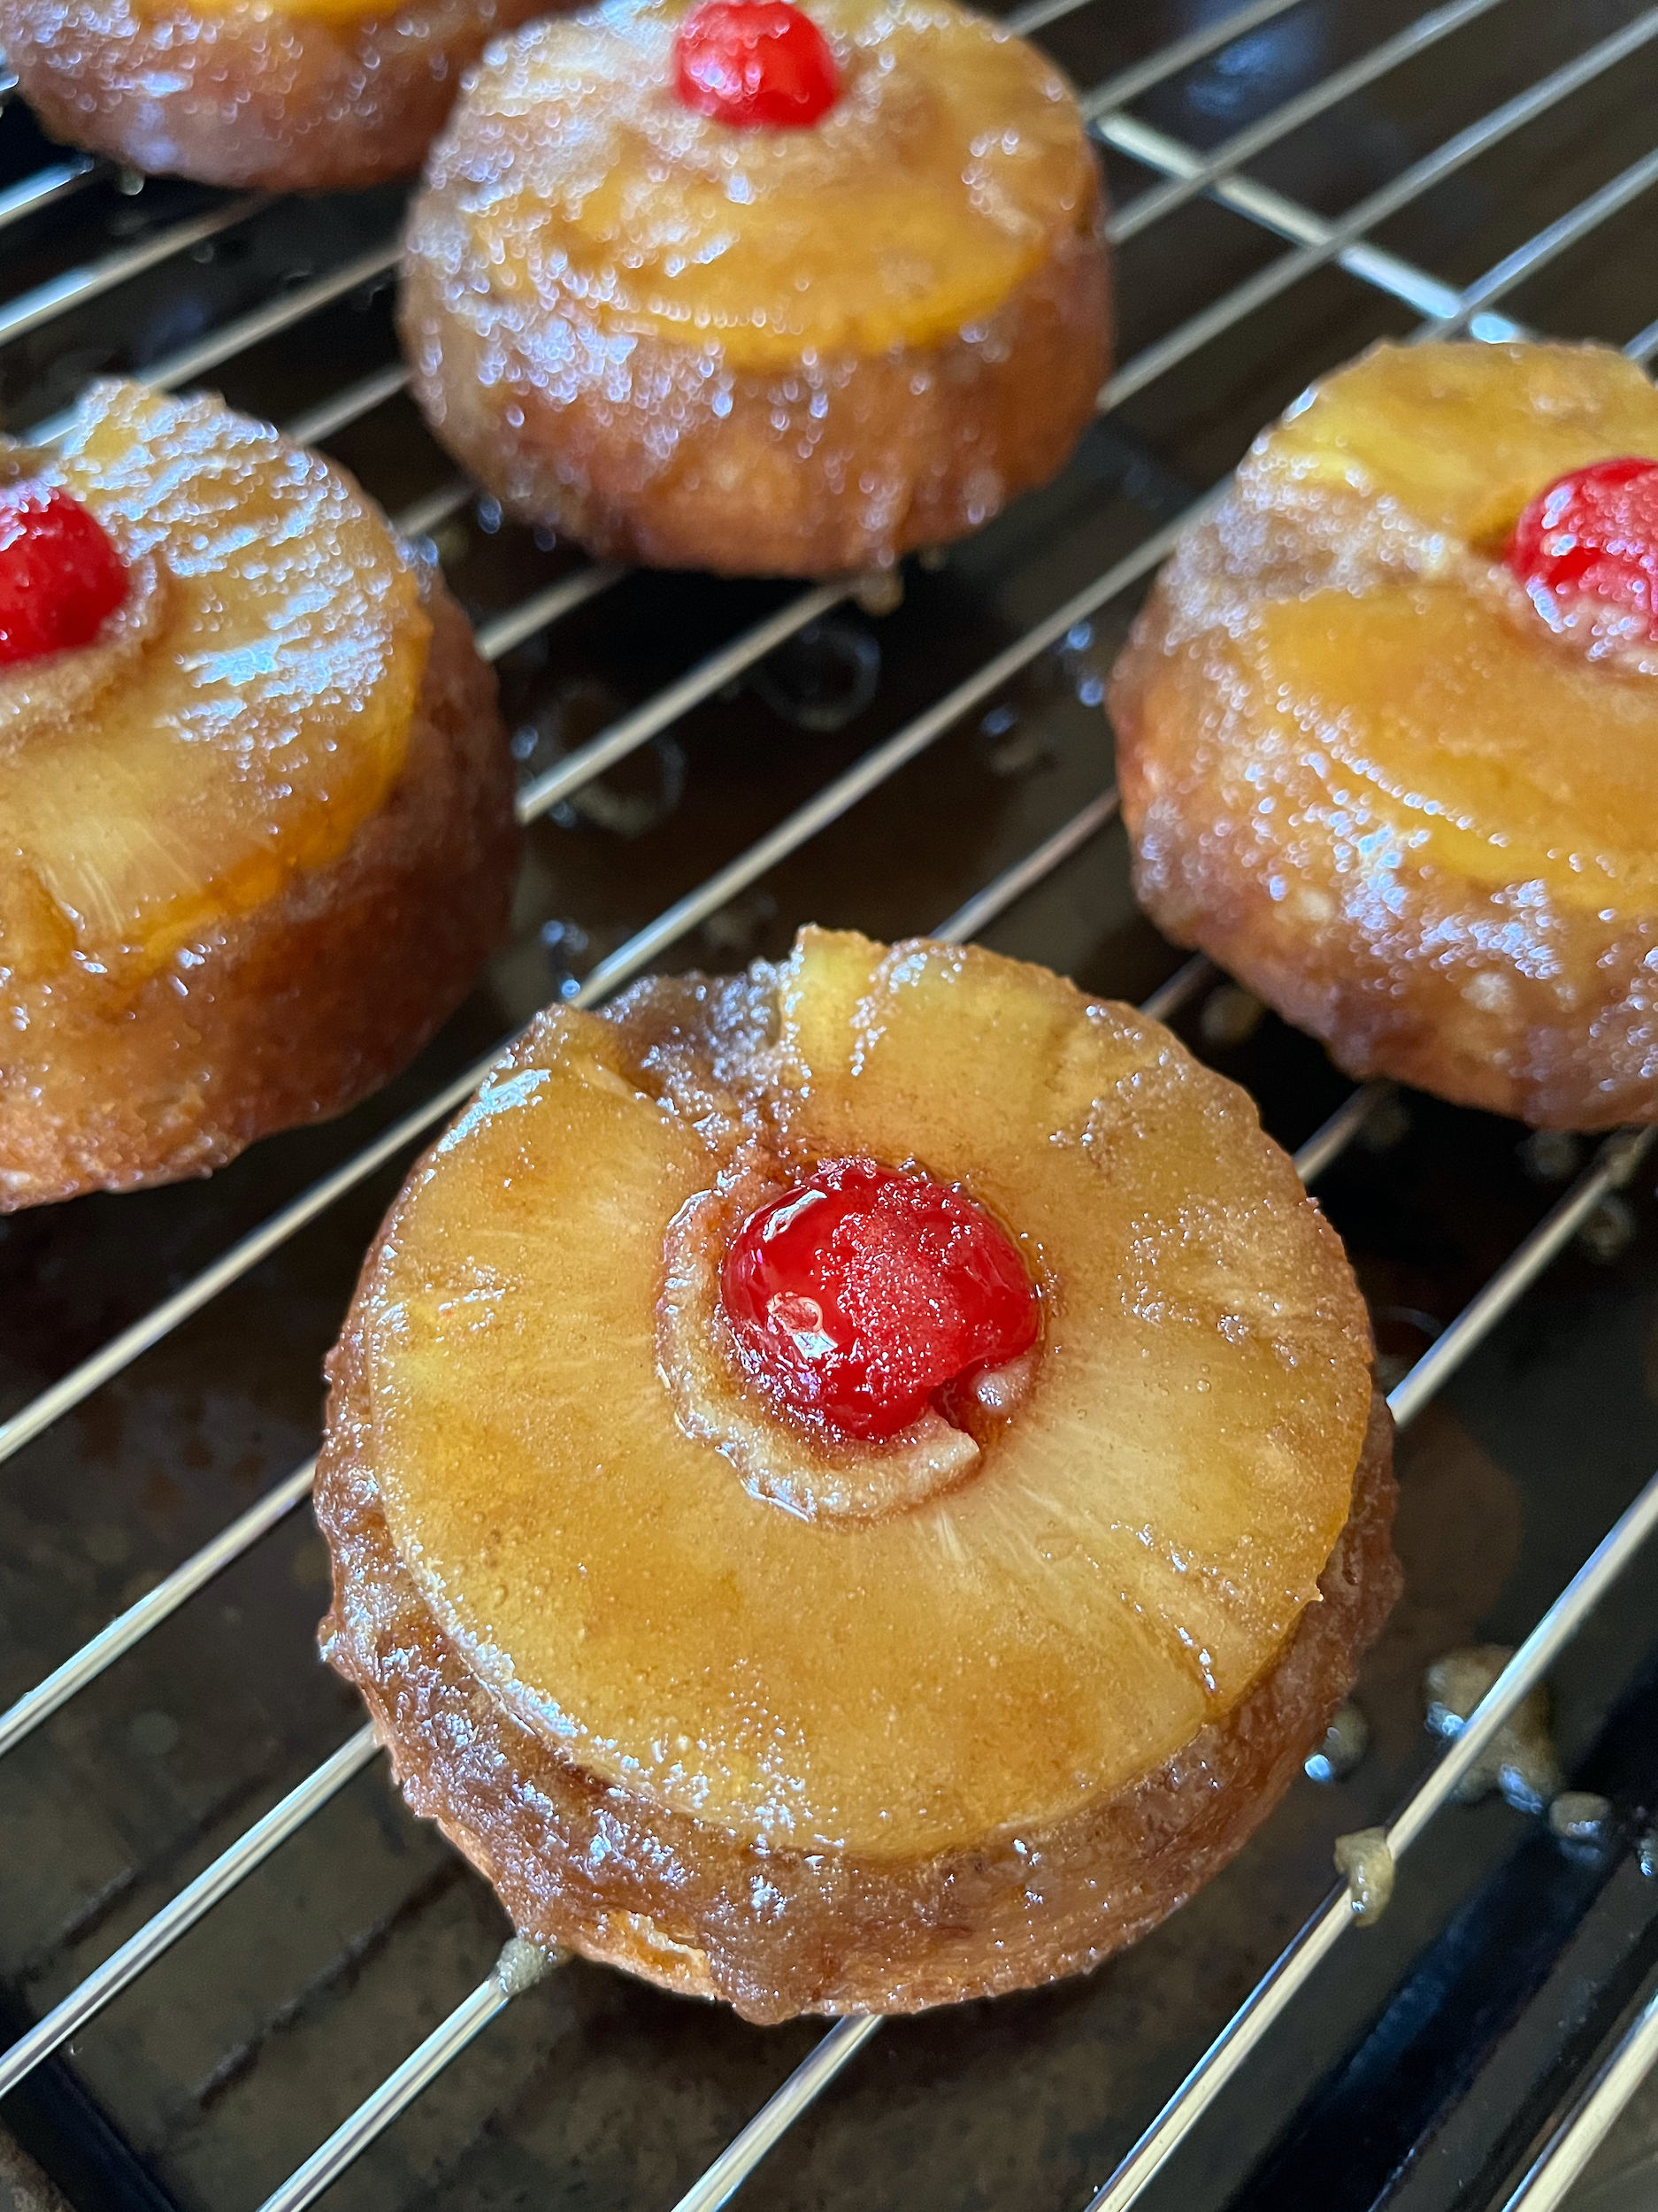
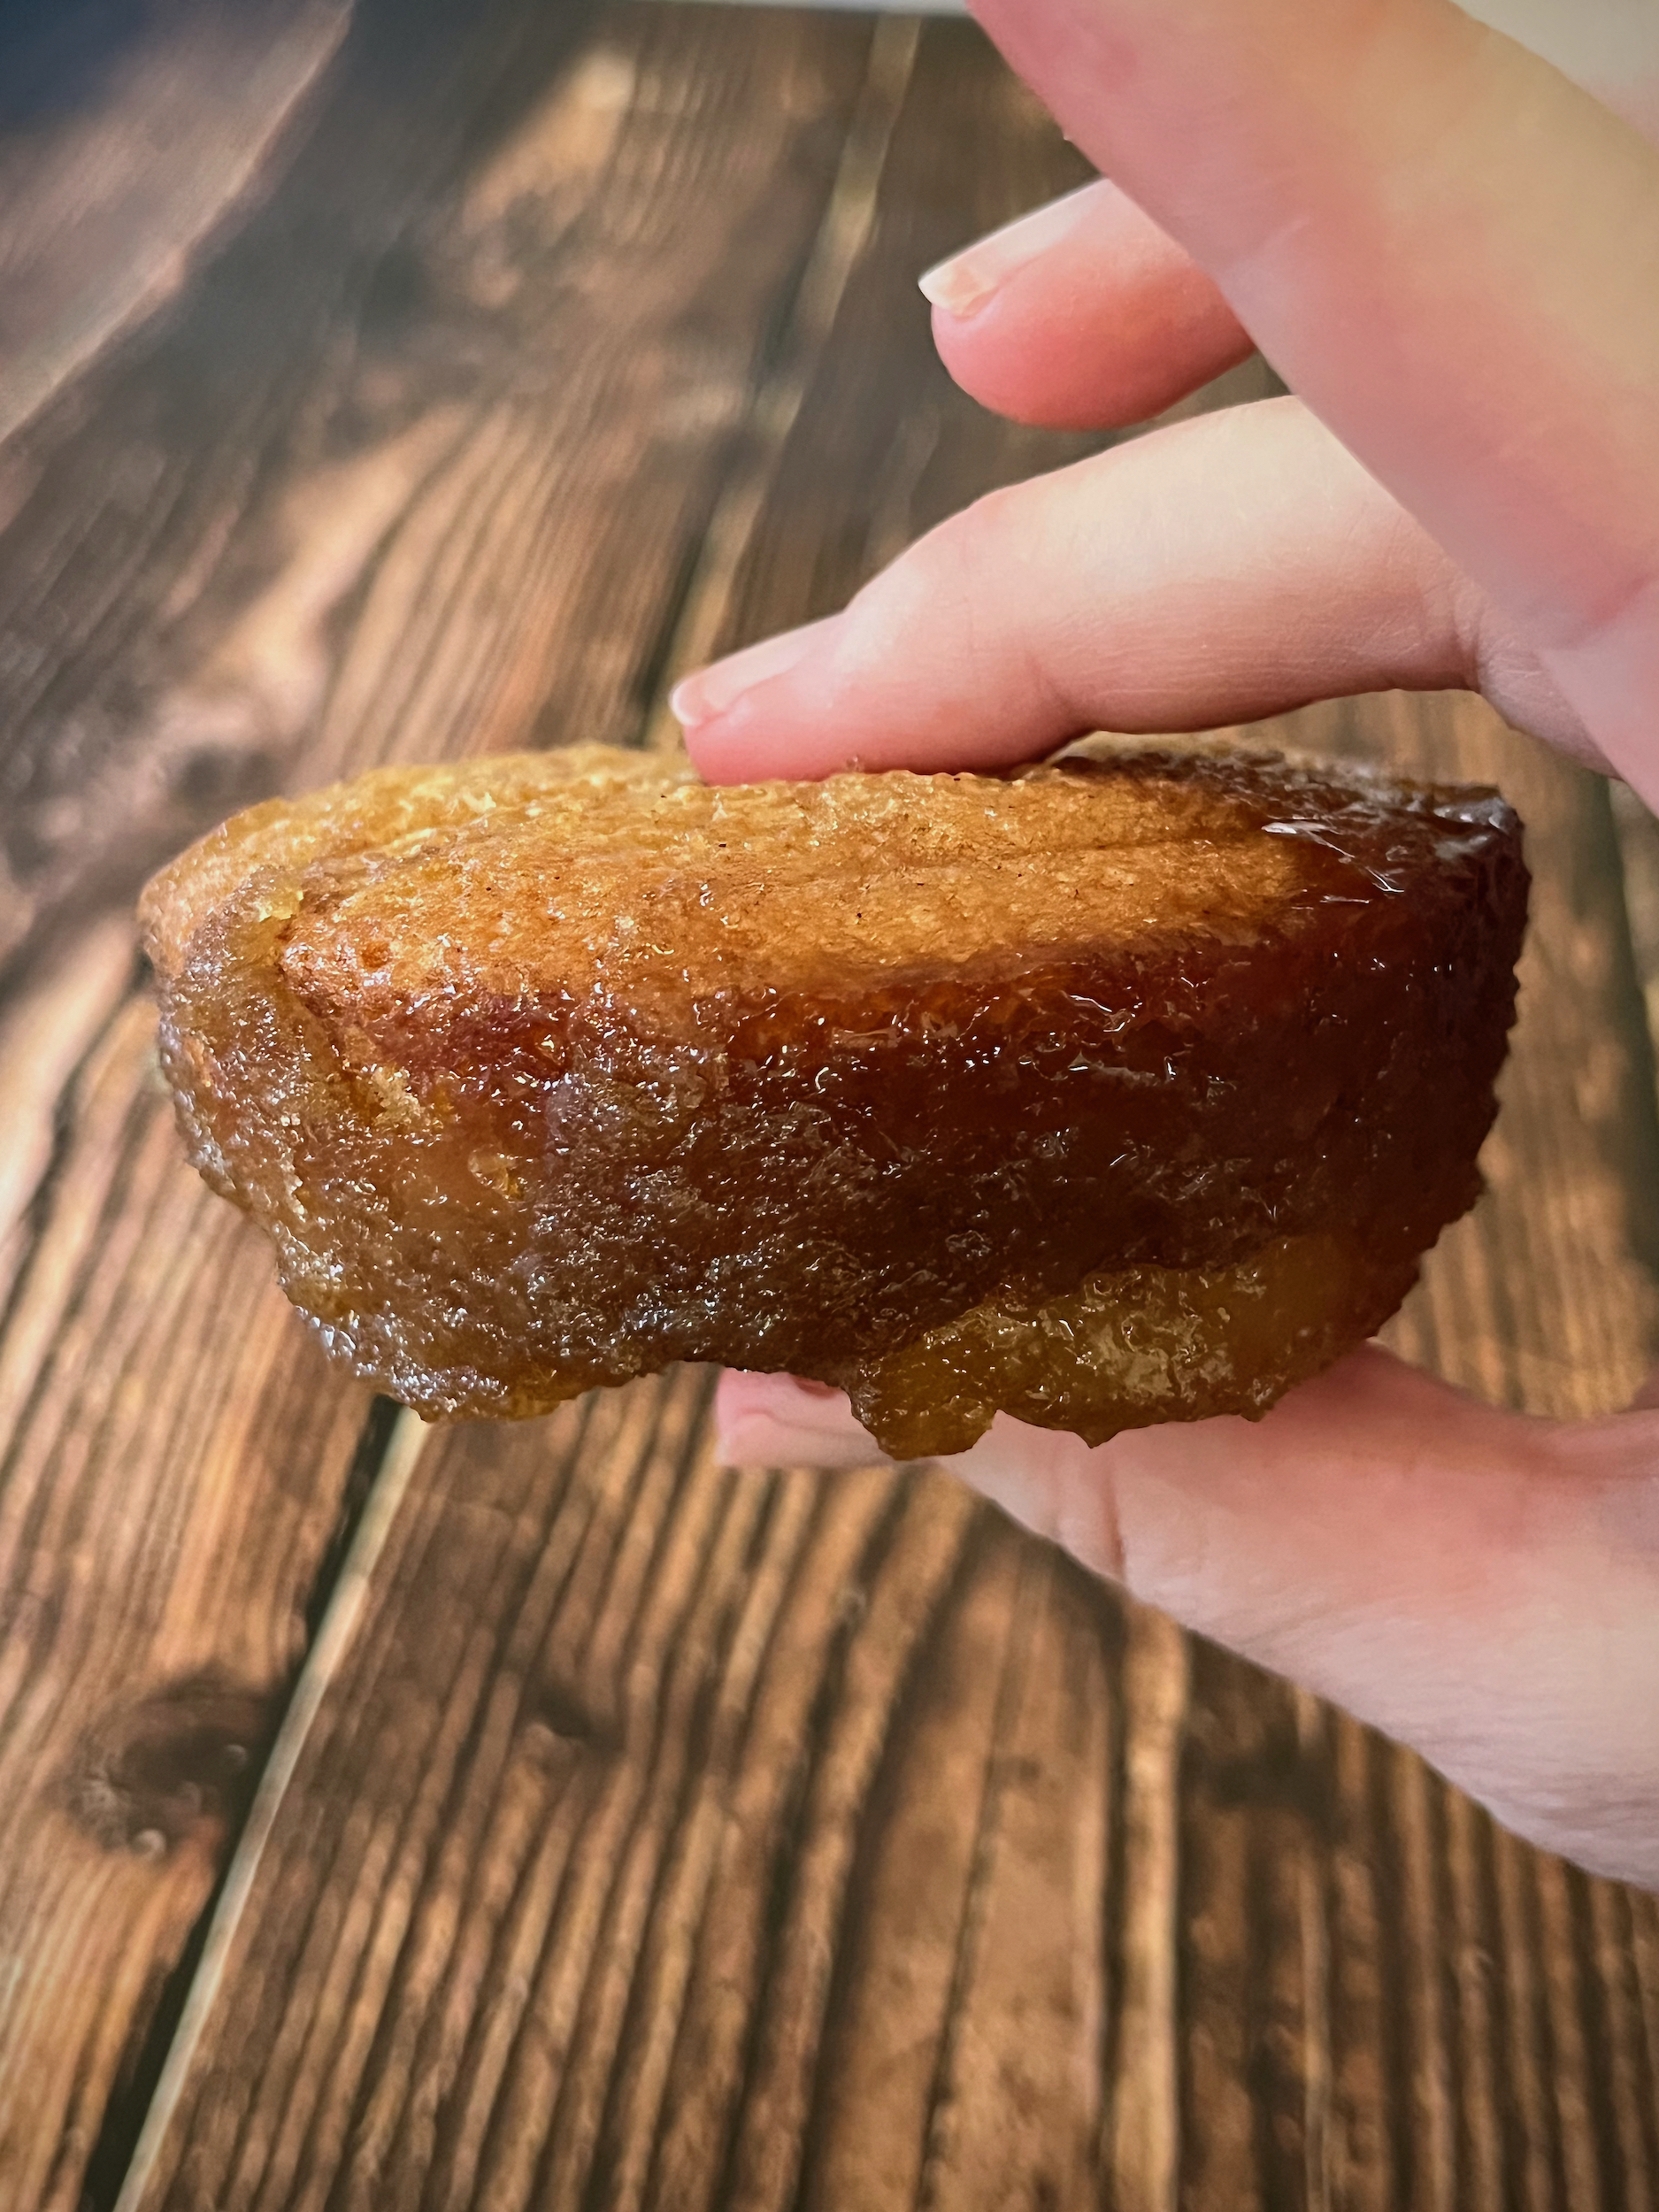
Now I do not see a pineapple nor cherry on his little cake, so I took artistic liberty and chose pineapple upside down cake; I have no regrets! These little cakes are delicious! My favorite part is the topping, all that brown sugar, mmmm!

INGREDIENTS
CAKES
- 4 large eggs, at room temperature
- 1/4 cup of dark brown sugar, packed
- 1 1/4 cups of granulated sugar
- 1/2 cup of pineapple juice
- 2 teaspoons of pure vanilla extract
- 2 1/4 teaspoons of baking powder
- 1/2 teaspoon of cinnamon
- 2 tablespoons of cornstarch
- 1 1/2 cups of all purpose flour
- 1/4 teaspoon of salt
TOPPING
- 6 tablespoons of unsalted butter
- 1 1/2 cups dark brown sugar (packed)
- 1/8 teaspoon of salt
- 1 teaspoon of vanilla extract
- 10-12 pineapple rings
- 10-12 maraschino cherries
INSTRUCTIONS


- Pre-heat oven to 350 F. Spray a jumbo muffin tin with non-stick cooking spray and set aside.
- Crack the eggs into a large mixing bowl and whisk until smooth.
- Add the brown sugar, granulated sugar, pineapple juice and vanilla, then whisk again until smooth.
- In a separate bowl, sift together the baking powder, cinnamon, cornstarch, flour and salt.
- Gradually add the dry ingredients into the wet ingredients and whisk until just combined (be sure not to over mix), then set the mixture aside while you make the topping.
- In a small sauce pan, melt the butter over medium to low heat.
- Add the brown sugar, salt, and vanilla.
- Cook for one minute, whisking constantly, then remove the saucepan from the heat.
- Spoon two tablespoons of the topping into the bottom of each muffin tin, then place a pineapple ring over that with a cherry in the middle.
- Divide the cake batter evenly among the prepared tins, filling each muffin tin 3/4 of the way full.
- Bake for 20 to 25 minutes, until the tops are puffed and golden brown and a toothpick inserted in the center of the cake comes out clean.
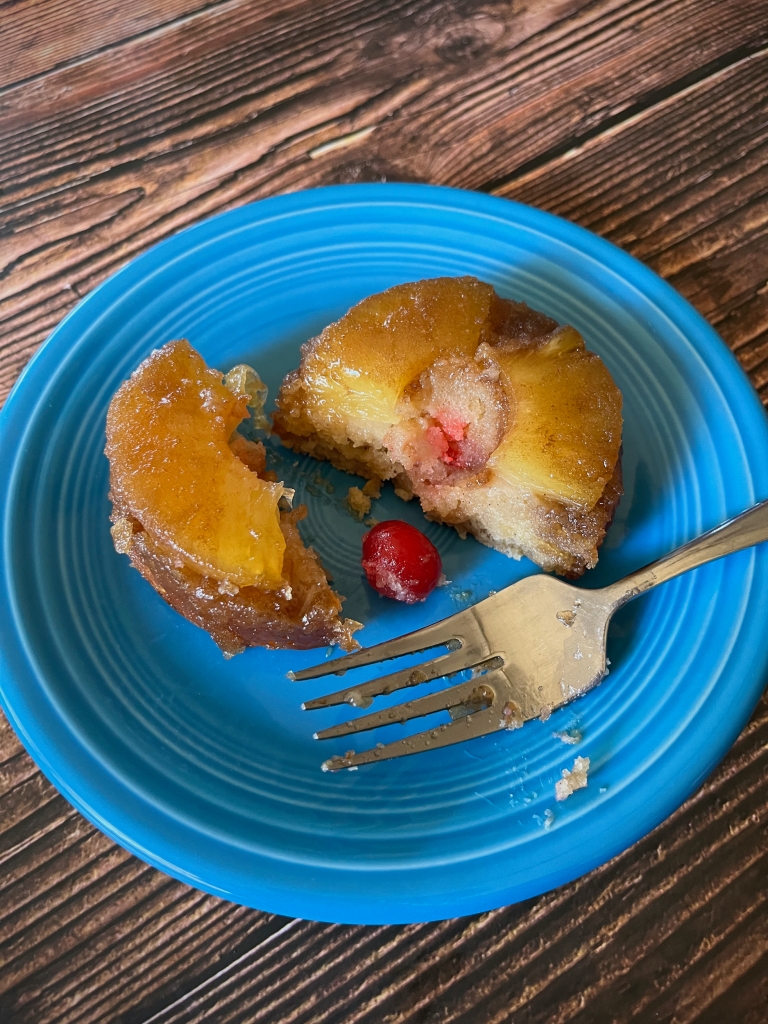
- Remove from the oven and allow to cool in the pan for 5 minutes. Gently run a knife around the edge of each cake to help loosen any stuck bits, then gently place a wire cooling rack over a sheet pan (to help with the drips) on top and quickly flip over.
- Allow to cool and enjoy!


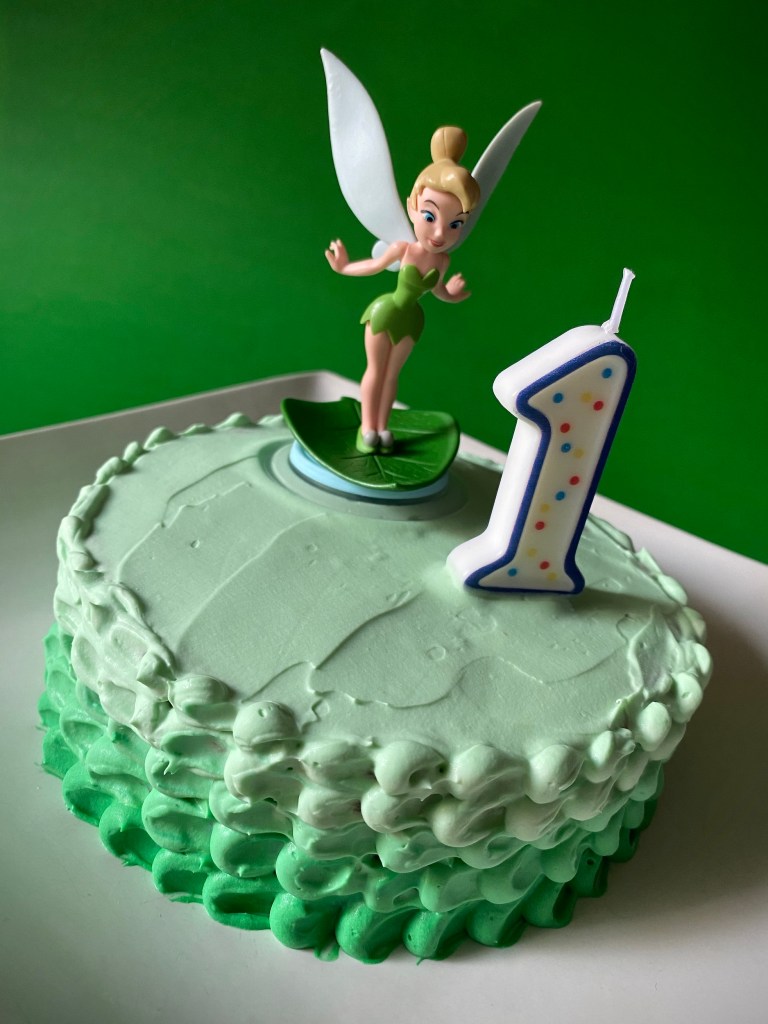 Zoey, our little Tinker Bell, is one year old! This year has been an unusual one (understatement of the century), but it has flown by faster than I could have imagined and I have been fortunate enough to spend the majority of it at home with her; grateful for every moment.
 She was very tentative about smashing her smash cake, almost like she wasn’t sure if she was allowed to. Even with her audience coaxing her she only tasted a little bit of cake I broke off for her and mostly just played around in the frosting. Her favorite part of the cake was the Tinker Bell figurine up top and she ended up fixating on that. And what the hey, as long as she had fun!


 INTRODUCTION
 Winnie the Pooh’s hero cake (and the hero cookies we made last week) is featured in the “Blustery Day” featurette when Christopher Robin throws a Hero Party for Pooh Bear, believing him to be Piglet’s rescuer during the flood. Pooh and Piglet really just happened to be in the same predicament at the same time and came out together perfectly alright, but it was still sweet of Christopher Robin and their friends to celebrate them all the same!
 This is a surprisingly complex cake, and I had a lot of fun creating and tasting it! I chose to make pink velvet cake (my own interpretation of what flavor the pink color stood for) with chocolate frosting. White buttercream frosting surrounds the base of each of the orange candles and orange buttercream, in color and in flavor, whimsically dots the chocolate frosting in puffs. If you take the cake with the chocolate frosting and orange buttercream in the same bite it is absolute heaven and will definitely satisfy the rumbly of any tumbly!
 HERO CAKE