INTRODUCTION
Welcome back friends! This week we will be baking Winnie the Pooh’s hero cake from Disney’s The Many Adventures of Winnie the Pooh.
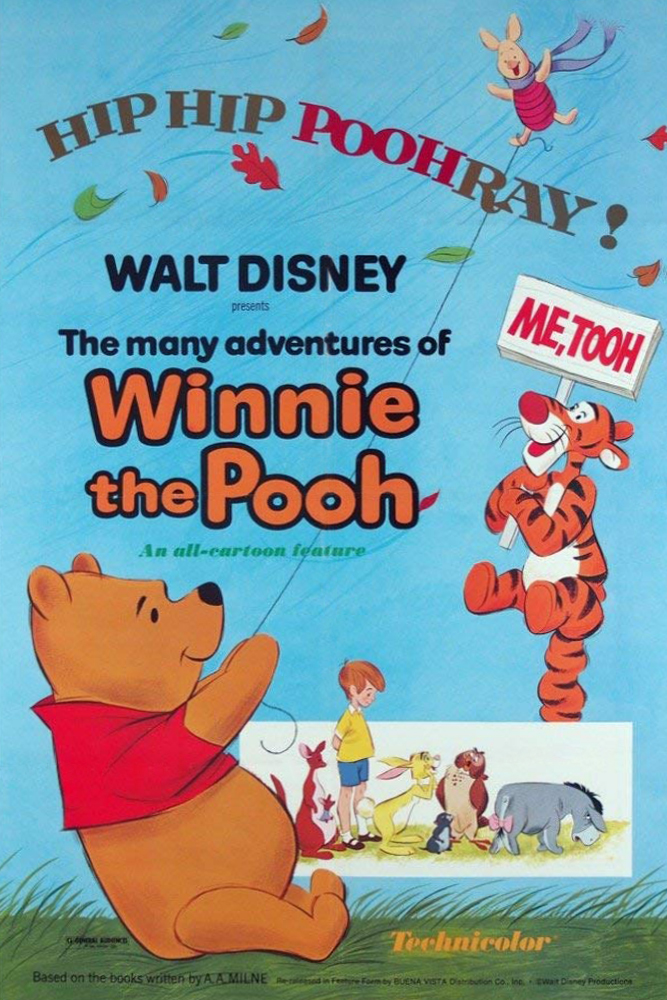 Winnie the Pooh’s hero cake (and the hero cookies we made last week) is featured in the “Blustery Day” featurette when Christopher Robin throws a Hero Party for Pooh Bear, believing him to be Piglet’s rescuer during the flood. Pooh and Piglet really just happened to be in the same predicament at the same time and came out together perfectly alright, but it was still sweet of Christopher Robin and their friends to celebrate them all the same!
 This is a surprisingly complex cake, and I had a lot of fun creating and tasting it! I chose to make pink velvet cake (my own interpretation of what flavor the pink color stood for) with chocolate frosting. White buttercream frosting surrounds the base of each of the orange candles and orange buttercream, in color and in flavor, whimsically dots the chocolate frosting in puffs. If you take the cake with the chocolate frosting and orange buttercream in the same bite it is absolute heaven and will definitely satisfy the rumbly of any tumbly!
 HERO CAKE
- 4 cups of all-purpose flour
- 4 teaspoons of baking powder
- 2 pinches of salt
- 12 tablespoons of unsalted butter, room temperature and cubed
- 2 cups of granulated sugar
- 1 teaspoon of almond extract
- 1 1/3 cups of whole milk, room temperature
- 4 teaspoons of vanilla extract
- 8 drops of red food coloring
- 8 egg whites
INSTRUCTIONS (CAKE)
- Preheat the oven to 350 F.
- Prepare two 8-inch round cake pans with spray or parchment.
- In a large bowl, whisk together the flour, baking powder, and salt.
- In another large bowl, beat the butter until softened.
- Slowly add the sugar and beat until fluffy, then add in the almond extract, food coloring, milk, and vanilla extract; mix on low until ingredients are incorporated.
- Beat in the egg whites one at a time, scraping down the sides of the bowl after each addition.
- Divide the batter between the prepared cake pans and bake for 20-30 minutes (depending on your oven) until a toothpick is inserted at their centers comes out clean, not wet with cake batter.
- Remove the pans from the oven and allow the cakes to cool for about 10 minutes within the pan, then transfer to a wire rack to cool completely before assembling.
- While the cakes are cooling, make the frostings (see below).
CHOCOLATE FROSTING
- 1/2 cup of butter, melted
- 6 tablespoons of cocoa powder
- 1 tablespoon of oil
- 3 1/2 cups of powdered sugar
- Milk, room temperature
- 1 teaspoon of vanilla
INSTRUCTIONS (CHOCOLATE FROSTING)
- In a large bowl, mix the melted butter, cocoa powder and oil until well incorporated.
- Sift in the powdered sugar half a cup at a time and mix well.
- Add milk a little at a time and keep mixing until the chocolate is smooth and creamy.
- Add the vanilla in last and stir until well incorporated.
- Once the cakes are cool, put a small dollop of this frosting on the center of cake stand, then place the first layer of cake down on top of the dollop; this will anchor the cake to the stand.
- Scoop the desired amount of chocolate frosting onto the top of the first layer of cake and spread it around evenly, then add the next layer of cake over it.
- Apply the rest of the chocolate frosting to the sides, and then the top of the cake, using an icing spatula or something similar. I added texture to the sides of my cake using a cake comb that came with the little cake decorating set I bought.
* You can double this recipe for a thicker layer of frosting on the cake.
ORANGE AND WHITE BUTTERCREAM FROSTING
- 1/2 cup of butter, softened
- 2 cups of powdered sugar
- 3 tablespoons of heavy whipping cream
- 1/2 teaspoon of orange extract
- Orange food coloring
INSTRUCTIONS (ORANGE AND WHITE BUTTERCREAM FROSTING)
- In a medium bowl, cream butter and powdered sugar together by low speed (or hand otherwise you’ll have a cloud of powdered sugar).
- Add in the whipping cream and orange extract and mix until well incorporated.
- Pause and scoop about a fourth of the white frosting into a pastry bag and set aside.
- Add in the orange food coloring and beat until fully incorporated.
- Scoop the orange frosting into another pastry bag with a large tip.
- After the cakes cool and you’ve applied the chocolate frosting, pipe 4 dollops of the white buttercream frosting onto the top of the cake where you want the candles to be and stick the candles in at their center.
- Using the orange buttercream, pipe small orange puff dots all around and on top of the cake.
Enjoy it!

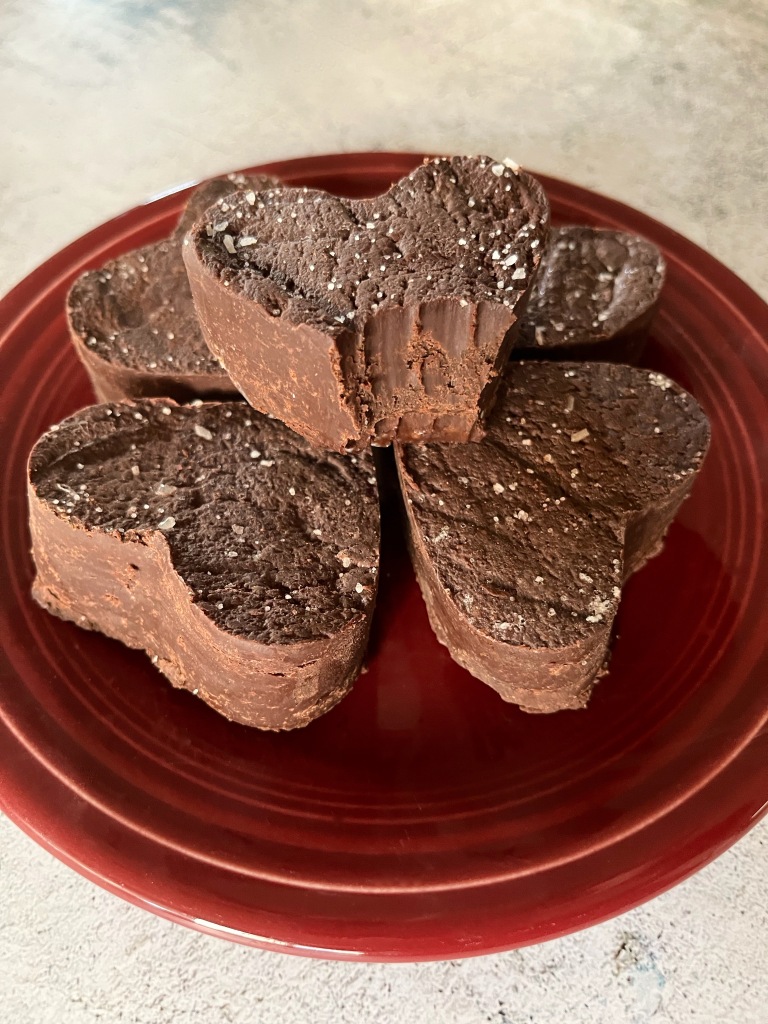

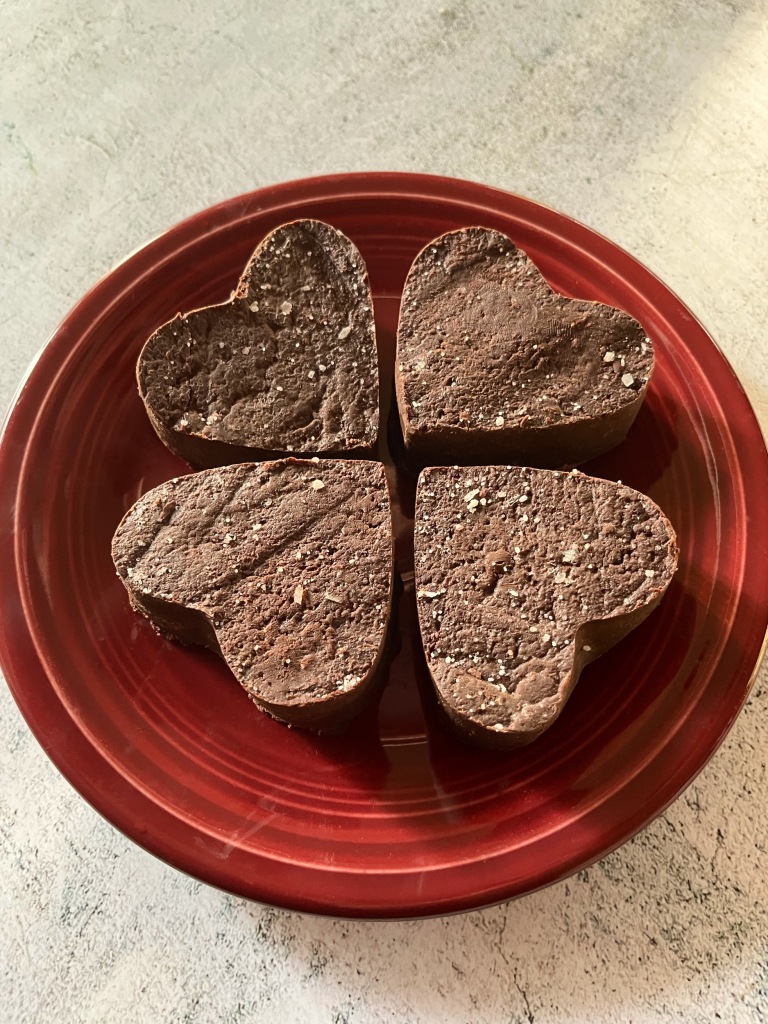


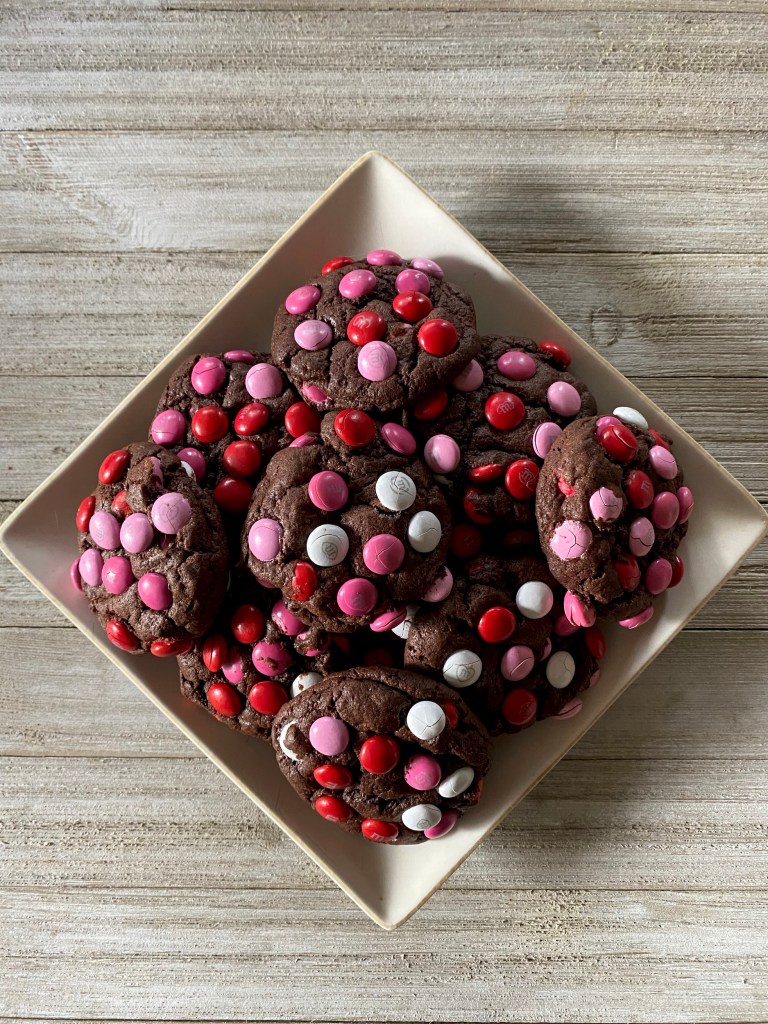
 Happy February friends! I have some chocolaty Valentine cookies for you, and whether you celebrate Valentine’s Day or not, cookies are rarely unwelcome!