Homemade Stovetop Popcorn

Welcome back friends! Who wants some fresh stovetop popcorn to enjoy on one (or more) of these beautiful autumn nights? Maybe cuddled under a blanket, while watching a good movie? I know I do, so let’s pop some!

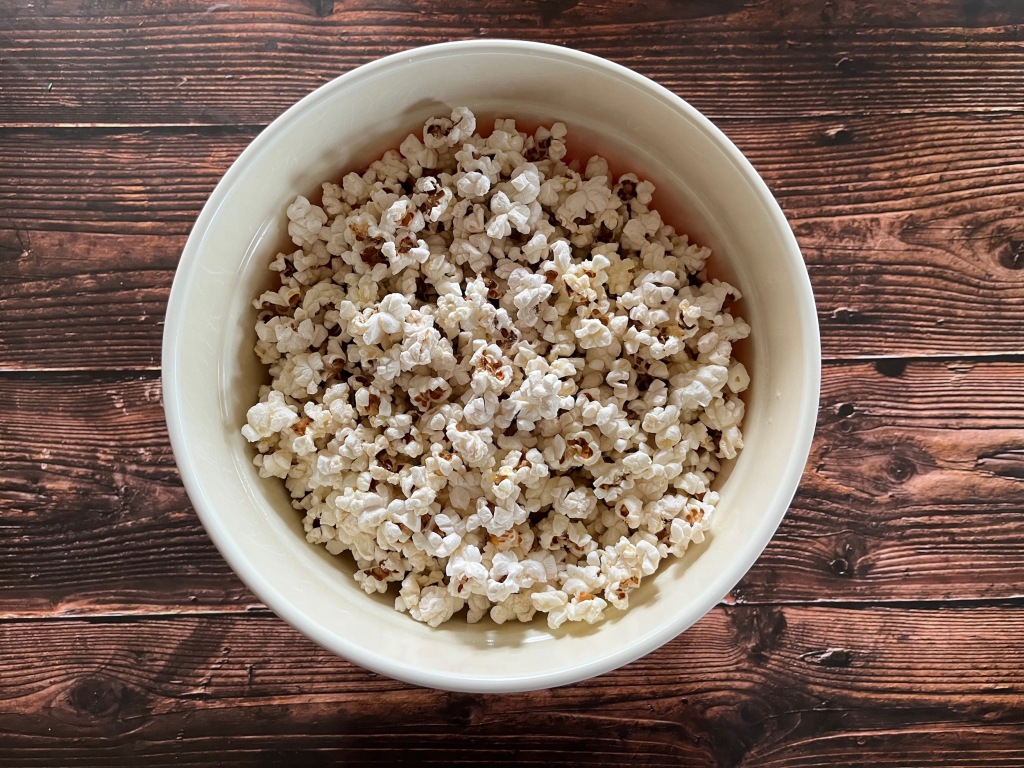
HOMEMADE STOVETOP POPCORN
  • 3 tablespoons of olive oil
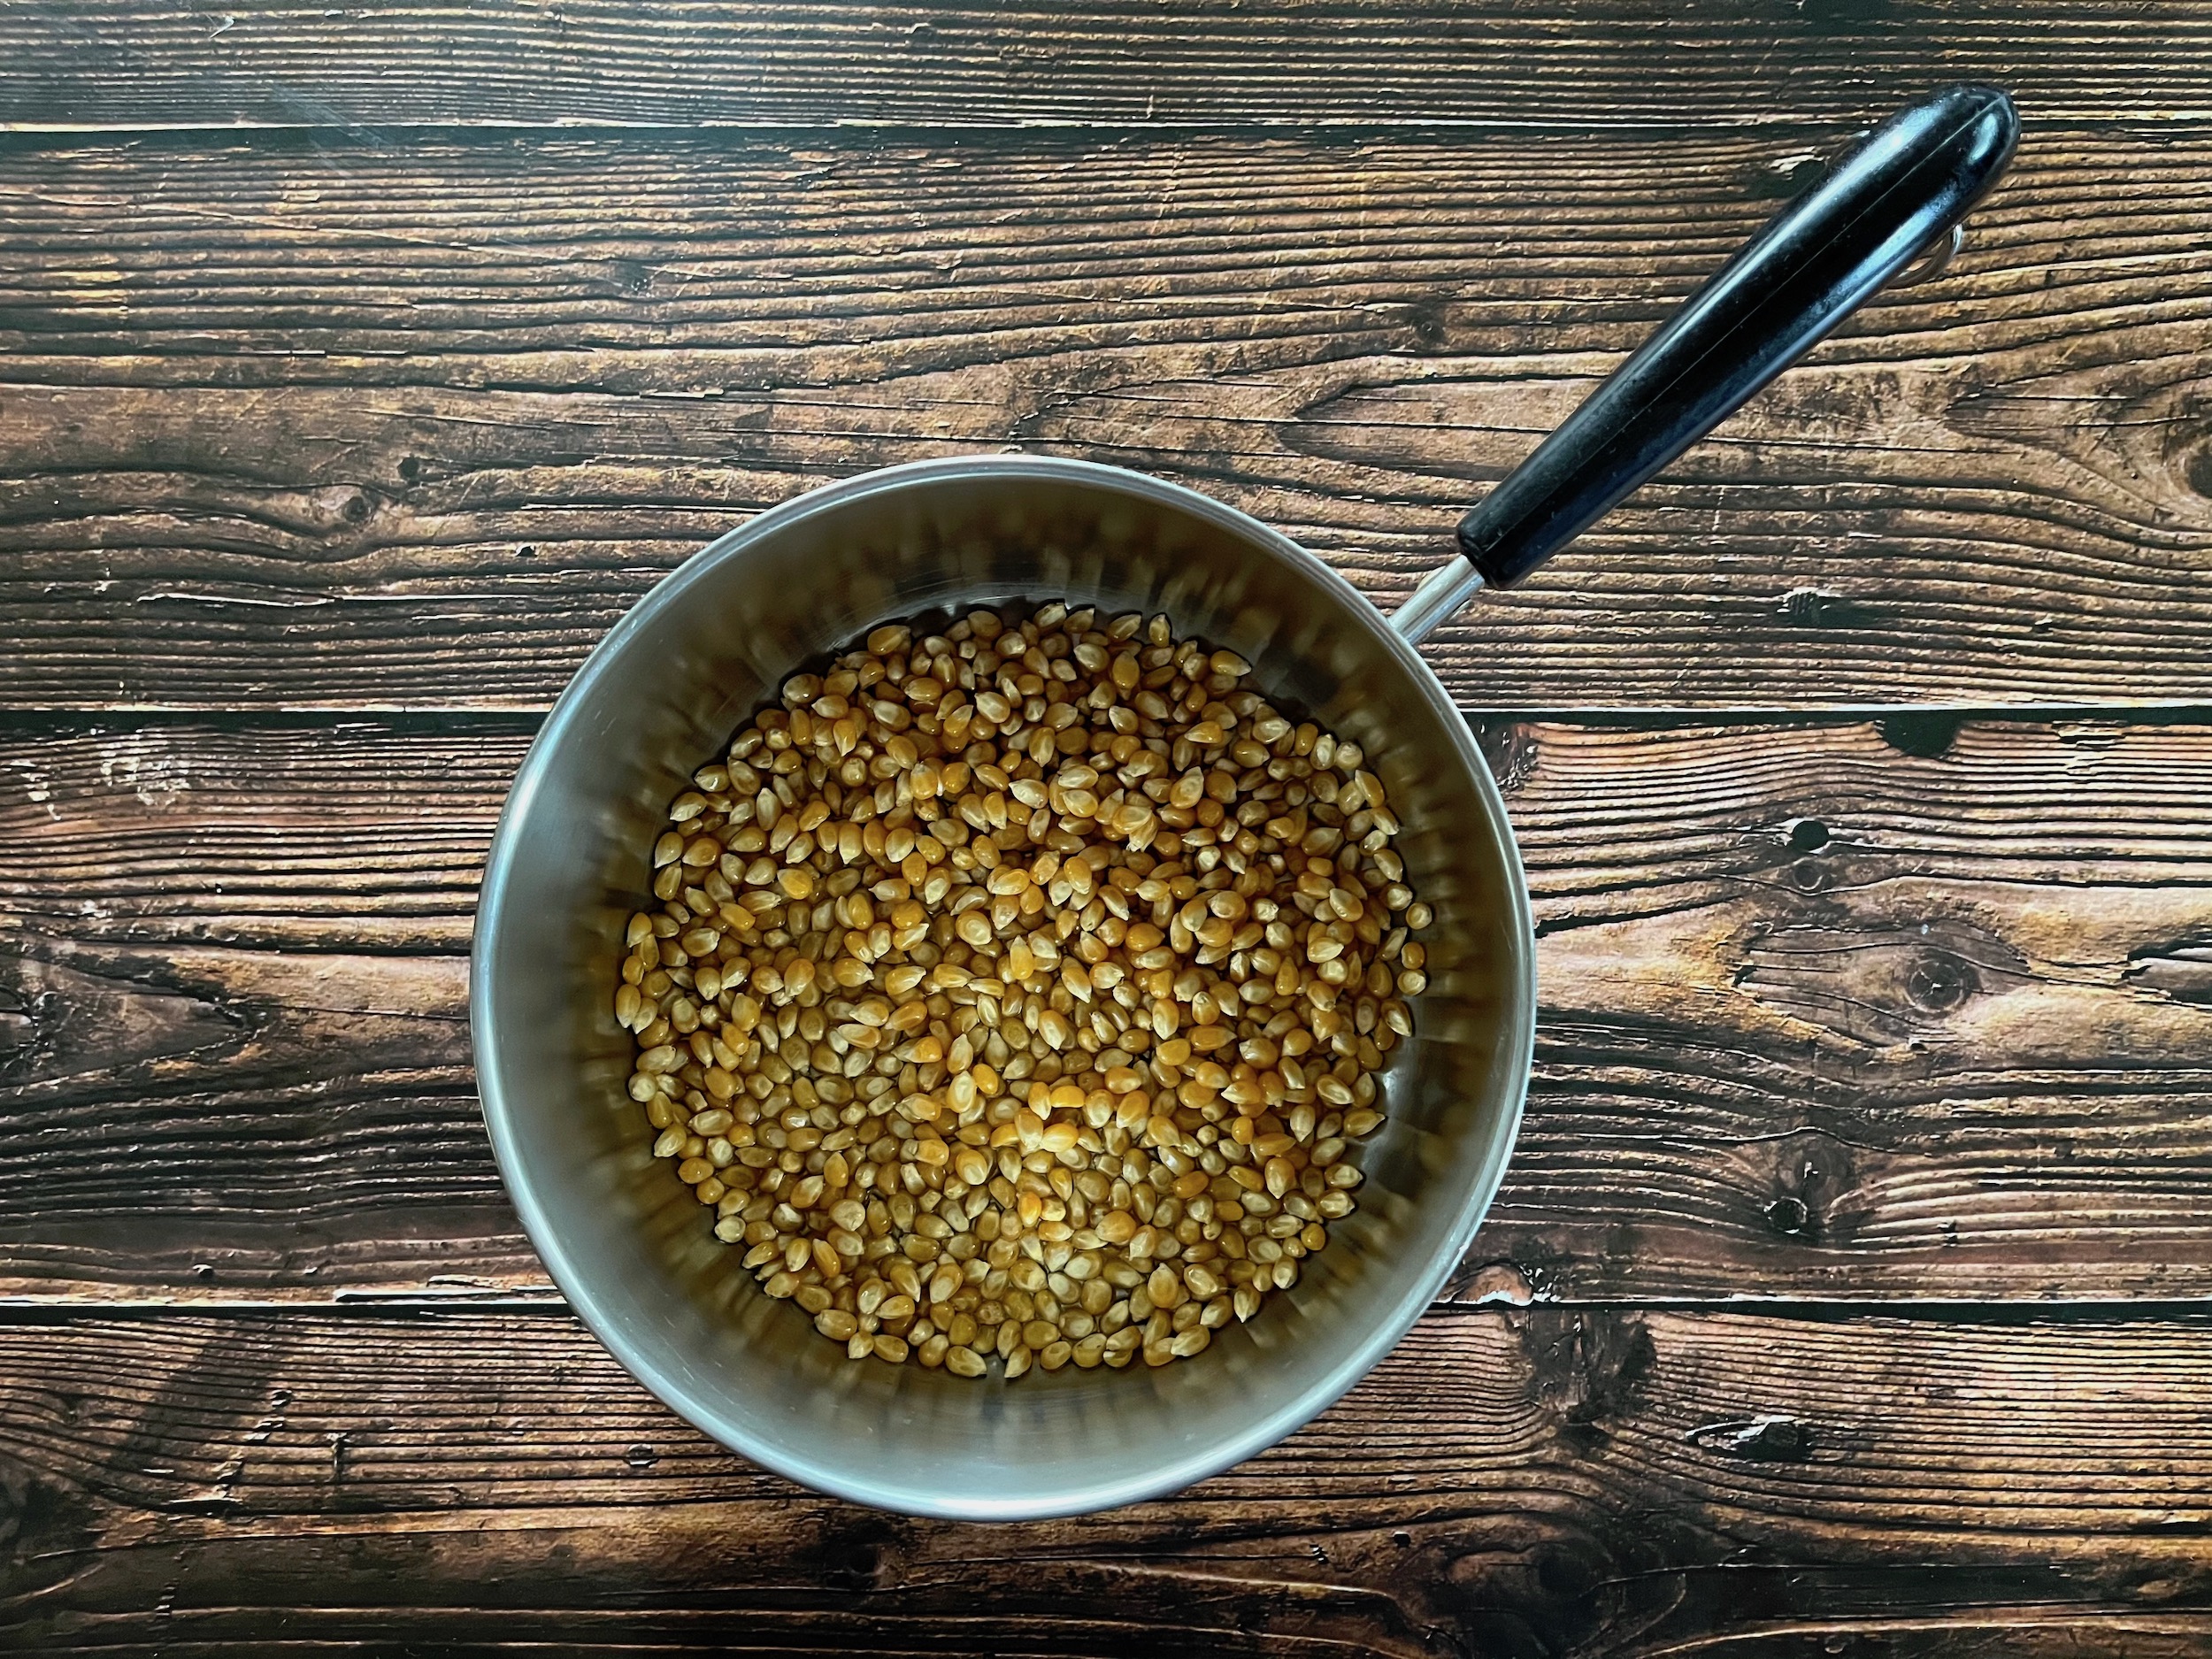
  • 3/4 cup of popcorn kernels
  • 2 to 3 tablespoons of unsalted butter, melted
  • 2 teaspoon of popcorn salt
INSTRUCTIONS
  1. To create popcorn salt, grind it into a fine powder with a mortar and pestle or run 1/2 cup of salt in the food processor until fine.
  2. Place the olive oil and popcorn kernels in a large lightweight pot, then gently shake the pot to distribute the kernels over the bottom of the pan and evenly coat the kernels with oil.
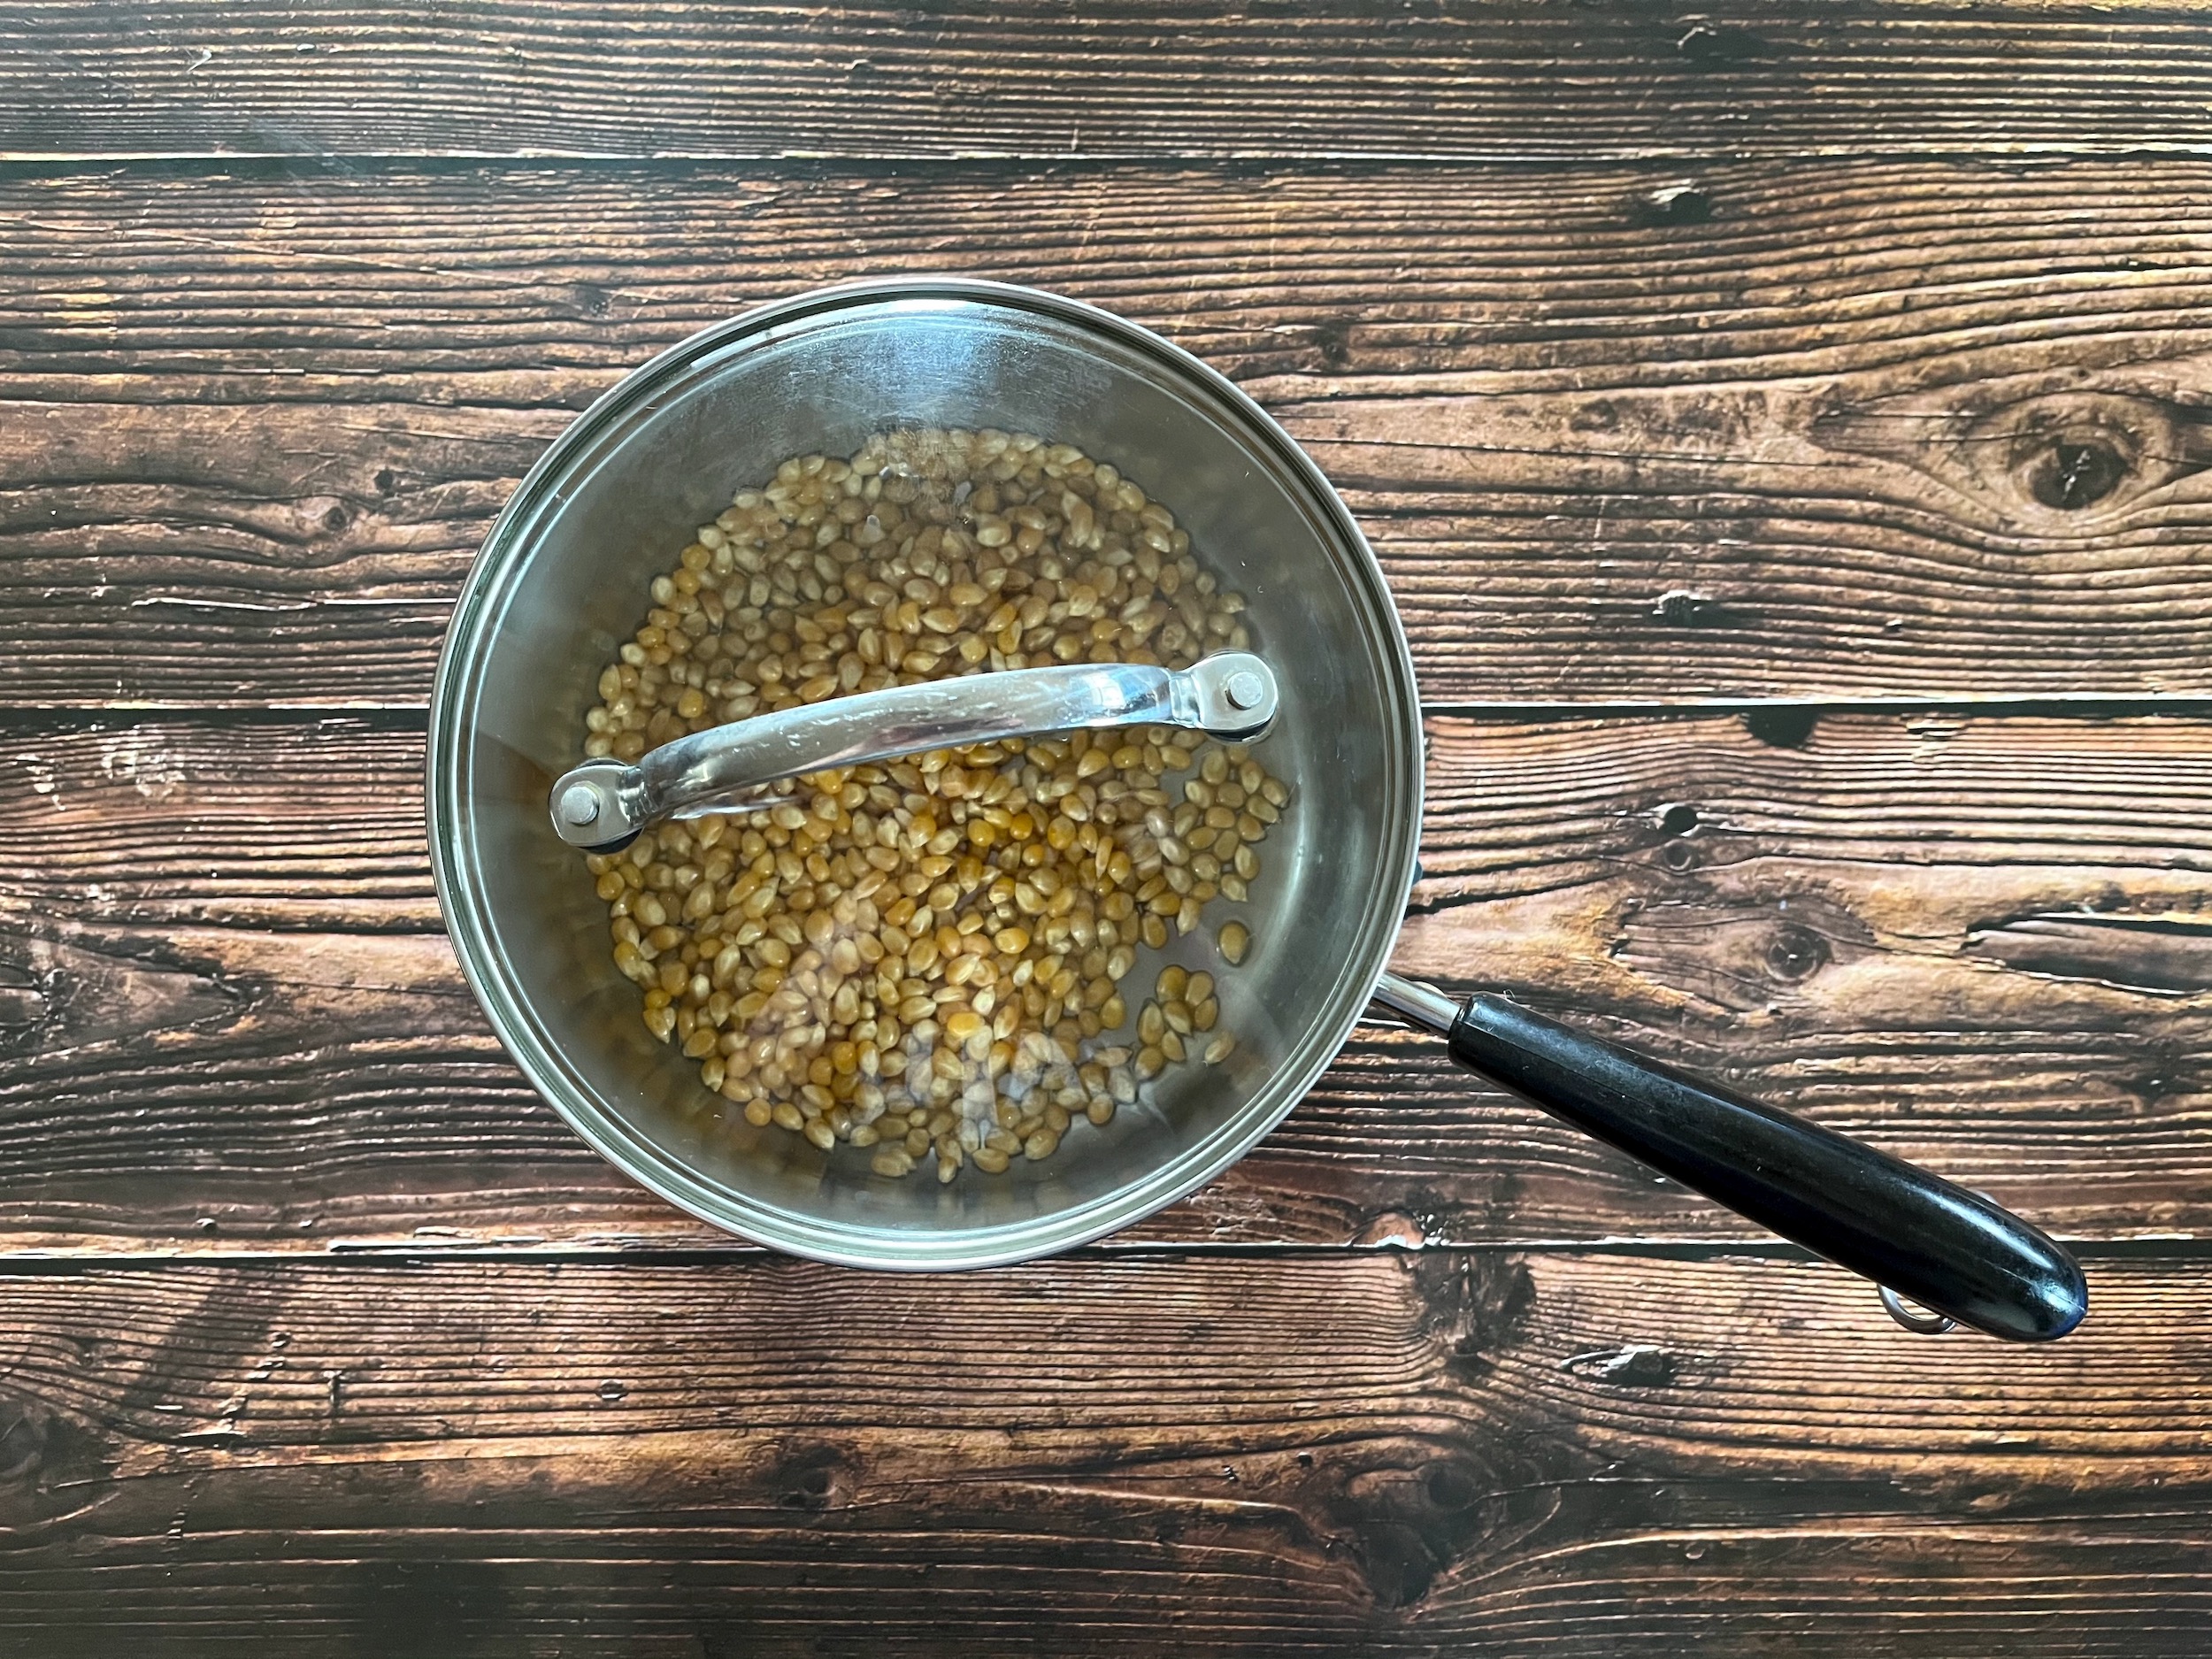
  3. Place the pot on medium heat (or slightly lower depending on the power of your stovetop) and put the the lid on. The kernels will begin popping in about a minute or so and you may need to hold the lid on using the safety handle.
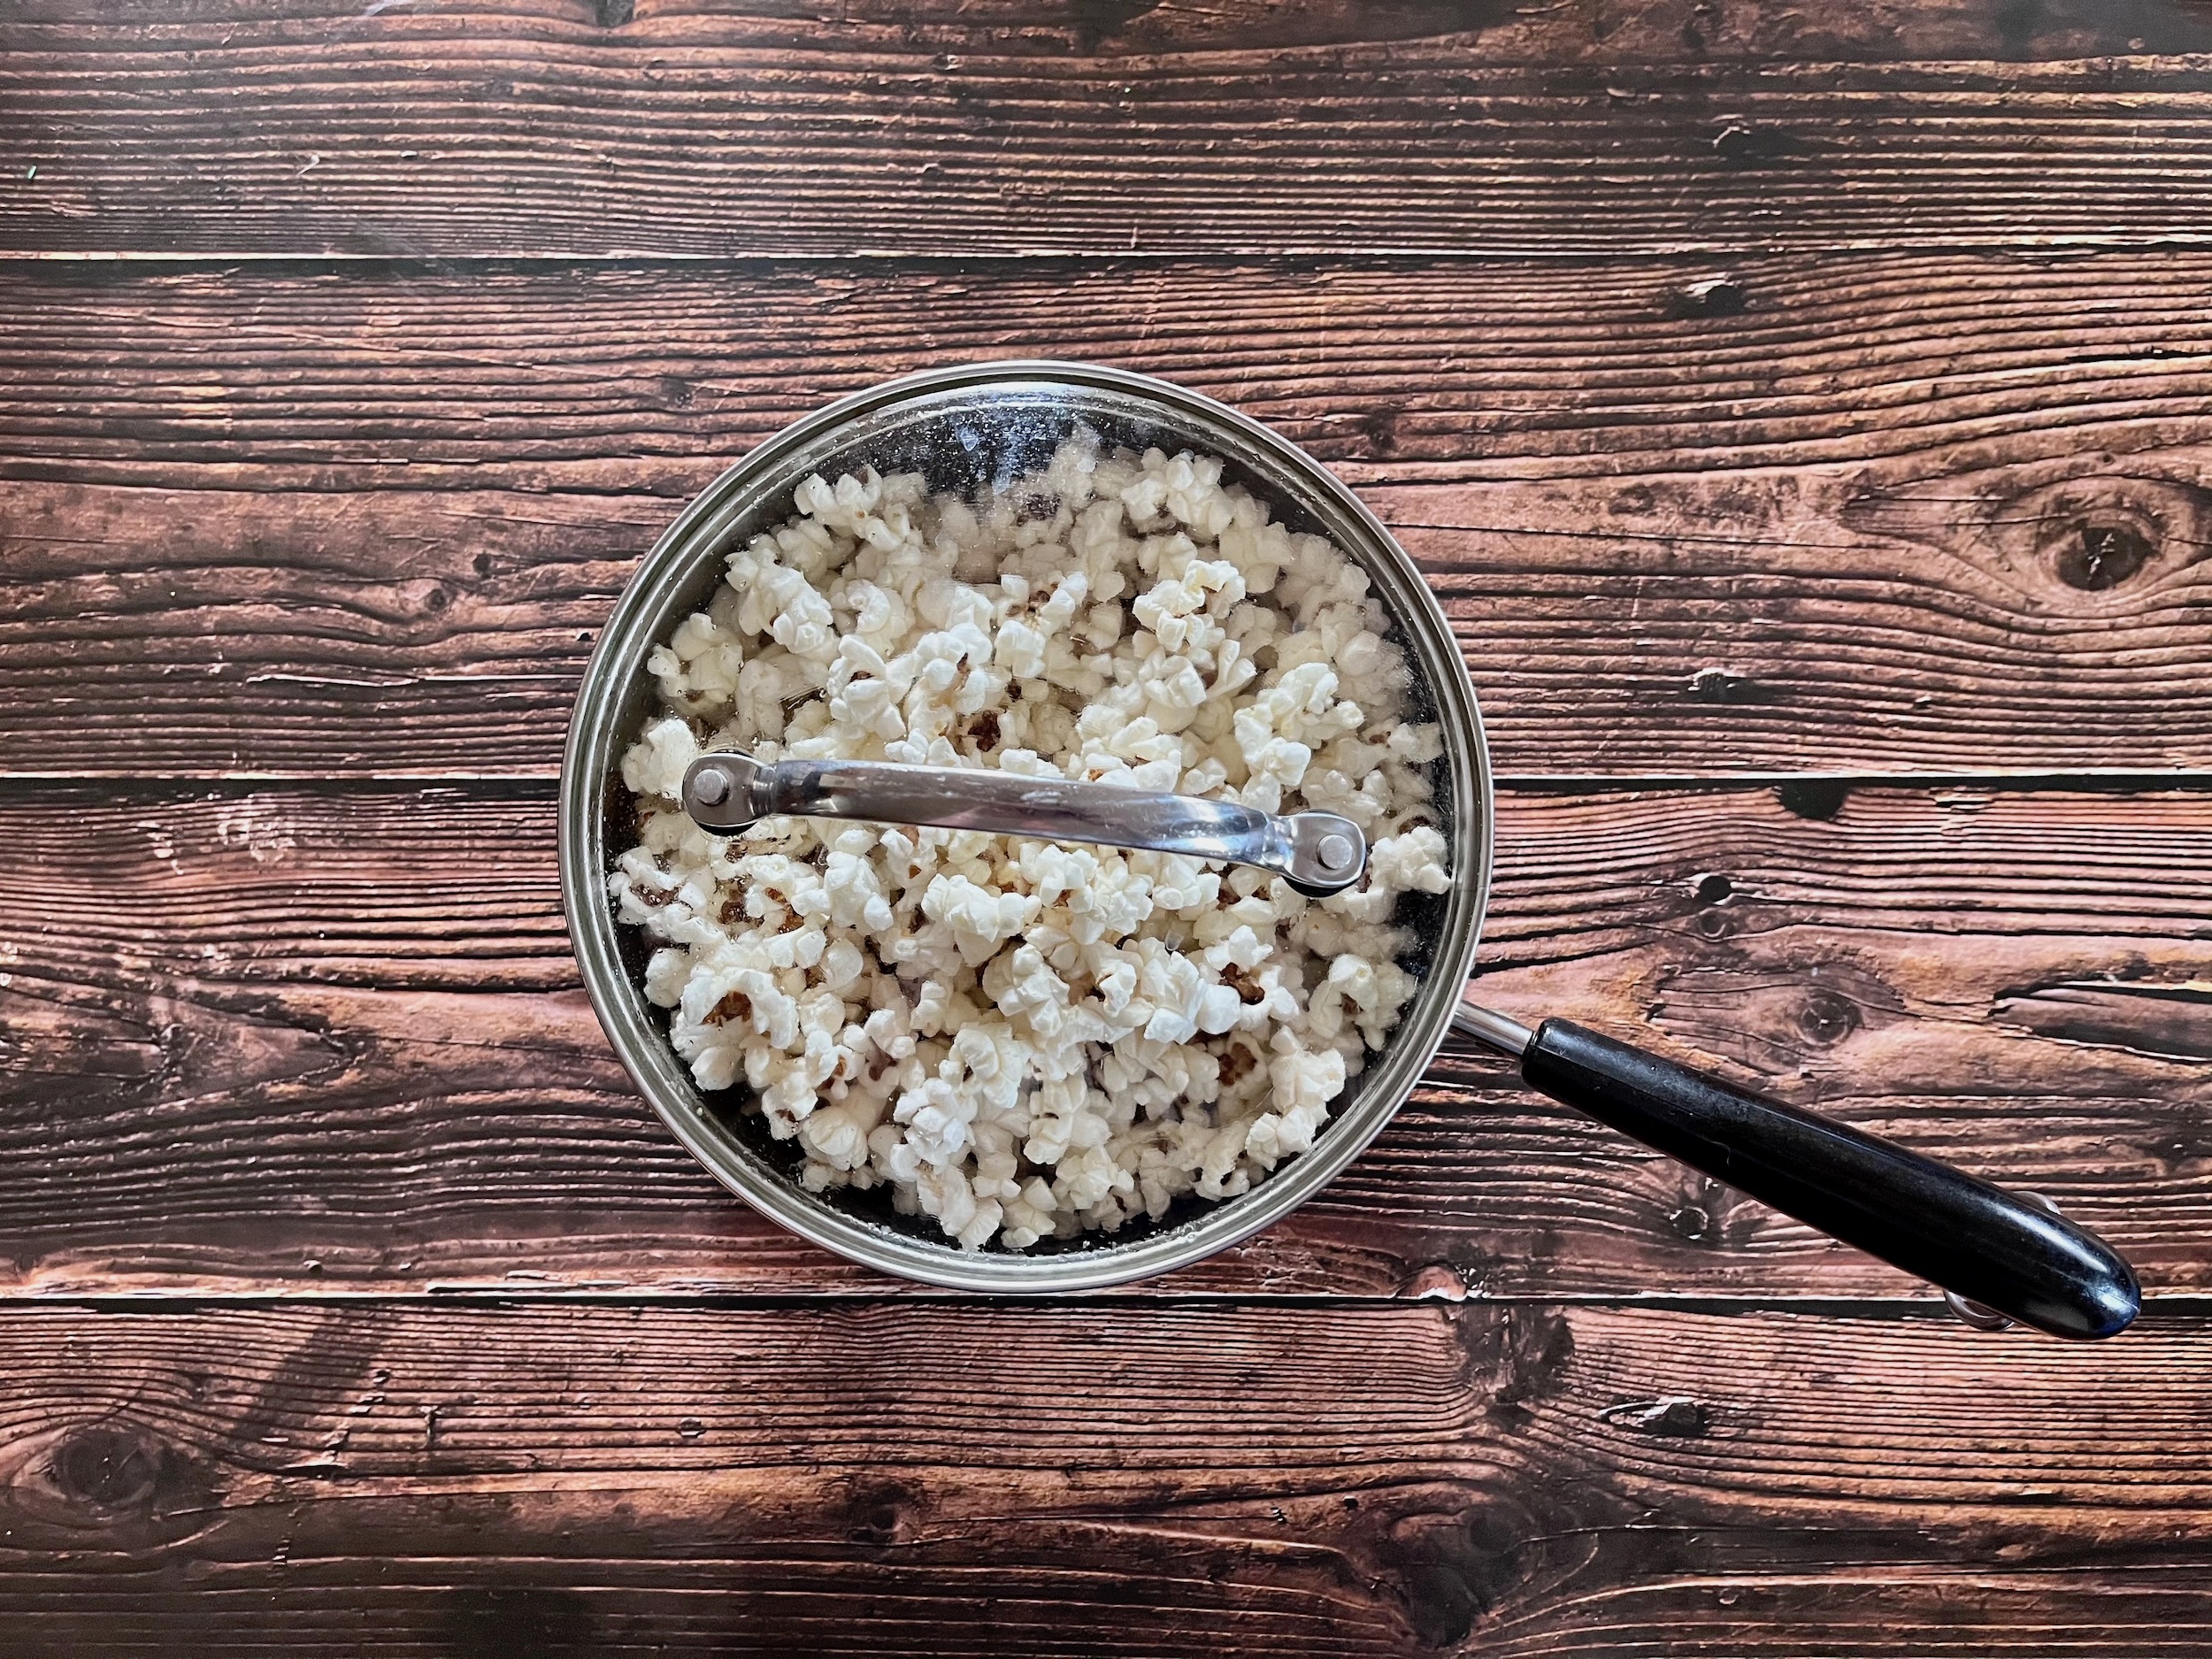
  4. Shake the pot briefly every 30 seconds or so. When the popping stops, immediately pour the popcorn in to a large bowl. You may want to have a bowl set aside to pour excess popcorn into as you go if your pot turns out to be too small.
  5. Melt the butter in a saucepan or microwave, then pour it over the popcorn and sprinkle the salt, shaking well to toss and disperse.
  6. Enjoy!

*This popcorn may look a little dark, but the kernels were toasted in the pan before popping, I did not taste any burnt flavor.

Healthy Homemade Snack – Baked Zucchini Chips

I love a good snack, snacks are delicious! Are they good for you? Ehhh it’s always up for debate, but if you are going to eat something between meals, perhaps while you’re cozying up to watch a movie or play a game, why not make it a healthier choice?

I think most nutritionists agree that anything deep-fried should be consumed in moderation or not at all, but chips are sooooo good! The solution? Let’s create our own oven-baked chips! And not just potato chips, let’s create some delicious vegetable chips too! This way we are regulating exactly what is going into and/or on to our chips with no deep-frying to be found!

INGREDIENTS

  • 2 tablespoons of olive oil
  • 4 large zucchini
  • Salt

INSTRUCTIONS

  1. Preheat the oven to 240 F.
  2. Wash the zucchini, then use a mandolin to uniformly slice them into thin chips.
  3. Place the zucchini slices on a clean dish towel or paper towels. Cover them with another dish towel or paper towels and set a baking sheet on them, pressing own slightly to remove excess moisture.
  4. After drying, place the zucchini slices into a bowl and toss them with olive oil and a few pinches of salt (how much depends on your preference).
  5. Coat a large baking sheet (or more) with cooking spray or cover with parchment paper.
  6. Place the zucchini slices on the baking sheets in a single layer.
  7. Bake for 1 1/2 to 2 hours until crisp and golden.
  8. Allow the chips to cool completely. 
  9. Enjoy!

Healthy Homemade Snack – Baked Potato Chips

I love a good snack, snacks are delicious! Are they good for you? Ehhh it’s always up for debate, but if you are going to eat something between meals, perhaps while you’re cozying up to watch a movie or play a game, why not make it a healthier choice?

I think most nutritionists agree that anything deep-fried should be consumed in moderation or not at all, but chips are sooooo good! The solution? Let’s create our own oven-baked chips! This way we are regulating exactly what is going into and/or on to our chips with no deep-frying to be found!

INGREDIENTS

  • 1 pound of russet potatoes
  • 1 tablespoon of olive oil
  • 1/4 teaspoon of salt

INSTRUCTIONS

  1. Wash the potatoes, then use a mandolin to uniformly slice them into thin chips.
  2. Place the potato slices into a large bowl and cover them with cold water. 
  3. Cover the bowl and place it in the refrigerator to soak for at least 30 minutes to overnight.
  4. Drain the potato slices and pat them dry.
  5. Preheat the oven to 450 F.
  6. Coat a large baking sheet (or more) with cooking spray.
  7. In a large bowl, toss the potato slices together with the olive oil and salt to coat evenly. 
  8. Spread the potato slices in a single layer on the prepared baking sheet.
  9. Place in the oven and bake for 10 to 12 minutes, or until the chips are a very light golden color and appear crunchy. Keep a careful eye on the potatoes to make sure they don’t brown and overcook.
  10. Allow the chips to cool completely. 
  11. Enjoy!

Skillet Roasted Pumpkin Seed Recipe

Skillet Roasted Pumpkin Seeds

I love snacking on roasted pumpkin seeds! So delicious, easy to prepare and eat, and with numerous health benefits, who could say no? Traditionally I make large batches every year after we carve our Halloween Jack-O-Lanterns and we snack on them for weeks!

I do not use oil in this recipe.

Skillet Roasted Pumpkin Seeds
ROASTED PUMPKIN SEEDS
  • Pumpkin seeds
  • Salt
  • Seasoned salt (optional)
  • Water
INSTRUCTIONS
  1. As you carve your pumpkins, keep all the seeds in a bowl. I find it easier to separate the seeds and pulp into two separate bowls as I go, rather than sort that mess out later.
  2. Place the seeds into a colander and rinse them under cold water, stirring with your hands to make sure they are all rinsed thoroughly.
  3. Place the seeds in a medium saucepan, then add 4 to 6 cups of water and about 1 tablespoon of salt for each half cup of seeds.
  4. Bring the saltwater and seeds to a boil for 10 minutes, then remove them from the heat and strain.
  5. Spread the seeds out on a baking sheet or two and allow them to completely dry (this may take up to a week).
  6. Once the seeds are completely dry, prepare a small bowl with salt water. This is to crystalize on the outer shell, so dissolve as much salt as you want for a saltier outer shell, or less if you feel the brine was enough.
  7. Place the seeds into a skillet and roast on medium to low heat, stirring continuously for an even cook.
  8. When they nearly roasted to your liking, dip your fingers into the salt water and splash it as evenly as possible over the roasted seeds, then continue to stir until the water has evaporated.
  9. Remove the seeds from the heat and allow them to cool.
  10. Enjoy!
Skillet Roasted Pumpkin Seeds