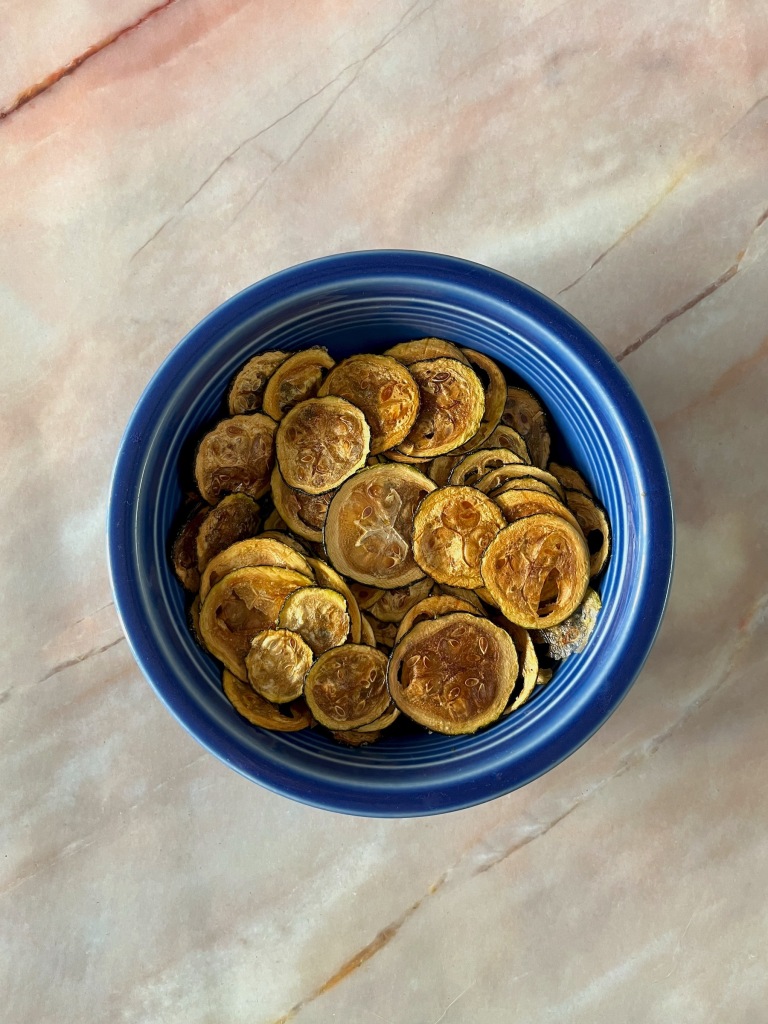
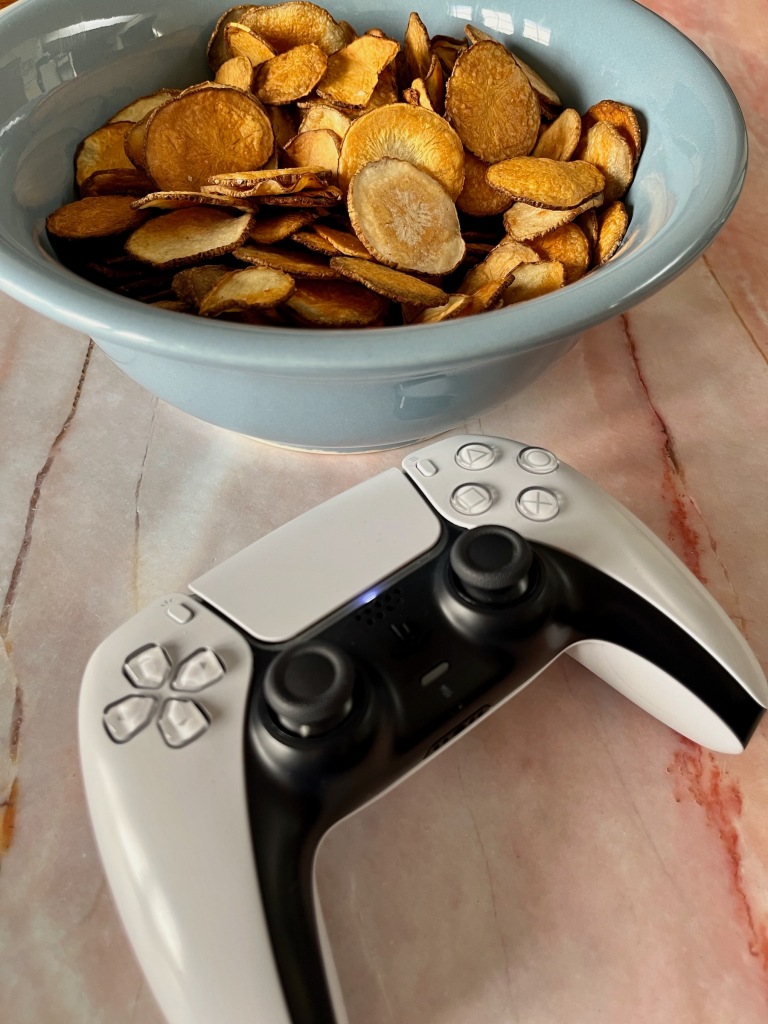
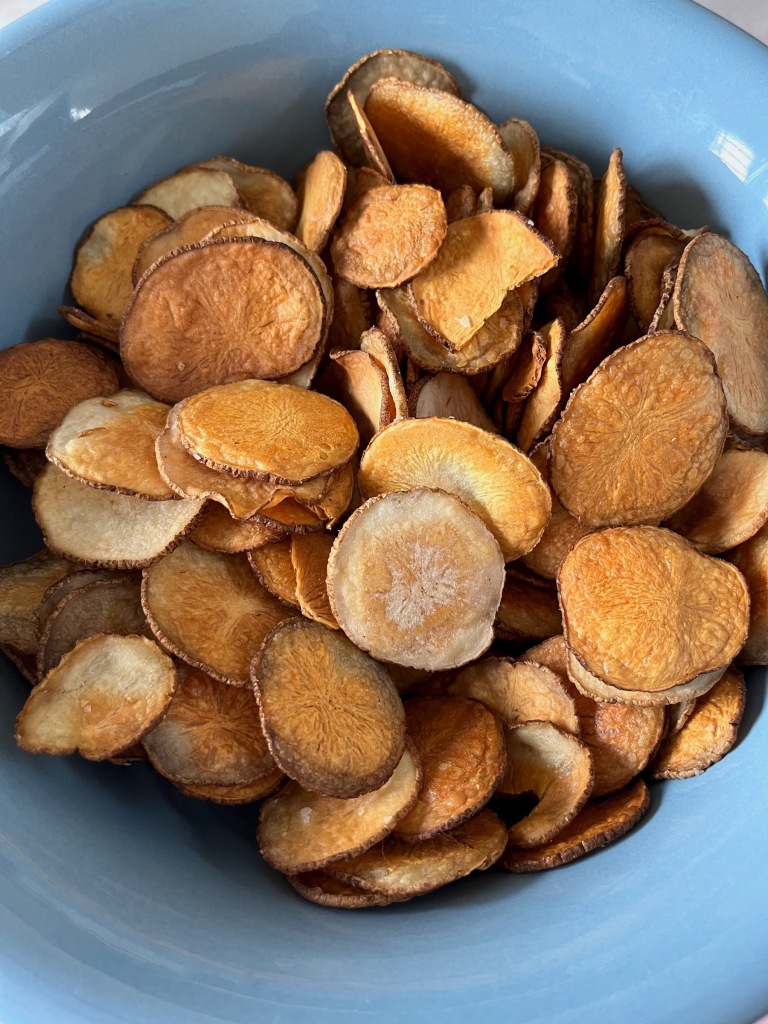
I love a good snack, snacks are delicious! Are they good for you? Ehhh it’s always up for debate, but if you are going to eat something between meals, perhaps while you’re cozying up to watch a movie or play a game, why not make it a healthier choice?
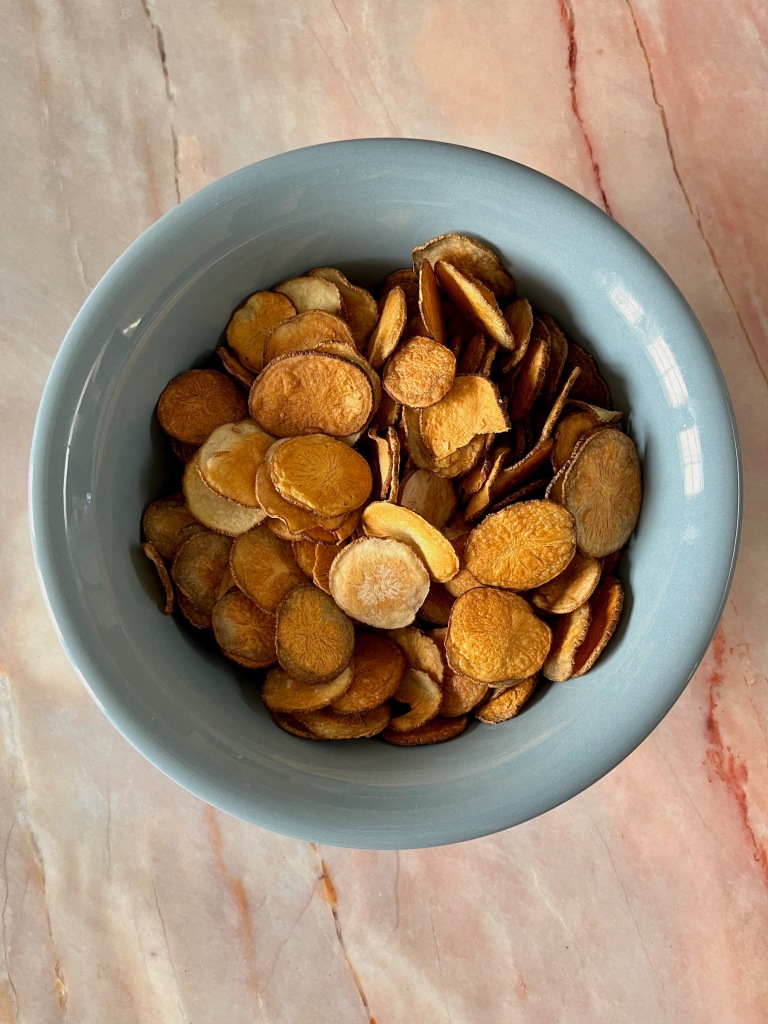
I think most nutritionists agree that anything deep-fried should be consumed in moderation or not at all, but chips are sooooo good! The solution? Let’s create our own oven-baked chips! And not just potato chips, let’s create some delicious vegetable chips too! This way we are regulating exactly what is going into and/or on to our chips with no deep-frying to be found!
INGREDIENTS
- 2 tablespoons of olive oil
- 4 large zucchini
- Salt
INSTRUCTIONS
- Preheat the oven to 240 F.
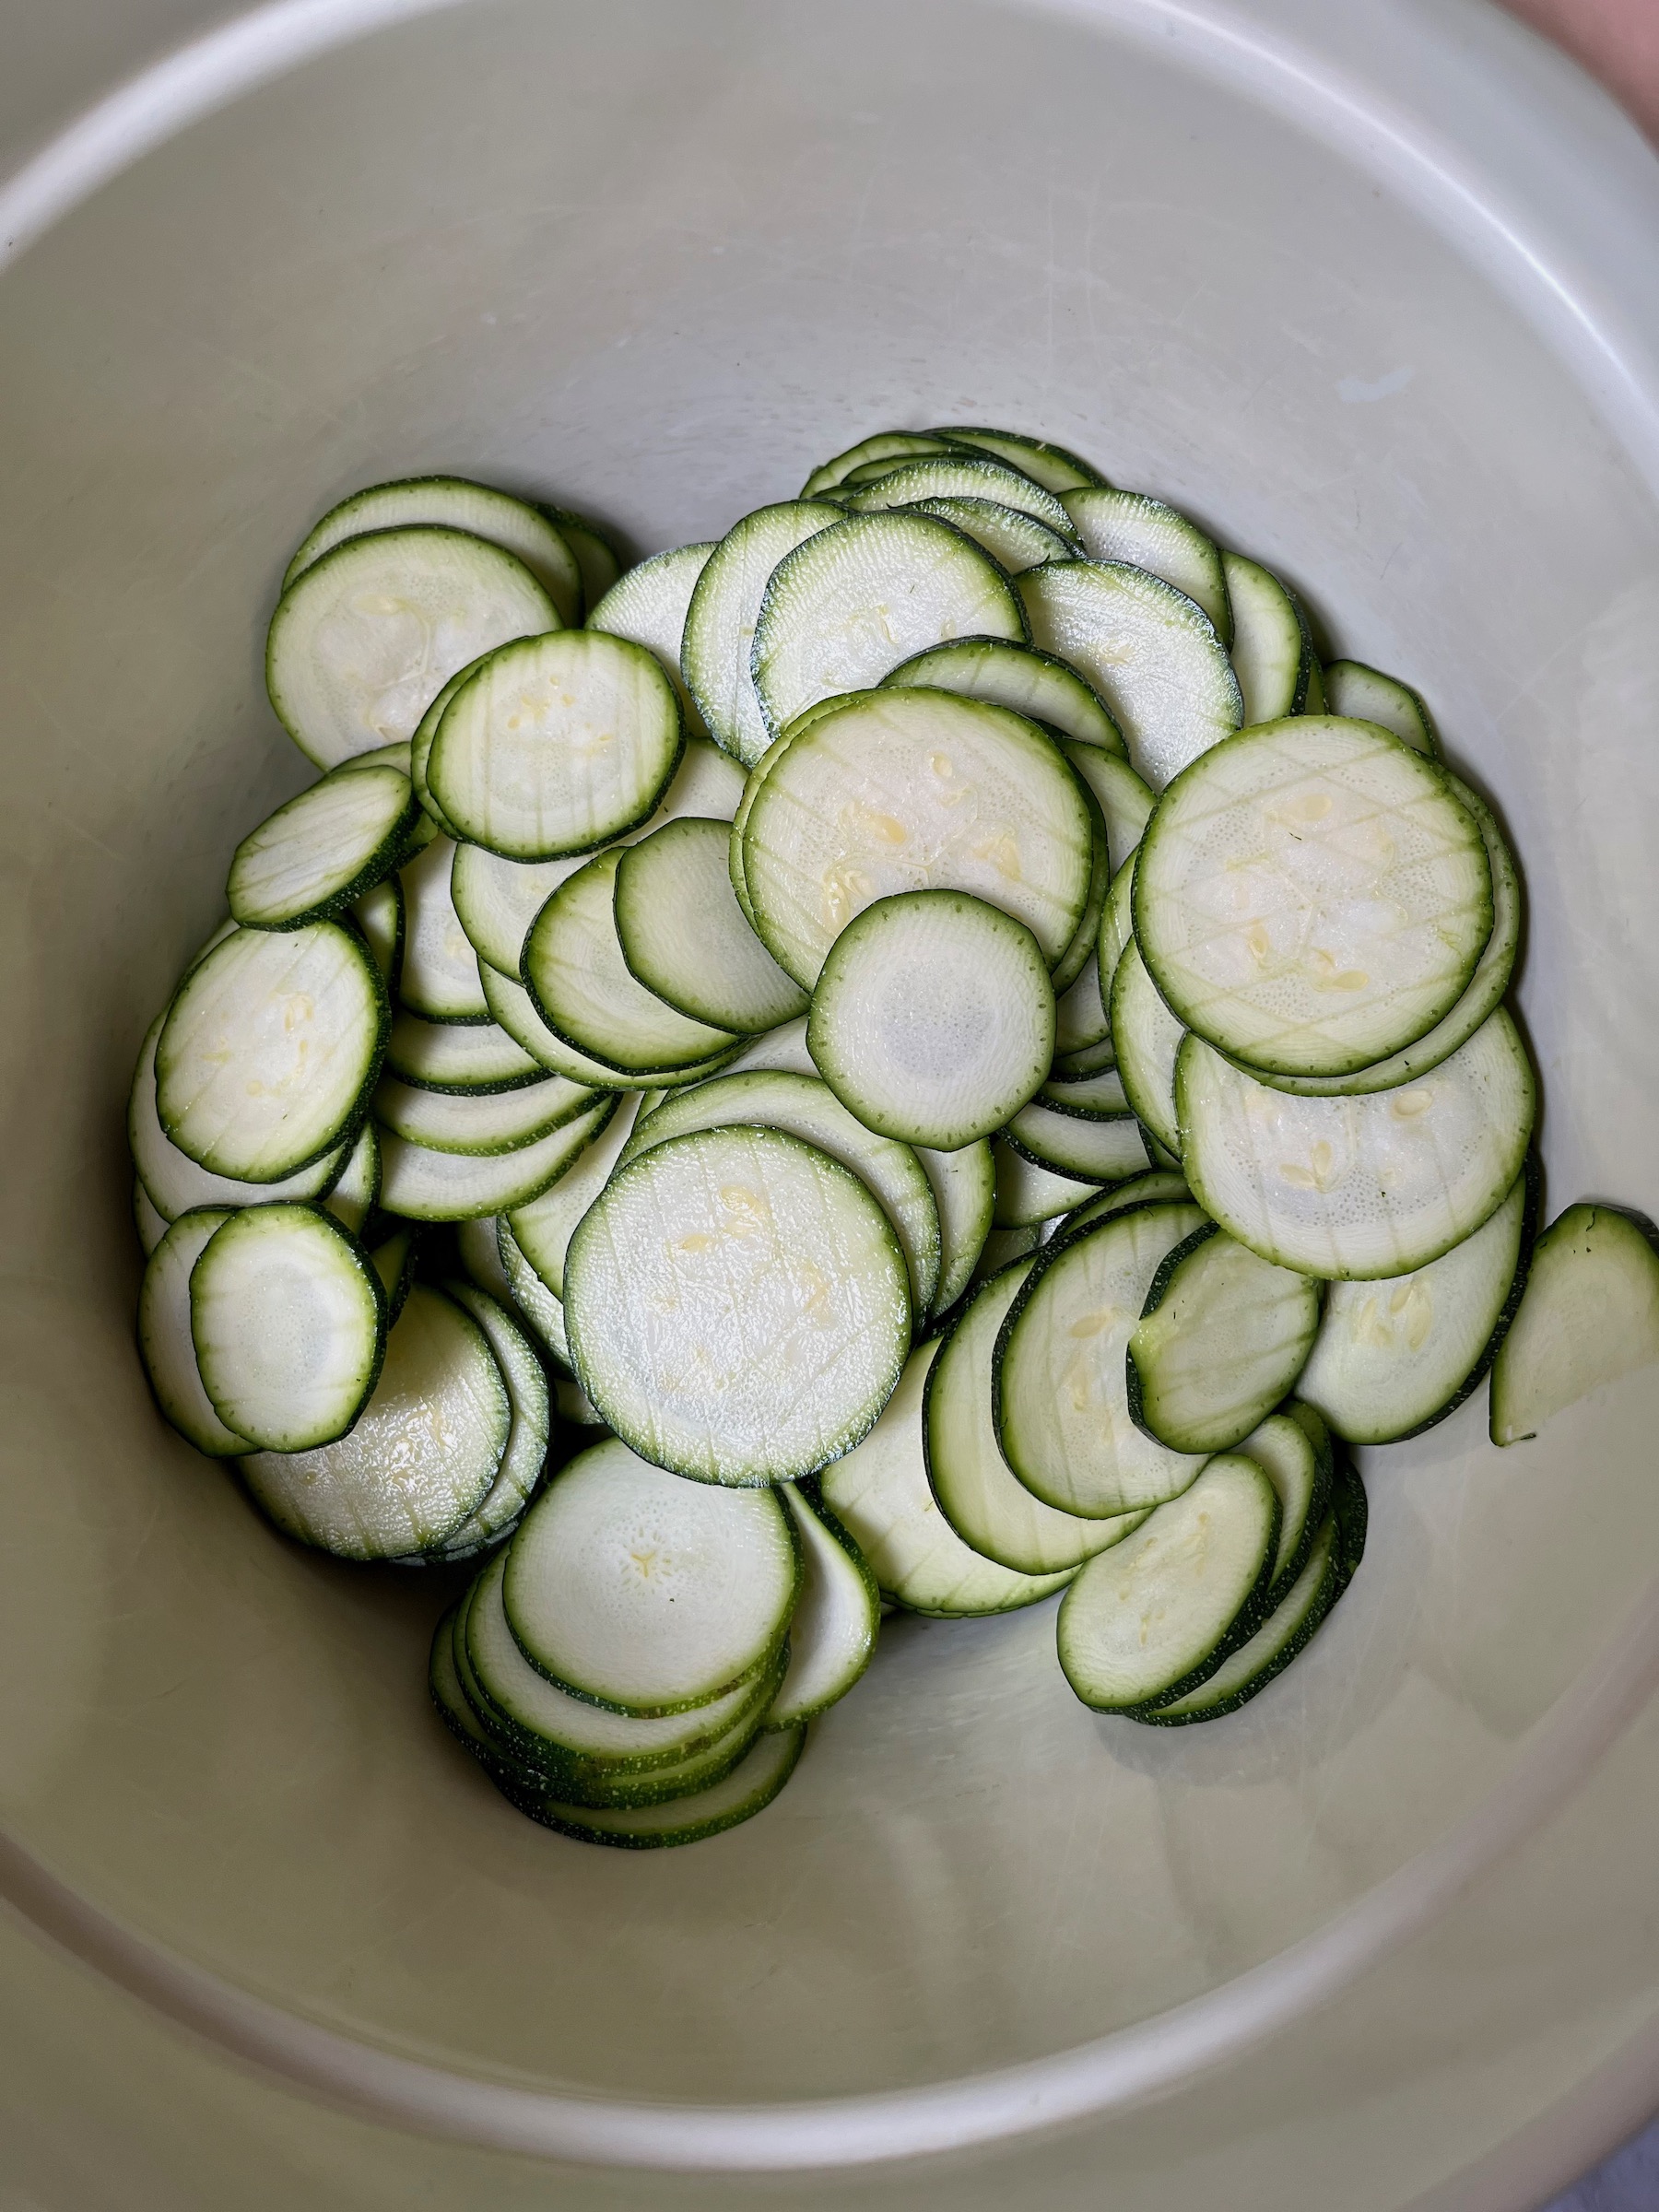
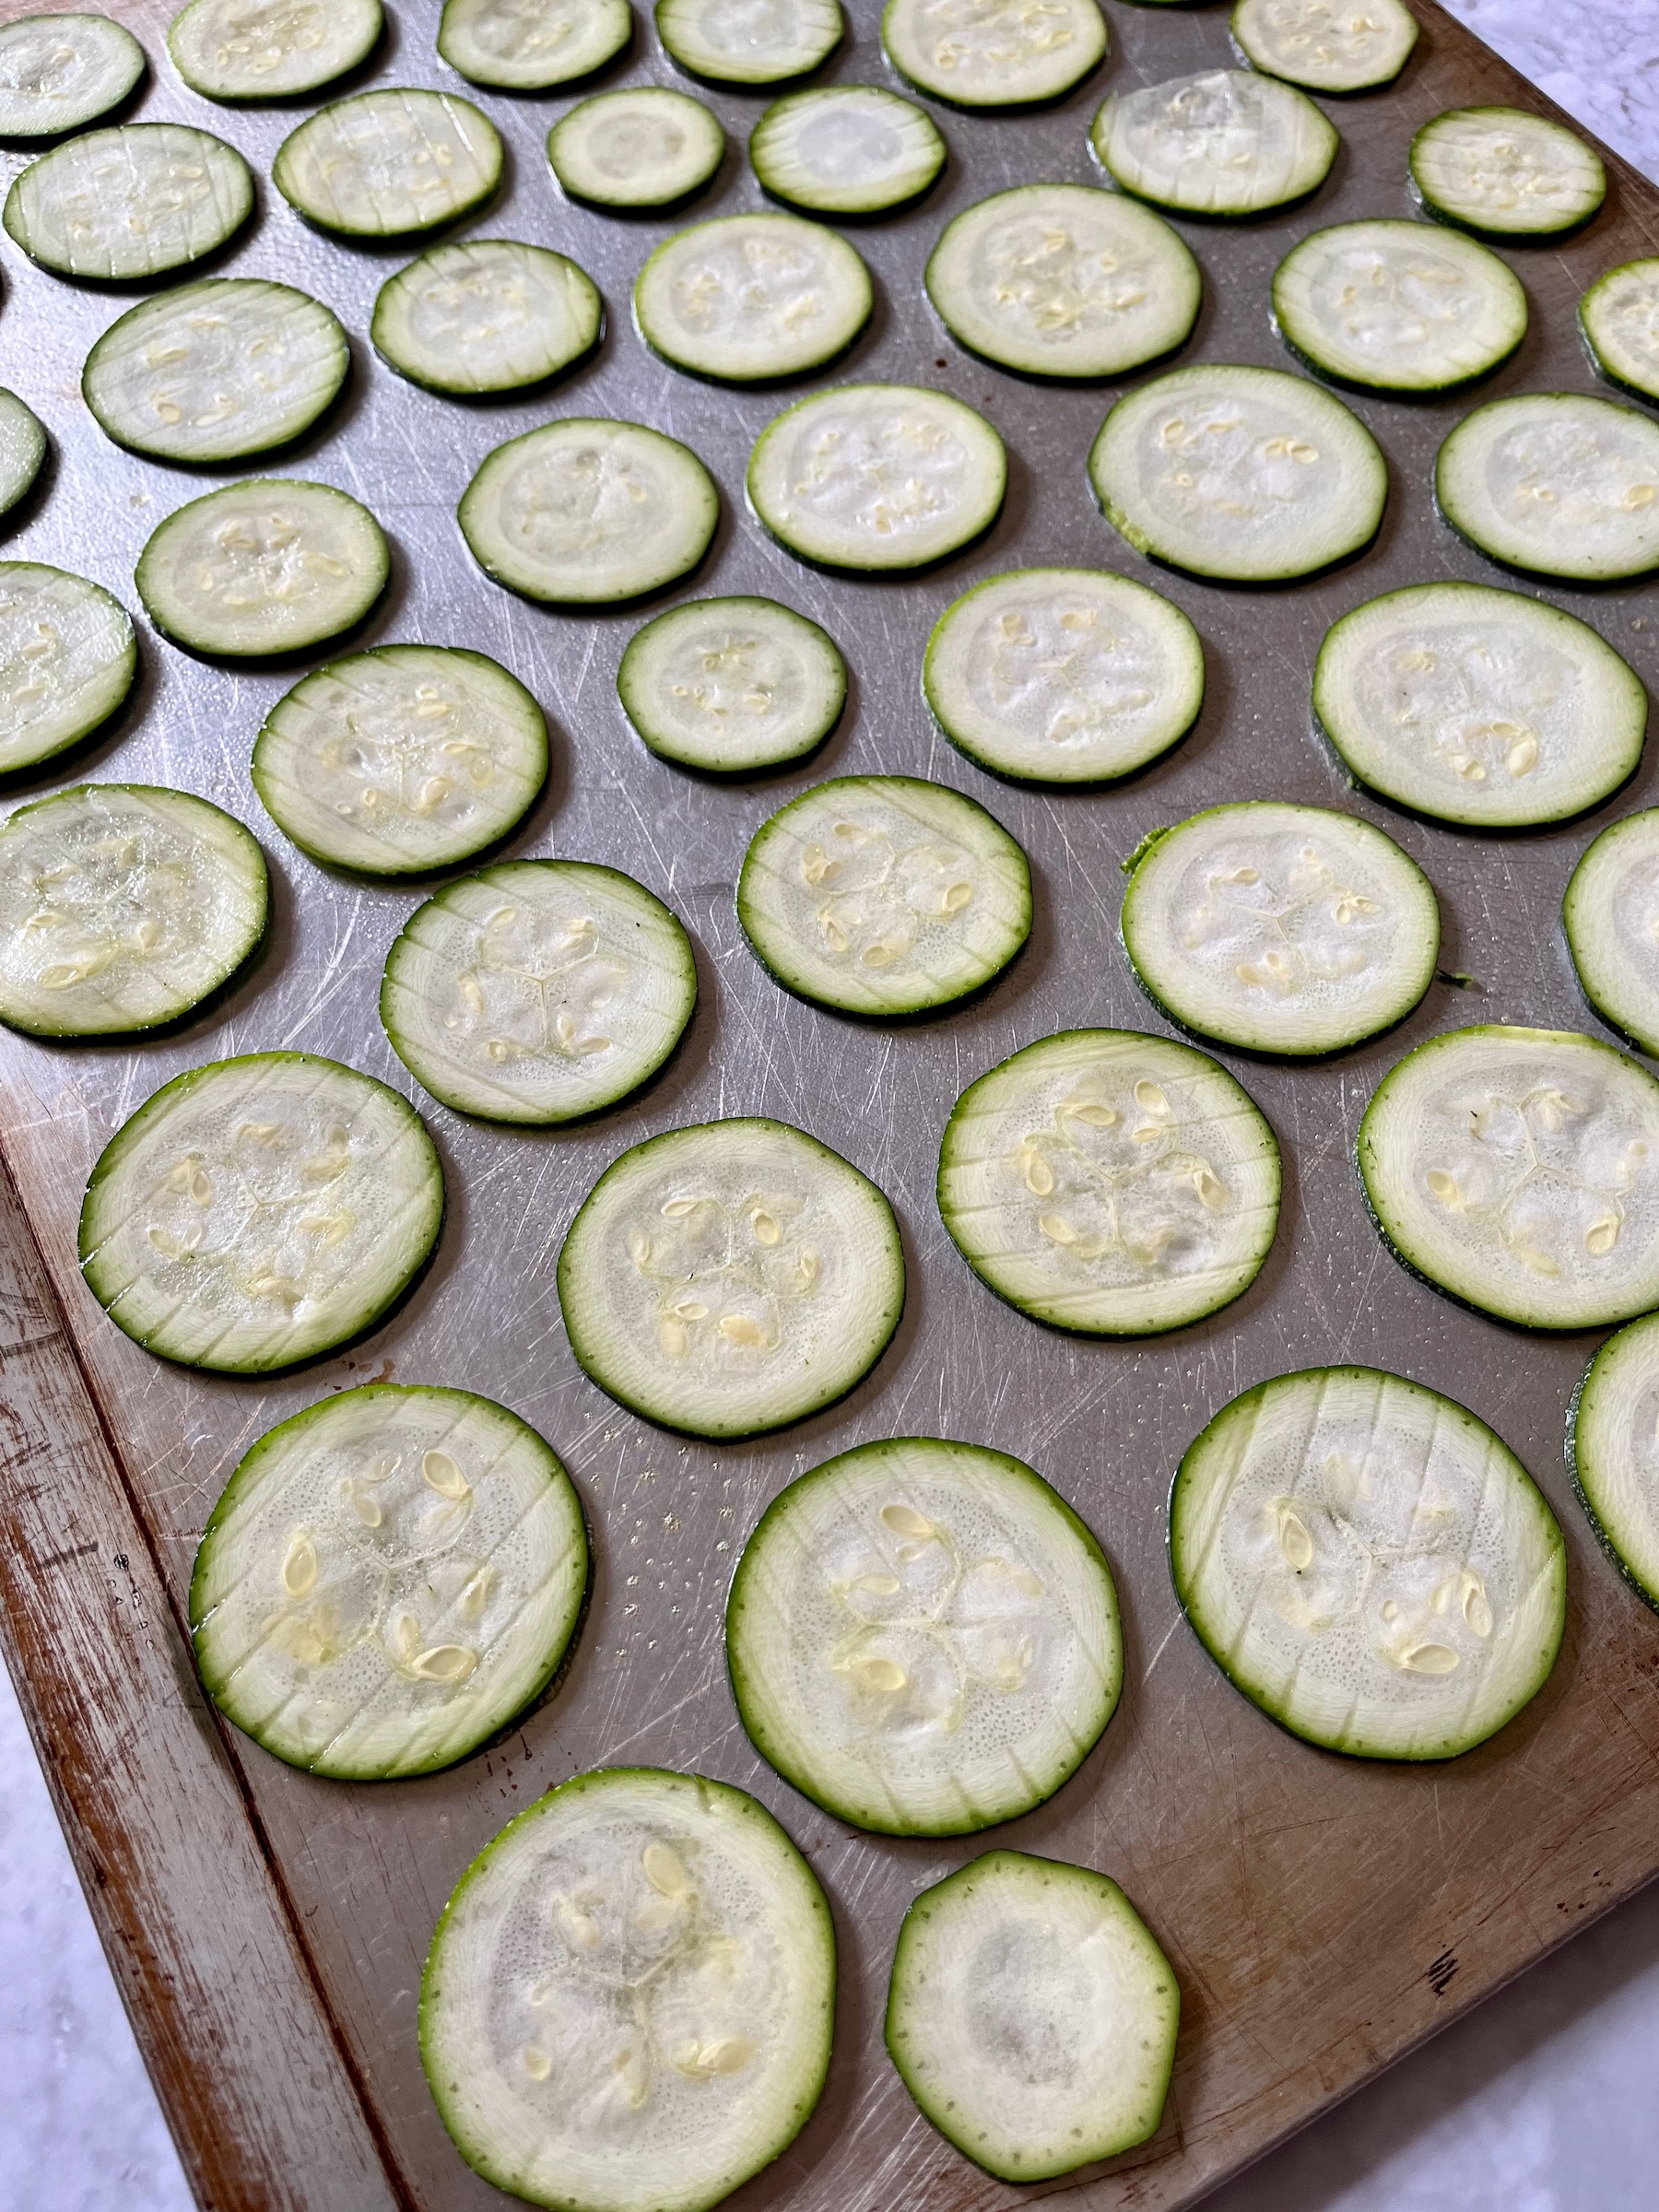
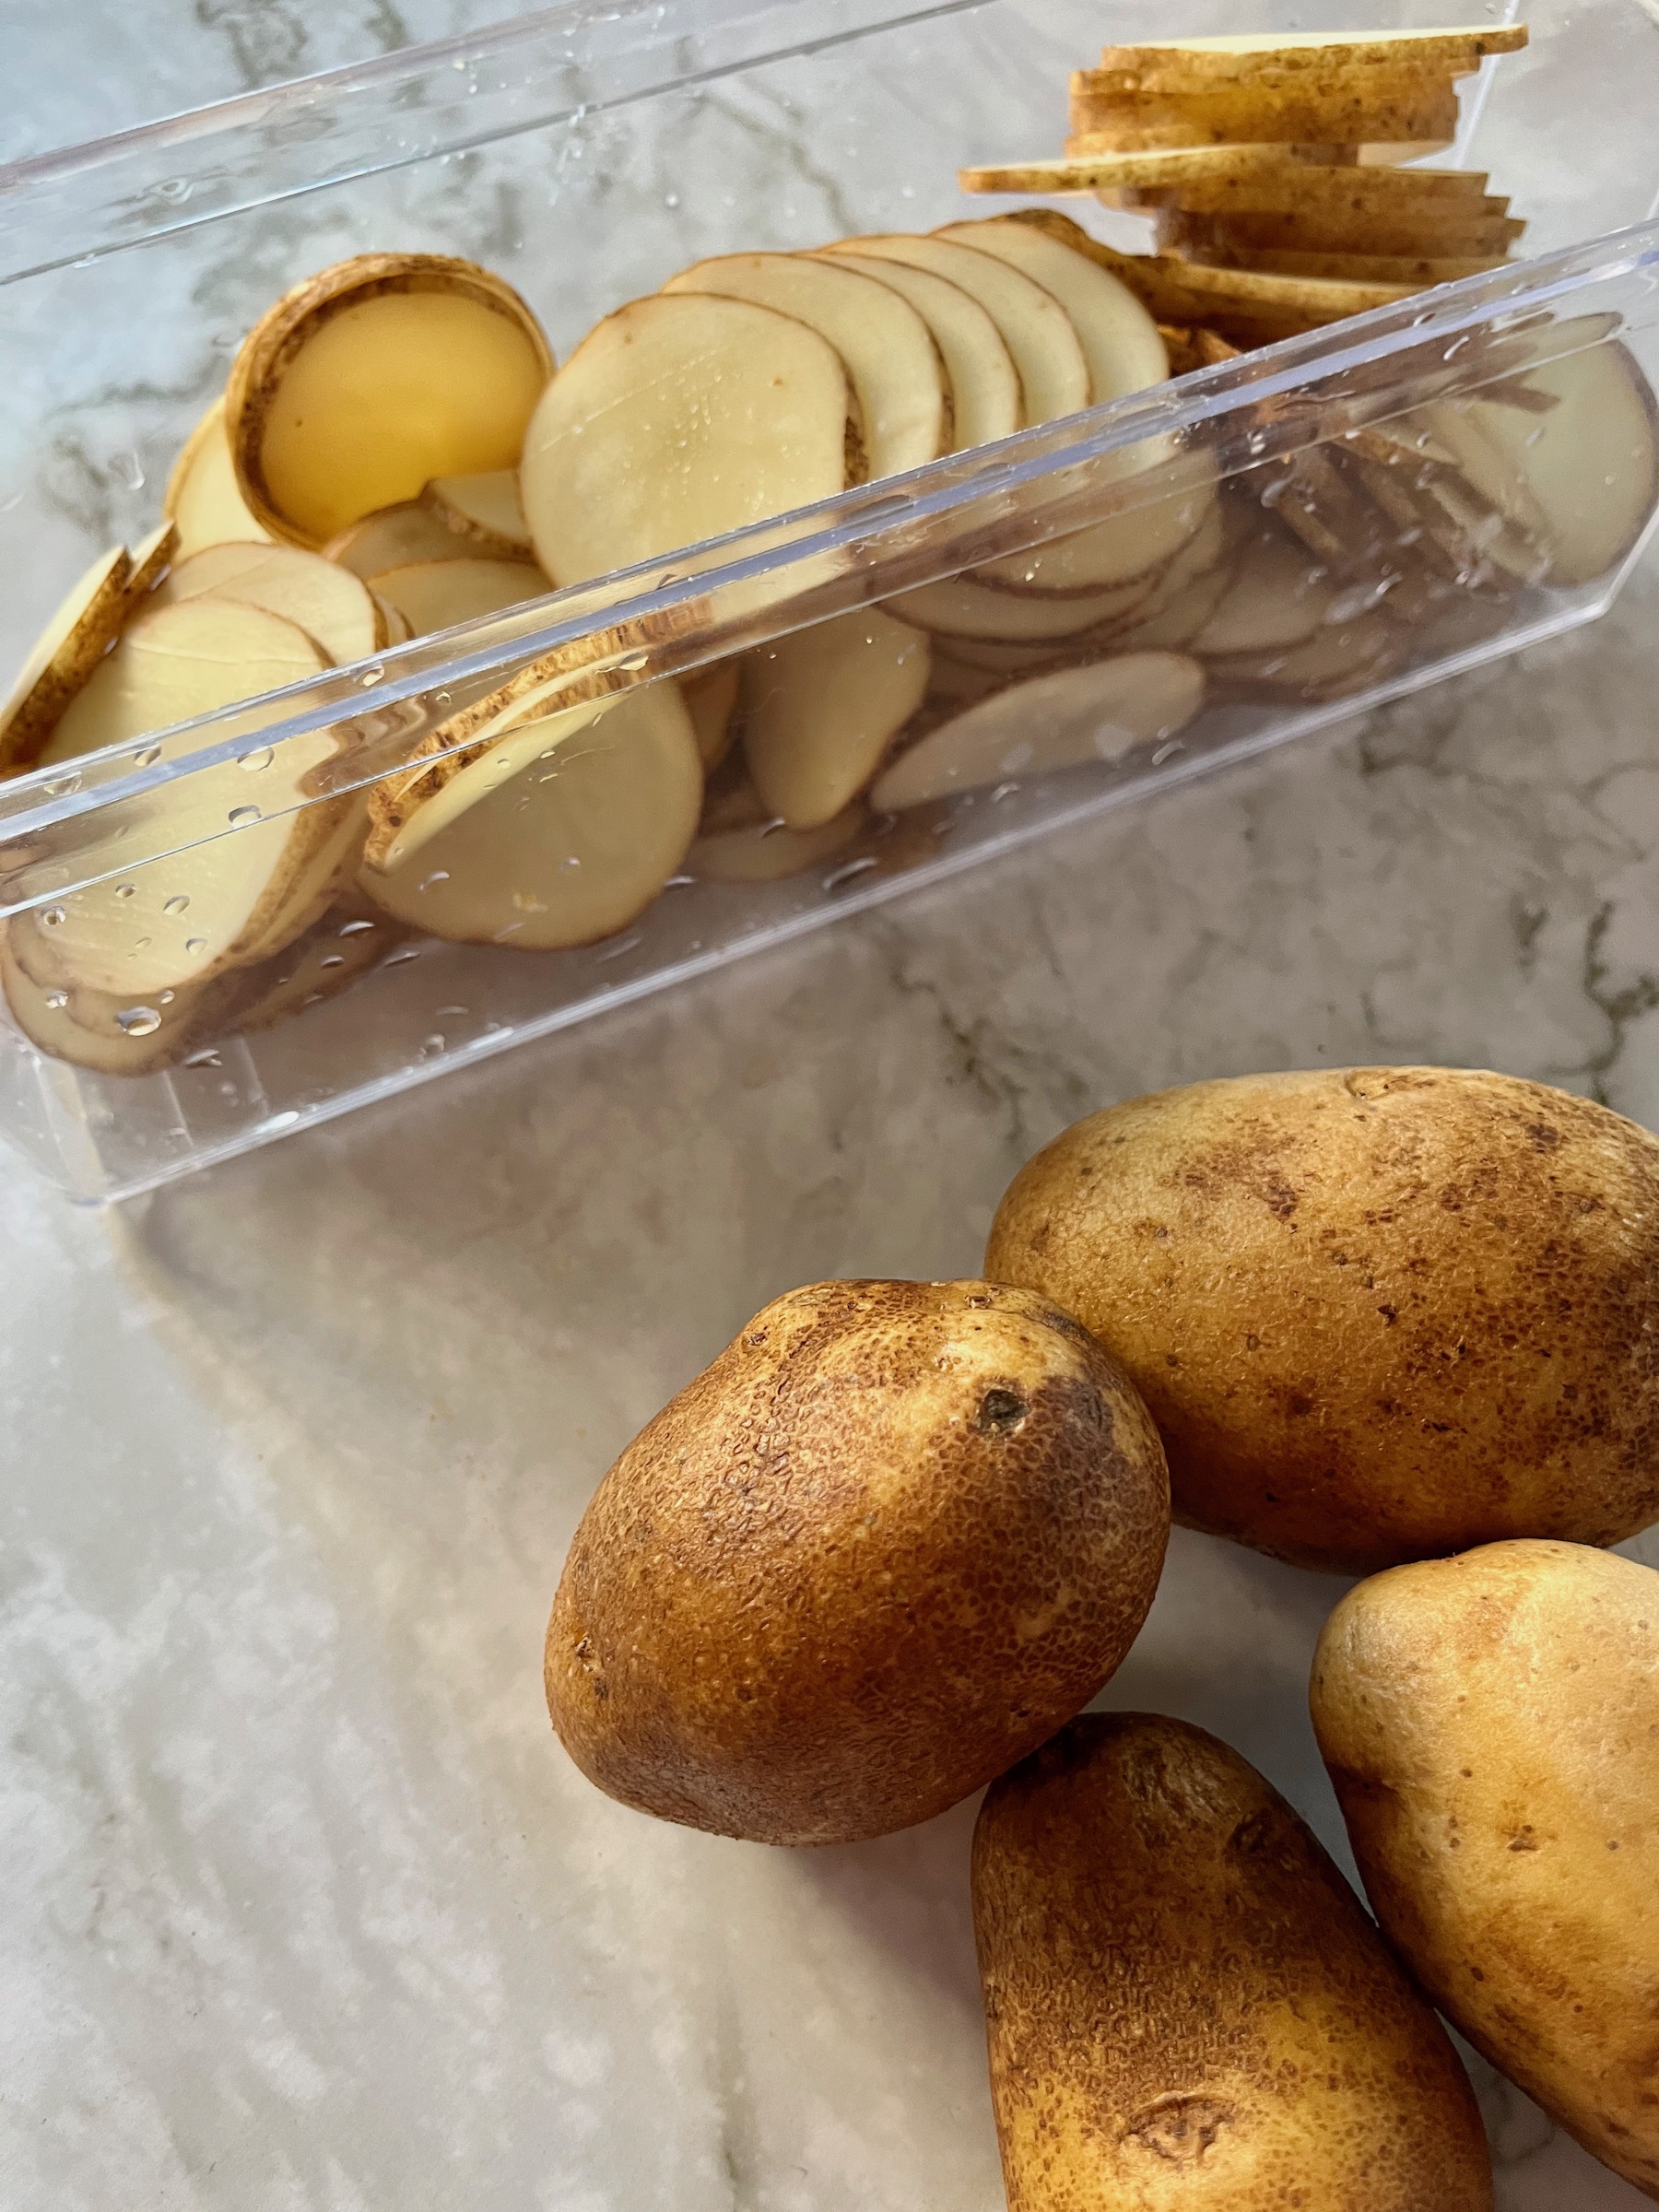
- Wash the zucchini, then use a mandolin to uniformly slice them into thin chips.
- Place the zucchini slices on a clean dish towel or paper towels. Cover them with another dish towel or paper towels and set a baking sheet on them, pressing own slightly to remove excess moisture.
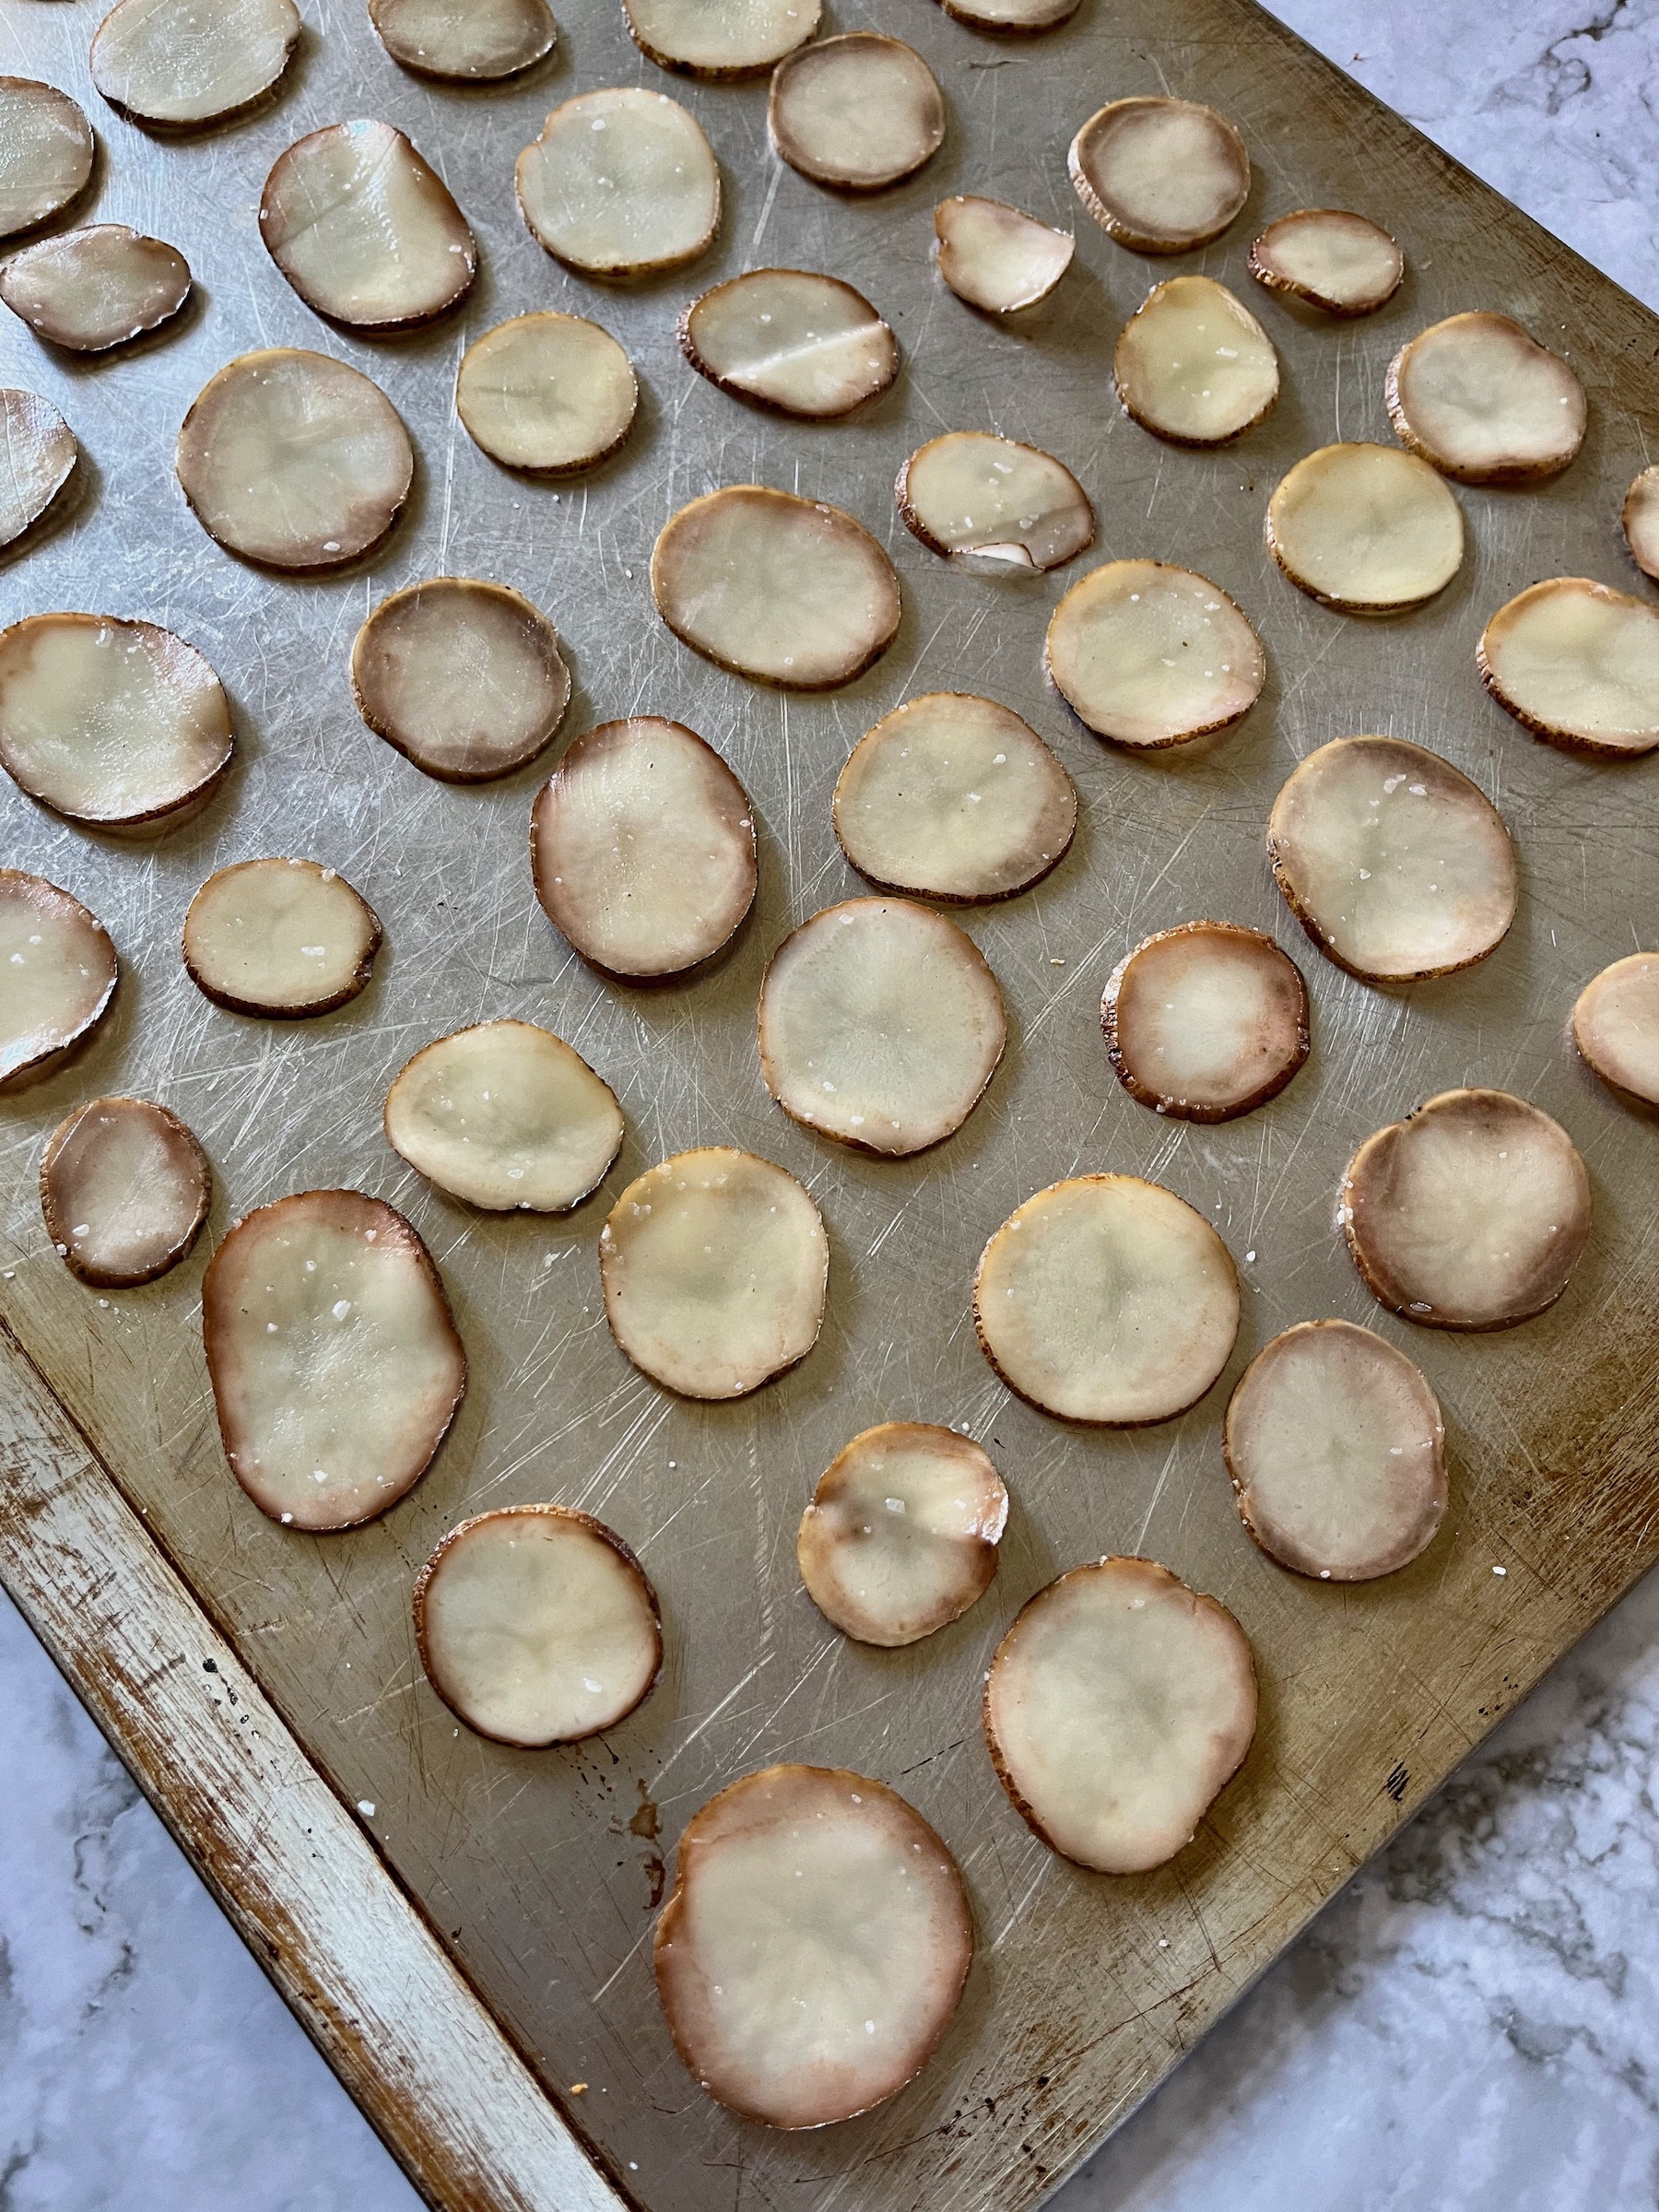
- After drying, place the zucchini slices into a bowl and toss them with olive oil and a few pinches of salt (how much depends on your preference).
- Coat a large baking sheet (or more) with cooking spray or cover with parchment paper.
- Place the zucchini slices on the baking sheets in a single layer.
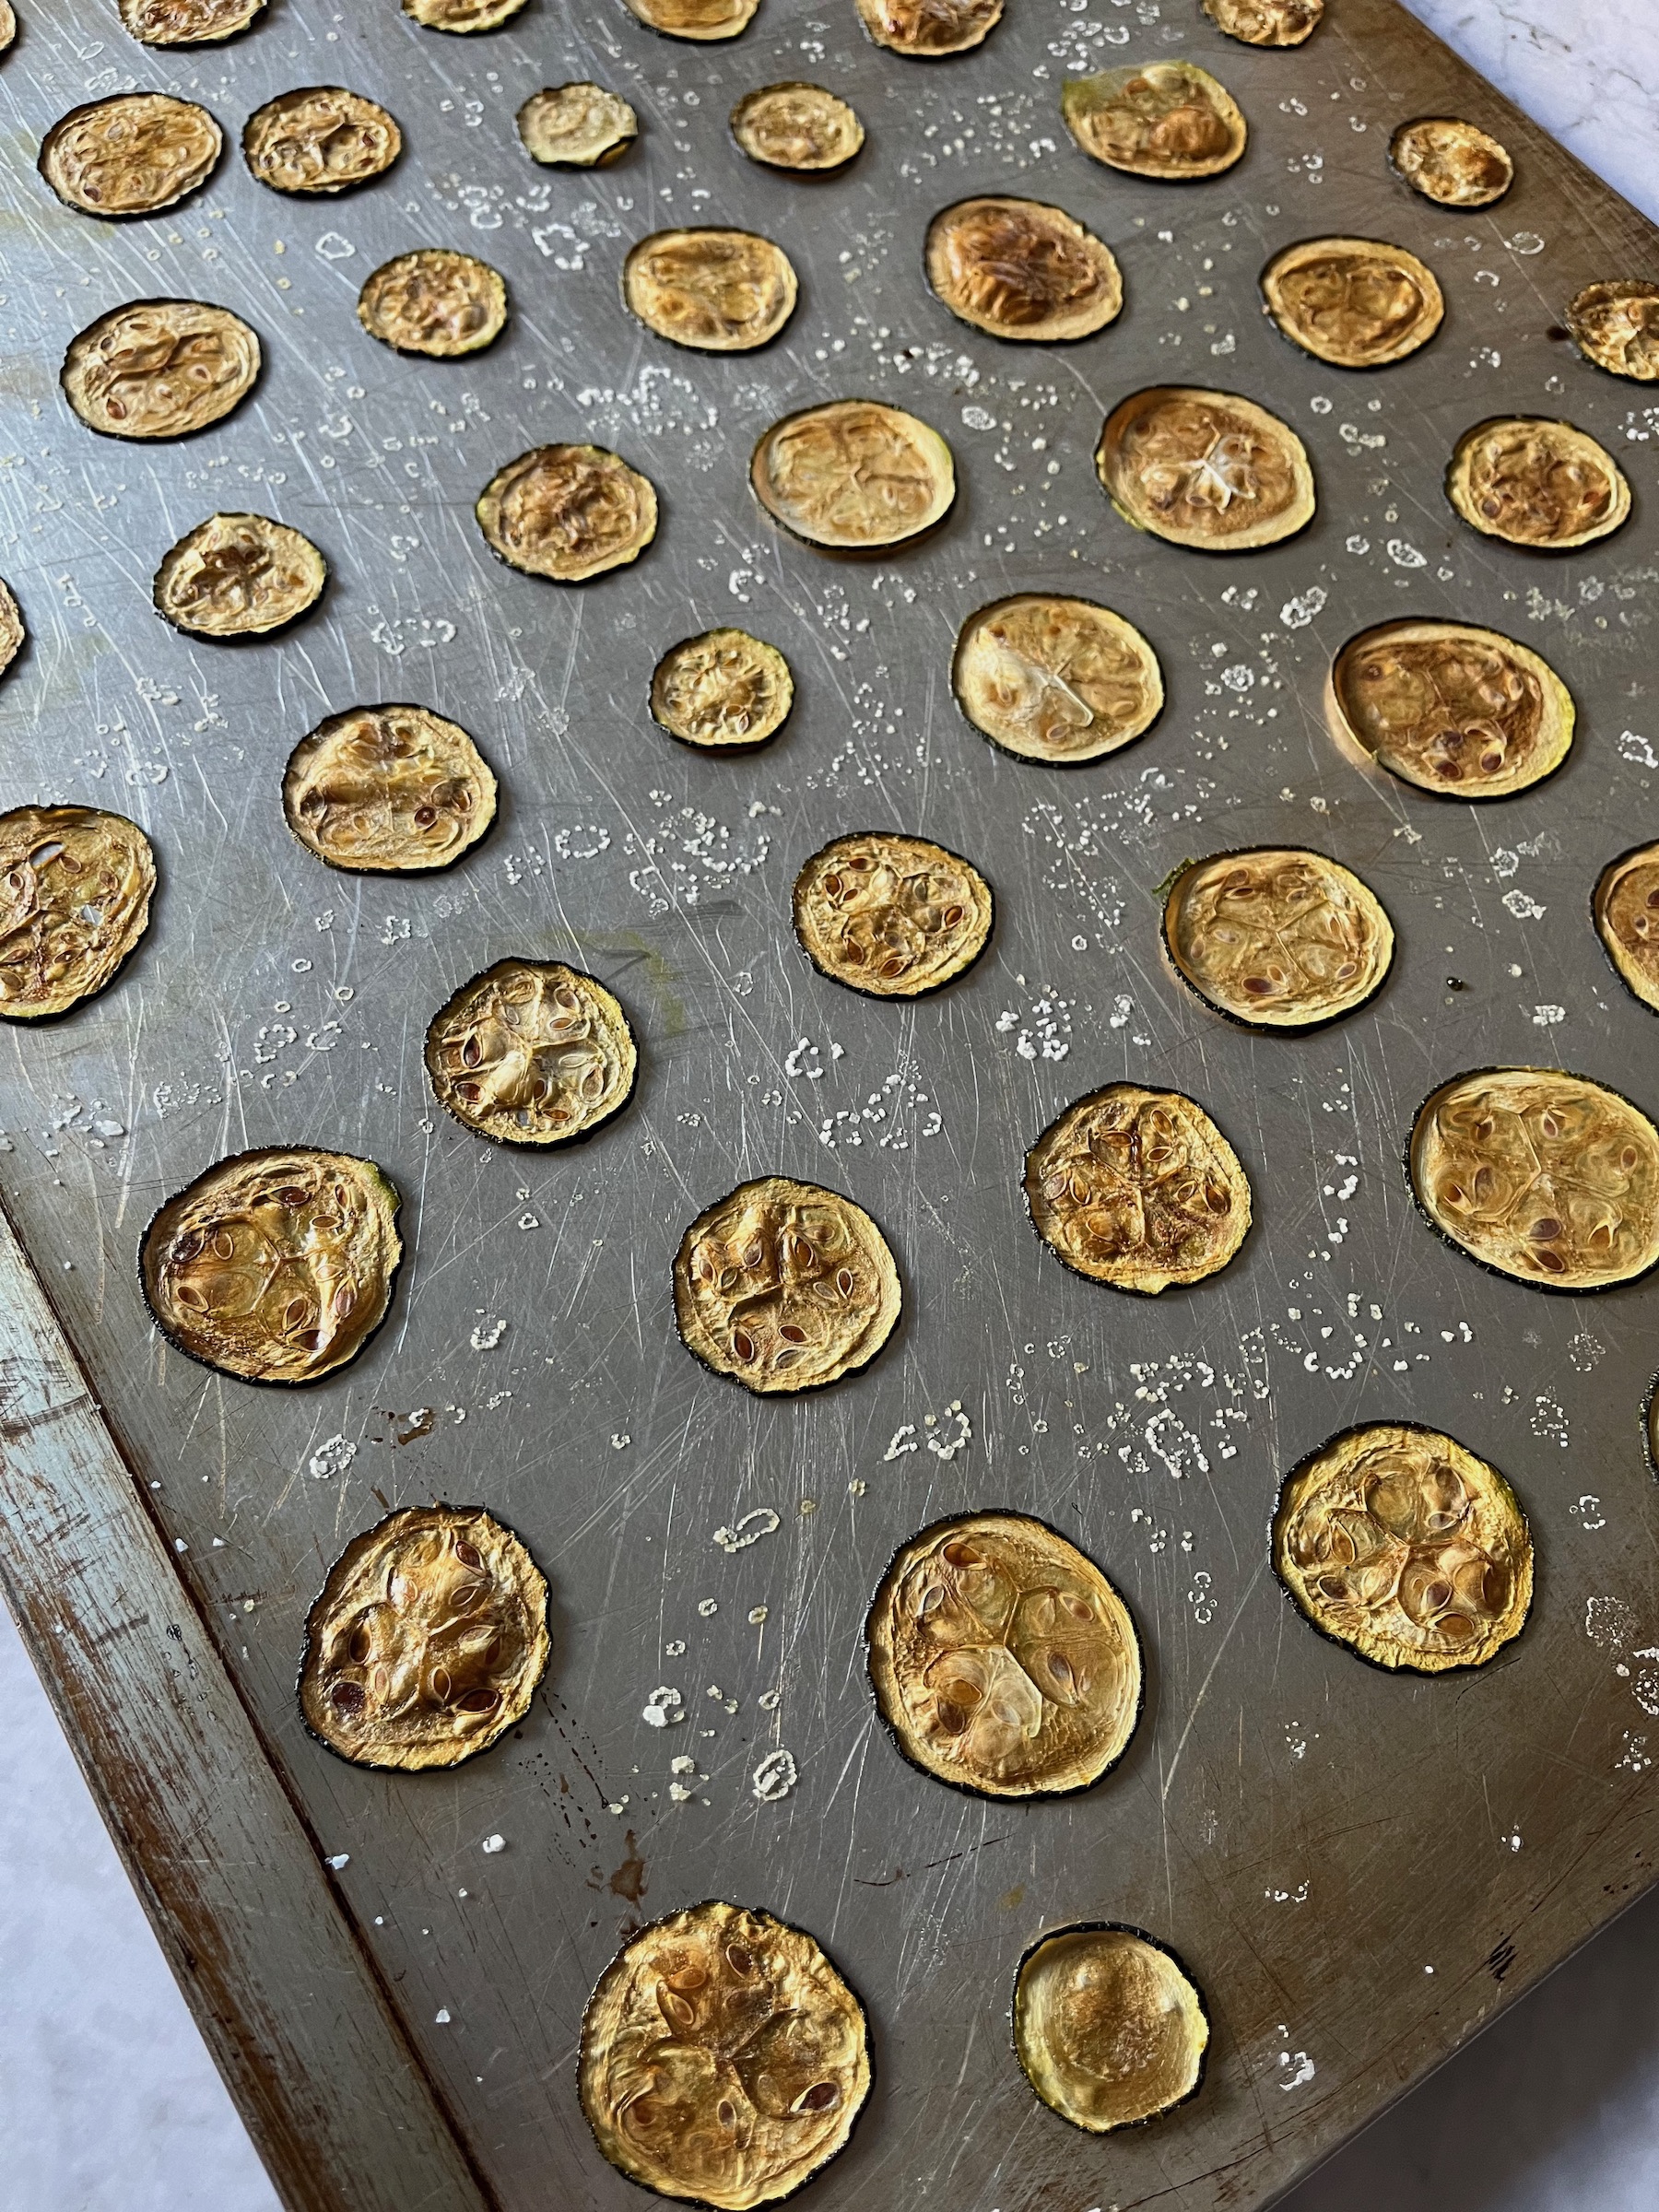
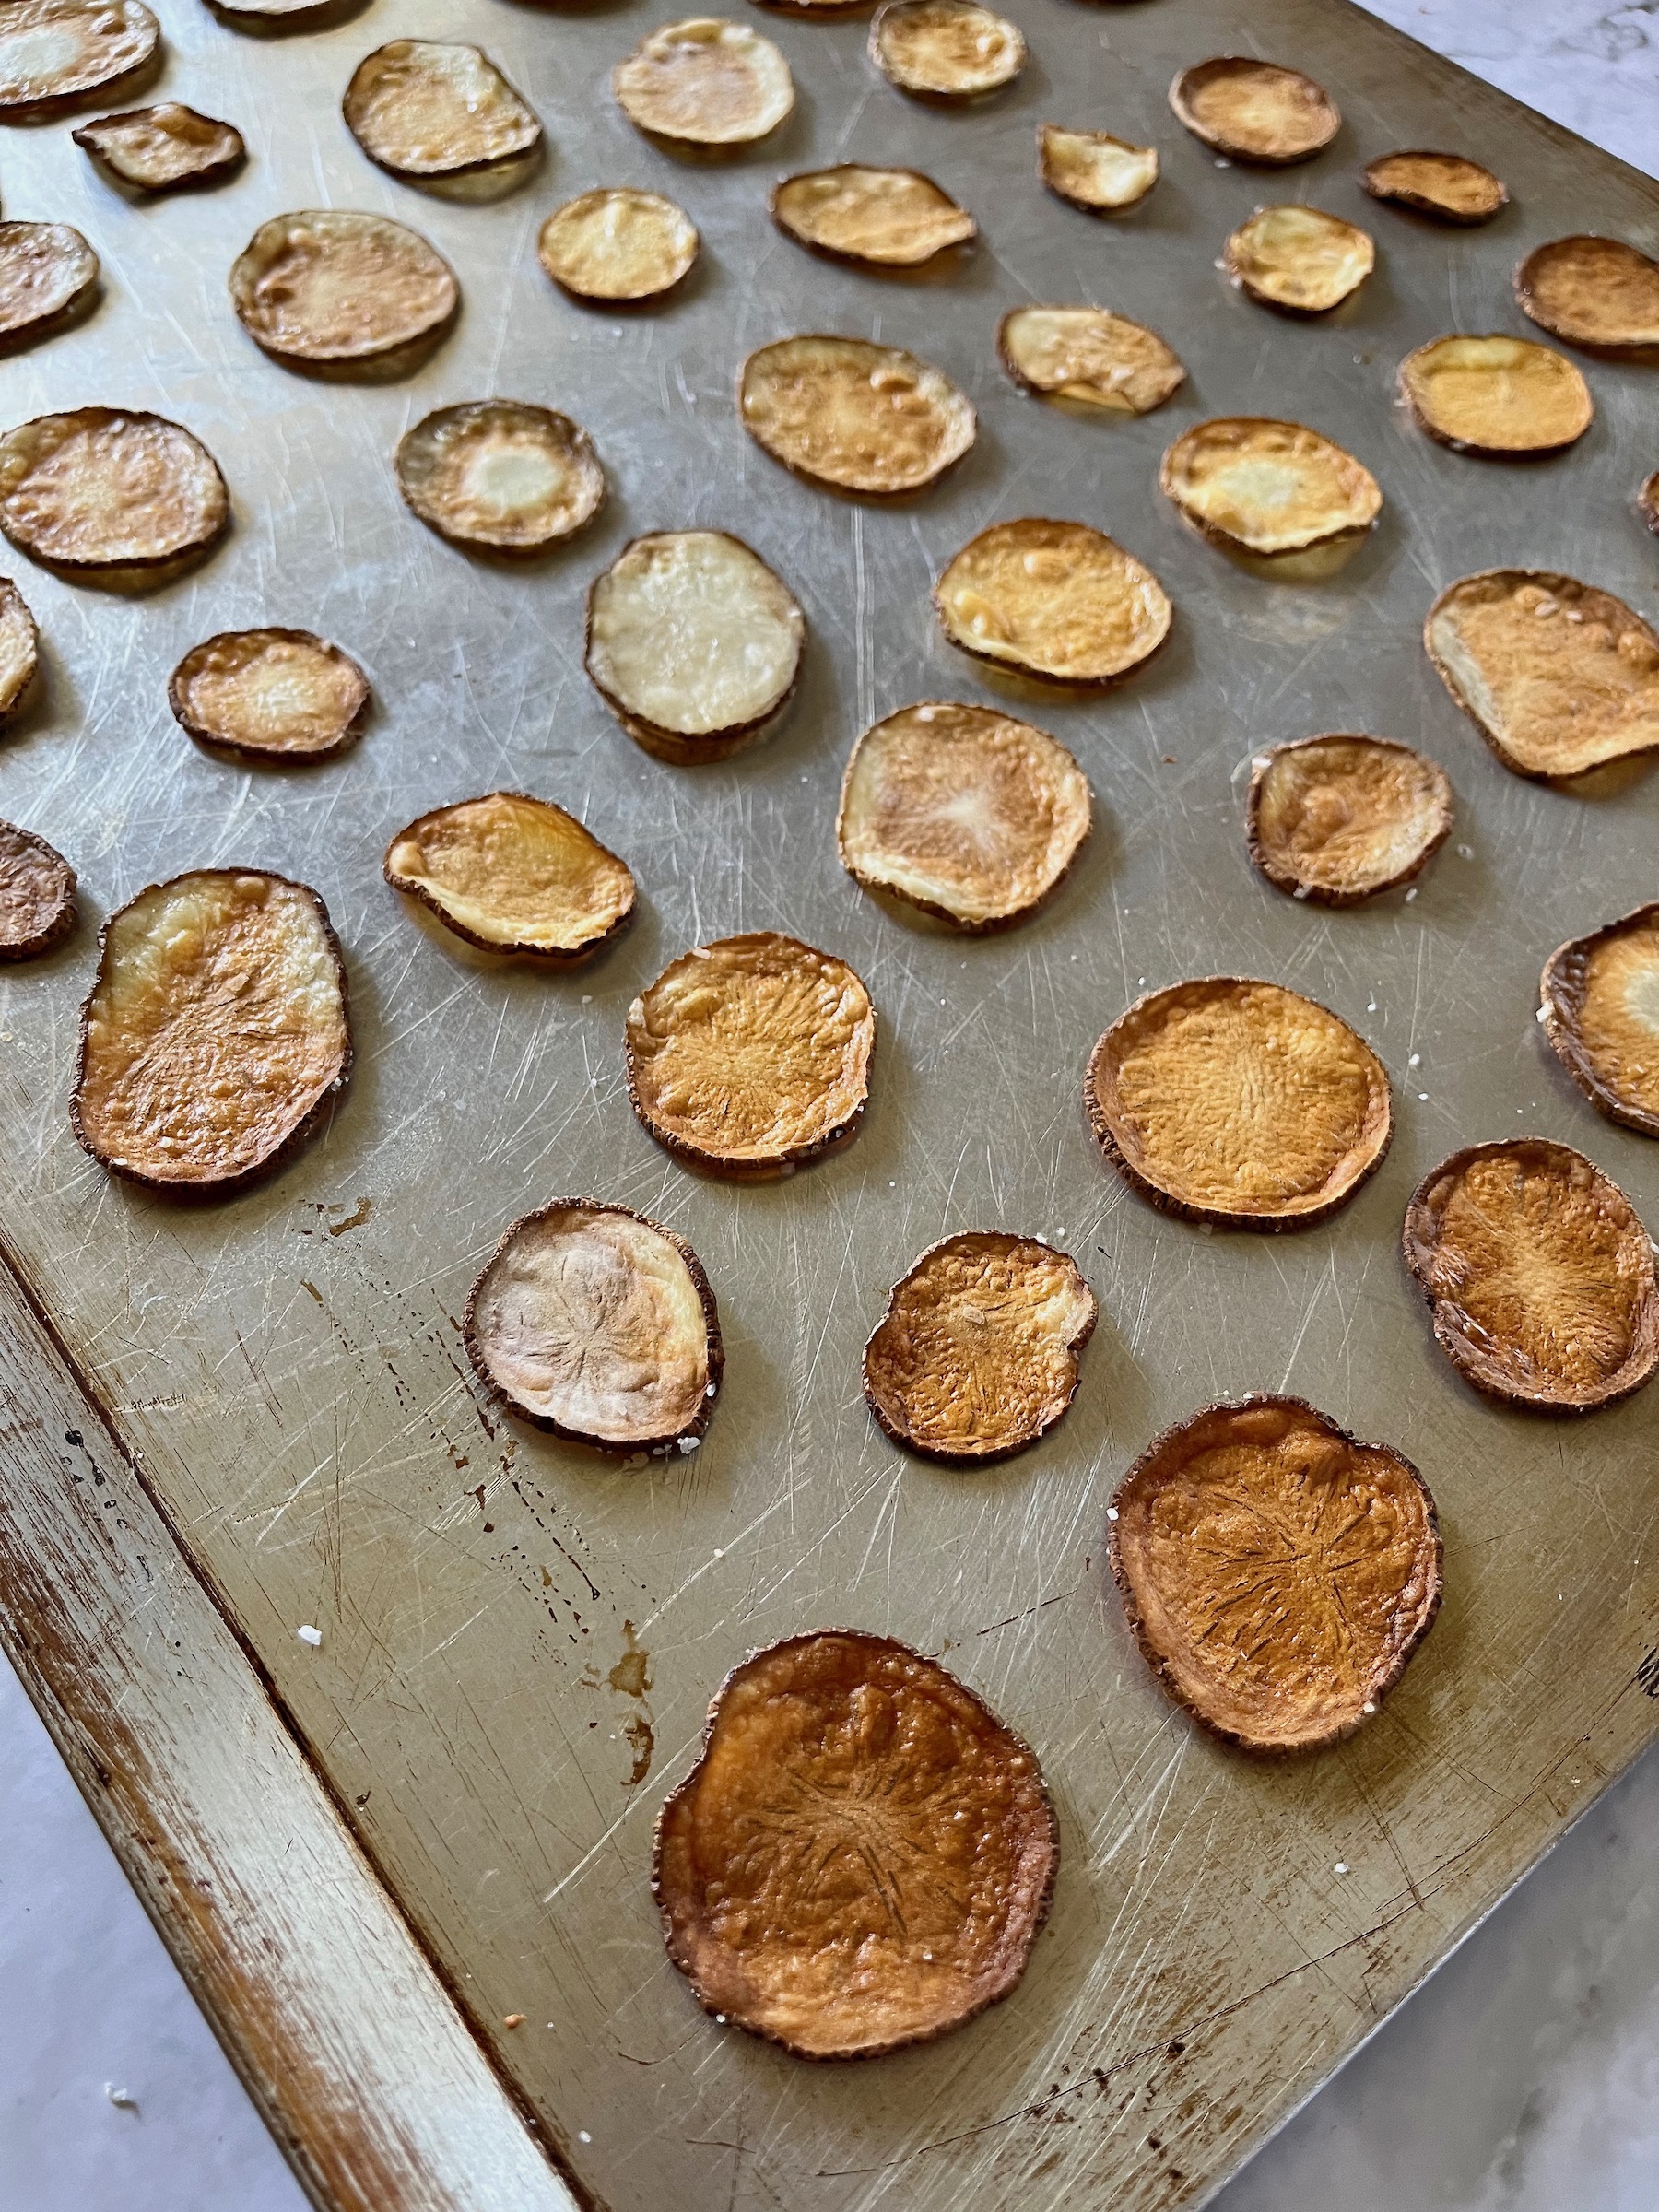
- Bake for 1 1/2 to 2 hours until crisp and golden.
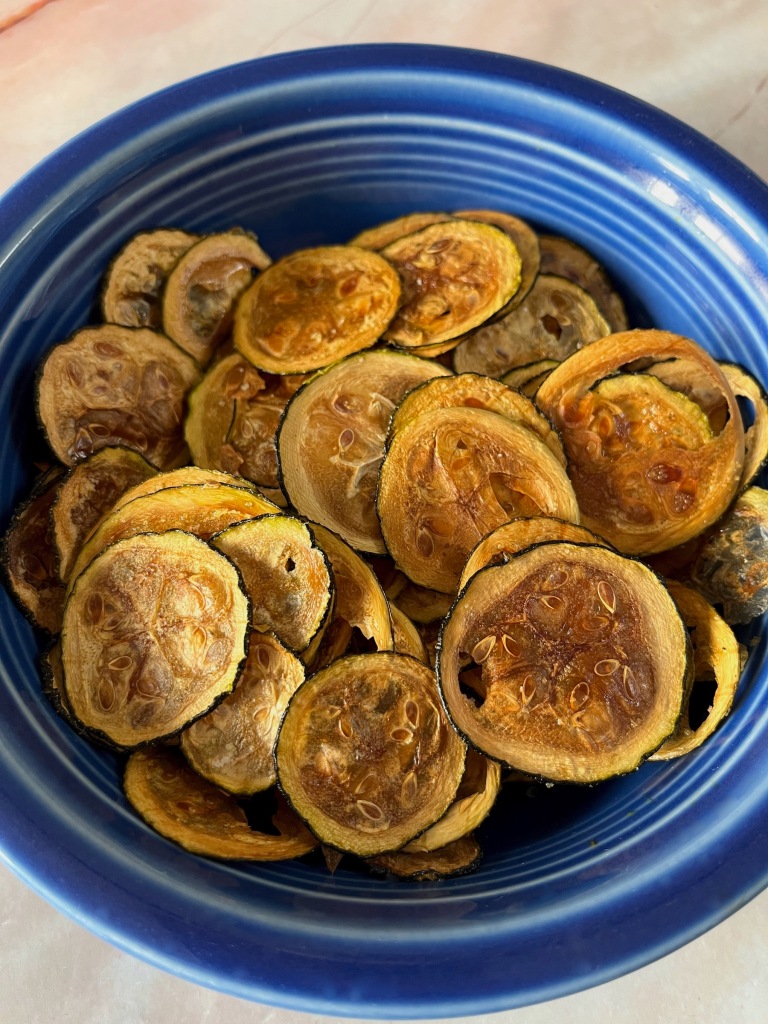
- Allow the chips to cool completely.
- Enjoy!

 Let’s be real, this year has been rough; we’re all just trying to adjust and survive the best we can. Current events have really revealed that there are some pretty rude, self-entitled people out there and I for one am way too sensitive to people’s actions and emotions. I’ve found myself absorbing and/or responding to their vibes, which results in living day to day with too many negative thoughts and feelings.


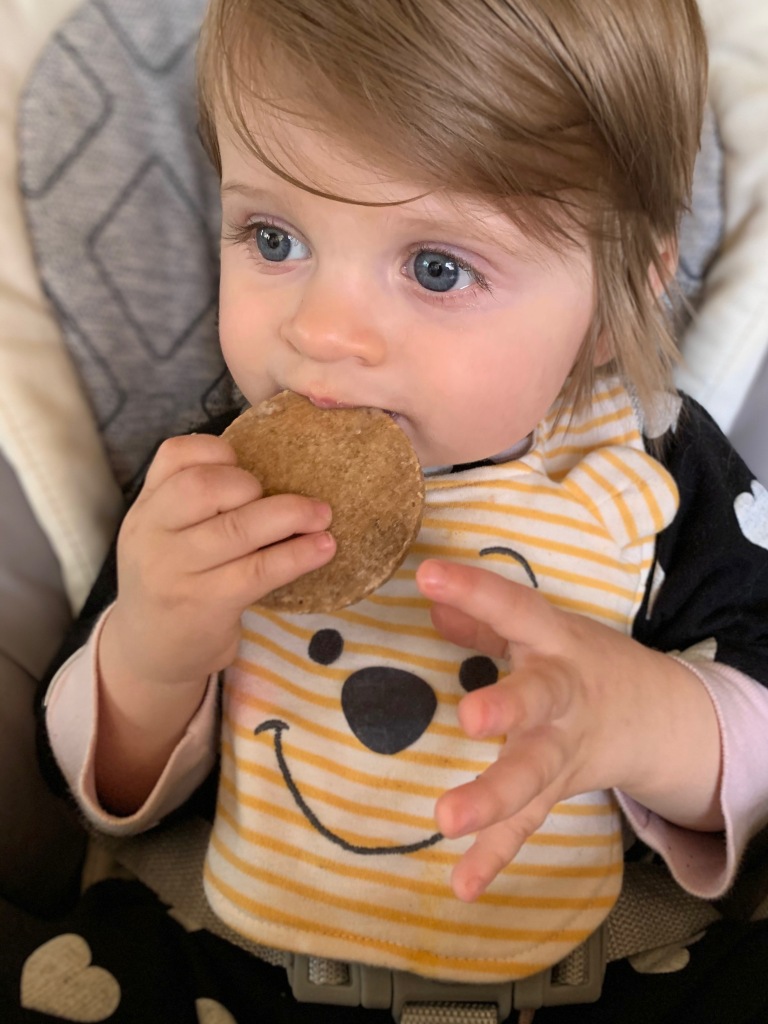
 Zoey, our little Tinker Bell, is one year old! This year has been an unusual one (understatement of the century), but it has flown by faster than I could have imagined and I have been fortunate enough to spend the majority of it at home with her; grateful for every moment.
 She was very tentative about smashing her smash cake, almost like she wasn’t sure if she was allowed to. Even with her audience coaxing her she only tasted a little bit of cake I broke off for her and mostly just played around in the frosting. Her favorite part of the cake was the Tinker Bell figurine up top and she ended up fixating on that. And what the hey, as long as she had fun!


 Last week,