DIY Crochet – Bee Plush

Welcome back friends! Do you crochet? I do! I feel calm and cozy when I’m crocheting, and fiercely proud whenever I complete a project.

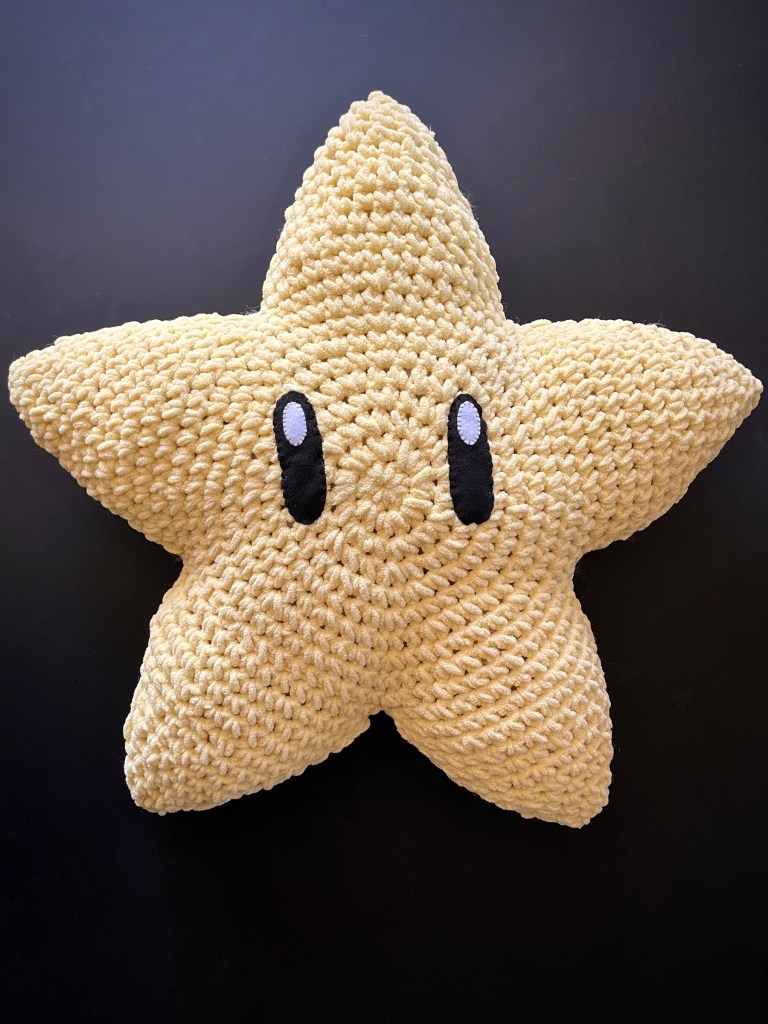
I’ve seen some adorable bee plushies in the animated shows my daughter watches, and I wanted to create one for her!

This bee is soft and cuddly! The pattern is easy, and ideal for any level of crocheter (beginners included)! Any size 6 chenille-style yarn can be used in this pattern, but I used Bernat Baby in buttercup yellow and lapis blue, and for the white of the wings. You can use whatever color combination you prefer!

Let’s get started!

SUPPLIES
  • Crochet hook (size 6.50 mm)
  • Chenille-style yarn (size 6)
  • Scissors
  • Yarn needle or small crochet hook
  • Fiber fill
INSTRUCTIONS
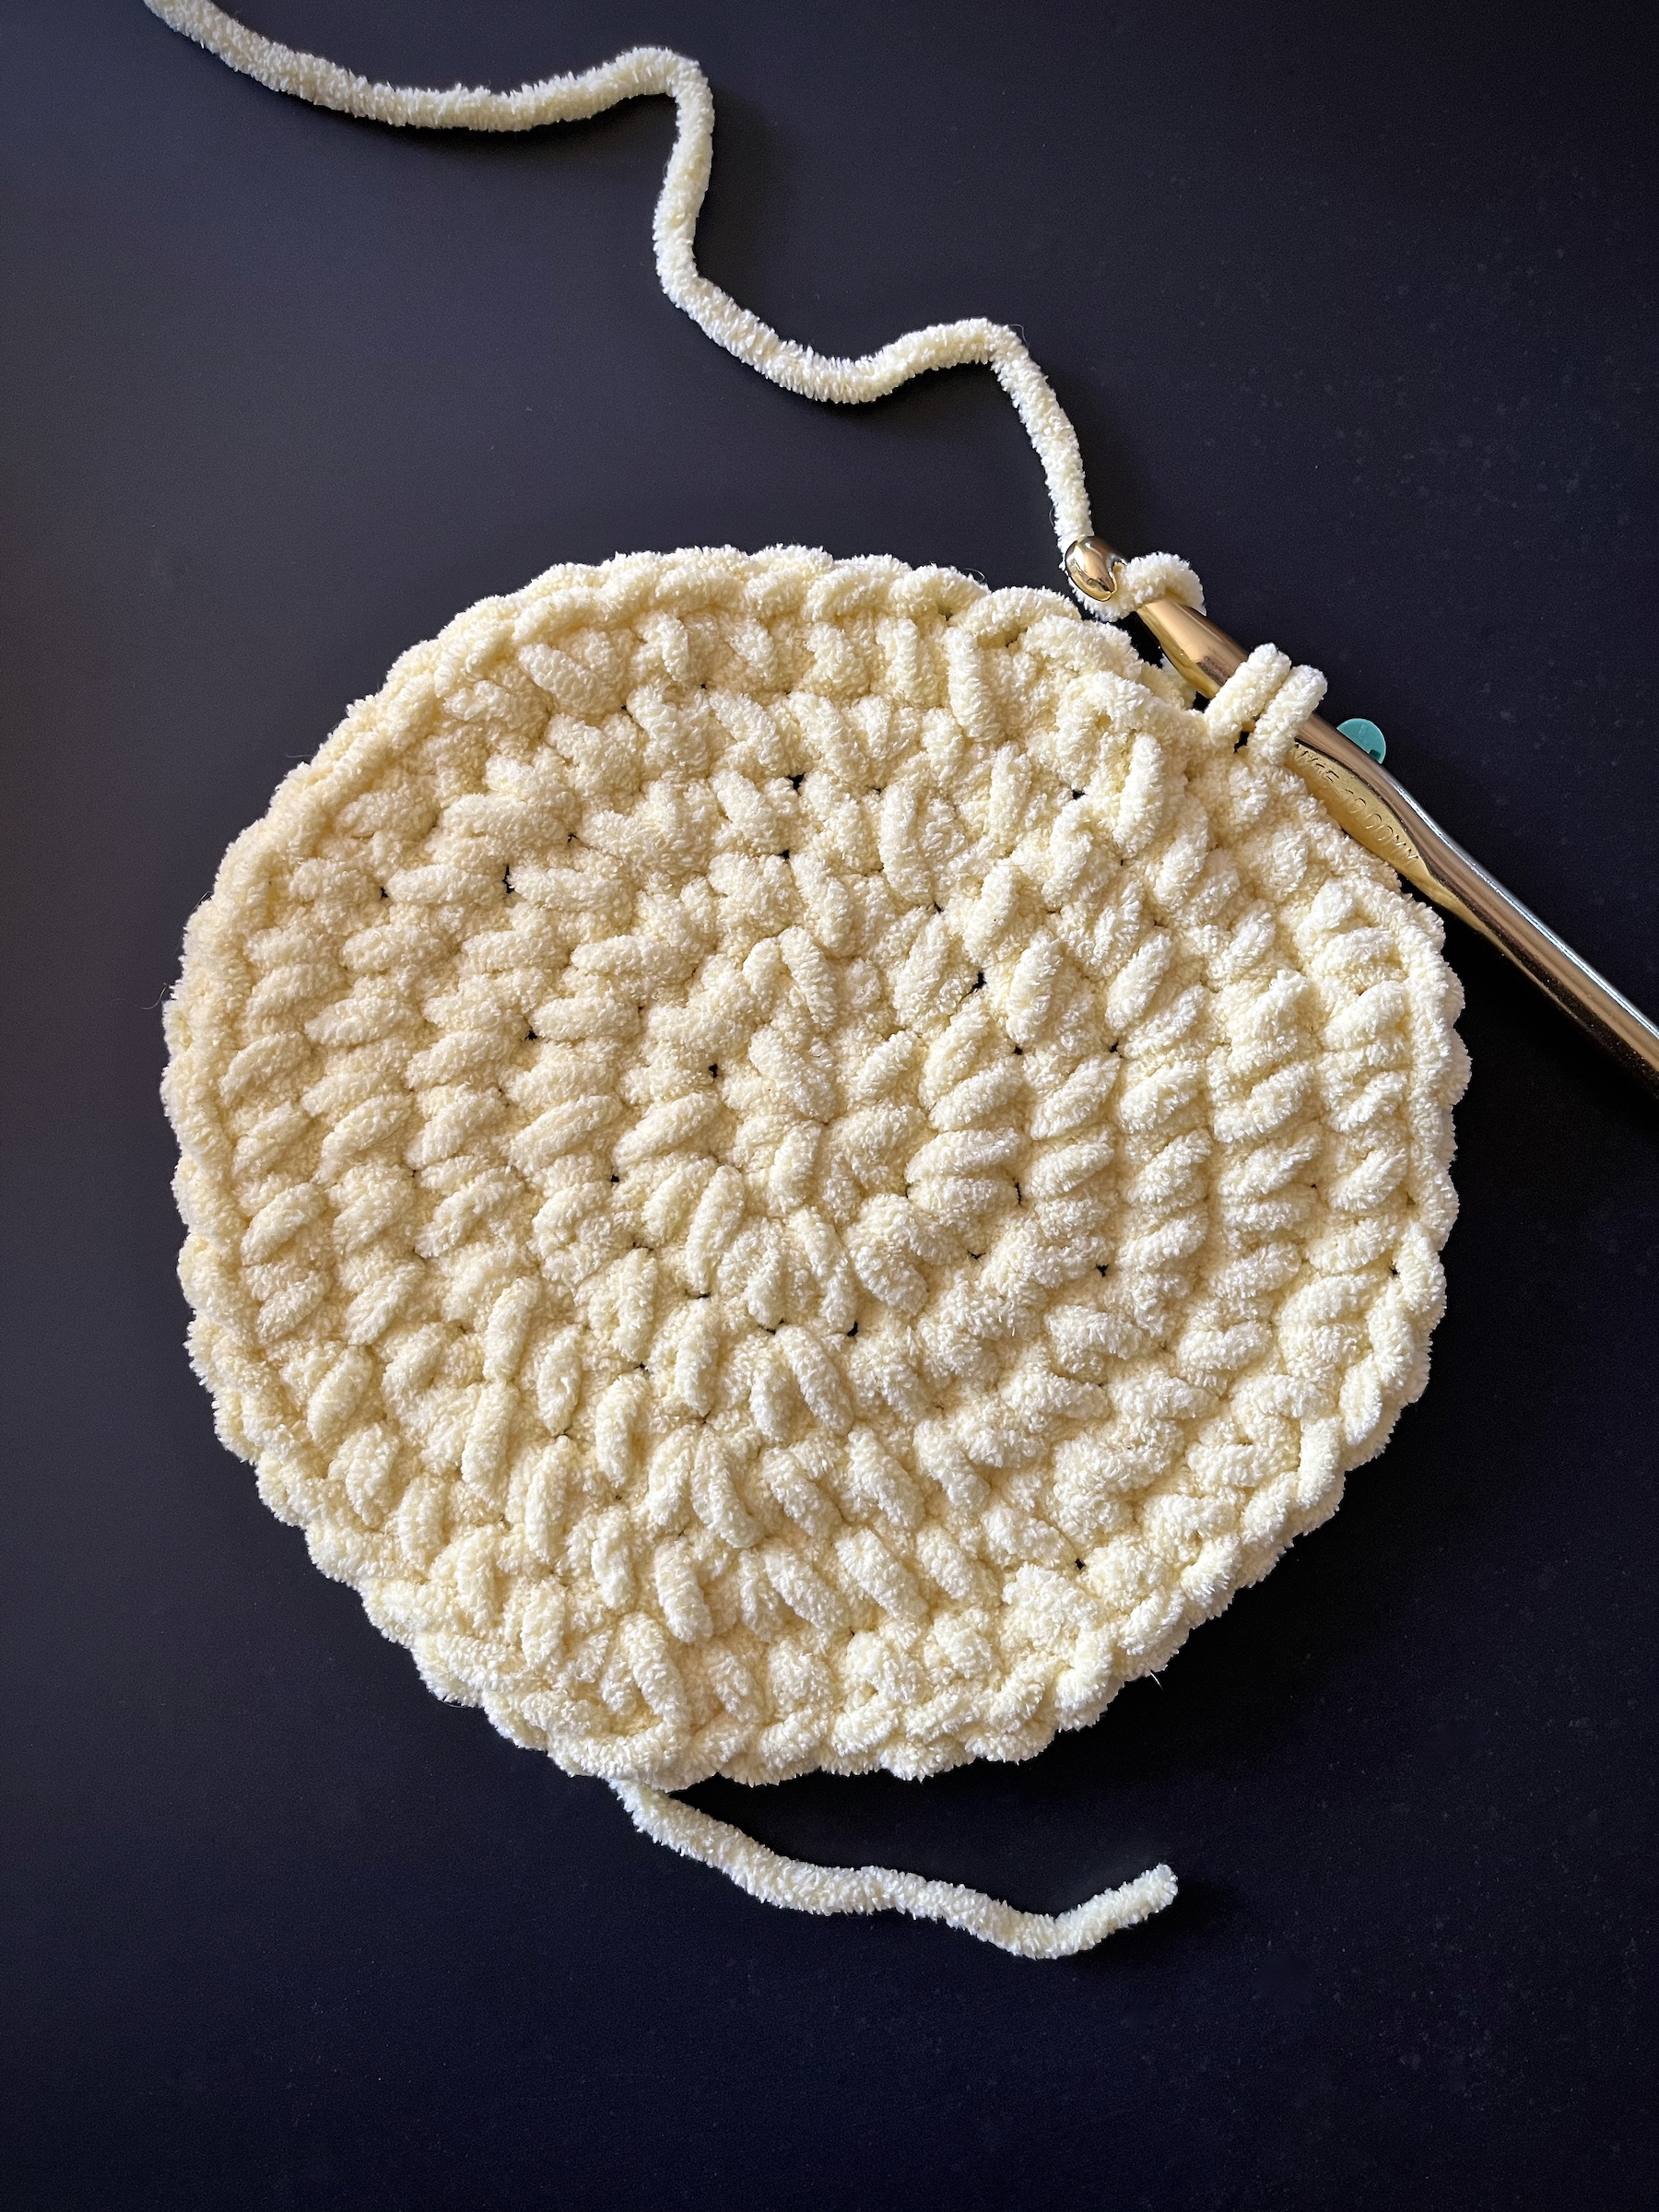
  1. Round 1: With the yellow yarn, create a magic ring with 6 single crochets (total of 6 stitches). Place a stitch marker in the last stitch of this round.
  2. Round 2: Increase in each stitch around (total of 12 stitches). Place a stitch marker in the last stitch of this round (henceforth remove it and move it up to the last stitch in each round after this one).
  3. Round 3: 1 single crochet, 1 increase, alternating around the round (18).
  4. Round 4: 2 single crochet, 1 increase, alternating around the round (24).
  5. Round 5: Single crochet in each stitch around (24).
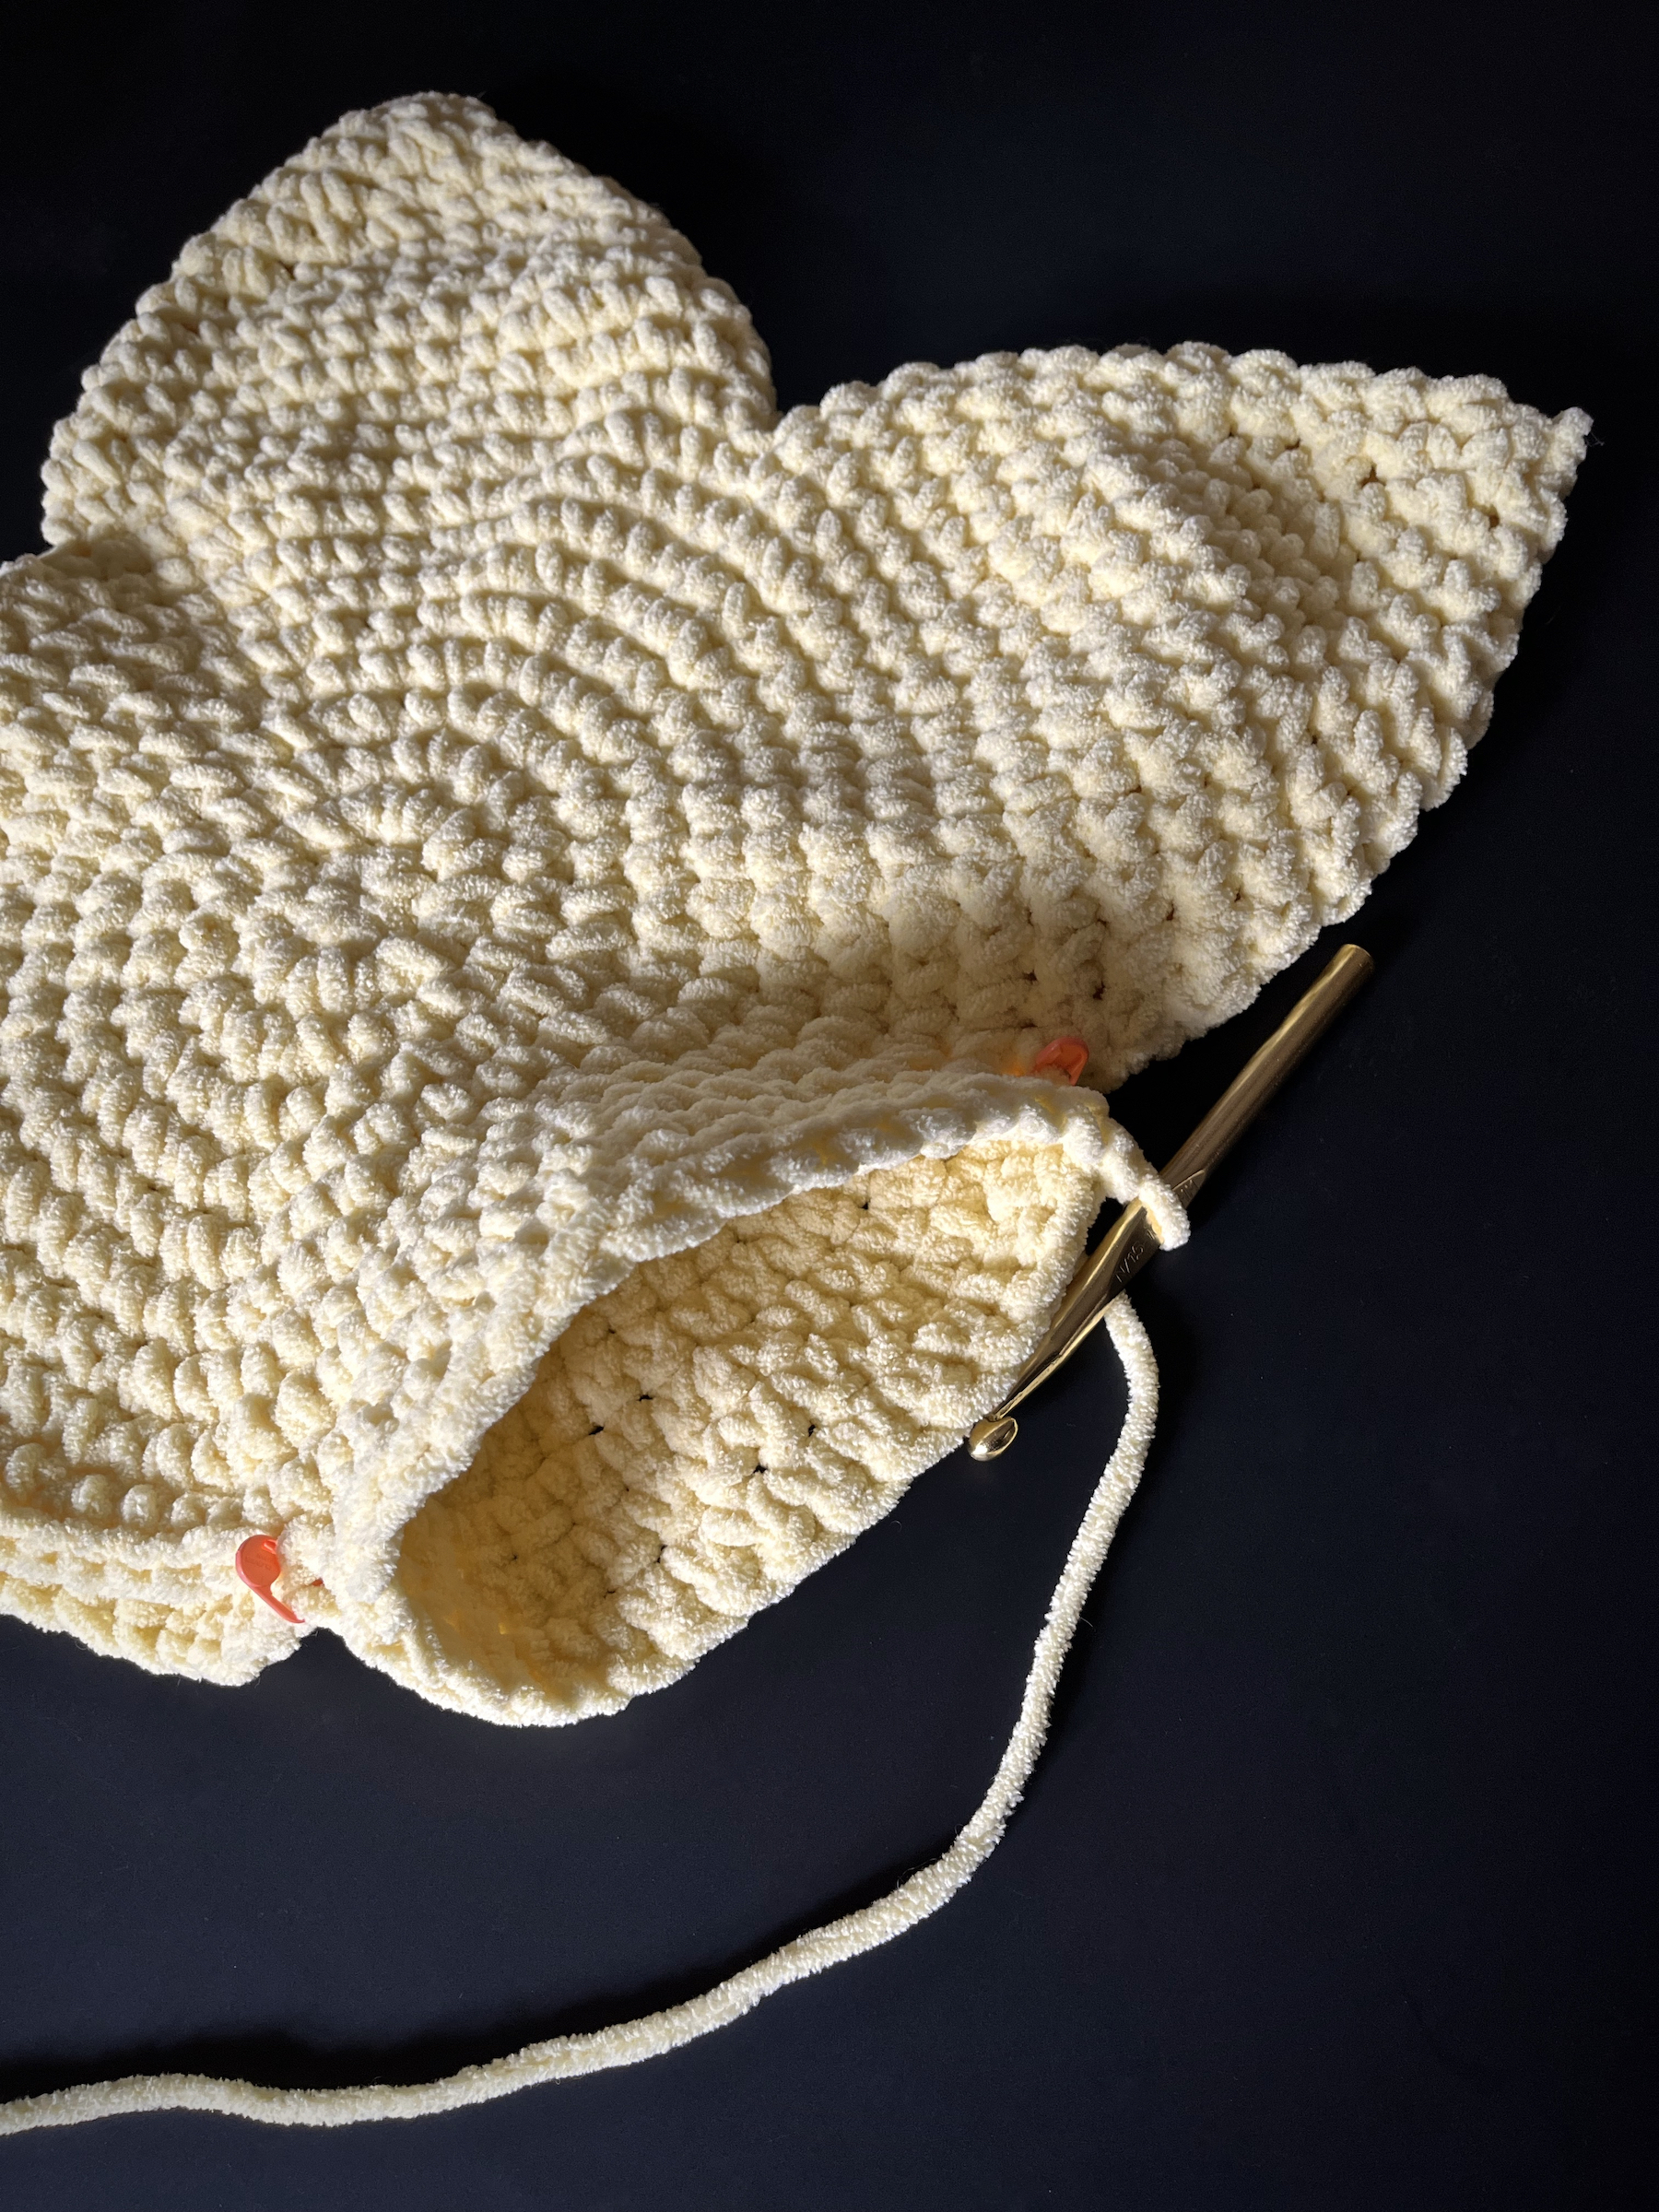
  6. Round 6: Switch colors to blue (or whatever color you choose for the bee’s stripes), then single crochet in each stitch around (24). 
    • To switch colors insert your hook into the first stitch, yarn over and pull through so there are two loops of yellow on your hook. Hook onto the blue and pull in through the two loops of yellow to create the first stitch of Round 6 (for extra security, bring the two loose ends together inside the project and double knot).
  7. Round 7: Single crochet in each stitch around (24).
  8. Round 8: Switch colors back to yellow then single crochet in each stitch around (24).
  9. Round 9: Single crochet in each stitch around (24).
  10. Round 10: Switch colors back to blue then single crochet in each stitch around (24).
  11. Round 11: Single crochet in each stitch around (24).
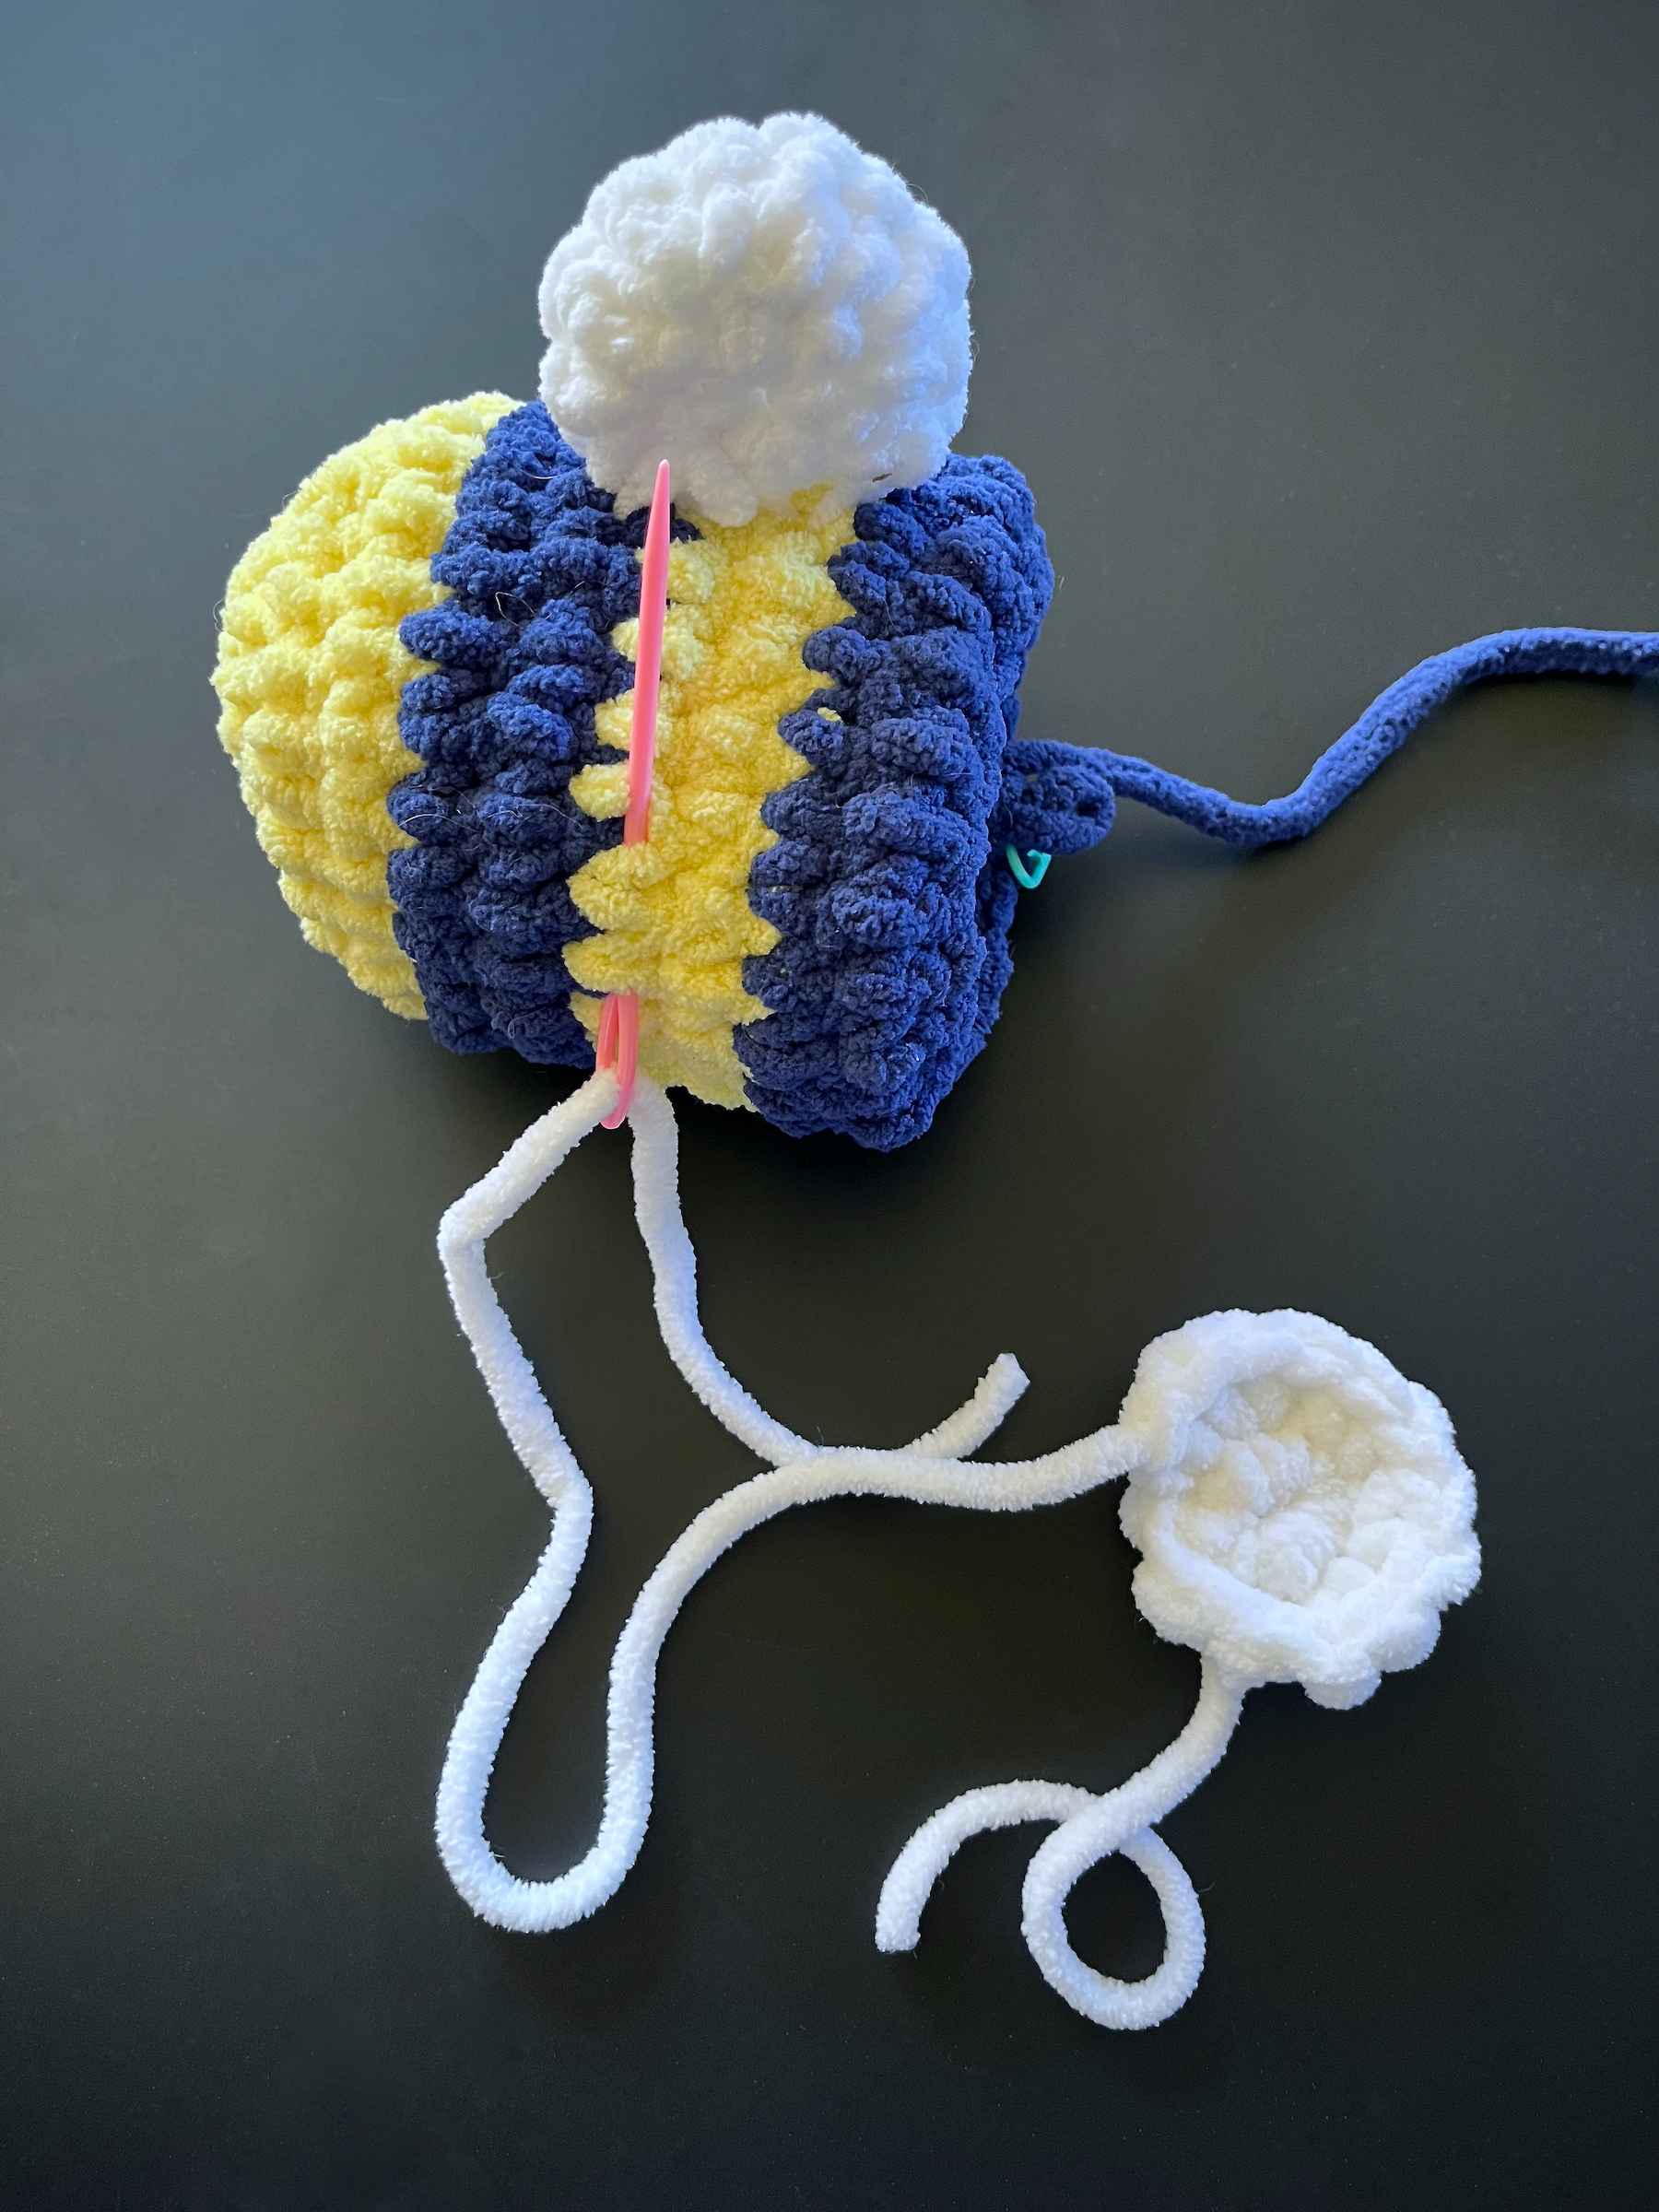
  12. Set the main body aside for now and begin the wings.
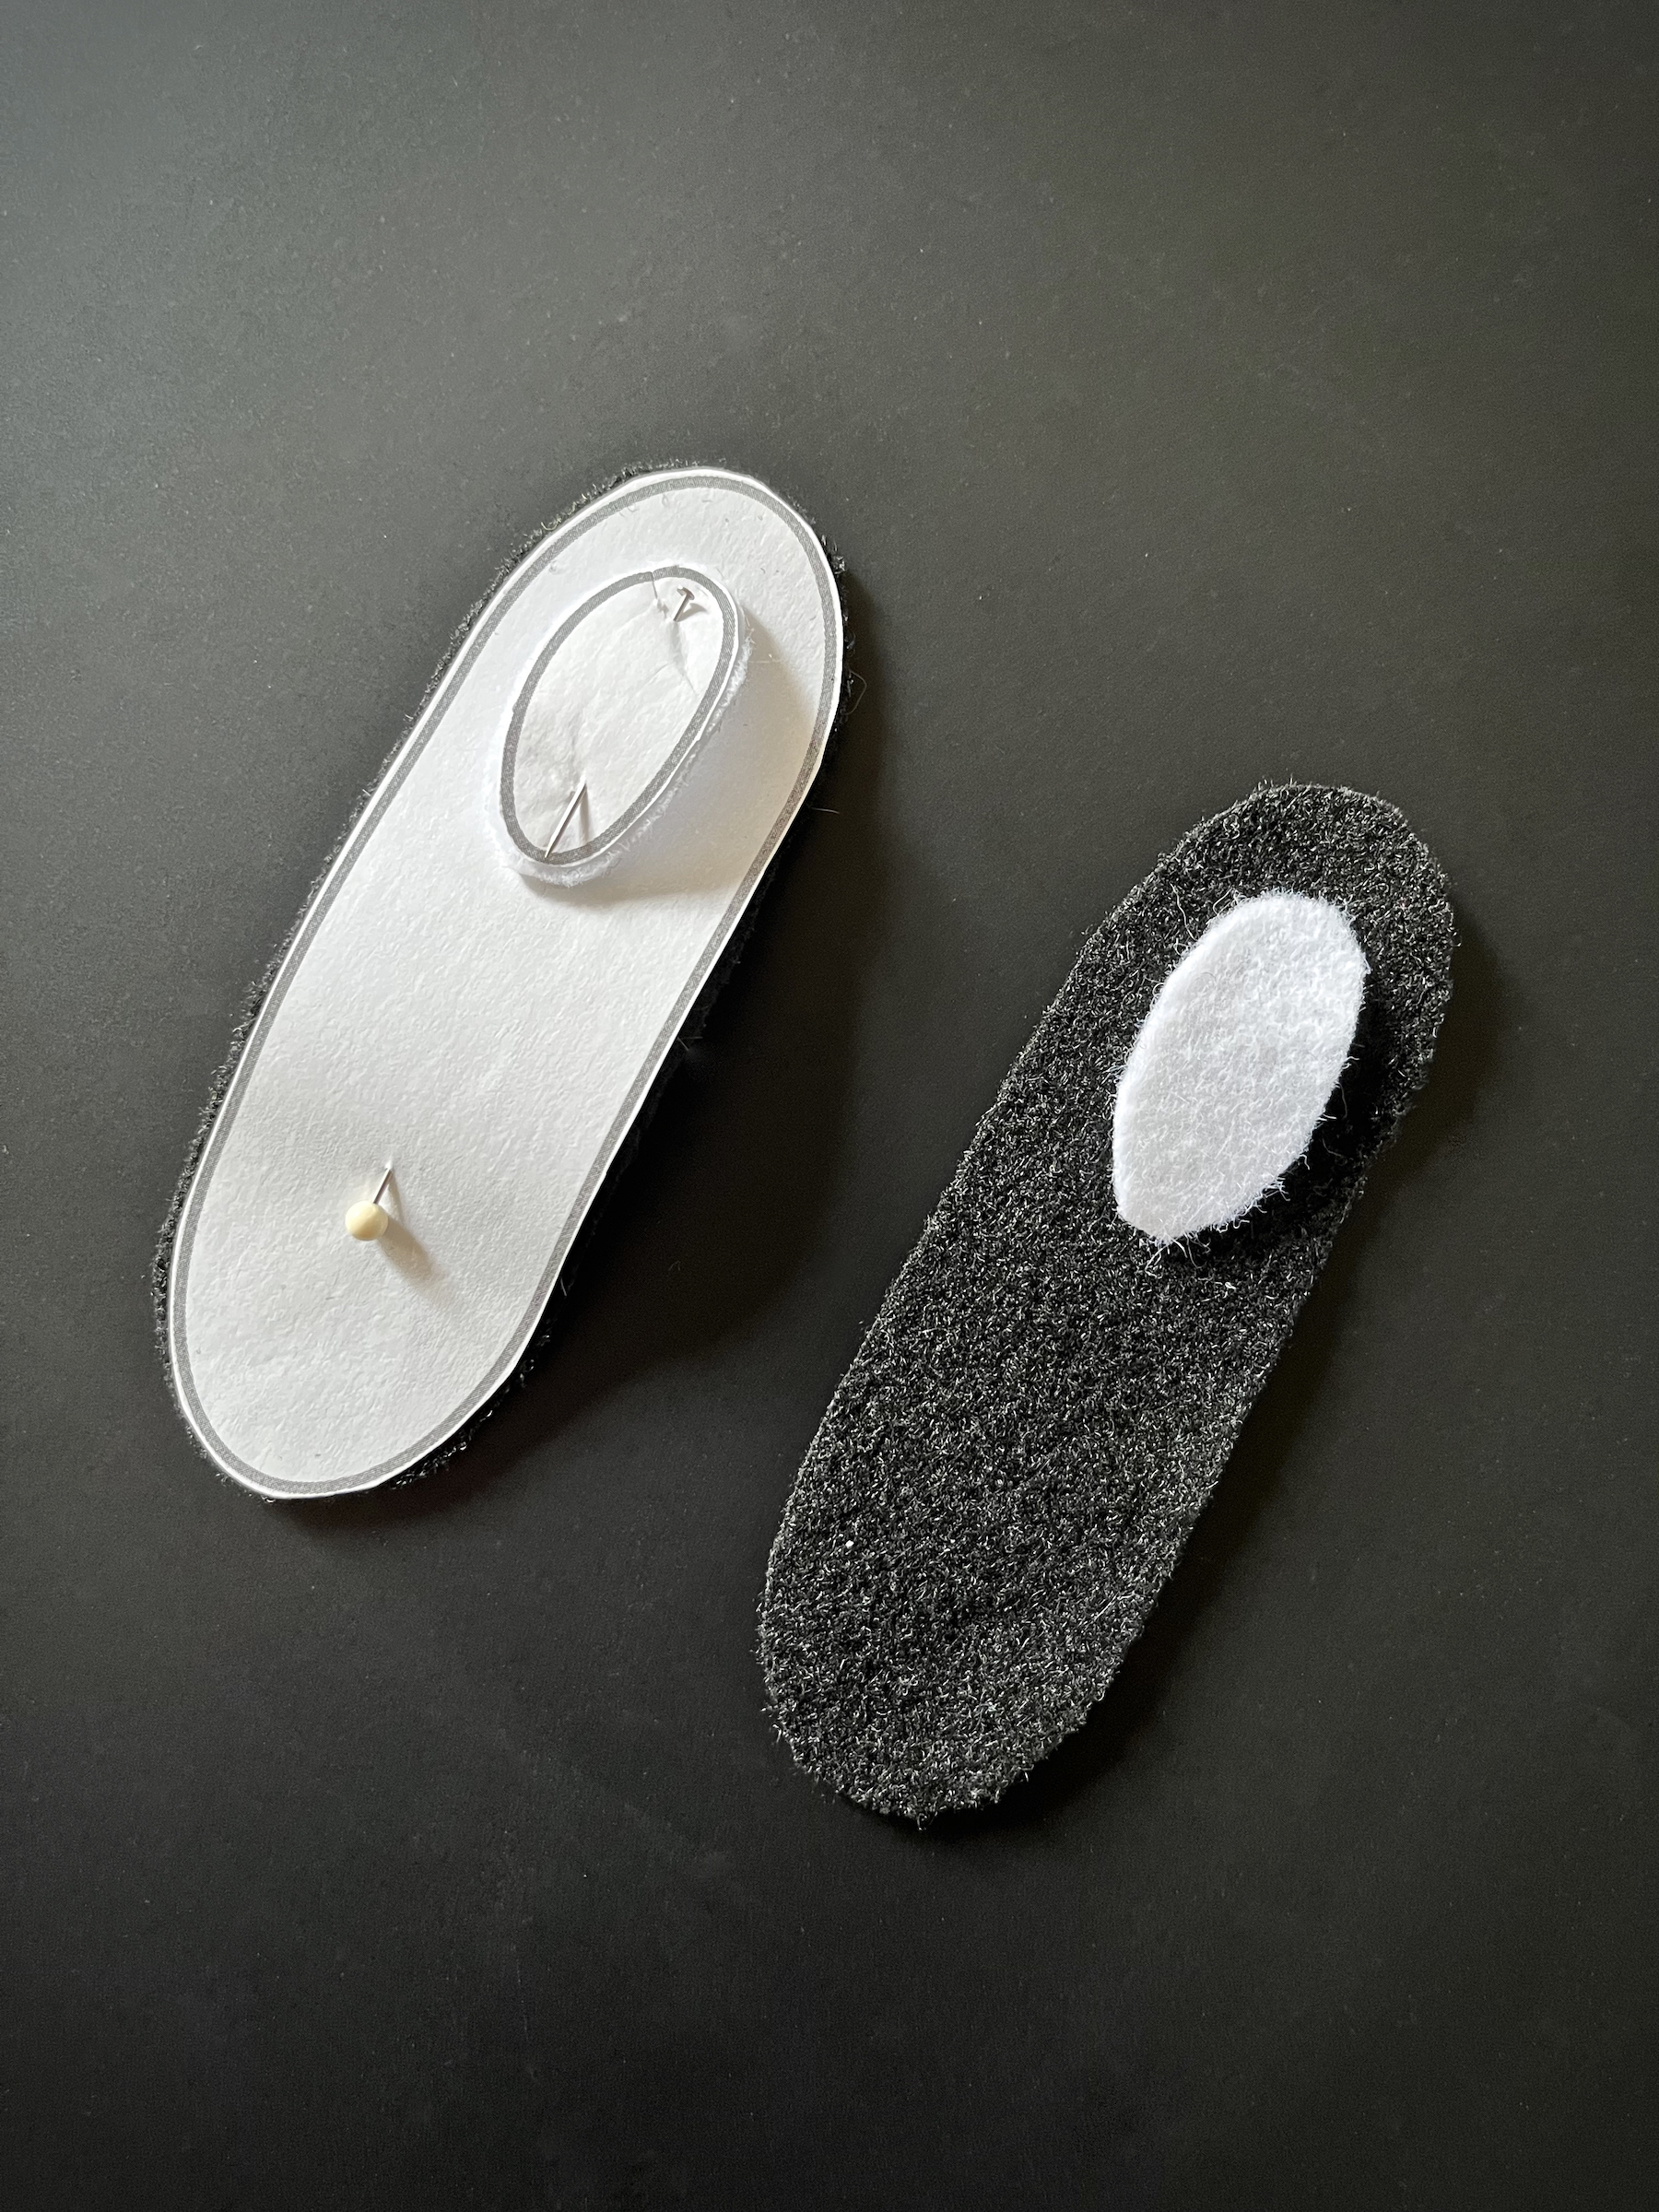
  13. Wings Round 1: With the white yarn, create a magic ring with 6 single crochets (total of 6 stitches). Place a stitch marker in the last stitch of this round.
  14. Wings Round 2: Increase in each stitch around (total of 12 stitches). Place a stitch marker in the last stitch of this round.
  15. Cut the yarn about 8 to 10 inches from your hook and pull the loose end through the last stitch, then set it aside.
  16. Repeat steps 13 through 15 to create a second wing.
  17. Thread your yarn needle with the loose end of one wing, position it where you would like (somewhere on the band of yellow between the two black stripes), and insert your needle through one of the stitches. Pull through until the wing stops at the body of the bee. Position wing and stitch through the bottom of the wing where it comes into contact with the body of the bee. Repeat this stitching process along the bottom of the wing.
    • If there is a tail from creating the magic ring, conceal it by stitching it into the wing and/or into the body of the bee.
  18. Repeat for the second wing.
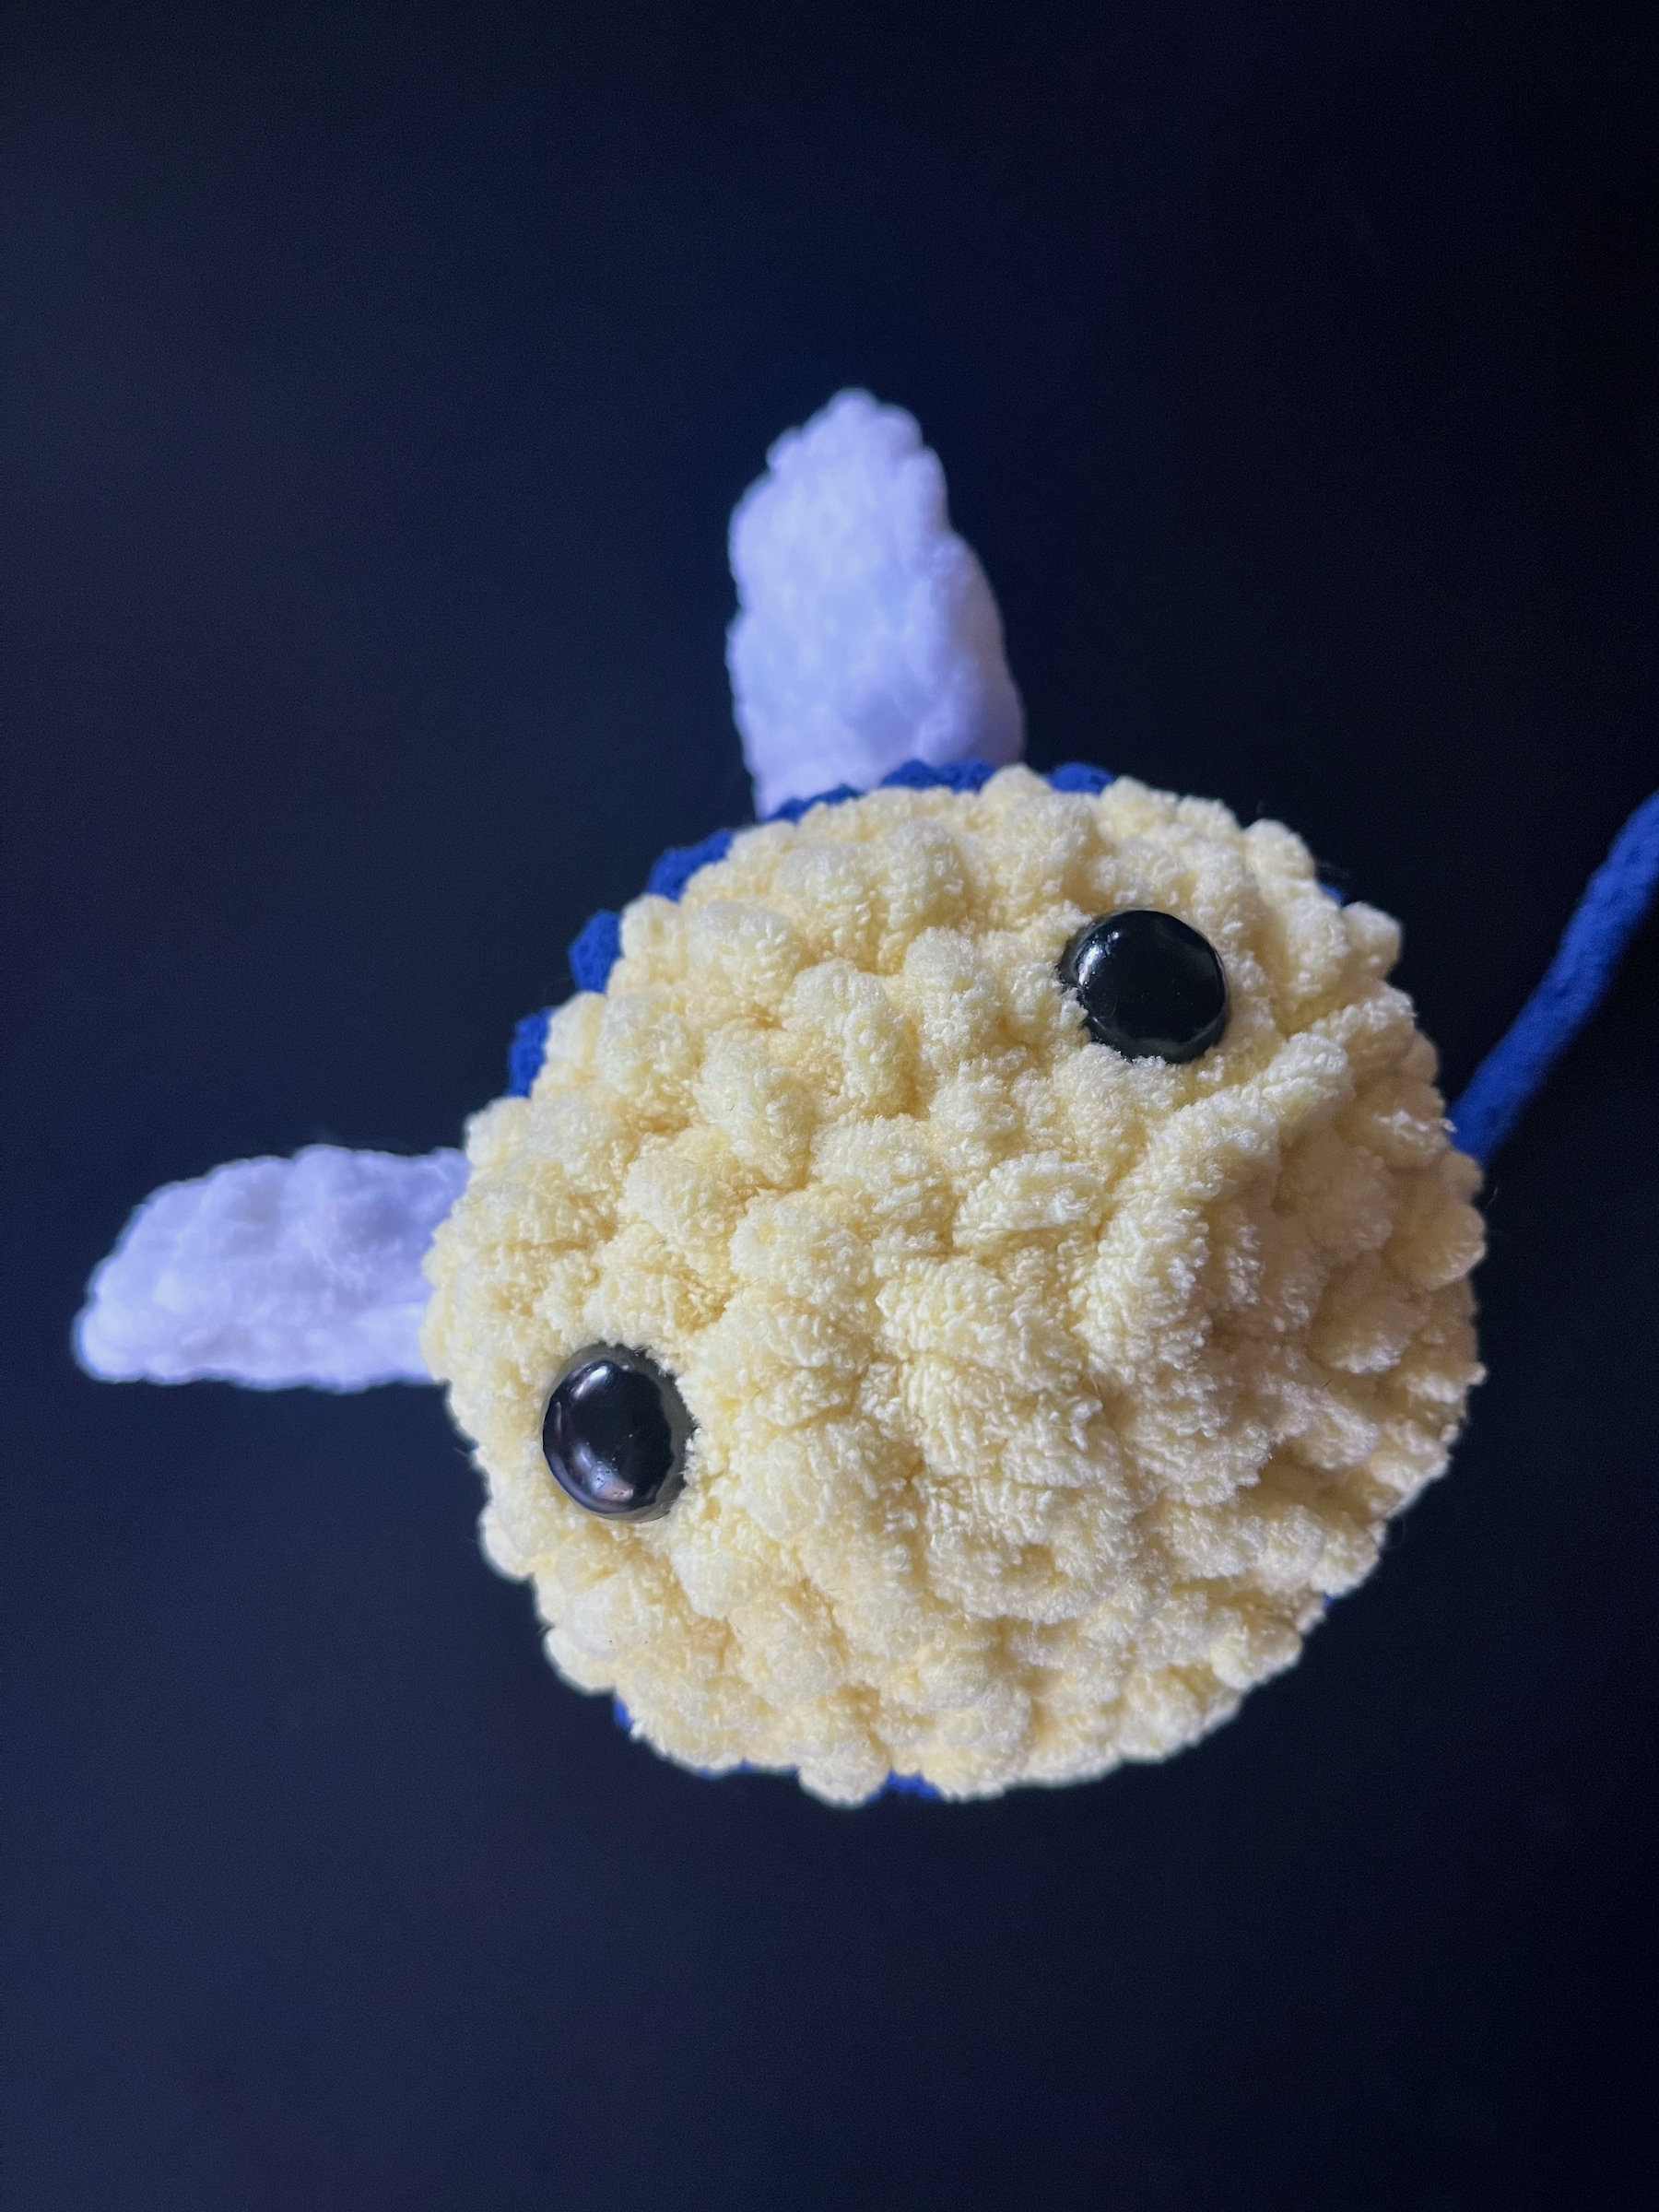
  19. Attach the safety eyes.
  20. Body Round 12: Switch colors back to yellow, then 2 single crochet, 1 decrease, alternating around the round (18).
  21. Body Round 13: 1 single crochet, 1 decrease, alternating around the round (12).
  22. Begin stuffing the bee to your preference.
  23. Body Round 14: 6 decreases around (6).
  24. Cut the yarn off 8 to 10 inches from the project and pull it through the last stitch.
  25. Stuff the bee a little more if necessary.
  26. Thread the needle and insert the needle through each stitch, then pull tight.
  27. Knot and sew the remaining tail of yarn into the yellow stitches around.
  28. Enjoy!

DIY Crochet – Super Mario Super Star

Welcome back friends! Do you crochet? I do! I feel calm and cozy when I’m crocheting, and fiercely proud whenever I complete a project.

March 10th was Mario Day! In celebration I created this super soft and cuddly Super Star pillow! This pattern is intermediate and ideal for those who know their way around “magic rings”, “increases” and “decreases”. Any chenille-style yarn, size 6, can be used in this pattern, but for my example piece I used Bernat Baby Blanket Yarn in buttercup yellow.

Let’s get started!

SUPPLIES
  • Crochet hook (size 10 mm)
  • Chenille-style yarn (size 6)
  • Scissors
  • Yarn needle or small crochet hook
  • Fiber fill
  • Black felt
  • White felt
  • Black thread
  • Sewing needle
INSTRUCTIONS
  1. Round 1: Create a magic ring with 8 single crochets (total of 8 stitches). Place a stitch marker in the last stitch of this round.
  2. Round 2: Increase in each stitch around (total of 16 stitches). Place a stitch marker in the last stitch of this round (henceforth remove it and move it up to the last stitch in each round after this one).
  3. Round 3: 1 single crochet, 1 increase, alternating around the round (24).
  4. Round 4: 1 single crochet, 1 increase, 1 single crochet, alternating around the round (32).
  5. Round 5: 3 single crochet, 1 increase, alternating around the round (40).
  6. Round 6: 2 single crochet, 1 increase, 2 single crochet, alternating around the round (48).
  7. Round 7: 5 single crochet, 1 increase, alternating around the round (56).
  8. Round 8: 3 single crochet, 1 increase, 3 single crochet, alternating around the round (64).
  9. Round 9: 7 single crochet, 1 increase, alternating around the round (72).
  10. Round 10: 4 single crochet, 1 increase, 4 single crochet, alternating around the round (80).
  11. Finish off the first center piece of the star by slip stitching into the next stitch, then cutting the yarn pulling the end through. Using a yarn needle, stitch the loose end of the yarn into the body of the center piece and set it aside.
  12. Repeat steps 1 through 10 to create a second center piece of the star. This time, do not slip stitch, leave the yarn attached and move the stitch marker to the last stitch.
  13. On this second center piece that we have not tied off, count 16 stitches from the marker on your last stitch from the round before and put a stitch marker through the 16th stitch. Count 16 stitches from this marker and place another marker through that stitch. Continue this around your center piece until you have 5 markers total.
  14. Place the marked centerpiece over the tied-off centerpiece with the more textured sides both facing out, then re-pin the five markers through the aligned stitches of both centerpieces.
  15. Point Round 1: 16 single crochet down one side of the pinned centerpieces from marker to marker with the 16th stitch bringing both sides together just inside the next marker. Then turn your work and do 16 single crochet up the other centerpiece side to reach your starting point (32). Place a stitch maker in the last stitch of this round, which also joins both sides together.
  16. Point Round 2: Single crochet in each stitch around (32). Place a stitch marker in the last stitch of this round (henceforth remove it and move it up to the last stitch in each round after this one).
  17. Point Round 3: 14 single crochet, 1 decline, turn the project around and then 14 single crochet and 1 decline (30).
  18. Point Round 4: 4 single crochet, 1 decline, 4 single crochet, alternating around the point round (27).
  19. Point Round 5: 7 single crochet, 1 decline, alternating around the point round (24).
  20. Point Round 6: 3 single crochet, 1 decline, 3 single crochet, alternating around the point round (21).
  21. Point Round 7: 5 single crochet, 1 decline, alternating around the point round (18).
  22. Point Round 8: 2 single crochet, 1 decline, 2 single crochet, alternating around the point round (15).
  23. Point Round 9: 3 single crochet, 1 decline, alternating around the point round (12).
  24. Point Round 10: 1 single crochet, 1 decline, 1 single crochet, alternating around the point round (9).
  25. Point Round 11: 1 single crochet, 1 decline, alternating around the point round (6).
  26. Point Round 12: Decline 3 times (3).
  27. Cut off your yarn with a little bit of a tail. Attach a yarn needle and insert your needle through the top 3 stitches of the point and pull them tight to make a sharper point. Then stitch the rest of the tail into the body.
  28. To begin a new point with loose yarn, insert your hook into the first stitch, yarn over with your loose yarn and pull through, then complete the stitch by yarning over and pulling through this loop. This will anchor your loose yarn to the next point and mark the first stitch.
  29. Repeat steps 15 through 27 to create the next point. If you’re feeling lost, remember to always count your stitches. At the end of each round the amount of stitches should match the number I’ve put into parenthesis for that round.
  30. Continue repeating steps 15 through 27 until you have completed 4 points of the star, then stuff what you’ve completed. Do not worry about the holes at the base of each point, we will sew them up once we’ve completed the final point.
  31. Begin the last point and stuff it a little at a time as you stitch upwards. Finish the stuffing with chopstick and tie off.
  32. Once the star has been stuffed and completed with 5 points, use the same yarn and a yarn needle to sew up any holes, found at the base in between each point. Concealing any excess yarn by stitching it into the body of the star.
  33. Once the star has been completed. Cut out the pieces for the felt eyes using the patterns I’ve provided, and the black and white felt.
  34. Stitch the white highlights onto the black backgrounds, then stitch the eyes onto the pillow.
  35. Enjoy!