Welcome back friends! Do you crochet? I dabbled in crochet off and on for a few years, always fascinated, but never fully catching on. I kept at it, and suddenly, it clicked! I feel calm and cozy when I’m crocheting, and fiercely proud whenever I complete a project.
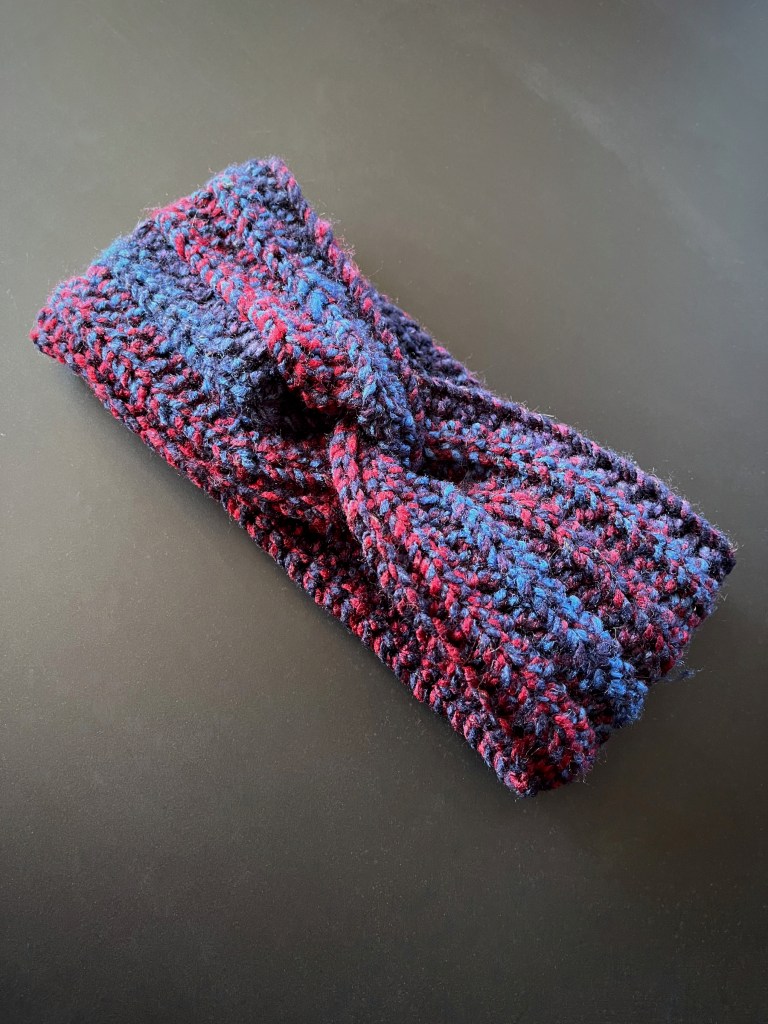
It’s that time of year for keeping warm! Whether you’d like to create a ear-warmer headband for yourself or to gift to a friend, I’m here to help!
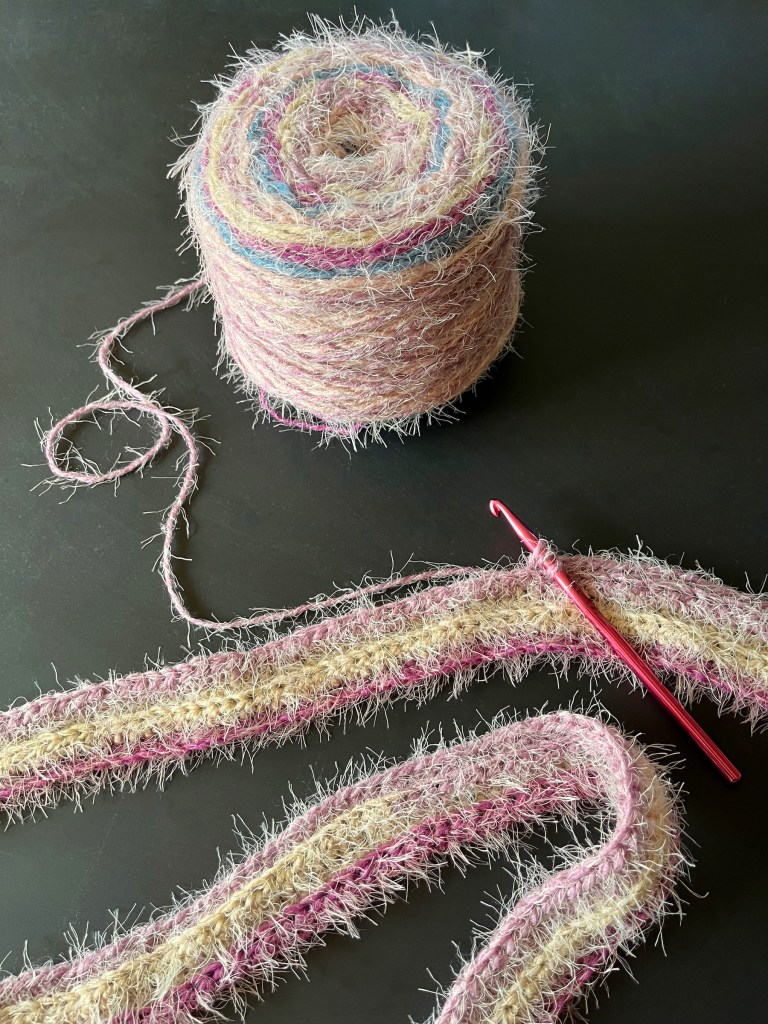
This headband is cozy, classic and ideal for any level of crocheter (beginners included)! Any bulky size 5 yarn can be used in this pattern.

SUPPLIES
- Crochet hook (size 6mm)
- Yarn (size 5)
- Scissors
- Yarn needle
INSTRUCTIONS
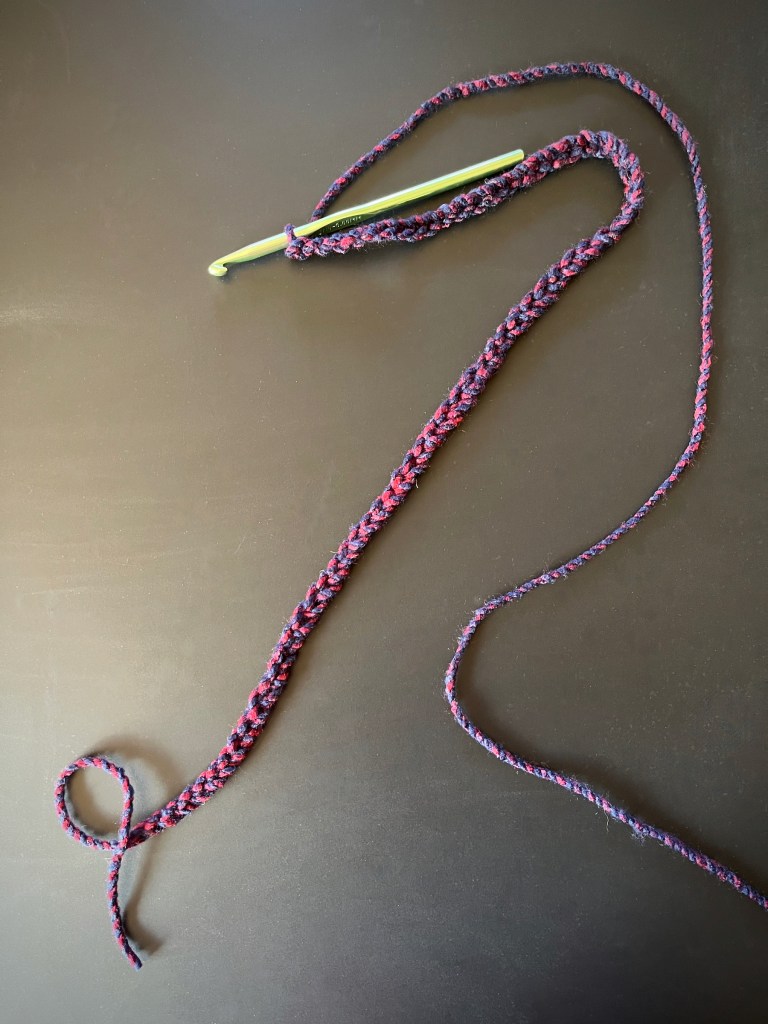


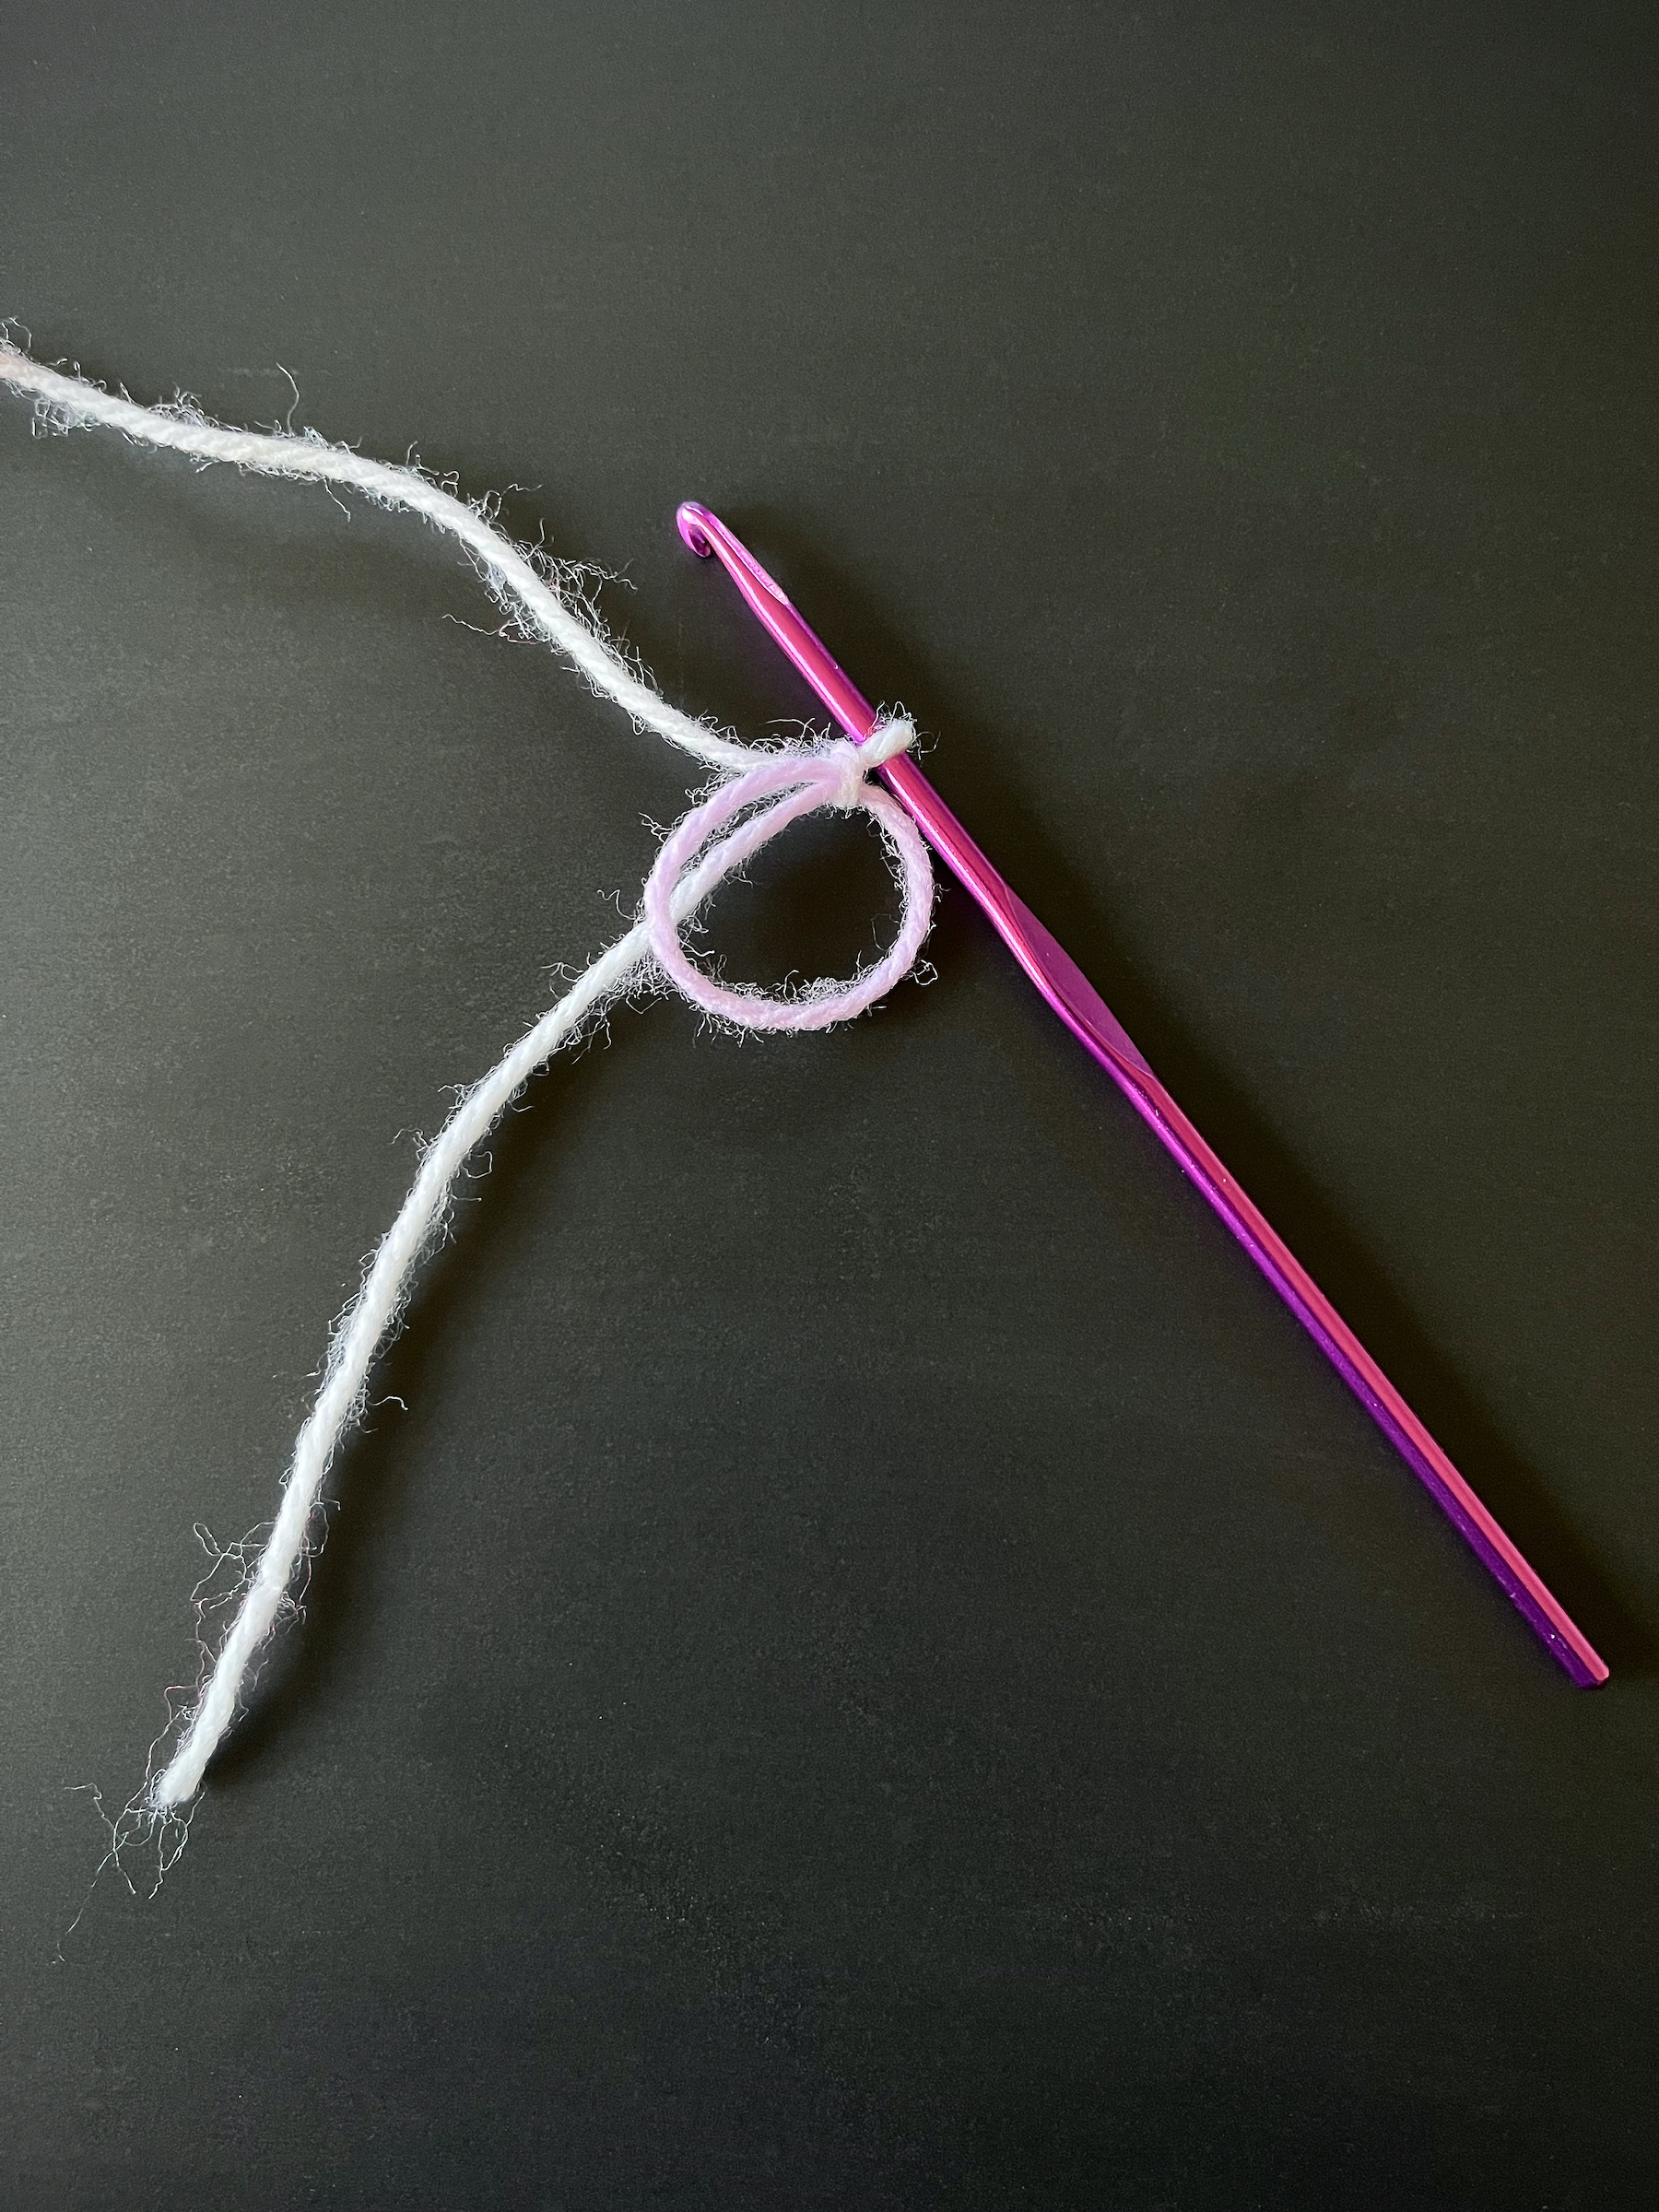
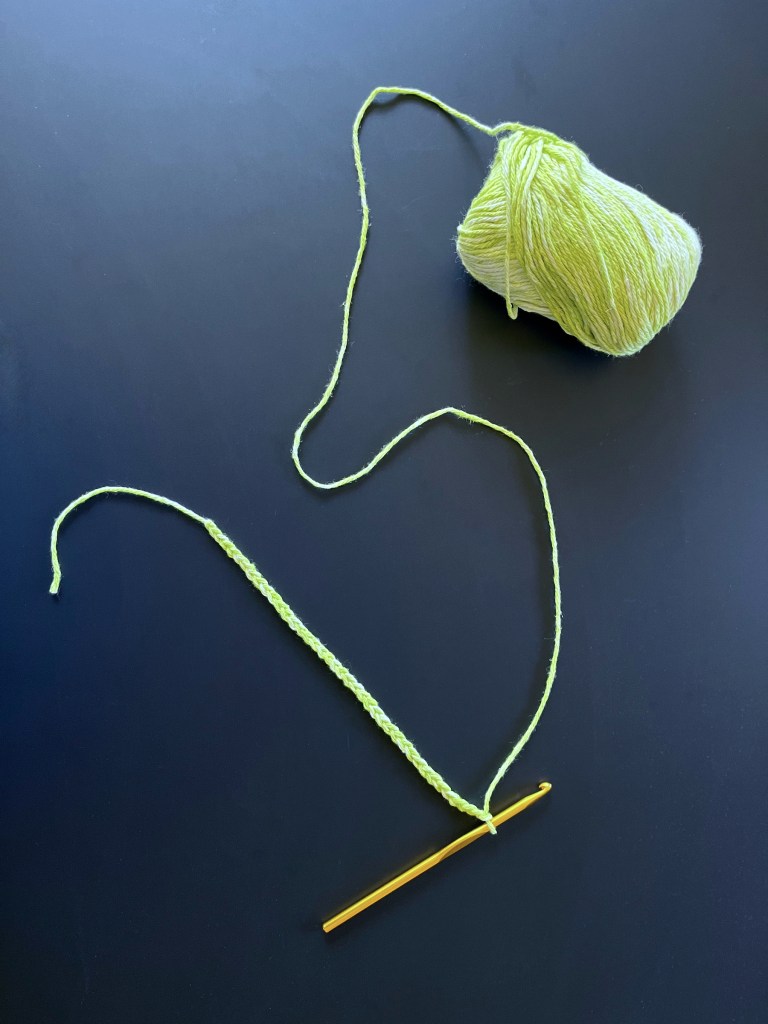
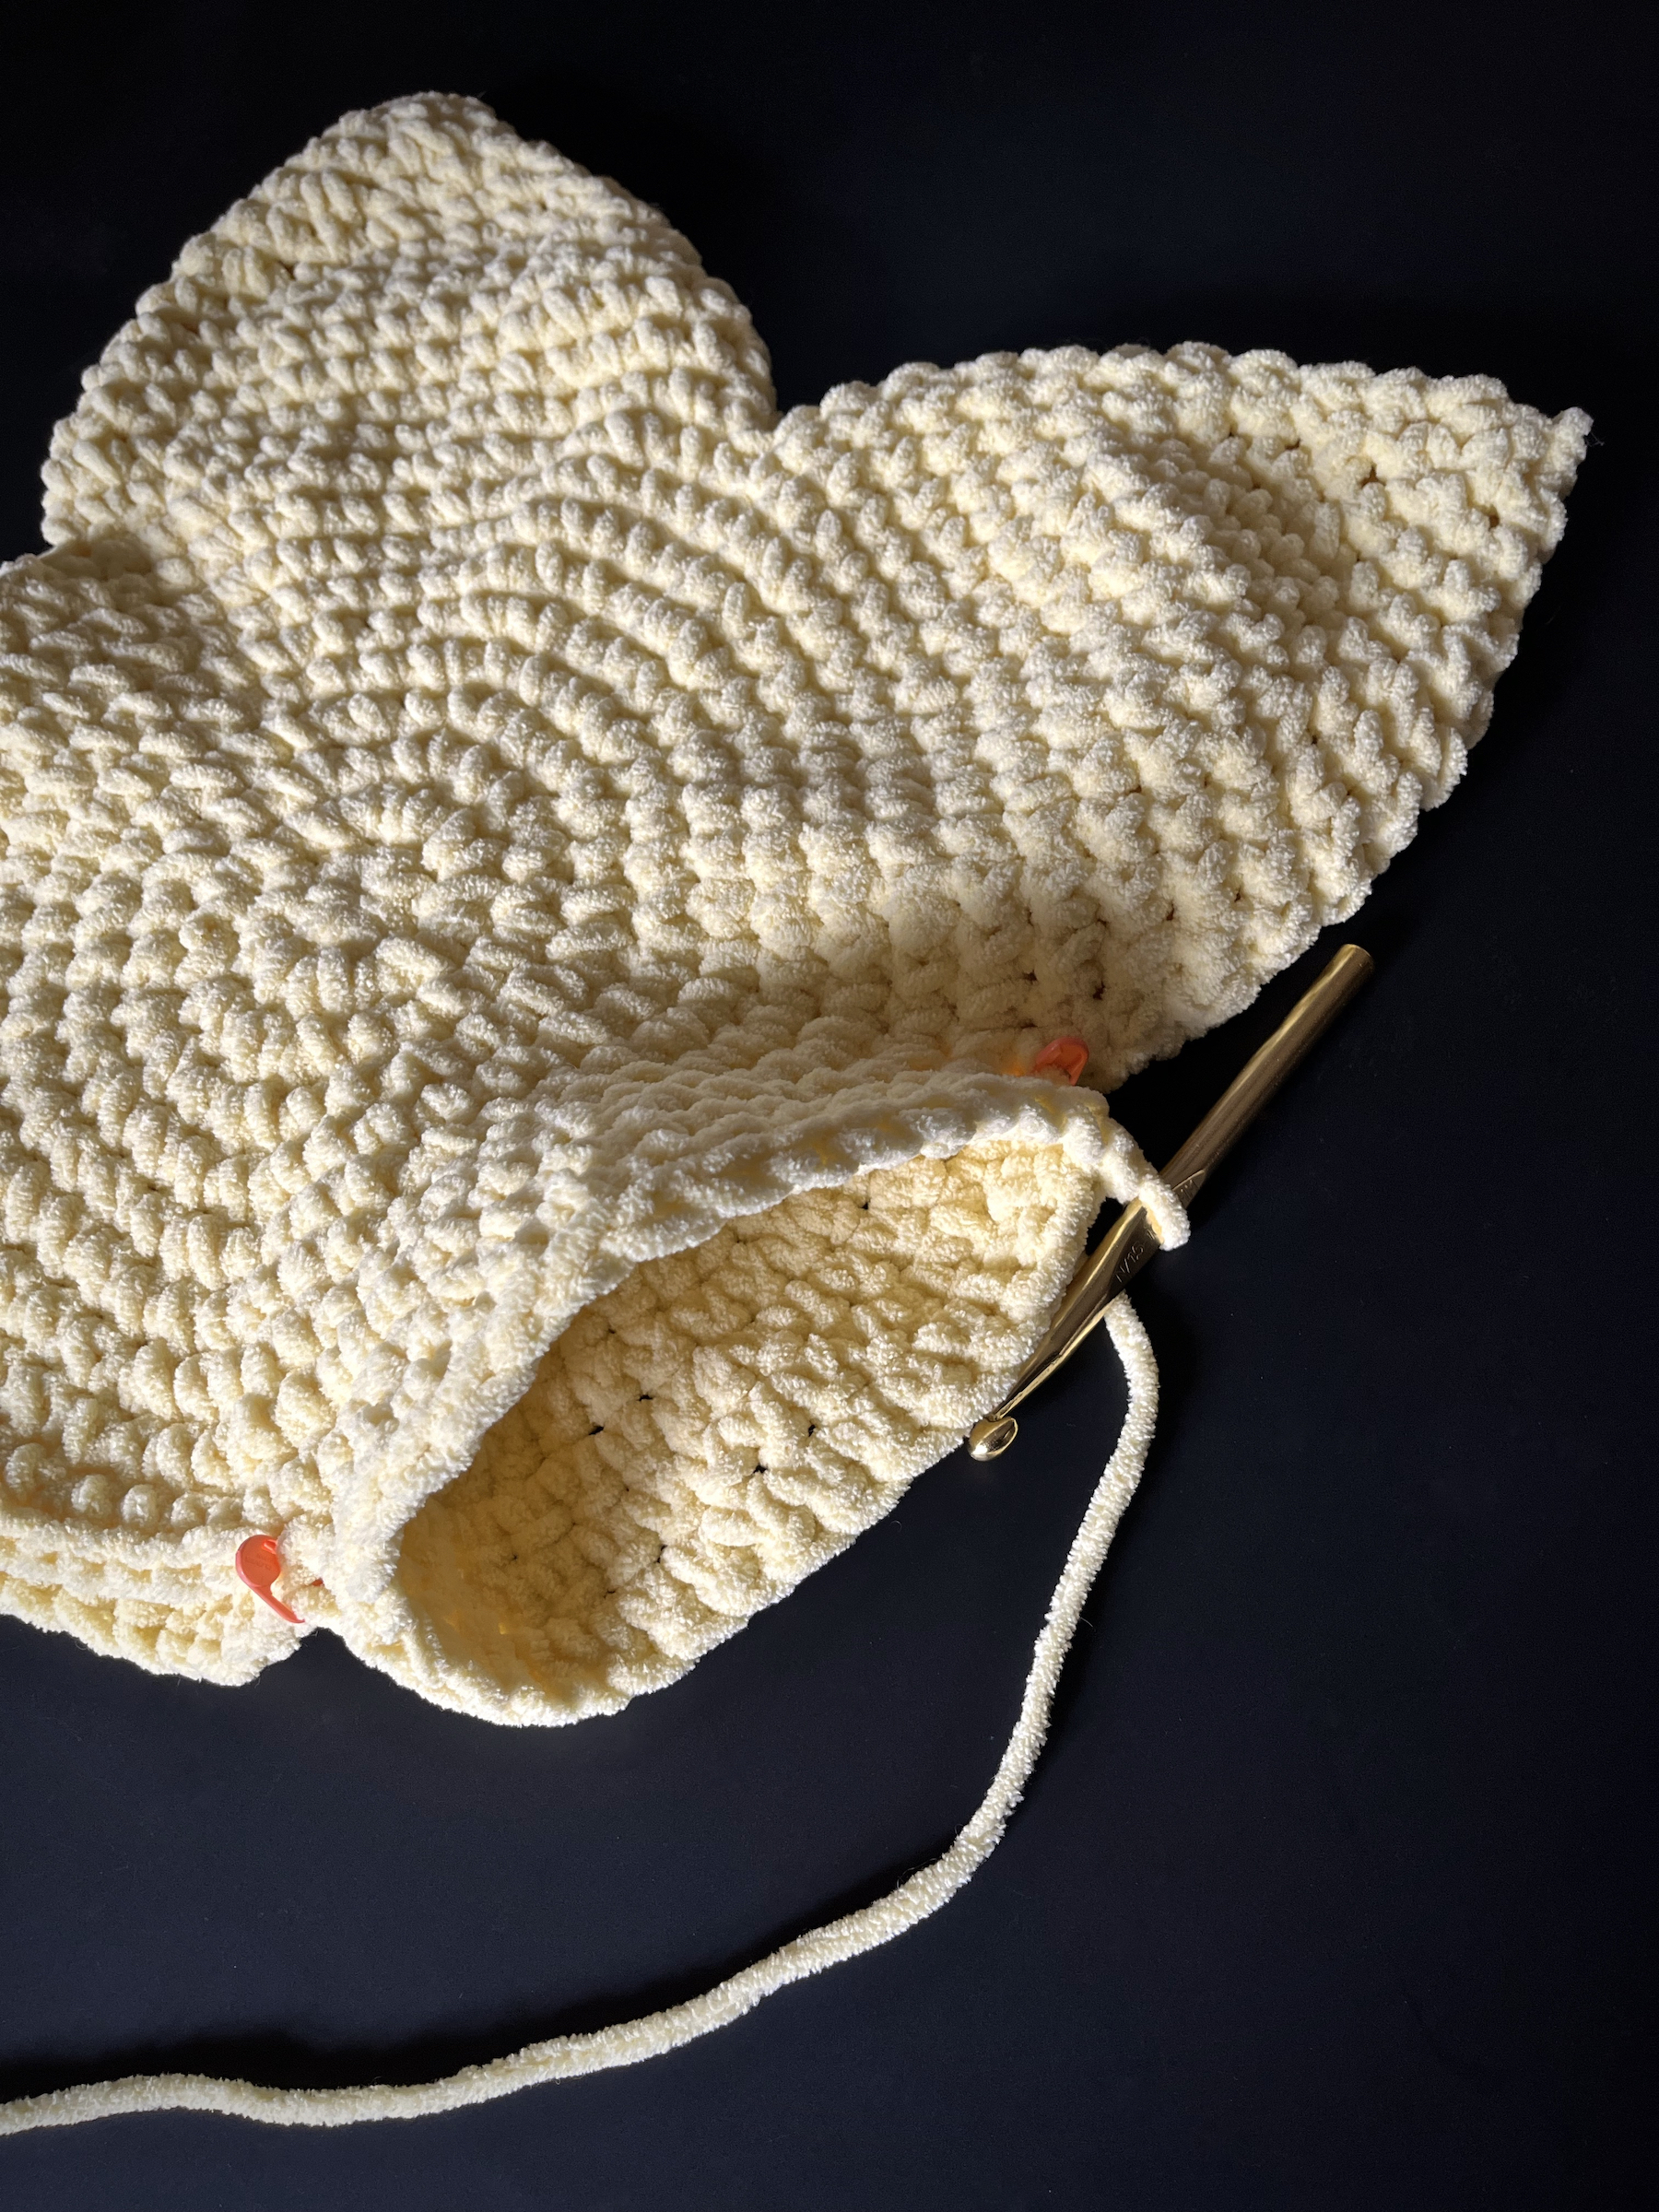
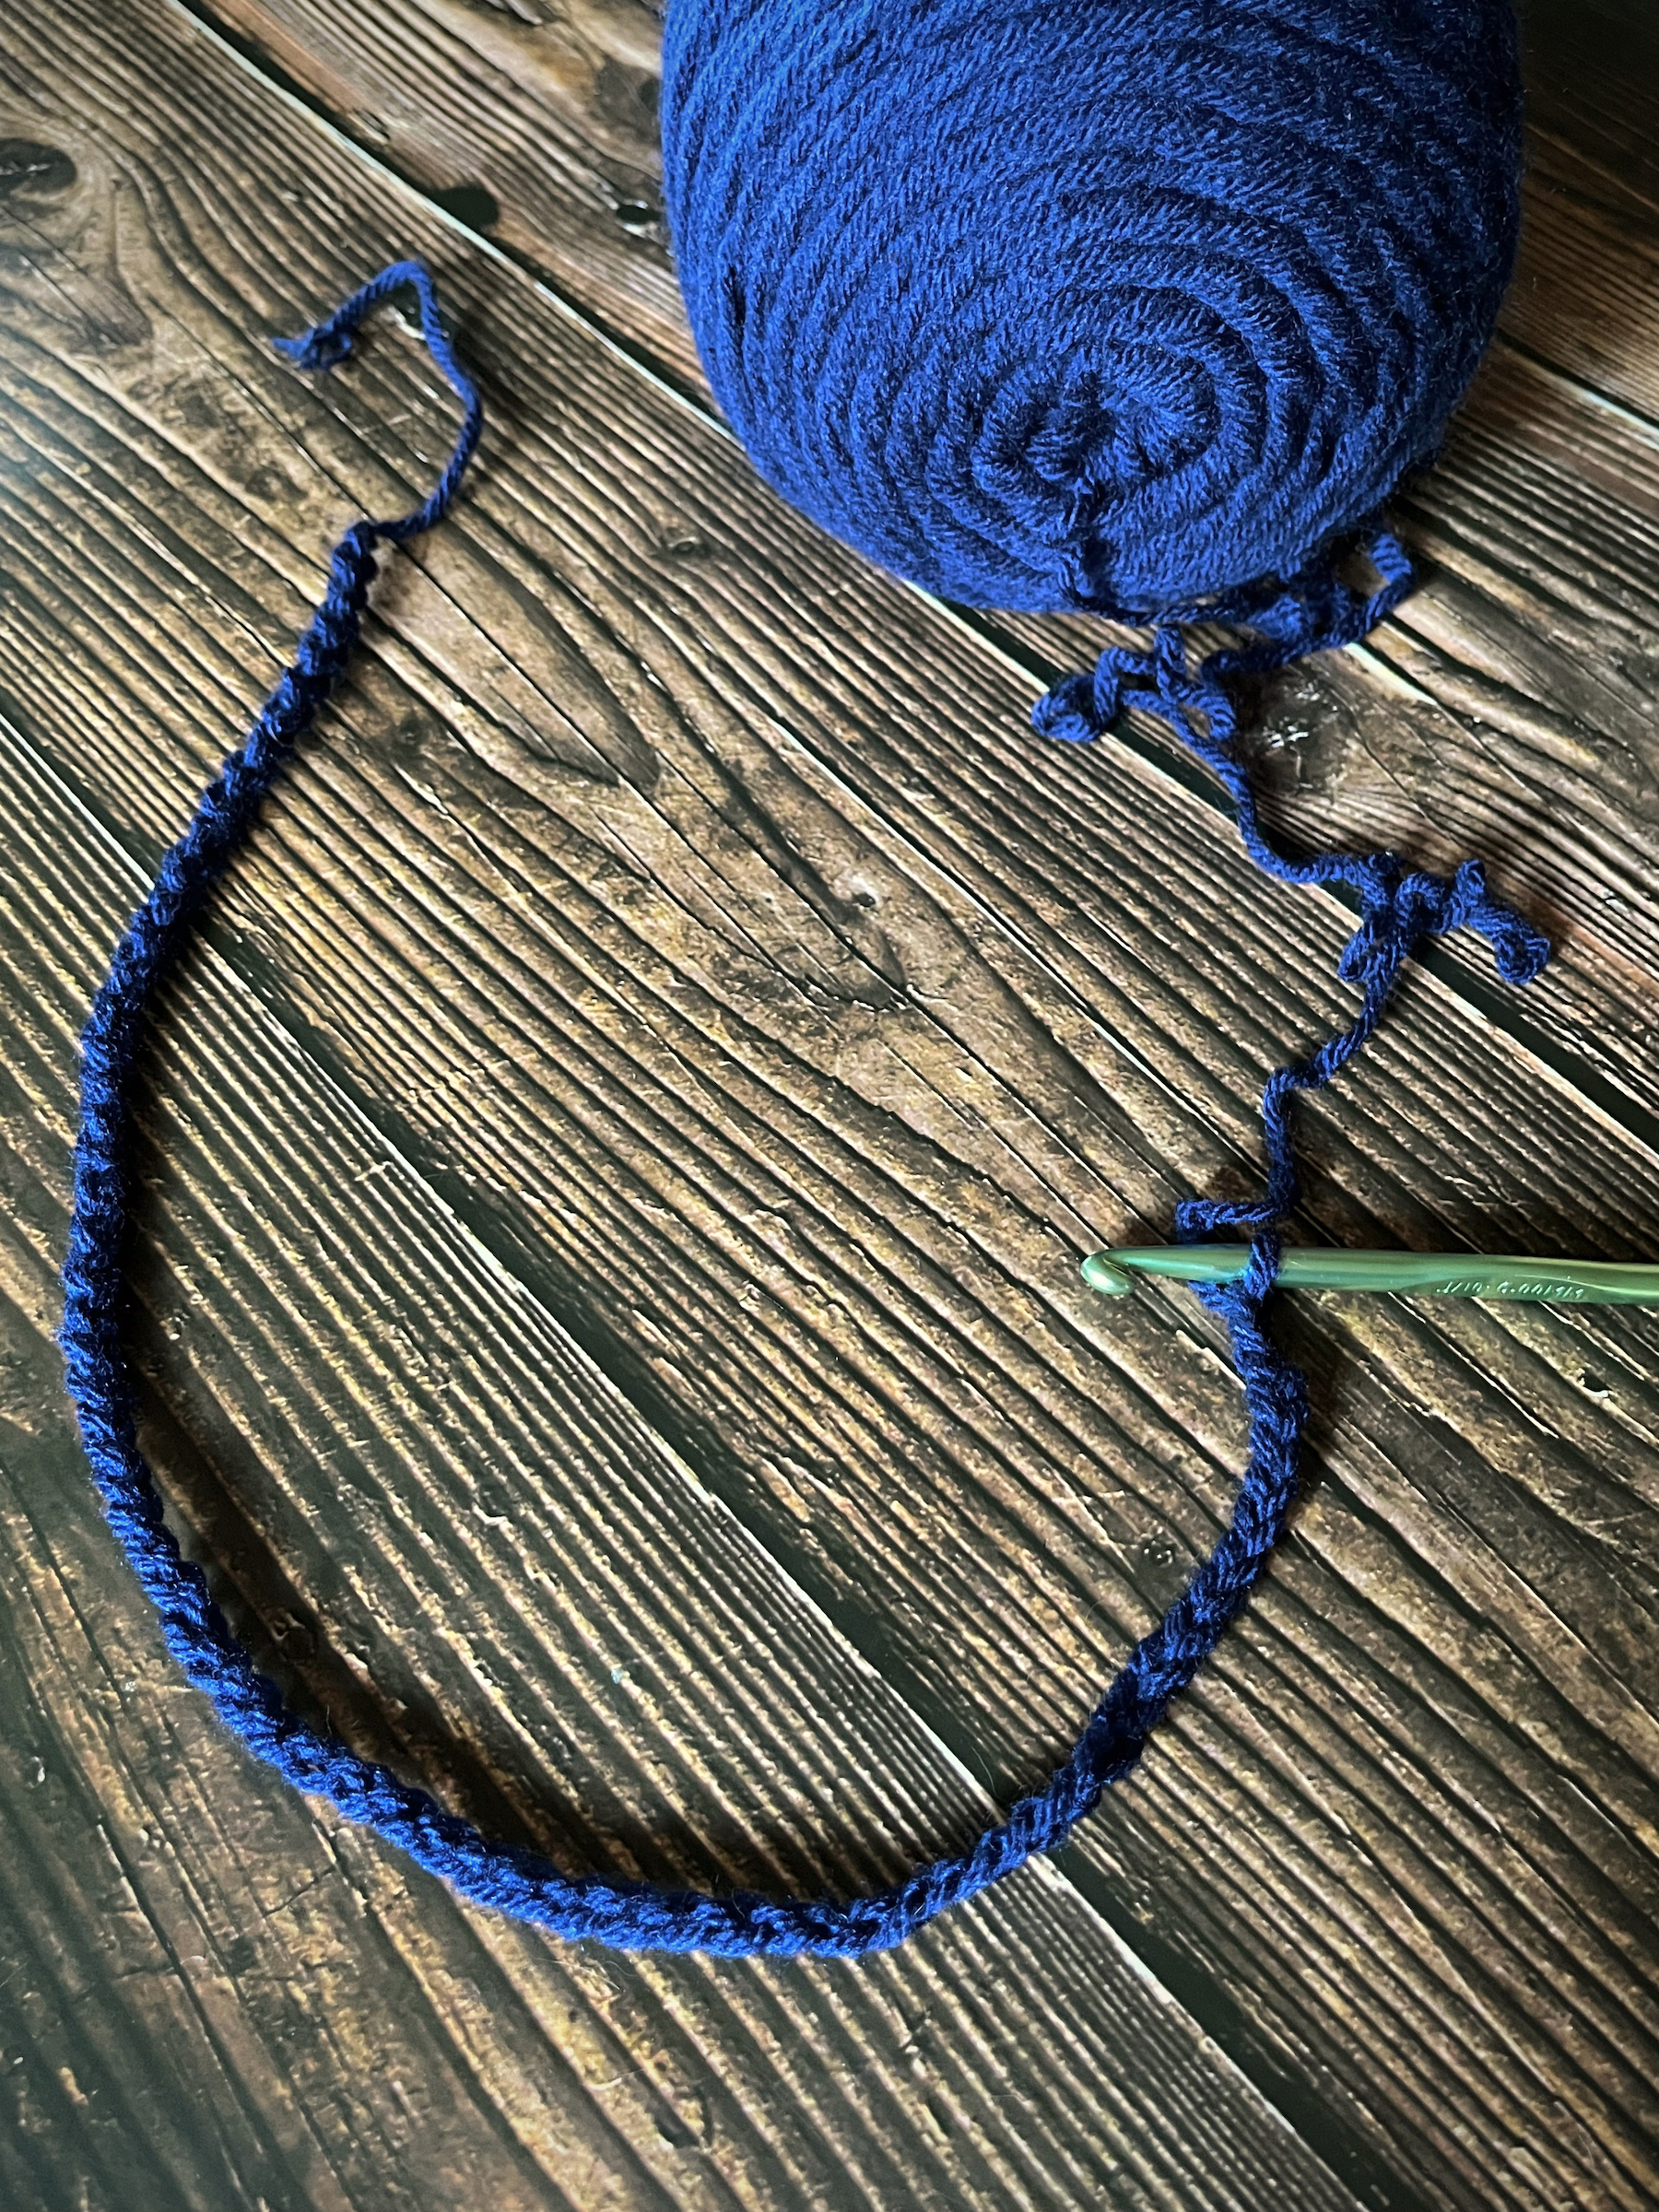
- Create a slip knot and then 64 chain stitches. The chain number may vary a bit depending on the head size you are creating the headband for. If possible, hold the chain around your head or theirs to measure.
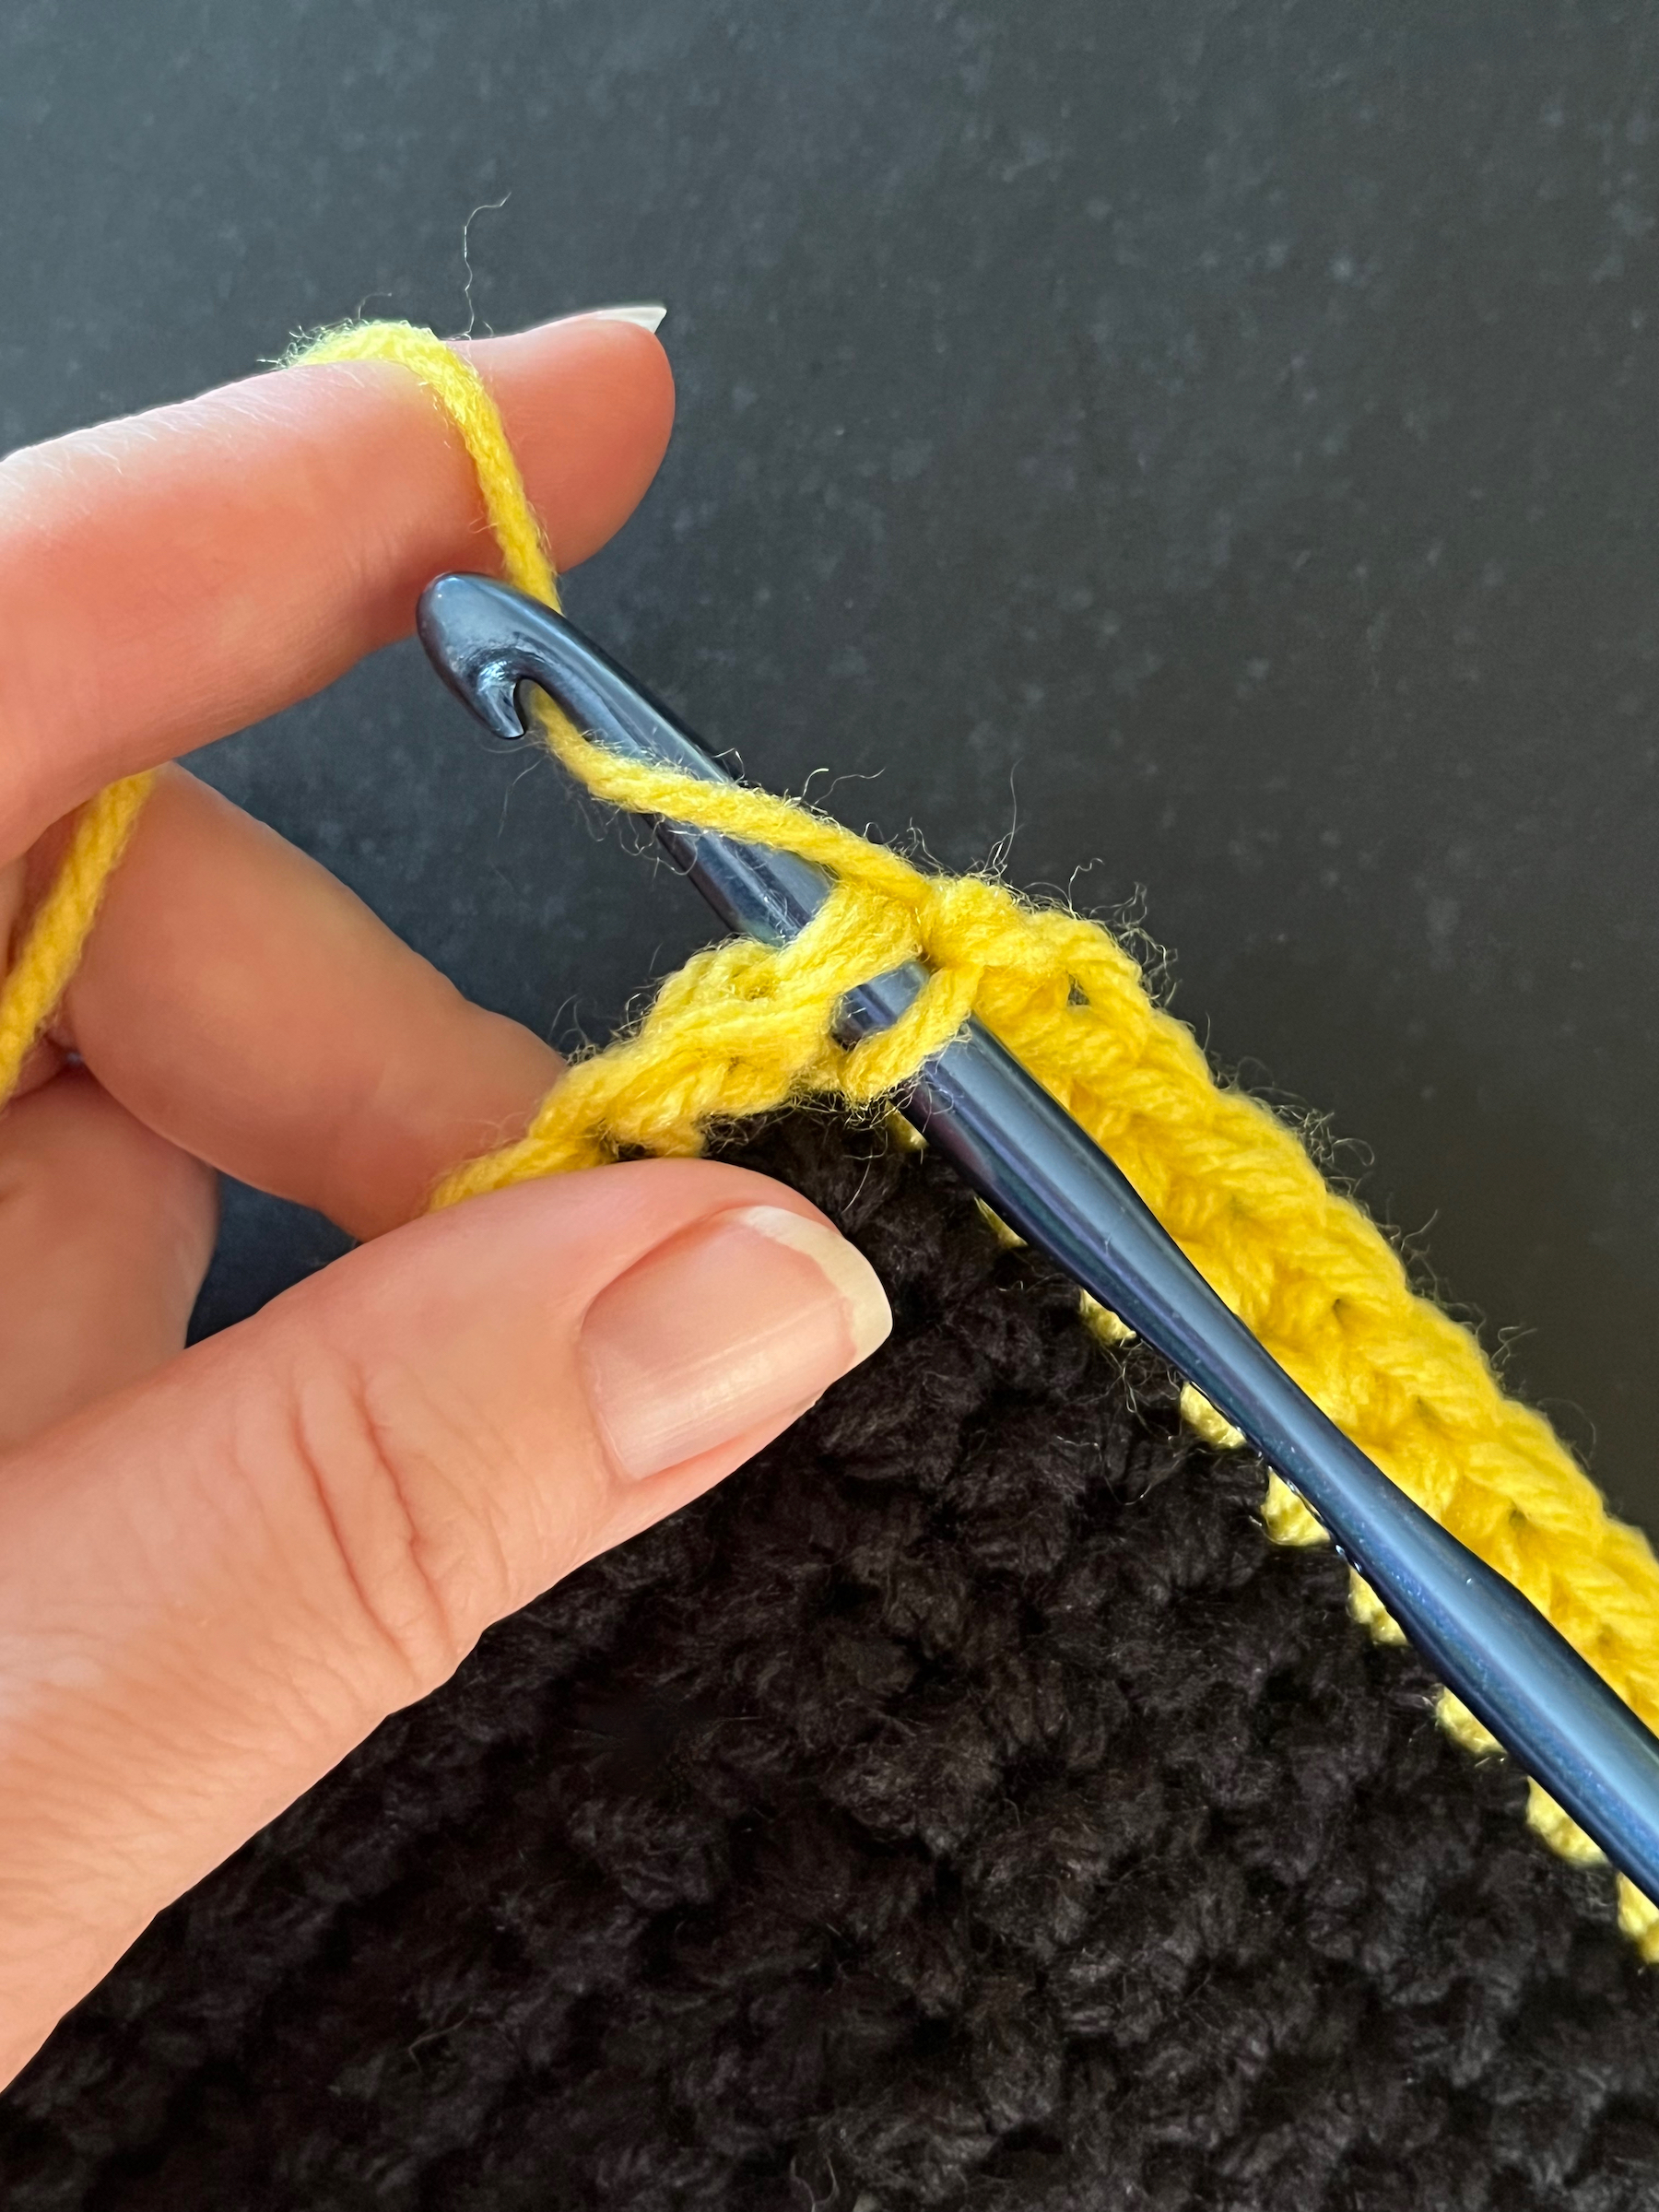
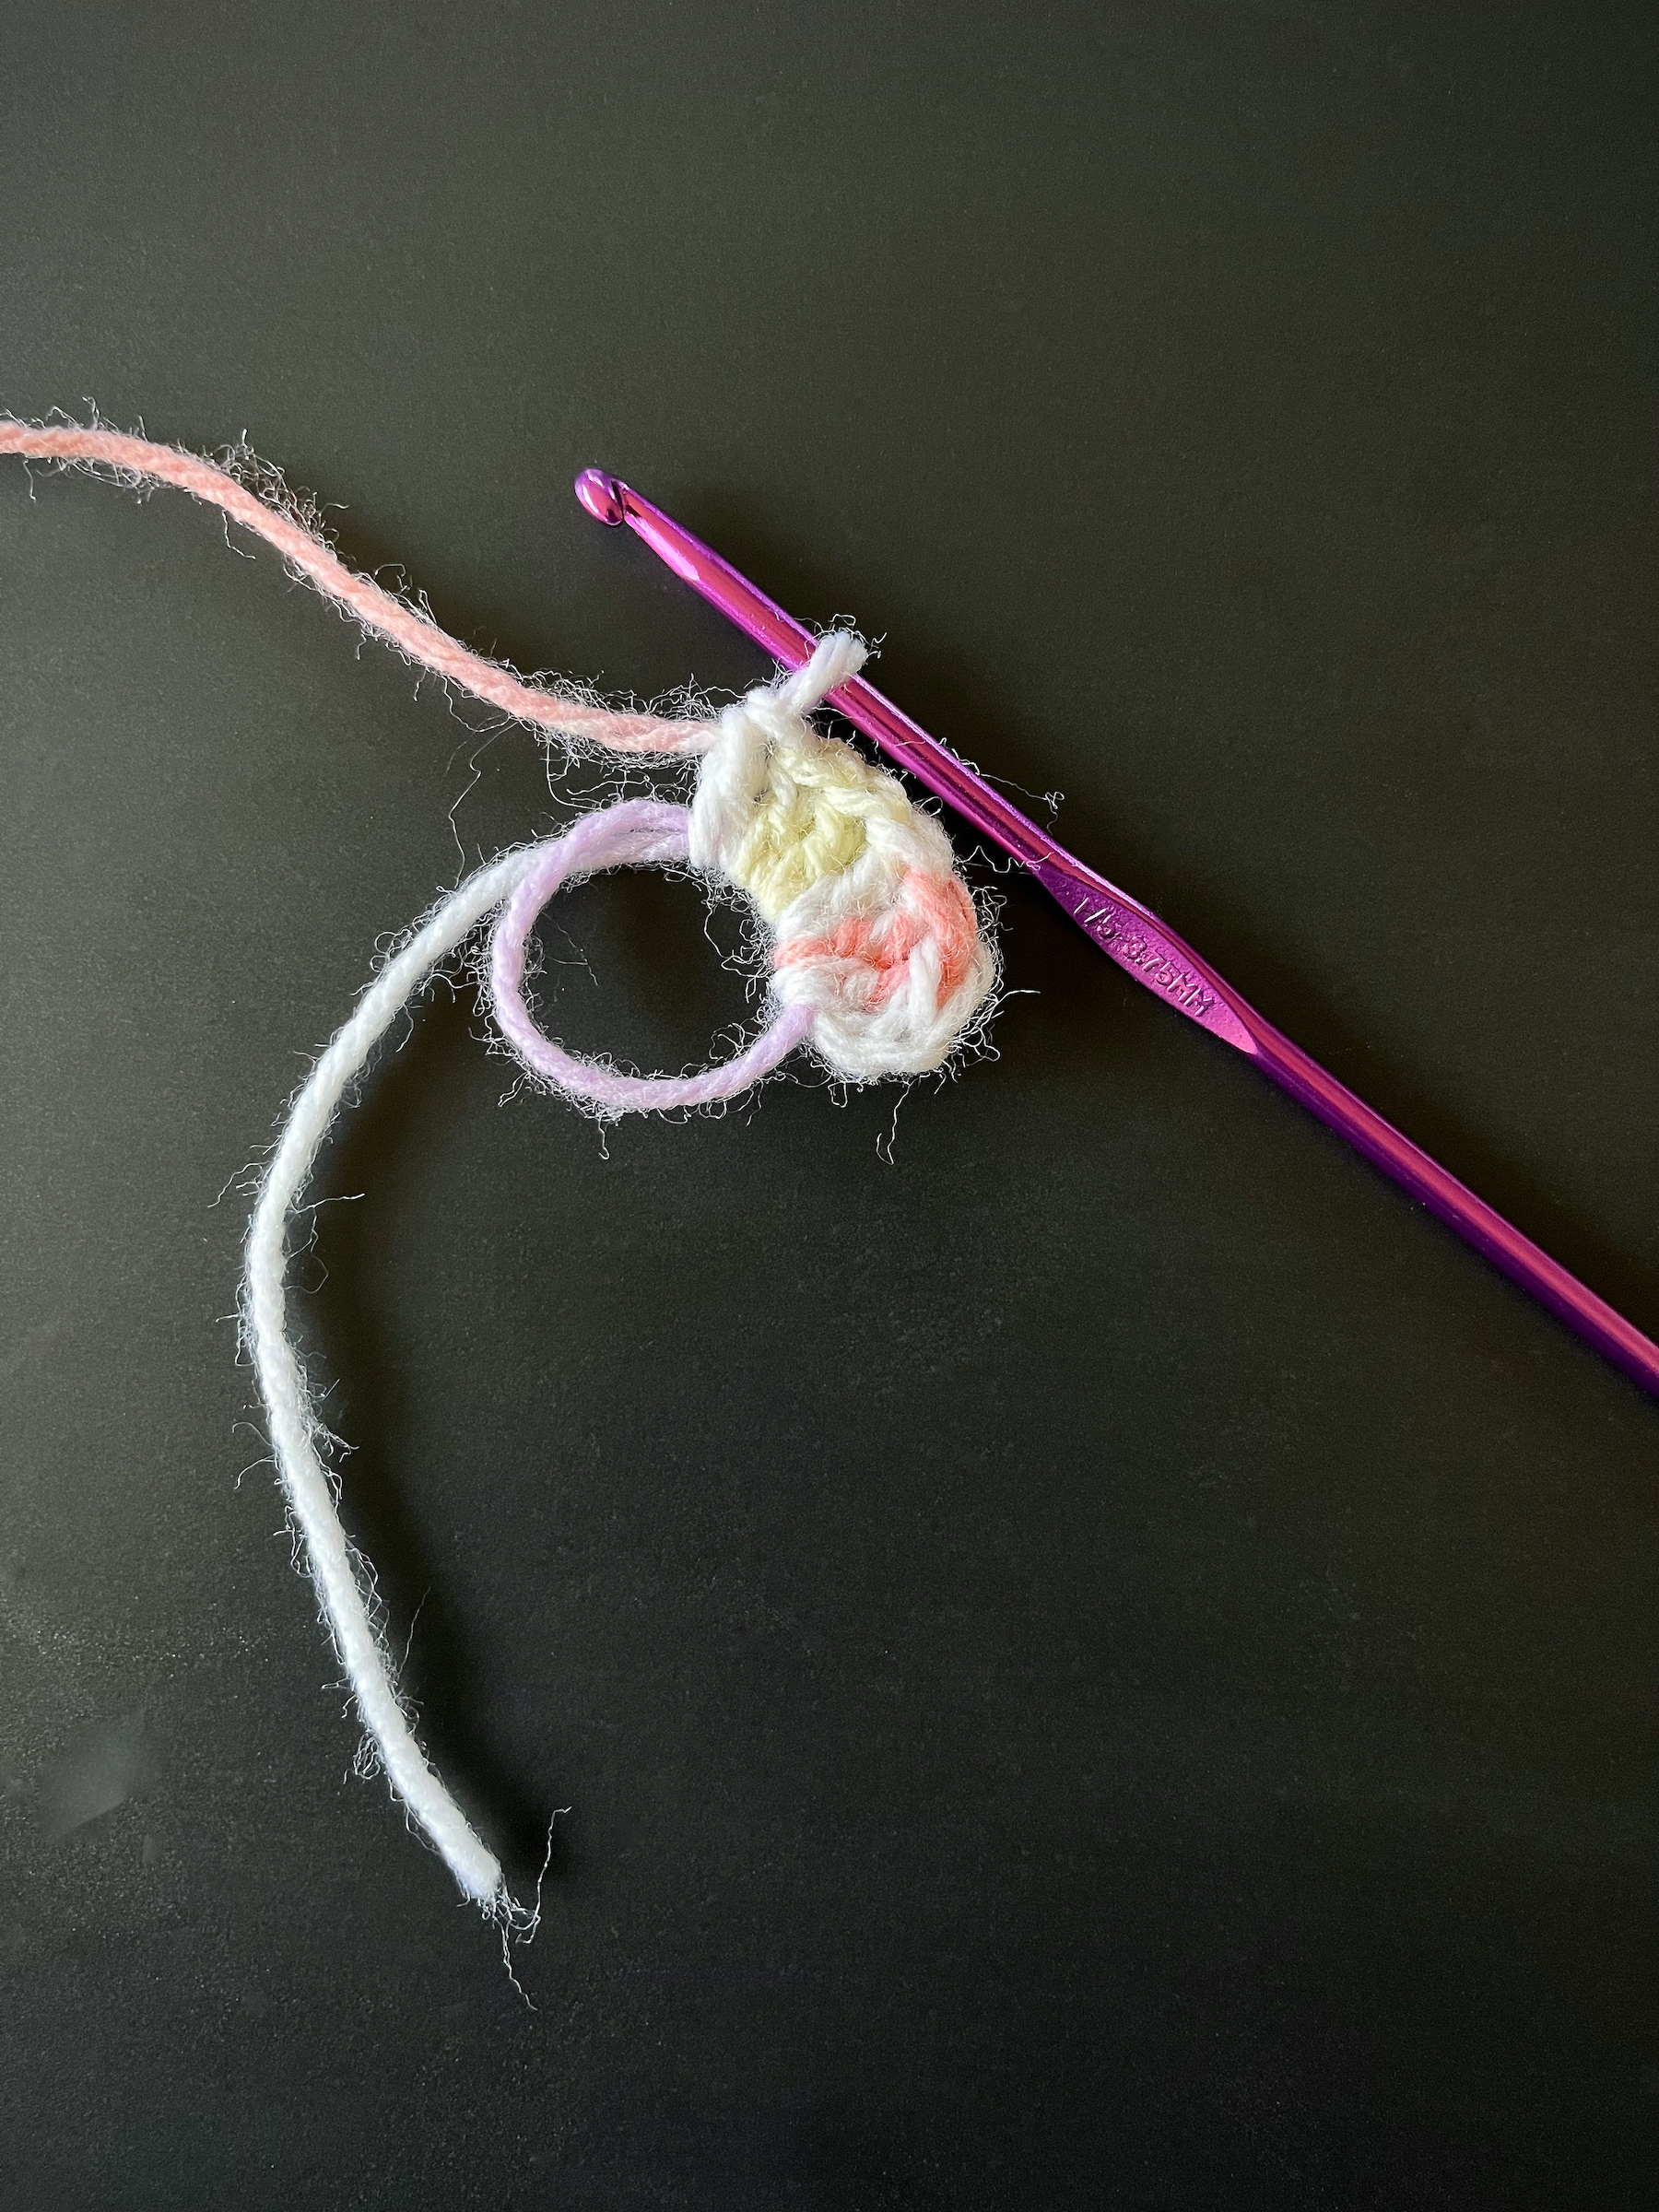
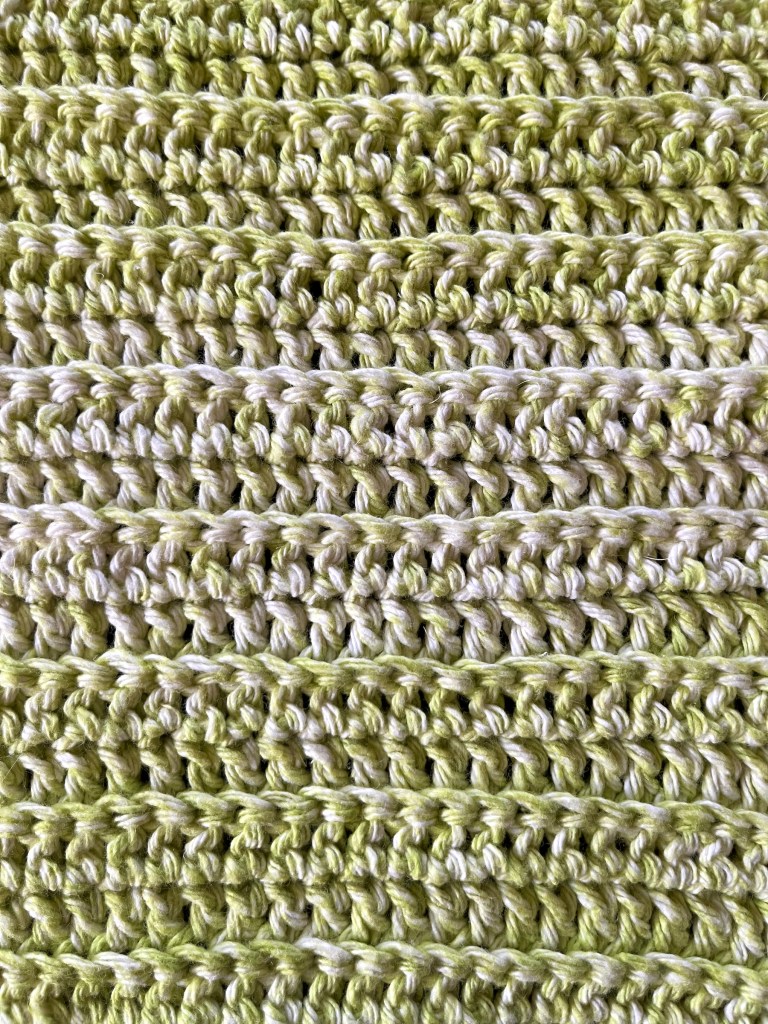
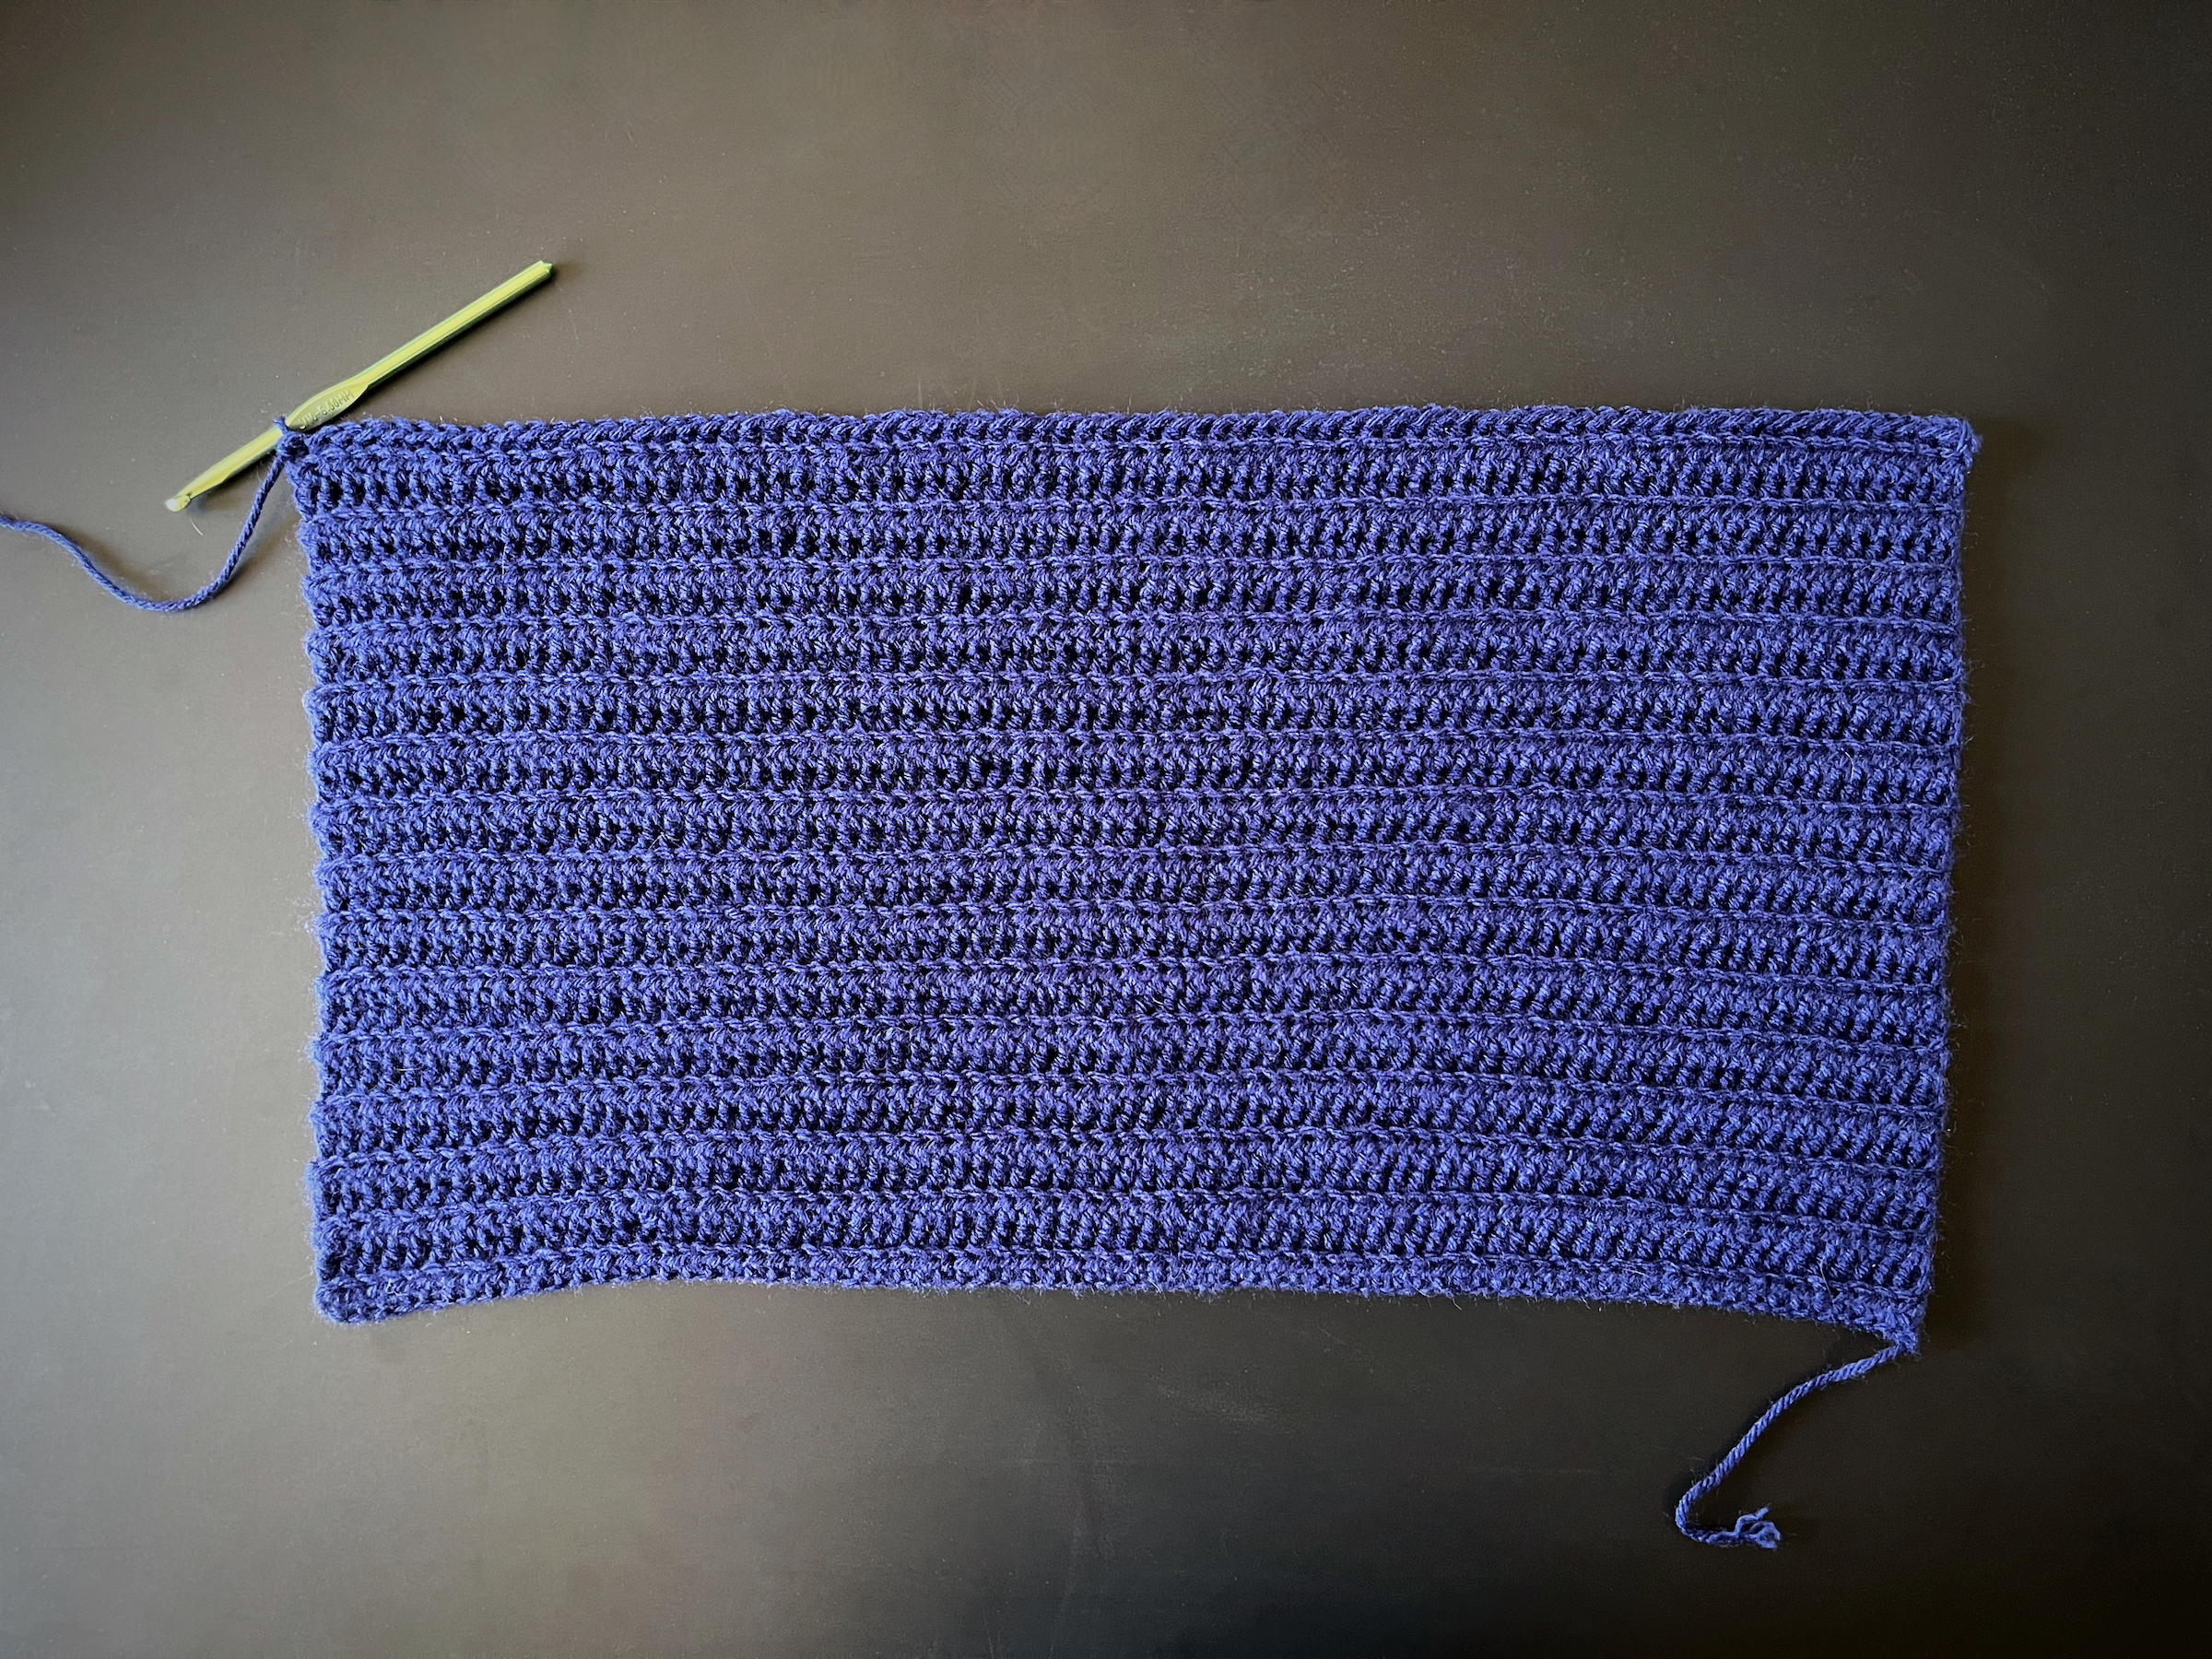
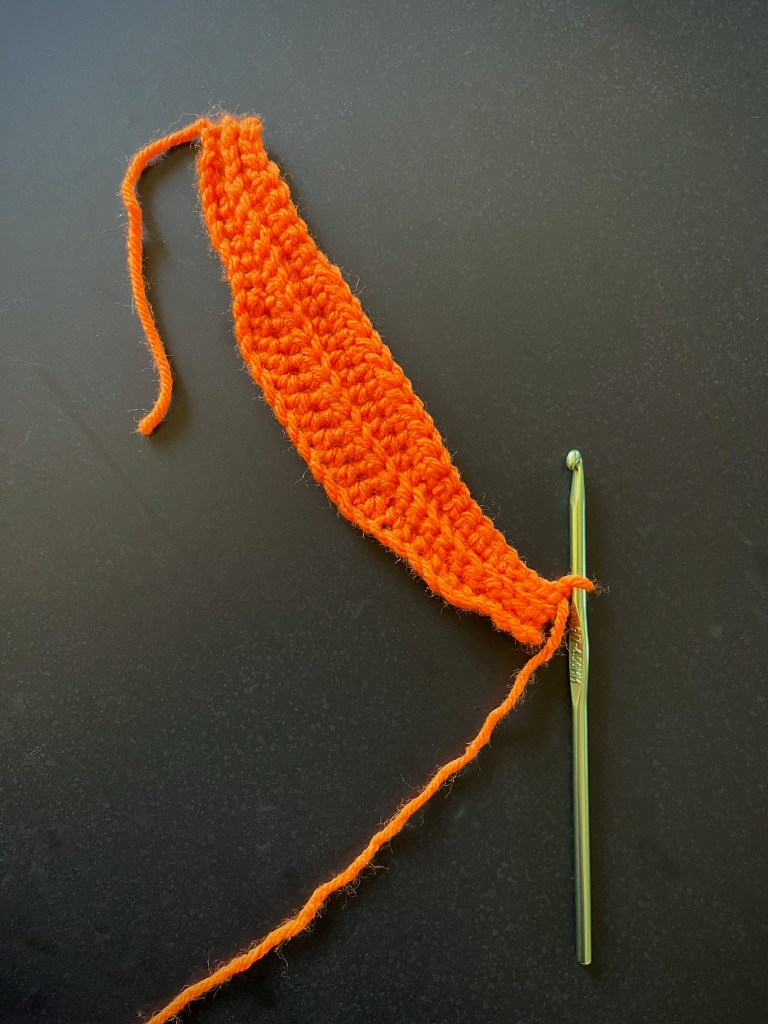
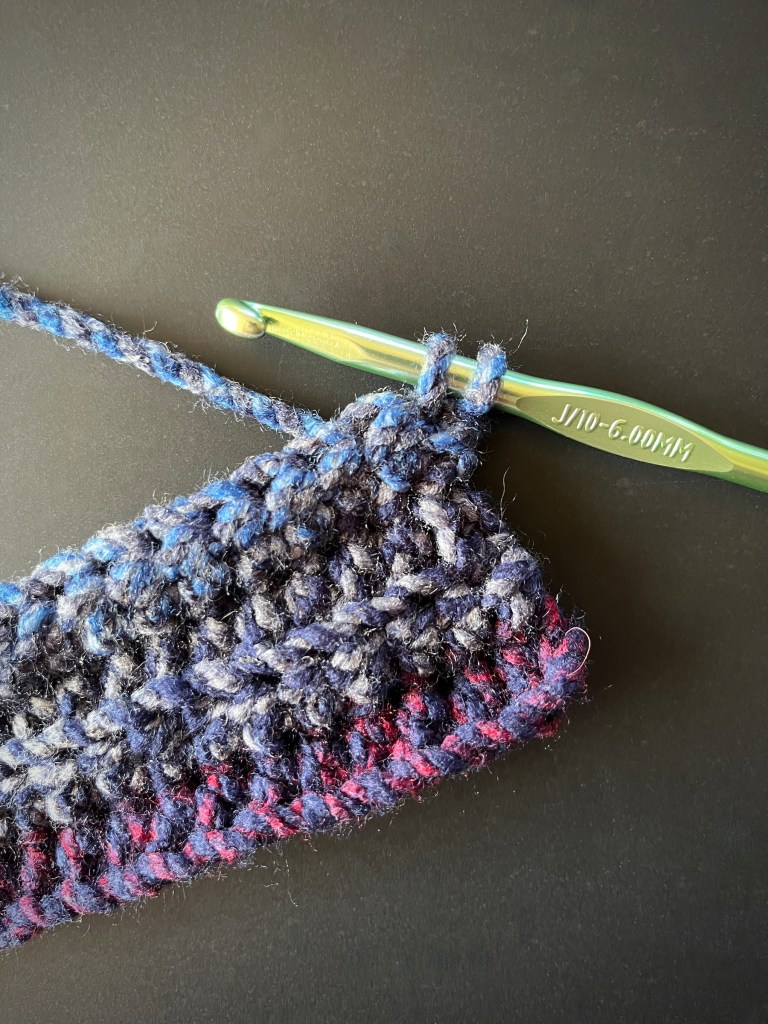
- Turn your chain around and half double crochet (hdc) into the back loop of the second stitch from the hook, then continue to hdc in the back loops of each stitch all the way across your chain.
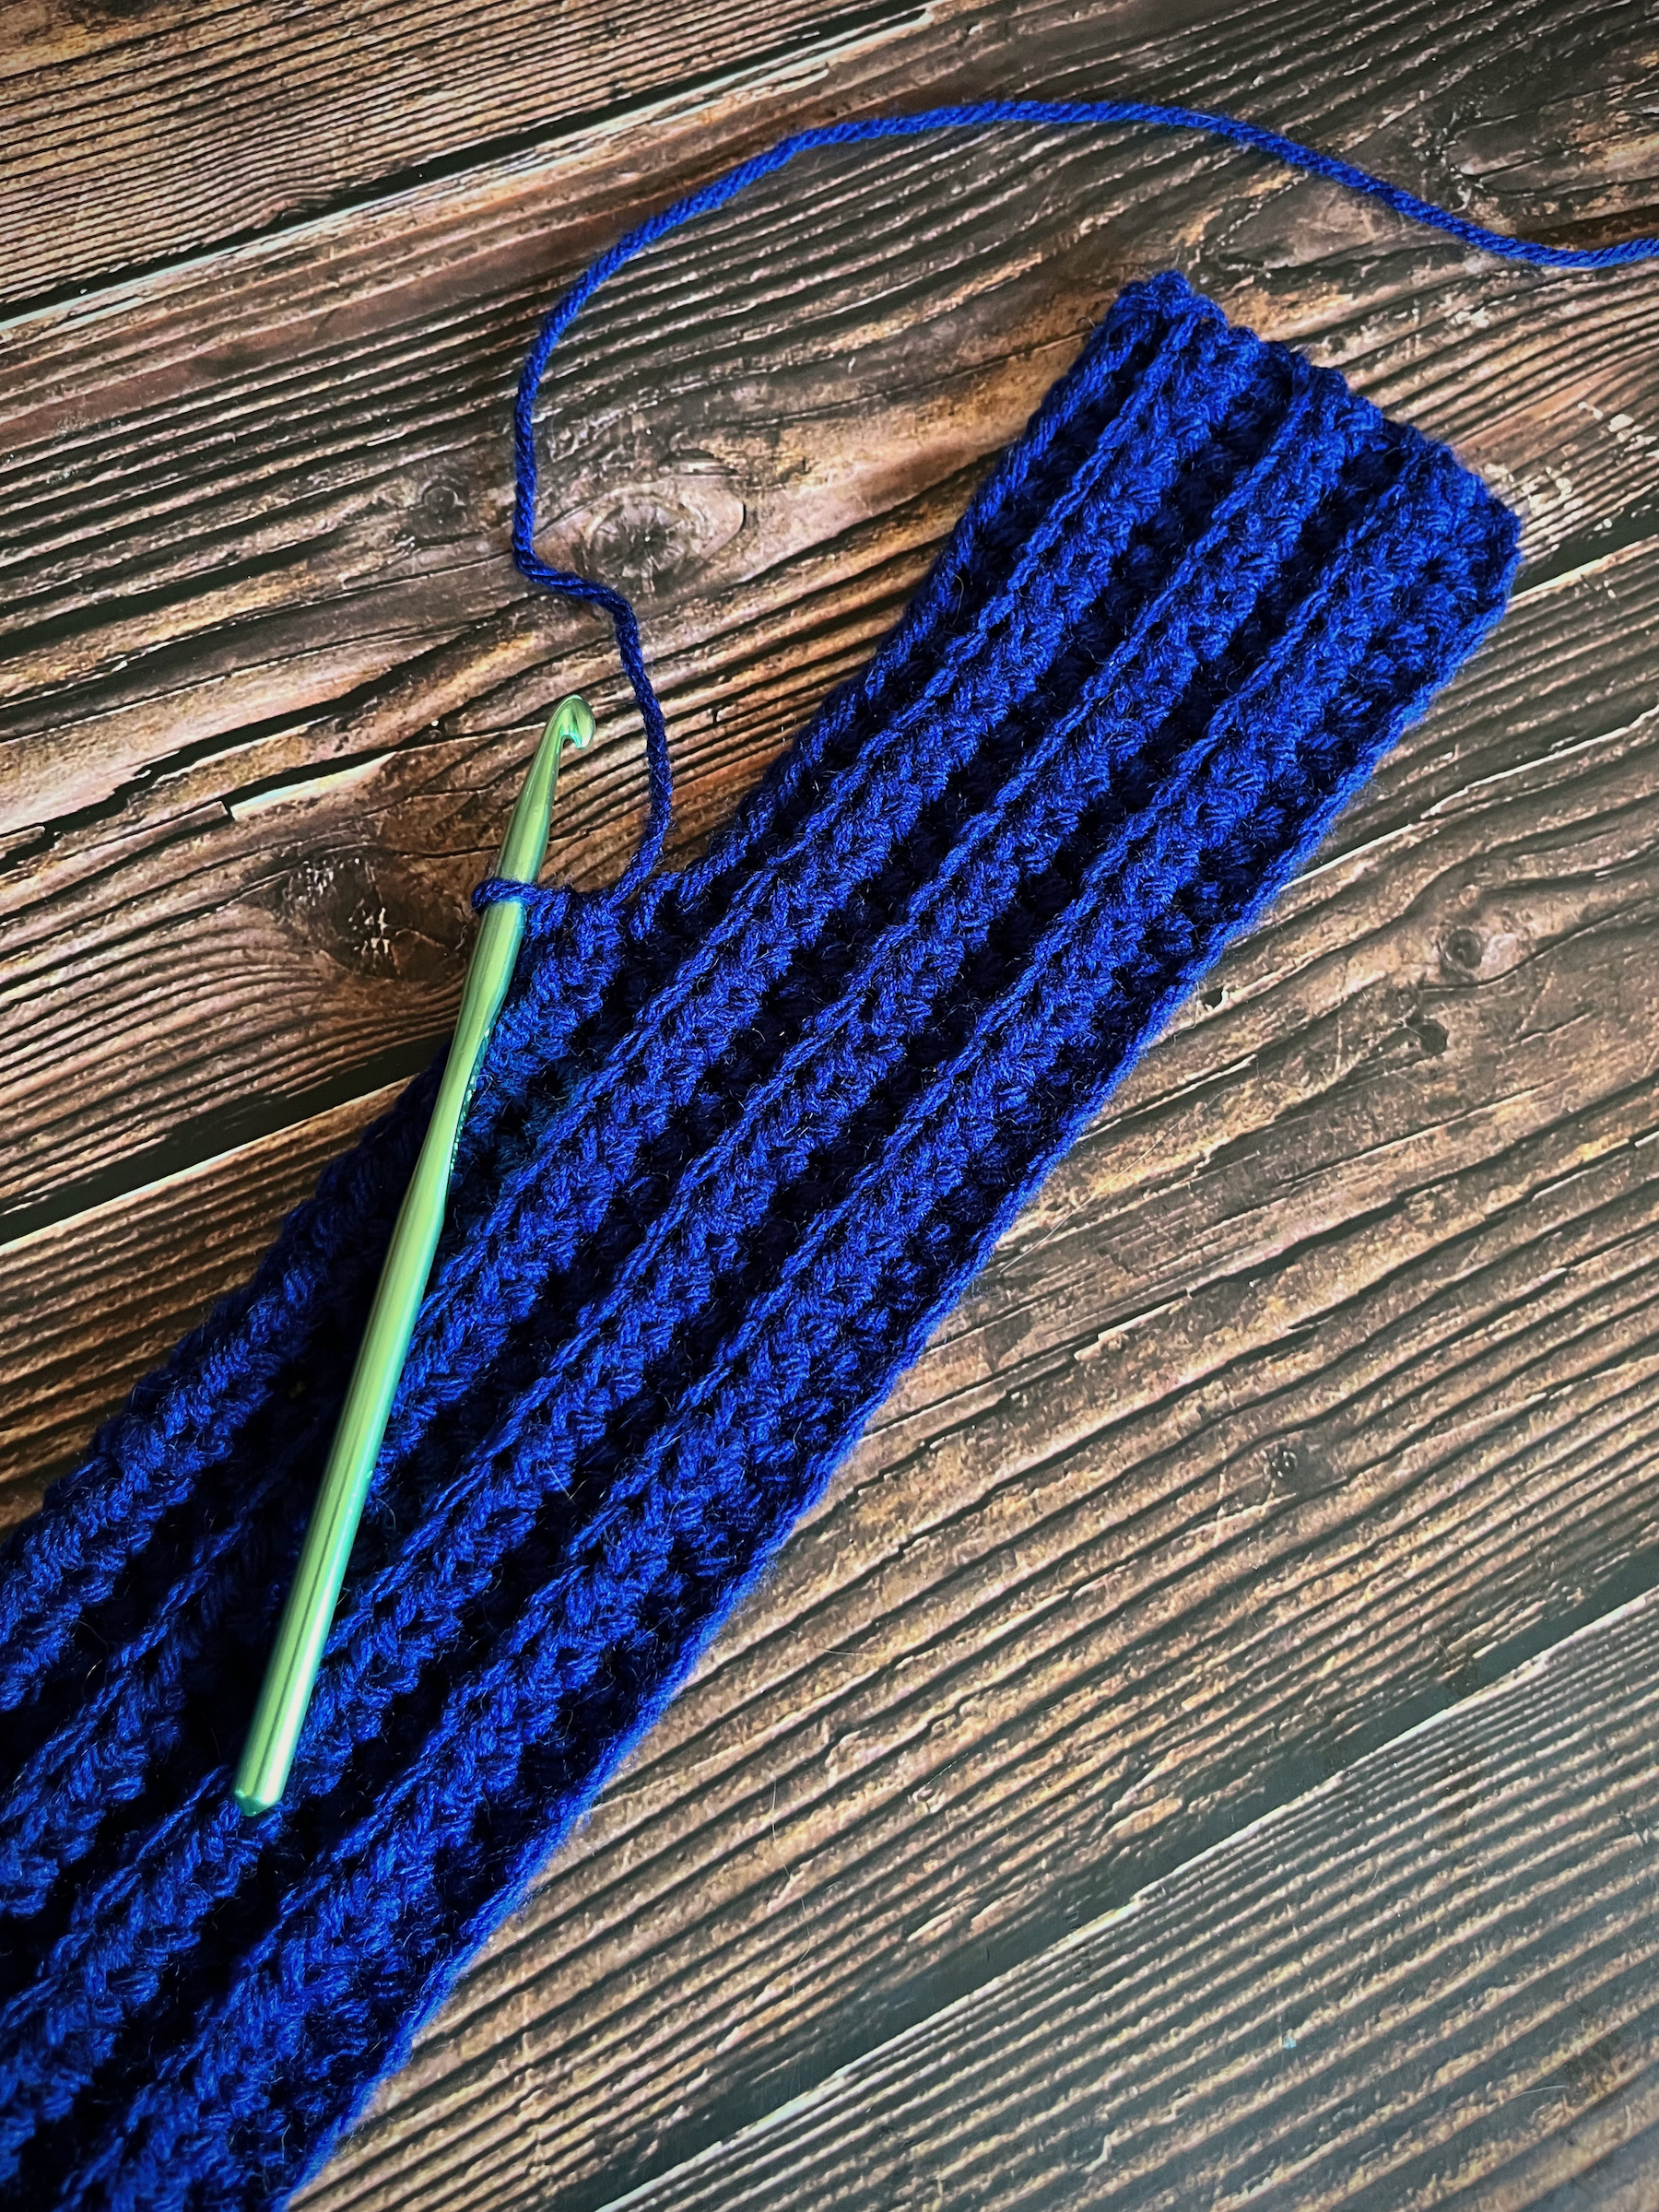
- Turn your work. Insert your hook under both loops of the first stitch, yarn over and pull through. Then insert your hook behind the second vertical loop of the stitch you just created, yarn over and pull through. This create a smoother/ straighter finish along the sides of the project.
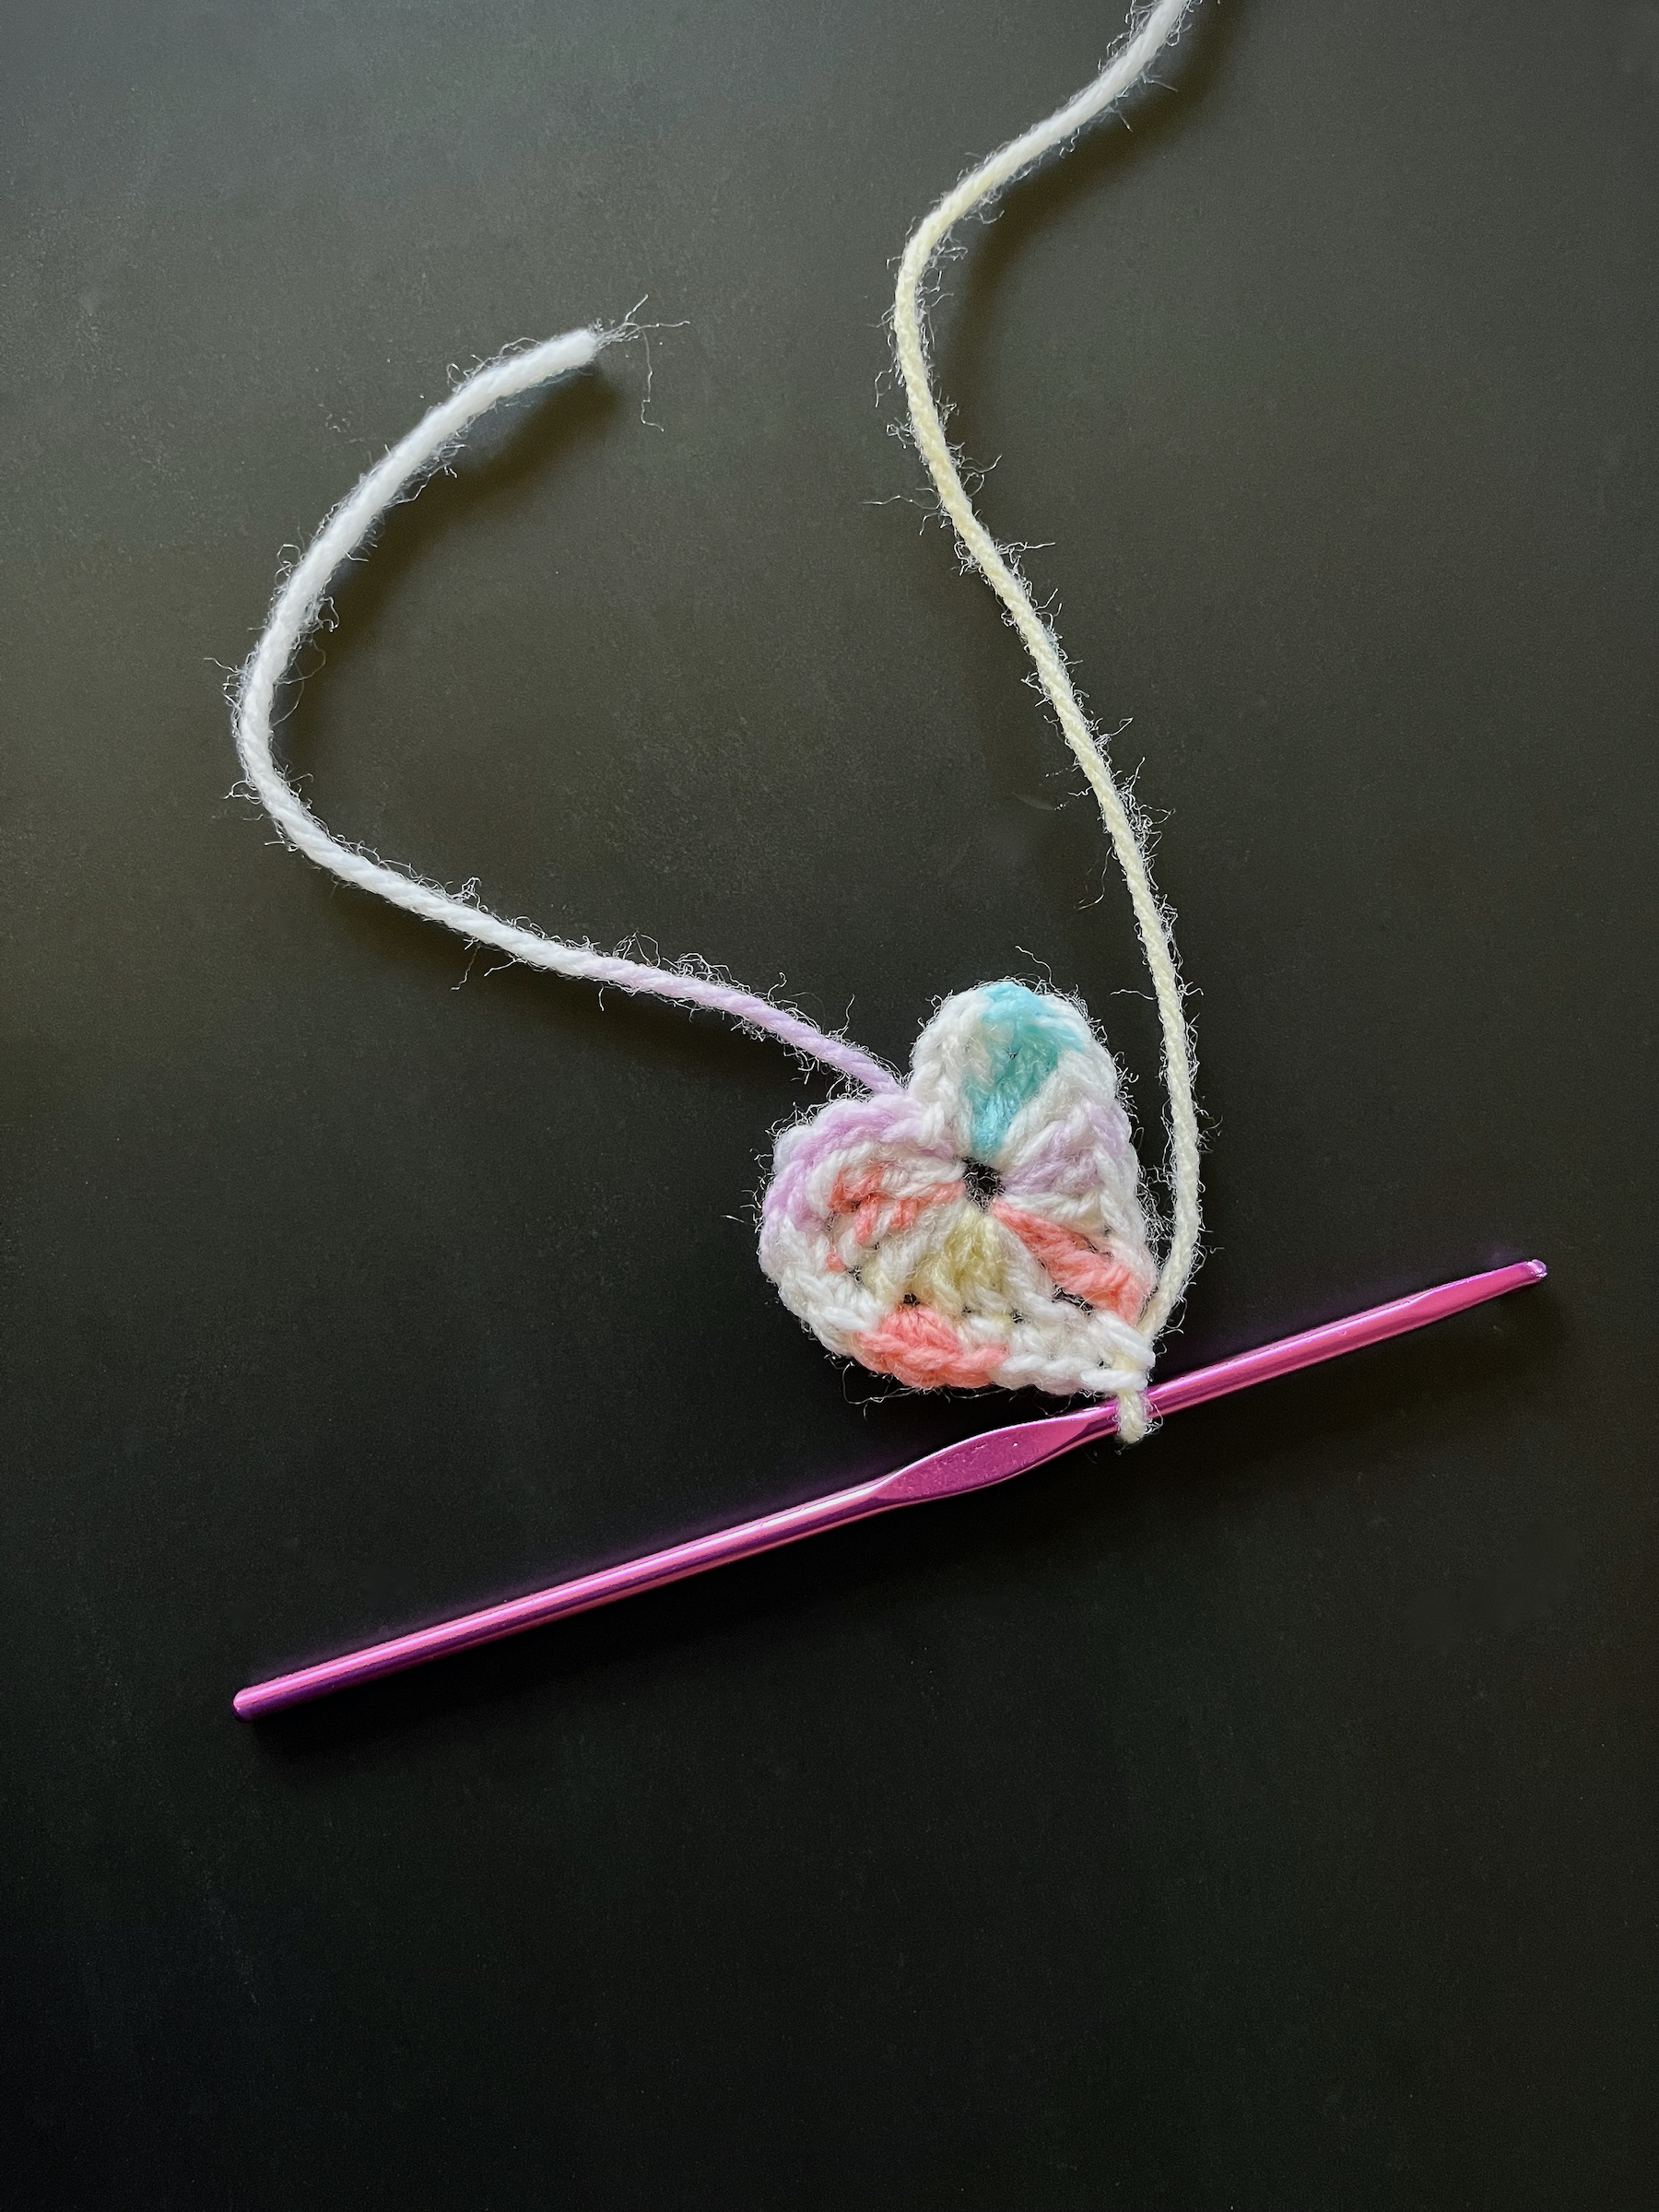
- In the next stitch, hdc into the back loop and then continue to hdc in the back loops of each stitch all the way across your project.
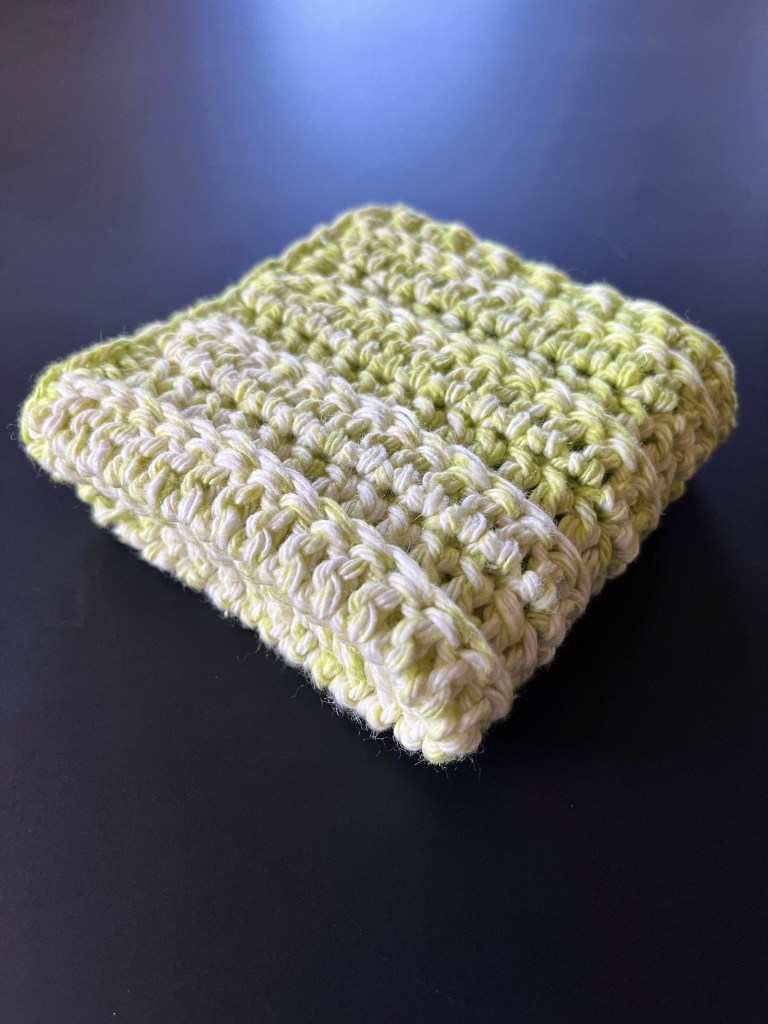
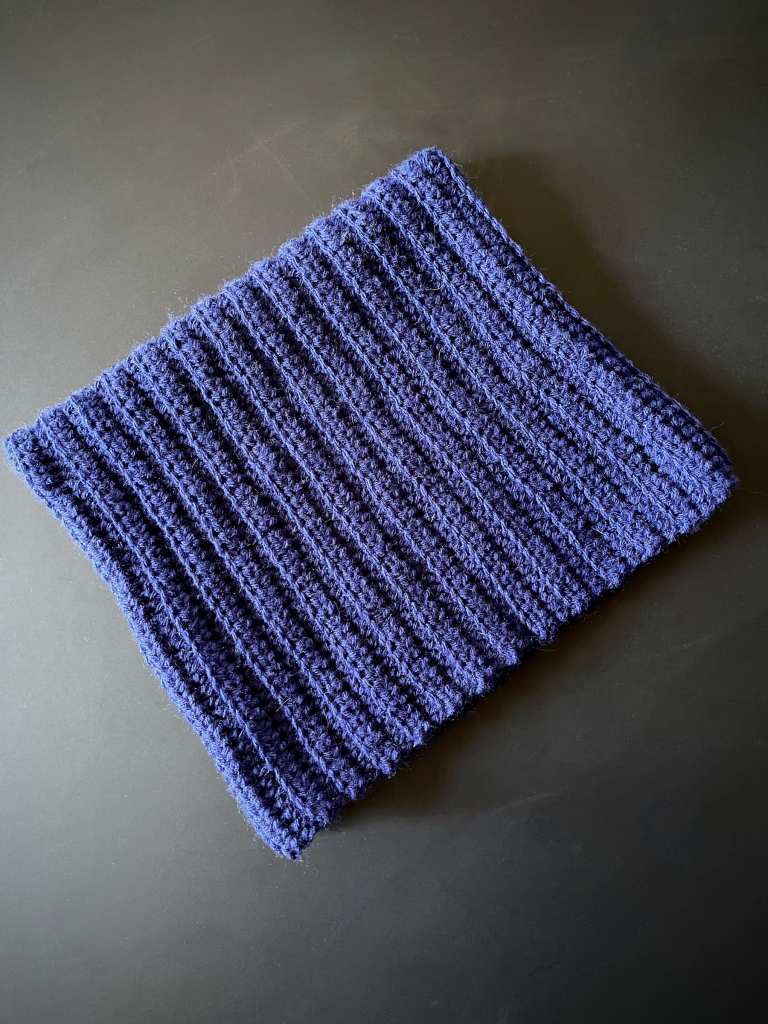
- Repeat steps 3 and 4 for the next 8 rows for a total of 9 hdc rows. You are welcome increase or decrease the amount of rows if you’d prefer a thinner or wider headband.
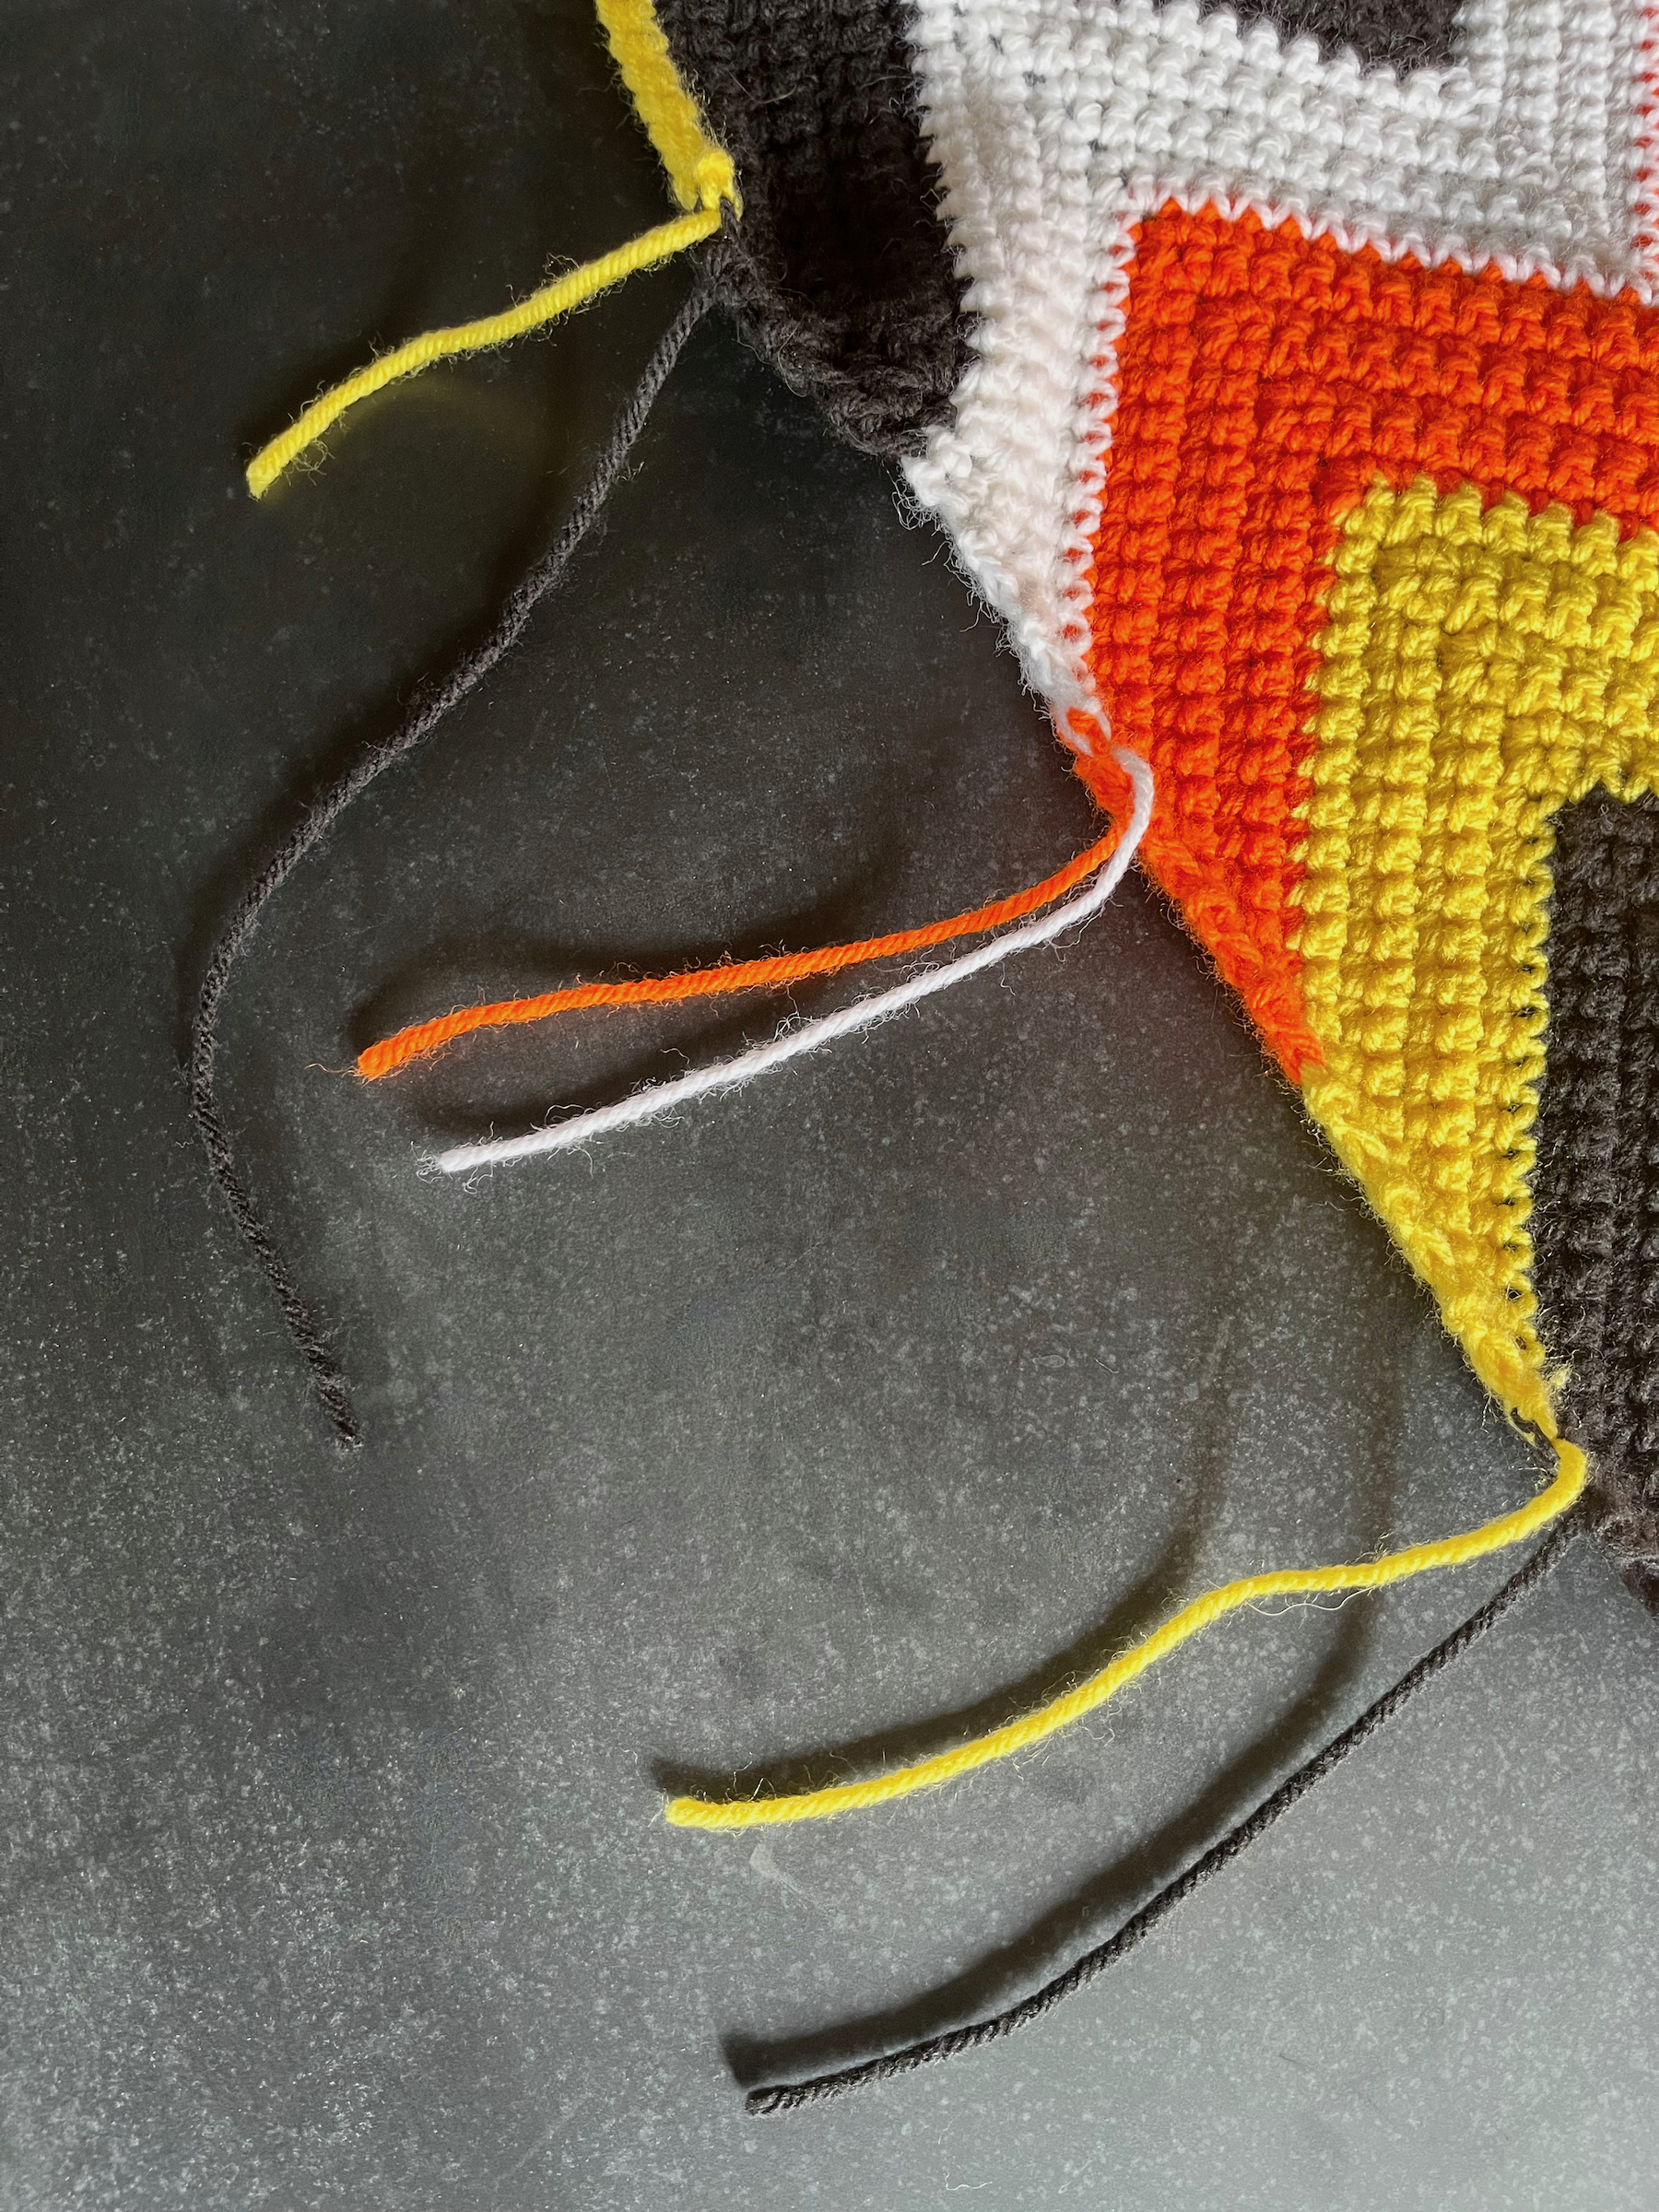
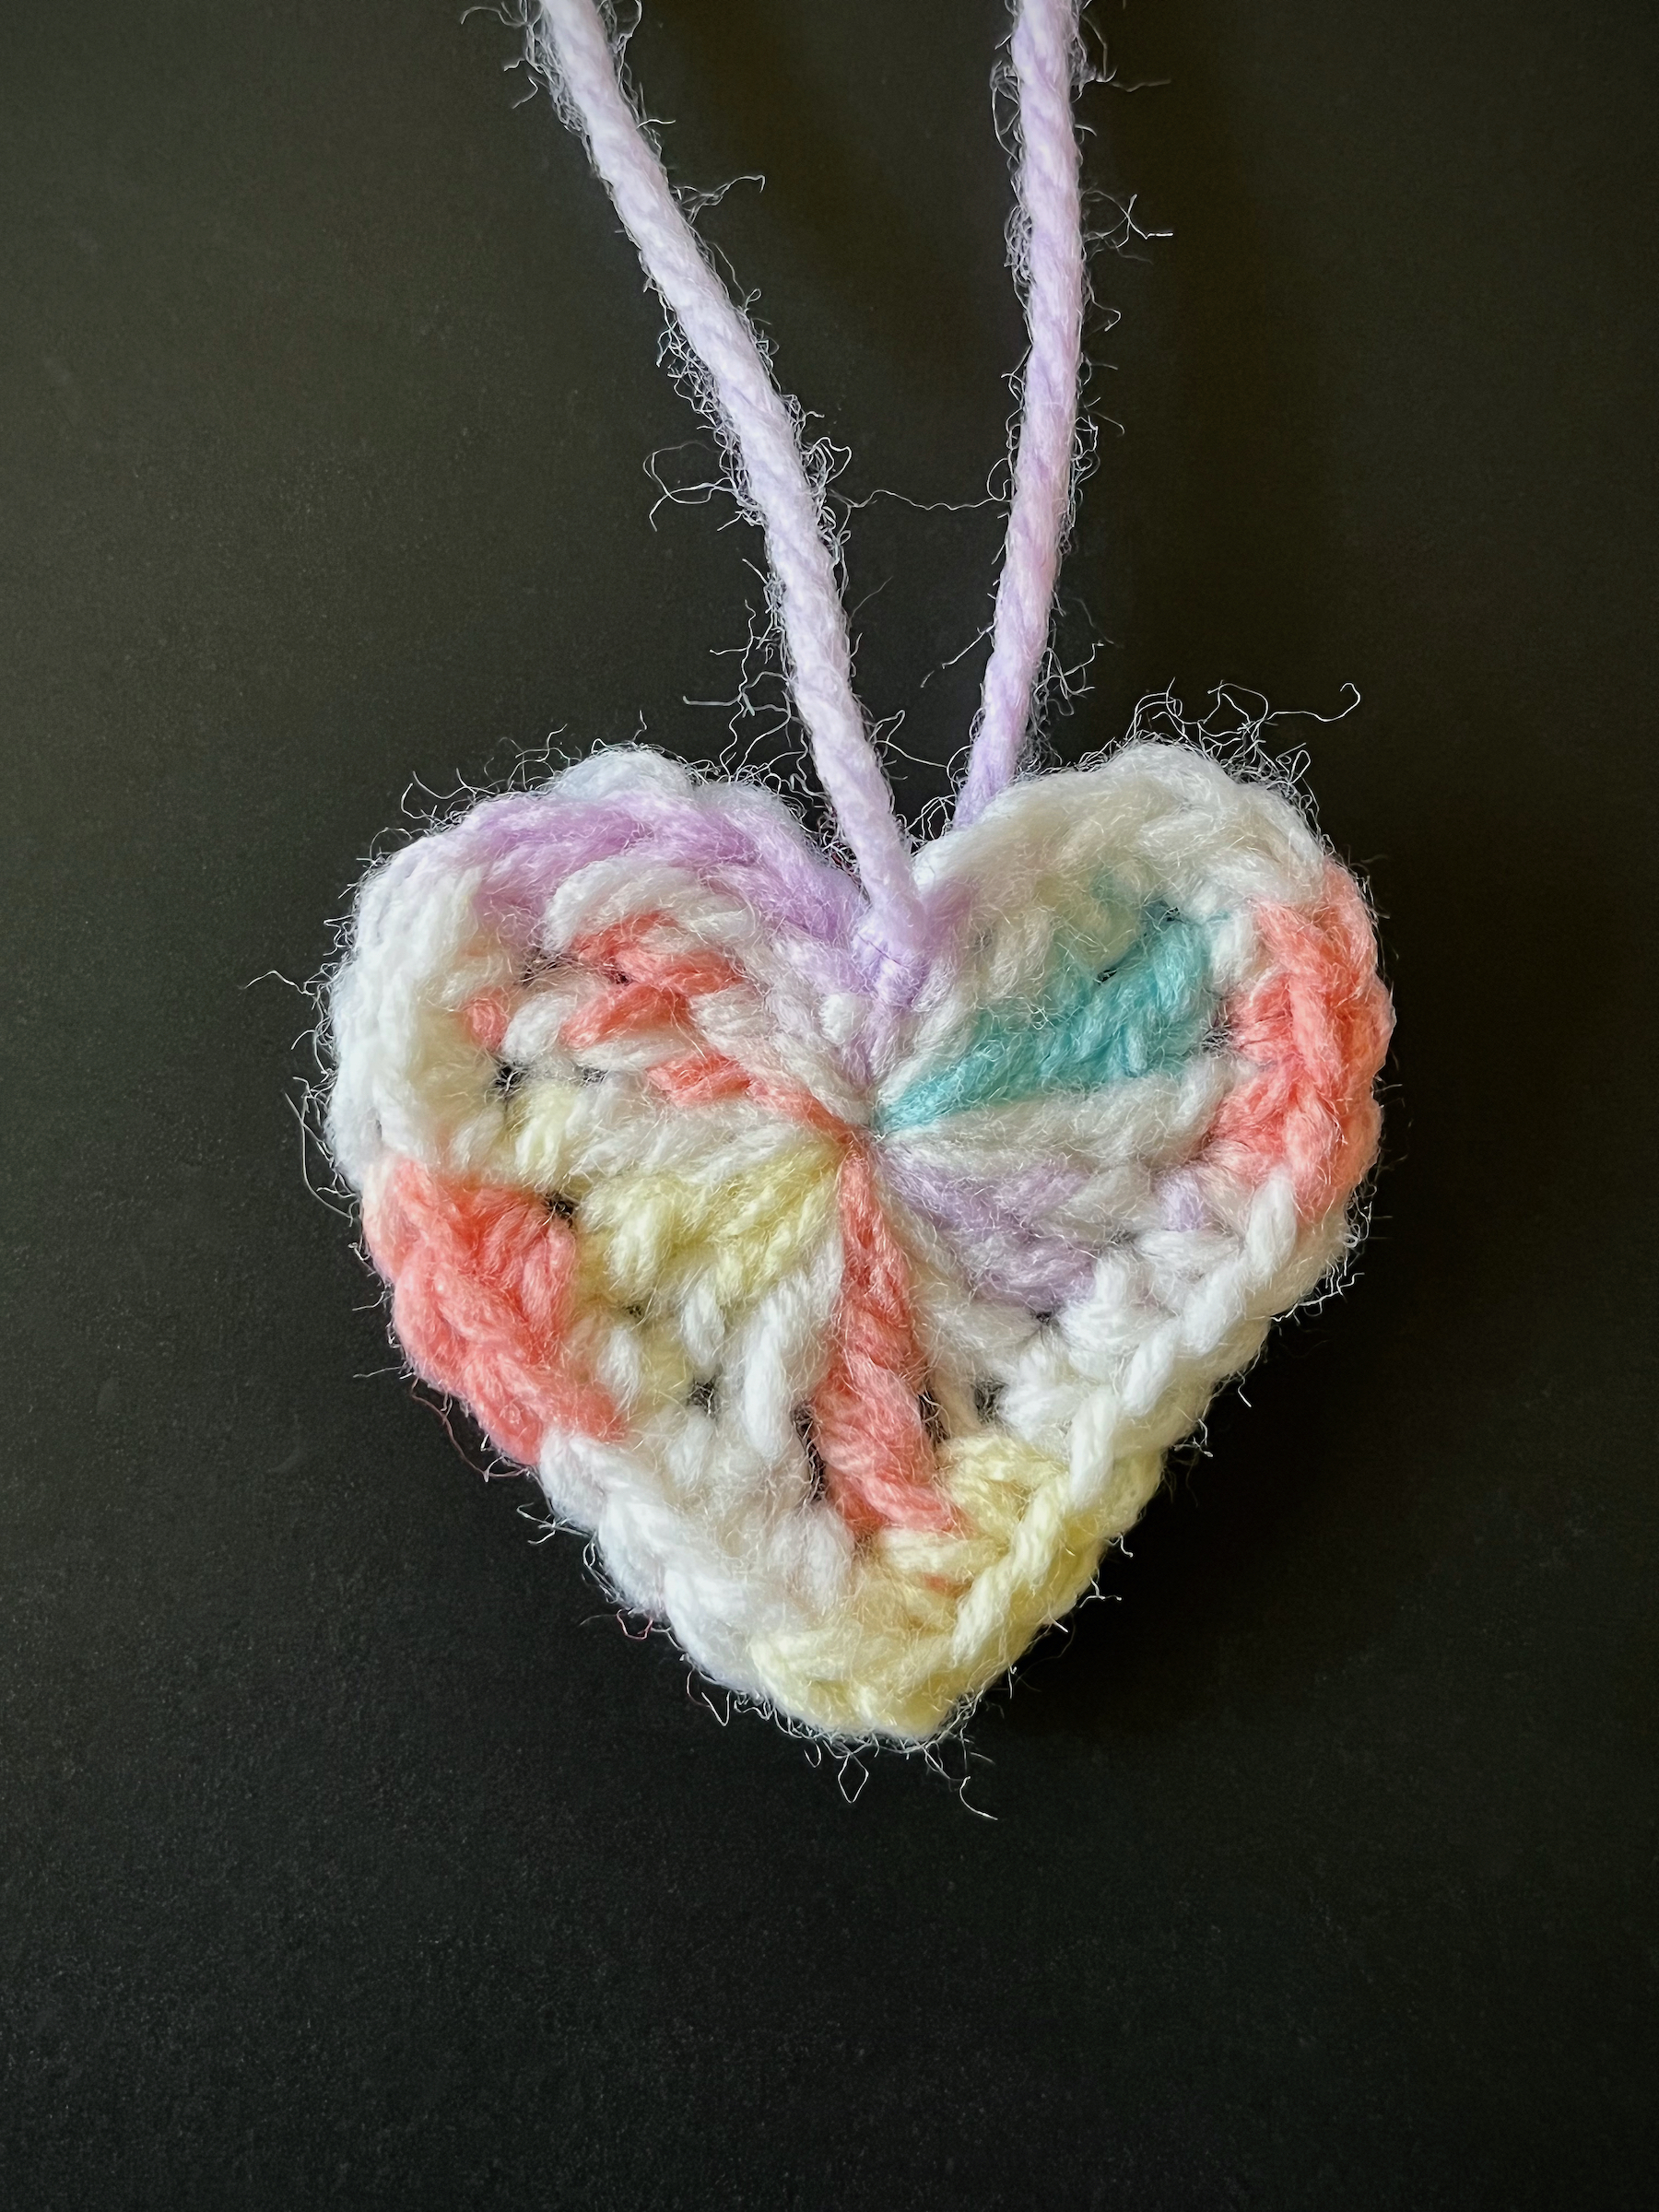
- After the last hdc of your last row, use the scissors to disconnect the yarn from the skein and pull the loose in through your crochet loop, leaving a good length to sew the headband together.
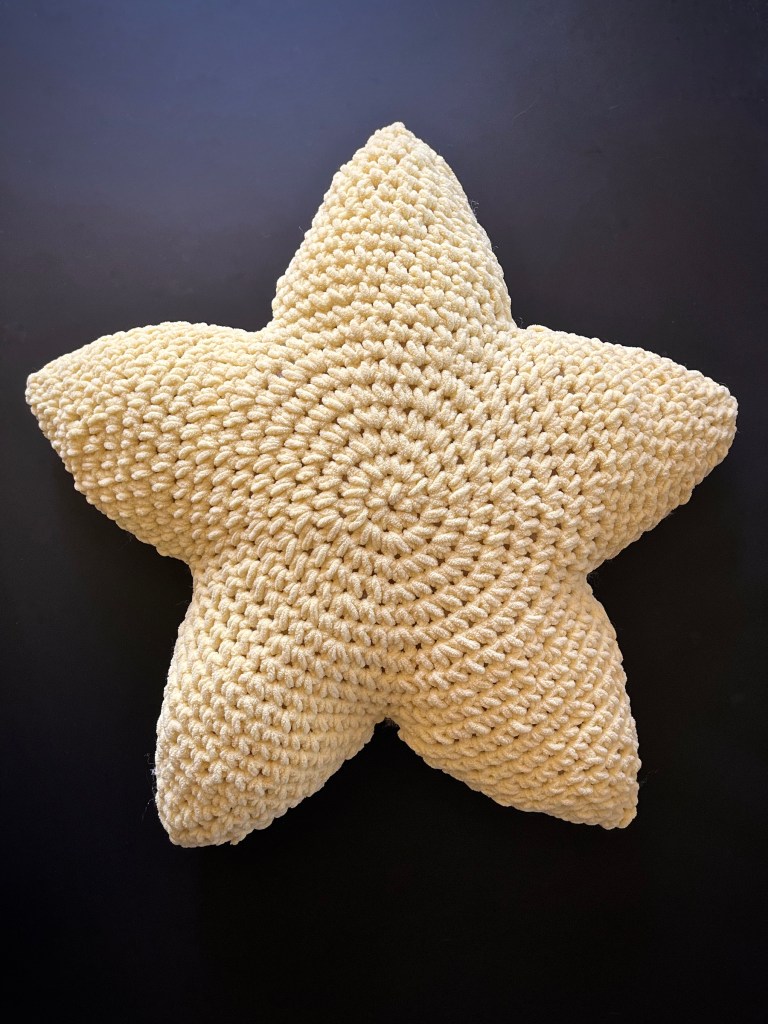
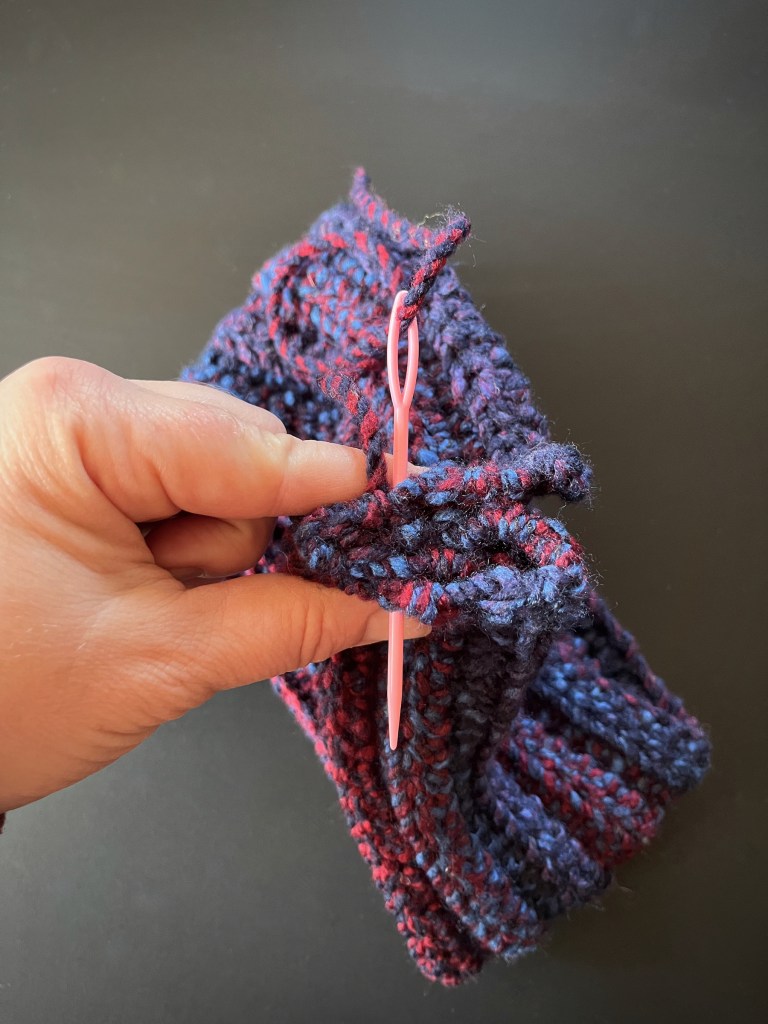
- Taking each end of the project, pinch the corners in towards each other to create a C and a backwards C, then bring the C’s together to interlink. Using a yarn needle, stitch the remaining yarn back and forth through all 4 layers of the interlinked ends.
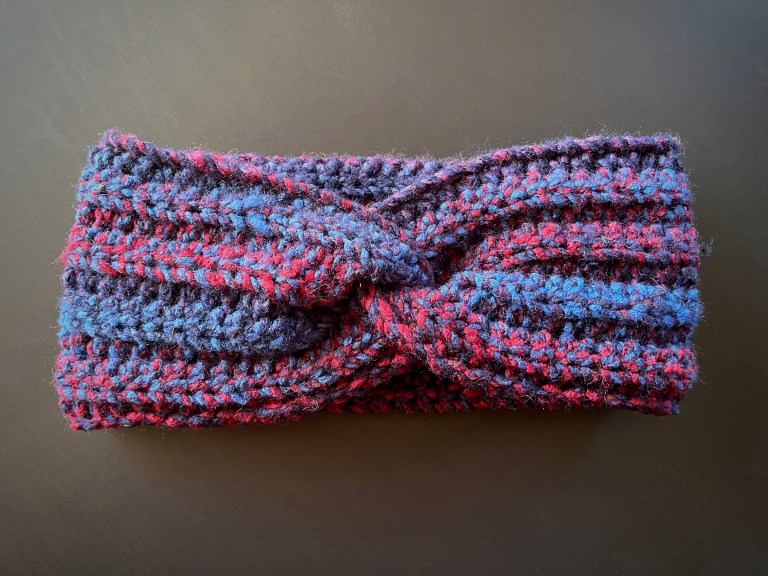
- Turn the headband right-side out and there’s your twist!
- Put over your ears, and get cozy!