
Part of the fun in raising Zoey is making things that delight her; I want to create fun, educational crafts for her that are made with love and will be loved! This week we’ll be creating pom pom paintings of bat silhouettes for halloween!
I remember when I was a kid we made halloween crafts at school and my mom would bring them out every year as part of our halloween decor. It made me feel super happy and proud that she would take the time to save and display my art every year and that is the feeling I want to inspire in my own daughter.
Let’s get painting!
SUPPLIES
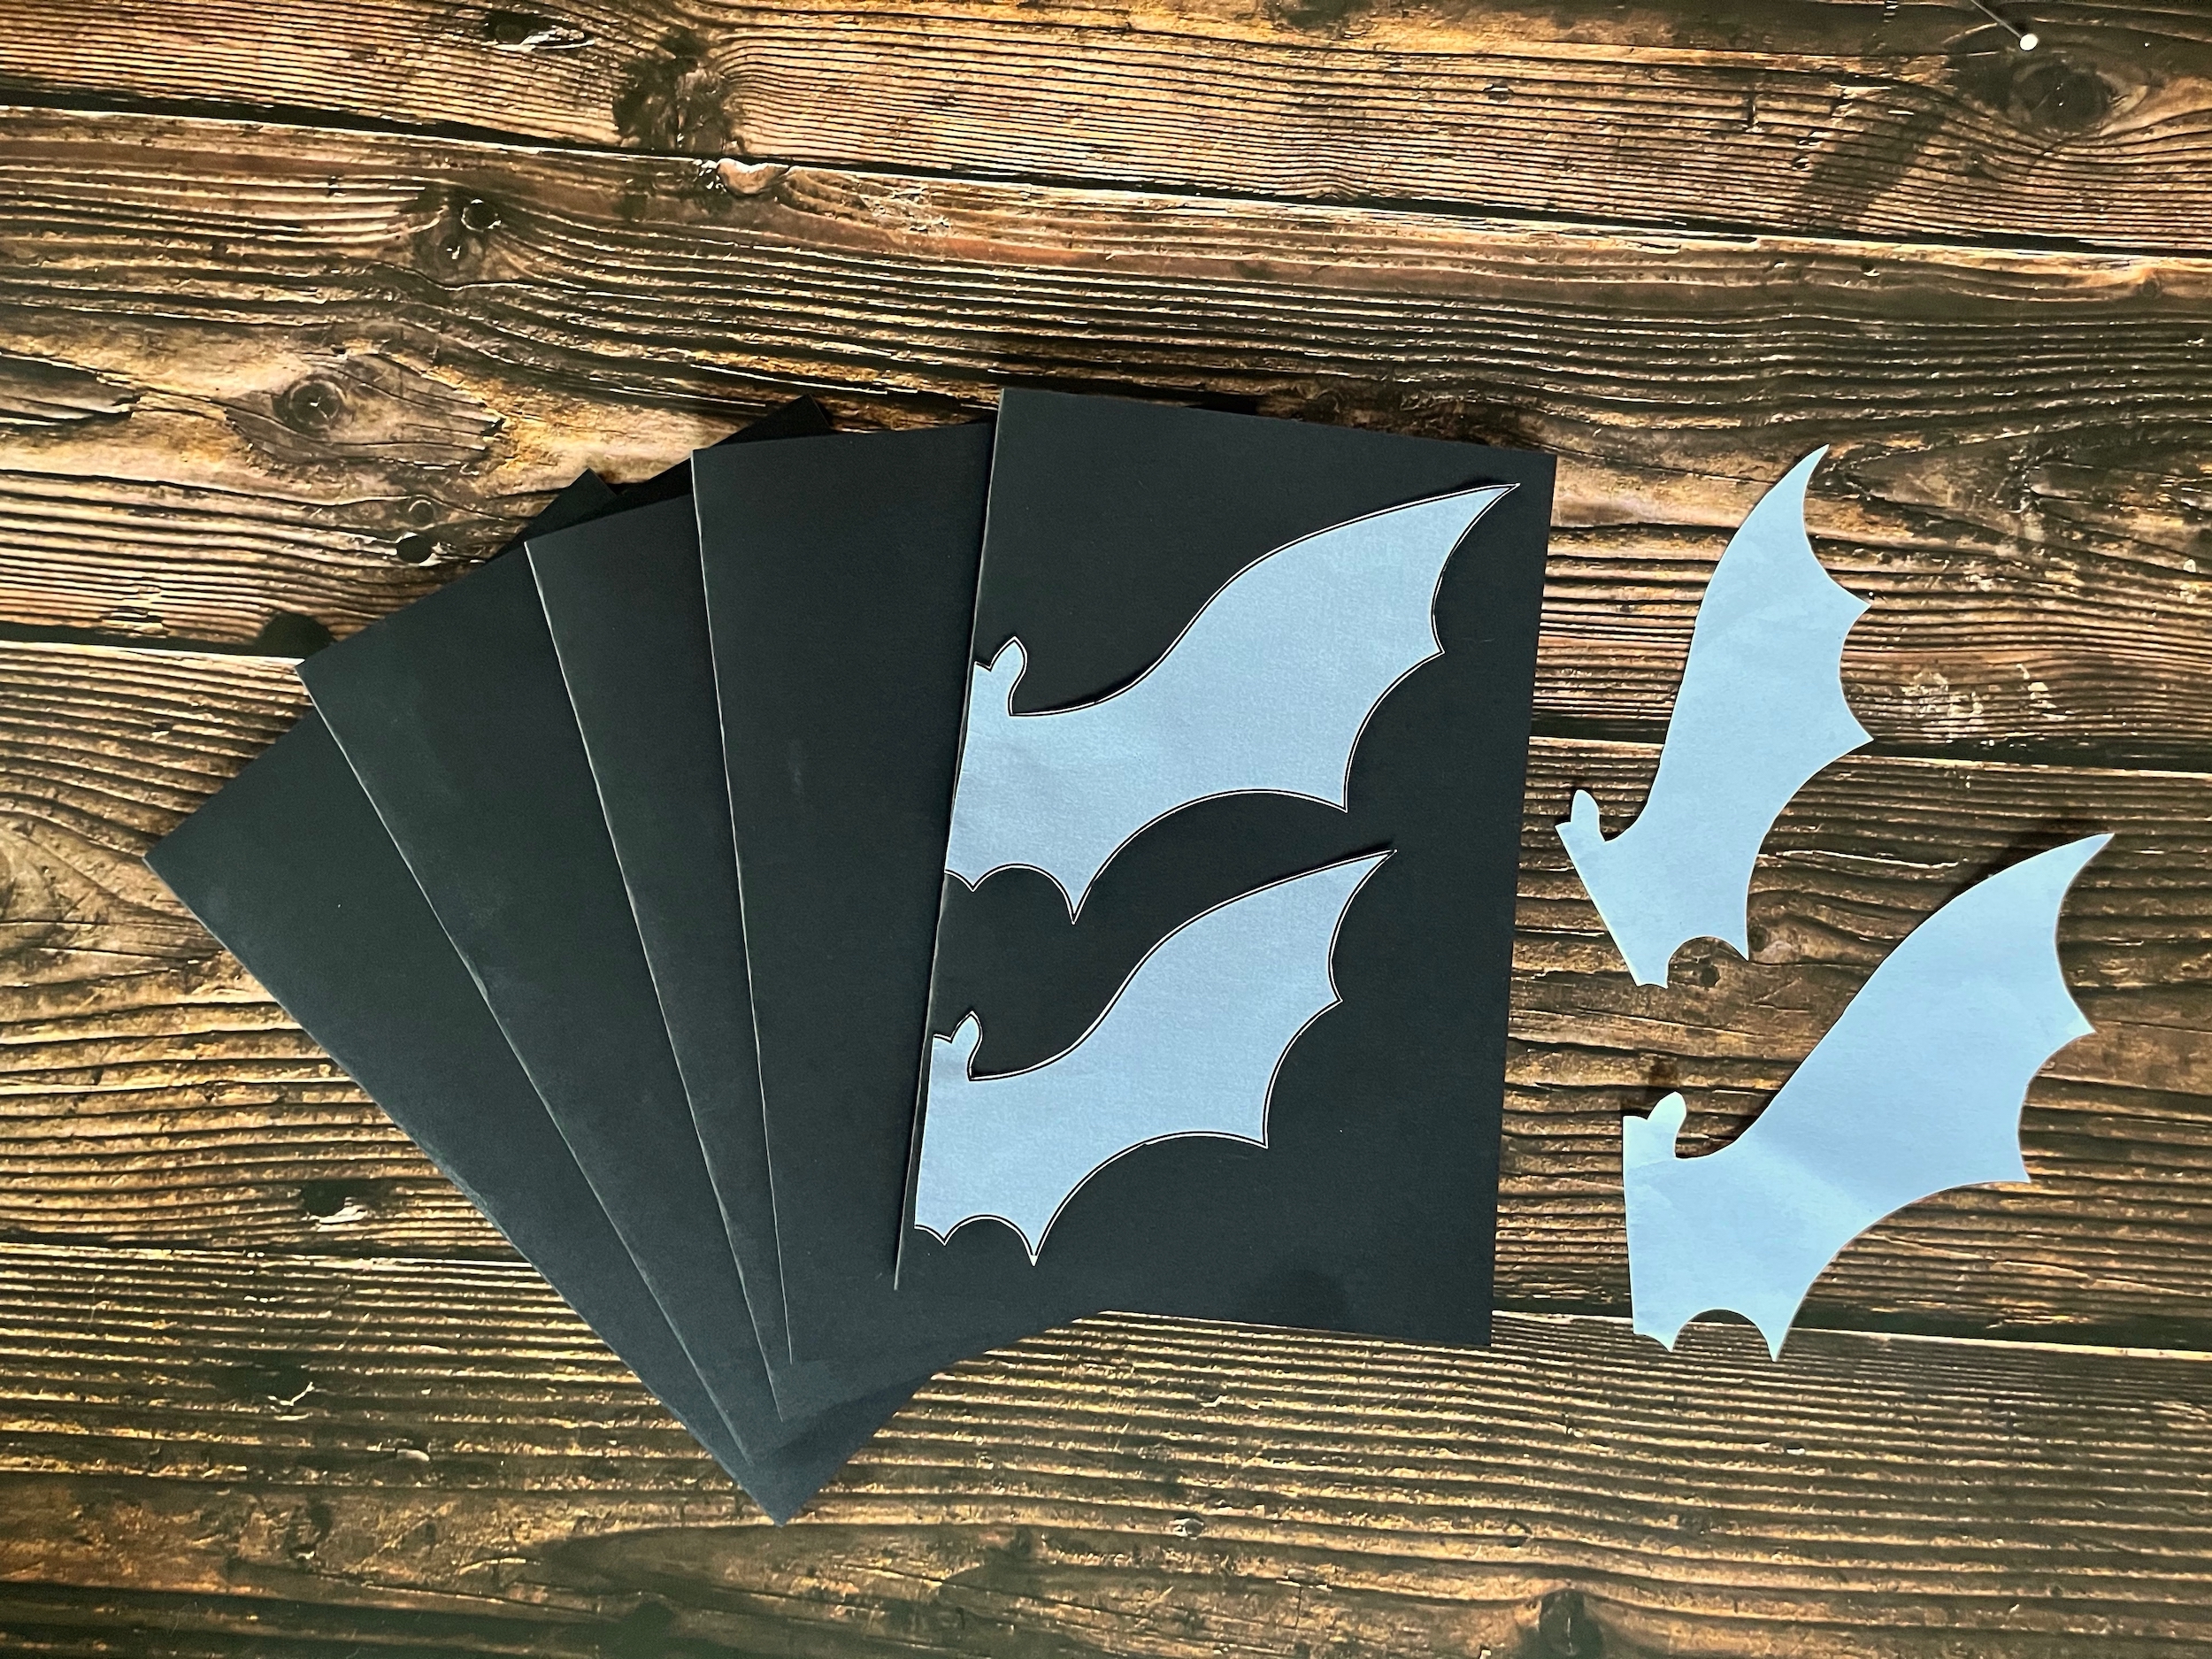
- Bat silhouette pattern (see above)
- Printer paper
- Scissors
- Scotch tape
- Black cardstock paper (8.5 x 11”)
- Clothespin(s)
- Pom poms
- Sunset colored paints (I used red, orange, purple and yellow)
INSTRUCTIONS

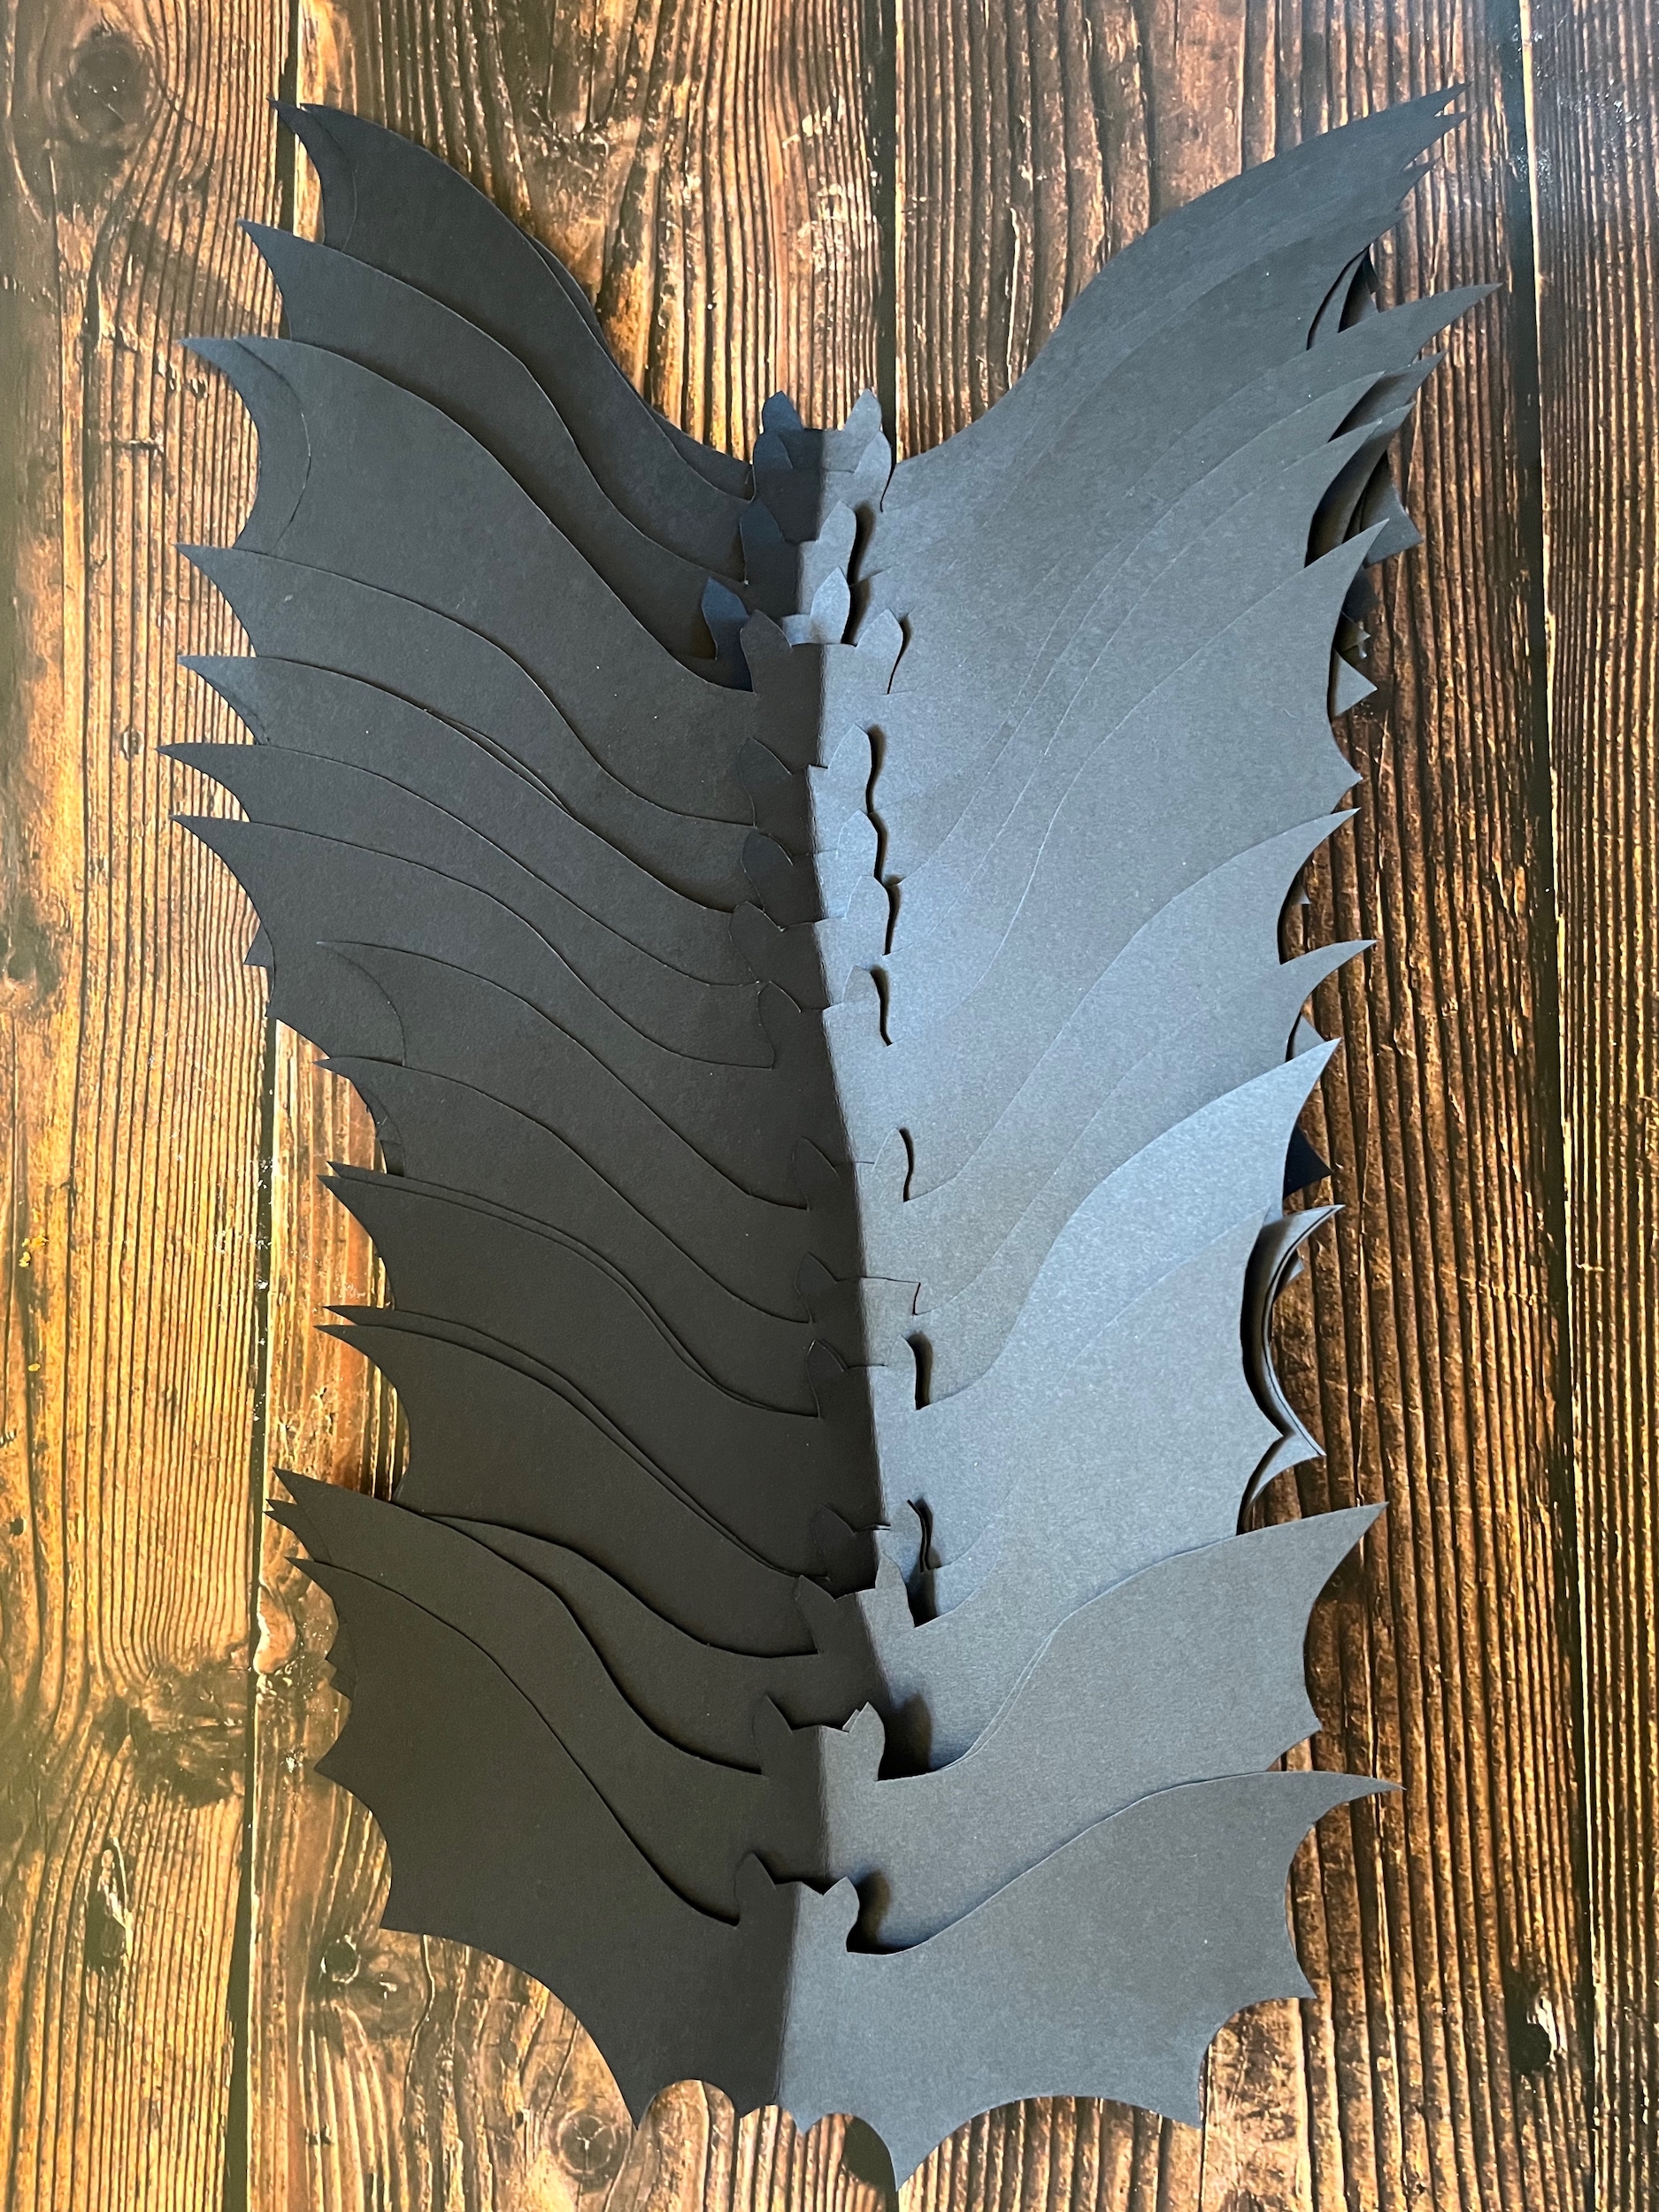
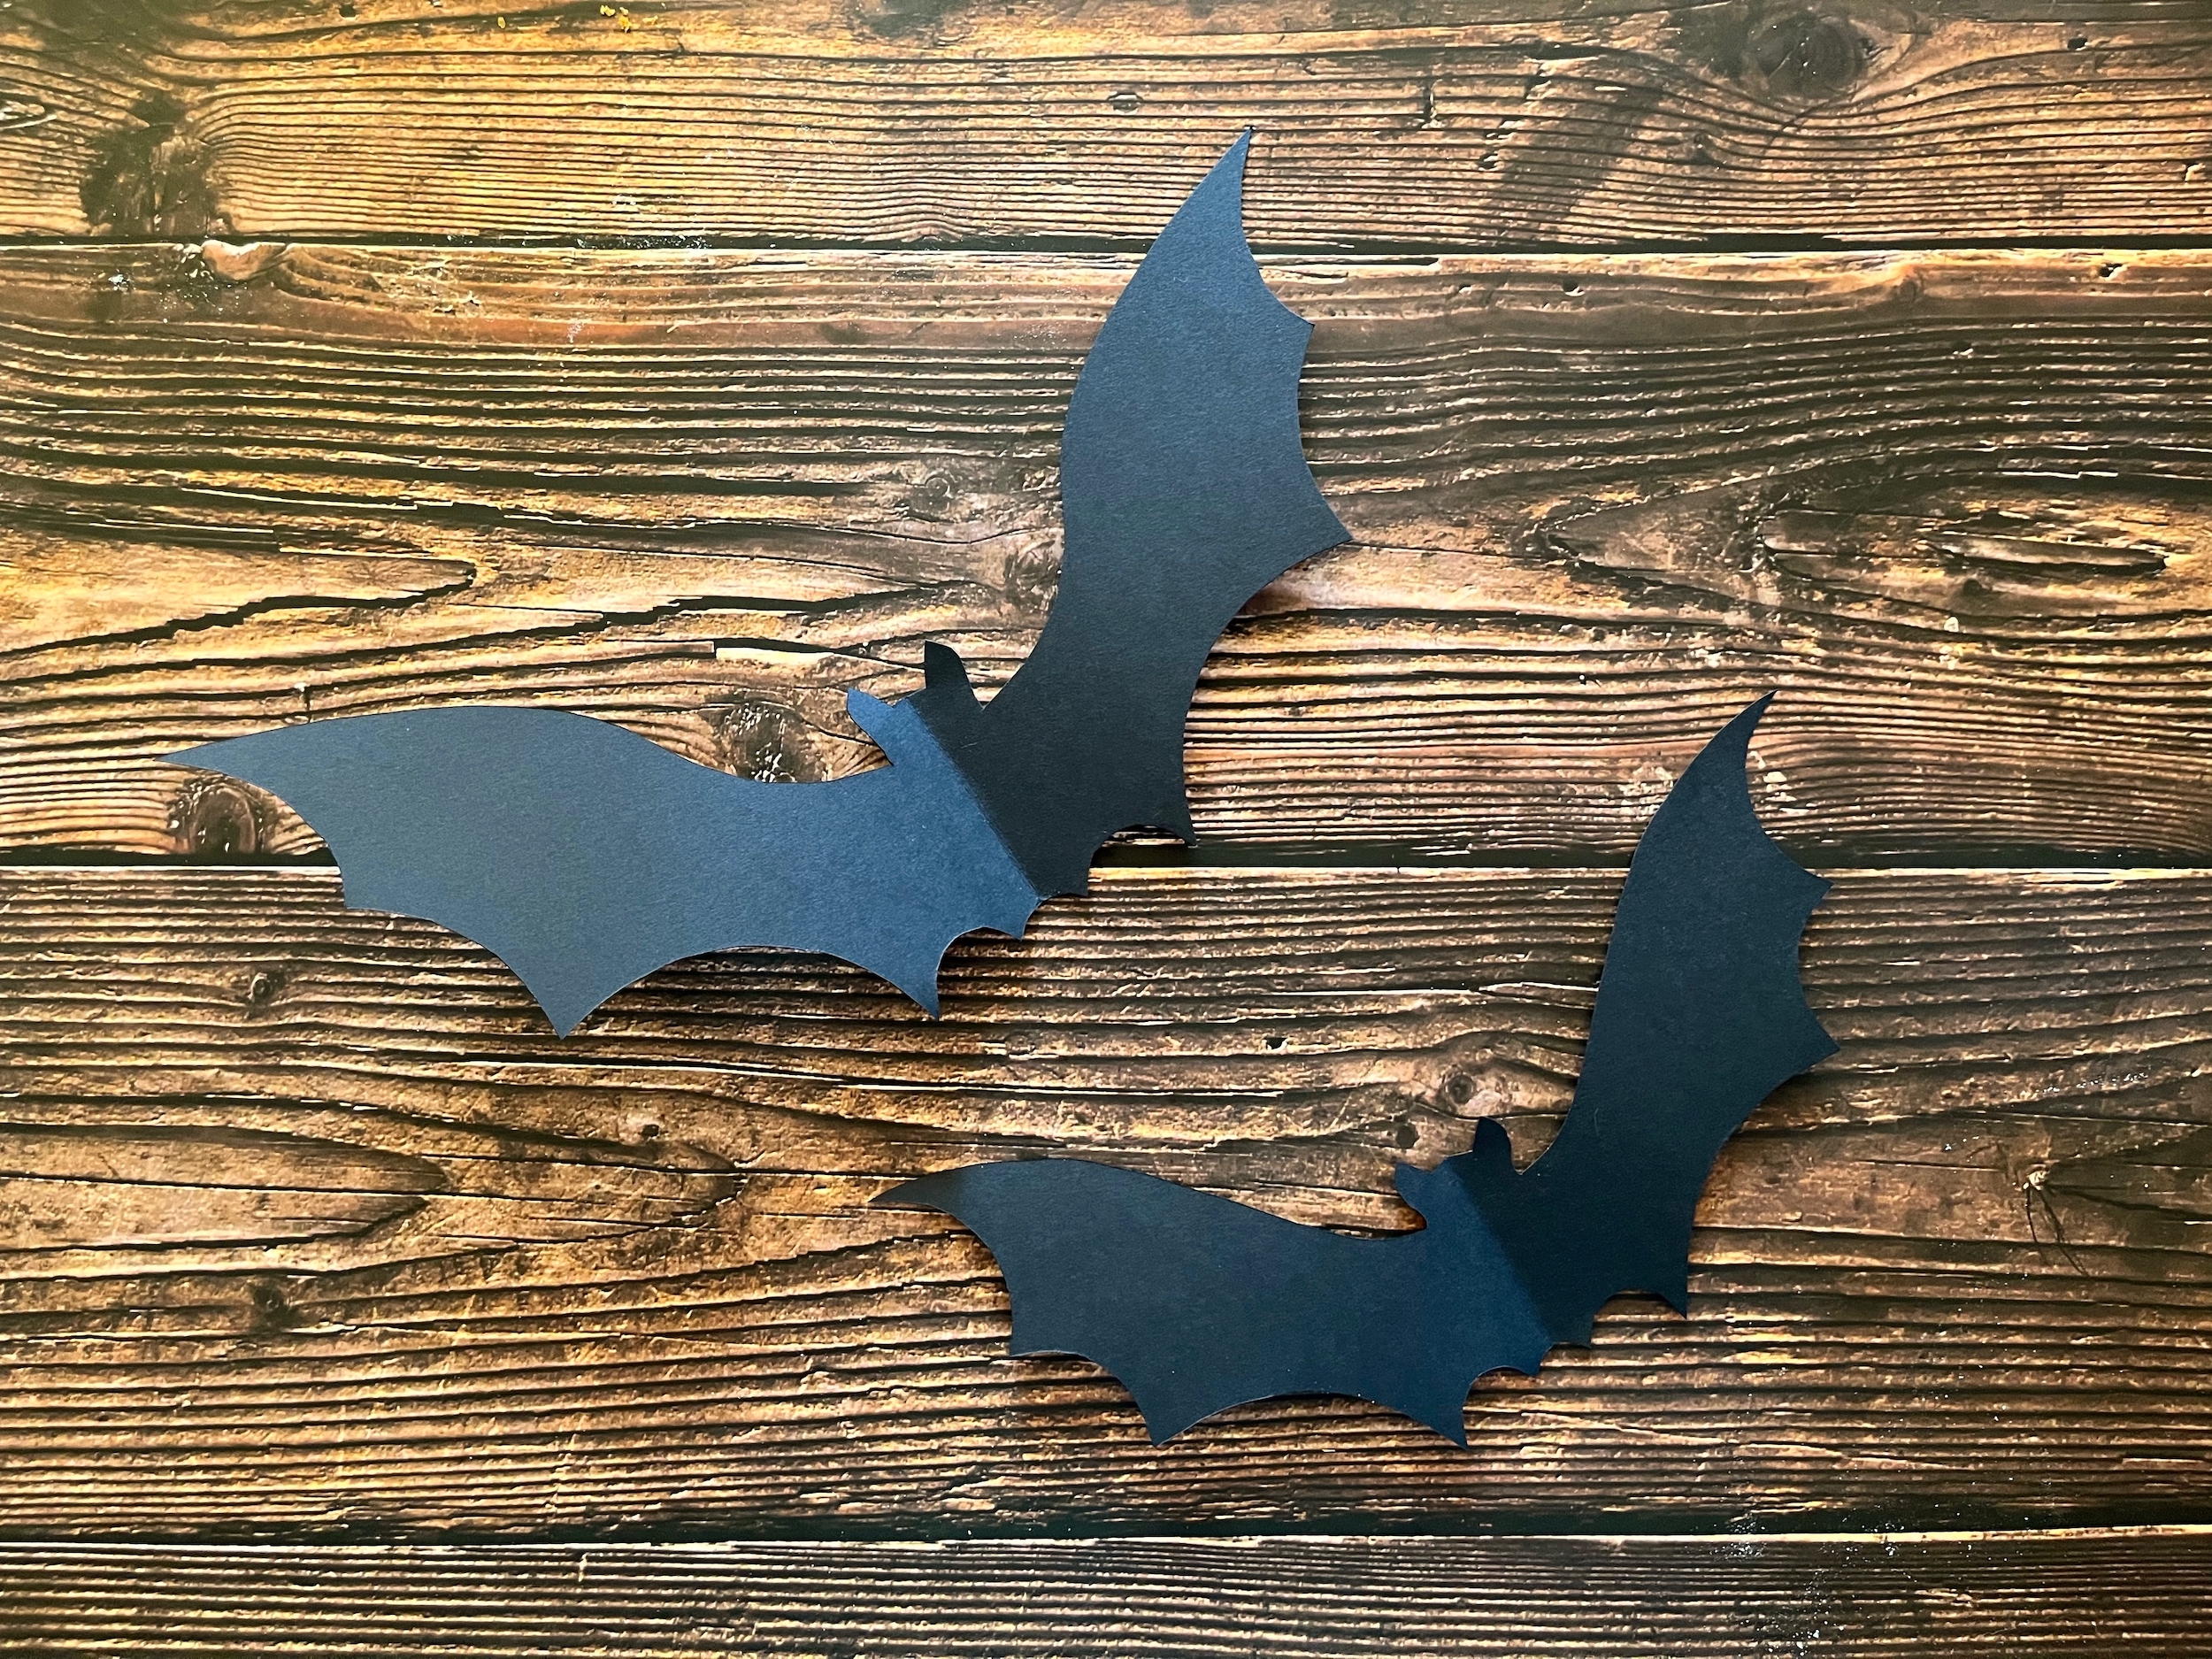
- Print this bat pattern I’ve created and cut the bats out.
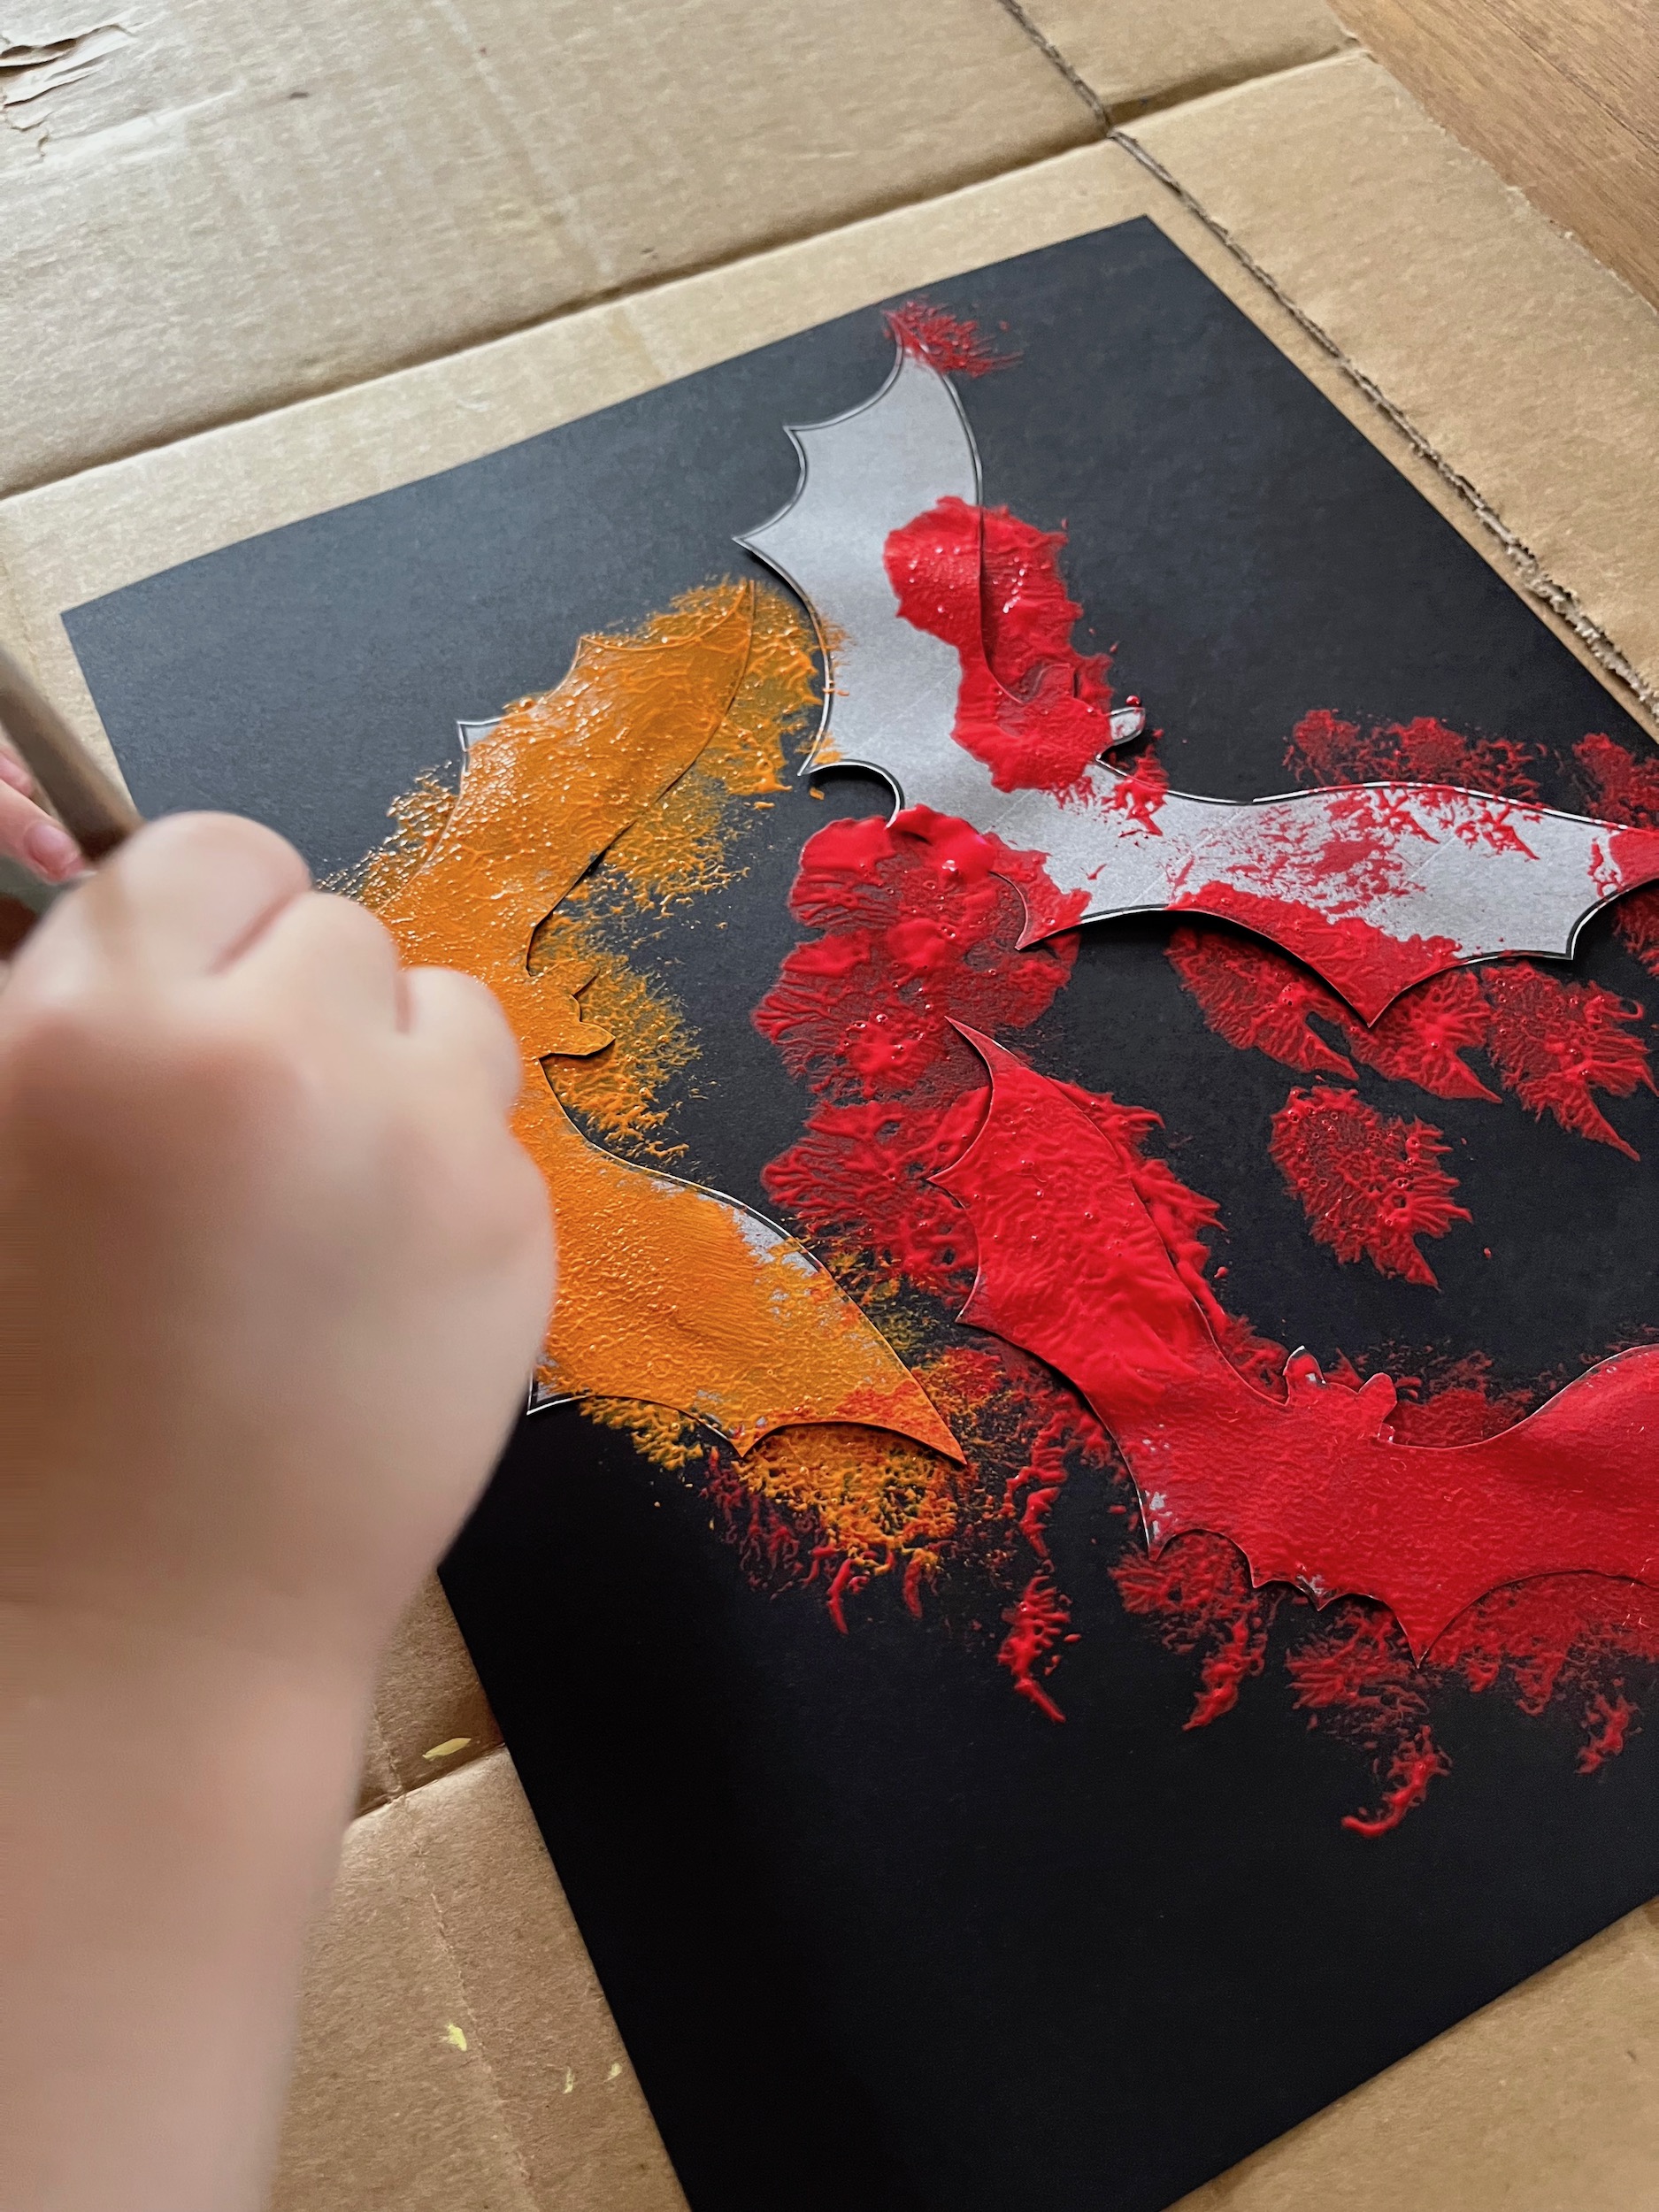
- Break off several small pieces of tape, roll them into cylinders, and use them to attach the bats where you want them on the black cardstock paper.
- Pour non-toxic sunset colored acrylic paints into a pie plate (or something similar) and set out a pom pom for each color.
- Use a clothespin to grab one pom pom at a time, or one clothespin per color.
- Allow your little one to dab the paint around and over the bats to their heart’s content.
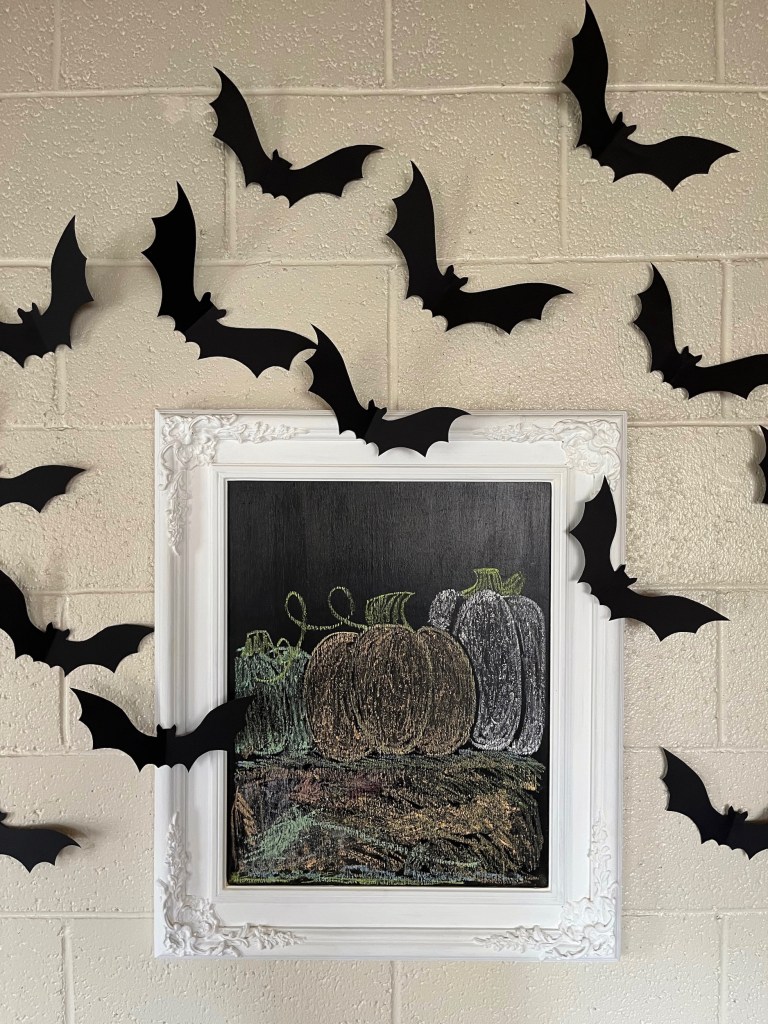
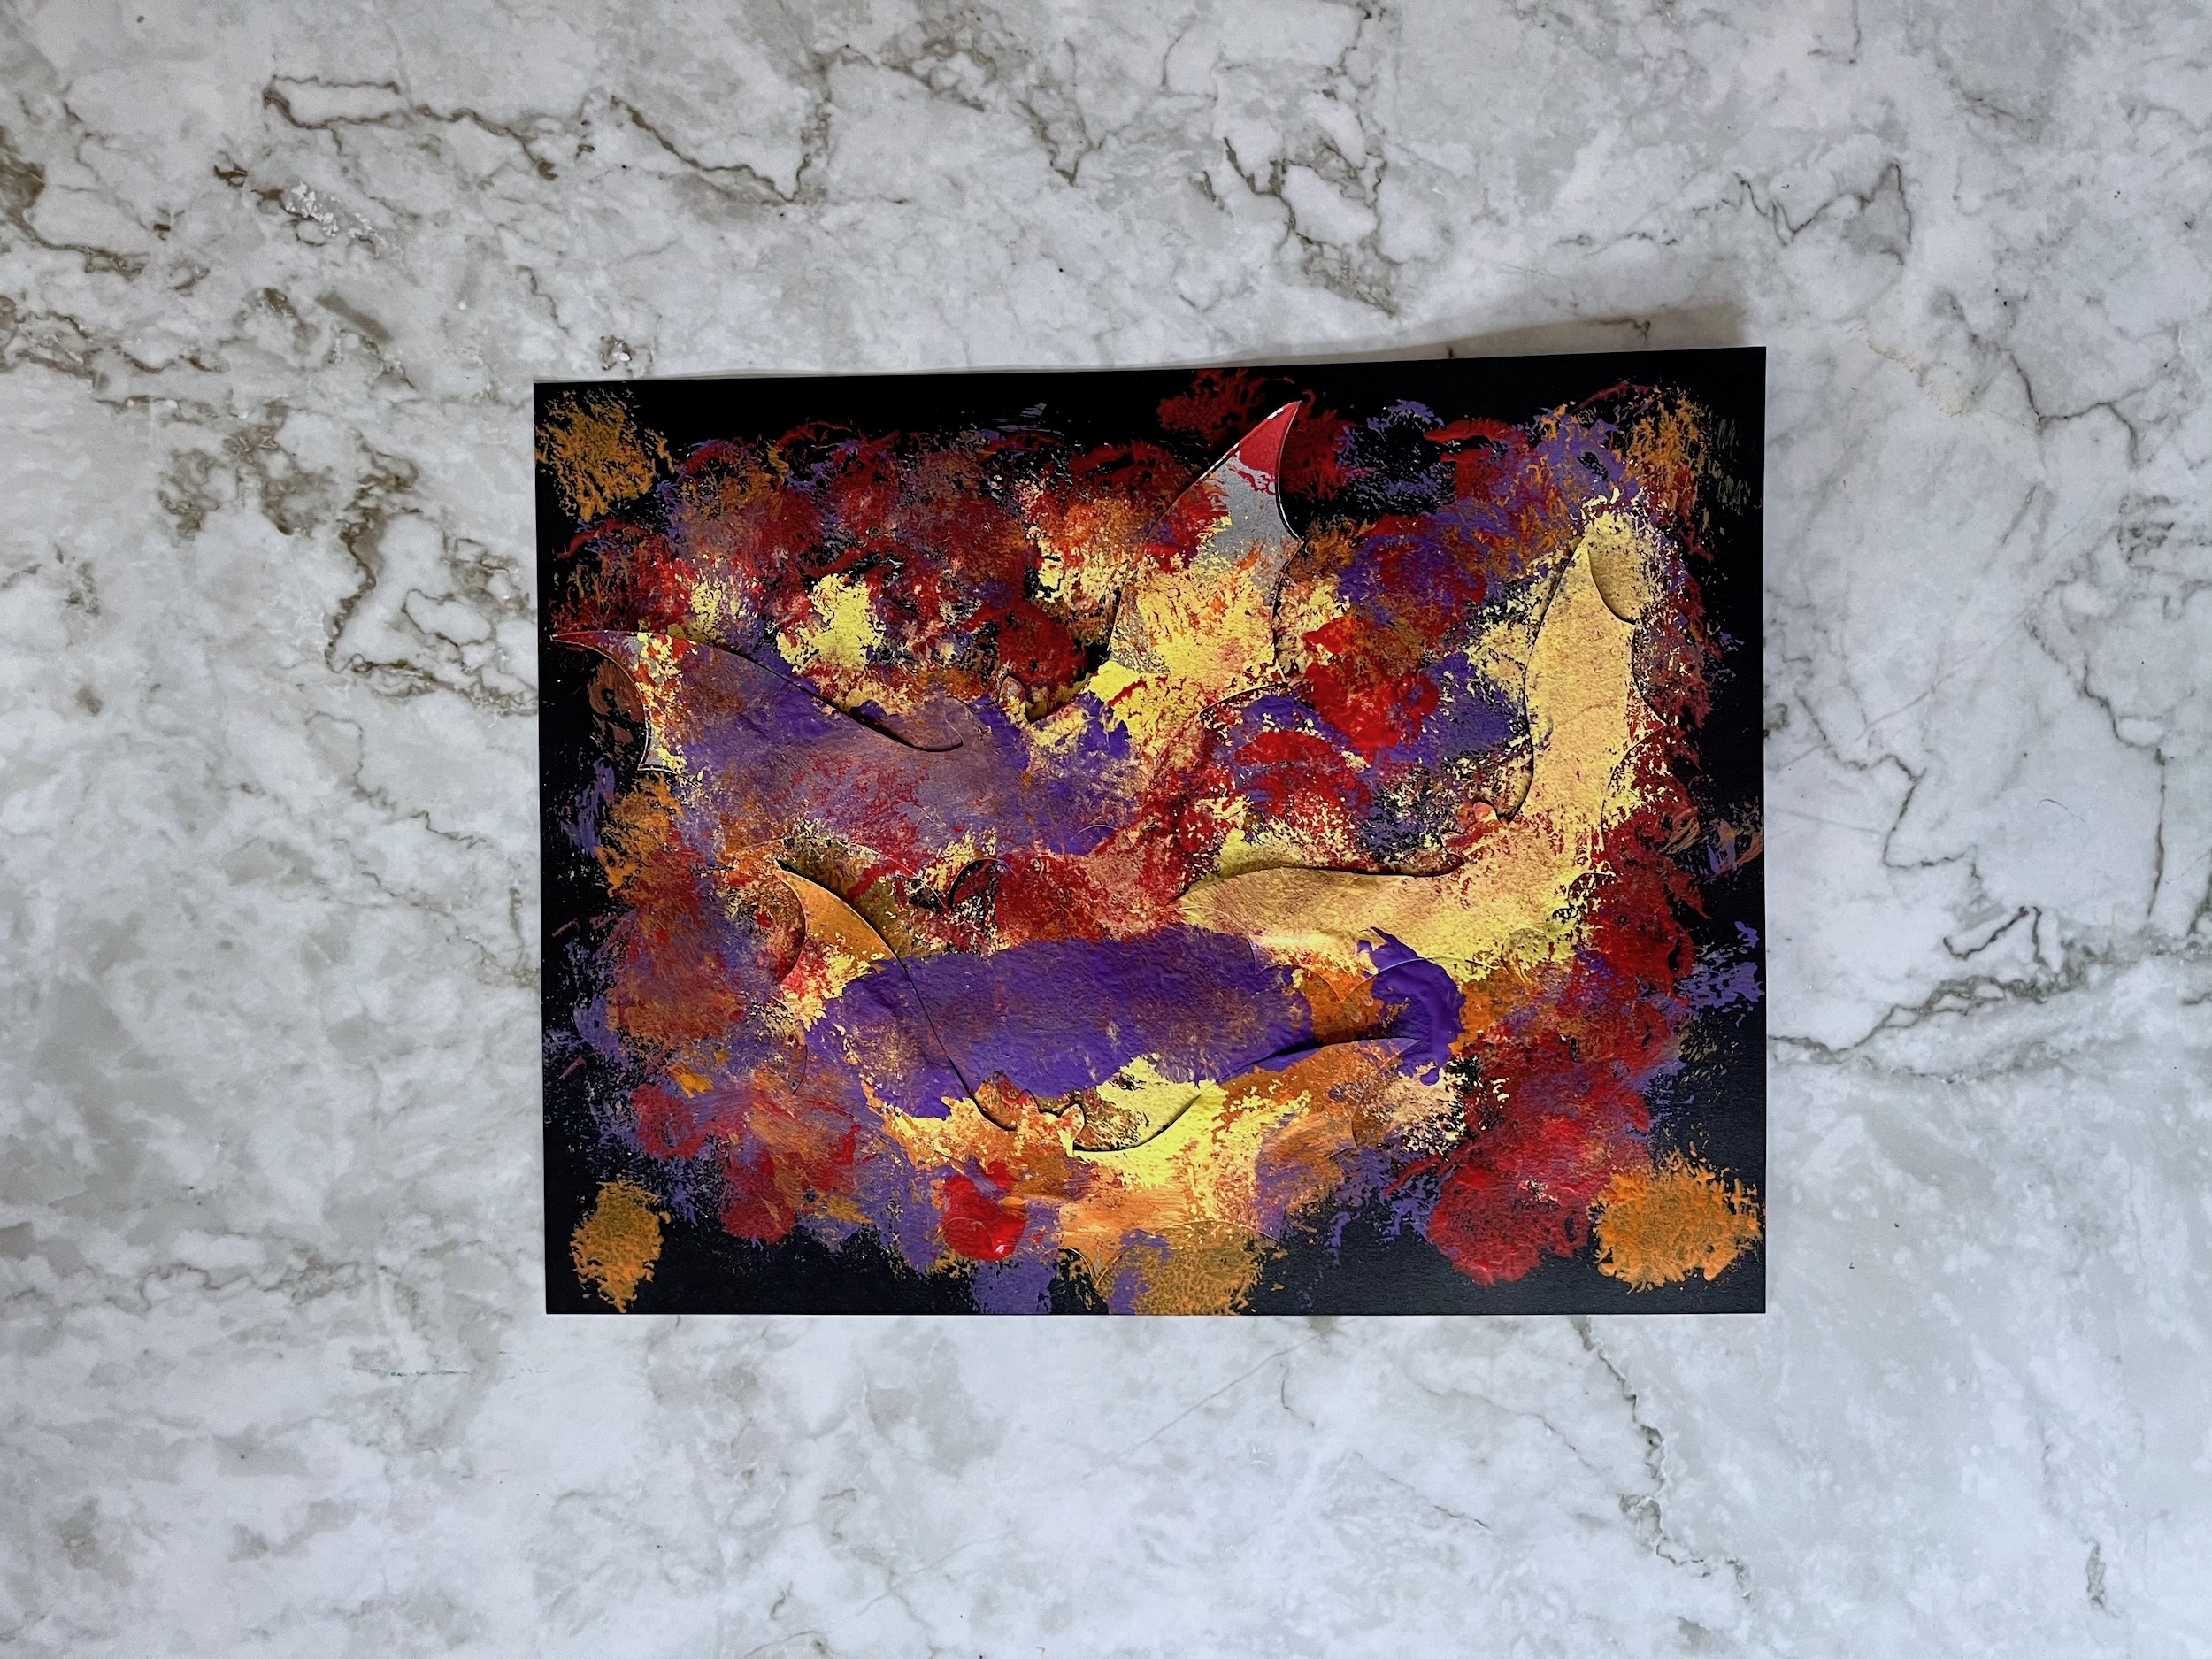
- Allow the paint to dry and then gently peel off the bats to reveal their silhouettes!
- Hang it up and enjoy!