Welcome back friends! Do you crochet? I dabbled in crochet off and on for a few years, always fascinated, but never fully catching on. I kept at it, and suddenly, it clicked! I feel calm and cozy when I’m crocheting, and fiercely proud whenever I complete a project.
It’s that time of year for autumn decor! So let’s create a crochet pumpkin with a cinnamon stick stem!
SUPPLIES
- Crochet hook (size 5.5mm)
- Medium yarn (size 4)
- Fiberfill stuffing
- Scissors
- Yarn needle
INSTRUCTIONS

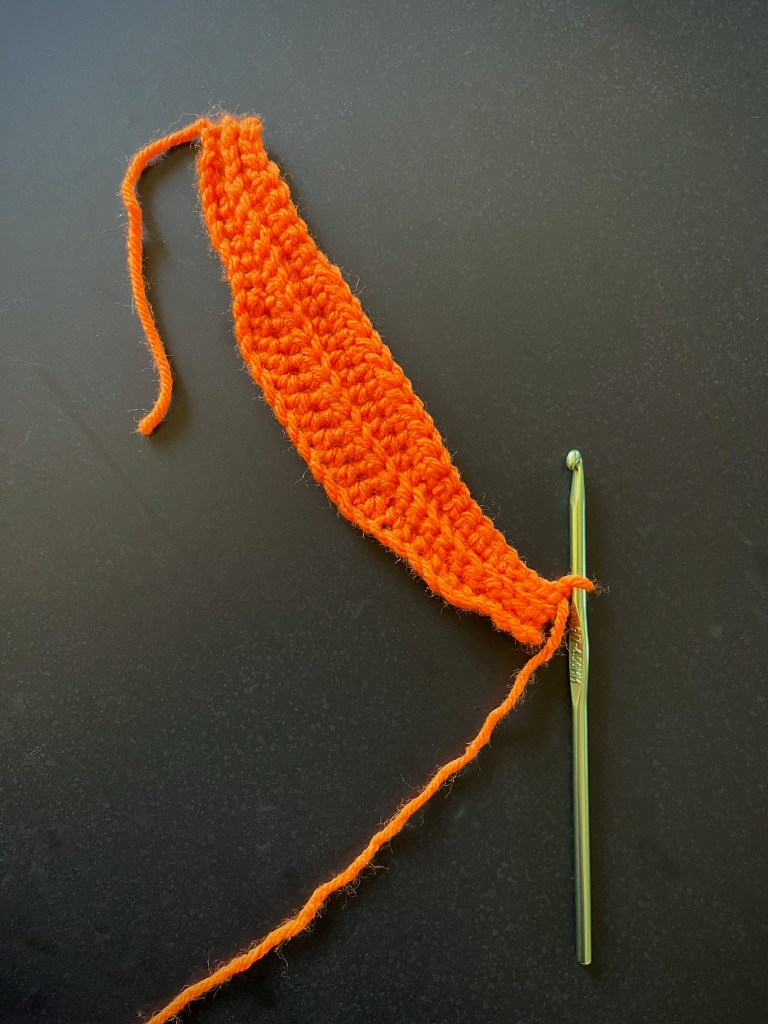

- Create a slip knot and then chain 31 stitches.
- For this piece, we will be working in the back loop only for all stitches.
- Starting in the 2nd chain from the hook, create 3 slip stitches, 6 single crochets, 12 half double crochets, 6 single crochets and 3 slip stitches. Then chain 1 and turn the project around.
- Repeat step 3 until the project measures about 12 inches long across the center.
- Join the two short sides of the project together, and insert the hook into the back loop of the working stitches and the starting chain as you stitch the final row.
- Sew a running stitch along the bottom edges of the project and pull to gather. Then tie a knot, weave in some of the excess yarn, and cut off the rest.
- Turn the pumpkin project over and stuff it with fiberfill until it’s as plump as you want it.
- Sew a running stitch along the top of the pumpkin and pull to gather, leaving a hole large enough to insert a cinnamon stick. Then tie a knot, weave in some of the excess yarn and cuts off the rest.
- Insert a cinnamon stick into the hole you left for it at the top of the pumpkin. You can hot glue it in place or leave it loose like I did so that I can replace the cinnamon stick if it looses its smell!
- Place in your house an enjoy!