What child (or inner child) doesn’t love preparing toy food in a play kitchen?
I had a play kitchen when I was a little girl and loved preparing sandwiches for myself, my sister and my parents. Now that I’m grown and have a daughter of my own, I want to make her some handcrafted play food so she can enjoy making meals for everyone during play, or while we cook in the kitchen next to her!
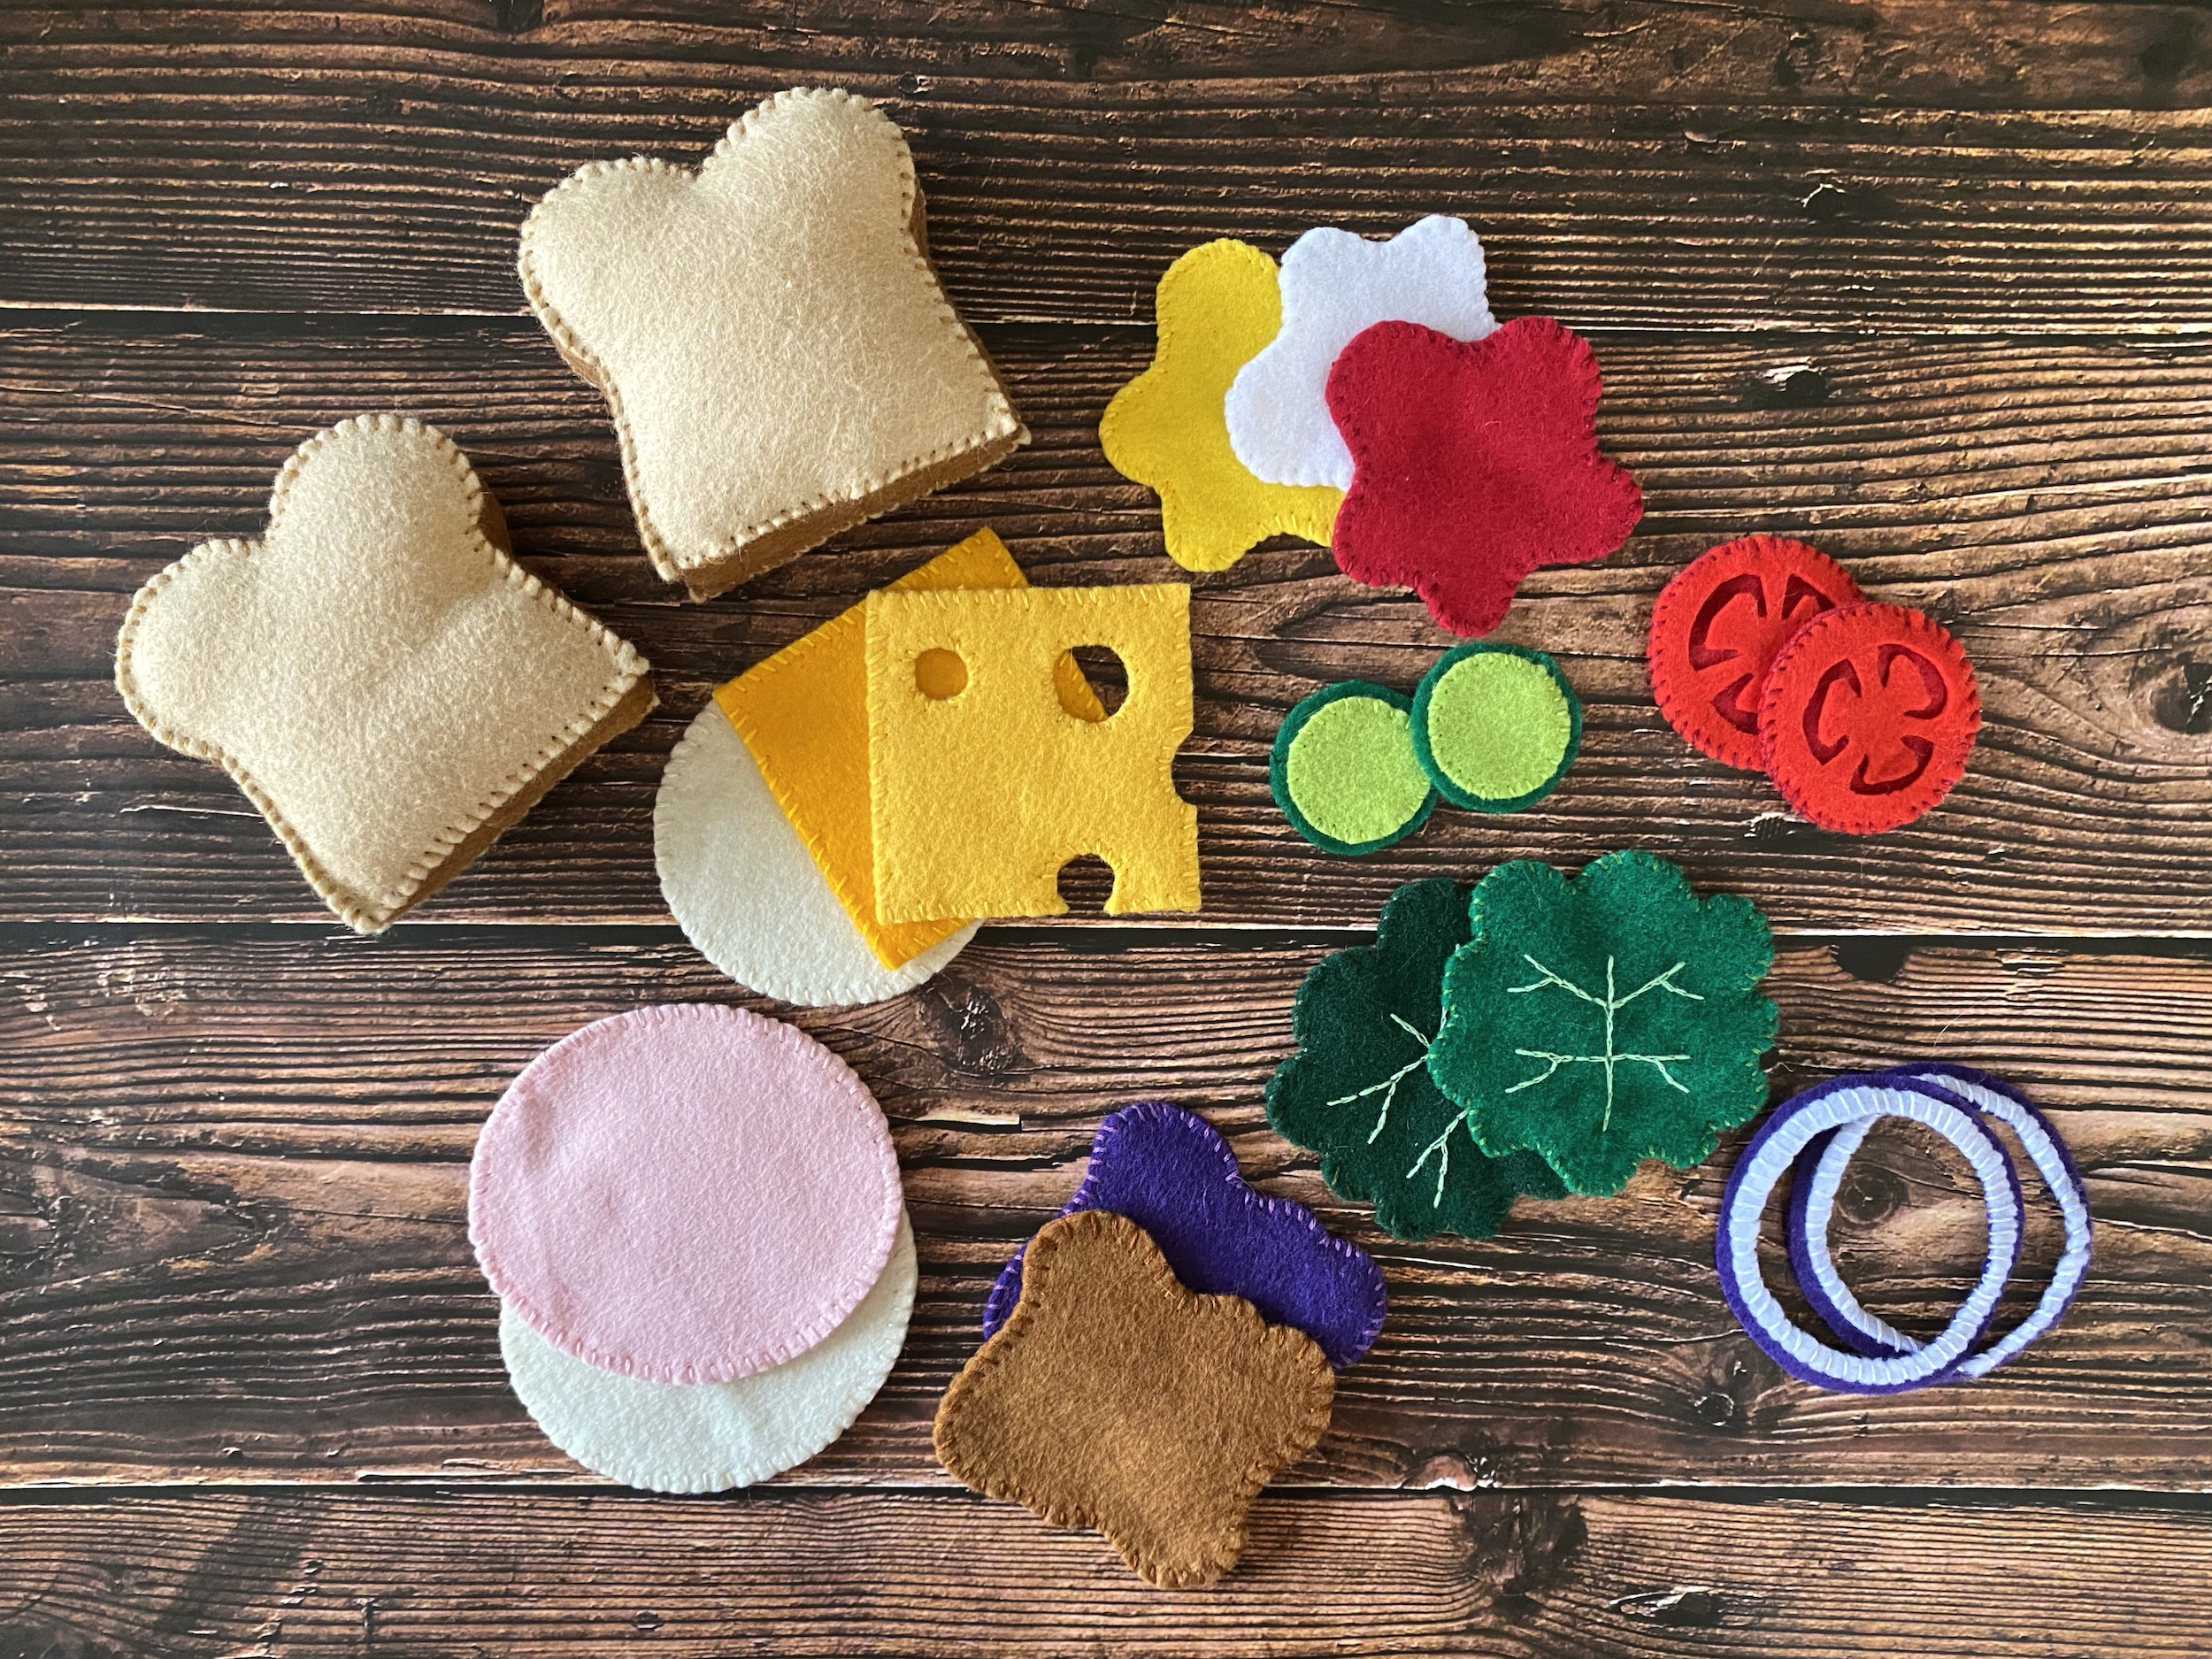
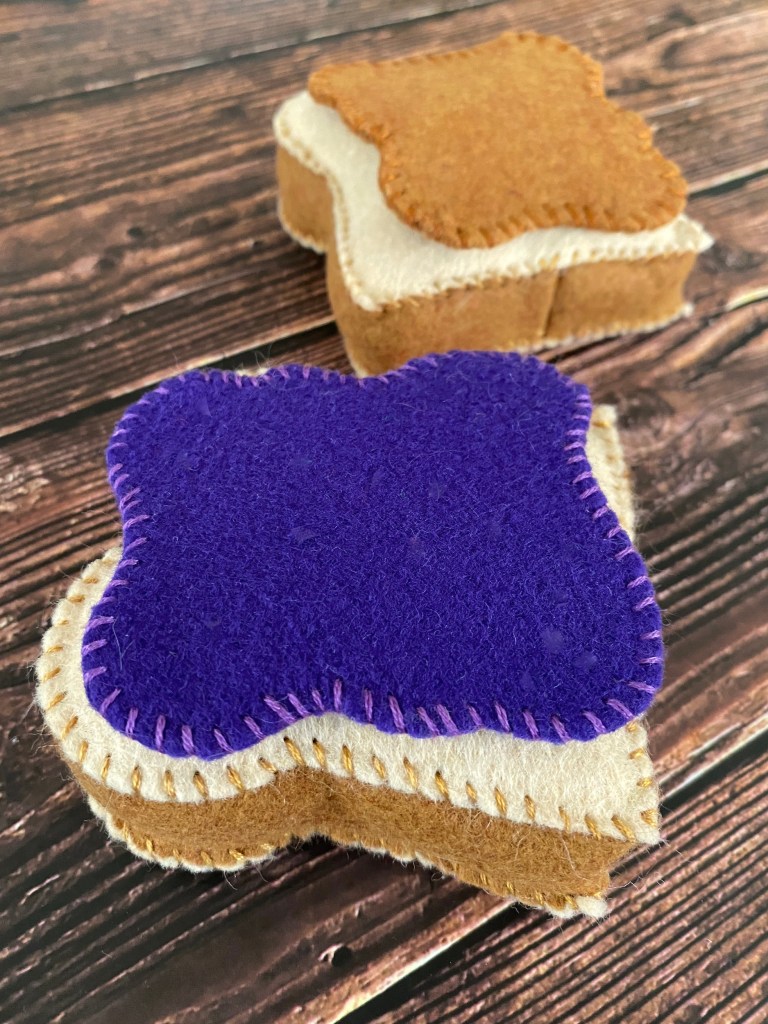
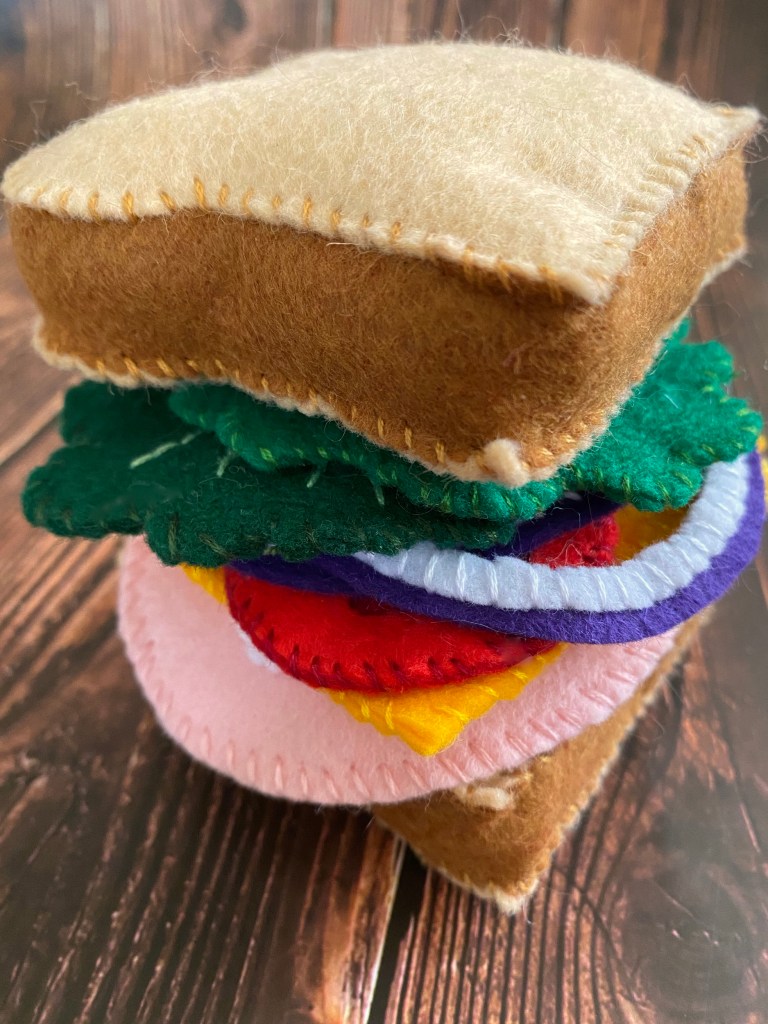
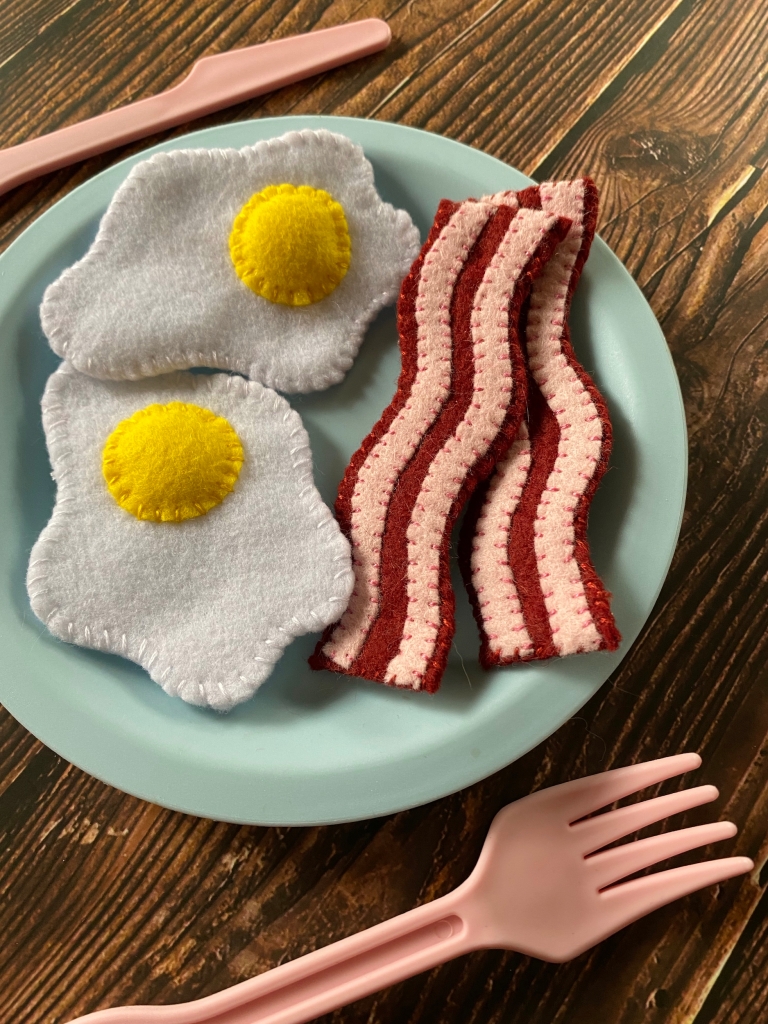
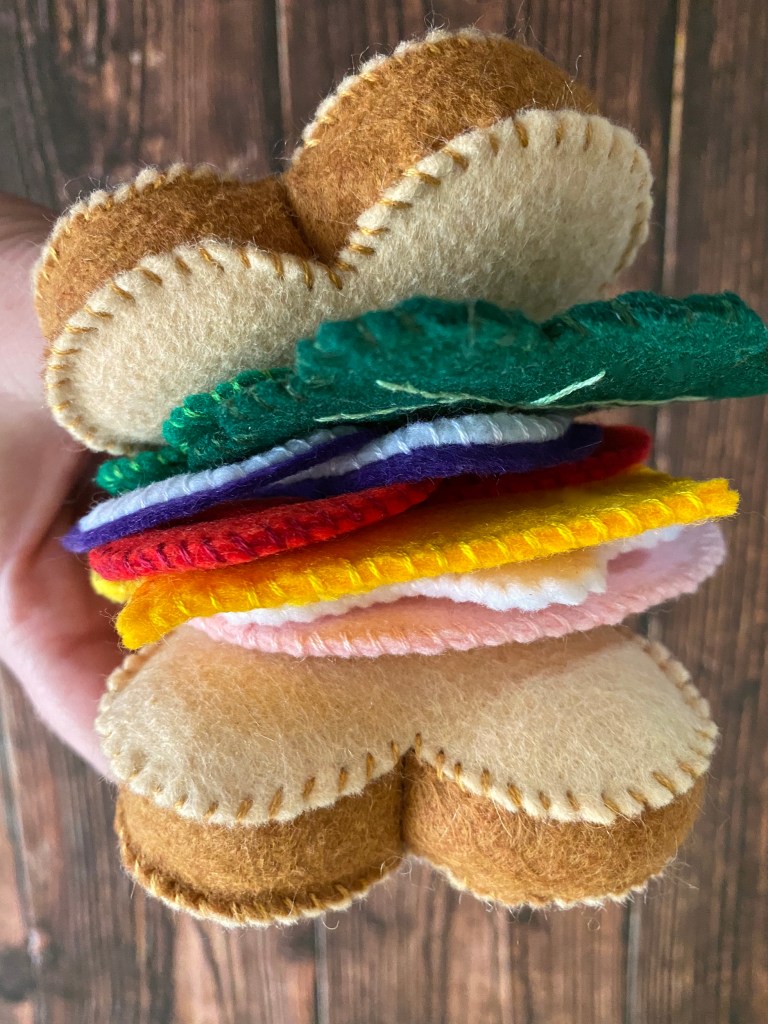
Please feel free to use these patterns to create some play food for you and yours! This pattern will make two slices of bread, a slice of American cheese, a slice of Swiss cheese, a slice of provolone cheese, a slice of deli meat, a lettuce leaf, two slices of tomato, two onion rings, two slices of pickle, ketchup, mayonnaise, mustard, peanut butter and jelly. I made an extra slice of deli meat and an extra (darker) leaf of lettuce. You can duplicate it as much as you want to make multiple pieces of each food!
SUPPLIES
- Sandwich patterns (see above)
- Paper scissors
- Light tan felt material
- Light brown felt material
- Green felt material
- Vibrant green felt material
- Pale pink felt material
- Purple felt material
- Red felt material
- Dark red felt material
- White felt material
- Off-white felt material
- Yellow felt material
- Dark yellow felt material
- Vibrant yellow felt material
- Stuffing
- Sewing pins
- Sewing scissors
- Sewing needle
- Embroidery floss (light brown, green, light green, vibrant green, pale pink, purple, red, dark red, white, off-white, yellow, dark yellow and vibrant yellow)
- Hot glue gun
INSTRUCTIONS


- Print out the sandwich patterns I’ve provided and cut them from the paper.
- Place the patterns on the appropriate colored felt and pin them in place, then use sewing scissors to cut out the felt pieces.
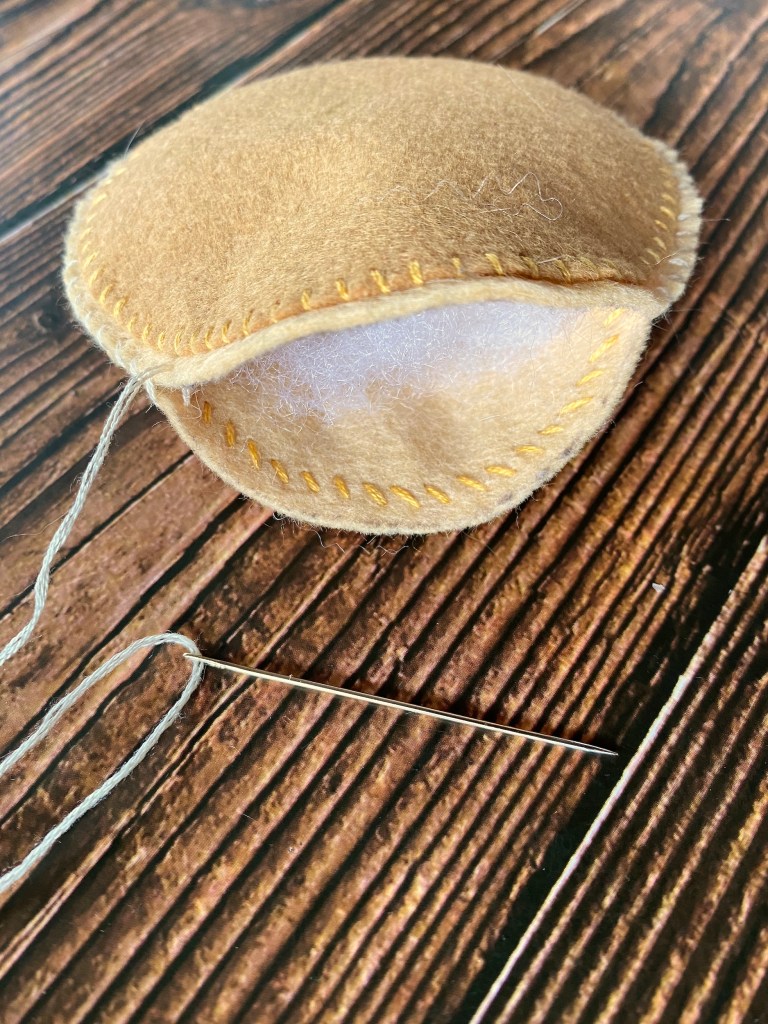
- Align the two pieces of bread crust onto one another and thread your sewing needle with light brown embroidery floss. Whipstitch one of the shorter sides together, then pull open the strips to reveal what will be the dip in the top center of the bread.
- Align the joined point of the bread crusts to the dip in the top of one half of the bread slice and begin to whipstitch around and down one side to attach. When you reach the bottom center, stop and tie it off. Begin at the top dip again and whipstitch down the other side of the bread until the two halves of crust meet, then tie it off. Within the piece of bread, join the two ends of the bread crust together and stitch them for reinforcement.
- Lay the other half of the bread slice over the bread crust and whipstitch all the way around the bread, stopping 2/3 of the way around to insert stuffing, then complete the bread slice and conceal the knot between layers.
- Repeat steps 3 through 5 to create the second slice of bread.
- Align and pin the two halves of American cheese together and thread dark yellow embroidery floss onto your sewing needle.
- Begin sewing around the edges of your American cheese using a whipstitch, concealing the first knot and ending knot in between the layers.
- Align and pin the two halves of Swiss cheese together and thread yellow embroidery floss onto your sewing needle.
- Begin sewing around the edges and inside the holes of your Swiss cheese using a whipstitch, concealing the first knot and ending knot in between the layers.
- Align and pin the two halves of provolone cheese together and thread off-white embroidery floss onto your sewing needle.
- Begin sewing around the edges of your provolone cheese using a whipstitch, concealing the first knot and ending knot in between the layers.
- Align and pin the two halves of deli meat together and thread pale pink embroidery floss onto your sewing needle.
- Begin sewing around the edges of your deli meat using a whipstitch, concealing the first knot and ending knot in between the layers.
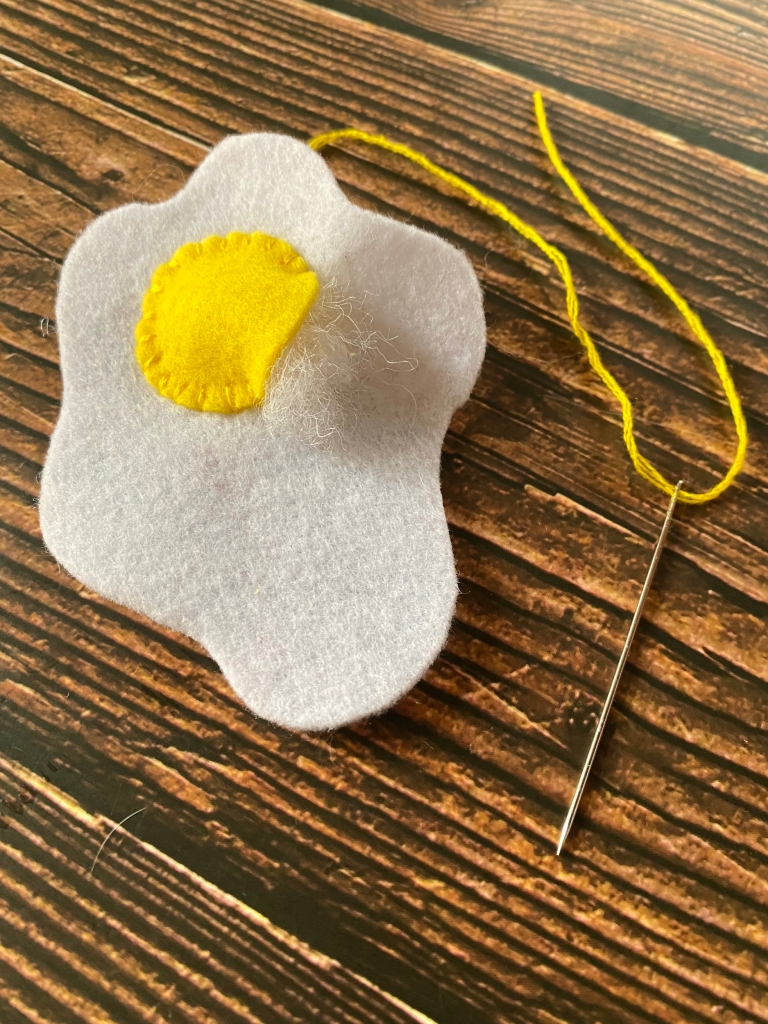
- Thread your sewing needle with light green embroidery floss and create the veins on each half of the the lettuce using a backstitch. Check before you begin to make ensure your stitches and knots will be concealed between the two halves.
- Align and pin the two halves of lettuce together and thread green embroidery floss onto your sewing needle.
- Begin sewing around the edges of your lettuce using a whipstitch, concealing the first knot and ending knot in between the layers.
- Align and pin the two red halves of tomato (with the dark red base in between them) together and thread red embroidery floss onto your sewing needle.
- Begin sewing around the edges of your tomato using a whipstitch, concealing the first knot and ending knot in between the layers.
- Use small dabs from the hot glue gun to secure down the inner ridges of the tomato.
- Repeat steps 18 through 20 to create the second tomato slice.
- Align and pin the two different onion rings together and thread white embroidery floss onto your sewing needle.
- Begin sewing around and over the white ring of the onion using a whipstitch and concealing the first and ending knots between the layers.
- Repeat steps 22 and 24 to create the second onion ring.
- Align and pin the two halves of the pickle (with the dark green base in between them) together and thread vibrant green embroidery floss onto your sewing needle.
- Begin sewing around the vibrant green of your pickle using a whipstitch, concealing the first knot and ending knot in between the layers.
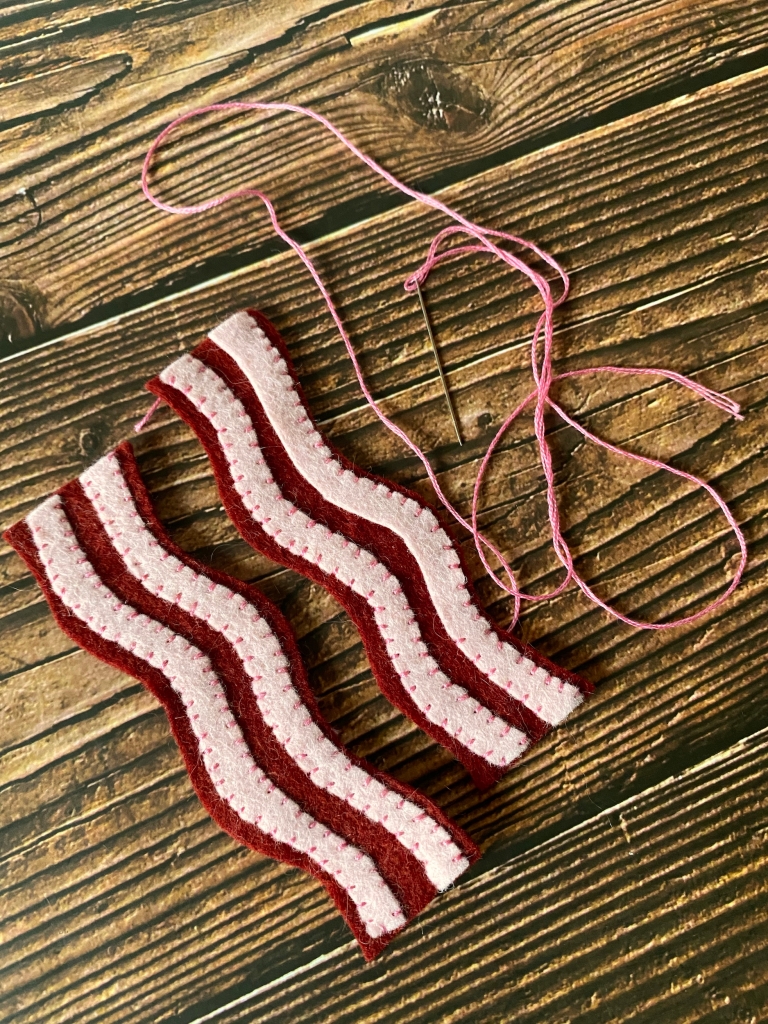
- Align and pin the two halves of ketchup together and thread dark red embroidery floss onto your sewing needle.
- Begin sewing around the edges of your ketchup using a whipstitch, concealing the first knot and ending knot in between the layers.
- Align and pin the two halves of mayonnaise together and thread white embroidery floss onto your sewing needle.
- Begin sewing around the edges of your mayonnaise using a whipstitch, concealing the first knot and ending knot in between the layers.
- Align and pin the two halves of mustard together and thread vibrant yellow embroidery floss onto your sewing needle.
- Begin sewing around the edges of your mustard using a whipstitch, concealing the first knot and ending knot in between the layers.
- Align and pin the two halves of peanut butter together and thread light brown embroidery floss onto your sewing needle.
- Begin sewing around the edges of your peanut butter using a whipstitch, concealing the first knot and ending knot in between the layers.
- Align and pin the two halves of grape jelly together and thread purple embroidery floss onto your sewing needle.
- Begin sewing around the edges of your grape jelly using a whipstitch, concealing the first knot and ending knot in between the layers.
- Enjoy!