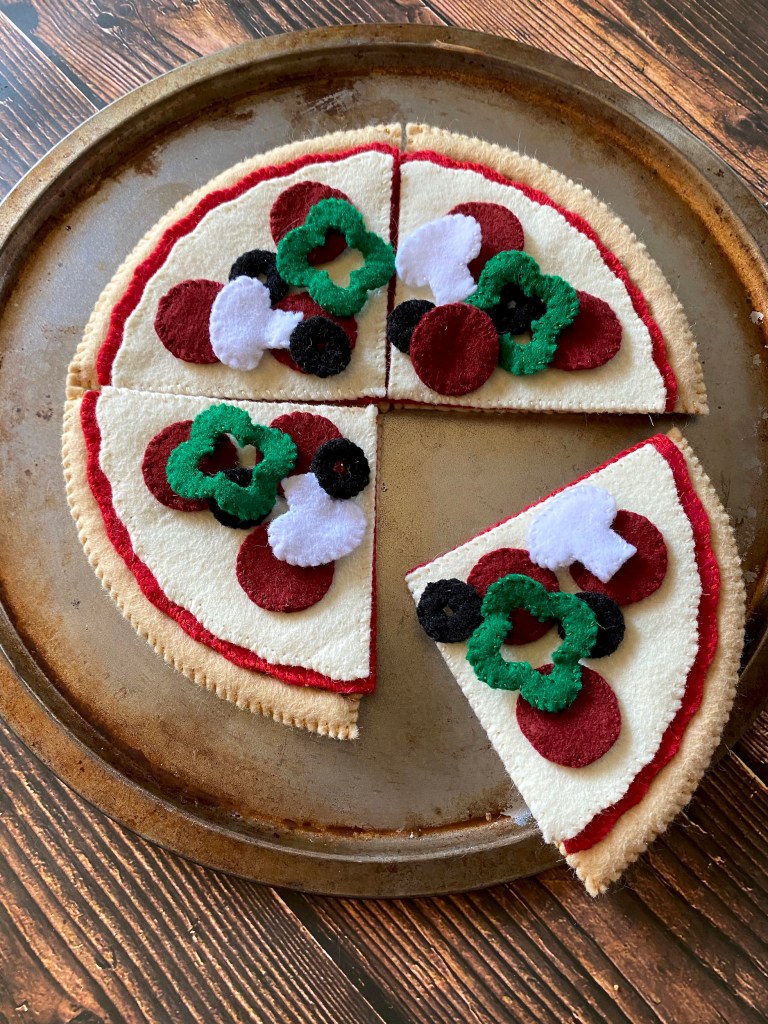
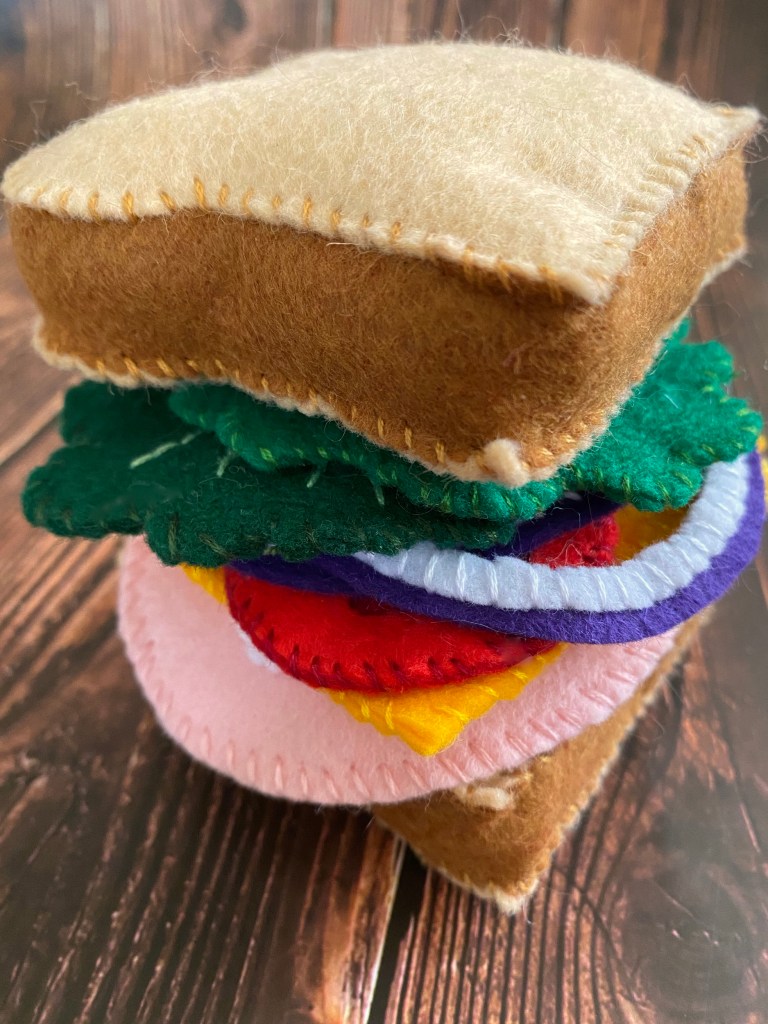
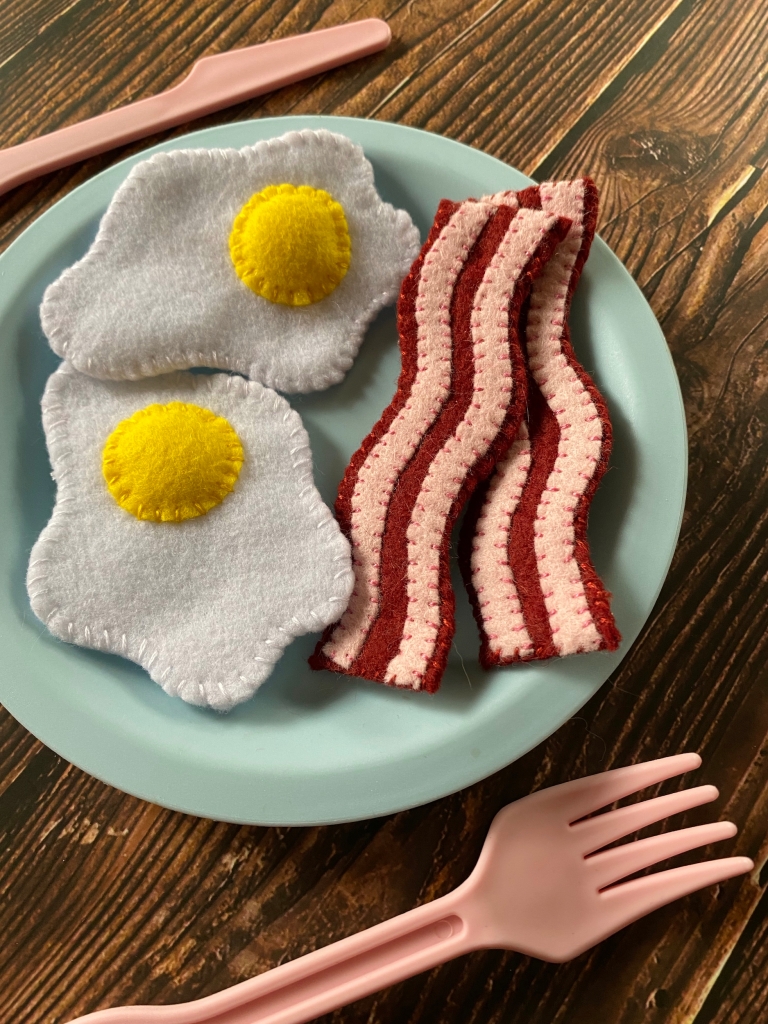
What child (or inner child) doesn’t love preparing toy food in a play kitchen?
I had a play kitchen when I was a little girl and loved baking cookies for myself, my sister and my parents. Now that I’m grown and have a daughter of my own, I want to make her some handcrafted play food so she can enjoy making meals for everyone during play, or while we cook in the kitchen next to her!
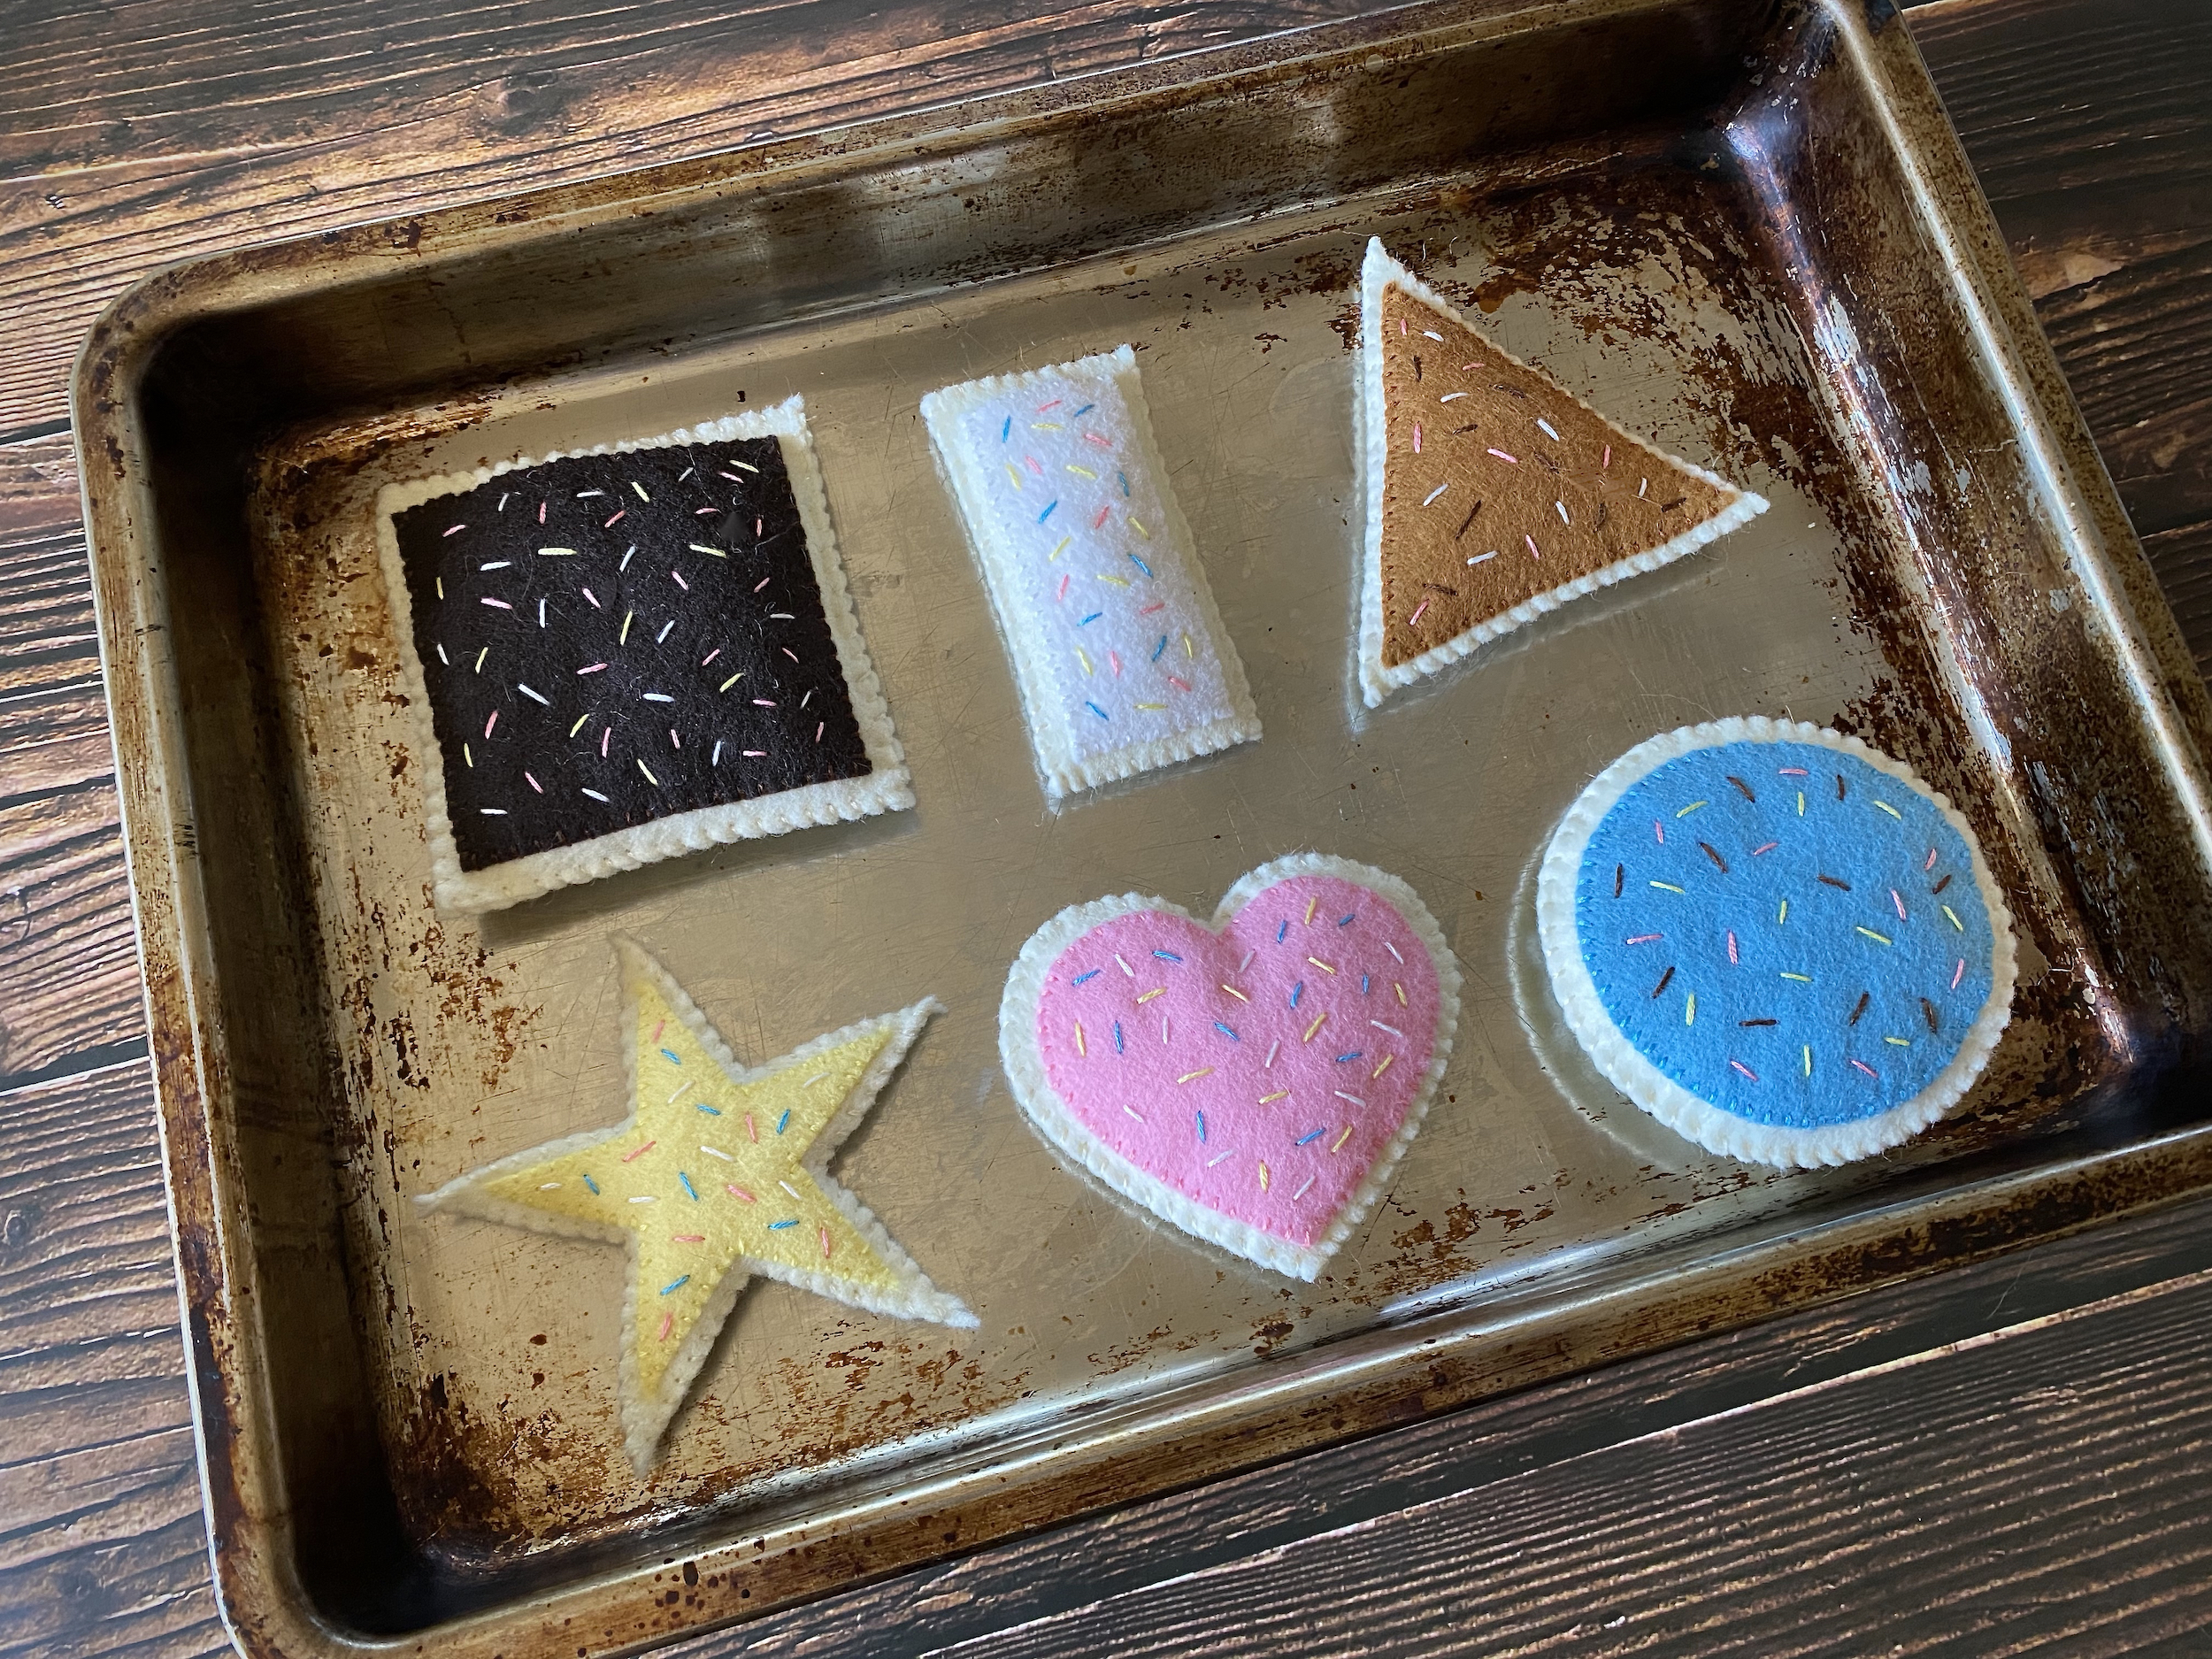
Please feel free to use these patterns to create some play food for you and yours! This pattern will make one circle cookie, one heart cookie, one star cookie, one triangle cookie, one square cookie and one rectangle cookie, each with frosting. I made one extra of each cookie shape so Zoey will have two of each. You can duplicate it as much as you want to make multiple pieces of each food!
SUPPLIES
- Cookie patterns (see above)
- Paper scissors
- Pale tan felt material
- Pale blue felt material
- Pale brown felt material
- Dark brown felt material
- Pale pink felt material
- White felt material
- Pale yellow felt material
- Scissors
- Pins
- Embroidery floss (pale tan, pale blue, light brown, dark brown, pale pink, white)
- Sewing needle
INSTRUCTIONS
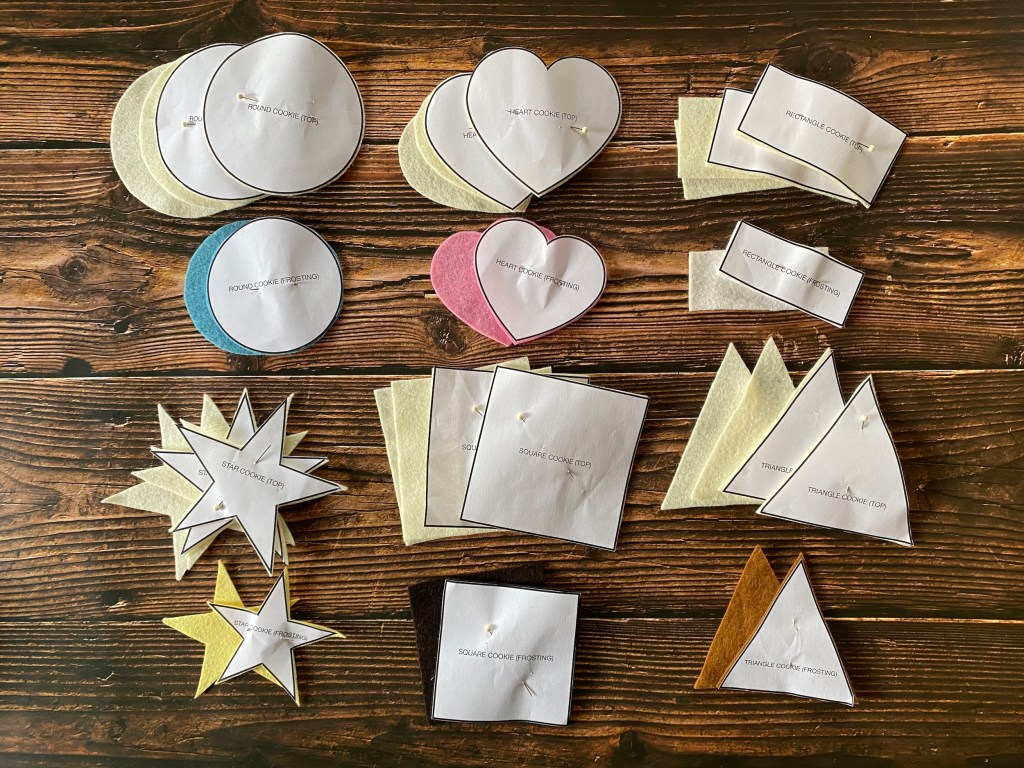

- Print out the cookie pattern I’ve provided, then cut the patterns from the paper.
- Pin the patterns on the appropriate colored felt, then use sewing scissors to cut the felt.
- Align and pin the pale blue circle of frosting to one half of the circle of pale tan felt, then thread pale blue embroidery floss onto your sewing needle.
- Begin sewing around the outer edges of the frosting using a whipstitch, concealing the first and ending knots underneath the layer of cookie.
- One at a time, thread three of the other colors of embroidery floss onto your needle and create randomized stitches within the frosting to make sprinkles. Conceal the first and ending knots of each color underneath the layer of cookie.
- Thread a sewing needle with pale tan embroidery floss and pin the bottom cookie layer over the stitching on the back of the frosted top half.
- Using a whipstitch, begin sewing around the edges of the circle cookie, concealing the first knot and end knot in between the layers.
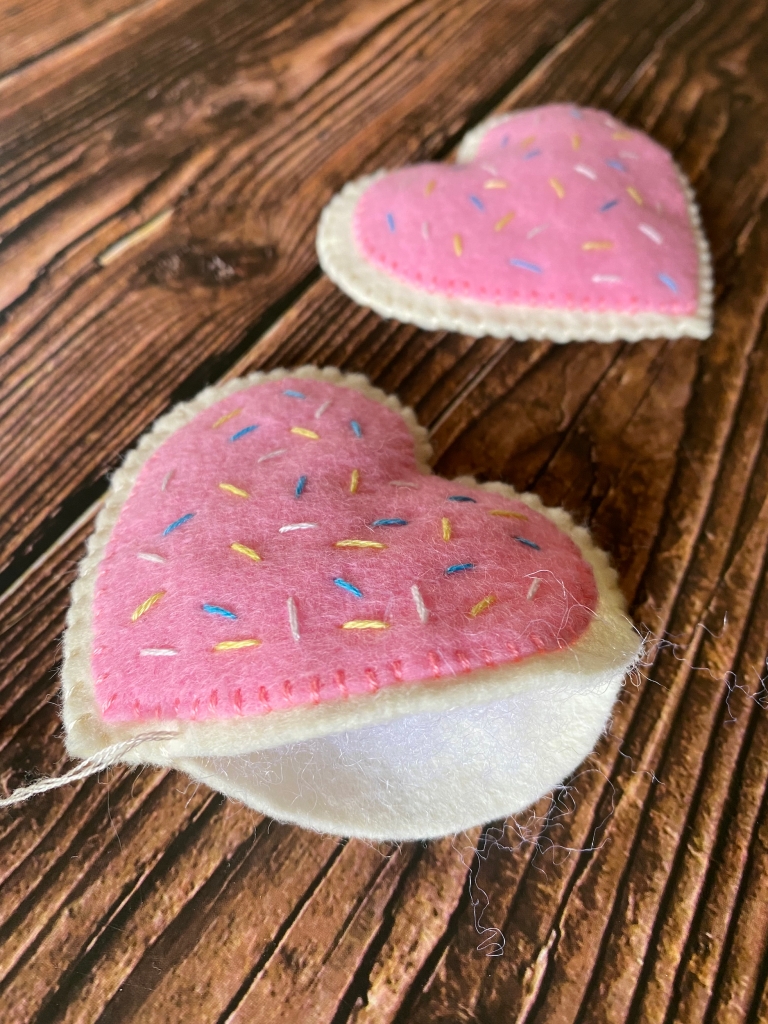
- Align and pin the pale pink heart of frosting to one half of the heart of pale tan felt, then thread pale pink embroidery floss onto your sewing needle.
- Begin sewing around the outer edges of the frosting using a whipstitch, concealing the first and ending knots underneath the layer of cookie.
- One at a time, thread three of the other colors of embroidery floss onto your needle and create randomized stitches within the frosting to make sprinkles. Conceal the first and ending knots of each color underneath the layer of cookie.
- Thread a sewing needle with pale tan embroidery floss and pin the bottom cookie layer over the stitching on the back of the frosted top half.
- Using a whipstitch, begin sewing around the edges of the heart cookie, concealing the first knot and end knot in between the layers.
- Align and pin the pale yellow star of frosting to one half of the star of pale tan felt, then thread pale yellow embroidery floss onto your sewing needle.
- Begin sewing around the outer edges of the frosting using a whipstitch, concealing the first and ending knots underneath the layer of cookie.
- One at a time, thread three of the other colors of embroidery floss onto your needle and create randomized stitches within the frosting to make sprinkles. Conceal the first and ending knots of each color underneath the layer of cookie.
- Thread a sewing needle with pale tan embroidery floss and pin the bottom cookie layer over the stitching on the back of the frosted top half.
- Using a whipstitch, begin sewing around the edges of the star cookie, concealing the first knot and end knot in between the layers.
- Align and pin the white triangle of frosting to one half of the triangle of pale tan felt, then thread white embroidery floss onto your sewing needle.
- Begin sewing around the outer edges of the frosting using a whipstitch, concealing the first and ending knots underneath the layer of cookie.
- One at a time, thread three of the other colors of embroidery floss onto your needle and create randomized stitches within the frosting to make sprinkles. Conceal the first and ending knots of each color underneath the layer of cookie.
- Thread a sewing needle with pale tan embroidery floss and pin the bottom cookie layer over the stitching on the back of the frosted top half.
- Using a whipstitch, begin sewing around the edges of the triangle cookie, concealing the first knot and end knot in between the layers.
- Align and pin the dark brown square of frosting to one half of the square of pale tan felt, then thread dark brown embroidery floss onto your sewing needle.
- Begin sewing around the outer edges of the frosting using a whipstitch, concealing the first and ending knots underneath the layer of cookie.
- One at a time, thread three of the other colors of embroidery floss onto your needle and create randomized stitches within the frosting to make sprinkles. Conceal the first and ending knots of each color underneath the layer of cookie.
- Thread a sewing needle with pale tan embroidery floss and pin the bottom cookie layer over the stitching on the back of the frosted top half.
- Using a whipstitch, begin sewing around the edges of the square cookie, concealing the first knot and end knot in between the layers.
- Align and pin the pale brown rectangle of frosting to one half of the rectangle of pale tan felt, then thread pale brown embroidery floss onto your sewing needle.
- Begin sewing around the outer edges of the frosting using a whipstitch, concealing the first and ending knots underneath the layer of cookie.
- One at a time, thread three of the other colors of embroidery floss onto your needle and create randomized stitches within the frosting to make sprinkles. Conceal the first and ending knots of each color underneath the layer of cookie.
- Thread a sewing needle with pale tan embroidery floss and pin the bottom cookie layer over the stitching on the back of the frosted top half.
- Using a whipstitch, begin sewing around the edges of the rectangle cookie, concealing the first knot and end knot in between the layers.
- Enjoy!


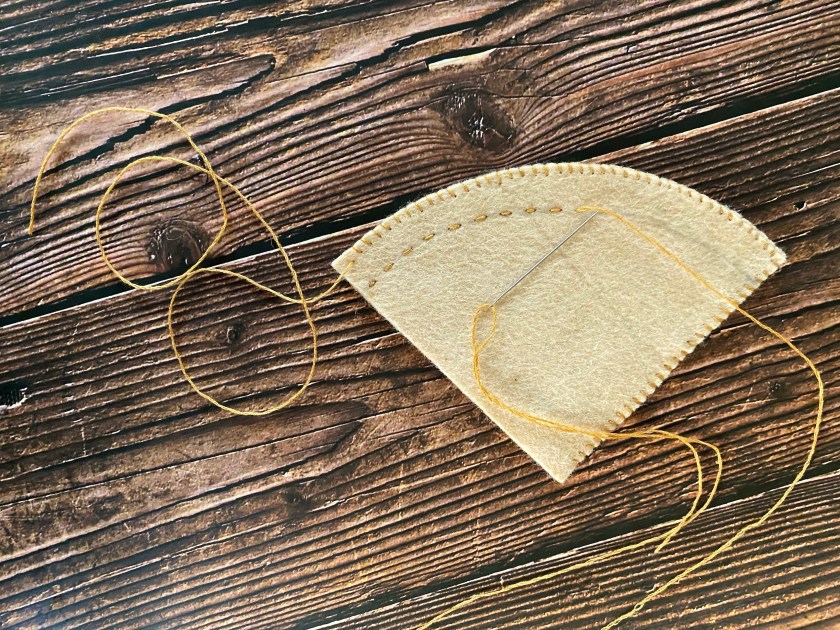


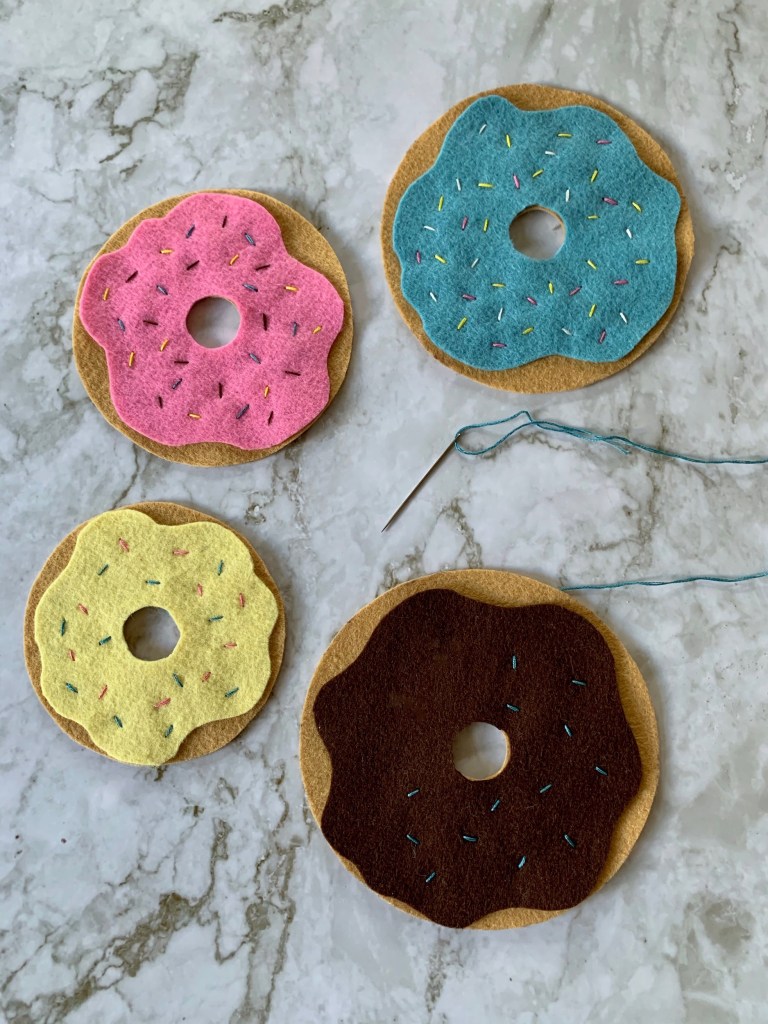
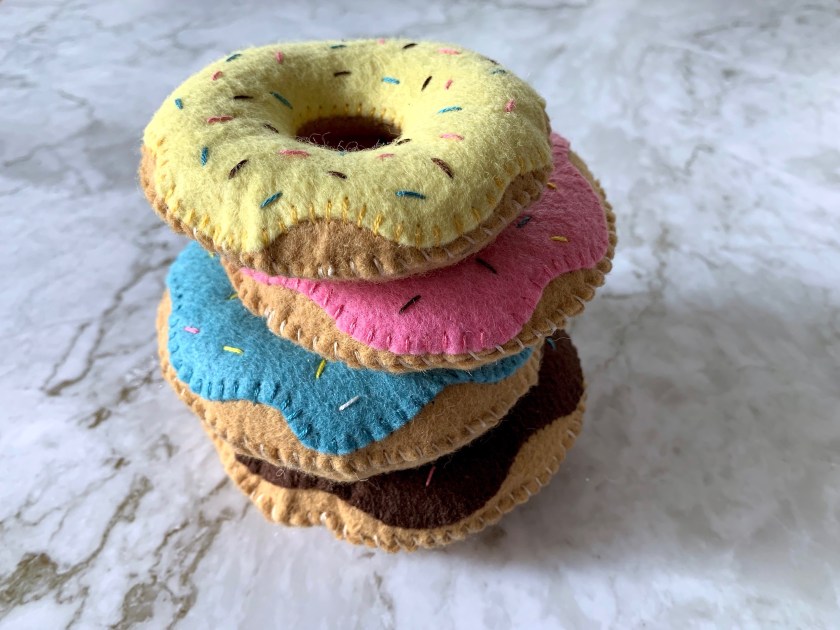
 Part of the fun in raising Zoey is making things that teach and fascinate her. I’ve seen the stacking toy done in so many fun and creative ways, but I don’t believe I’ve seen a felt doughnut stacking toy yet, so let’s make one!
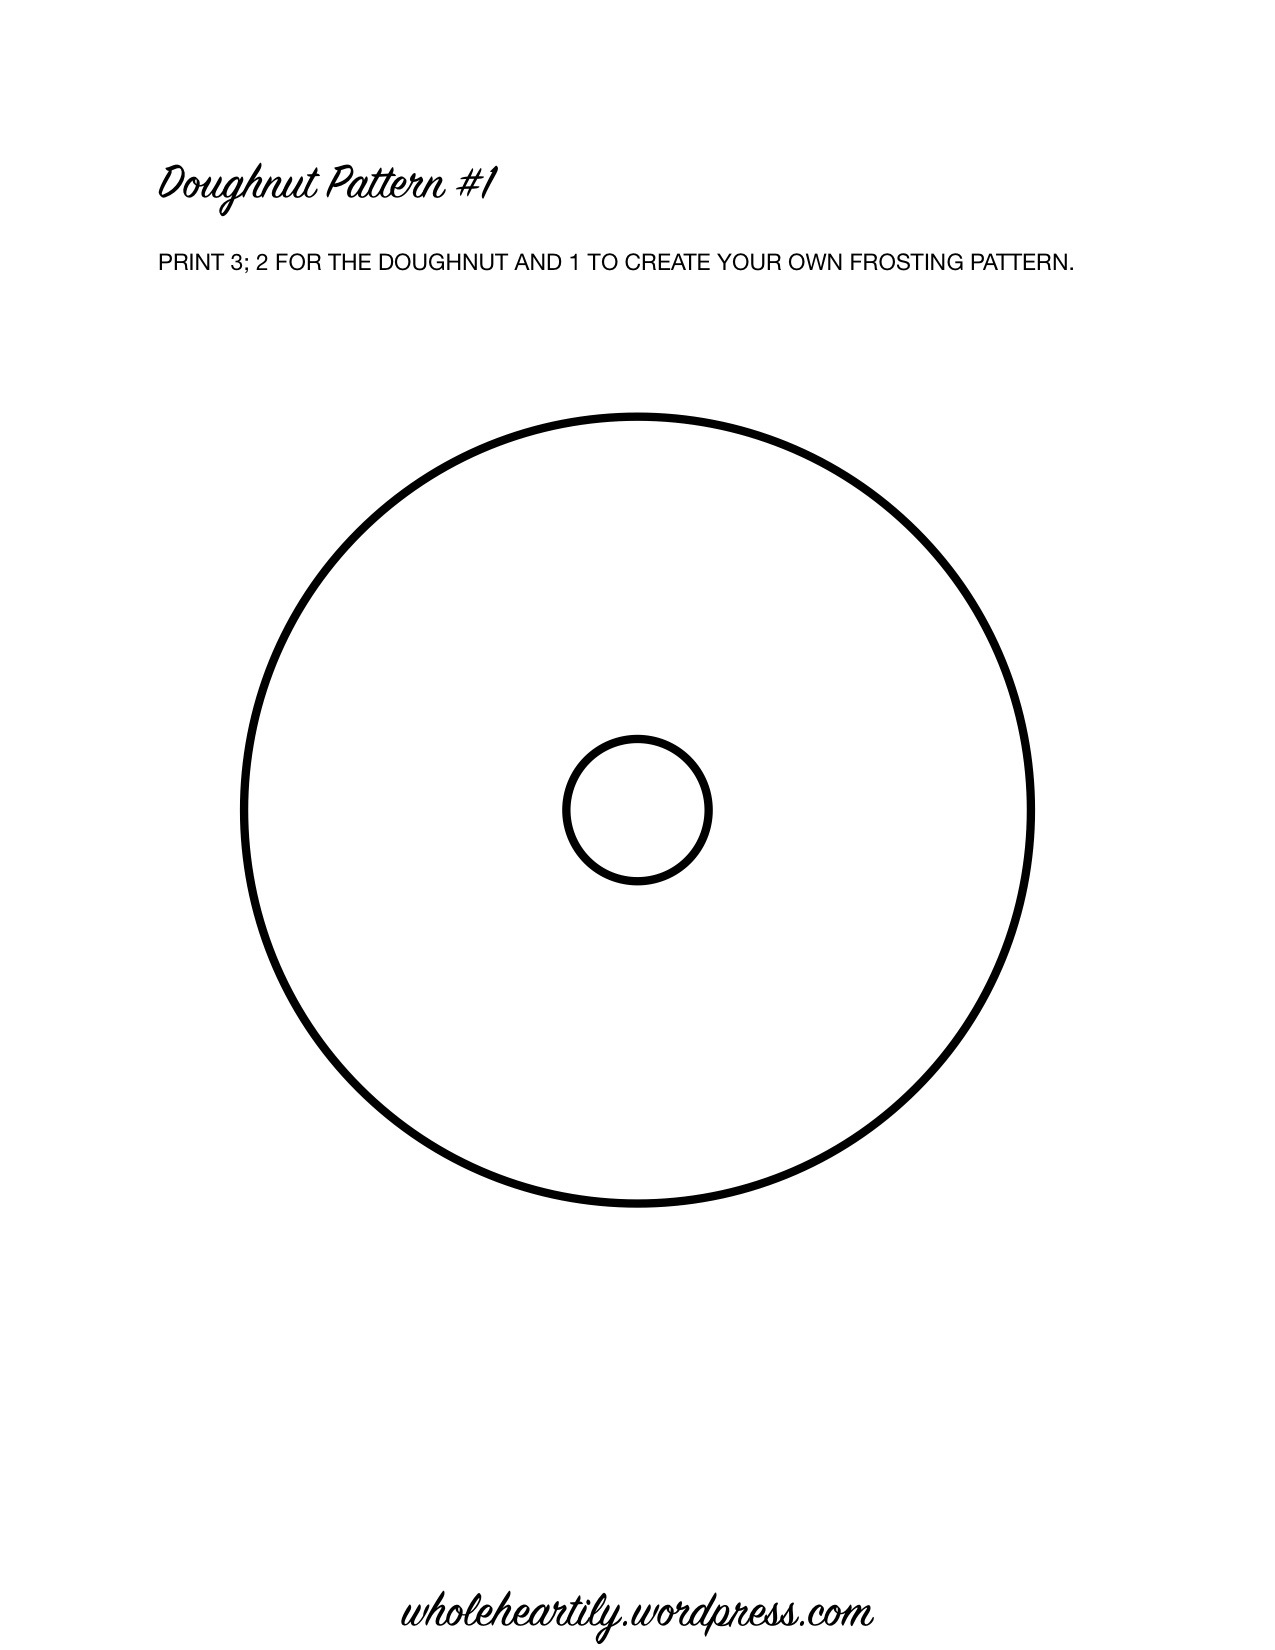
 I have provided the patterns I used to make the four different sizes of donuts for my stacking toy. You’re welcome to use them if the base of your toy closely resembles mine, or you can make them as play food without the base. Another option would be to create your own patterns using the measurements of your base and a compass.