

Whether you keep a garden or not, bees are so essential to the plant life around us! They need water too, and sometimes sources of water are too deep for them to safely reach. To aid the bees while they are pollinating our plants, let’s create a decorative water dish for them to safely get a drink and keep moving!
SUPPLIES
- 1 plant saucer
- 1 plant pot (smaller than the plant saucer)
- Small, foam paint brush
- Paint palette (or a tray for your paint)
- Non-toxic acrylic paint
- Mod Podge
- Glass gem marbles
INSTRUCTIONS


- Wipe the plant pot and saucer clean with a damp rag and allow to them to dry.
- To prime and seal the plant pot and saucer, spread an even layer of Mod Podge on them with a small foam paint brush. Allow them to dry before switching sides and/or applying new layers.
- Once the Mod Podge is dry, begin painting the plant pot and saucer with whichever color of non-toxic acrylic paint you prefer! Allow them to dry before switching sides and/or applying new layers.
- Apply the paint in layers until you’re happy with the color and texture.
- Once the paint is dry, seal the plant pot and saucer again with even layers Mod Podge. Allow them to dry before switching sides and/or applying new layers.
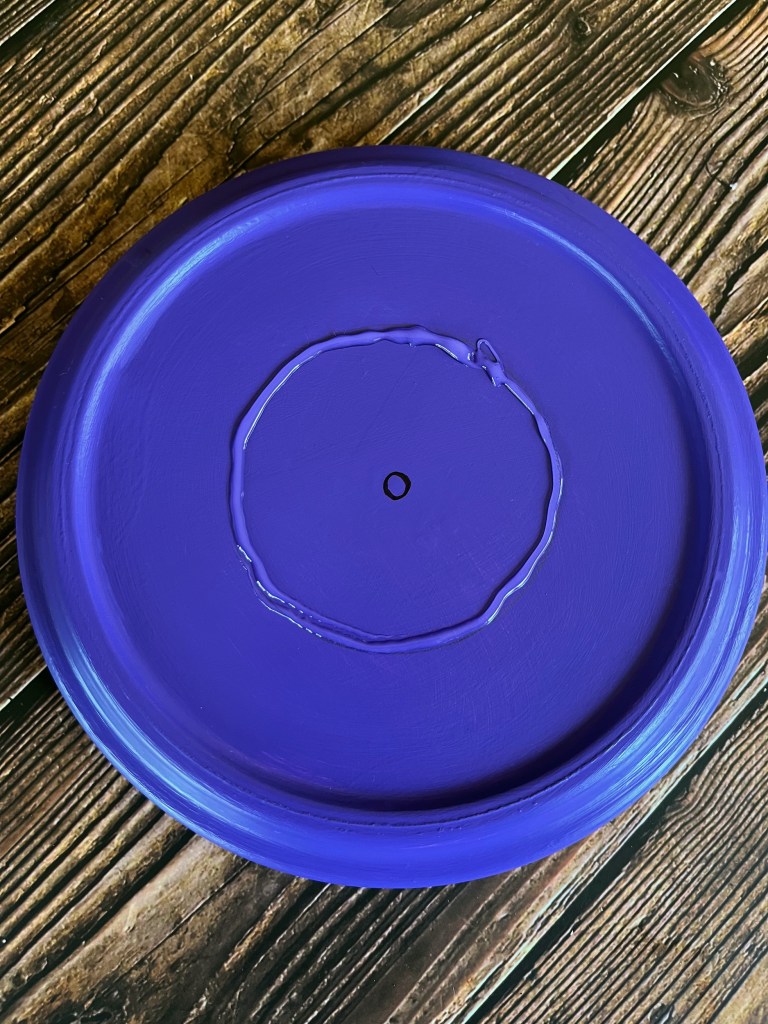
- Once the Mod Podge is dry, flip the plant saucer over and find its center. Place the bottom of the plant pot centered on the bottom of the plant saucer and use a pencil to trace around the edge.
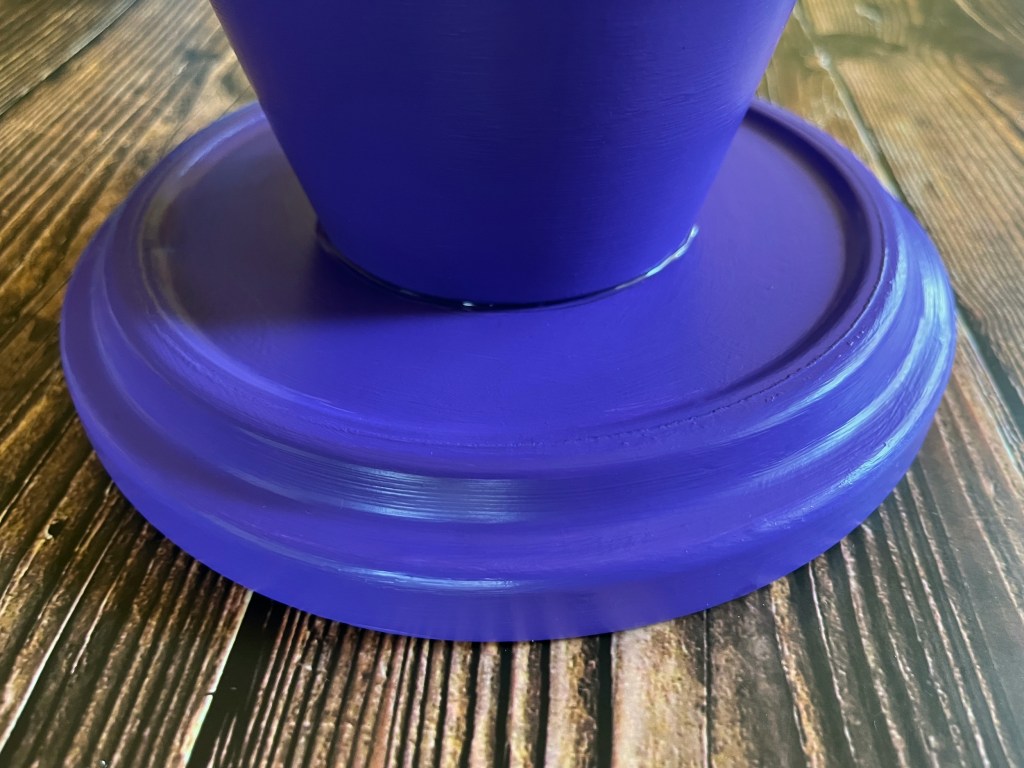
- Remove the plant pot and carefully apply an even trail of glue just inside the traced circle on the bottom of the plant saucer.
- Immediately place the bottom of the plant pot on the bottom of the plant saucer over the circle of glue and press down gently. Leave the assembled water dish as it is, upside down, for at least 24 hours to dry before moving it.
- Now, Mod Podge should be left to fully cure for at least 3 weeks before filling the dish with water. Allow the Mod Podge to fully cure before moving on to the next step!
- Once the Mod Podge has fully cured (you will know it is when it is no longer tacky to the touch), fill the water dish with glass gem marbles and then with water.
- Place the Bee water station outdoors to hydrate those bees!
- Enjoy!


 I love Autumn, it has to be my favorite season of the year!


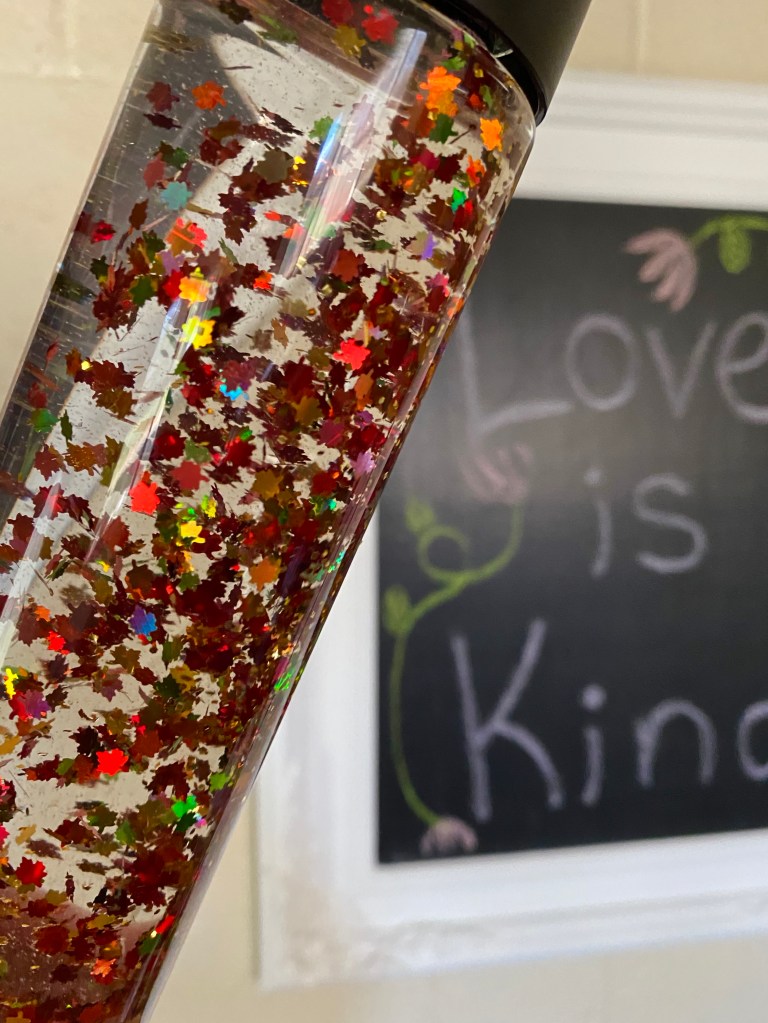
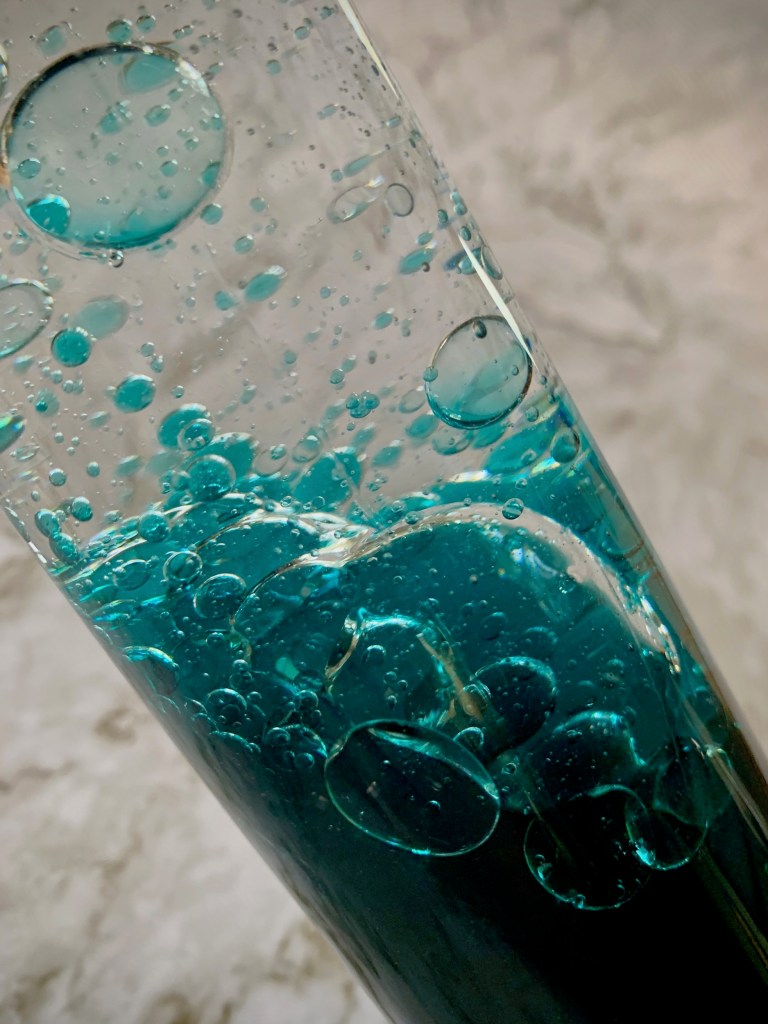 With Summer solstice right around the corner, I was thinking about the beach and got inspired to make an ocean wave sensory bottle (not to mention I had all the ingredients already on hand)! Part of the fun in raising Zoey is making things that teach and fascinate her. And, if I’m being completely honest, I find sensory bottles fascinating too, so let’s make one!


