Welcome back friends!
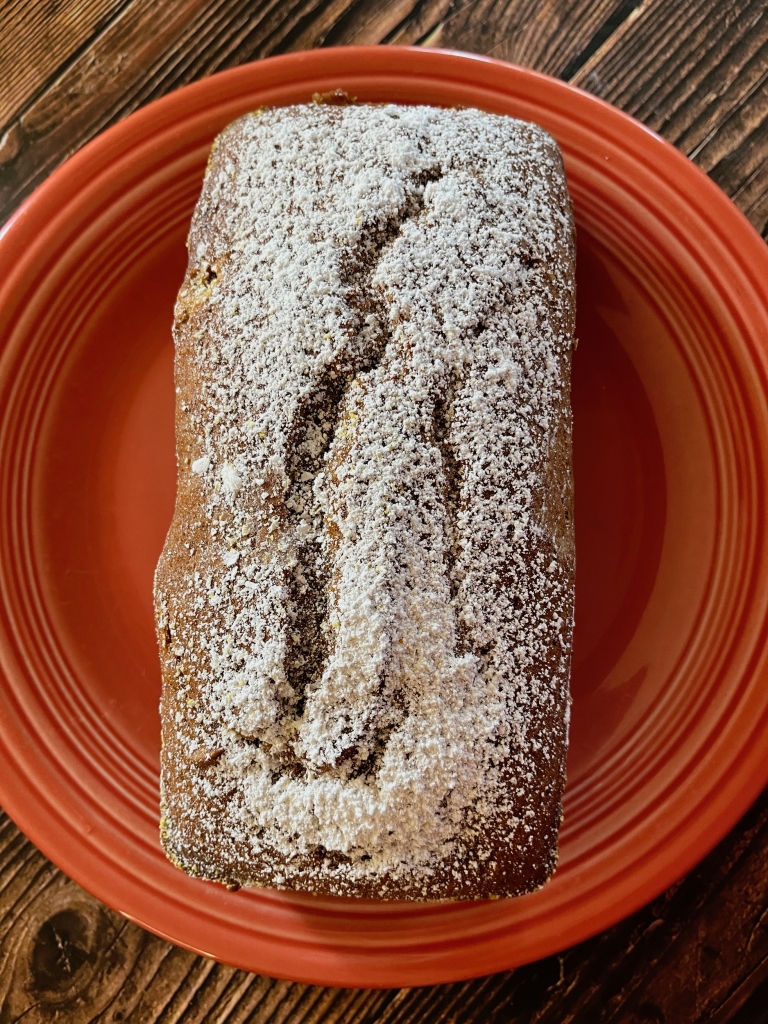
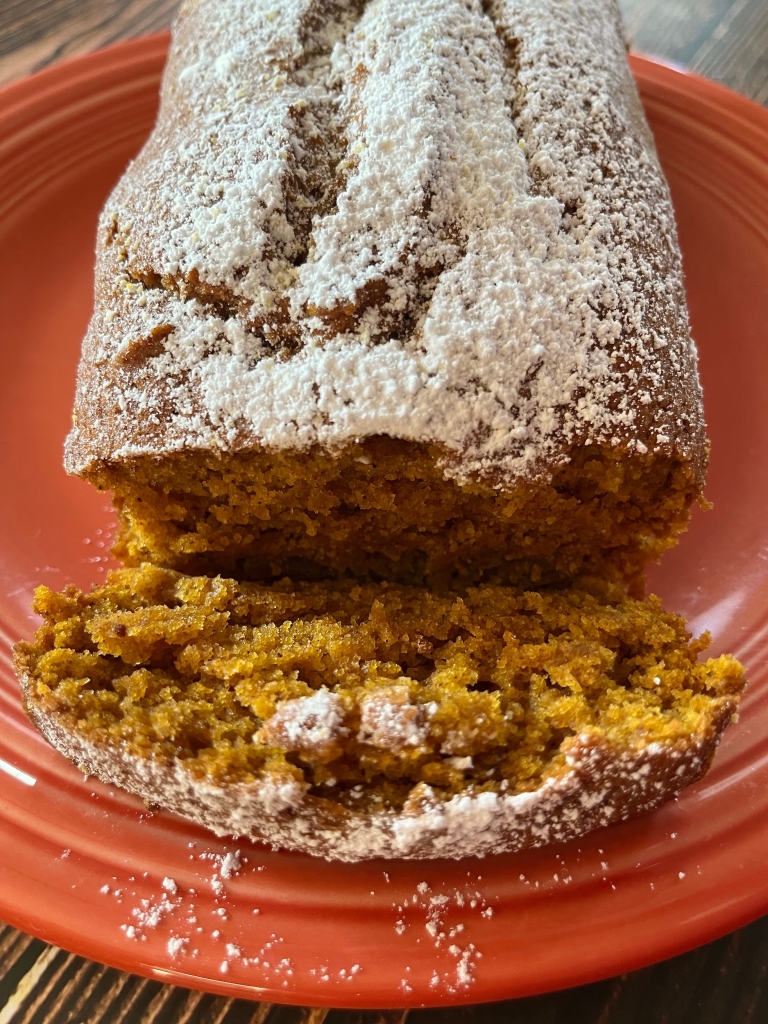
Who wants some fresh, oven baked chocolate, chocolate chip pumpkin bread to enjoy on one (or more) of these beautiful autumn mornings? Maybe at a table with some coffee or tea and a good book?
I know I do, so let’s bake some!

INGREDIENTS
- 2 cups of all-purpose flour
- 1/2 cup of cocoa powder
- 1⁄2 teaspoon of baking powder
- 1 teaspoon of baking soda
- 1 teaspoon of ground cinnamon
- 1 teaspoon of ground cloves
- 1 teaspoon of ground nutmeg
- 1⁄2 teaspoon of salt
- 3⁄4 cup of unsalted butter, softened
- 2 cups of sugar
- 2 large of eggs
- 1 15-oz can of pumpkin puree
- Powdered sugar (optional)
- 2/3 cups of chocolate chips
INSTRUCTIONS


- Set an oven rack to the middle position and pre-heat it to 325F.
- Grease two 8 x 4-inch loaf pans with butter, then dust with flour.
- In a medium bowl, combine the flour, cocoa powder, baking powder, baking soda, cinnamon, cloves, nutmeg and salt. Whisk until well combined, then set aside.
- In a large bowl, beat the butter and sugar on medium speed until just blended. Add the eggs one at a time, beating well after each addition and continue to beat until very light and fluffy, then incorporate the pumpkin.
- Slowly add the flour mixture to the pumpkin mixture and mix on a low speed until well combined.
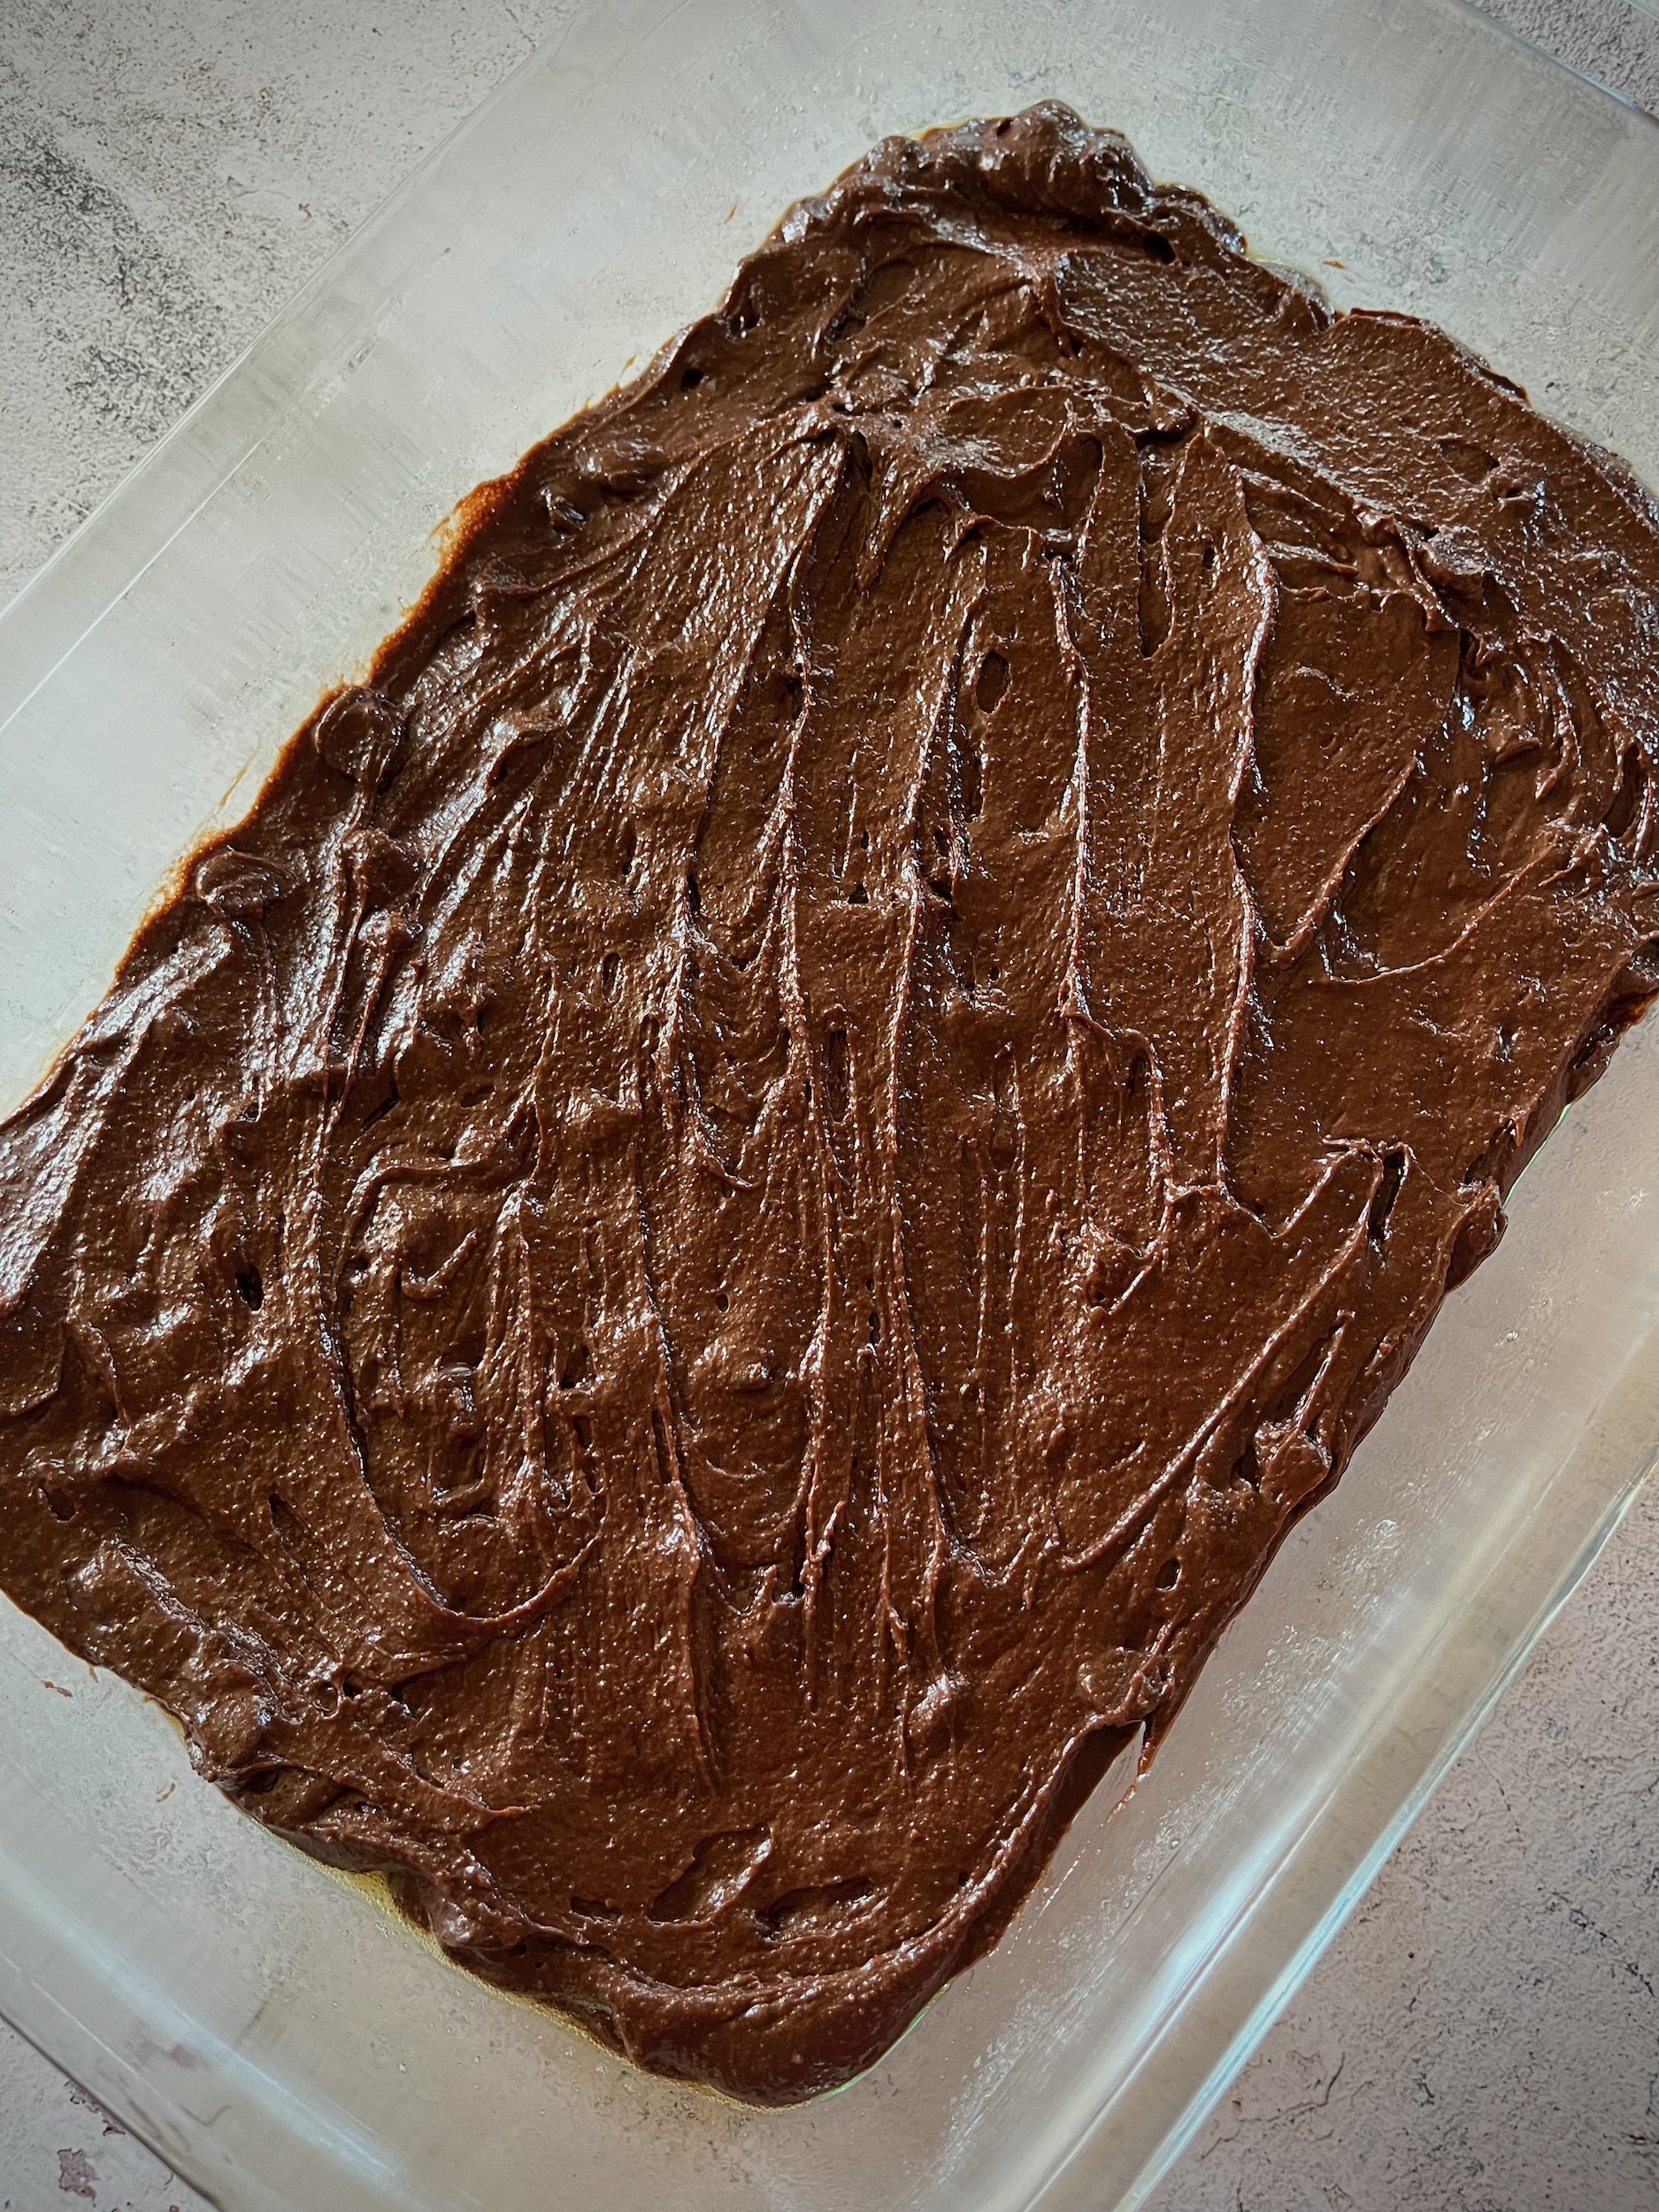
- Fold in the chocolate chips and gently stir until combined.
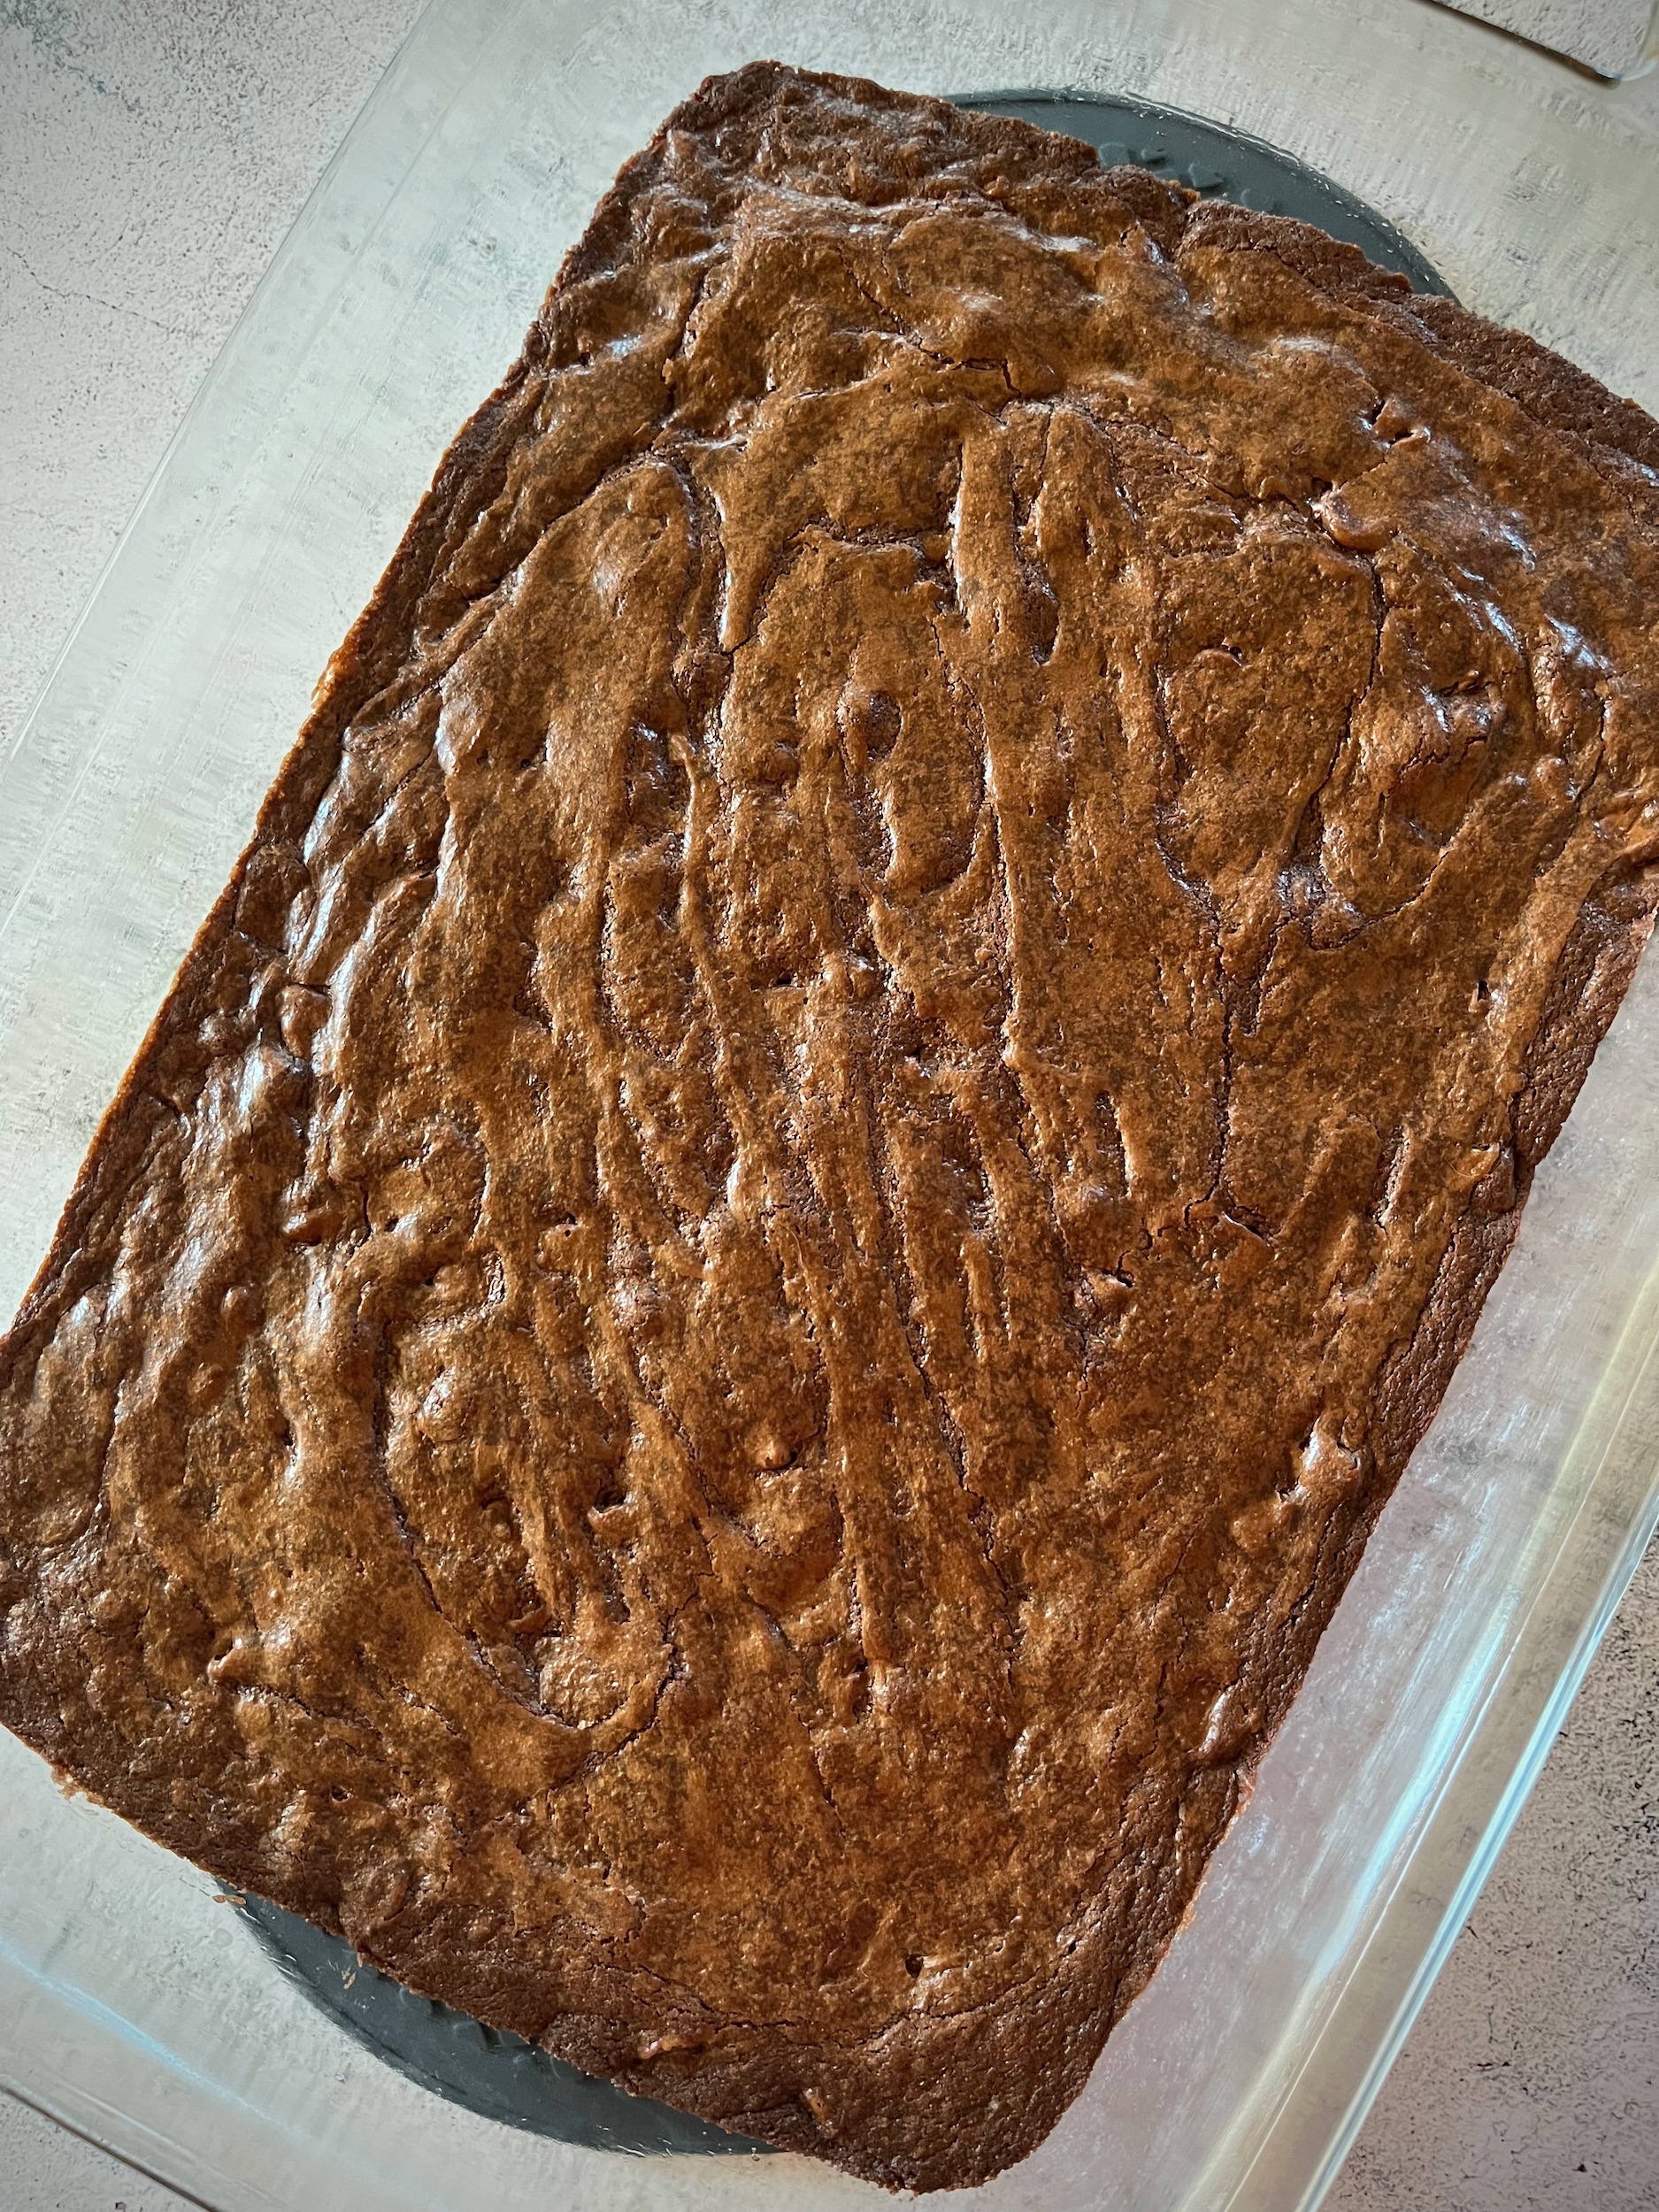
- Divide the batter evenly into the two prepared pans, and bake for 65 – 75 minutes, or until a cake tester inserted into the center comes out clean.
- Let the loaves cool in the pans for about 10 minutes, then turn out onto a wire rack to cool completely.
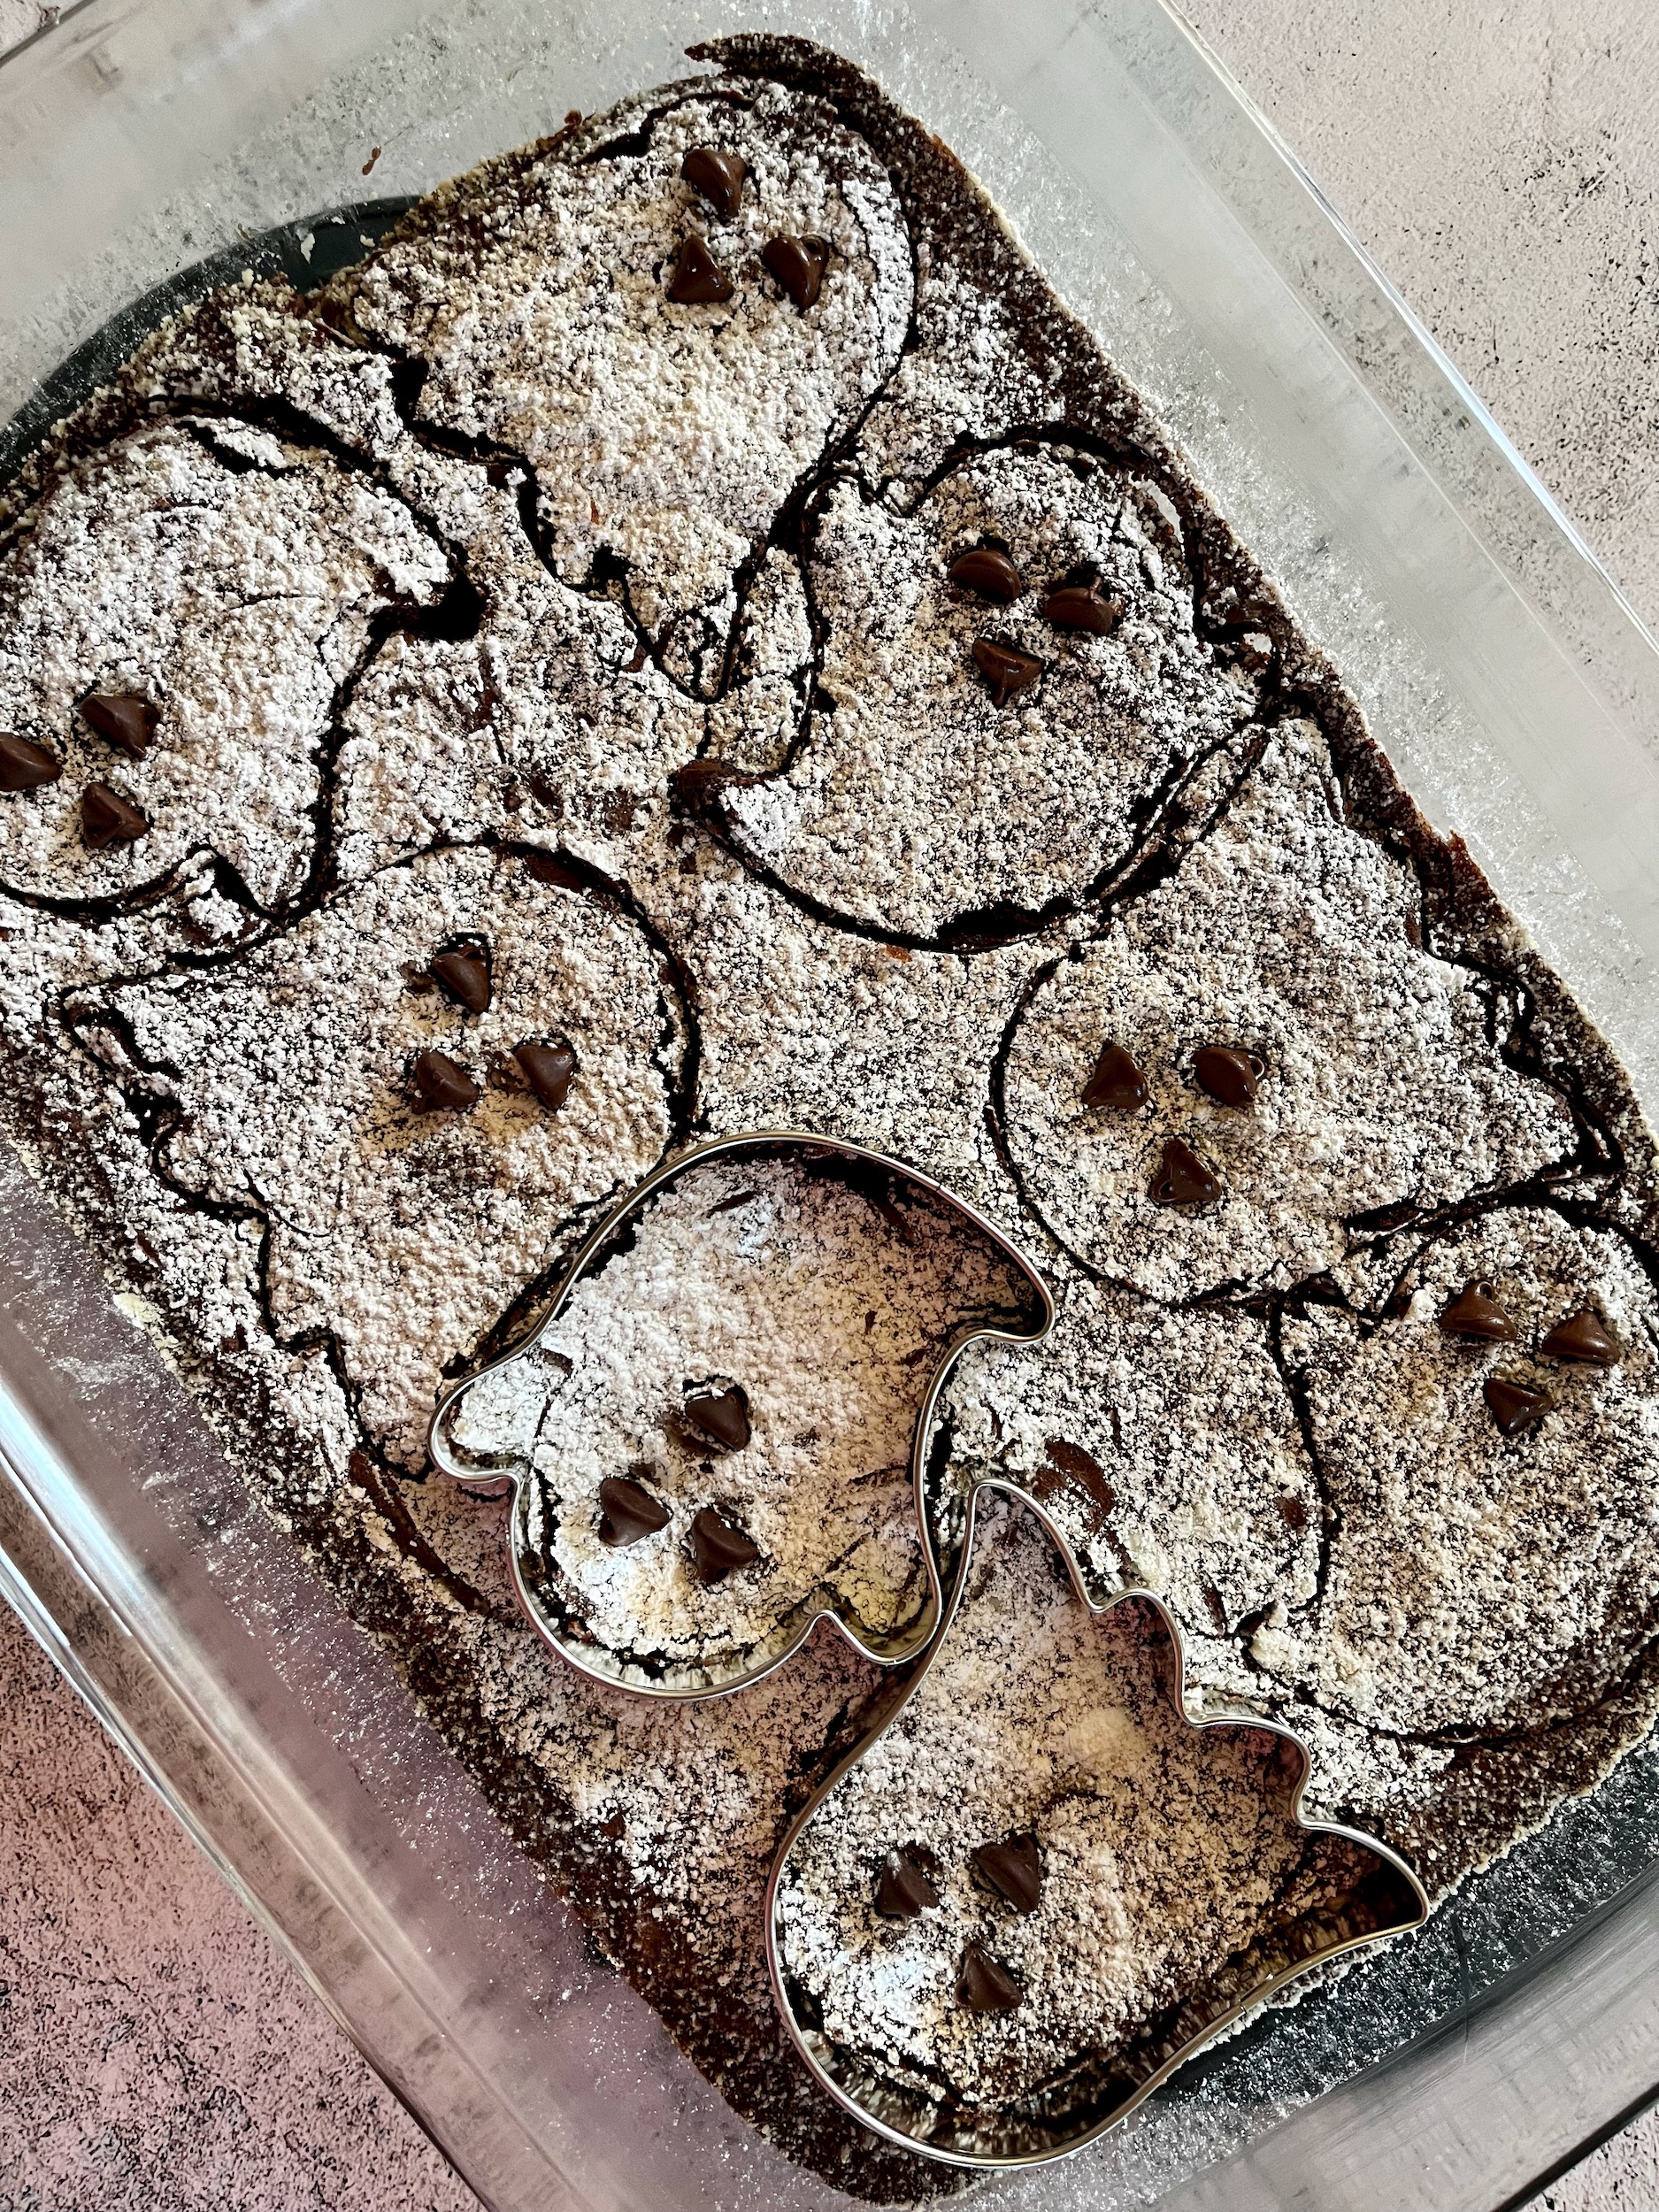
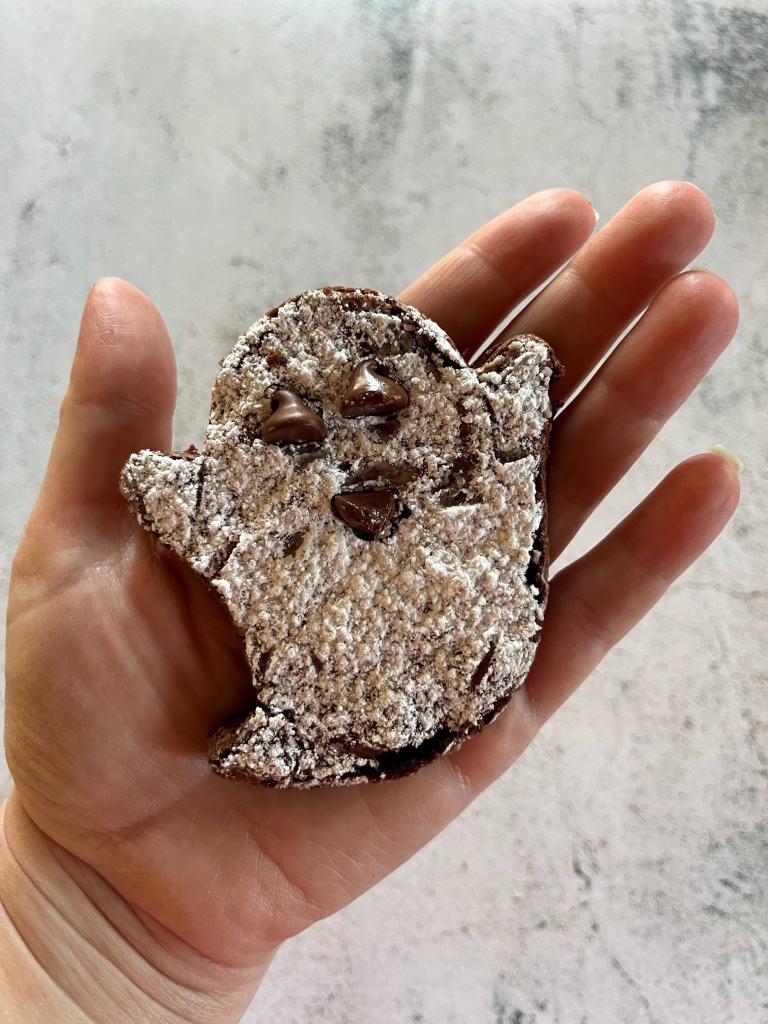
- Place powdered sugar into a sifter and lightly dust the top of each loaf.
- Enjoy!