 INTRODUCTION
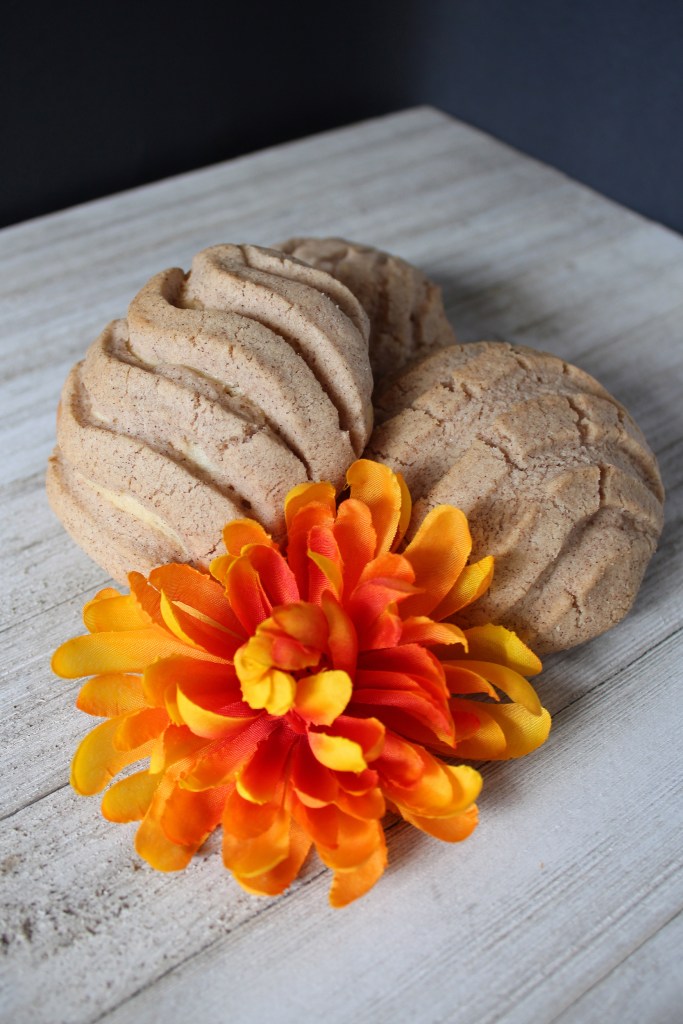
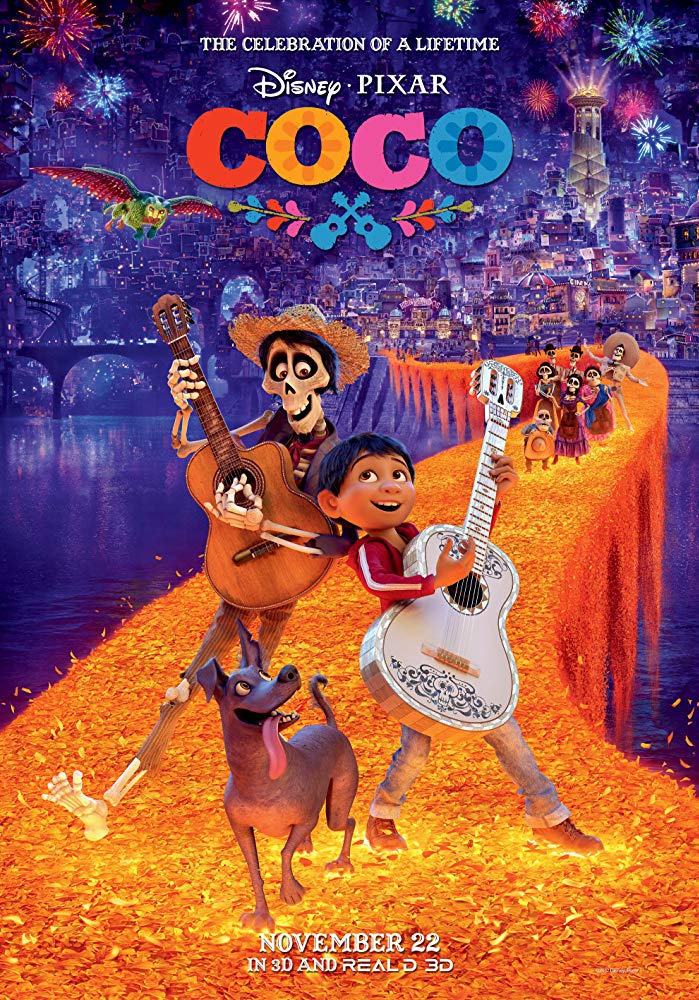
Welcome back friends! This week we’re baking the concha bread, or pan dulce, Dante tries to steal in Disney and Pixar’s heartfelt and visually stunning Pixar film, Coco.
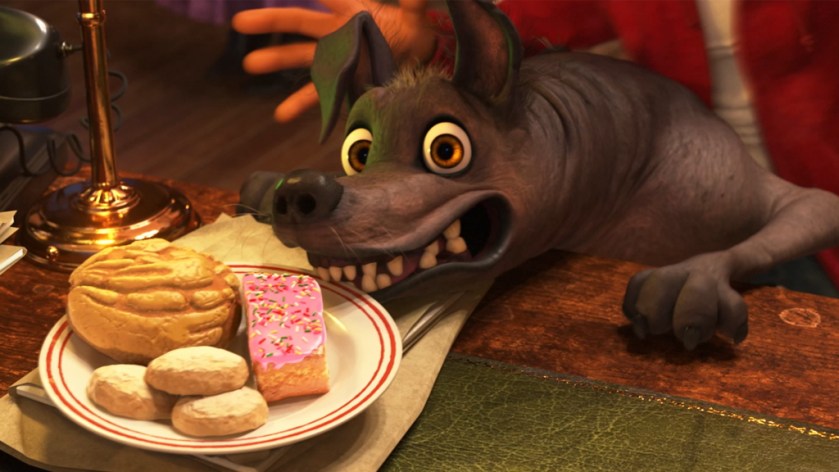
 When Miguel’s family brings him back to the land of the dead to ask Mama Imelda for help, they enter the Department of Family Reunions and Dante tries to steal a plate of sweets off of one of the desks. The Concha bread is on this plate, and it can also be seen in various scenes throughout the film.
 Like the tamales, I wanted to research and find a traditional recipe for this treat. I then took my recipe to my friends to see if they thought it was traditional enough and they approved! There are different variations of toppings out there, but I chose to go with something closer to the film, with no food coloring.
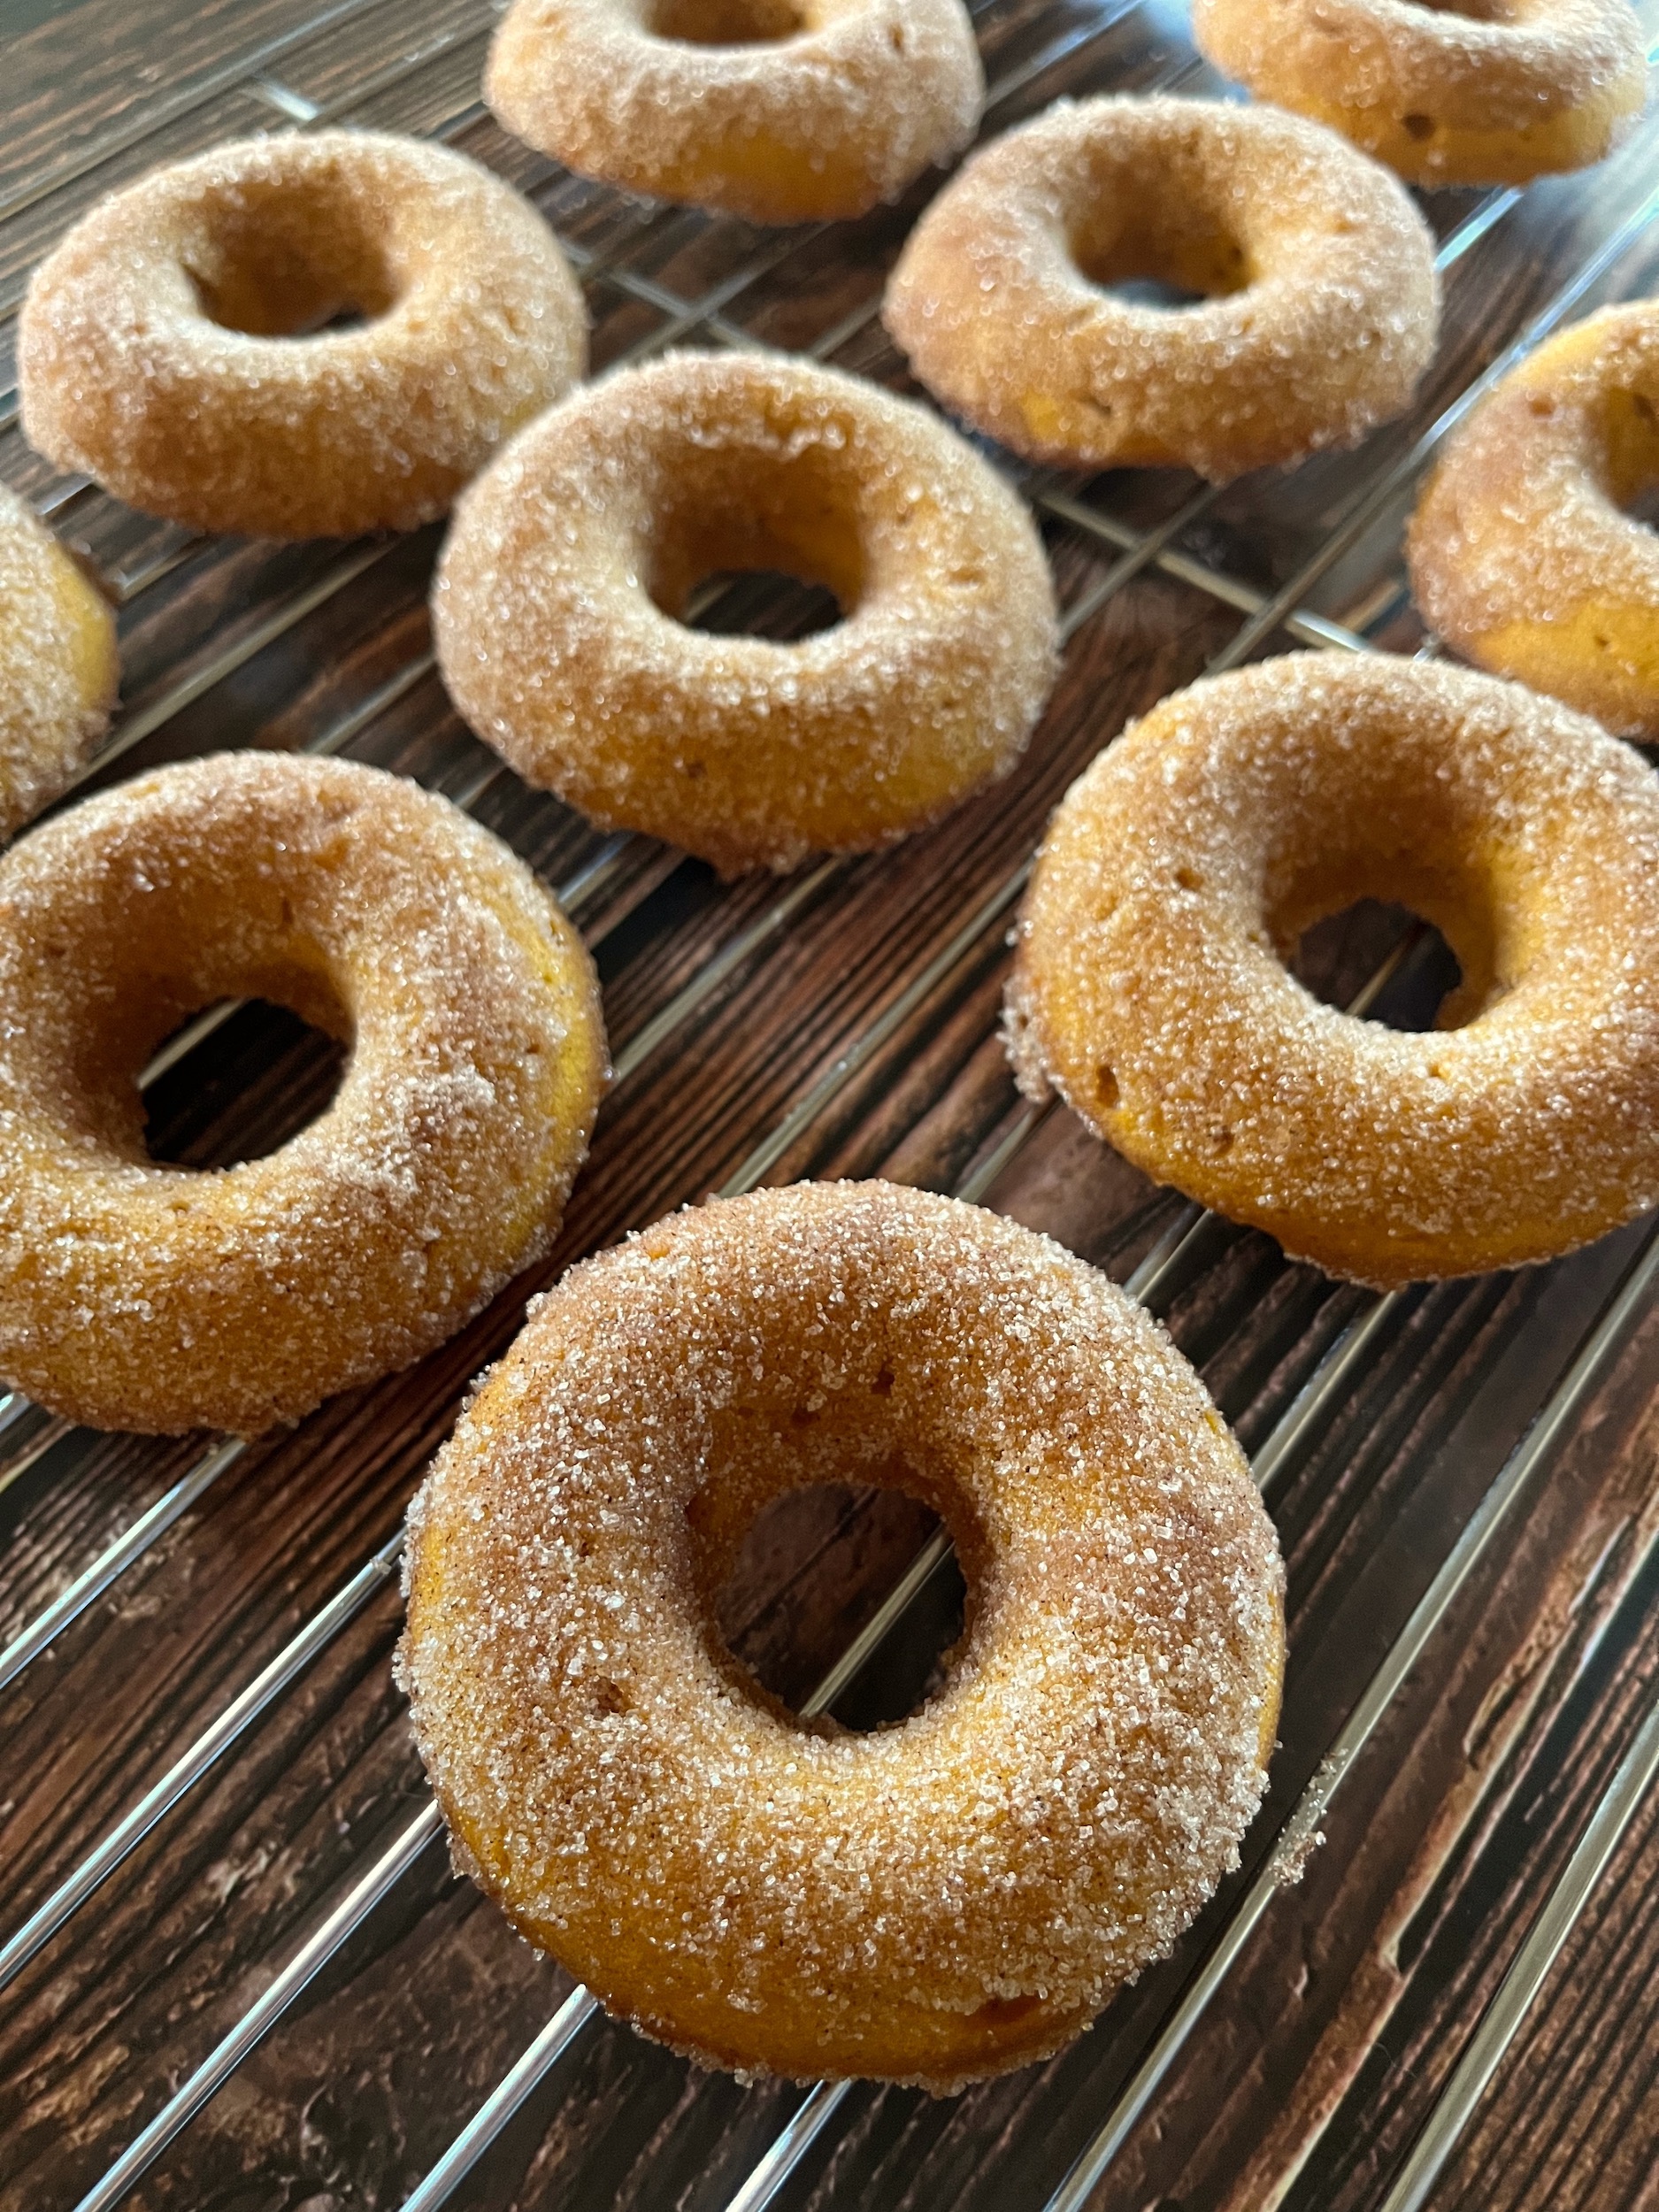
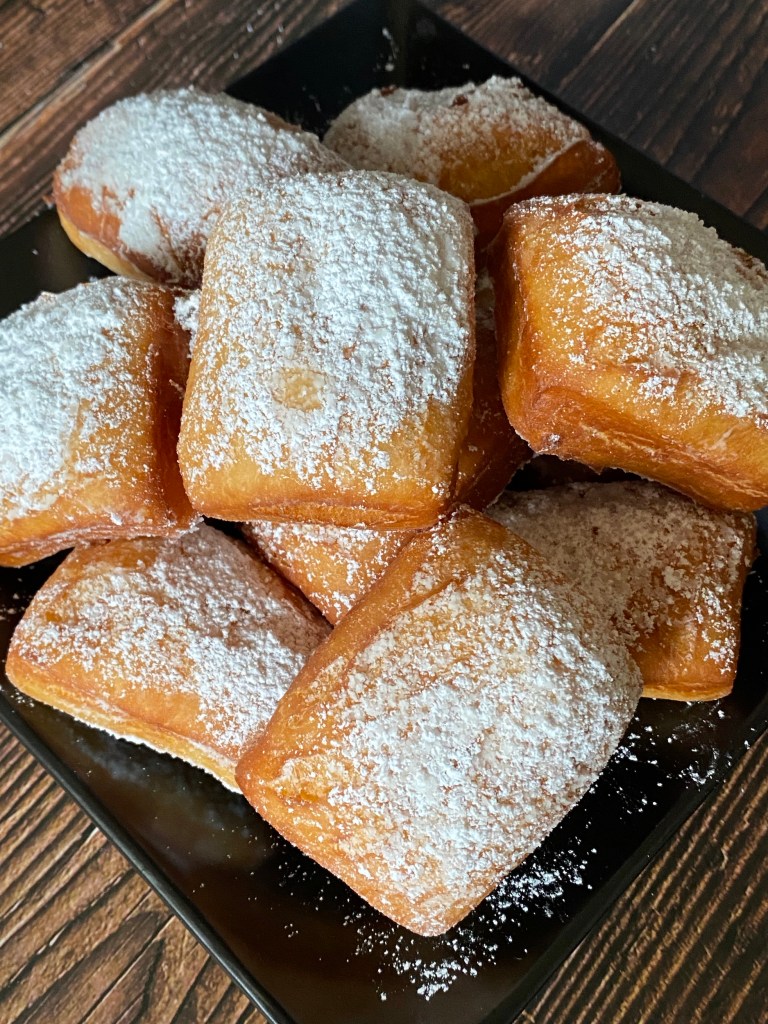
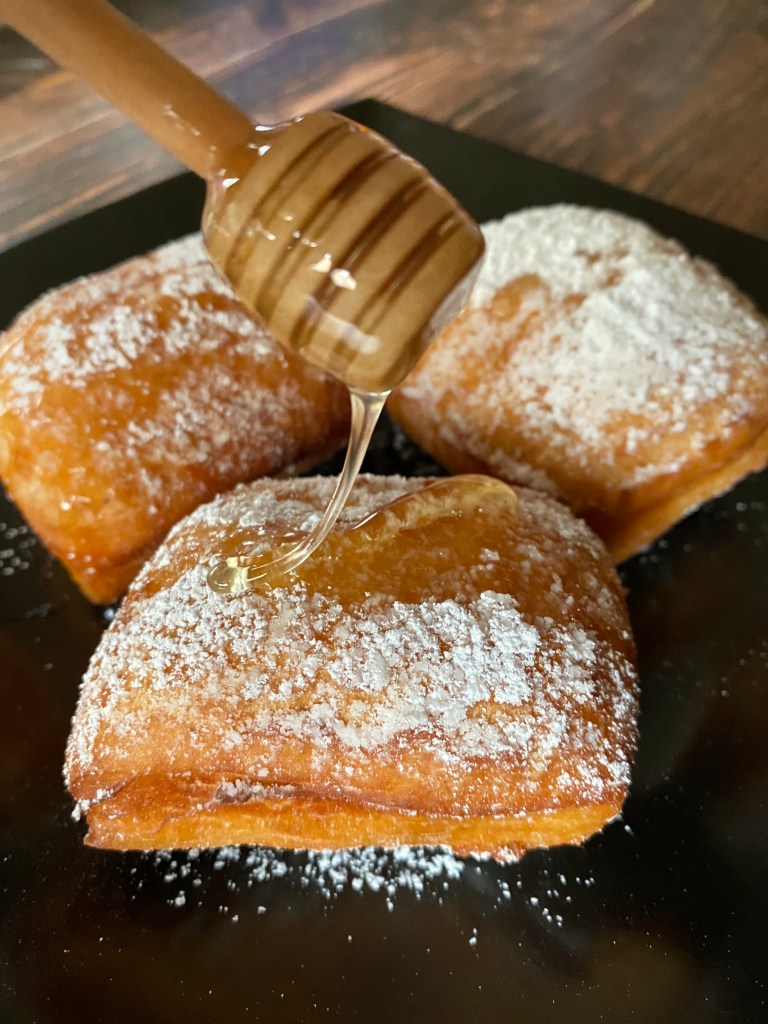
I’ve never really worked with yeast before; it’s really fascinating to see the dough doubling in size! The topping is cinnamon deliciousness and I highly recommend eating these freshly baked and warm, but they do hold up well the following few days.
 CONCHA BREAD
- 1 packet (1/4 ounce) of active dry yeast
- 1⁄2 cup of warm water
- 1 egg
- 1⁄2 cup of warm evaporated milk
- 1/3 cup of sugar
- 1/3 cup of butter (melted)
- 1 teaspoon of salt
- 4 cups of all-purpose flour (plus enough to lightly flour a surface)
- 1⁄2 teaspoon of ground cinnamon
INSTRUCTIONS (BREAD)
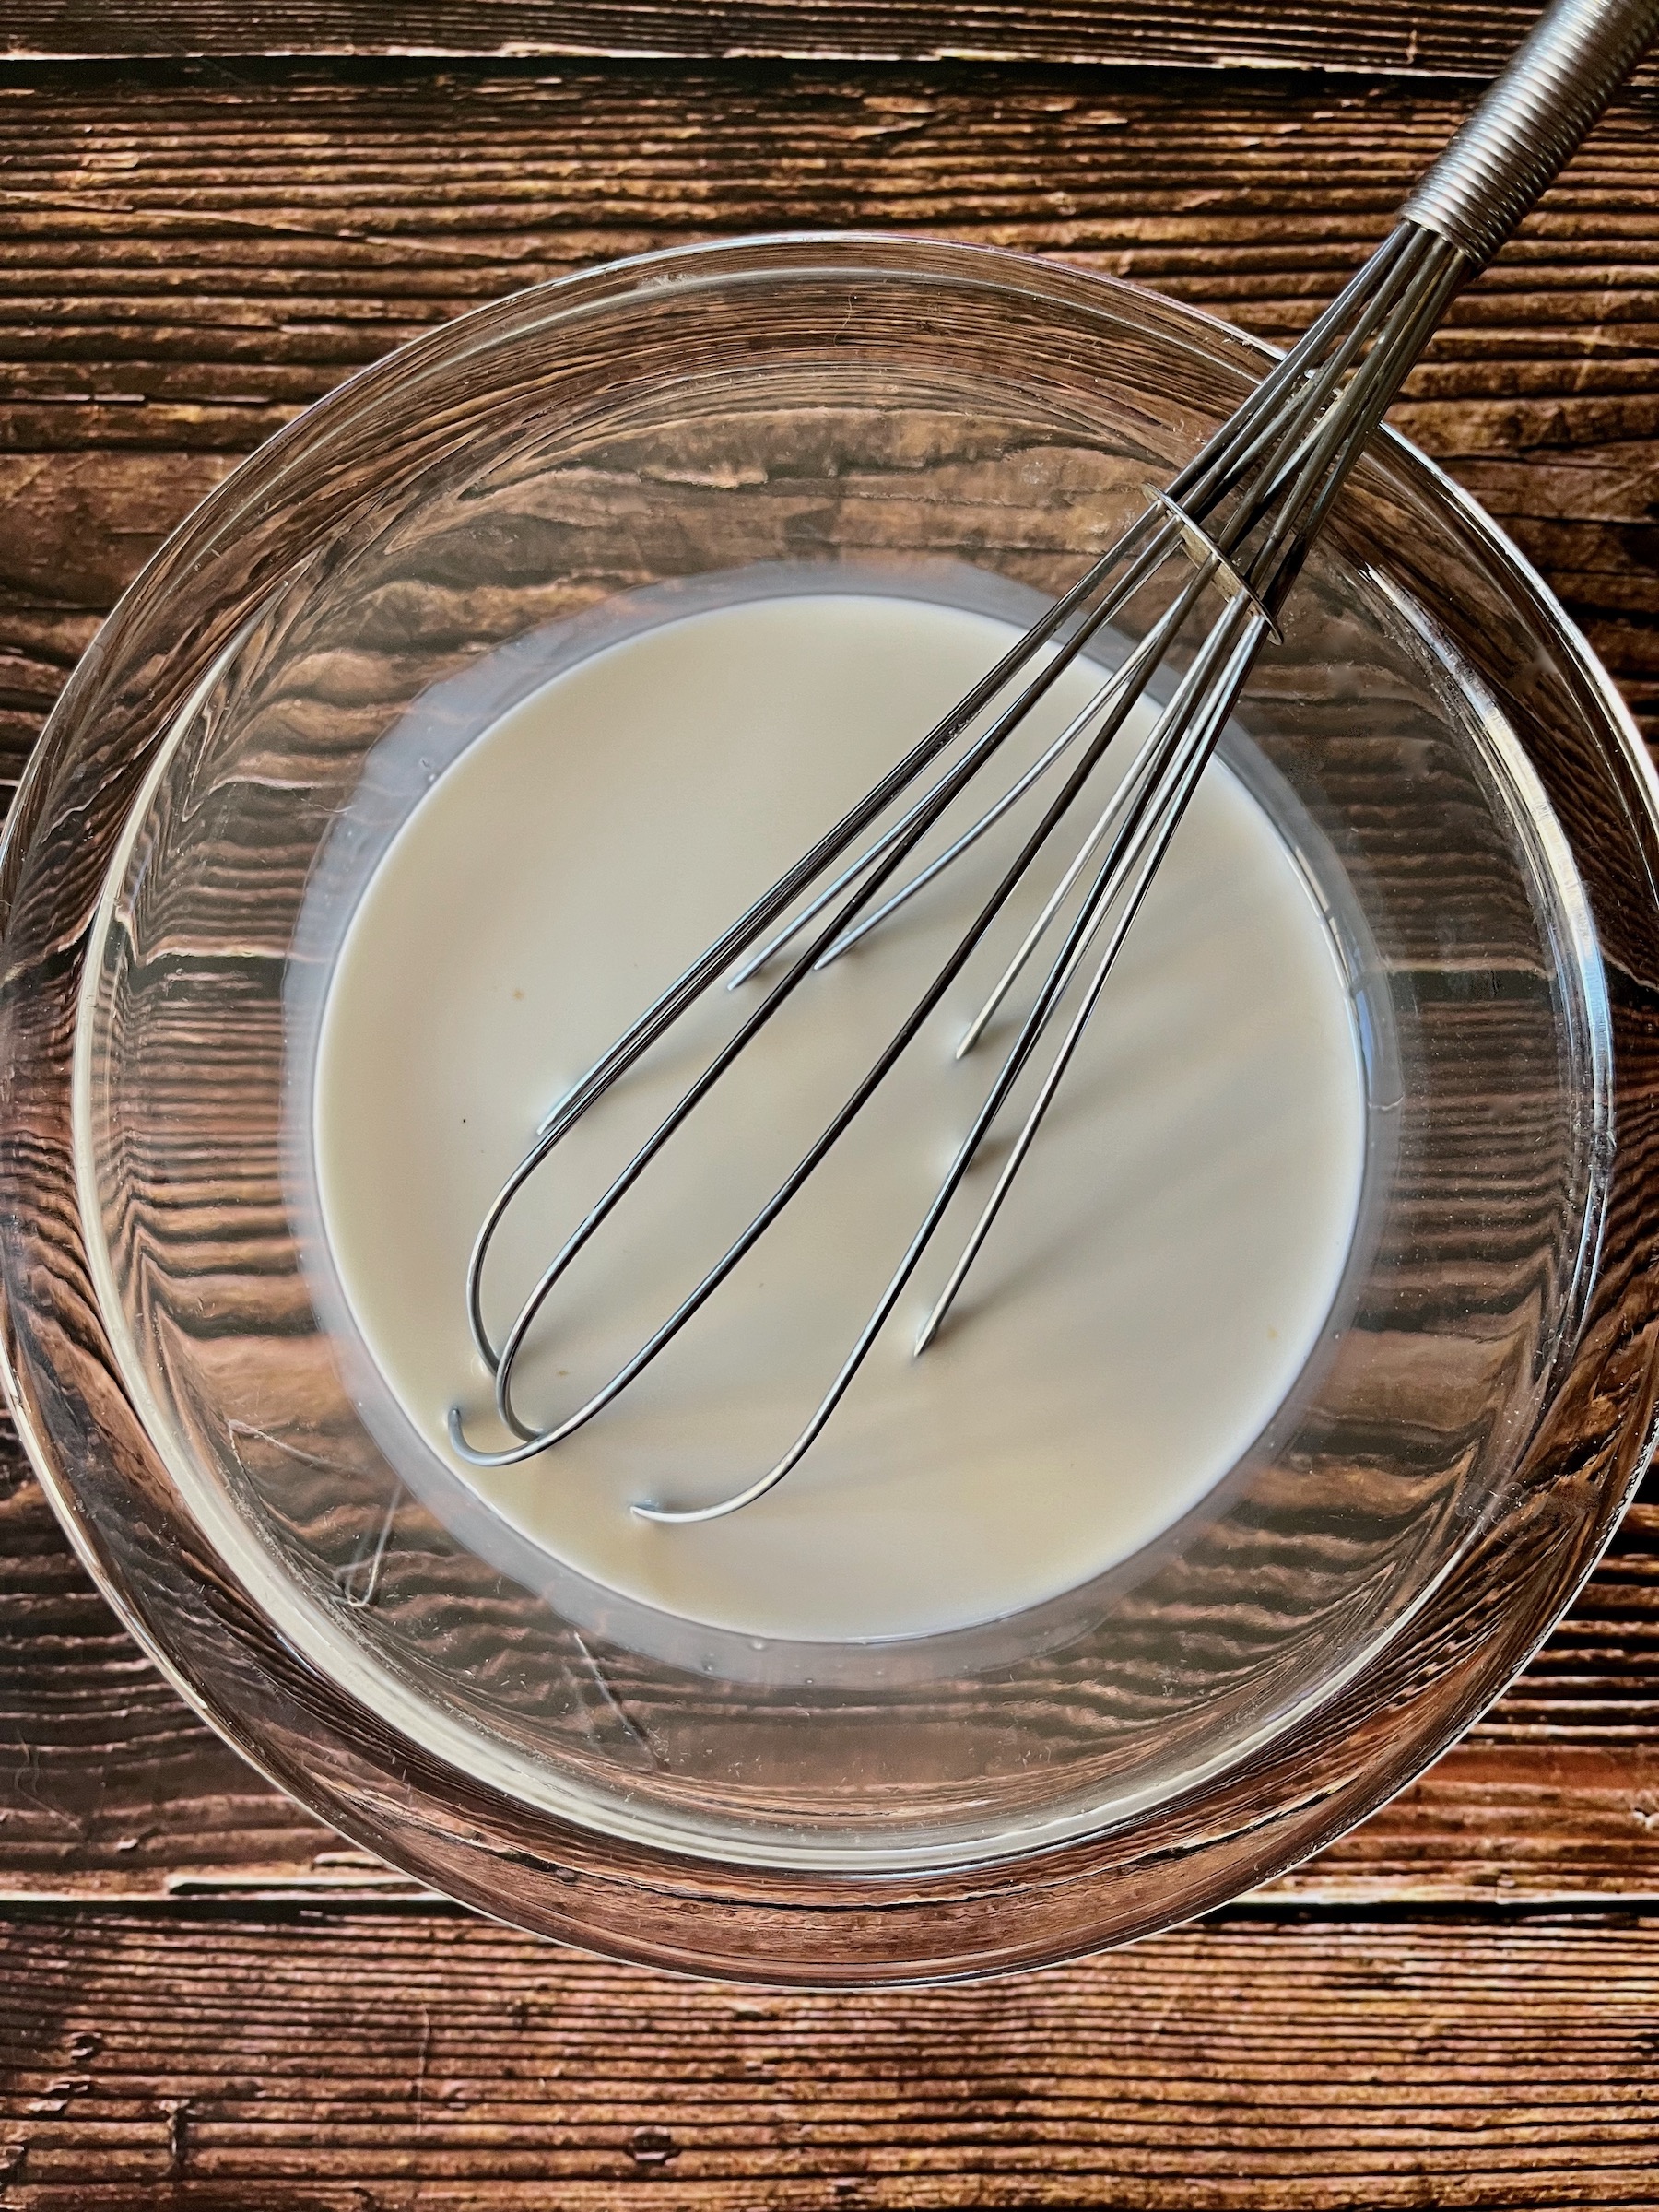
- In a large bowl stir together the yeast and the warm water., then let the mixture stand for 10 minutes.
- Stir in the egg, evaporated milk, sugar, melted butter and salt.
- Stir in 2 cups of the flour and then gradually stir in another 2 cups of flour and the cinnamon to make a dough.
- Place the dough on a lightly floured surface. Knead for 3 to 5 minutes or until smooth and elastic, then shape into a ball.
- Transfer the ball of dough to a large greased bowl and turn it to coat the surface of the dough.
- Cover and let it rise in a warm place until doubled in size (about 1 to 1 1⁄4 hours).
- Punch down the dough, then cover, and let it stand for another 10 minutes.
- Make the topping (see below).
- Divide the dough into 12 portions and shape each portion into a smooth ball.
- Place the dough balls about 3 inches apart on baking sheets lined with parchment paper and press down on each dough ball slightly.
- Divide the topping into 12 balled up portions; then pat each ball flat.
- Place one round of topping on each dough ball.
- Using a sharp paring knife, cut grooves in the topping to resemble a scallop shell.
- Cover the rolls and let them rise in a warm place until nearly doubled in size (about 45 minutes).
- Meanwhile, preheat the oven to 375 degrees F.
- Bake rolls for 18 to 20 minutes or until light golden brown.
- Remove from the baking sheets to cool on wire racks.
- Serve warm or cool.
TOPPING
- 1⁄2 cup of butter, softened
- 2/3 cup of sugar
- 1 cup of all-purpose flour
- 2 teaspoons of ground cinnamon
- 1 teaspoon of vanilla extract
INSTRUCTIONS (TOPPING)
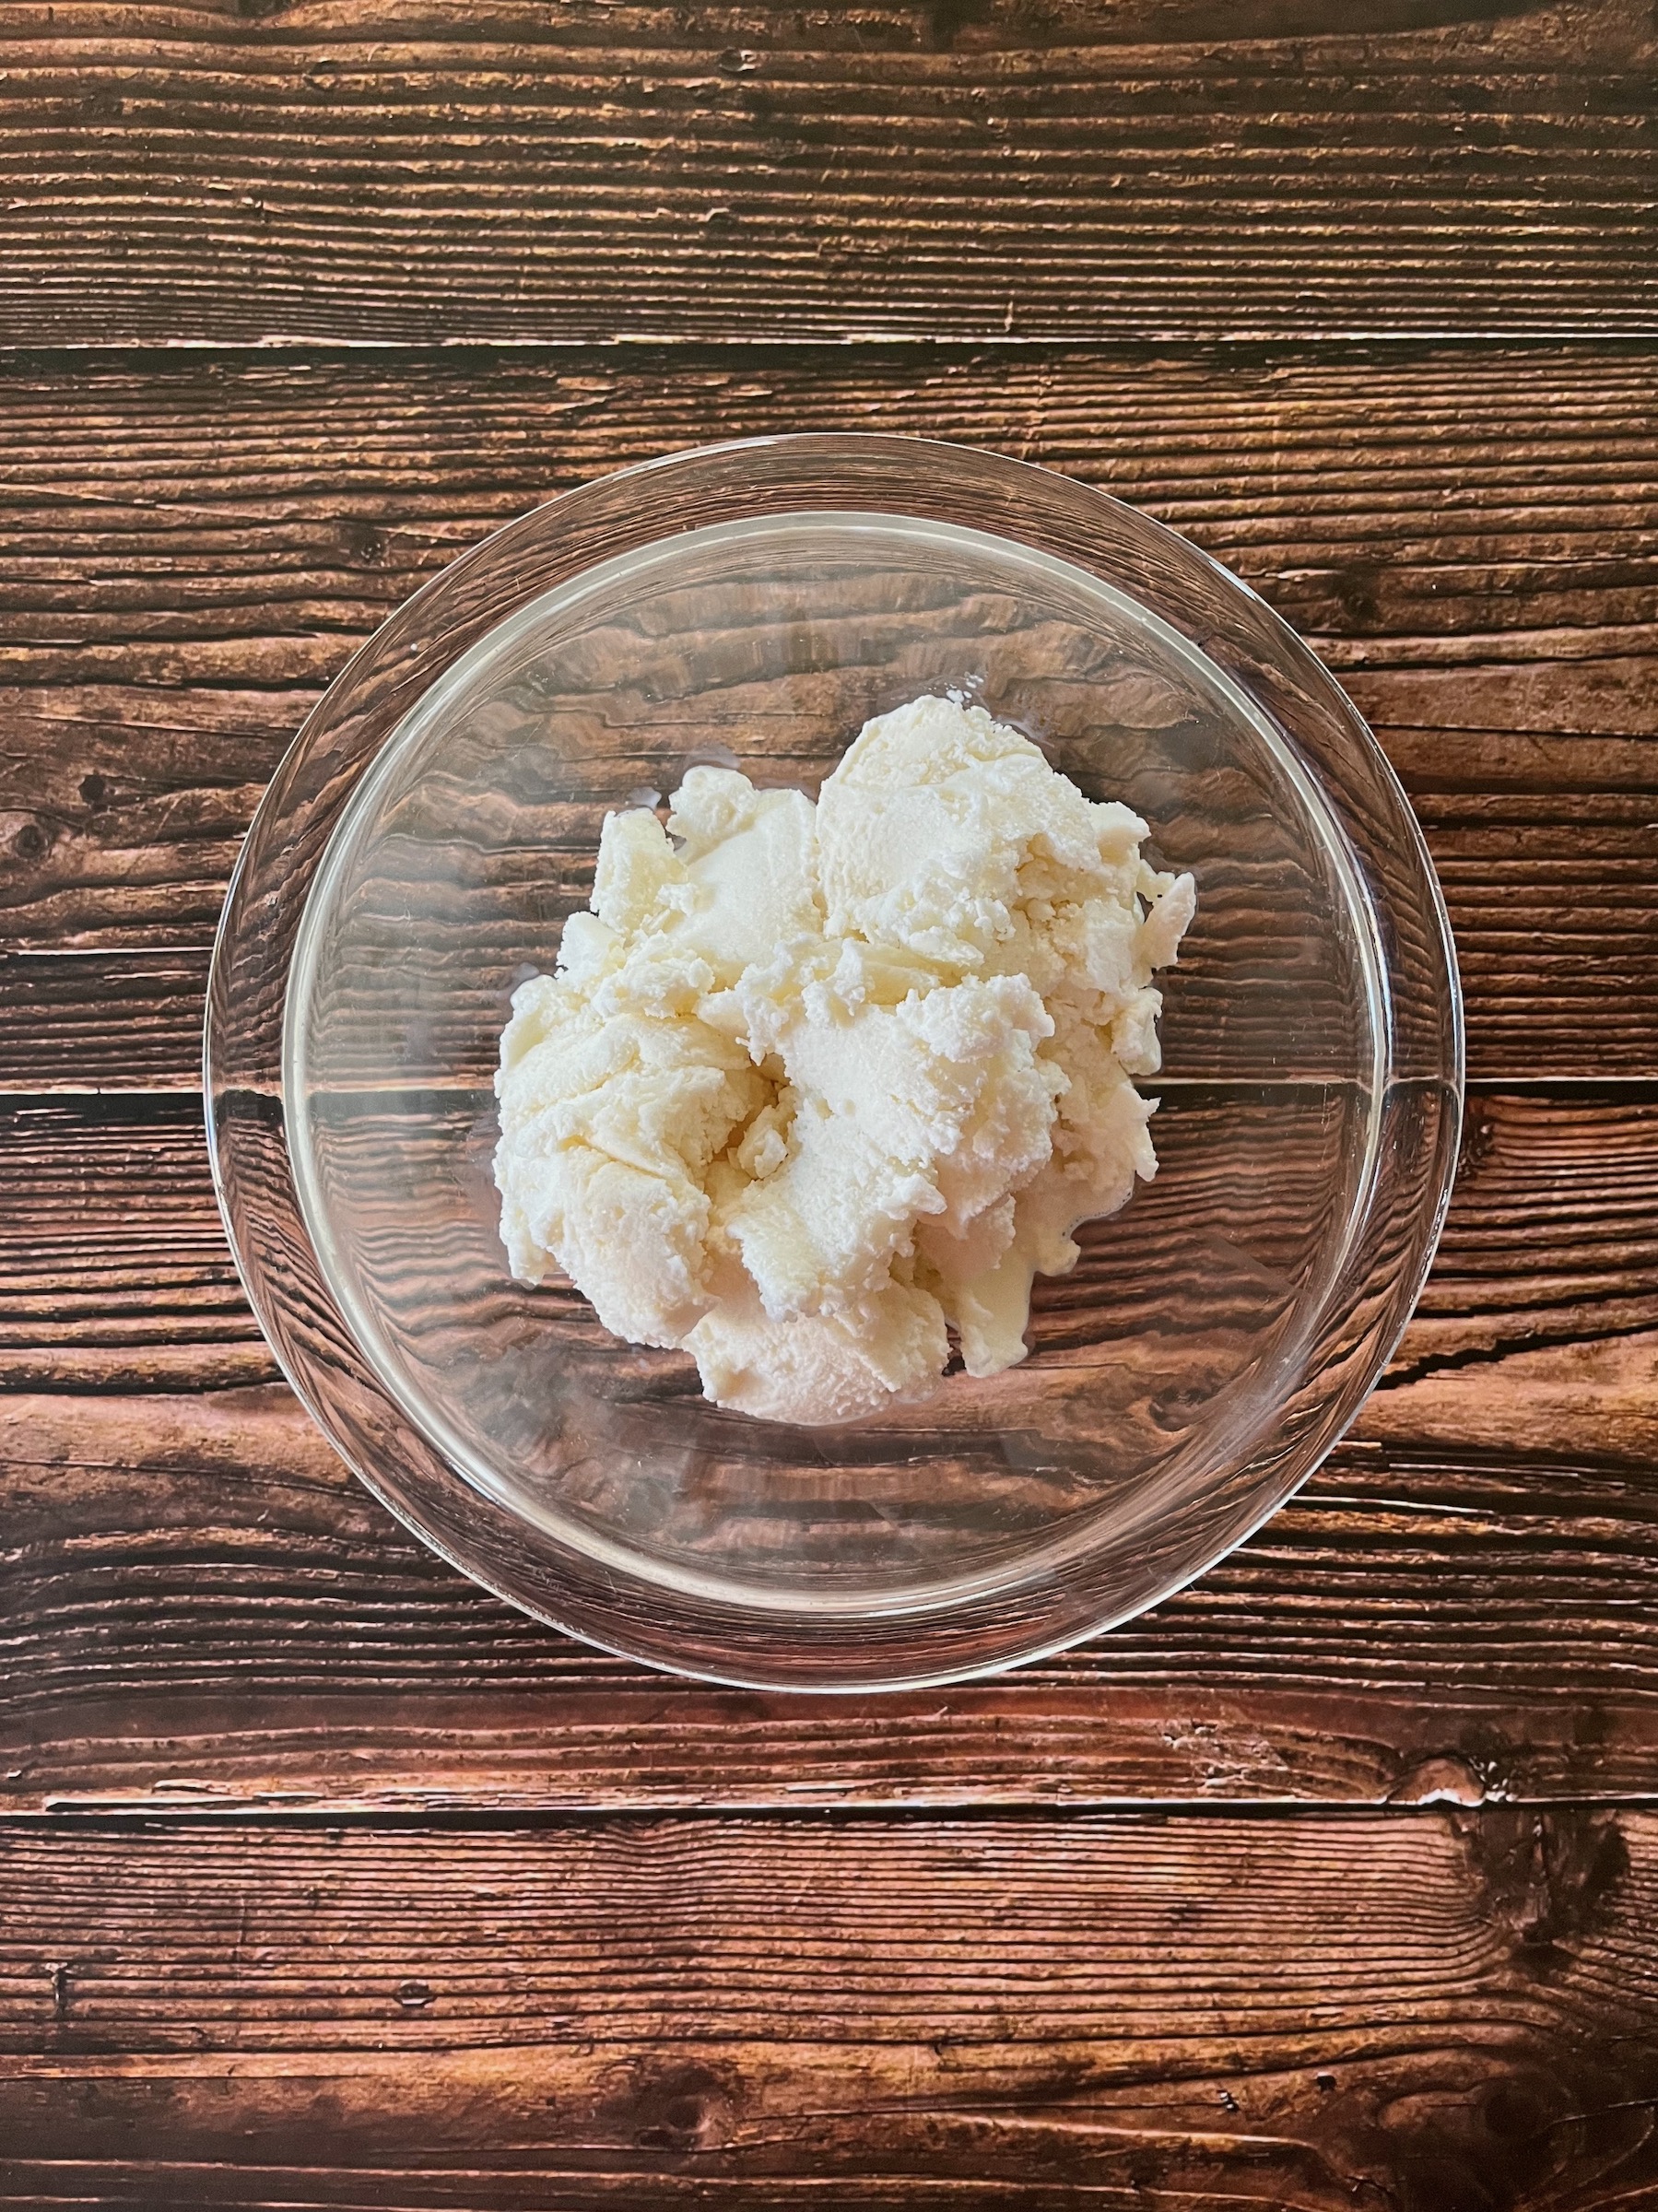
- In a medium bowl, beat the softened butter with an electric mixer on medium speed for 30 seconds.
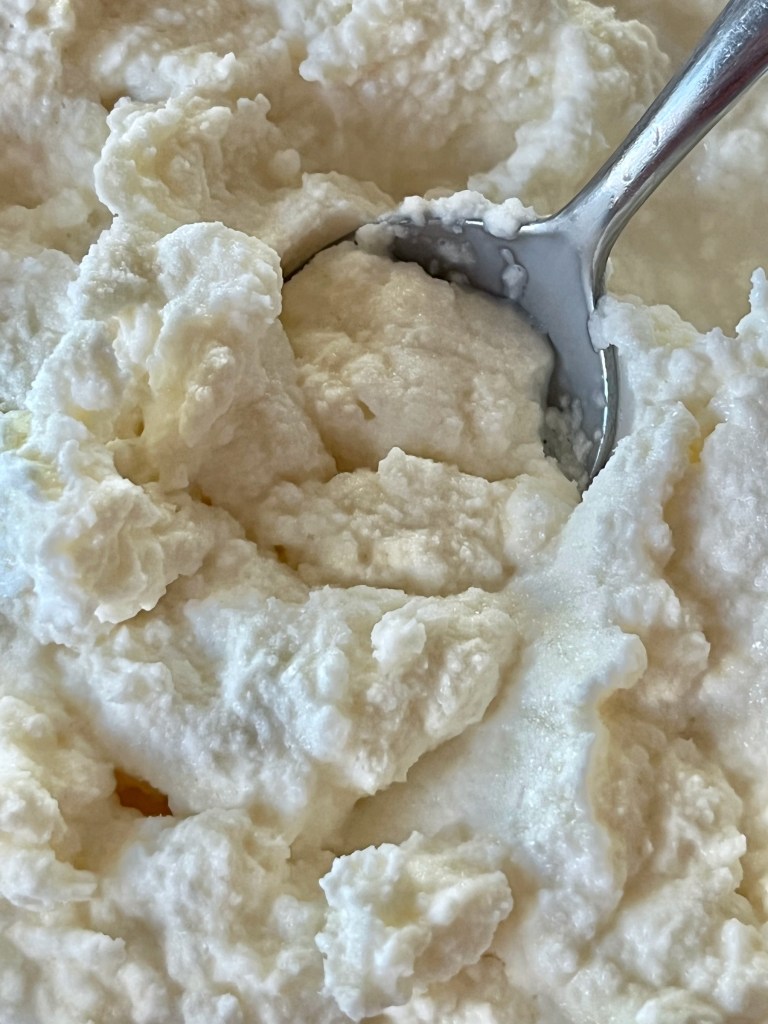
- Add the sugar, beating until well mixed.
- Stir in the flour, cinnamon, and vanilla; mix until well incorporated.


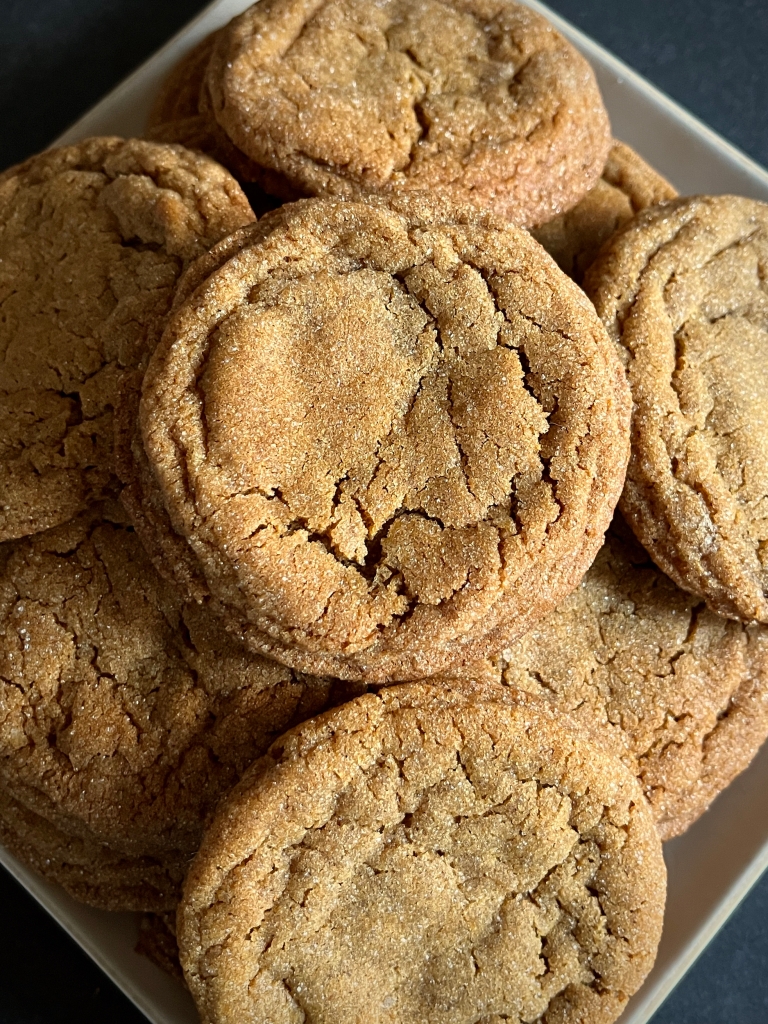


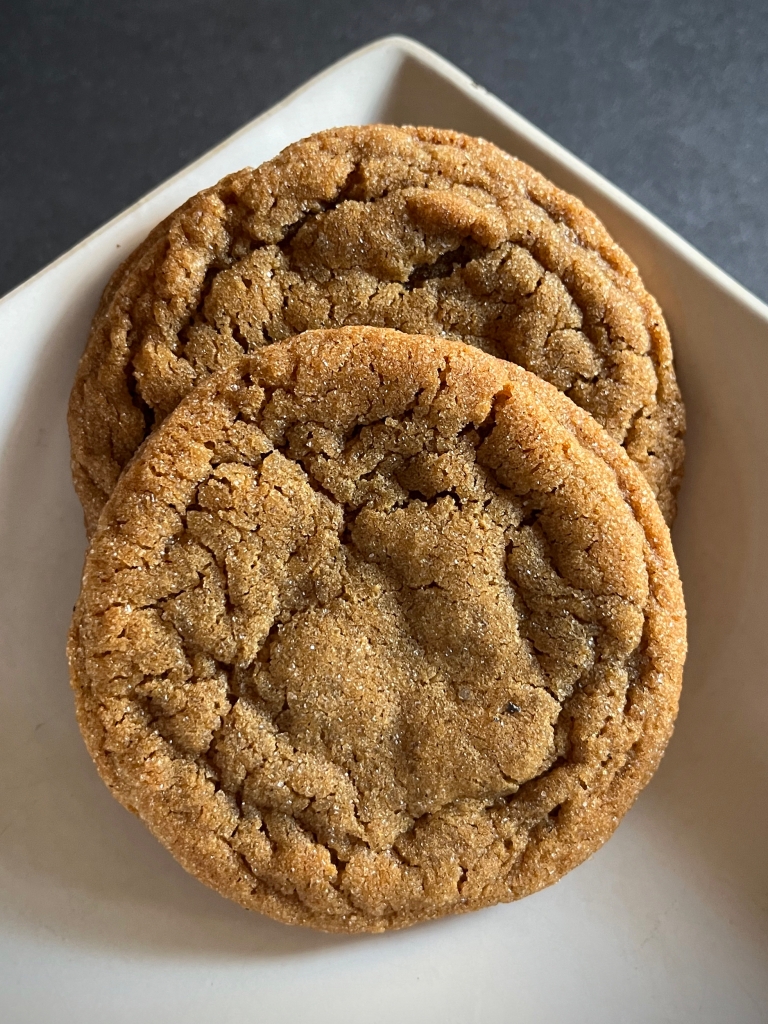
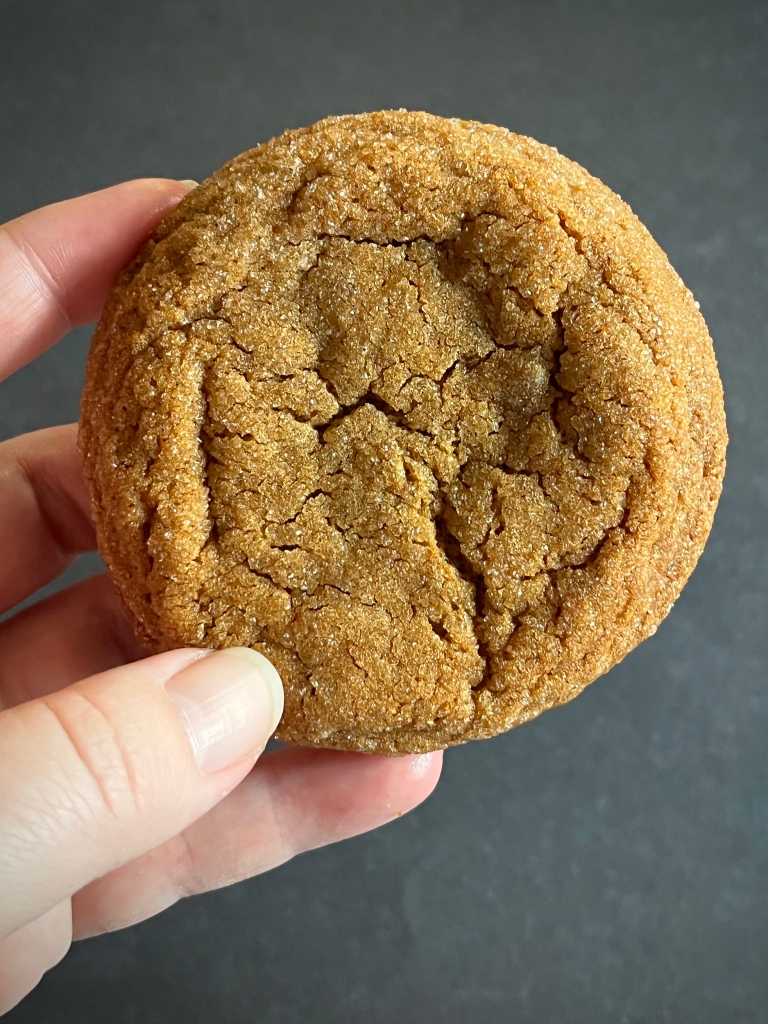


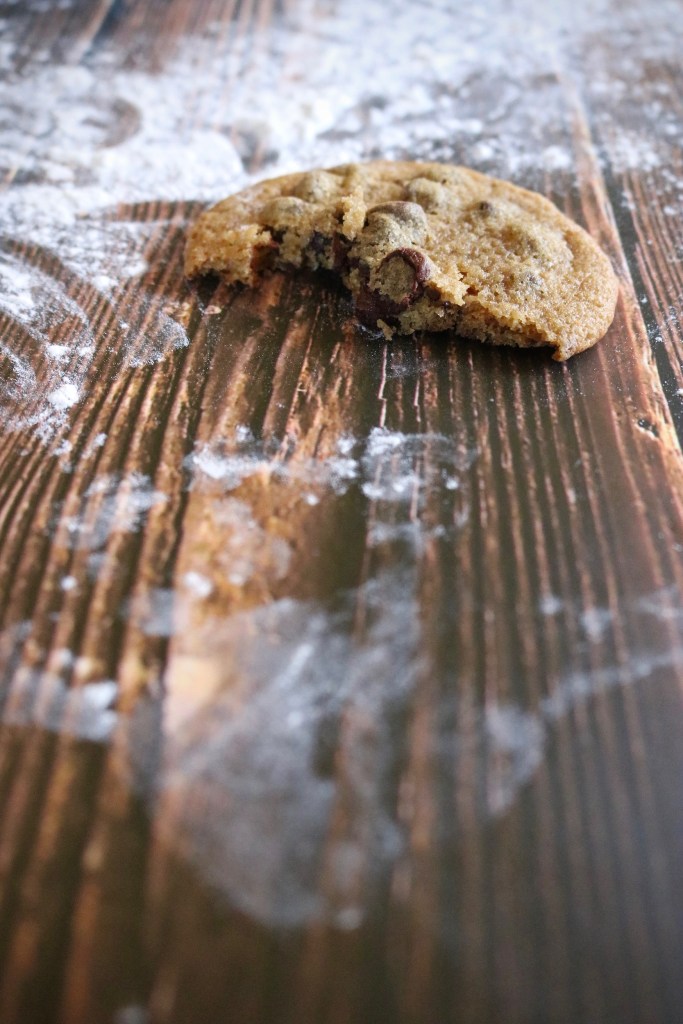
 This recipe is featured when Lucius Best (Frozone) checks in on Bob Parr (Mr. Incredible) in his new homemaking role. Bob is struggling with Jack Jack’s abundant powers, but has discovered he will temporarily settle down for cookies.
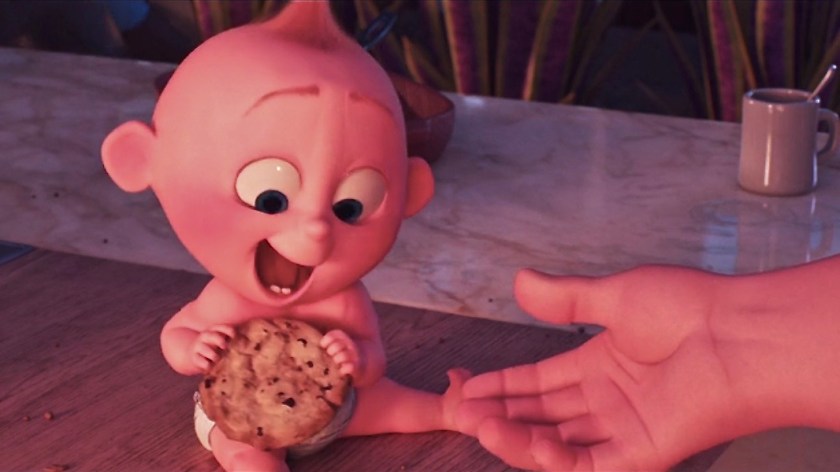 These chocolate chip cookies are slender, soft and scrumptious.
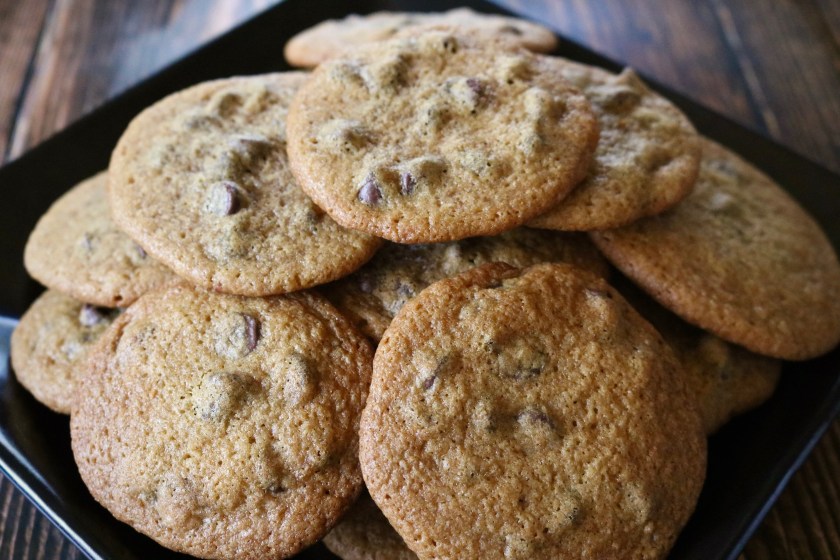

 INTRODUCTION
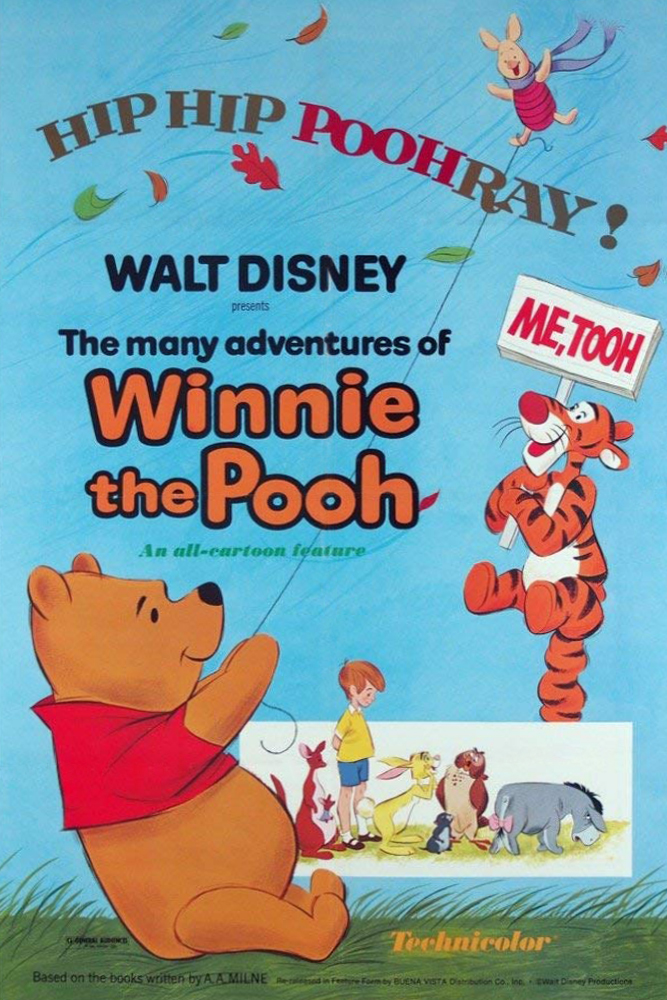 Winnie the Pooh’s hero cake (and the hero cookies we made last week) is featured in the “Blustery Day” featurette when Christopher Robin throws a Hero Party for Pooh Bear, believing him to be Piglet’s rescuer during the flood. Pooh and Piglet really just happened to be in the same predicament at the same time and came out together perfectly alright, but it was still sweet of Christopher Robin and their friends to celebrate them all the same!
 This is a surprisingly complex cake, and I had a lot of fun creating and tasting it! I chose to make pink velvet cake (my own interpretation of what flavor the pink color stood for) with chocolate frosting. White buttercream frosting surrounds the base of each of the orange candles and orange buttercream, in color and in flavor, whimsically dots the chocolate frosting in puffs. If you take the cake with the chocolate frosting and orange buttercream in the same bite it is absolute heaven and will definitely satisfy the rumbly of any tumbly!
 HERO CAKE
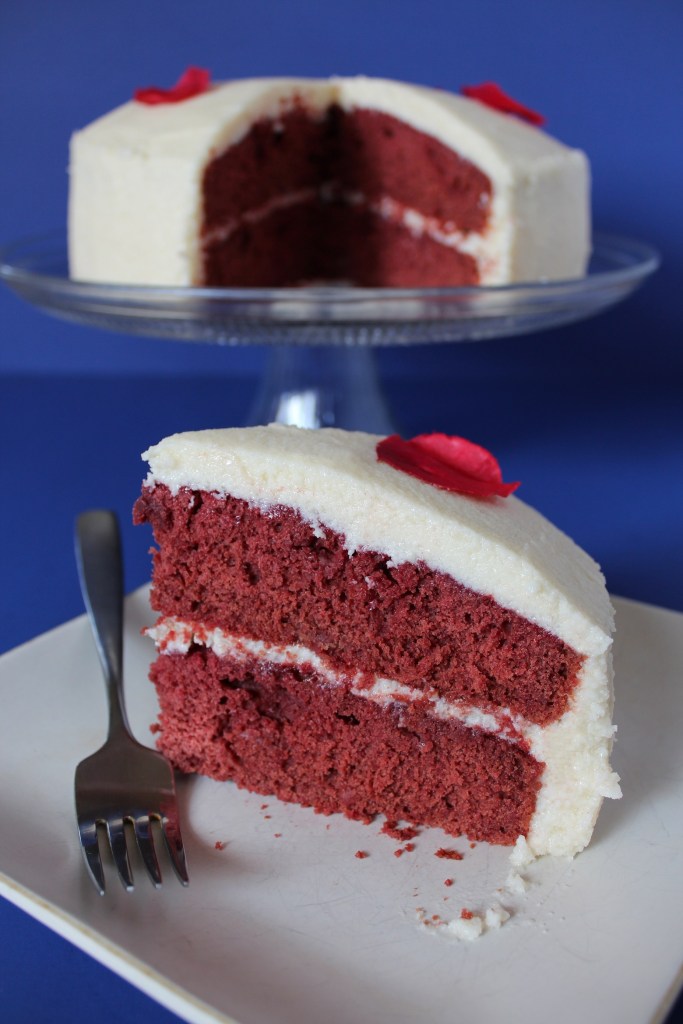 INTRODUCTION
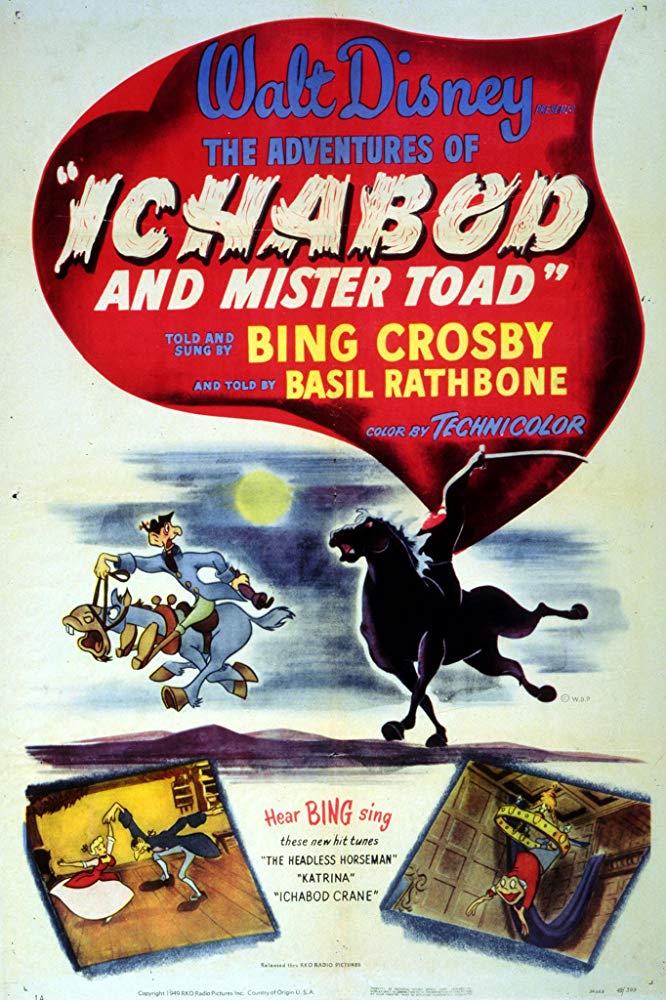 This cake is featured during the Halloween party thrown by Baltus Van Tassel, Katrina Van Tassel’s father. Ichabod’s stomach is never satisfied so he snatches a piece of this cake up while dancing with Katrina, and pops it in his mouth without even skipping a step.
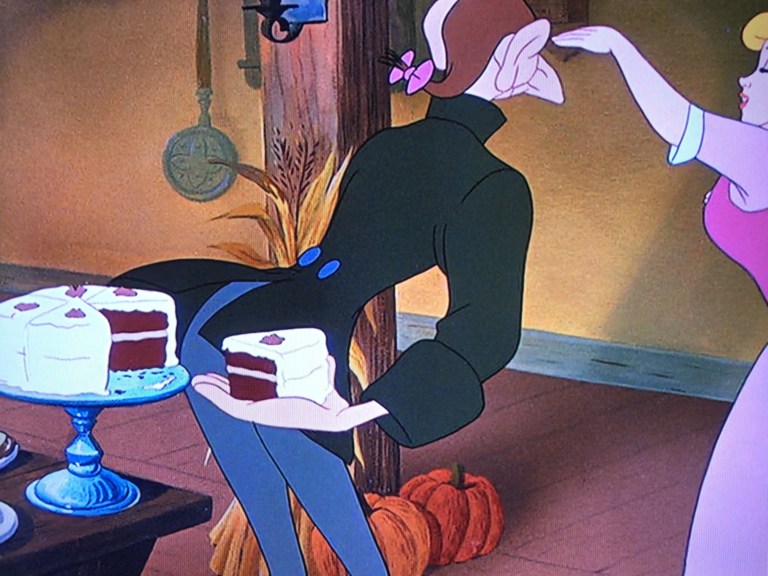 Similar to
 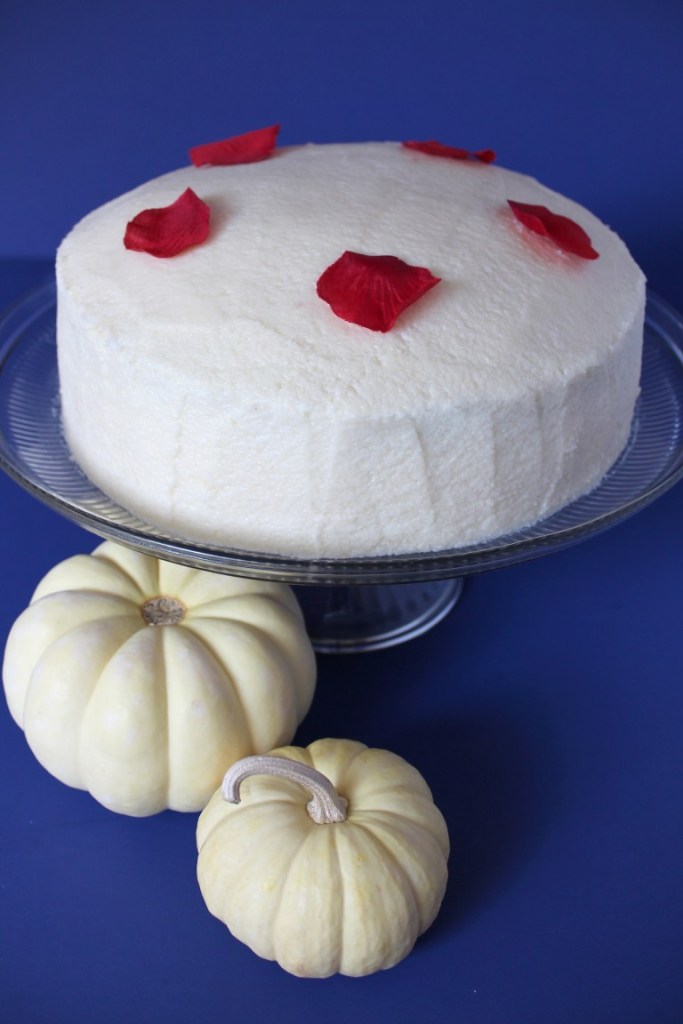 RED VELVET CAKE