
Welcome back friends! Do you crochet? I do! I feel calm and cozy when I’m crocheting, and fiercely proud whenever I complete a project.
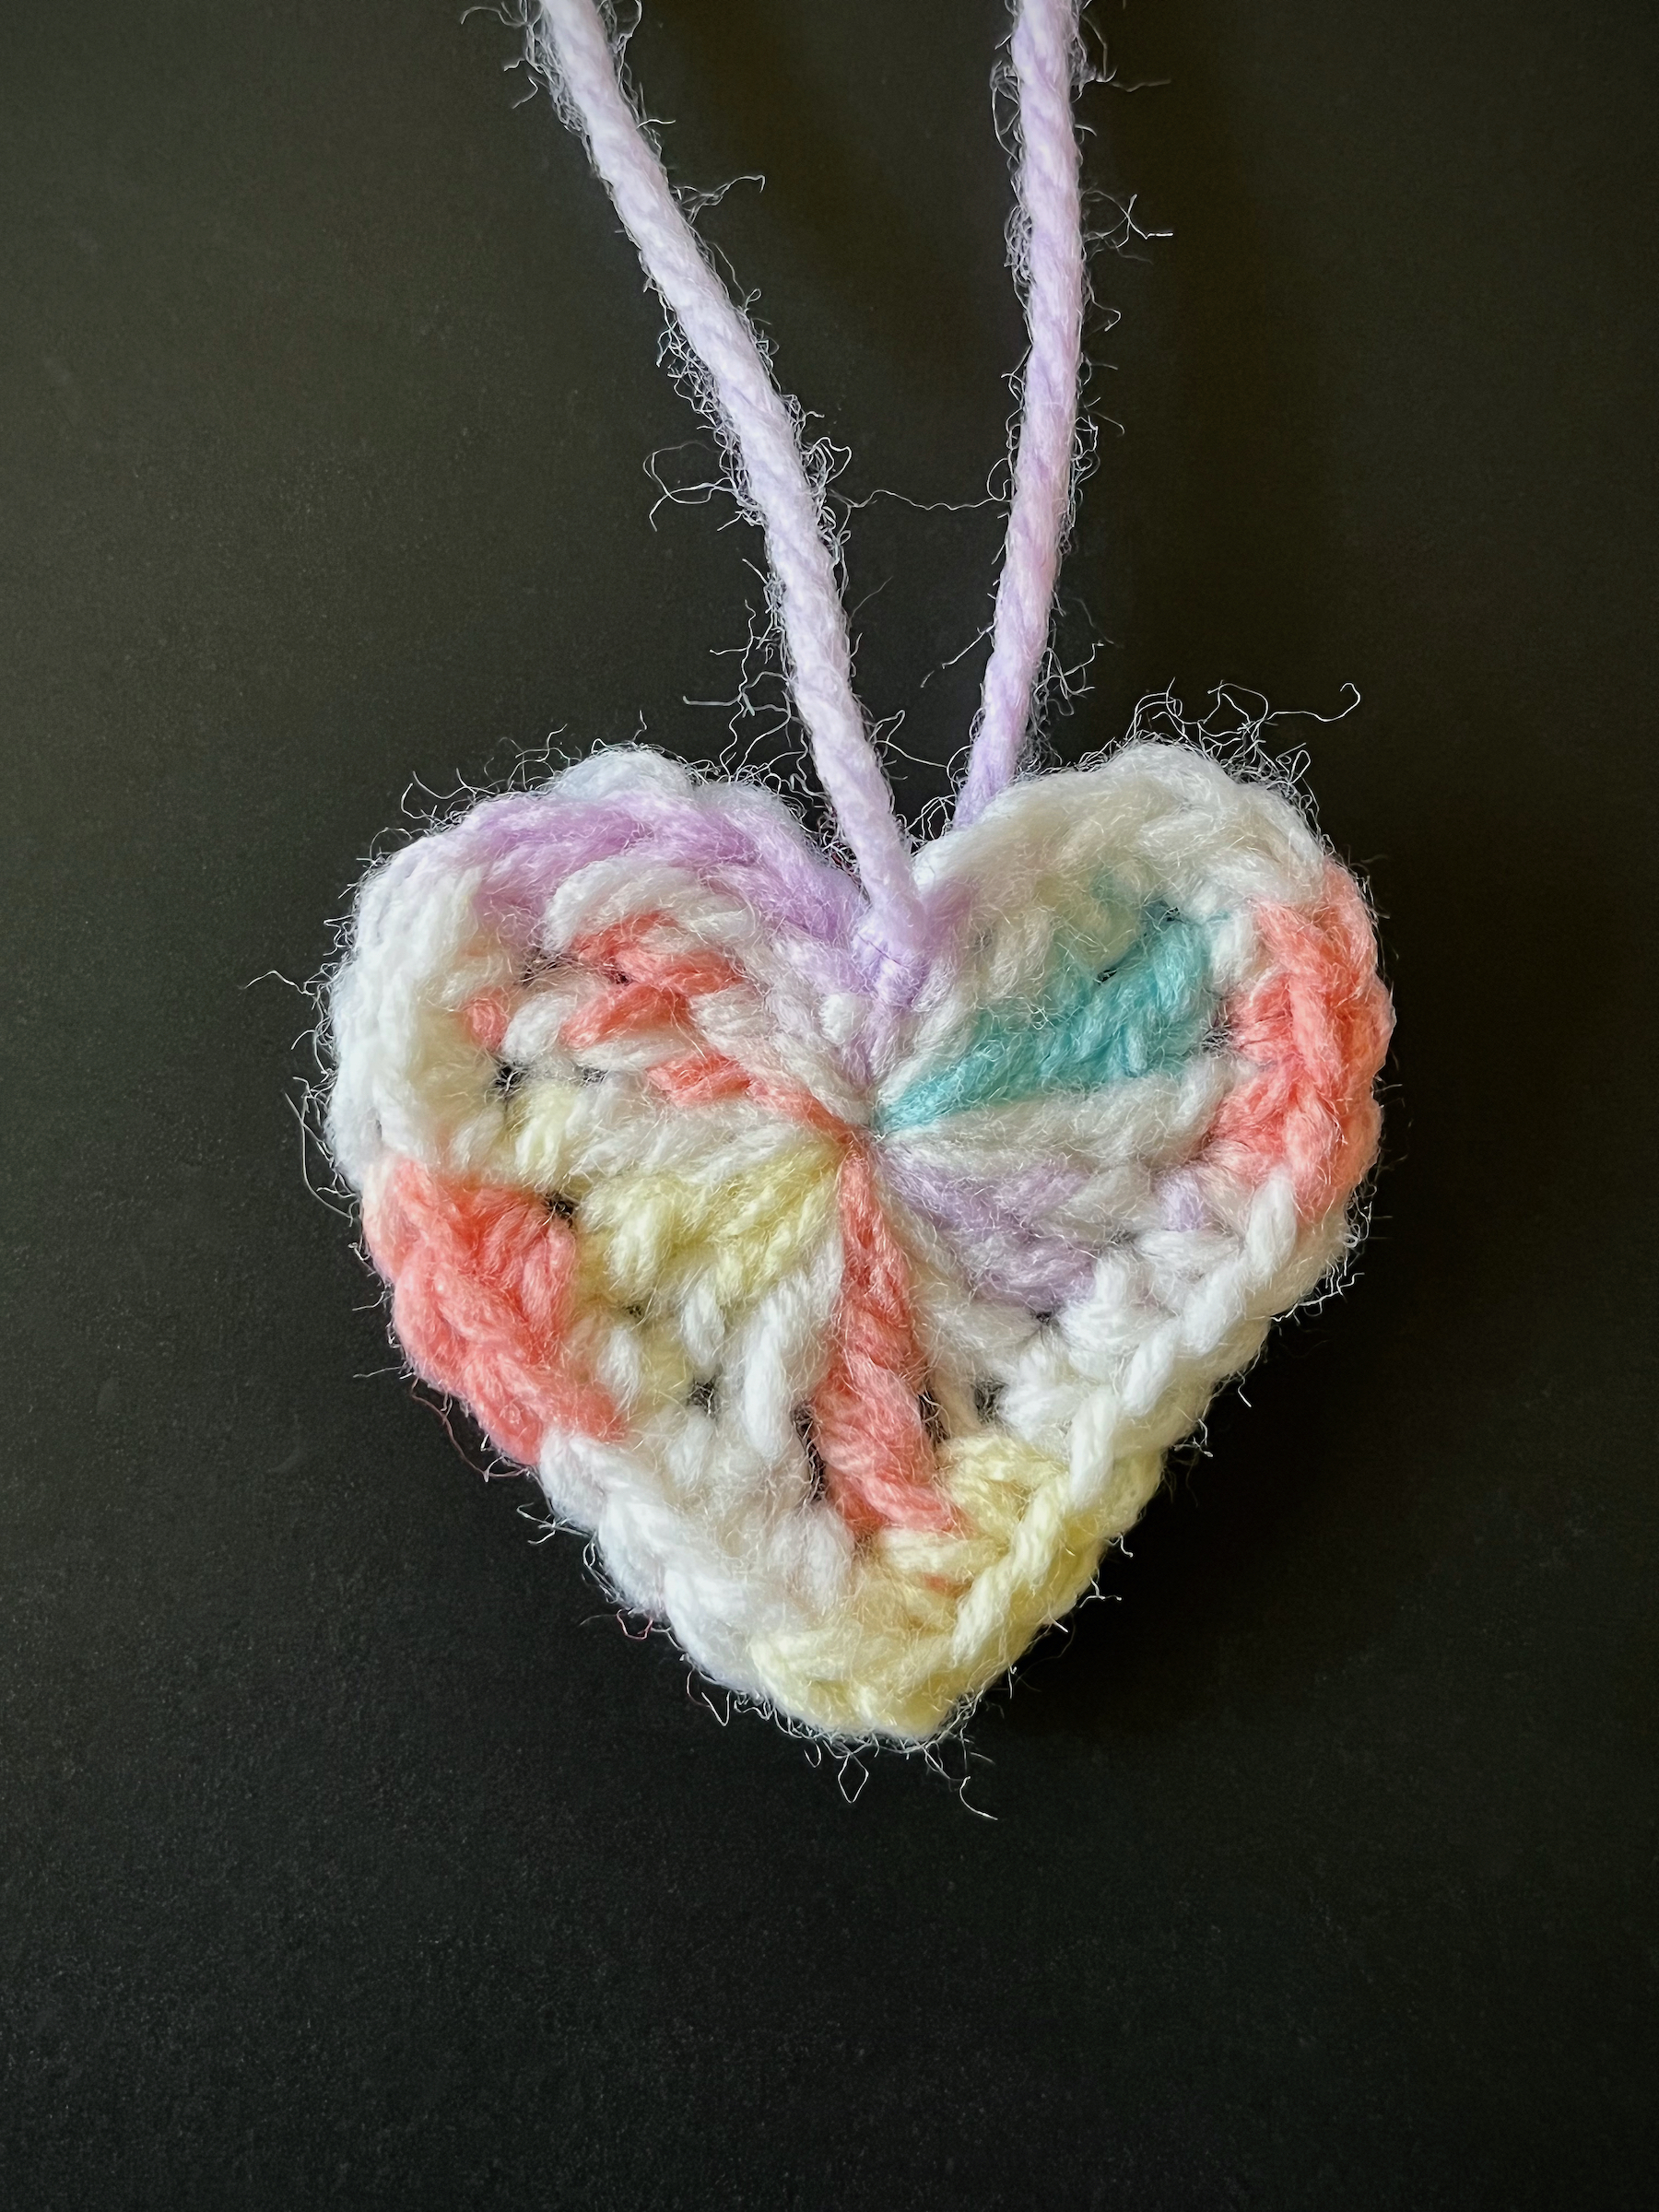
My daughter is entering Kindergarten this year and, while I’m sure she’ll love it, I believe she’ll need a little comfort while she’s away. Pocket hugs are a small token that can be tucked into a pocket to remind someone we love that we care for them, even if we’re apart. Zoey carries hers in a pocket of her backpack.
I created two different sized pocket hugs and when I held them together, I admired how much they looked like a cookie with frosting so I had the idea to attach them together. Et voila! Now we have a double pocket hug that looks like a cookie! You could use any color of yarn for this, the possibilities are endless!
Let’s get started!
SUPPLIES
- Two different crochet hooks (I used sizes 3.75mm and 4.50mm)
- Two different yarns (I used sizes 2 and 4)
- Scissors
- Yarn needle or small crochet hook
- Hot glue gun
INSTRUCTIONS
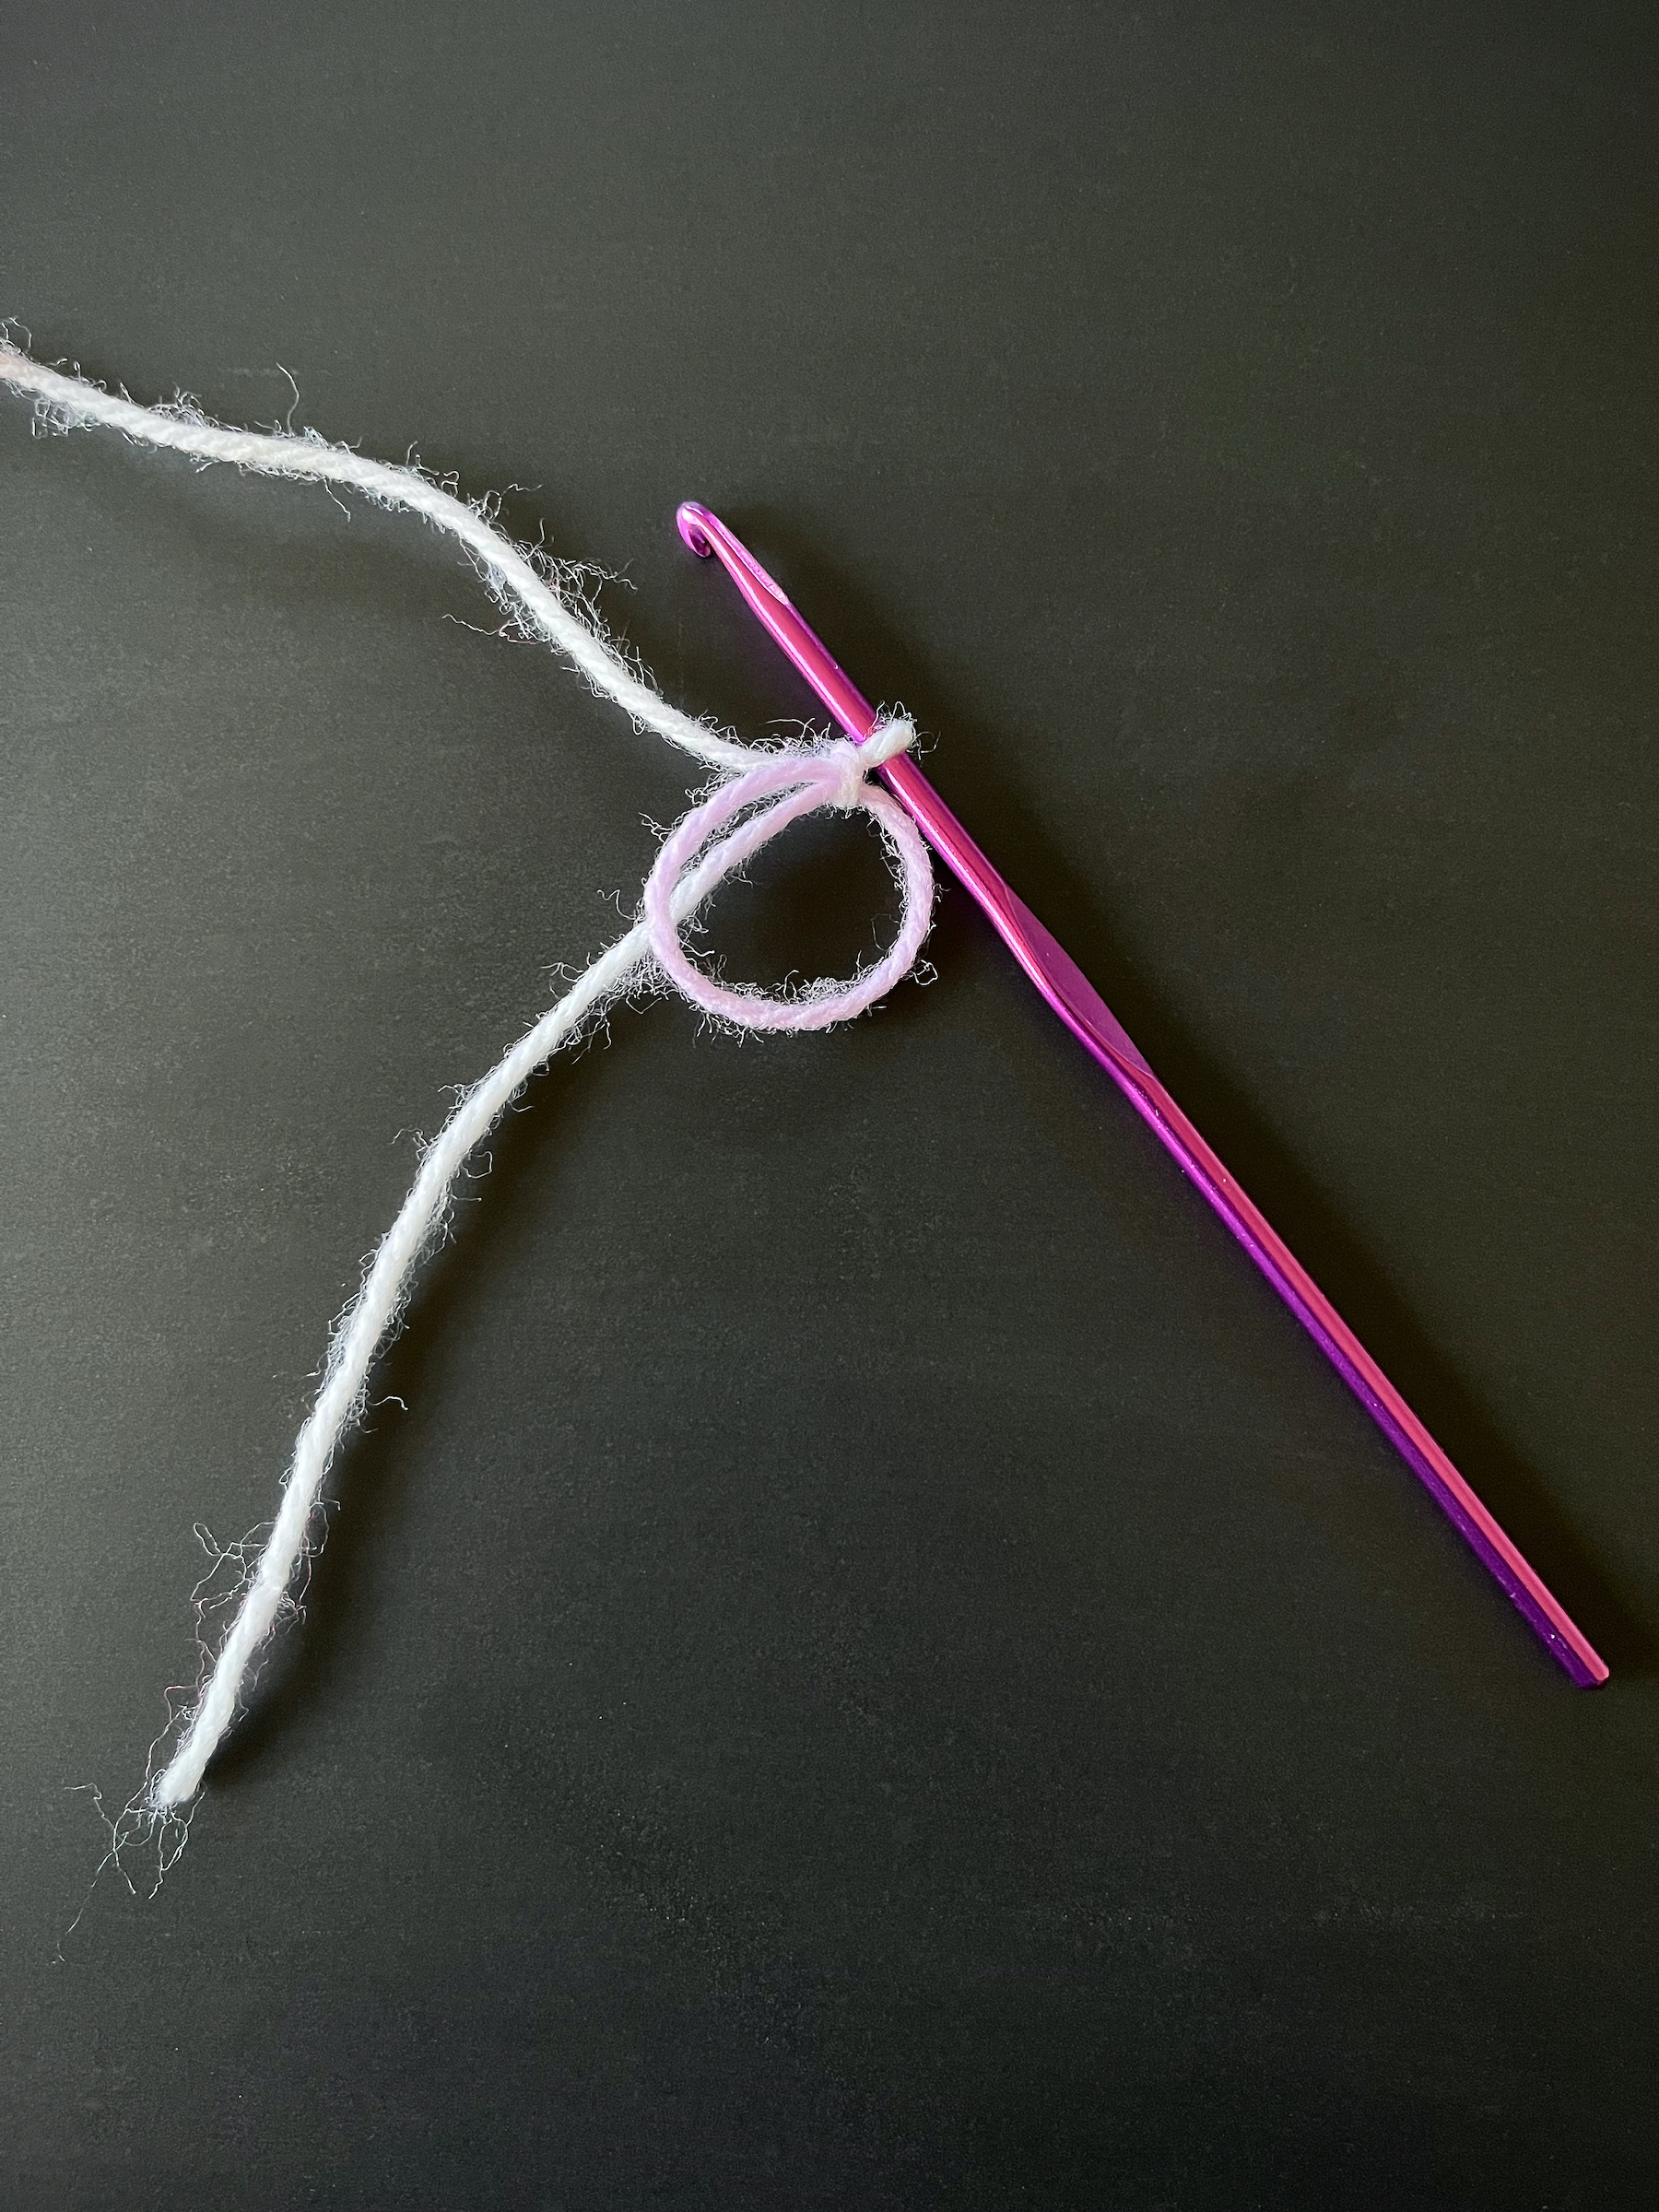


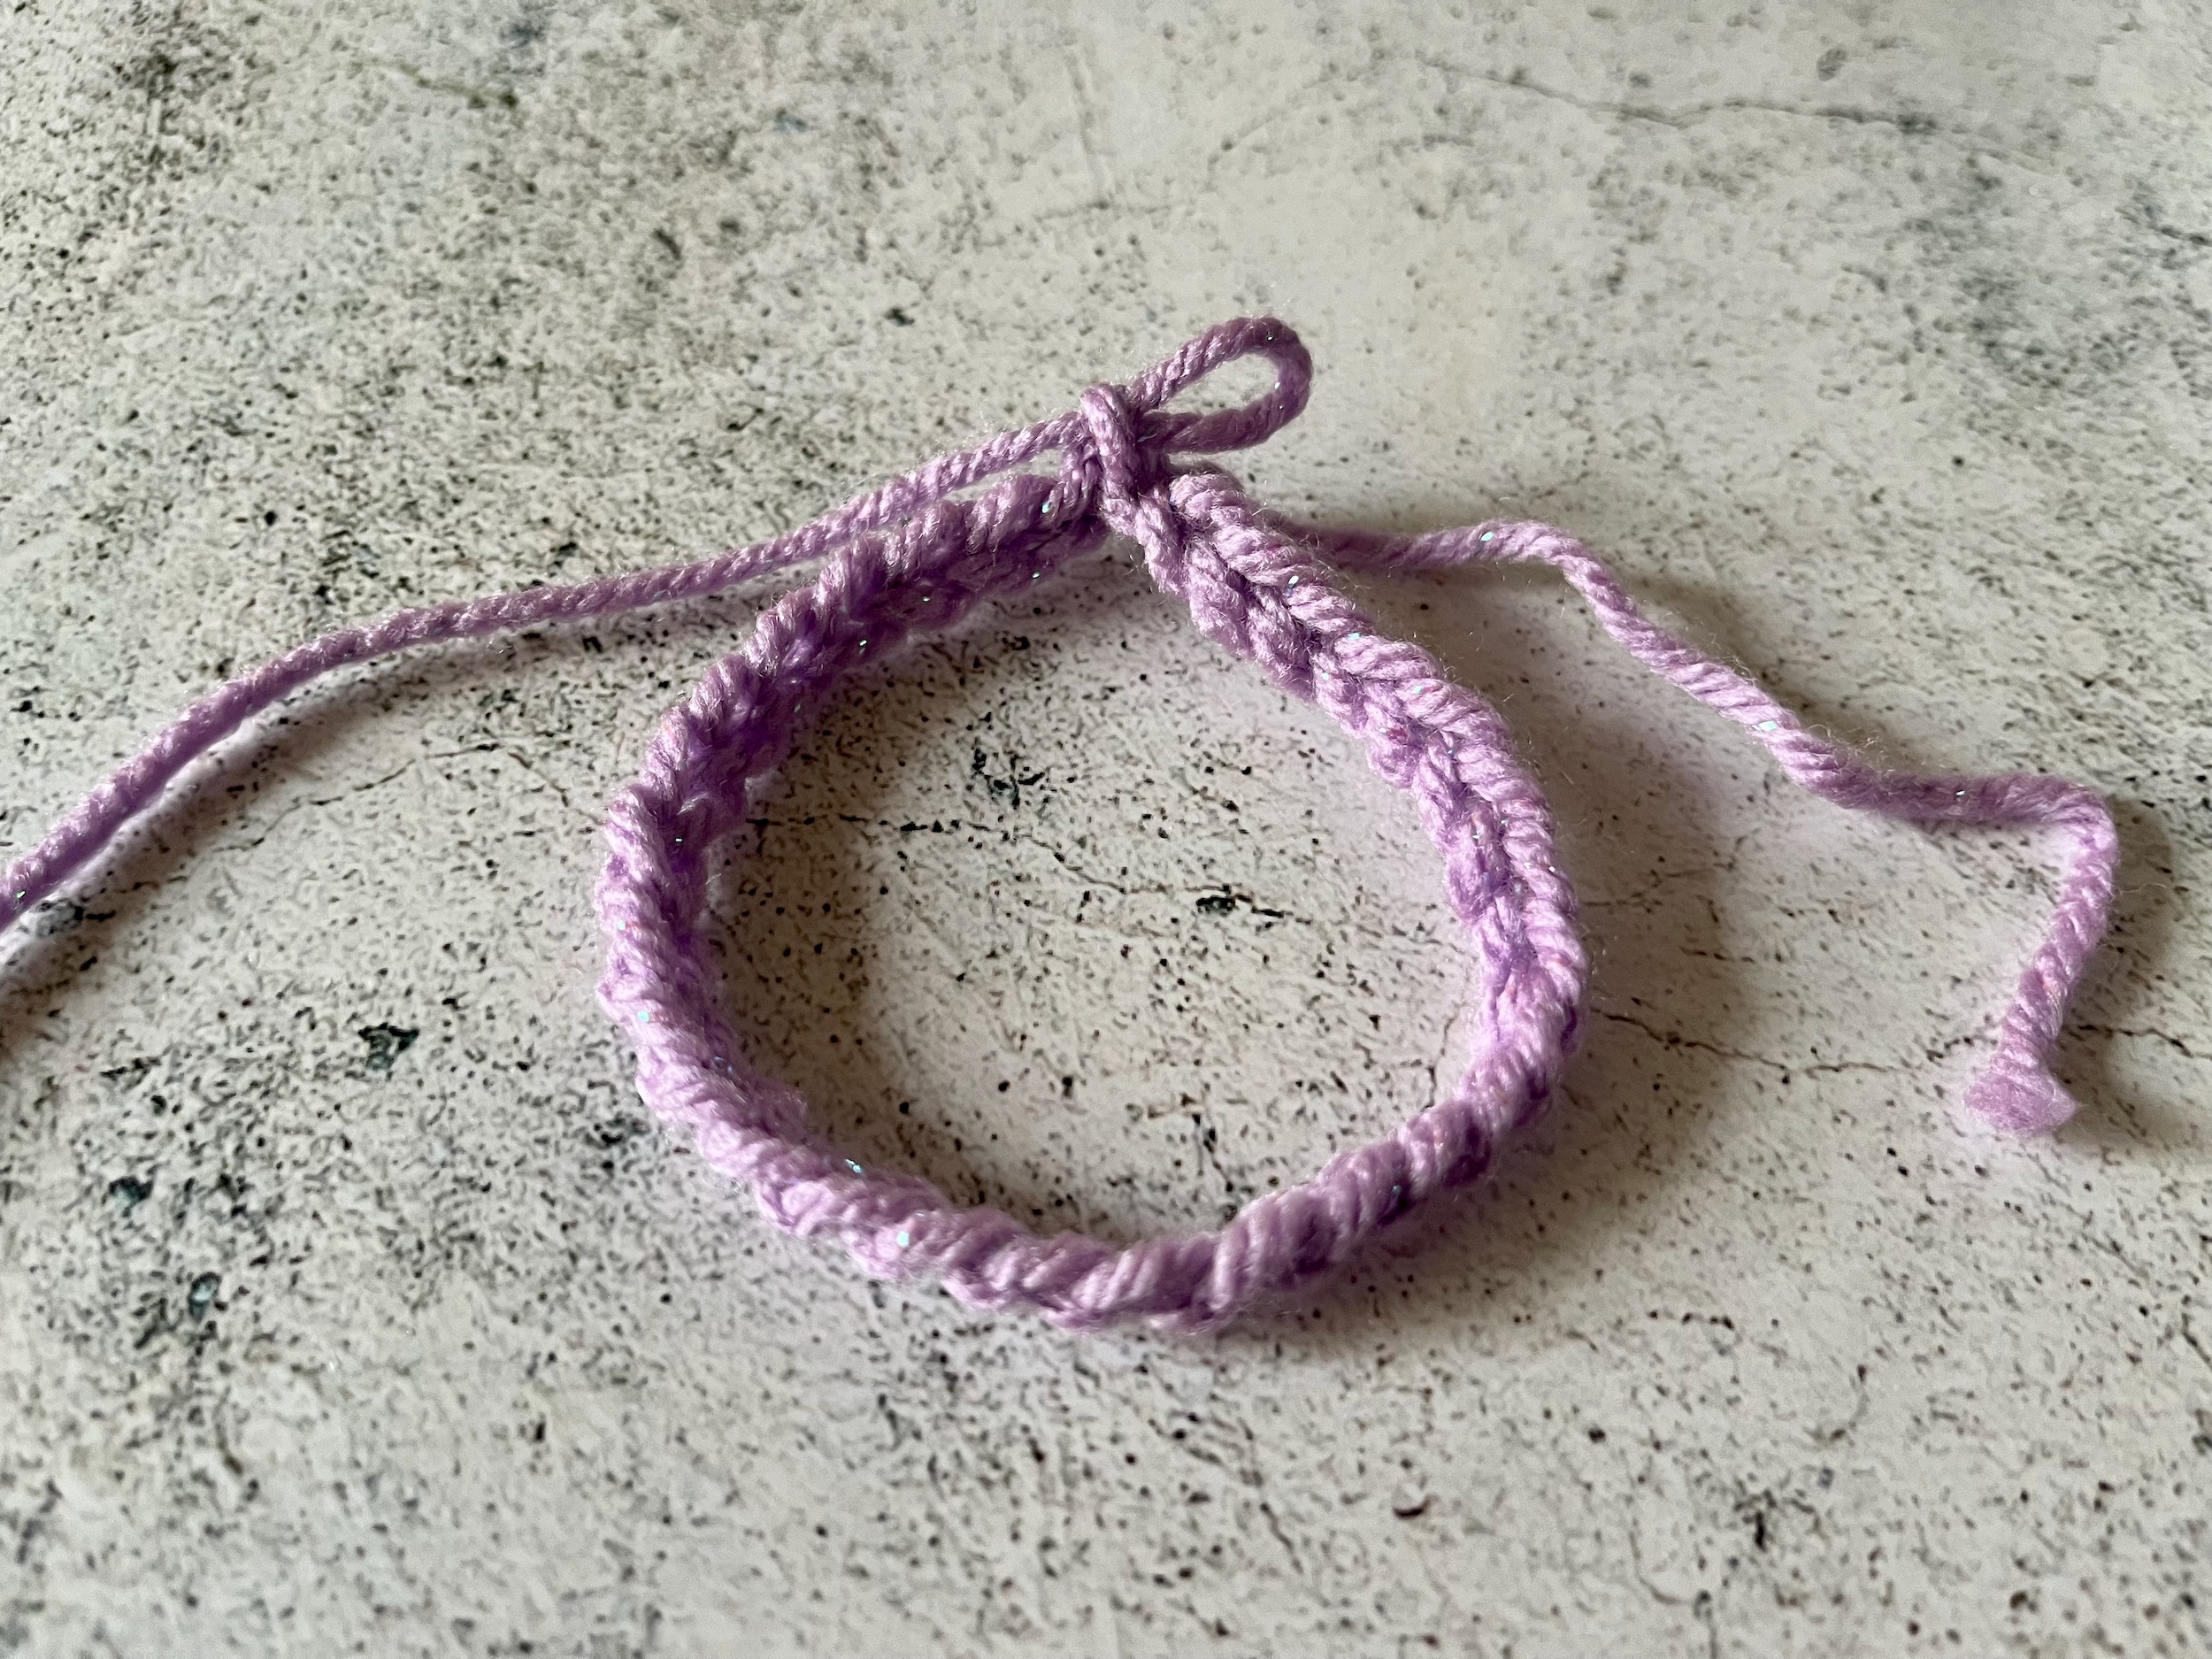
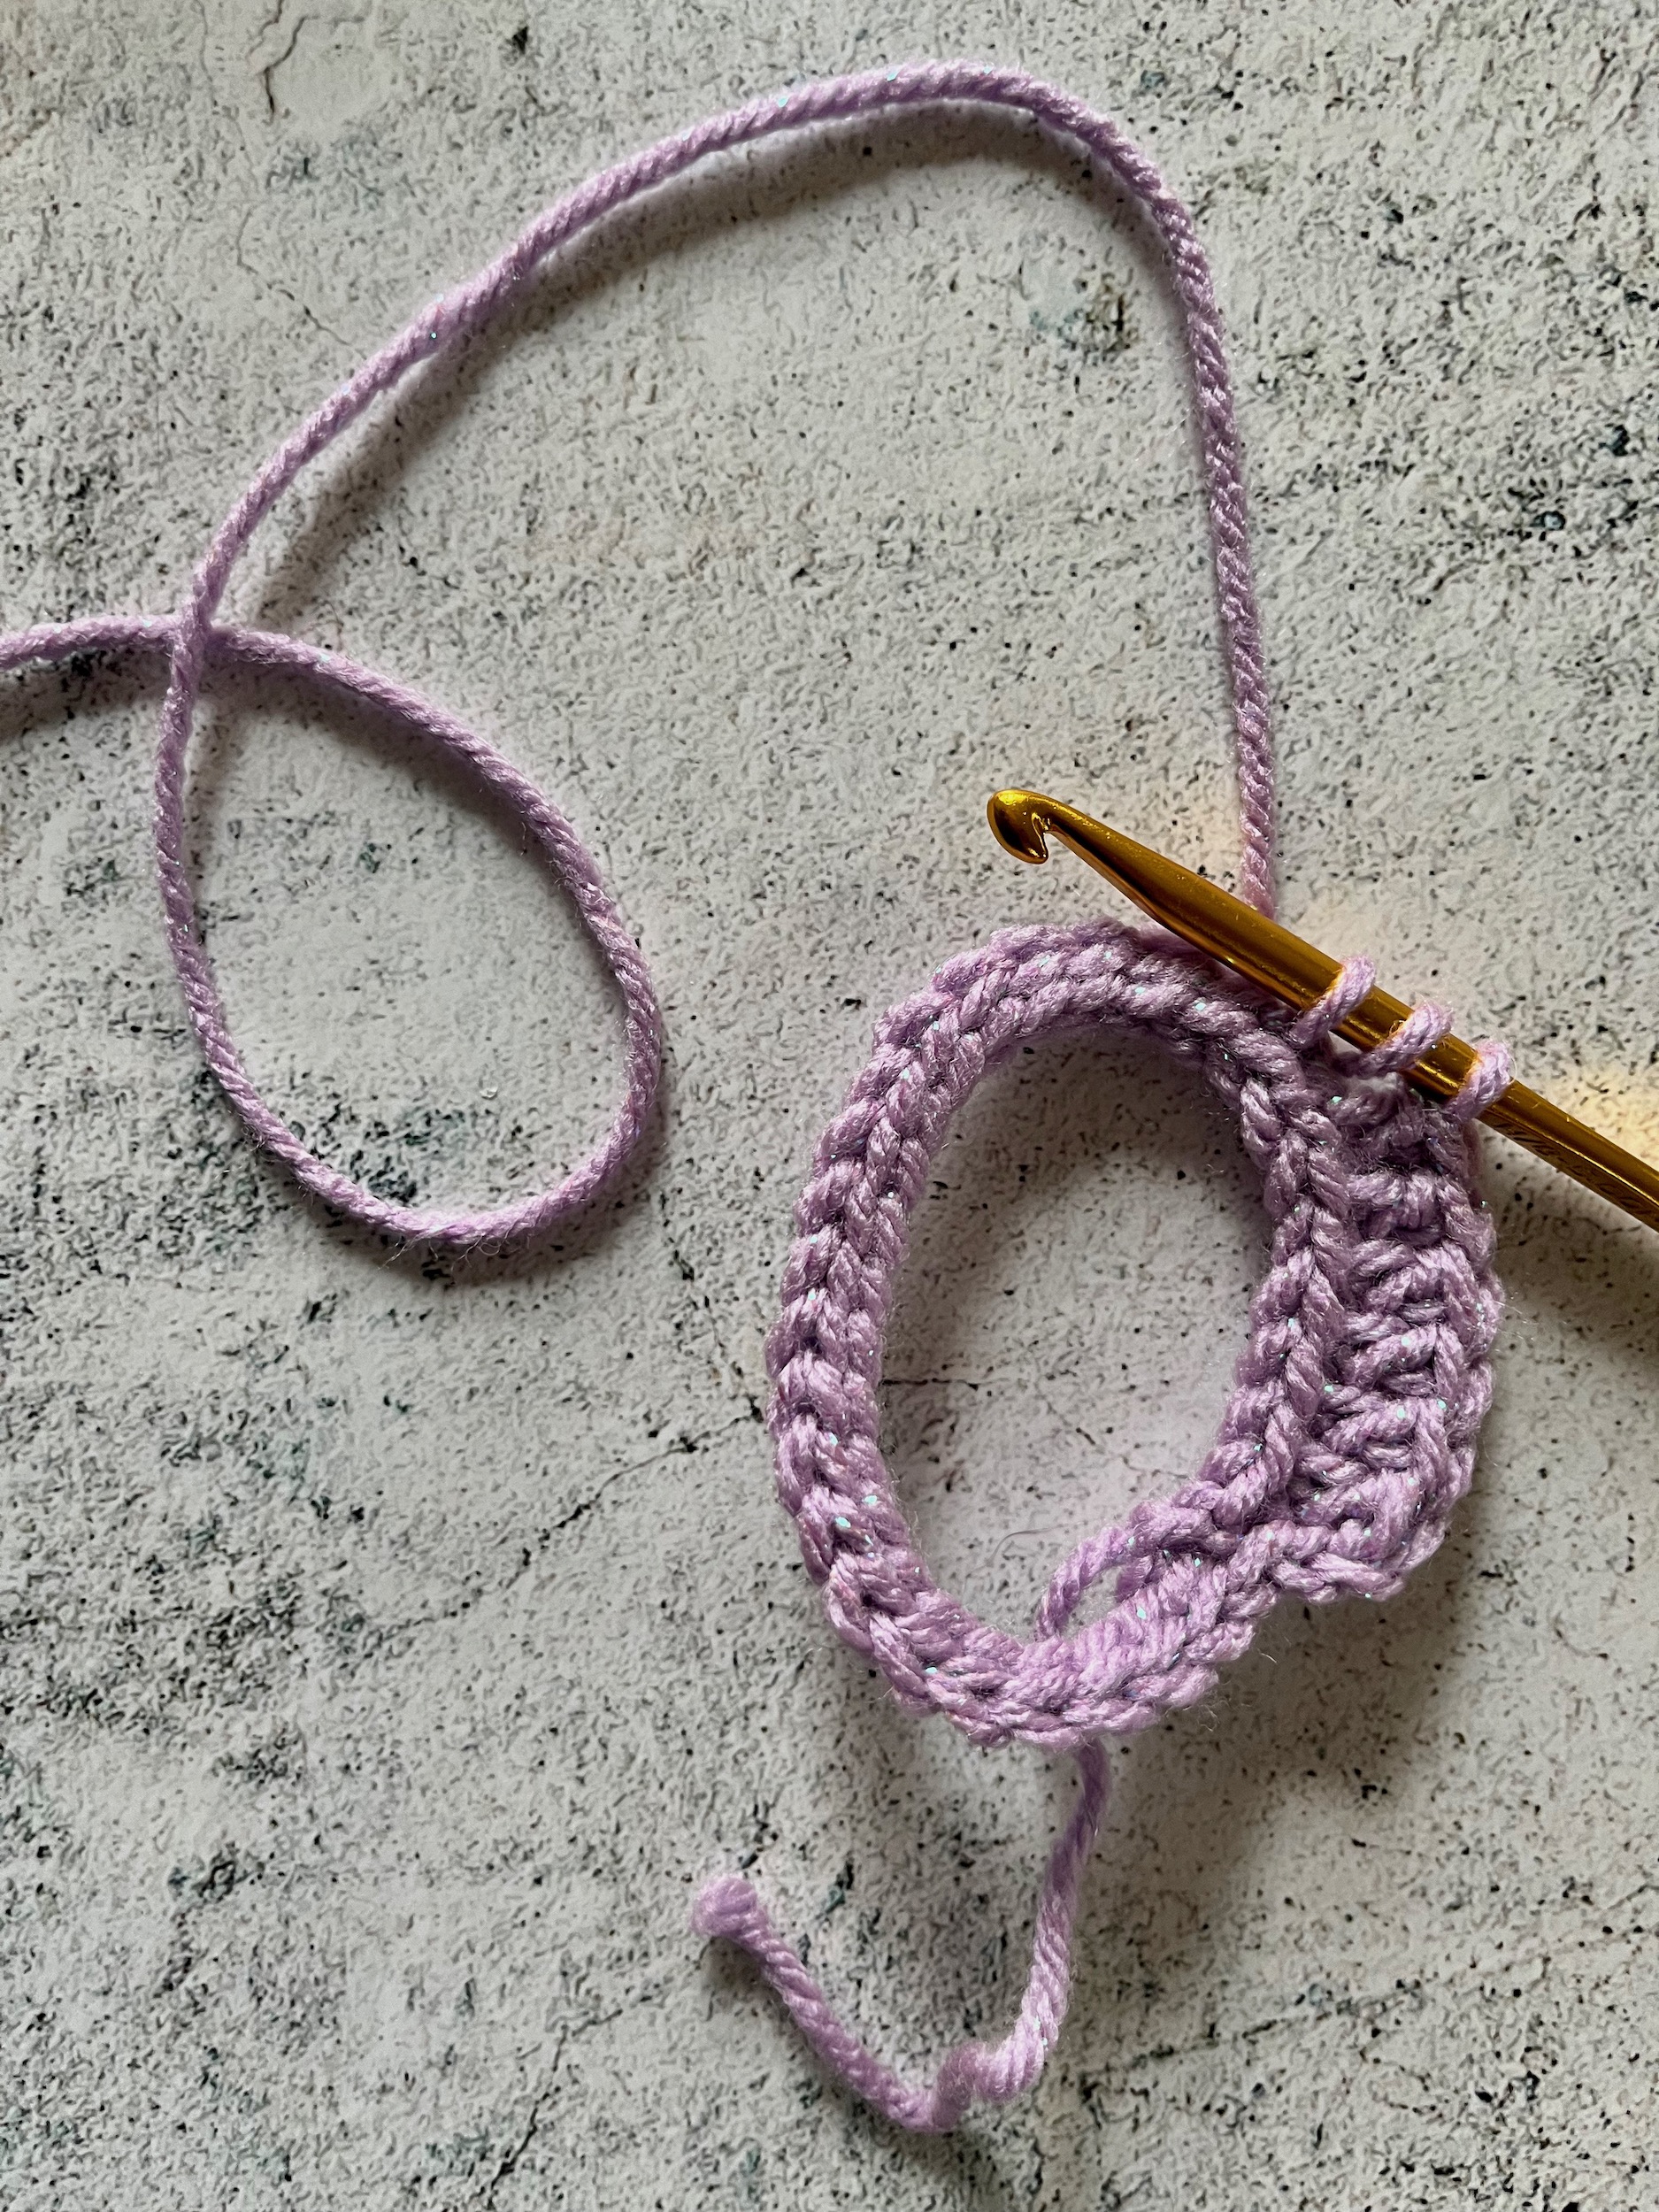
- Using the smaller yarn and hook create a magic ring and chain two.
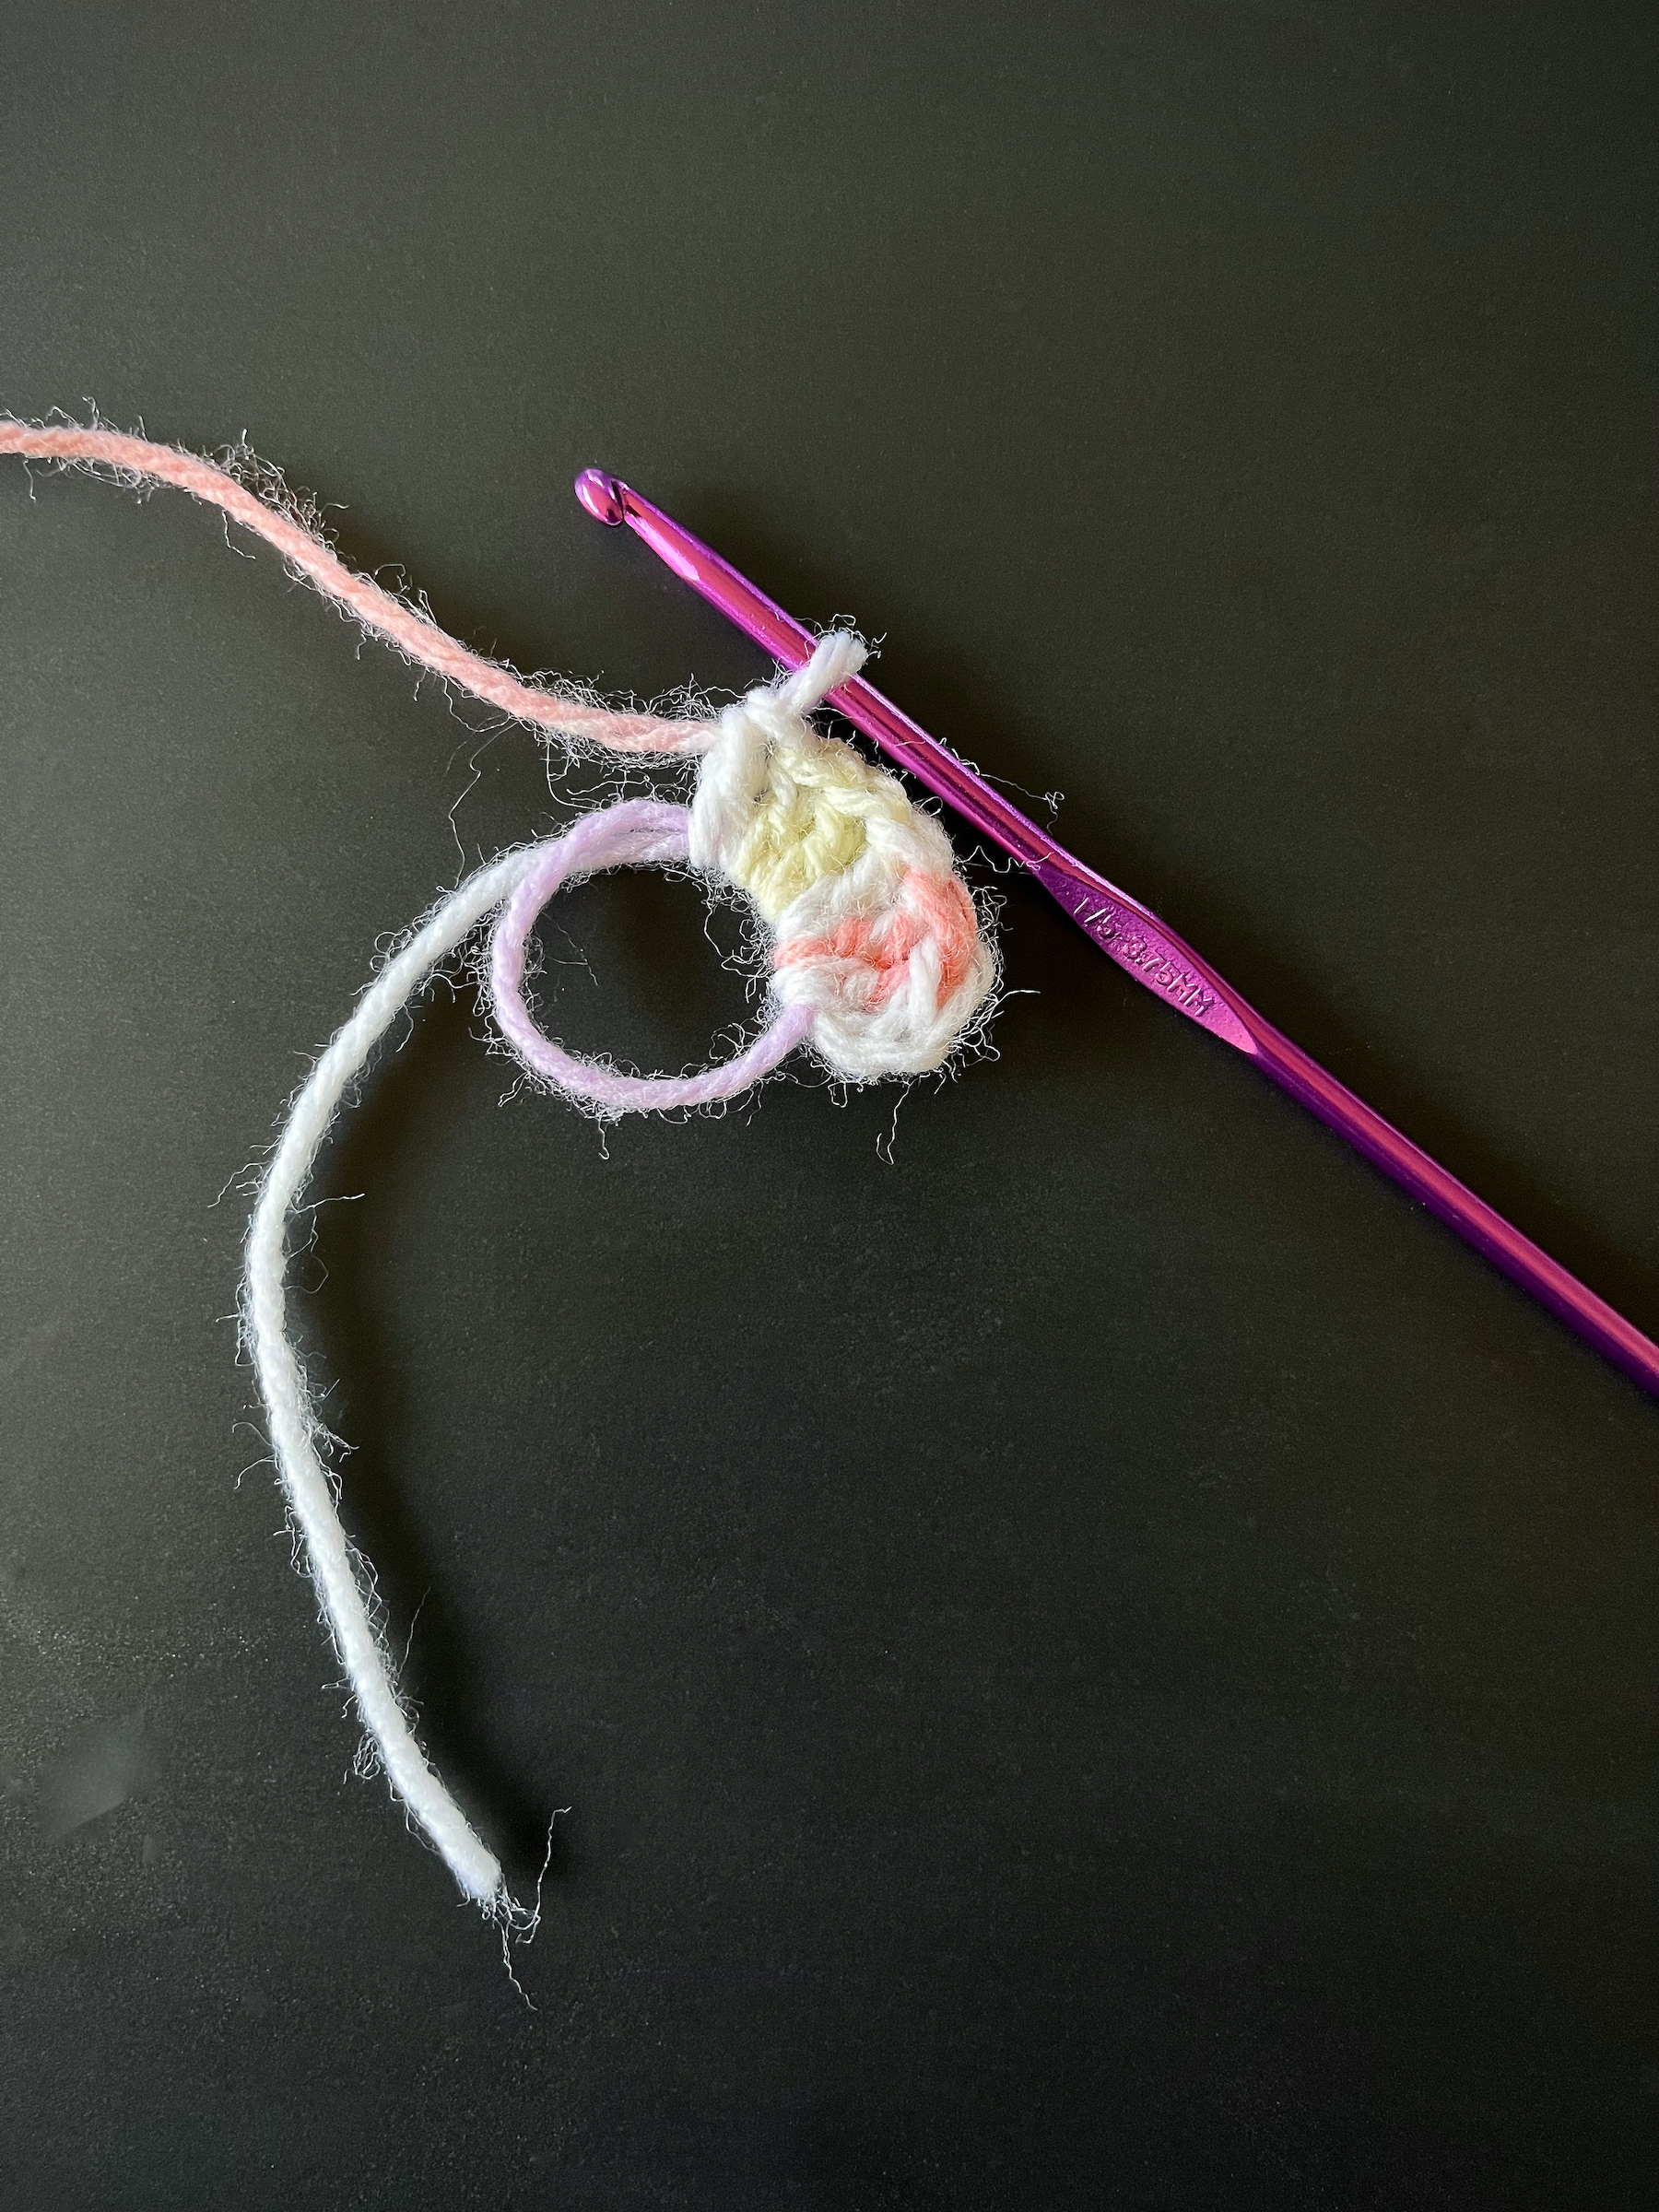
- Stitch one triple crochet into the magic ring, then repeat twice more for a total of three triple crochets.
- Stitch one double crochet into the magic ring, then repeat twice more for a total of three double crochets.
- Chain one, then stitch one triple crochet into the magic ring for the heart’s point, then chain one again.
- Stitch one double crochet into the magic ring, then repeat twice more for a total of three double crochets.
- Stitch one triple crochet into the magic ring, then repeat twice more for a total of three triple crochets.
- Chain three and slipstitch into the magic ring.
- Slipstitch into the back loop of the beginning three chains of the heart.
- Single crochet under both loops of the first triple crochet from the first round, then single crochet again into the same stitch.
- Repeat step 9 on the second and third triple crochets of the first round.
- Single crochet under both loops of the first double crochet of the first round.
- Repeat step 11 on the second and third double crochets of the first round.
- Single crochet under the chain.
- Single crochet under both loops of the triple crochet, chain one and then single crochet back into the same stitch.
- Single crochet under the chain
- Single crochet under both loops of the double crochet.
- Repeat step 16 on the next two double crochets of the first round.
- Single crochet under both loops of the triple crochet from the first round, then single crochet again into the same stitch.
- Repeat step 18 on the next two triple crochets of the first round.
- Slipstitch into the back loop of the ending three chains of the heart.
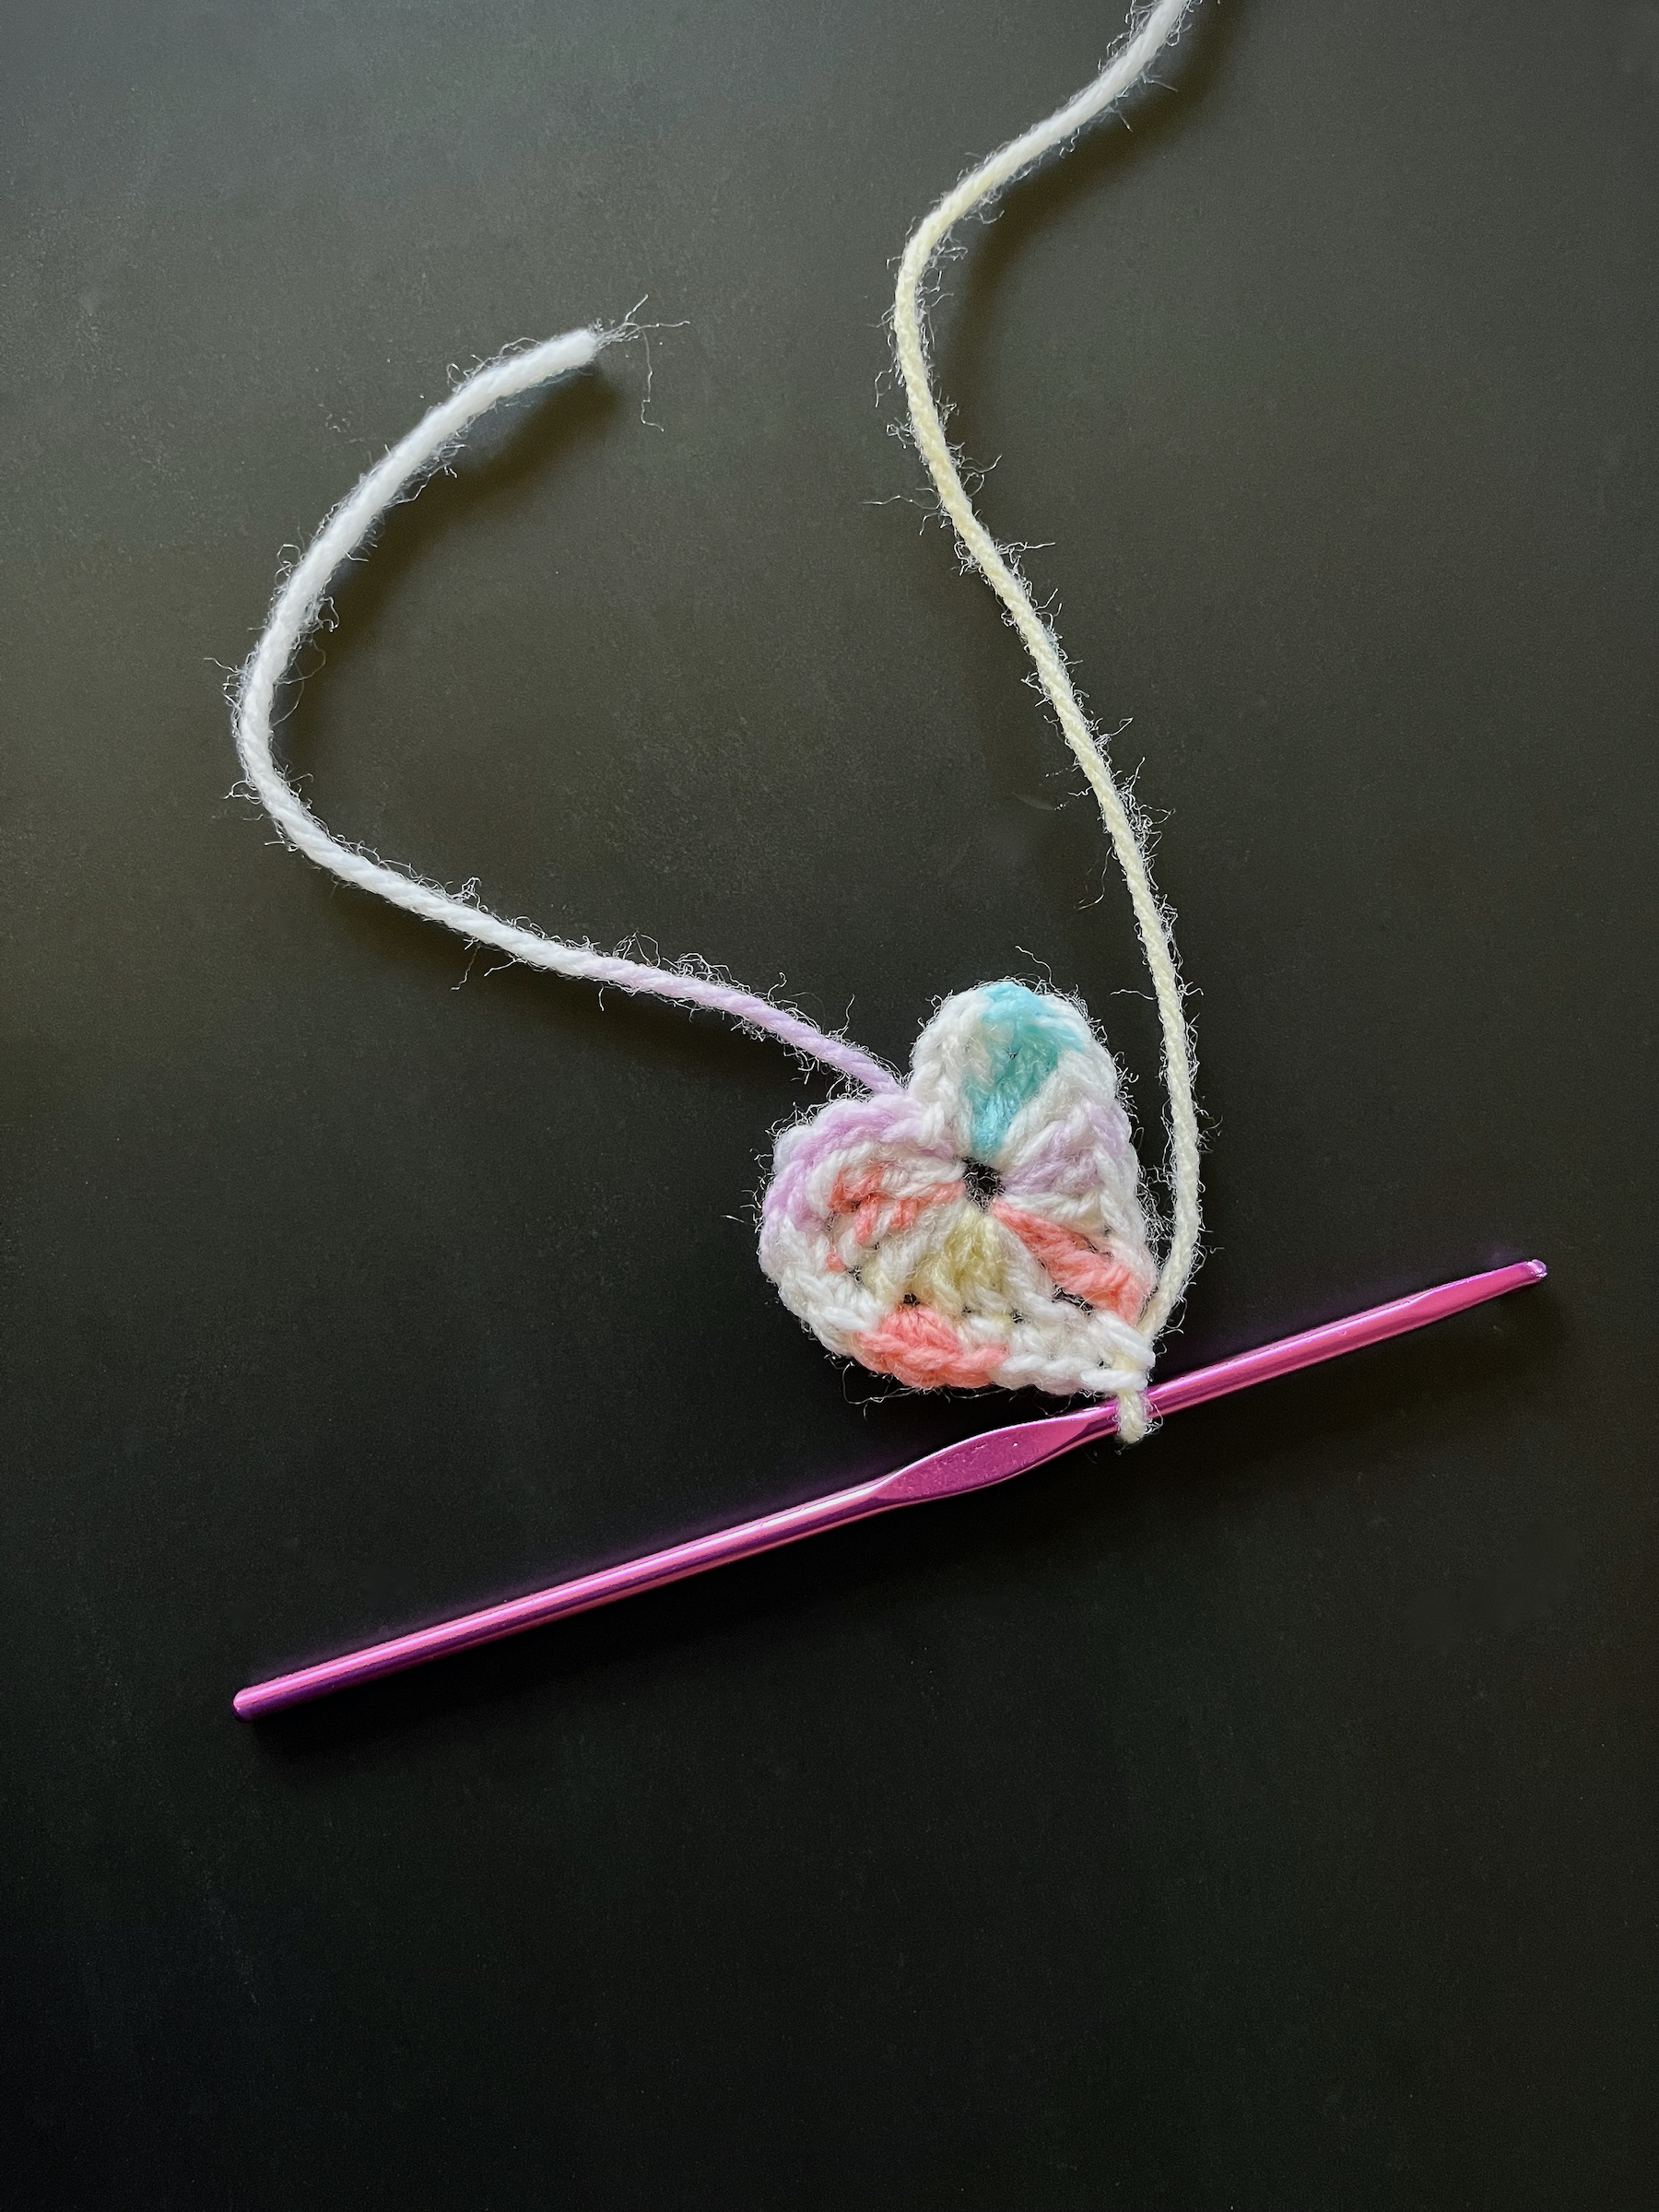
- Slipstitch into the magic ring one more time, snip off the yarn and pull the loose end through the final stitch tightly to secure it.
- Pull the loose end of the starting yarn to pull the center of the heart in tightly.
- Using a smaller crochet hook, weave the starting yarn and ending yarn into the heart.
- Repeat steps 1 through 23 again with the larger yarn and hook.
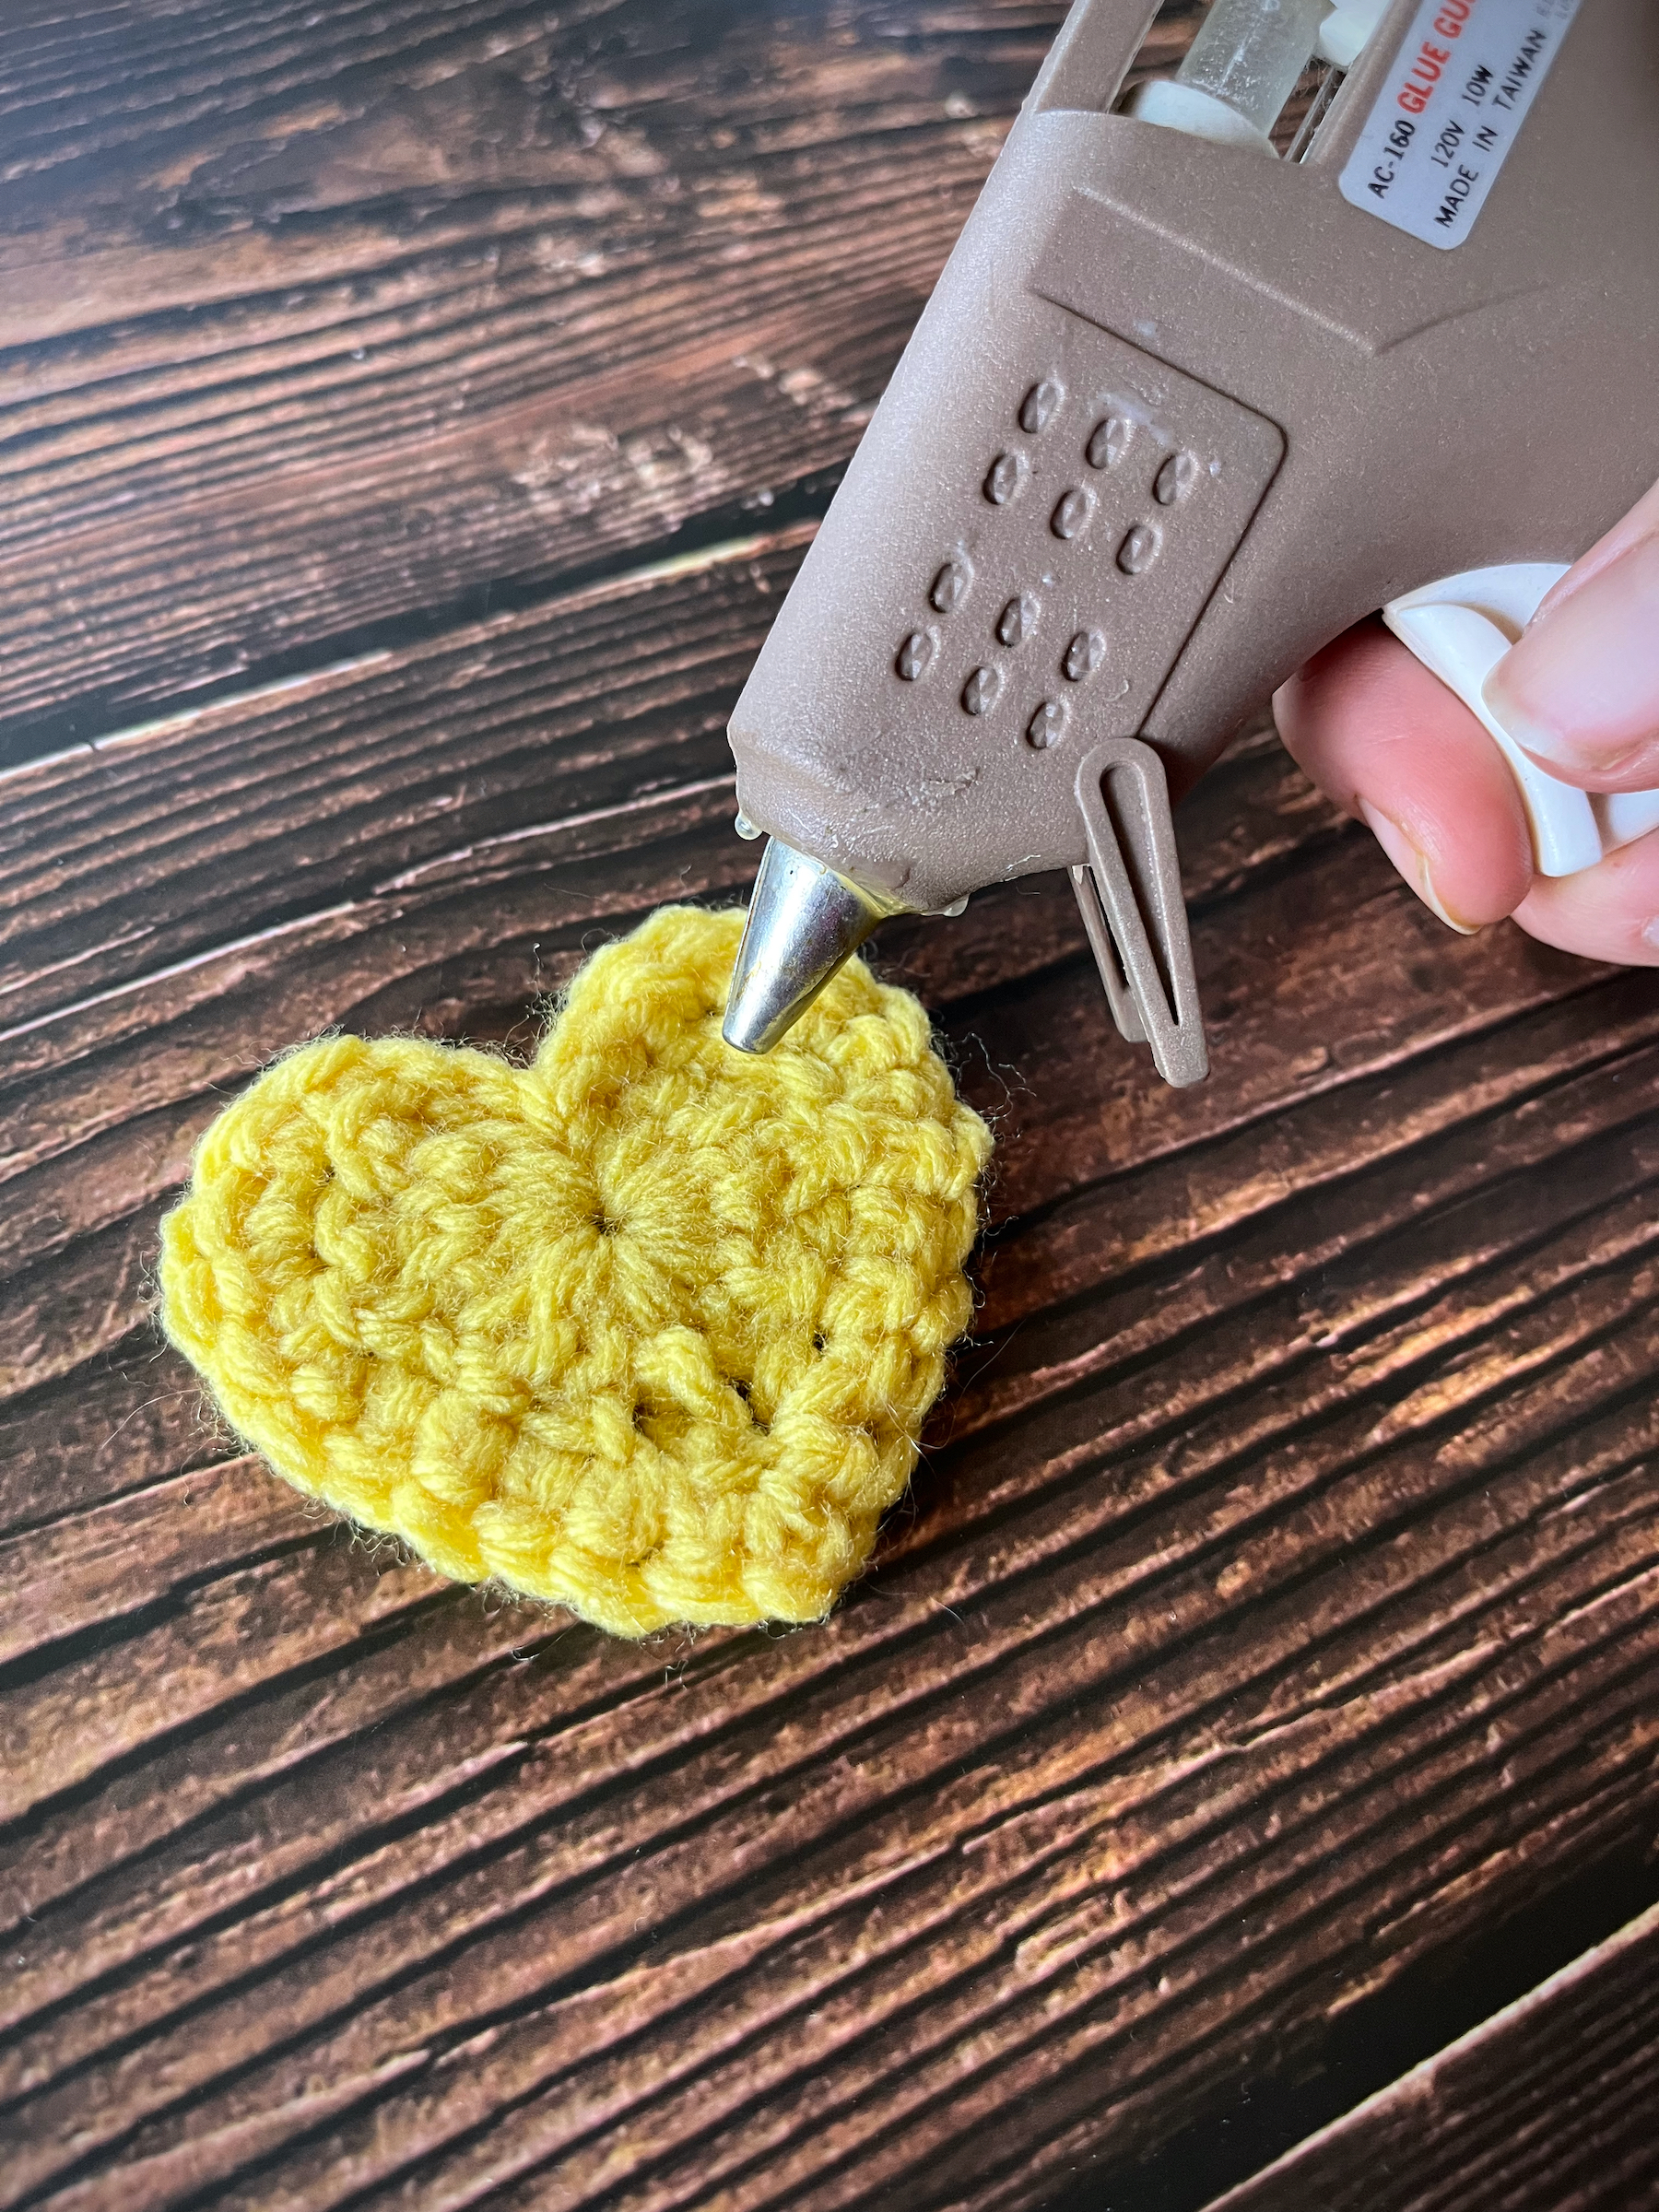
- Once both hearts are done, heat up your glue gun and apply a steady amount of glue to the back of the larger heart, within the confines of where the smaller heart will lay, then press the back of the smaller heart to it. If there are any loose edges gently lift them up, apply glue underneath and press it back.
- Once cool, give your pocket hug to someone who needs it!