The First 60 Minutes of Epic Mickey 2: The Power of Two

Have you ever been undecided on what to play next? 

Should you buy that game? Should you install that game?

I’ve been there, and sometimes you just need to take a look at the graphics, hear the music, and learn a little about the plot to see if it resonates with you before taking the next step. I’m here to help! I am creating the first 30 to the first 60 minute videos of games; indie and mainstream, new and old!

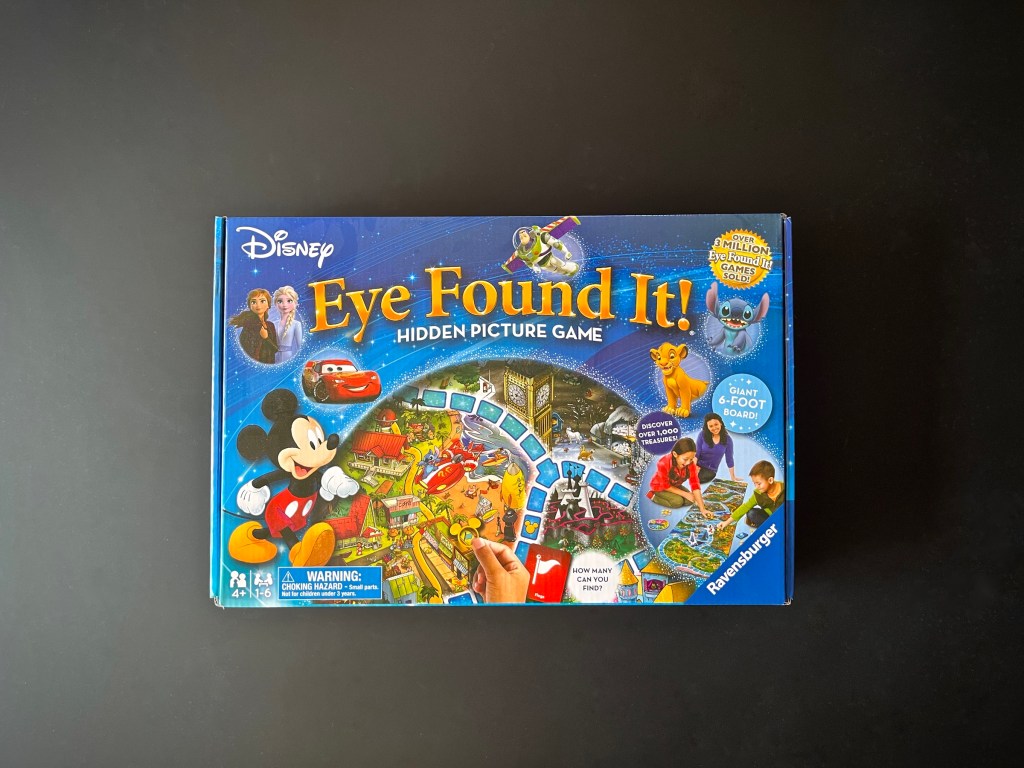
This week let’s take a look at the first 60 minutes of Epic Mickey 2: The Power of Two…

Do you want to play the rest? 

Epic Mickey: Rebrushed – Trapped Gremlin Location Guide

If there’s one thing I do when I play a game (besides trying to relax and enjoy myself), it’s look up information. I get curious or stuck, and I find myself turning to the internet for answers. There are a lot of good guides out there that are super helpful, but what I don’t see are an abundance of simple and clean visual guides that lay out all the information in one place.

I’ve been playing Epic Mickey: Rebrushed and I cannot get enough! I played this on the Wii once upon a time; I loved it then and I love it just as much, if not more, now! I have a penchant for games where you restore the world in some way and it’s also fun to see characters and other Disney creations that don’t get a lot of attention.

I’ve created a guide for finding all the trapped Gremlins throughout the game. This visual or infographic guide is divided into locations and more detailed descriptions of where to find each Gremlin.

Please let me know if you would like me to work on a guides for anything else within Epic Mickey: Rebrushed or if there are any games you would like to see visual information or guides for in the future! I love helping people, discussing games and organizing information!

The First 60 Minutes of Epic Mickey: Rebrushed

Have you ever been undecided on what to play next? 

Should you buy that game? Should you install that game?

I’ve been there, and sometimes you just need to take a look at the graphics, hear the music, and learn a little about the plot to see if it resonates with you before taking the next step. I’m here to help! I am creating the first 30 to the first 60 minute videos of games; indie and mainstream, new and old!

This week let’s take a look at the first 60 minutes of Epic Mickey: Rebrushed…

Do you want to play the rest? 

How to Play – Disney Eye Found It!

Part of the fun in raising Zoey is finding things that delight and educate her; I want to find fun, creative board games to play with her during our family game nights! This week we played Disney’s Eye Found It! for 1 to 6 players.

This is a cooperative game, which is nice when you’re not feeling competitive and want to focus on teamwork instead. Zoey enjoys the Disney content and searching the board for hidden objects (so do I honestly). The only warning I will give is that the game board is rather large, you’ll either need a long table, countertop, or you can set it up on the floor like we do!

So let’s play!

IN THE BOX
  • 1 game board (in 3 sections)
  • 6 characters
  • 6 character bases
  • 1 spinner
  • 12 Mickey marker
  • 30 search cards
  • 1 sand timer
INSTRUCTIONS
  1. Unfold the game board sections and connect them.
  2. Set the Mickey markers, sand timer and spinner near the board.
  3. Shuffle the search cards and put them in a pile near the board. Either the blue or red sides may face up.
  4. Set Maleficent’s staff to “1”.
  5. Insert each character into a base. Each player chooses a chapter and puts them on the “Start” space.
  6. The youngest player goes first. On your turn, spin the spinner and follow its instructions:
    • Move – Move your character forward the number of spaces indicated.
      1. If you land on a shortcut, follow the arrow.
      2. If you get to a fork in the road, choose which way to go.
      3. If you land on a “search” space, follow the search rules.
    • Maleficent’s Magic – Move the staff one or two spaces forward, then spin again!
    • Search – If the spinner or your character land on a “search” space, draw the top card of the deck.
      1. If you spun a search on the spinner, use the side of the card matching the color on the spinner. If your character landed on a search space you may choose which side of the card to use. 
      2. Start the timer. All players help look for the object(s) shown, hidden on the game board. Each time you find one put a Mickey marker  on it so you remember where it is. When the time runs out, stop looking and count up all the Mickey markers you placed on the board. Everyone’s character moves forward that many spaces!
  7. If all players arrive at Aurora’s castle before Maleficent casts her spell (when her staff reaches 16), you all win!

ENJOY!

DIY – Disney VHS Bookmark

Welcome back friends! Do you still have a VCR? Not many people have VCRs anymore. We do, although we don’t really use it anymore.

If you don’t have a VCR anymore, what should you do with all your old VHS, including all those Disney films you grew up with? You could collect them, donate them, or recycle them. But wait! If you decide to recycle them, let’s remove the spines and use them to create bookmarks! 

I’ve also used the beautiful Disney cover art to make drink coasters you can find here!

Let’s get started!

SUPPLIES
  • Disney VHS cover art
  • Guillotine paper trimmer
  • Plastic ruler
  • Self adhesive clear laminating sheets
INSTRUCTIONS
  1. Remove the cover art from the VHS cases.
  2. Use a guillotine paper trimmer to cut the spine from the cover art in straight, smooth edges
  3. Make sure the spines and surface you’ll be working on are clean and free of lint, then place a laminate page on your working surface with the adhesive side face-up.
  4. Peel back about an inch and a half of the release liner and place the spines (artwork side down) on the adhesive, leaving about a half inch above the spine for sealing and trimming.
  5. Turn the laminate page over and use a plastic ruler to smooth the laminate onto the artwork, removing any air bubbles. 
  6. Gently peel back the release liner about an inch at a time, using the ruler to smooth the laminate all the way down until the artwork is completely adhered. Leave the release paper attached at the bottom for now and flip the page back over (the artwork facing down again).
  7. Take another laminate page and peel back about an inch and half worth of the release liner, then align the top of this page (adhesive side down) with the top of the first page (adhesive side up).
    • Pull the release liner from the first page up to meet the new release liner between the two laminate pages, this will keep the pages from sticking to to the wrong places while you work.
  8. Using the plastic ruler, smooth the laminate all the way down (peeling both release liners back together a little at a time) until the bookmarks are completely laminated between the two pages.
  9. Allow for a little space so the laminate remains sealed (but less conspicuous), use the guillotine trimmer to trim down the bookmark edges.
  10. Place in the books you’re reading, and enjoy!

The First 60 Minutes of Disney’s Illusion Island

Have you ever been undecided on what to play next? 

Should you buy that game? Should you install that game?

I’ve been there, and sometimes you just need to take a look at the graphics, hear the music, and learn a little about the plot to see if it resonates with you before taking the next step. I’m here to help! I am creating the first 30 to the first 60 minute videos of games; indie and mainstream, new and old!

This week let’s take a look at the first 60 minutes of Disney’s Illusion Island…

Do you want to play the rest? 

The First 60 Minutes of Kingdom Hearts III

Have you ever been undecided on what to play next? 

Should you buy that game? Should you install that game?

I’ve been there, and sometimes you just need to take a look at the graphics, hear the music, and learn a little about the plot to see if it resonates with you before taking the next step. I’m here to help! I am creating the first 30 to the first 60 minute videos of games; indie and mainstream, new and old!

This week let’s take a look at the first 60 minutes of Kingdom Hearts III…

Do you want to play the rest? 

The First 60 Minutes of Kingdom Hearts II Final Mix

Have you ever been undecided on what to play next? 

Should you buy that game? Should you install that game?

I’ve been there, and sometimes you just need to take a look at the graphics, hear the music, and learn a little about the plot to see if it resonates with you before taking the next step. I’m here to help! I am creating the first 30 to the first 60 minute videos of games; indie and mainstream, new and old!

This week let’s take a look at the first 60 minutes of Kingdom Hearts 2 Final Mix…

Do you want to play the rest? 

The First 60 Minutes of Kingdom Hearts Final Mix

Have you ever been undecided on what to play next? 

Should you buy that game? Should you install that game?

I’ve been there, and sometimes you just need to take a look at the graphics, hear the music, and learn a little about the plot to see if it resonates with you before taking the next step. I’m here to help! I am creating the first 30 to the first 60 minute videos of games; indie and mainstream, new and old!

This week let’s take a look at the first 60 minutes of Kingdom Hearts Final Mix…

Do you want to play the rest? 

The Reluctant Dragon’s Pineapple Upside Down Cake Recipe

Welcome back friends! This week we’ll be baking miniature pineapple upside down cakes from Disney’s The Reluctant Dragon.

This recipe is featured when the dragon recites his poem “To An Upside-Down Cake” to the boy and Sir Giles.

Sweet little upside-down cake,

Cares and woes, you’ve got’em,

Poor little upside-down cake,

Your top is on your bottom.

Alas, little upside-down cake,

Your troubles never stop,

Because, little upside-down cake,

Your bottom’s on your top.

Now I do not see a pineapple nor cherry on his little cake, so I took artistic liberty and chose pineapple upside down cake; I have no regrets! These little cakes are delicious! My favorite part is the topping, all that brown sugar, mmmm!

INGREDIENTS

CAKES

  • 4 large eggs, at room temperature
  • 1/4 cup of dark brown sugar, packed
  • 1 1/4 cups of granulated sugar 
  • 1/2 cup of pineapple juice 
  • 2 teaspoons of pure vanilla extract
  • 2 1/4 teaspoons of baking powder
  • 1/2 teaspoon of cinnamon
  • 2 tablespoons of cornstarch
  • 1 1/2 cups of all purpose flour
  • 1/4 teaspoon of salt

TOPPING

  • 6 tablespoons of unsalted butter
  • 1 1/2 cups dark brown sugar (packed) 
  • 1/8 teaspoon of salt 
  • 1 teaspoon of vanilla extract
  • 10-12 pineapple rings
  • 10-12 maraschino cherries
INSTRUCTIONS
  1. Pre-heat oven to 350 F. Spray a jumbo muffin tin with non-stick cooking spray and set aside.
  2. Crack the eggs into a large mixing bowl and whisk until smooth. 
  3. Add the brown sugar, granulated sugar, pineapple juice and vanilla, then whisk again until smooth. 
  4. In a separate bowl, sift together the baking powder, cinnamon, cornstarch, flour and salt.
  5. Gradually add the dry ingredients into the wet ingredients and whisk until just combined (be sure not to over mix), then set the mixture aside while you make the topping. 
  6. In a small sauce pan, melt the butter over medium to low heat. 
  7. Add the brown sugar, salt, and vanilla.
  8. Cook for one minute, whisking constantly, then remove the saucepan from the heat. 
  9. Spoon two tablespoons of the topping into the bottom of each muffin tin, then place a pineapple ring over that with a cherry in the middle.
  10. Divide the cake batter evenly among the prepared tins, filling each muffin tin 3/4 of the way full. 
  11. Bake for 20 to 25 minutes, until the tops are puffed and golden brown and a toothpick inserted in the center of the cake comes out clean. 
  12. Remove from the oven and allow to cool in the pan for 5 minutes. Gently run a knife around the edge of each cake to help loosen any stuck bits, then gently place a wire cooling rack over a sheet pan (to help with the drips) on top and quickly flip over.
  13. Allow to cool and enjoy!