
 INTRODUCTION
Welcome back friends! This week we’ll be cooking the happy porridge Mushu serves to Mulan in Disney’s Mulan.
 This recipe is featured when Mulan is about to start her training. Mushu wakes her up the first morning with this happy breakfast to get her day started!
 You can see little grains of rice in the porridge Mushu holds out to Mulan so to stay as true to the recipe from the film as I could I made congee. Congee is a type of porridge created with rice and enjoyed in China. It’s super easy to make and super delicious! I also chose to make the eggs in a muffin tin and the bacon on a baking sheet so I could cook them all at once and it was easier to keep them in the correct shape for the happy face on the porridge.
 MUSHU’S HAPPY PORRIDGE
- 4 cups of chicken broth
- 4 cups of water
- 1 cup of jasmine rice
- Salt to taste
INSTRUCTIONS (PORRIDGE)
- Bring the 4 cups of water and 4 cups of chicken broth to a boil in a medium to large pot.
- Add the rice and bring the combination back to a boil.
- Lower the heat and let it gently simmer with a partially closed lid, stirring occasionally to prevent the rice from sticking to the bottom of the pot.
- The longer the porridge cooks the thicker it will get, keep in mind it also gets thicker after it’s cooled off. Once you are happy with the consistency, remove your porridge from the heat.
- Season with salt to your taste.
- Serve Mushu’s happy porridge in a bowl, arranging 2 cooked eggs and a bacon slice (see below) to look like a happy face on top.
- Enjoy!
BACON AND EGGS
- 8 eggs
- 4 slices of bacon
INSTRUCTIONS (BACON AND EGGS)
- Preheat the oven to 350F.
- Grease 8 cups of a muffin or cupcake tin.
- Gently crack and place an uncooked egg into each greased cup of the muffin or cupcake tin. I personally only used the yolk and half of the white of each egg, but you can use the whole egg if preferred!
- Line a baking sheet with aluminum foil.
- Cut each slice of bacon in half and line the pieces out on the prepared baking sheet.
- Place the eggs and bacon in the preheated oven to cook. The eggs will take about 15 minutes and the bacon will take about 25 minutes, but keep an eye on them as every oven is different!
- Carefully (because they’re hot) remove the eggs and bacon from the pans and arrange them on the porridge (see above).
- Enjoy!
 INTRODUCTION
 These doughnuts are featured during a breakfast scene after Lady retrieves Jim Dear’s paper. Darling offers Lady a doughnut and Jim Dear offers her coffee to dunk it in.
 I knew I wanted to make old fashioned buttermilk doughnuts with a simple glaze. I considered making cake donuts, but deep frying seemed like so much more fun! If you’ve never deep fried anything before, be very careful! I use a very heavy dutch oven and a frying thermometer, heating the oil up a little at a time so it doesn’t get too hot too fast!
 DOUGHNUTS (DONUTS)
 INTRODUCTION
 Spaghetti and meatballs are quite fun to make and did I mention delicious? I had to stop myself from snacking on the meatballs before I was done making the pasta! My only regret is that I didn’t make the pasta or the sauce completely from scratch. I chose the timesavers path and used pre-packaged pasta, canned tomatoes and tomato paste. The good news is, most of us do not have time to make everything from scratch, but I do look forward to revisiting this recipe in the future to bring you everything from scratch!
 SAUCE
SAUCE INTRODUCTION
 This recipe is featured when Edgar wants to get rid of Duchess and her kittens, thinking they will be the sole heirs to his employer’s fortune. He makes a cream for the cats to drink, laced with sleeping pills and drives them out to the countryside to abandon them. Roquefort the mouse brings his cookie to share the cream, and ends up falling asleep too!
 First thing is first, I did not lace the creme with sleeping pills, I’m not trying to knock you all out. What I did do was infuse it with chamomile to add a calming effect, although this is optional. With or without the chamomile it really is quite tasty as a dip, on its own, or even as a creamer for tea or coffee.
 CREME DE LA CREME A LA EDGAR
 ROQUEFORT’S COOKIES
 INTRODUCTION
 These crumpets are featured when Olivia Flaversham and Dr. Dawson arrive at Basil’s apartment. Mrs. Judson (Basil’s maid) offers and serves them before Basil sets off on a lead, Olivia managing to snag a few before they rush off.
 I am going to be so bold as to say that these are not traditional crumpets. Disney usually does their homework pretty thoroughly so I may be wrong, but perhaps they meant scones? Traditional crumpets look like the ones I made for Ratty and Mole’s Recipe in November, cooked on a flat surface within round rings. It was very hard to achieve the puffed look from the film using a crumpet recipe in a muffin tin, but I tried twice. The first time I used the recipe from Ratty and Mole’s Crumpets and added cheese, but they were very deflated up top. The second time I got a bit more lift by using baking powder instead of baking soda. Neither option had as much lift and puff as the cartoon, but they both taste cheesy and delicious so use what you have available!
 BAKED CHEESE CRUMPETS
 INTRODUCTION
 Winnie the Pooh’s hero cake (and the hero cookies we made last week) is featured in the “Blustery Day” featurette when Christopher Robin throws a Hero Party for Pooh Bear, believing him to be Piglet’s rescuer during the flood. Pooh and Piglet really just happened to be in the same predicament at the same time and came out together perfectly alright, but it was still sweet of Christopher Robin and their friends to celebrate them all the same!
 This is a surprisingly complex cake, and I had a lot of fun creating and tasting it! I chose to make pink velvet cake (my own interpretation of what flavor the pink color stood for) with chocolate frosting. White buttercream frosting surrounds the base of each of the orange candles and orange buttercream, in color and in flavor, whimsically dots the chocolate frosting in puffs. If you take the cake with the chocolate frosting and orange buttercream in the same bite it is absolute heaven and will definitely satisfy the rumbly of any tumbly!
 HERO CAKE
 INTRODUCTION
 HERO COOKIES
 INTRODUCTION
 These cookies are featured when Bernard and Miss Bianca visit the orphanage to find Penny. They find Rufus the cat instead, and he recollects the last time he saw her. In his memory, she snuck him two Gingersnap cookies, which he charmingly mistook for “Catnipsnaps”.
 I think baking cookies is my favorite! There is just something so satisfying about making cookie dough and then baking snack size treats for loved ones. I tend to enjoy eating the chewier and gooier cookies, but these were like eating crunchy gingerbread cookies and I really love them! Perhaps its the crunchy store-bought or factory-made cookies I’m not as fond of!
 GINGERSNAPS
 INTRODUCTION
 This turkey is featured when Ichabod visits one of his student’s households for supper and is fed a turkey by the lady of the house.
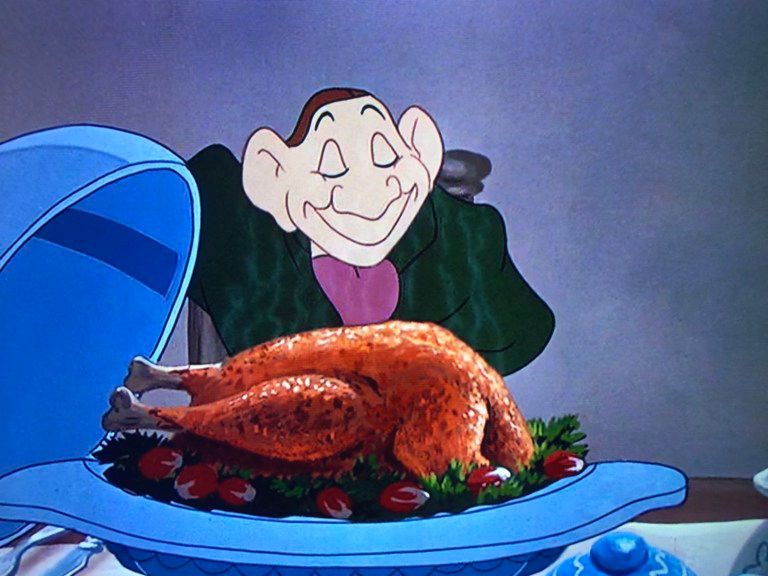 I highly doubt the residents of Sleepy Hollow had access to the Godzilla size turkeys we have available today, so I chose to work with a smaller size turkey. Smaller stature, paired with classic and simple seasoning and cooking methods resulted in the best tasting turkey I think I’ve ever created!
 TURKEY
 INTRODUCTION
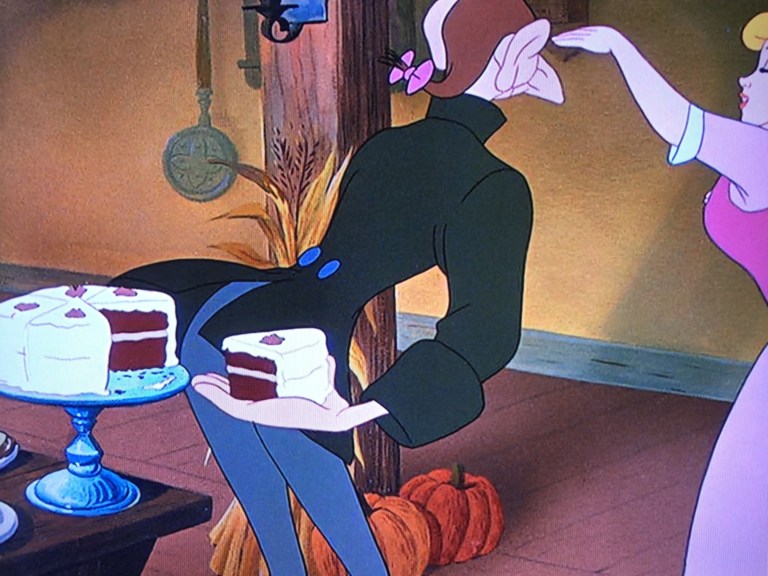 Similar to
  RED VELVET CAKE