Part of the fun in raising Zoey is finding things that delight and educate her; I want to find fun, creative board games to play with her during our family game nights! This week we played Sophie’s Seashell Scramble by Educational Insights for up to 4 players!
Zoey has loved this game since before she even knew how to play! She would pull everything out and play with the Sophie and the seashells, honestly it’s surprising that there are no missing pieces! Then we learned how to play the game together, and she loves it even more! She loves picking up the shells with the Sophie pincers; we find it super fun and easy collecting and replacing the seashells to the mats and back.
Let’s play!

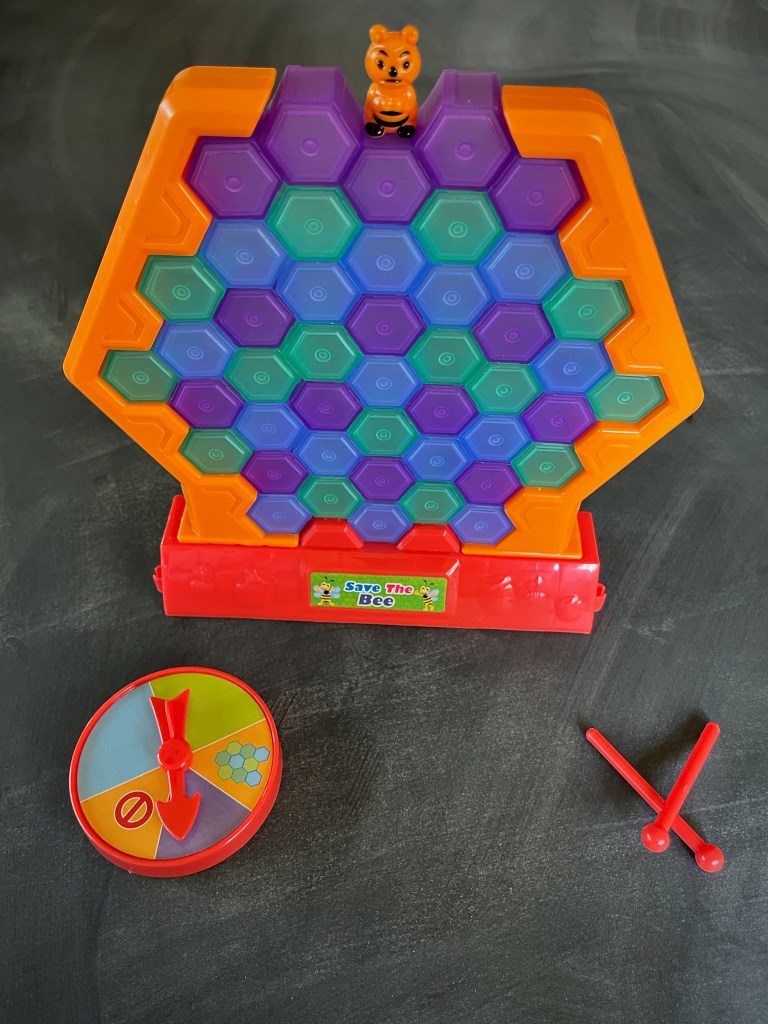
IN THE BOX
- A game-board (part of the box)
- A Sophie pincer
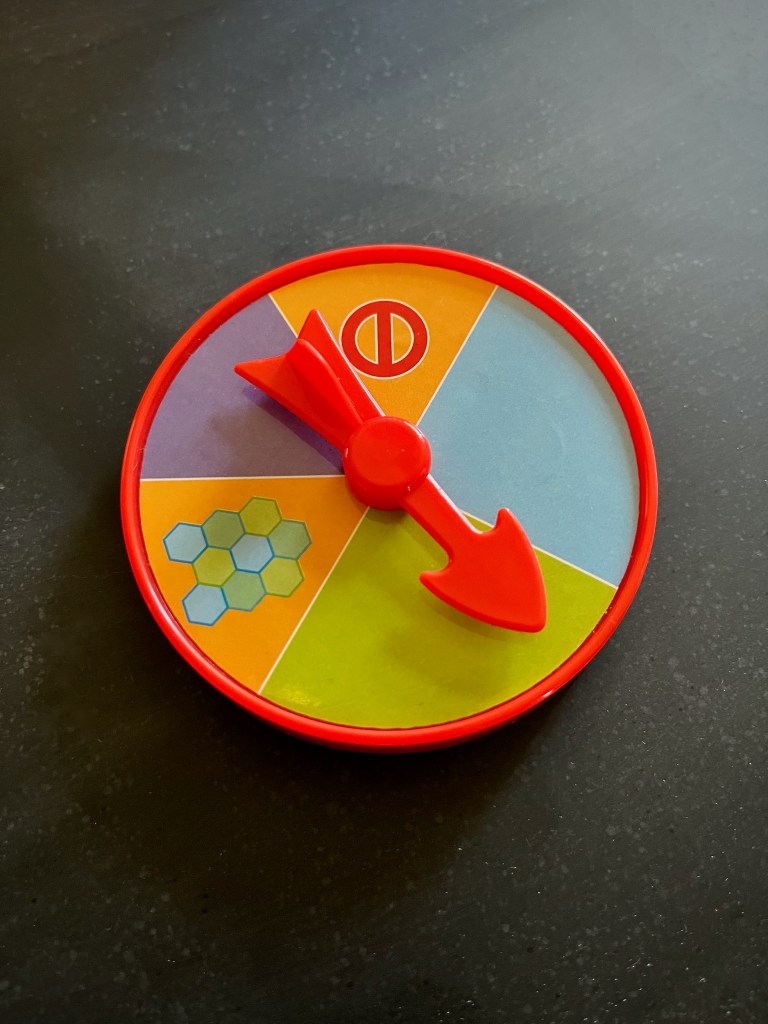
- A spinner
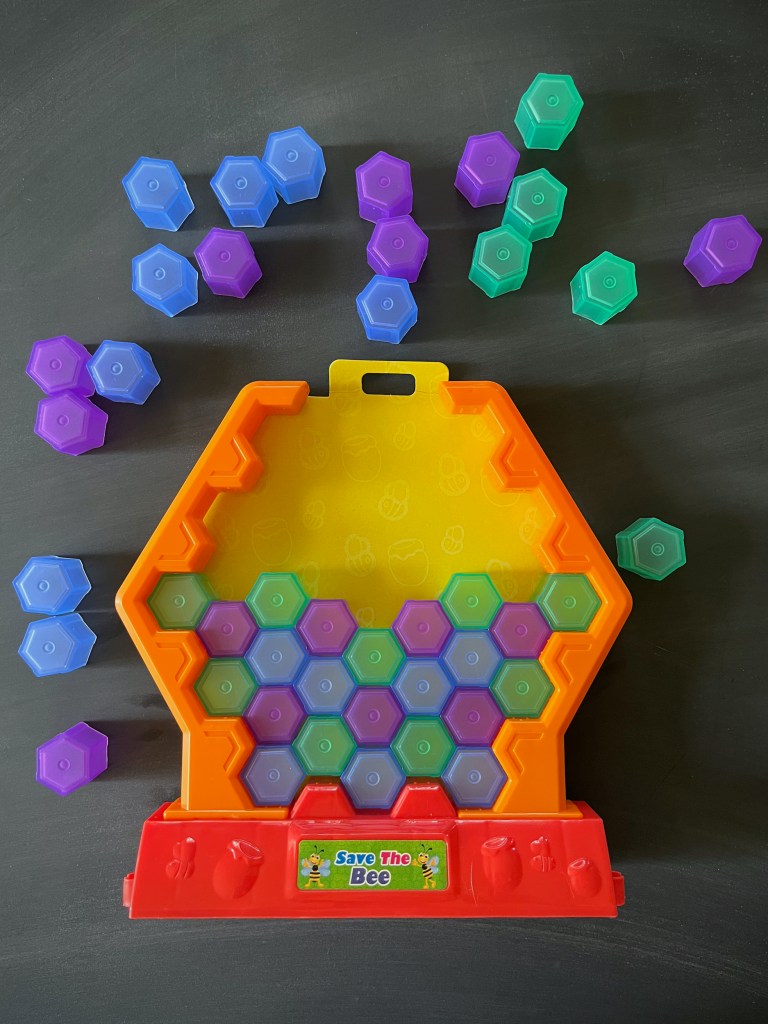
- 20 seashells in five patterns
- 4 seashell snack mats

INSTRUCTIONS
- Remove everything from the game box, then scatter the seashells onto the seascape on the inside bottom of the box.
- Give each player a seashell snack mat.
- The youngest player takes the first turn. Play then passes to the left of that player and onward.
- On your turn, spin the spinner, pick up the Sophie pincers, and follow the directions below according to your spin. Then it’s the next player’s turn!
- Pattern: Find a shell that matches the pattern (the color of the shell doesn’t matter) and use Sophie to pick it up and place it on your seashell snack mat.
- One Shell: Pick any one shell from the seascape and use Sophie to pick it up and place it on your seashell snack mat.
- Two Shells: Pick any two shells from the seascape and use Sophie to pick them up and place them on your seashell snack mat.
- Big Wave: A big wave is crashing the shell-collecting party. All players lose a shell back to the seascape.
- Hungry Otter: Use Sophie to take any shell from another player and place it on the matching space on your seashell snack mat.
- Otto the Octopus: Take any shell from for seashell snack mat and place it on the table next to Otto. Spin the spinner, if you land on Otto or the pattern that matches the shell you chose you can take your shell back and take any other shell from the seascape. If you don’t land on Otto or the pattern that matches your shell, Otto tosses your shell back into the seascape.
- If you’re the first player to collect all of the shells to match the ones on your seashell snack mat, you win!
ENJOY!