Have you ever been undecided on what to play next?
Should you buy that game? Should you install that game?
I’ve been there, and sometimes you just need to take a look at the graphics, hear the music, and learn a little about the plot to see if it resonates with you before taking the next step. I’m here to help! I am creating the first 30 to the first 60 minute videos of games; indie and mainstream, new and old!
This week let’s take a look at the first 30 minutes of Paleo Pines…
If there’s one thing I do when I play a game (besides trying to relax and enjoy myself), it’s look up information. I get curious or stuck, and I find myself turning to the internet for answers. There are a lot of good guides out there that are super helpful, but what I don’t see are an abundance of simple and clean visual guides that lay out all the information in one place.
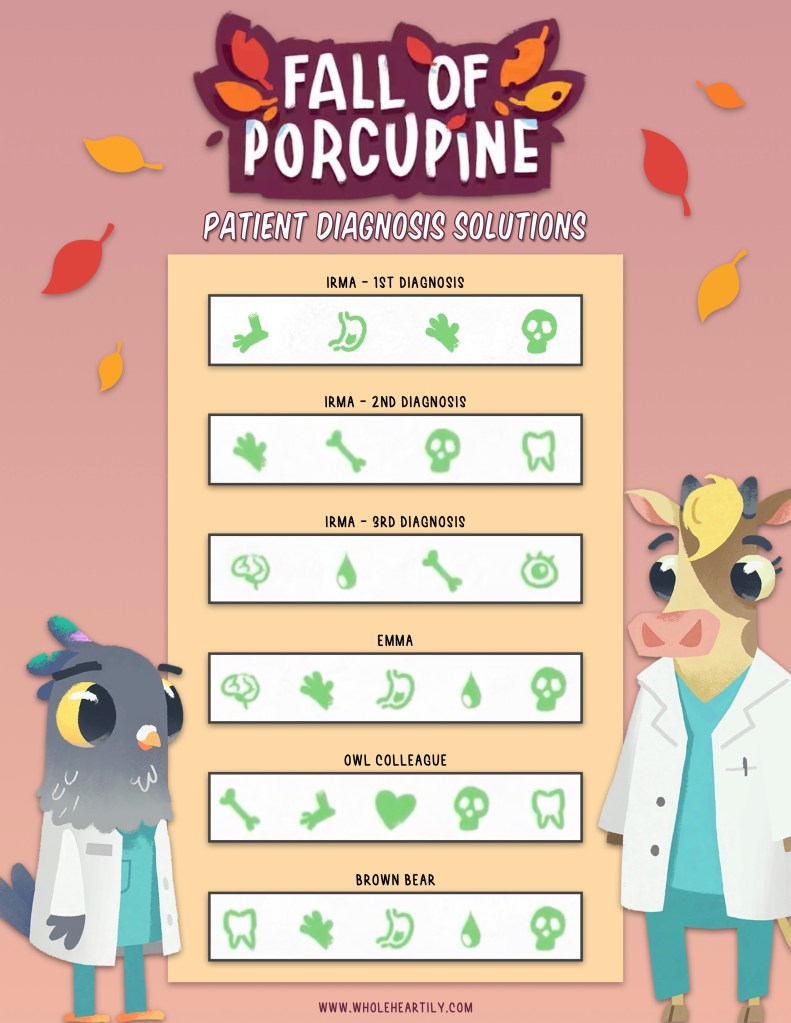
I’ve been playing Fall of Porcupine and while I like changing dressings, injections, monitoring heartbeats and prescribing medications, the diagnosis mini-game is not my favorite. I feel the need to ace all of my treatments and the diagnosis kept tripping me up! So whether you want to ace the diagnosis the first time, or if you’re having trouble and just want to move past it I’ve created a guide page with the solution to each diagnosis.
This visual or infographic guide is presented in chronological order, starting with the first time you are asked to diagnose Irma until the last diagnosis of what I believe to be a brown bear.
Please let me know if you would like me to work on a guides for anything else within Fall of Porcupine or if there are any games you would like to see visual information or guides for in the future! I love helping people, discussing games and organizing information!
Have you ever been undecided on what to play next?
Should you buy that game? Should you install that game?
I’ve been there, and sometimes you just need to take a look at the graphics, hear the music, and learn a little about the plot to see if it resonates with you before taking the next step. I’m here to help! I am creating the first 30 to the first 60 minute videos of games; indie and mainstream, new and old!
This week let’s take a look at the first 30 minutes of Fall of Porcupine…
Welcome back friends! Do you crochet? I dabbled in crochet off and on for a few years, always fascinated, but never fully catching on. I kept at it, and suddenly, it clicked! I feel calm and cozy when I’m crocheting, and fiercely proud whenever I complete a project.
It’s that time of year for autumn decor! So let’s create a crochet pumpkin with a cinnamon stick stem!
SUPPLIES
Crochet hook (size 5.5mm)
Medium yarn (size 4)
Fiberfill stuffing
Scissors
Yarn needle
INSTRUCTIONS
Create a slip knot and then chain 31 stitches.
For this piece, we will be working in the back loop only for all stitches.
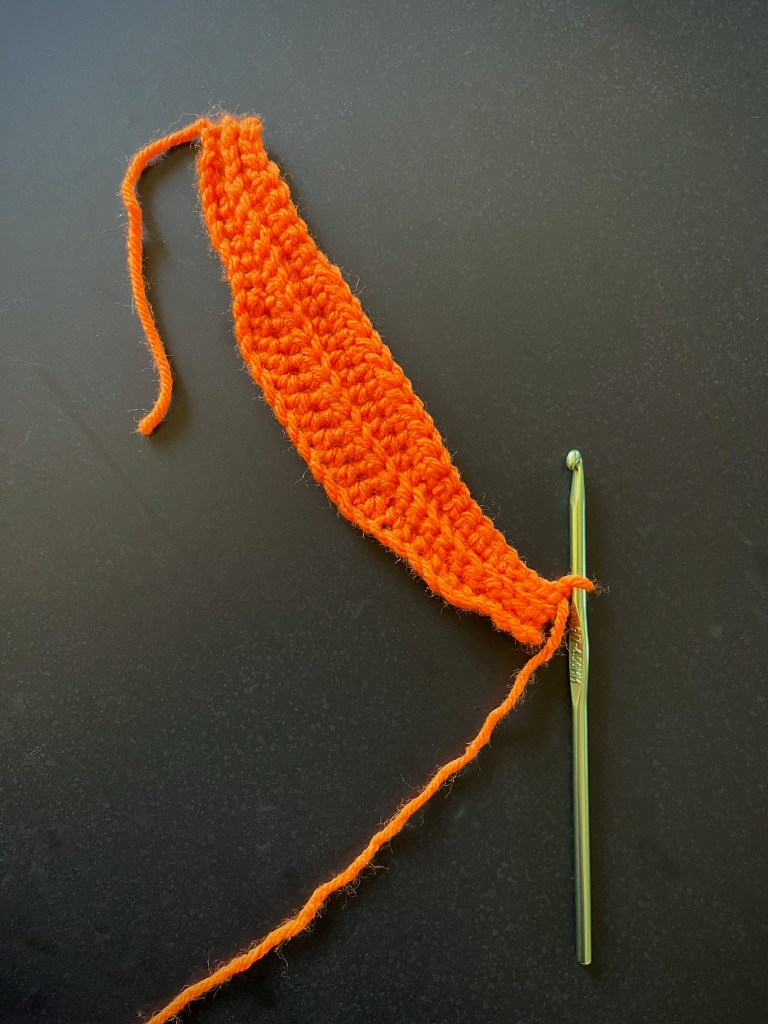
Starting in the 2nd chain from the hook, create 3 slip stitches, 6 single crochets, 12 half double crochets, 6 single crochets and 3 slip stitches. Then chain 1 and turn the project around.
Repeat step 3 until the project measures about 12 inches long across the center.
Join the two short sides of the project together, and insert the hook into the back loop of the working stitches and the starting chain as you stitch the final row.
Sew a running stitch along the bottom edges of the project and pull to gather. Then tie a knot, weave in some of the excess yarn, and cut off the rest.
Turn the pumpkin project over and stuff it with fiberfill until it’s as plump as you want it.
Sew a running stitch along the top of the pumpkin and pull to gather, leaving a hole large enough to insert a cinnamon stick. Then tie a knot, weave in some of the excess yarn and cuts off the rest.
Insert a cinnamon stick into the hole you left for it at the top of the pumpkin. You can hot glue it in place or leave it loose like I did so that I can replace the cinnamon stick if it looses its smell!
Have you ever been undecided on what to play next?
Should you buy that game? Should you install that game?
I’ve been there, and sometimes you just need to take a look at the graphics, hear the music, and learn a little about the plot to see if it resonates with you before taking the next step. I’m here to help! I am creating the first 30 to the first 60 minute videos of games; indie and mainstream, new and old!
This week let’s take a look at the first 30 minutes of Night in the Woods…
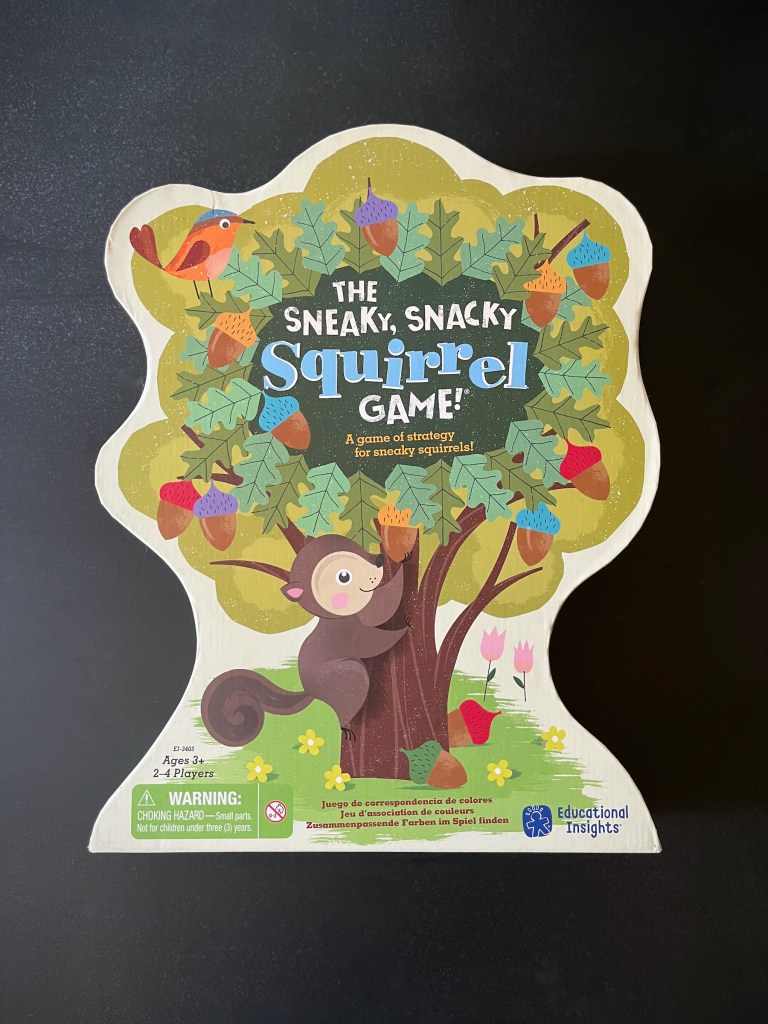
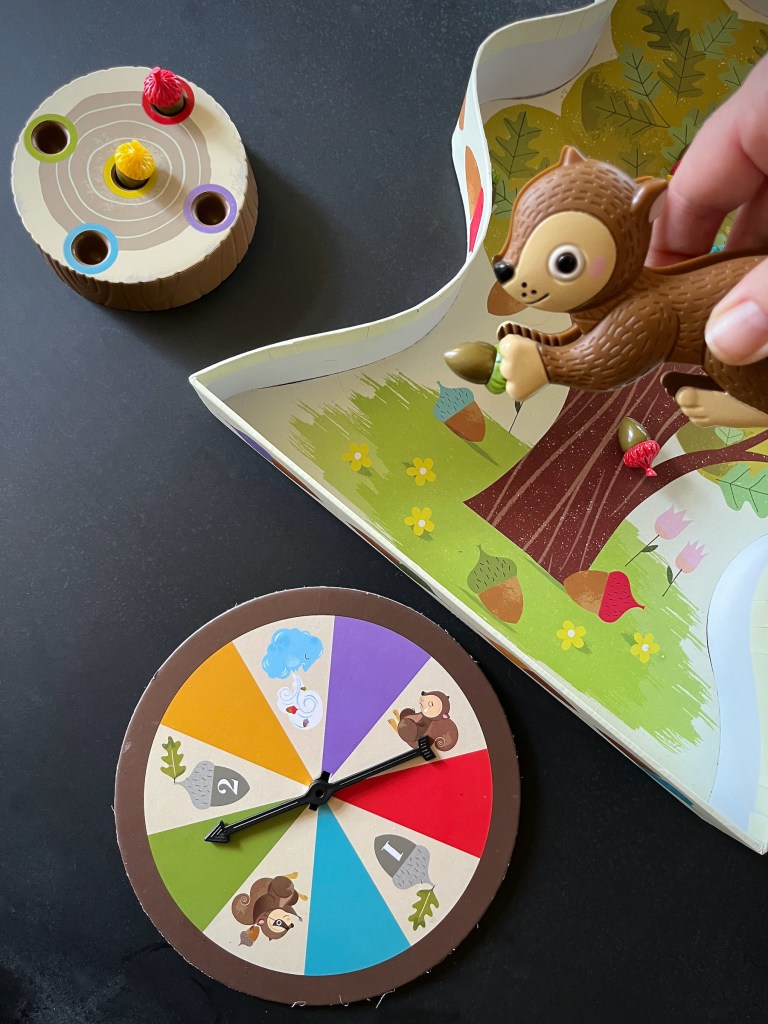
Part of the fun in raising Zoey is finding things that delight and educate her; I want to find fun, creative board games to play with her during our family game nights! This week we played The Sneaky Snacky Squirrel Game by Educational Insights for up to 4 players!
Zoey has loved this game since before she even knew how to play! She would pull everything out and play with the Squirrel and the acorns, honestly it’s surprising that there are no missing pieces! Then we learned how to play the game together, and she loves it even more! She loves picking up the acorns with the squirrel squeezer; we find it super fun and easy collecting and replacing the acorns to the tree stumps and back.
Let’s play!
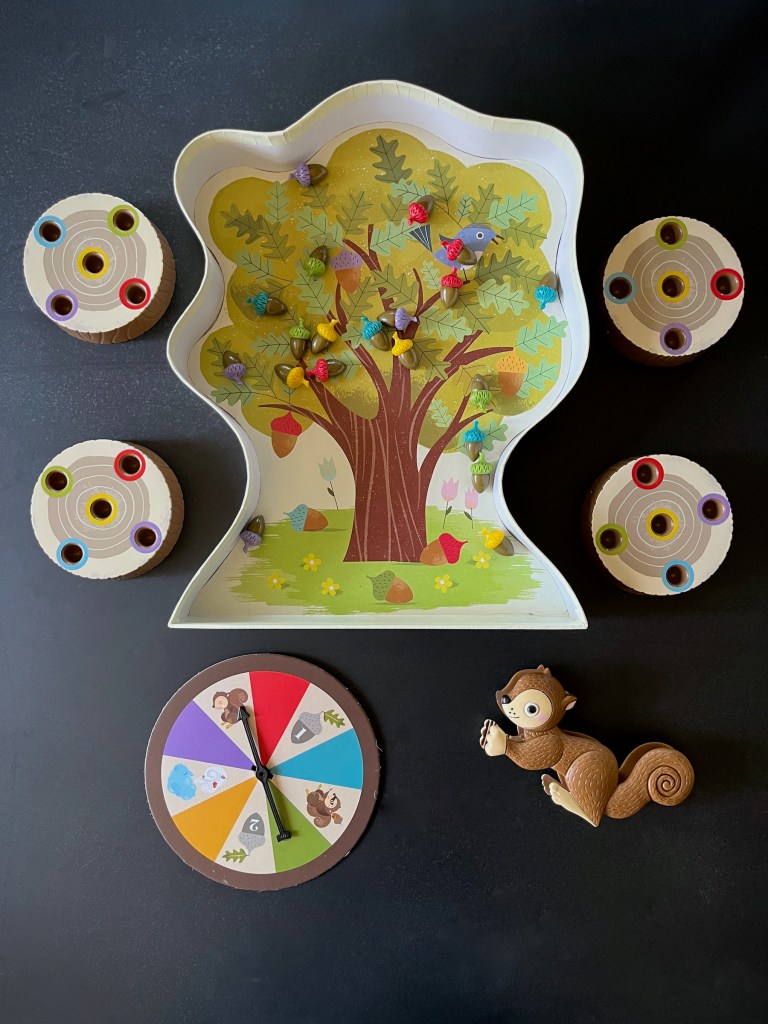
IN THE BOX
A game-board (part of the box)
A squirrel squeezer
A spinner
20 acorns in five colors
4 tree stumps
INSTRUCTIONS
Remove everything from the game box, then scatter the acorns onto the tree on the inside bottom of the box.
Give each player a tree stump.
The youngest player takes the first turn. Play then passes to the left of that player and onward.
On your turn, hold the squirrel squeezer, spin the spinner, then follow the directions below according to your spin. Then it’s the next player’s turn.
Color: If the wheel stops on a color, use the squirrel squeezer to grab a matching acorn and place it in a matching hole in your tree stump. If that hole is already full, skip your turn.
One acorn: Pick any one acorn from the tree and use the squirrel squeezer to pick it up and place it on your tree stump.
Two acorns: Pick any two acorns from the tree and use the squirrel squeezer to pick them up and place them on your tree stump.
The Sneaky Squirrel: Use the squirrel squeezer to steal any colored acorn you need in your tree stump from another player’s tree stump.
Sad Squirrel: Pass the squirrel squeezer to the player on your left and skip your turn.
Squirrel Storm: Oh no! A furious storm blew all of your acorns back into the tree! Put them back and skip your turn.
If you’re the first player to collect all of the acorns to match the ones on your tree stump, you win!
Have you ever been undecided on what to play next?
Should you buy that game? Should you install that game?
I’ve been there, and sometimes you just need to take a look at the graphics, hear the music, and learn a little about the plot to see if it resonates with you before taking the next step. I’m here to help! I am creating the first 30 to the first 60 minute videos of games; indie and mainstream, new and old!
This week let’s take a look at the first 60 minutes of Baldur’s Gate 3. This is the PlayStation 5 version and I chose to play as a wood elf, druid…
This game is rated M for Mature. Viewer discretion is advised.
Part of the fun in raising Zoey is finding things that delight and educate her; I want to find fun, creative board games to play with her during our family game nights! This week we played Sophie’s Seashell Scramble by Educational Insights for up to 4 players!
Zoey has loved this game since before she even knew how to play! She would pull everything out and play with the Sophie and the seashells, honestly it’s surprising that there are no missing pieces! Then we learned how to play the game together, and she loves it even more! She loves picking up the shells with the Sophie pincers; we find it super fun and easy collecting and replacing the seashells to the mats and back.
Let’s play!
IN THE BOX
A game-board (part of the box)
A Sophie pincer
A spinner
20 seashells in five patterns
4 seashell snack mats
INSTRUCTIONS
Remove everything from the game box, then scatter the seashells onto the seascape on the inside bottom of the box.
Give each player a seashell snack mat.
The youngest player takes the first turn. Play then passes to the left of that player and onward.
On your turn, spin the spinner, pick up the Sophie pincers, and follow the directions below according to your spin. Then it’s the next player’s turn!
Pattern: Find a shell that matches the pattern (the color of the shell doesn’t matter) and use Sophie to pick it up and place it on your seashell snack mat.
One Shell: Pick any one shell from the seascape and use Sophie to pick it up and place it on your seashell snack mat.
Two Shells: Pick any two shells from the seascape and use Sophie to pick them up and place them on your seashell snack mat.
Big Wave: A big wave is crashing the shell-collecting party. All players lose a shell back to the seascape.
Hungry Otter: Use Sophie to take any shell from another player and place it on the matching space on your seashell snack mat.
Otto the Octopus: Take any shell from for seashell snack mat and place it on the table next to Otto. Spin the spinner, if you land on Otto or the pattern that matches the shell you chose you can take your shell back and take any other shell from the seascape. If you don’t land on Otto or the pattern that matches your shell, Otto tosses your shell back into the seascape.
If you’re the first player to collect all of the shells to match the ones on your seashell snack mat, you win!
Part of the fun in raising Zoey is finding things that delight and educate her; I want to find fun, creative board games to play with her during our family game nights! This week we played Hi Ho! Cherry-O by Milton Bradley!
Zoey has loved this game since before she even knew how to play! She would pull everything out and sort the fruits by color or put the puzzle together, honestly it’s surprising that there are no missing pieces! Then we learned how to play the game together, and she loves it even more! She loves counting out the fruits; we find it super fun and easy collecting and replacing the fruit to the baskets and back.
Let’s play!
IN THE BOX
A game-board
A spinner
A puzzle
10 “apples”
10 “blueberries”
10 “cherries”
10 “oranges”
4 baskets
INSTRUCTIONS (CLASSIC)
Place each basket in the game-board hole to the left of its matching color tree/bush.
Each player chooses a tree/bush and places the matching colored fruit in each of the game-board holes.
The puzzle is only for co-operative games so place it back in the box.
The player whose birthday comes next takes the first turn. Play then passes to the left of that player and onward.
On your turn, spin the spinner, then follow the directions below according to your spin. Then it’s the next player’s turn.
One Fruit: Pick one fruit from your tree/bush and put it in your basket.
Two Fruits: Pick two fruits from your tree/bush and put them in your basket.
Three Fruits: Pick three fruits from your tree/bush and put them in your basket.
Four Fruits: Pick four fruits from your tree/bush and put them in your basket.
Bird or Dog: Someone’s nibbling at your fruit! Take two fruits out of your basket and place them back on your tree/bush (if you only have one fruit, put that one back. If you have none, do nothing).
Spilled Basket: Uh-Oh! Take all of the fruits out of your basket, and place them back on your tree/bush.
If you’re the first player to have all 10 fruits in your basket say “HI HO! CHERRY-O!” You win!
INSTRUCTIONS (CO-OPERATIVE)
Place each basket in the game-board hole to the left of its matching color tree/bush.
Each player chooses a tree/bush and places the matching colored fruit in each of the game-board holes.
Break up the puzzle and place the pieces facedown near the game-board.
The player whose birthday comes next takes the first turn. Play then passes to the left of that player and onward.
On your turn, spin the spinner, then follow the directions below according to your spin. Then it’s the next player’s turn.
One Fruit: Pick one fruit from your tree/bush and put it in your basket.
Two Fruits: Pick two fruits from your tree/bush and put them in your basket.
Three Fruits: Pick three fruits from your tree/bush and put them in your basket.
Four Fruits: Pick four fruits from your tree/bush and put them in your basket.
Dog: Remove one fruit from your basket and place it back on the matching tree/bush (if you have none, do nothing).
Spilled Basket: Remove two fruits from your basket, and place them back on your tree/bush (if you only have one fruit, put that one back. If you have none, do nothing).
Bird: Turn one piece of the bird puzzle face up. Every time you turn over a puzzle piece, try to fit it into the bird puzzle. If you can’t do this leave it face up until it fits.
The players win if they pick all the fruits and say “HI HO! CHERRY-O!”, before the puzzle is completed. The bird wins if the puzzle gets completed before all the fruit is picked.
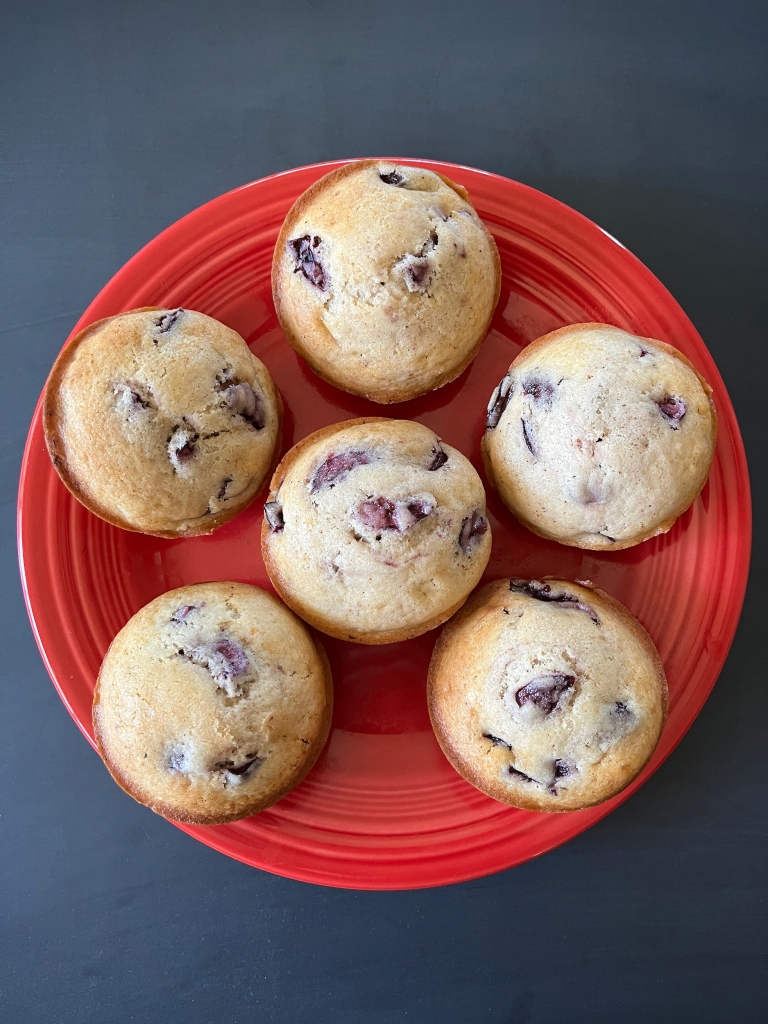
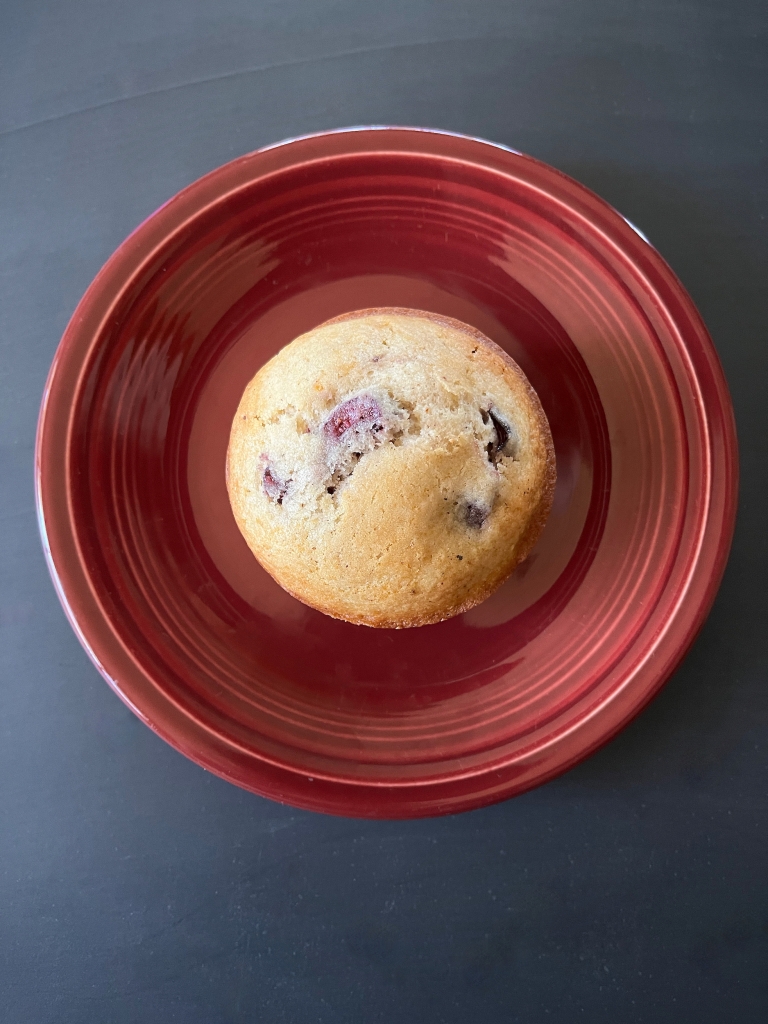
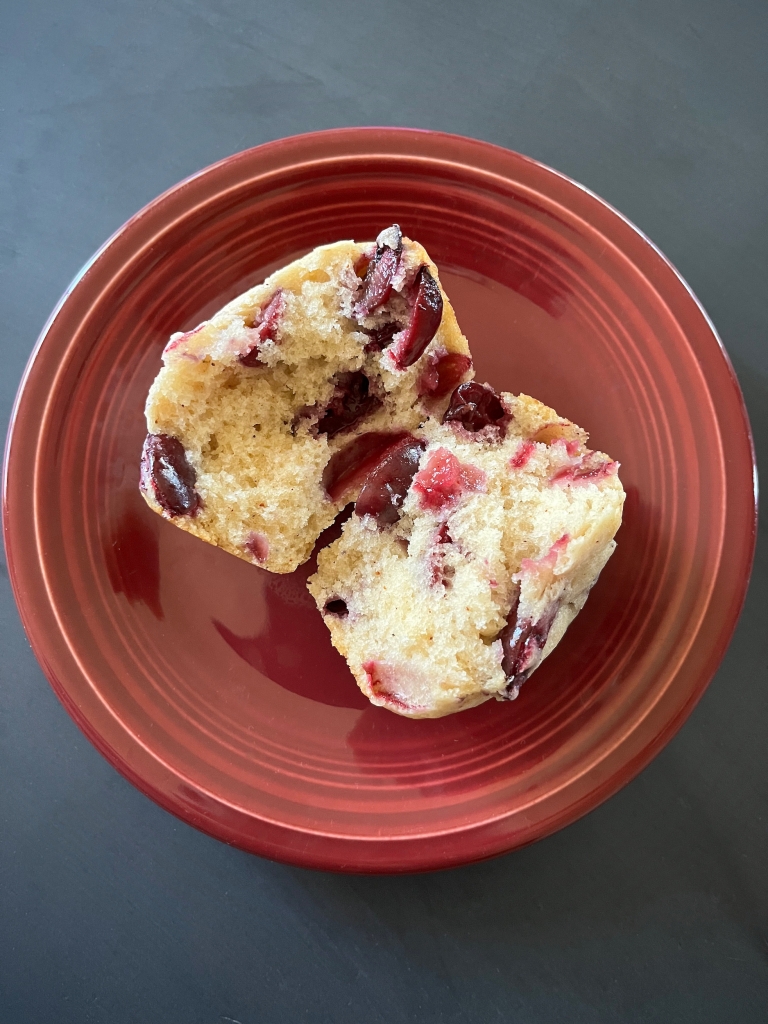
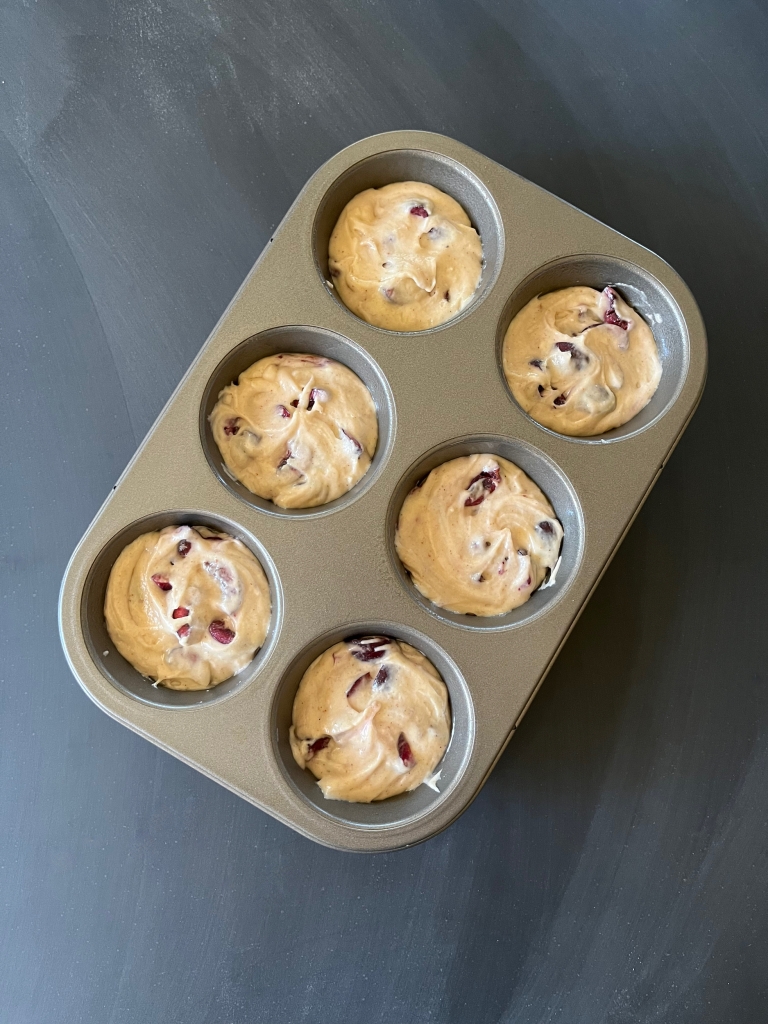
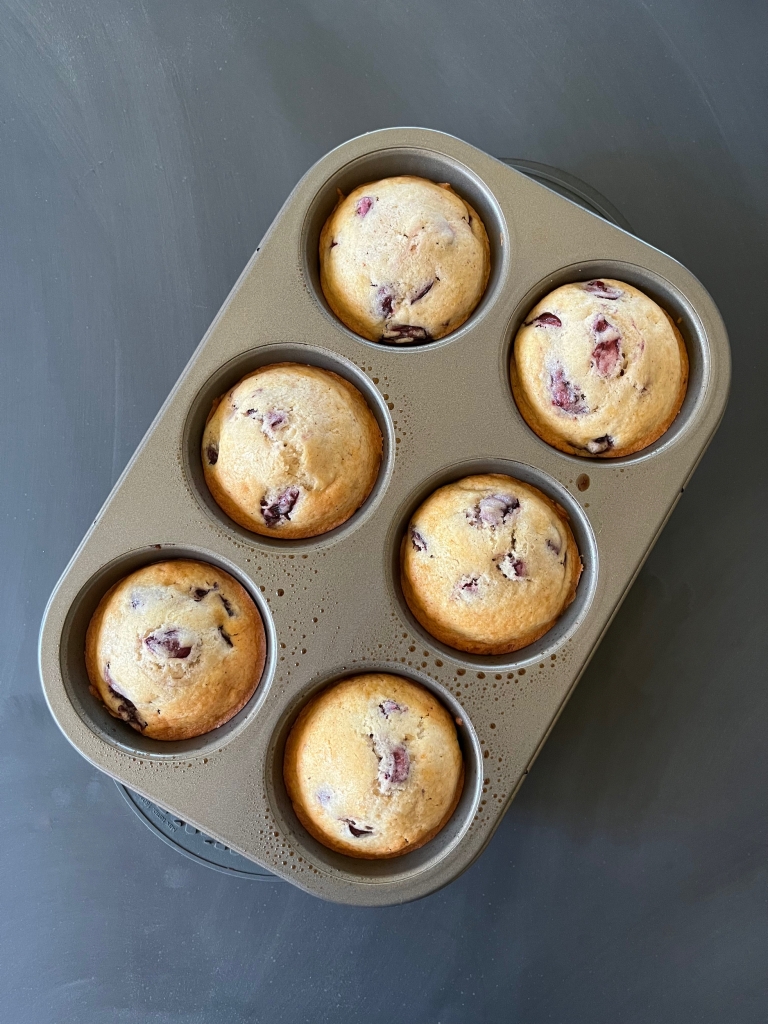
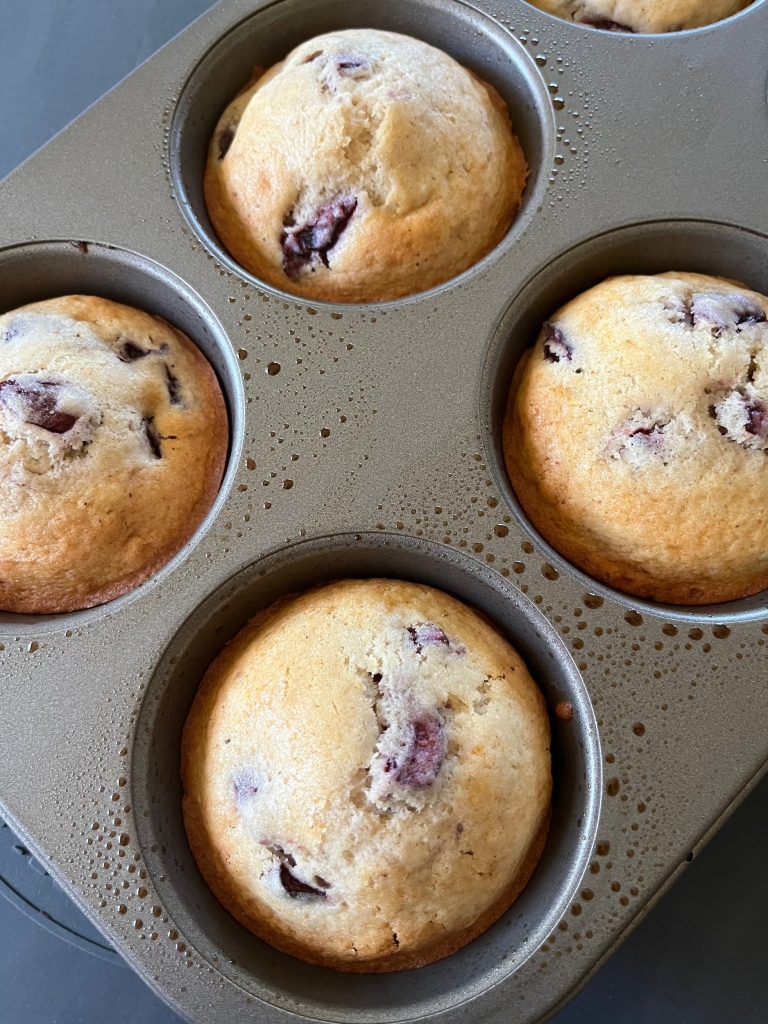
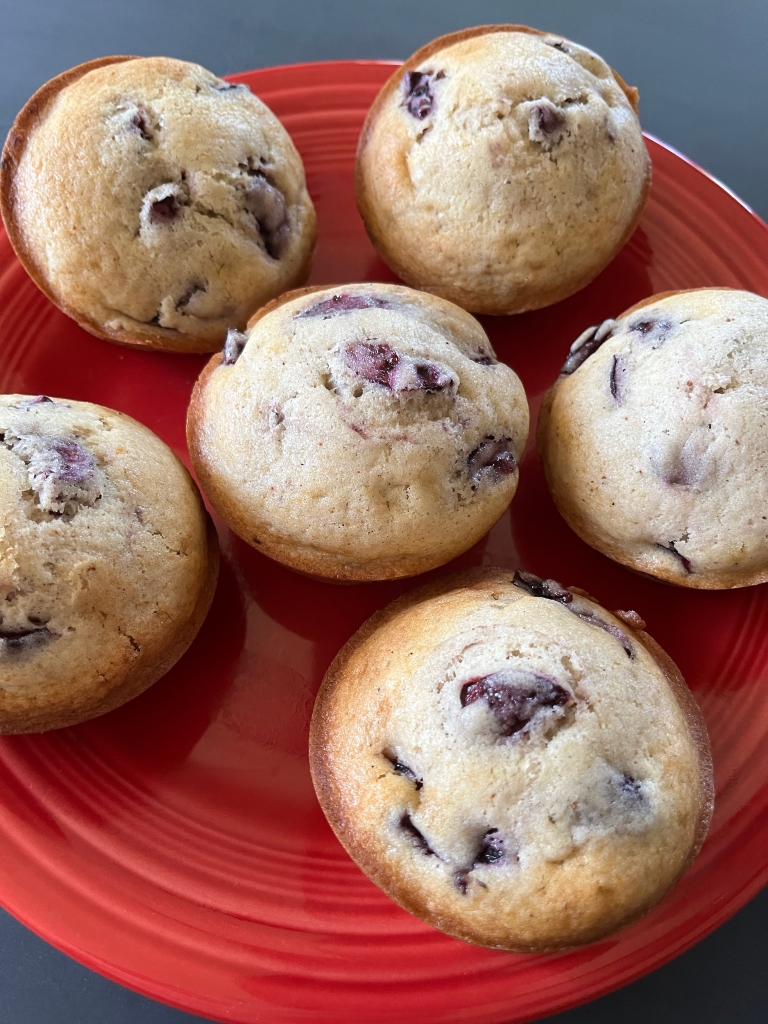
Welcome back friends! Summertime is still a good time for baked treats, especially muffins made with fresh cherries! I baked these cherry nutmeg muffins for my family, and they are perfect for breakfast or brunch! Let me show you how to make them!
INGREDIENTS
1/2 cup butter, softened
1 cup of sugar
1 cup of milk
1 teaspoon of almond extract
2 teaspoons of baking powder
2 cups of flour
1 1/2 teaspoons of nutmeg
2 cups of cherries, pitted and quartered
INSTRUCTIONS
Pre-heat the oven to 375 F and spray a jumbo muffin tin with non-stick cooking spray.
In a large bowl, cream together the softened butter and sugar.
Add the milk and almond extract to the butter/sugar combination and whisk until well incorporated, then set it aside.
In a separate bowl, whisk together the baking powder, flour and nutmeg.
Slowly add the dry ingredients in to the wet ingredients and mix until they are a well combined batter. Set the batter aside.
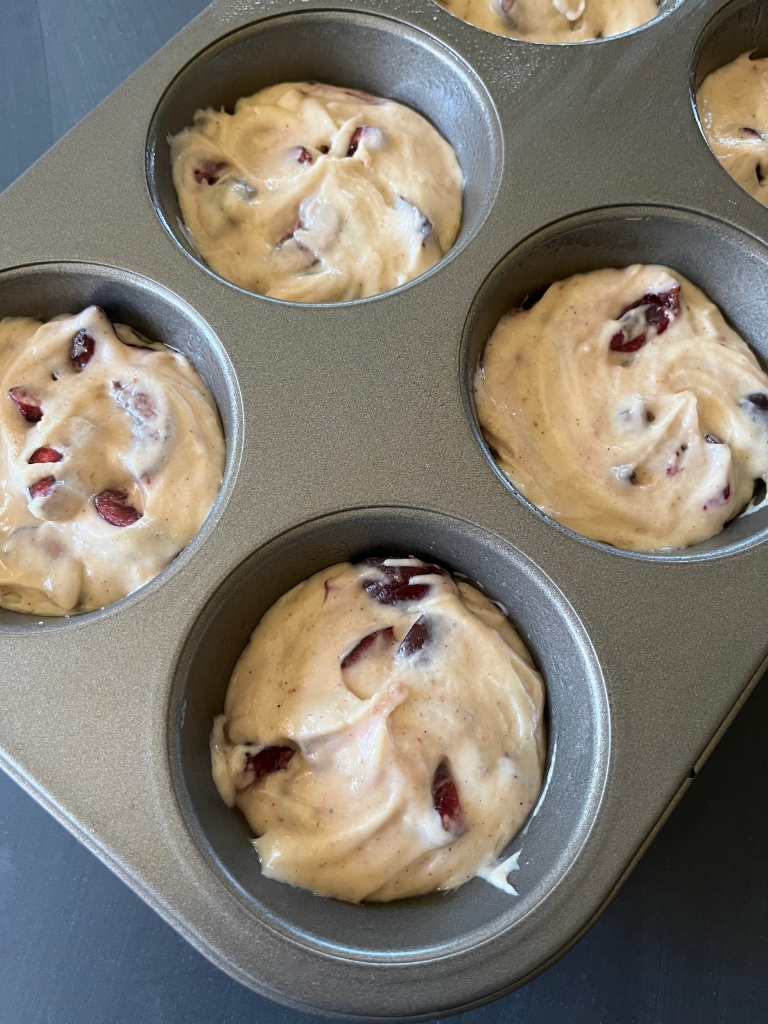
After pitting and quartering the cherries, pat them dry with a paper towel and then dust them with flour (so they won’t sink to the bottom of your muffins) and gently fold them into the batter.
Scoop the batter into the prepared jumbo muffin tin, filling each mould 3/4 of the way full.
Bake in the oven for 20 to 25 minutes or until a toothpick inserted in the center of each comes out clean!