Have you ever been undecided on what to play next?
Should you buy that game? Should you install that game?
I’ve been there, and sometimes you just need to take a look at the graphics, hear the music, and learn a little about the plot to see if it resonates with you before taking the next step. I’m here to help! I am creating the first 30 to the first 60 minute videos of games; indie and mainstream, new and old!
This week let’s take a look at the first 30 minutes of Crash Bandicoot 4: It’s About Time…
Welcome back friends! We bought a new refrigerator some time ago and I’ve been thinking it would be nice to decorate it with some Super Mario Bros. magnets! Also, March 10th is Mario Day!
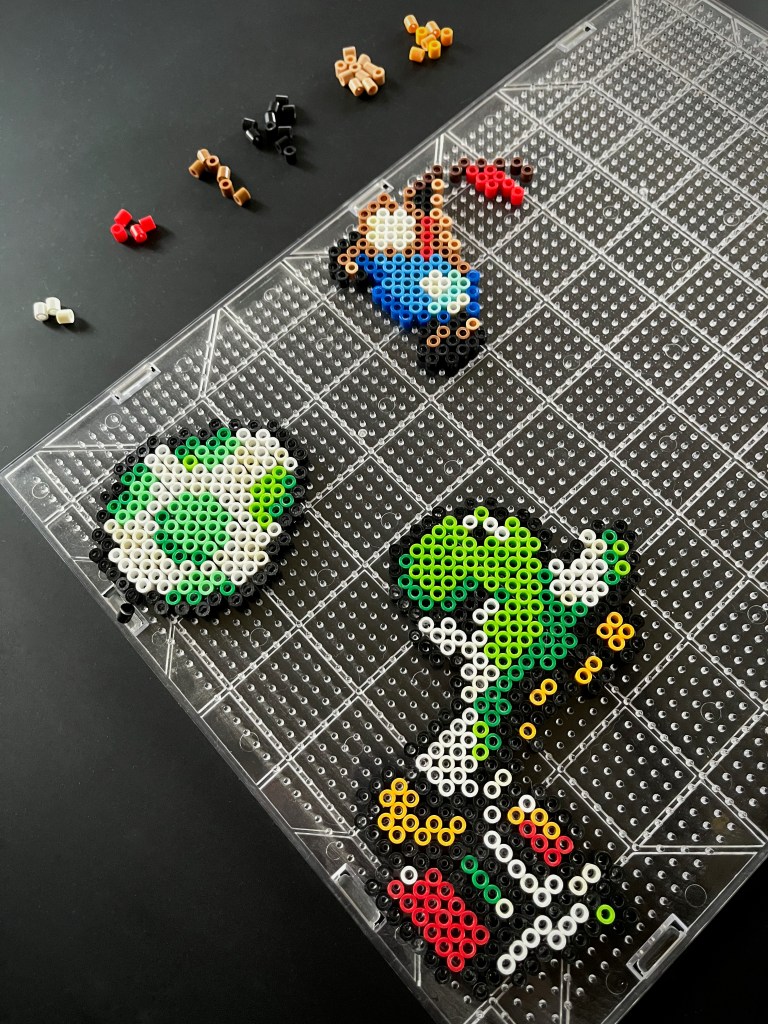
Working with a limited amount of black and white perler beads, I chose a handful of characters / objects from Super Mario World to begin with, and more to come! I created (and the pictures of the patterns are included below) for small Mario, small Luigi, a coin, Yoshi’s egg and Yoshi.
The magnets turned out great! I left them a little less melted on outward facing side because I like the look, but you are always welcome to melt them more! Be careful with the iron, but don’t be afraid to make some mistakes! Mistakes happen for everyone, you may see two pieces of my Mario’s mustache that were over-melted from an unevenly heated iron, but if it’s not worth scrapping the whole piece, embrace it!
Let’s get started!
SUPPLIES
Fuse beads
Fuse bead pegboard
Parchment paper
Point tweezers (optional)
Painter’s tape
Seam ripper
Iron
Iron-safe surface
Peel and stick magnet discs
INSTRUCTIONS
If your beads did not come pre-sorted by color, sort them into the colors you need per character and/or object.
On your pegboard, begin laying out the appropriate colored beads for the character(s) and/or object(s) you’ve chosen. I recommend working on one character/object at a time, then moving on to the next.
If you are having a hard time placing beads into specific places, use pointed tweezers to pick up each bead and then insert it.
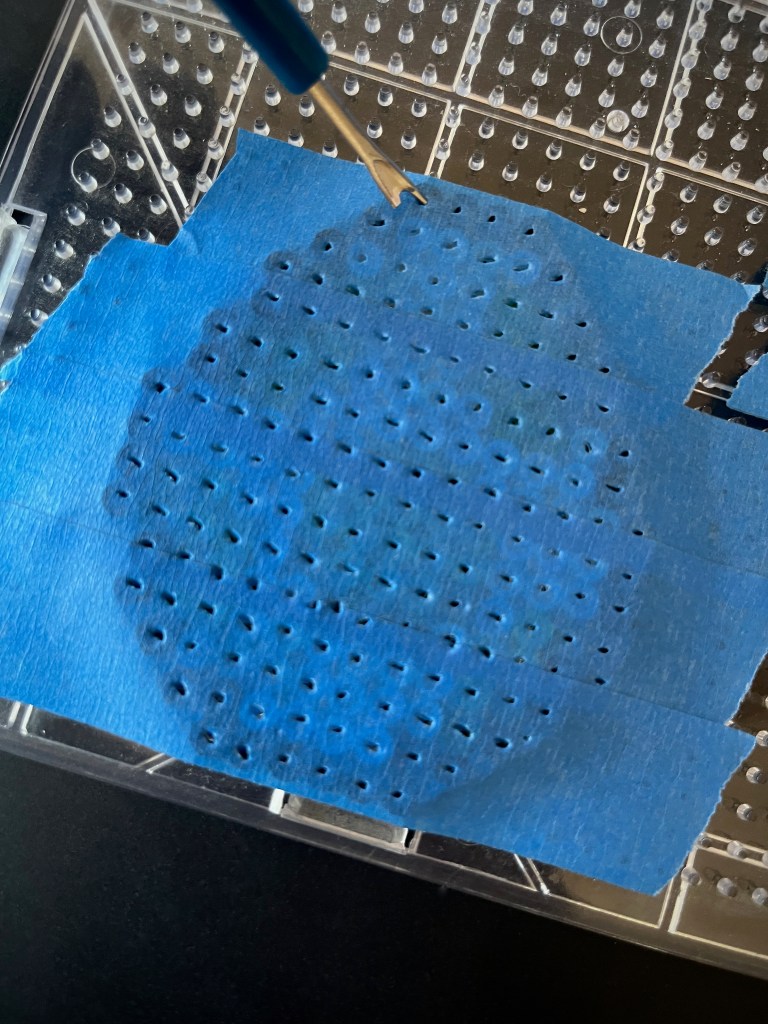
Once each character has been completed, take strips of painter’s tape and cover that character, slightly layering each piece of tape so it’s one connected piece.
Take a seam ripper (or other sharp pointed tool) and poke a small hole into the center of each fuse bead in the pattern. This allows built up heat to escape the tape when ironing.
Carefully remove the taped pattern from the peg board and place it tape-side down on an iron-safe surface. Then place parchment, wax, or ironing paper over it.
Heat a dry iron to a medium heat and as smoothly and evenly as you can, begin to iron the project in a circular motion. Do not press down. Beads take about 10 to 20 seconds per side to fuse evenly and some colors may fuse more quickly than others.
When the beads begin to fuse together you’ll see their colors more clearly through the paper and the center holes will shrink to a pinhole size. Lift the paper occasionally to see how the beads are fusing.
Let the design cool, placing a flat and heavy object over it to keep it from curling.
Remove the weight and paper and flip the project over. Peel off the tape and place the paper back on this side of the project.
Repeat step 7 through 9 on this side of the project. I chose to only lightly fuse the beads on this side because I prefer the look, but you are welcome to melt them more!
Remove the weight and paper and flip the project over.
Peel the back-liner off a magnet and attach it to the back of your project. For the smaller objects like the coin and egg, I used one magnet. For Mario and Luigi I used two, spread evenly. And for Yoshi, I used three magnets, spread evenly!
Stick to you refrigerator or other magnetic surface and enjoy!
Have you ever been undecided on what to play next?
Should you buy that game? Should you install that game?
I’ve been there, and sometimes you just need to take a look at the graphics, hear the music, and learn a little about the plot to see if it resonates with you before taking the next step. I’m here to help! I am creating the first 30 to the first 60 minute videos of games; indie and mainstream, new and old!
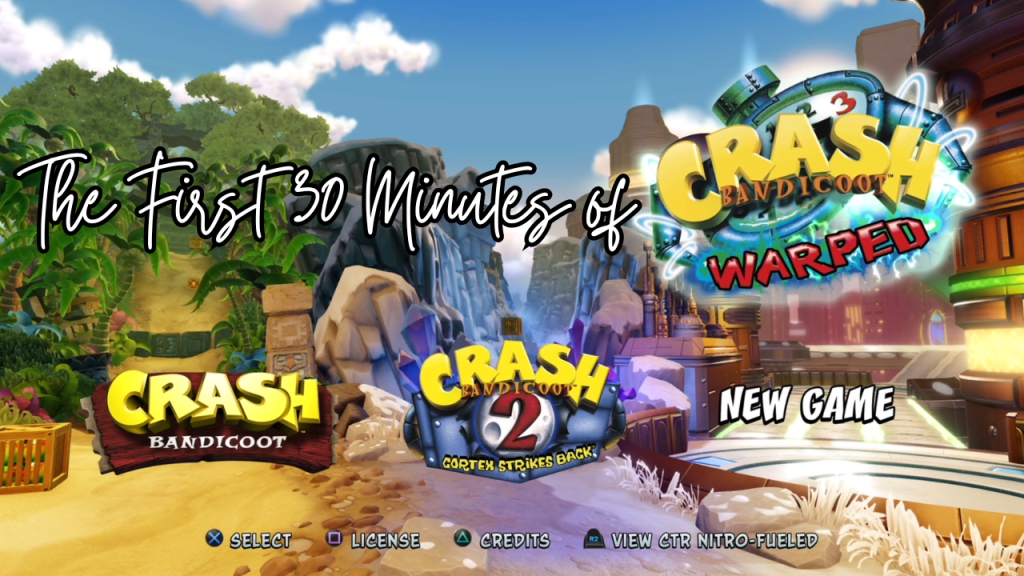
This week let’s take a look at the first 30 minutes of Crash Bandicoot: Warped…
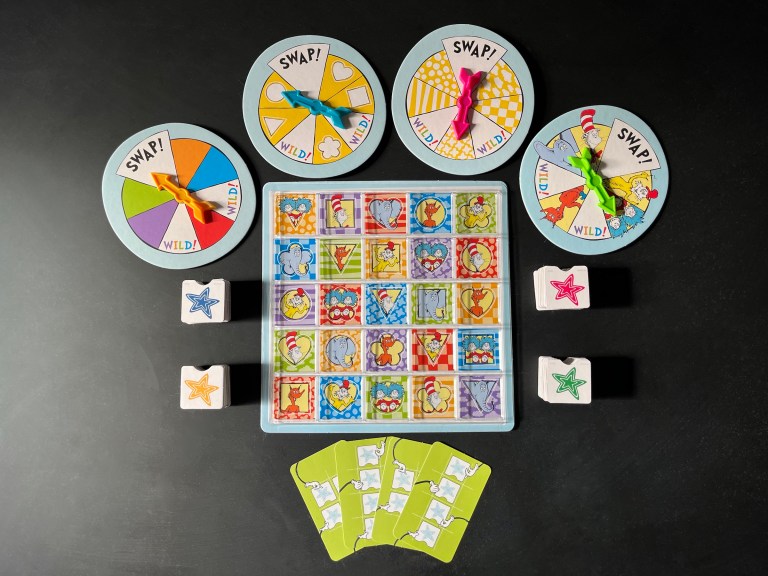
Part of the fun in raising Zoey is finding things that delight and educate her; I want to find fun, creative board games to play with her during our family game nights! This week we played the Dr. Seuss Pattern Party Game for 2 to 4 players!
This game was a Christmas gift to Zoey from her great aunt and uncle, and we love it! Zoey has enjoyed most of the Dr. Seuss books we have read to her and the opportunity to play a game with all the characters she recognizes is an opportunity we can’t pass up! Especially when Dr. Seuss’s birthday is coming up on March 2nd!
Let’s play!
IN THE BOX
4 game spinners
A game board
Goal cards
Tiles
INSTRUCTIONS
Place the board in the center of the play area.
Each player chooses a color (blue, green, red, yellow) and then takes all the tiles of that color.
Starting with the youngest player, each player chooses a spinner and a goal card (if you are playing with fewer than four players, place the remaining spinners next the game board in front of pretend players, then leave the remaining tiles and goal cars in the box).
Each player places their goal card in front of them. Each goal card has a basic green side and an advanced pink side. When you set up the game, choose which side to use (you may want to choose a different side for each player, such as younger players using green sides and older players using pink sides).
On your turn, spin your spinner.
If you spin a picture (character, color, shape or pattern) play one of your tiles on a matching space on the game board. If there are no matching spaces, you may play on an empty space. You cannot play on a space that already has a tile.
If you spin WILD!, play one of your tiles on any space on the game board. You can even play on another tile if your tile will fit – only four tiles may stack in each space.
If you spin SWAP!, everyone passes their spinner to the left. If you’re playing with fewer than four players, don’t forget to pass the pretend players’ spinners. Then spin again!
You can match squares on your goal card anywhere on the game board, even if they’re facing a different direction.
The first player with four of their tiles showing on the game board that match their goal card is the winner!
Have you ever been undecided on what to play next?
Should you buy that game? Should you install that game?
I’ve been there, and sometimes you just need to take a look at the graphics, hear the music, and learn a little about the plot to see if it resonates with you before taking the next step. I’m here to help! I am creating the first 30 to the first 60 minute videos of games; indie and mainstream, new and old!
This week let’s take a look at the first 30 minutes of Crash Bandicoot 2: Cortex Strikes Back…
Have you ever been undecided on what to play next?
Should you buy that game? Should you install that game?
I’ve been there, and sometimes you just need to take a look at the graphics, hear the music, and learn a little about the plot to see if it resonates with you before taking the next step. I’m here to help! I am creating the first 30 to the first 60 minute videos of games; indie and mainstream, new and old!
This week let’s take a look at the first 60 minutes of Banishers: Ghosts of New Eden…
Weekly family game nights, now doesn’t that sound wonderful? Imagine it, gathering around a table and playing tabletop games, familiar or new. Or getting into pajamas and snuggling up on the couch or pillow-strewn floor, playing video games. There are many ways to create happy memories, and this is one of them!
We’ve already had seven family game nights this year and they were fun and relaxed. We played a mixture of board or tabletop games and video games. Our only personal rule (more-so for my husband and I) is no cell phone usage.
I’ve created a list of some fun starter tabletop games for children ages 4 and up to inspire your family game nights!
Have you ever been undecided on what to play next?
Should you buy that game? Should you install that game?
I’ve been there, and sometimes you just need to take a look at the graphics, hear the music, and learn a little about the plot to see if it resonates with you before taking the next step. I’m here to help! I am creating the first 30 to the first 60 minute videos of games; indie and mainstream, new and old!
This week let’s take a look at the first 30 minutes of Crash Bandicoot…
Welcome back friends! Do you crochet? I dabbled in crochet off and on for a few years, always fascinated, but never fully catching on. I kept at it, and suddenly, it clicked! I feel calm and cozy when I’m crocheting, and fiercely proud whenever I complete a project.
It’s that time of year for keeping warm! And, in the spirit of playing the Pete the Cat and the Missing Cupcakes game, I thought I’d make a blue crochet cat ear hat!
This hat is whimsical and cozy! The pattern is easy, and ideal for any level of crocheter (beginners included)! Any size 4 yarn can be used in this pattern, but for the Pete the Cat blue of my example piece, I used Red Heart yarn in the “soft navy” color. The size of the hat can also be adjusted for smaller heads by reducing the amount of rows to match half the circumference of the intended person’s head.
Let’s get started!
SUPPLIES
Crochet hook (size 5.50 mm)
Red Heart yarn (color: soft navy)
Scissors
Yarn needle or small crochet hook
INSTRUCTIONS
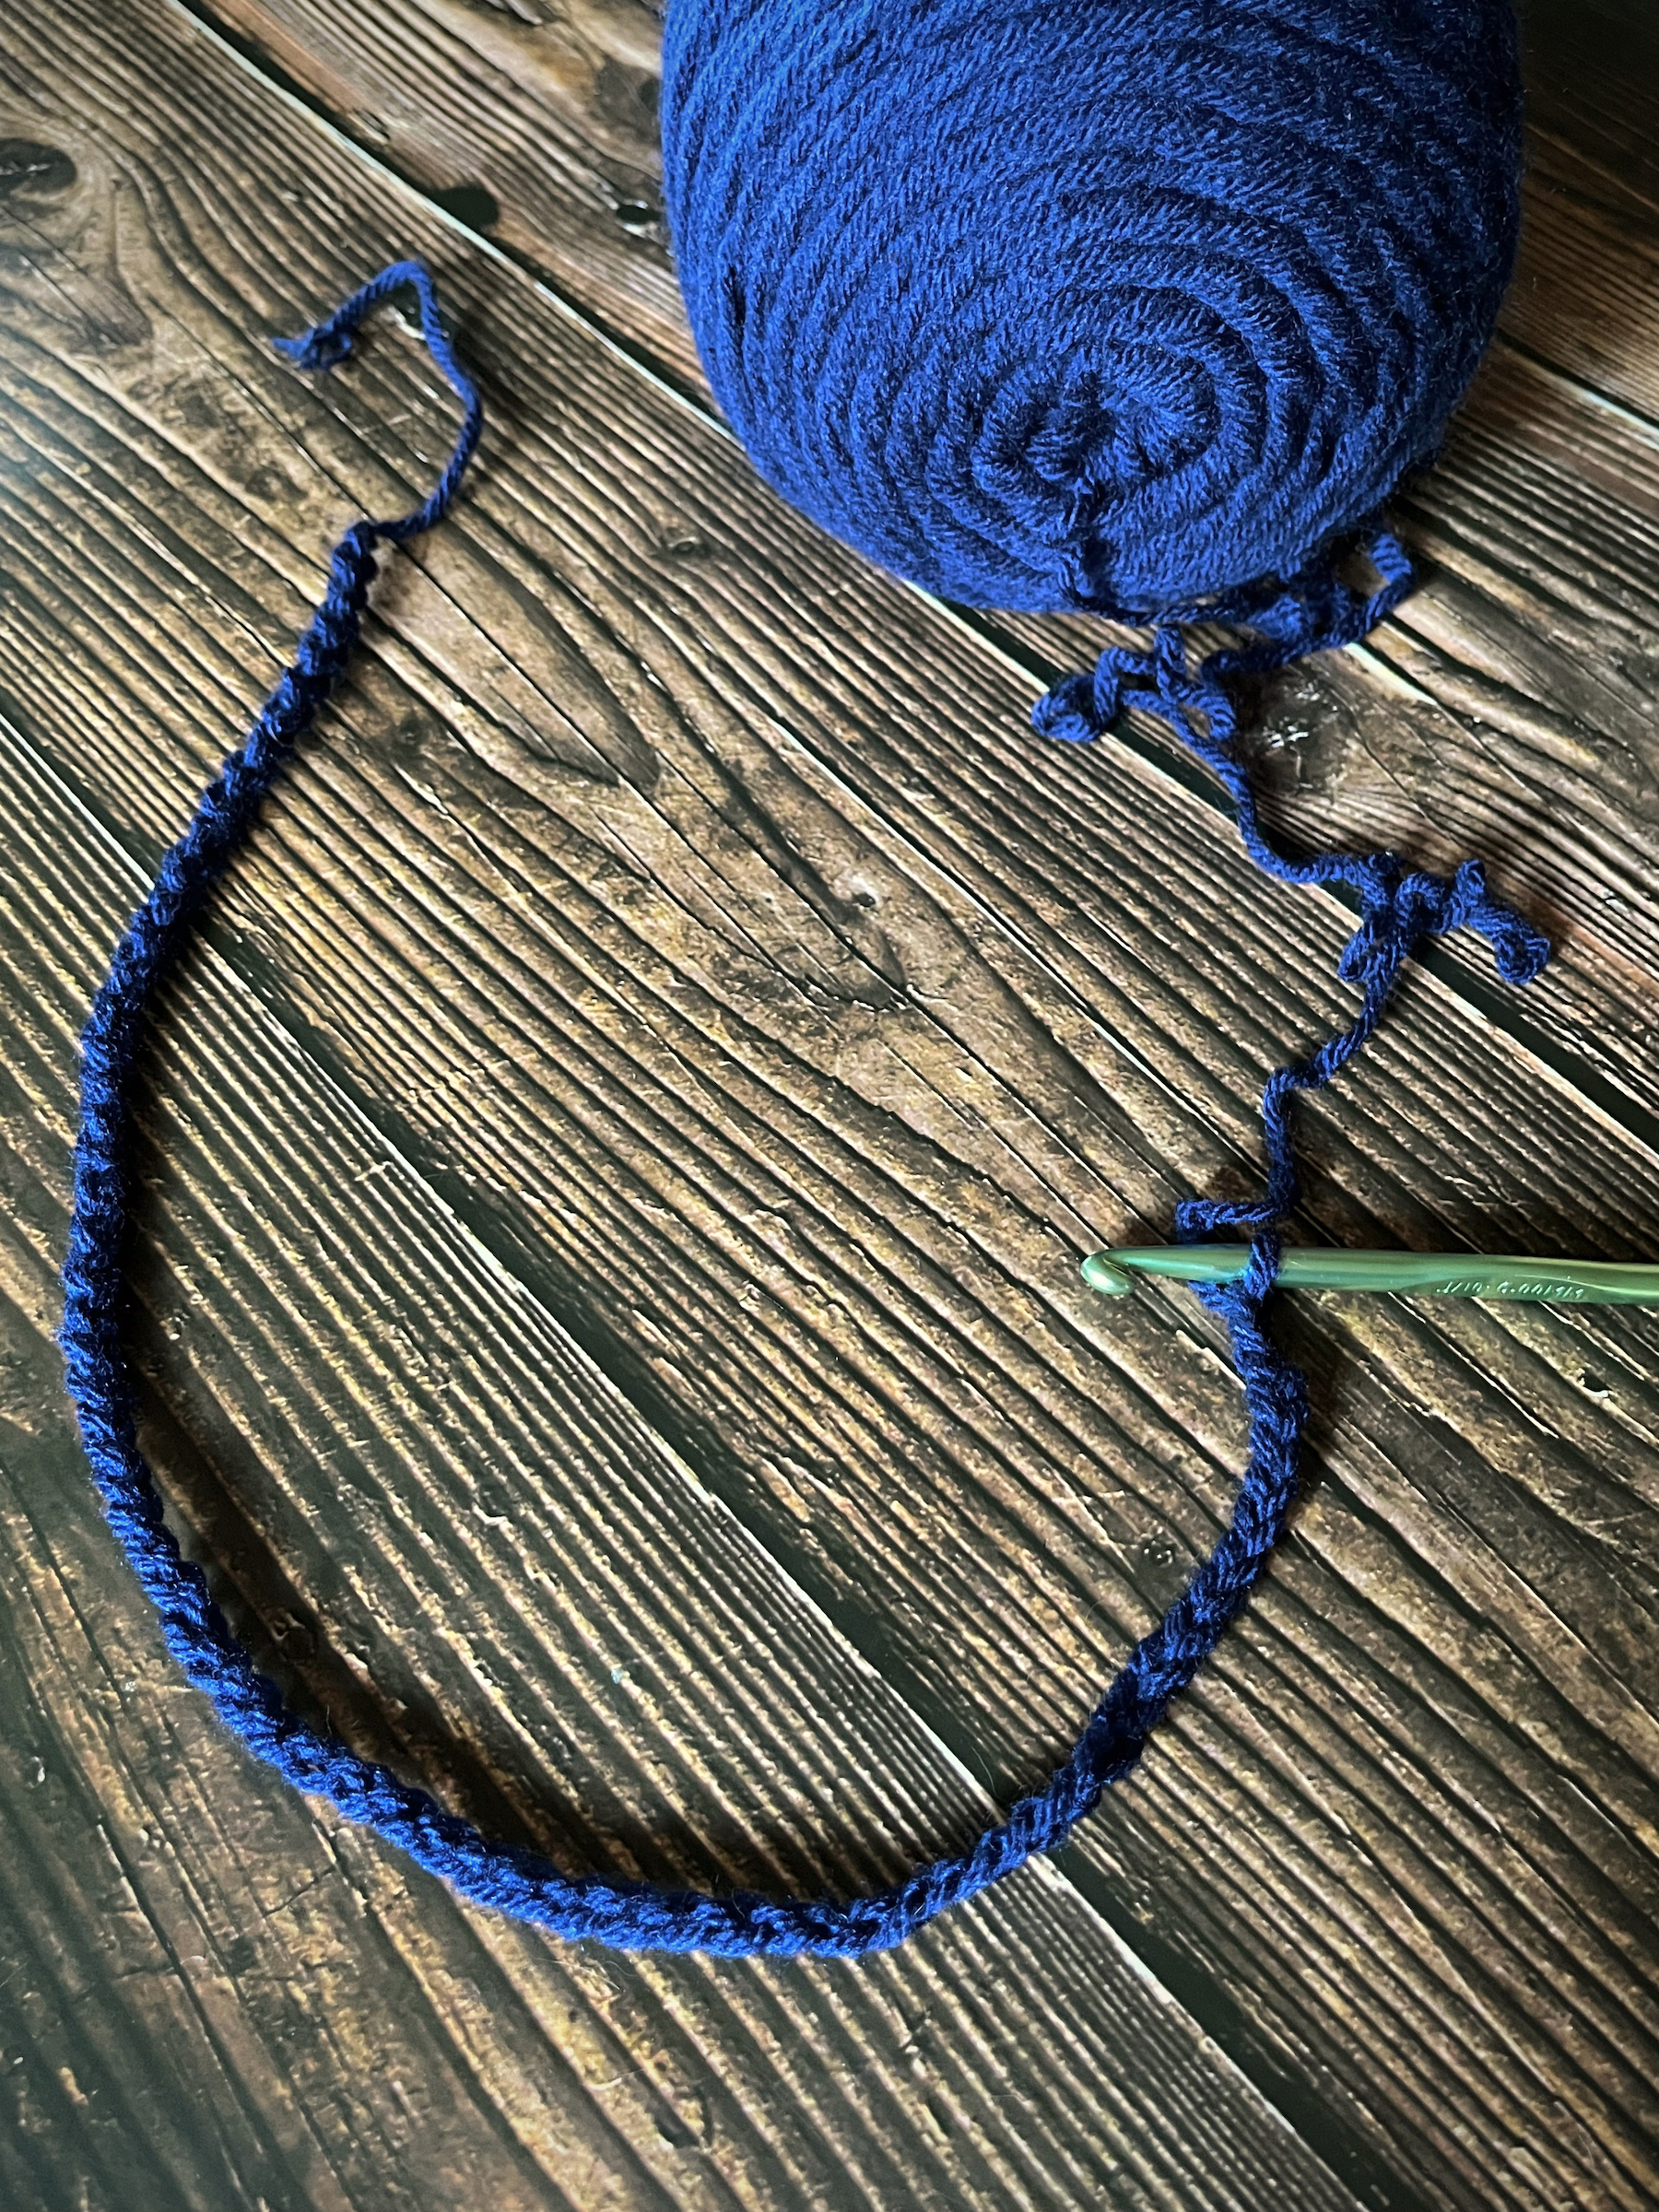
Create a slip knot and then at least 60 chain stitches (you can chain a few more if you want to make the brim wider). I wanted a wider brim/slouchier hat so I chained 70.
Turn your chain around and half double crochet (hdc) into the third stitch from the hook, then continue to hdc all the way across your chain.
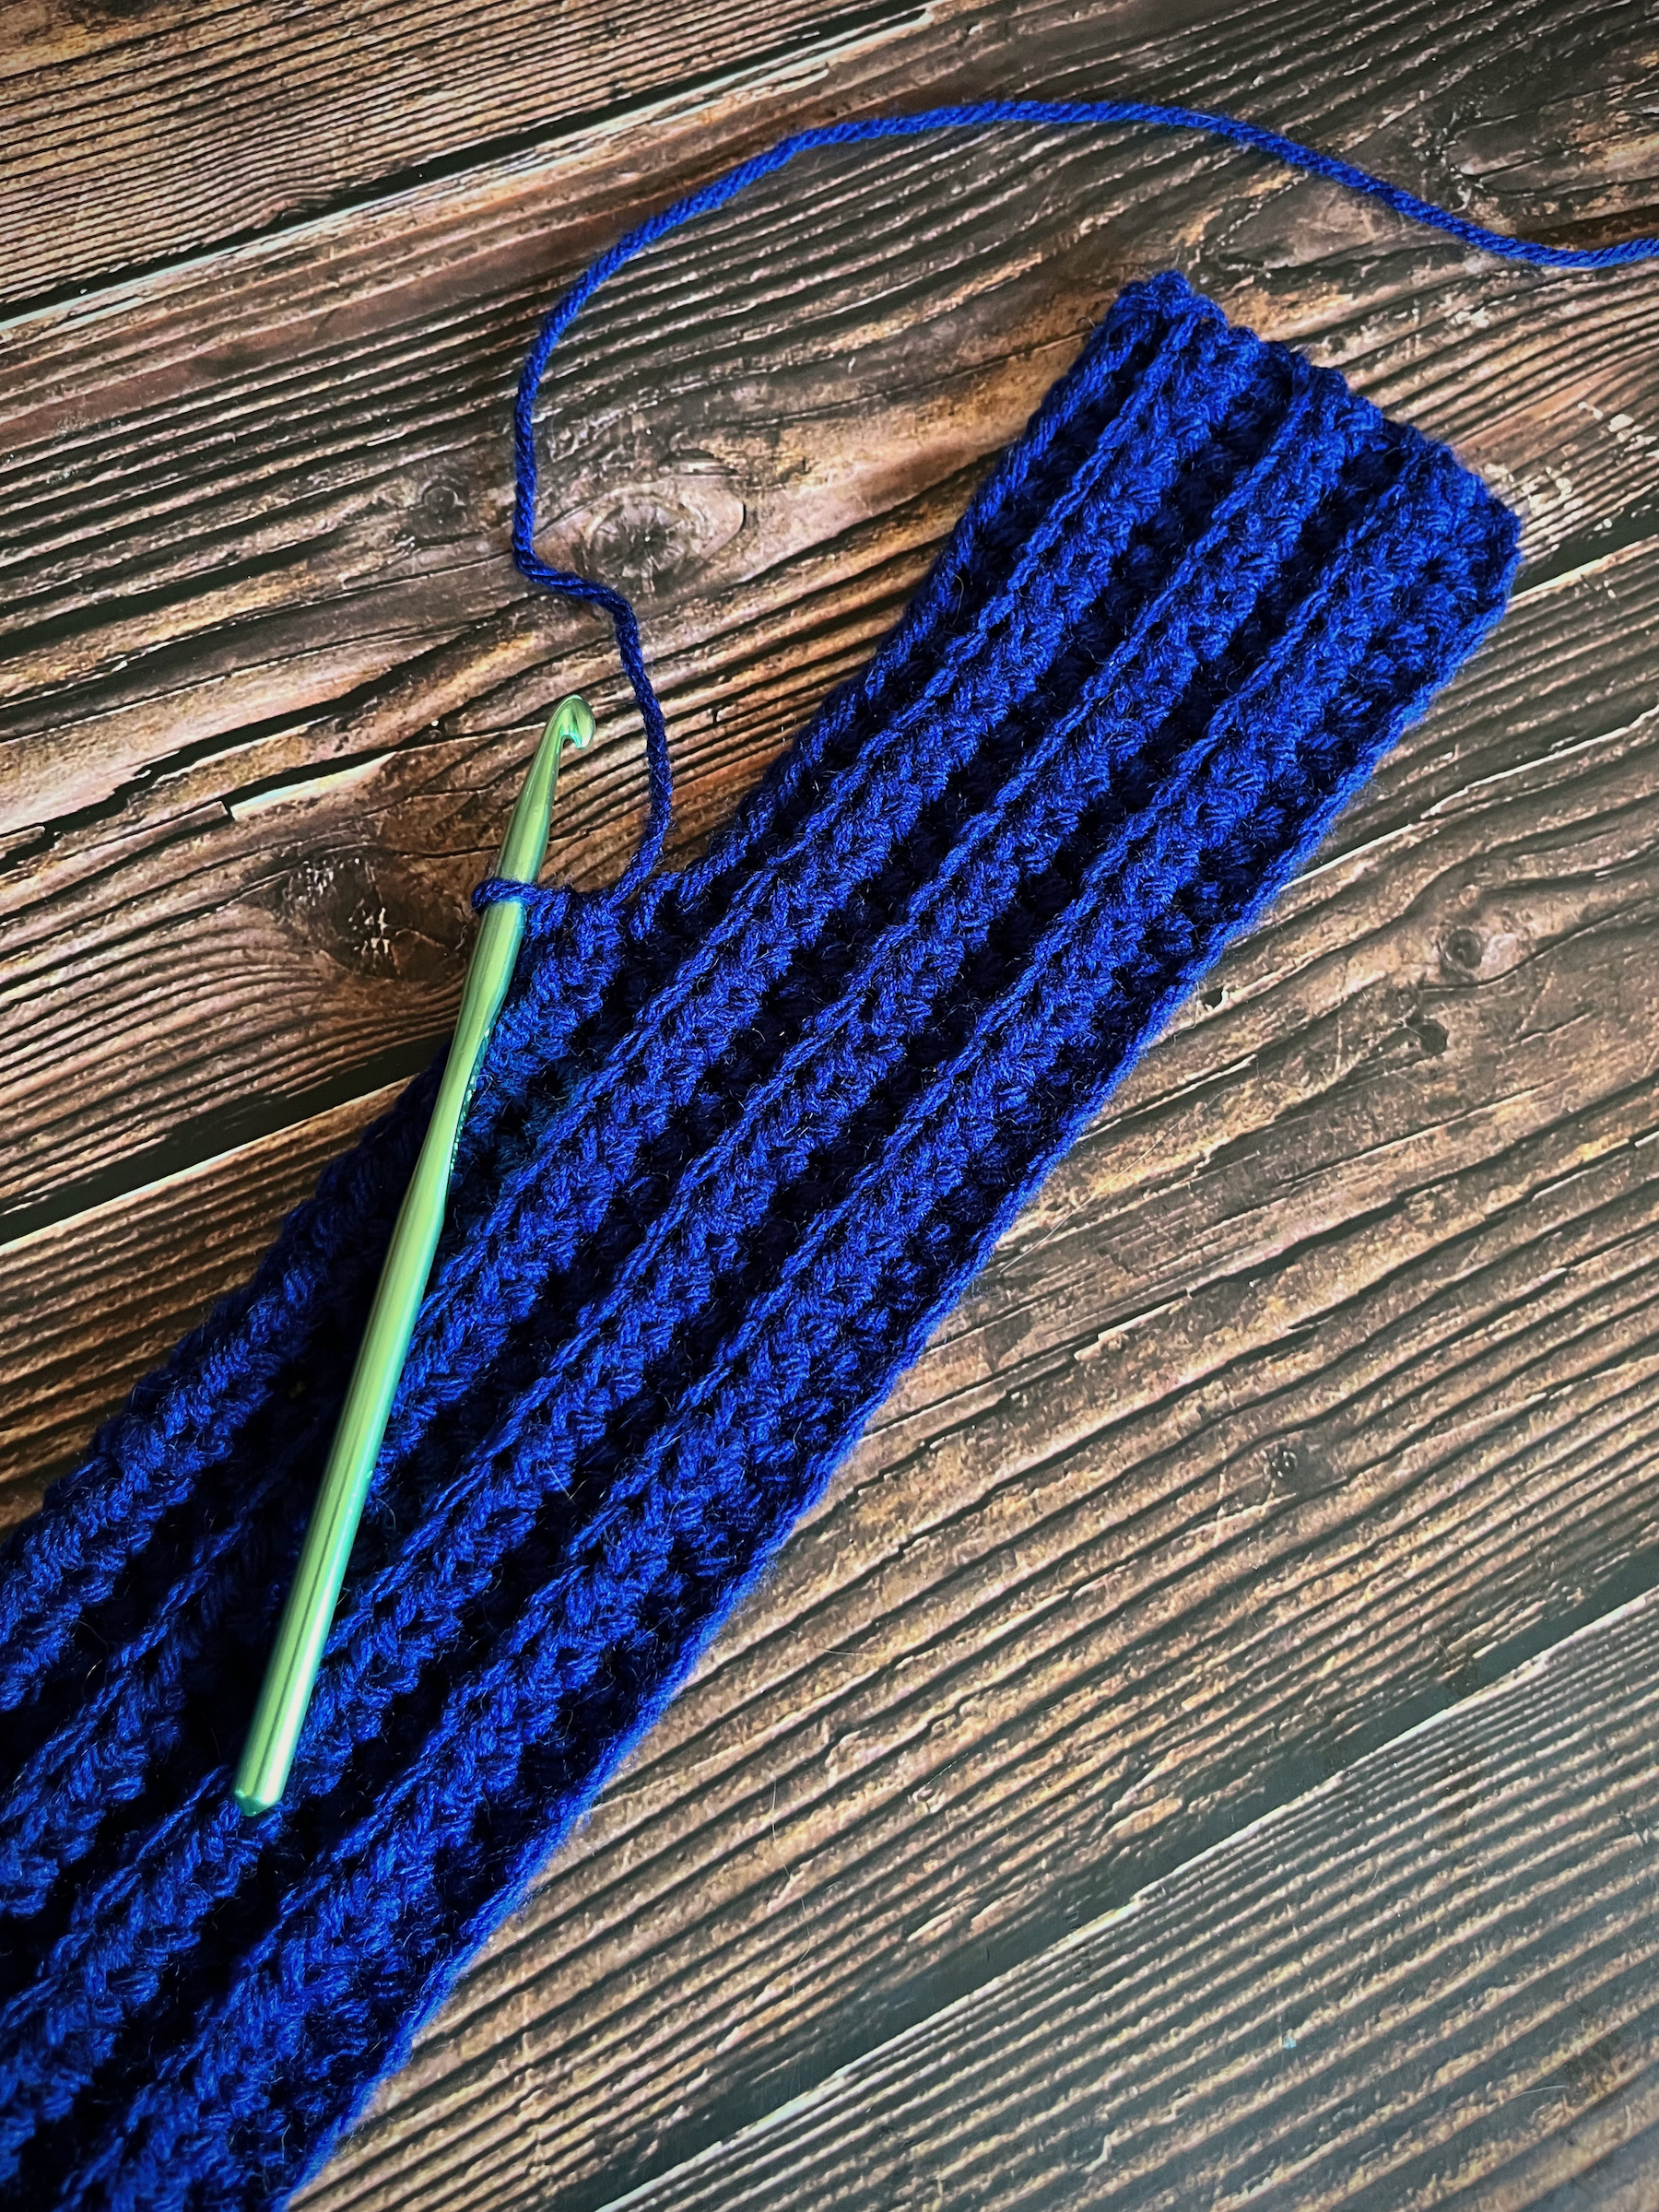
Chain 2 and turn your work. Hdc into the back loop of the third stitch from the hook, then continue to hdc in the back loops of each stitch all the way across your project.
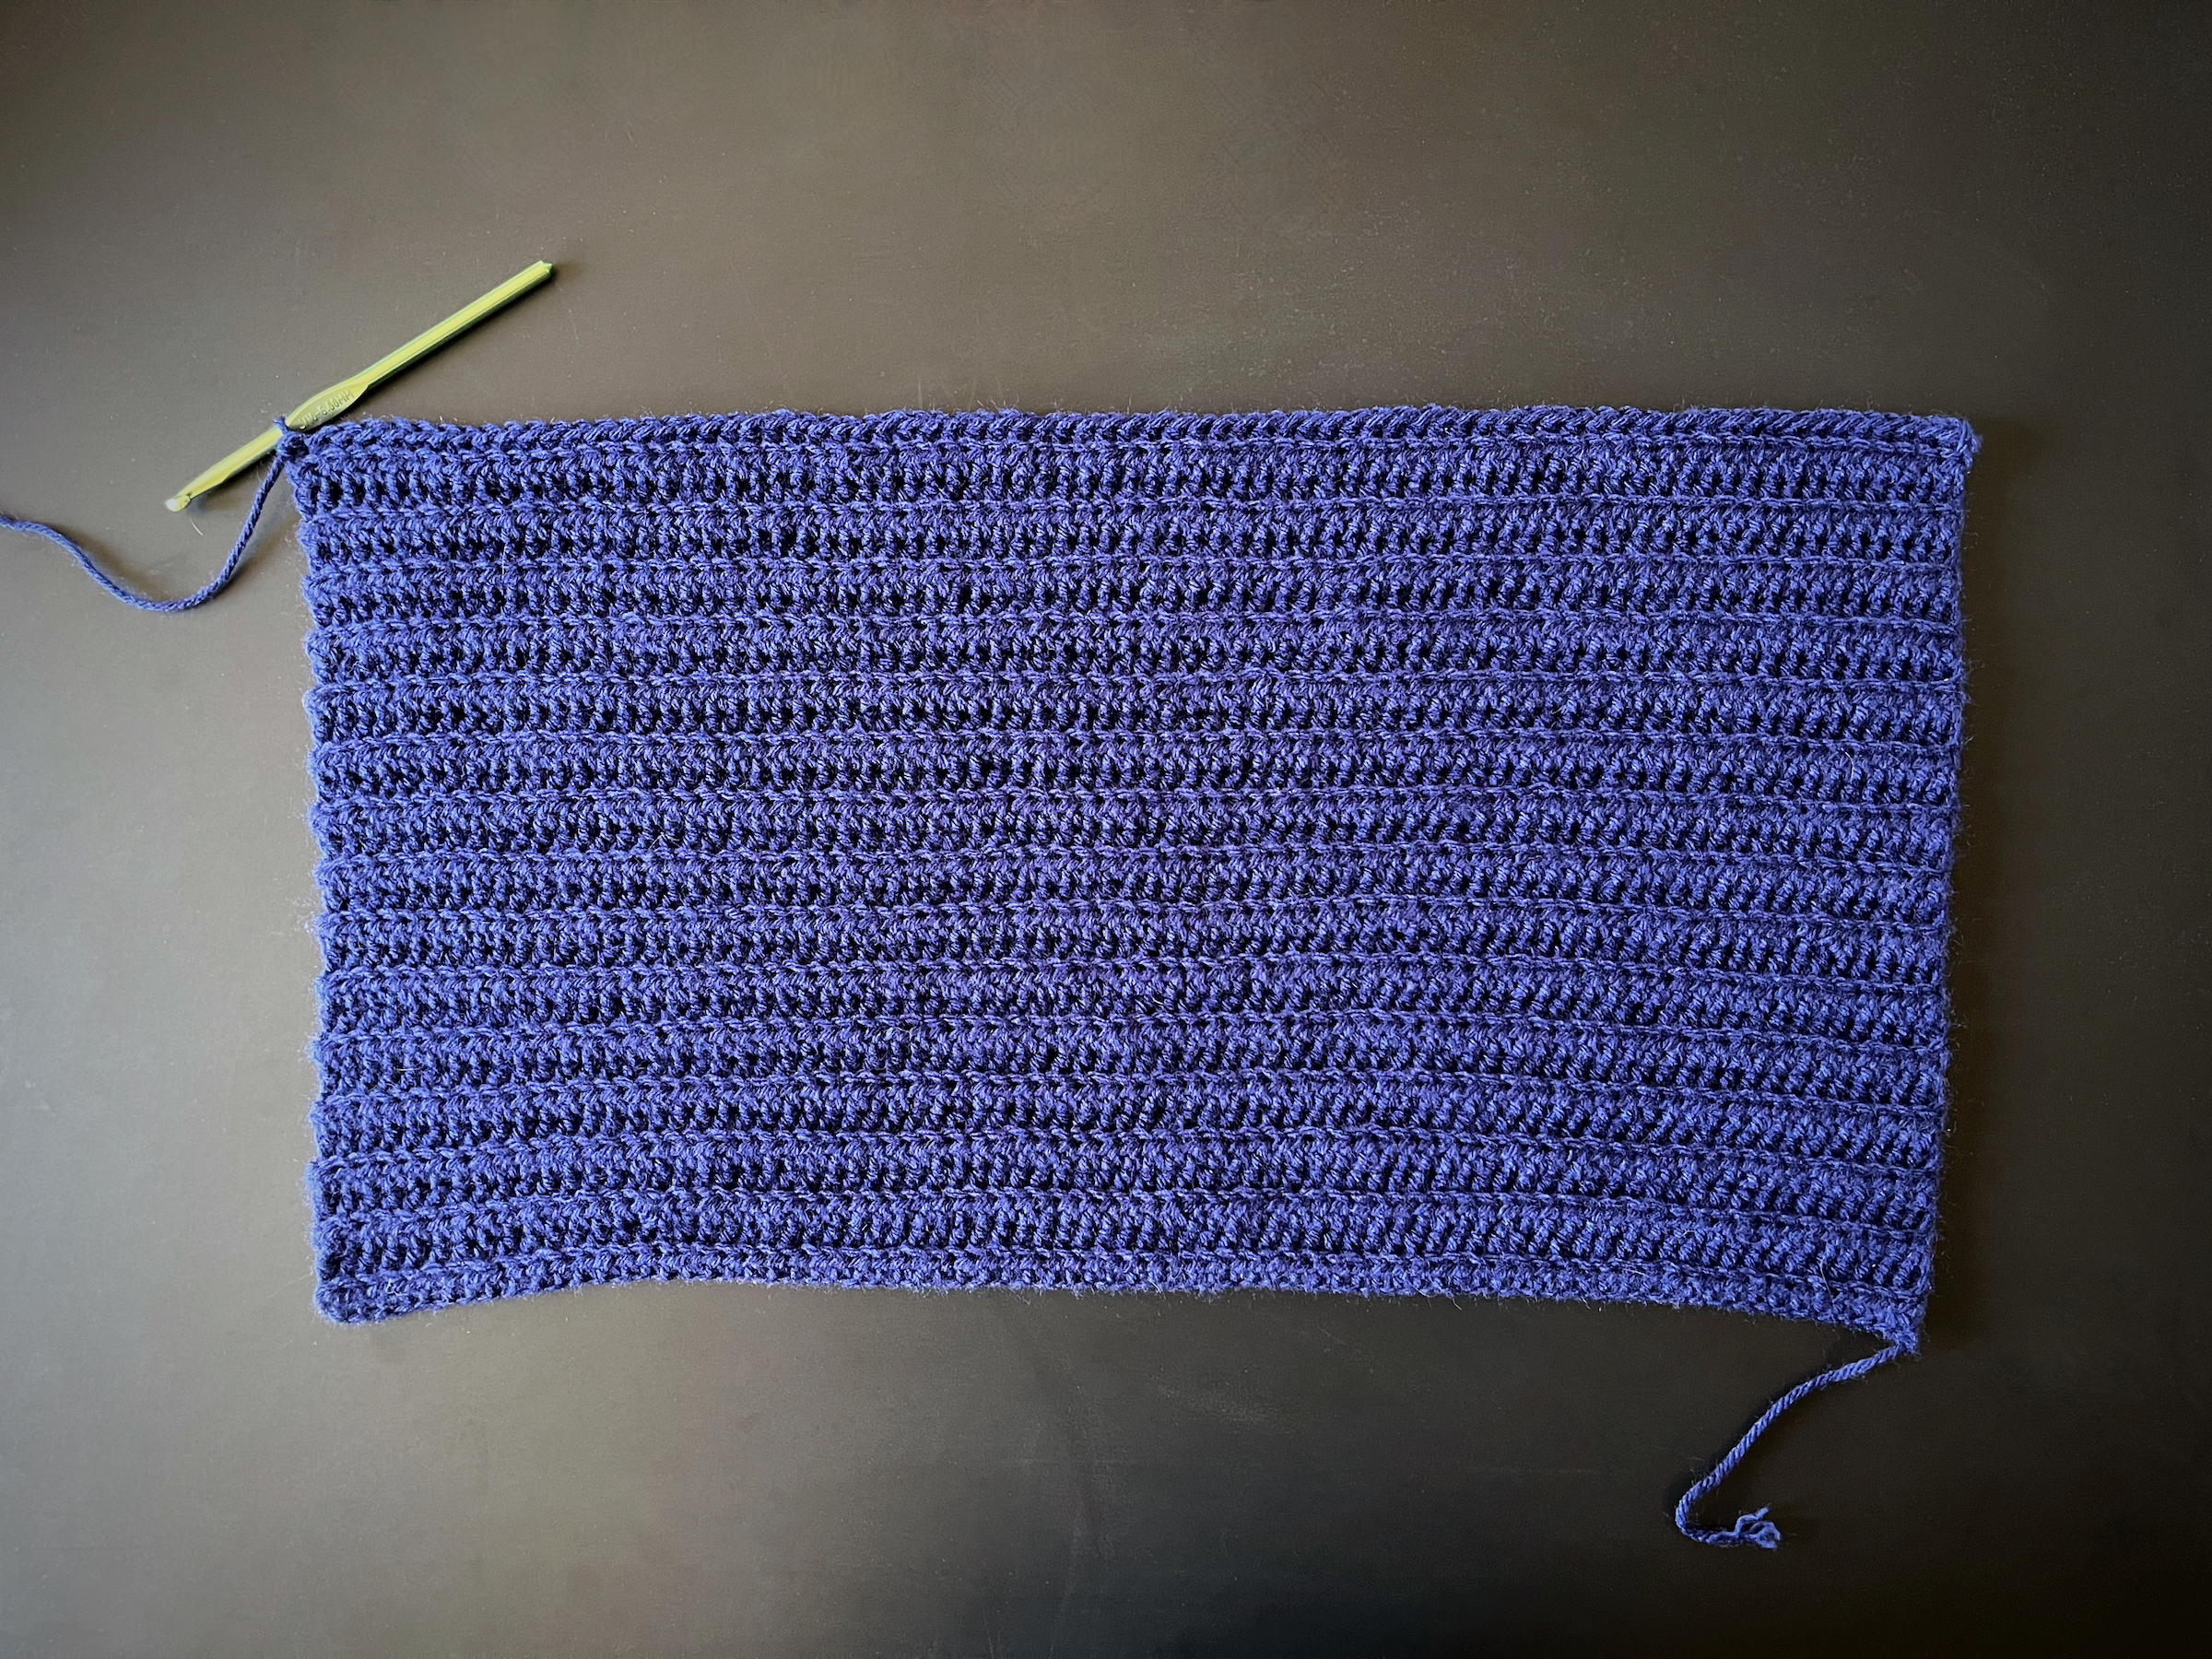
Repeat step 3 until there is a total of 28 to 30 hdc rows (the amount of rows can be adjusted so that the width of the project matches half of the circumference of your head).
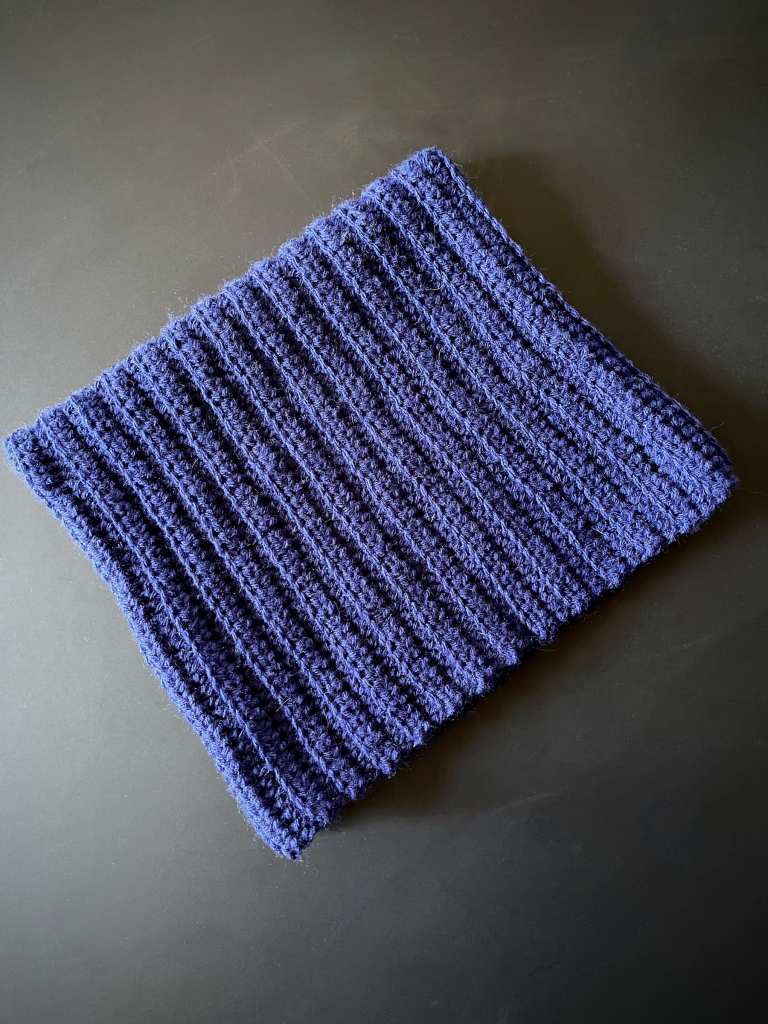
After the last hdc of your last row, fold the length of the project in half (the fold will be the top of your hat where the “ears” form).
Using the yarn that is still attached, stitch up this side of the hat towards the fold. Insert your hook through the aligned stitches on either side and perform a single crochet to bring them together.
Once you’ve reached the top corner of the fold, tie a knot and cut the yarn. Use a yarn needle or a small crochet hook to weave the remaining yarn into the project.
Knot the tail from the beginning of the project to your yarn skein and repeat steps 6 and 7 up the other side of the hat.
Fold up the brim, place the hat on your head and adjust the ears to your preference!
Have you ever been undecided on what to play next?
Should you buy that game? Should you install that game?
I’ve been there, and sometimes you just need to take a look at the graphics, hear the music, and learn a little about the plot to see if it resonates with you before taking the next step. I’m here to help! I am creating the first 30 to the first 60 minute videos of games; indie and mainstream, new and old!
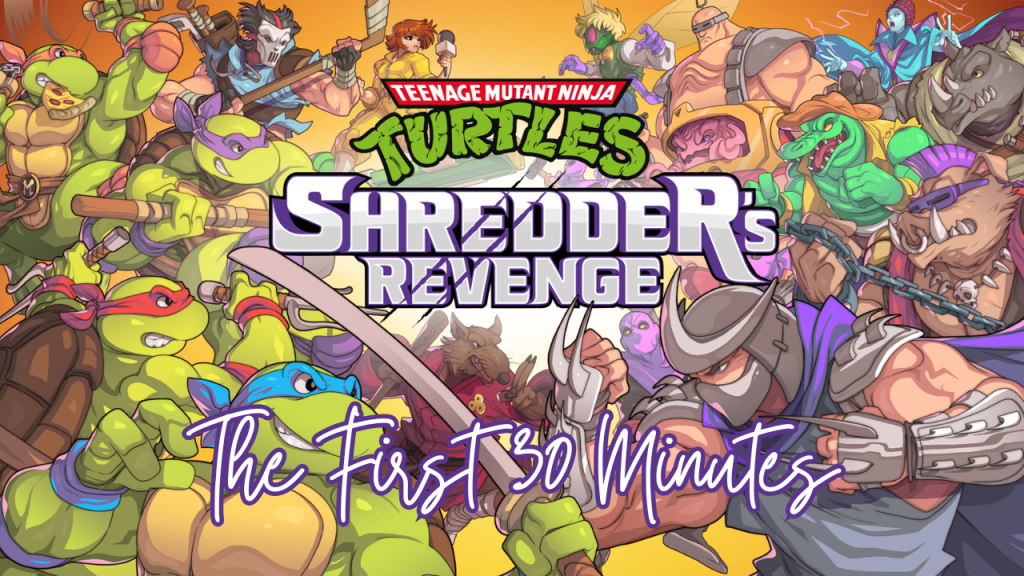
This week let’s take a look at the first 30 minutes of Teenage Mutant Ninja Turtles: Shredder’s Revenge…