How to Play – Go Fish

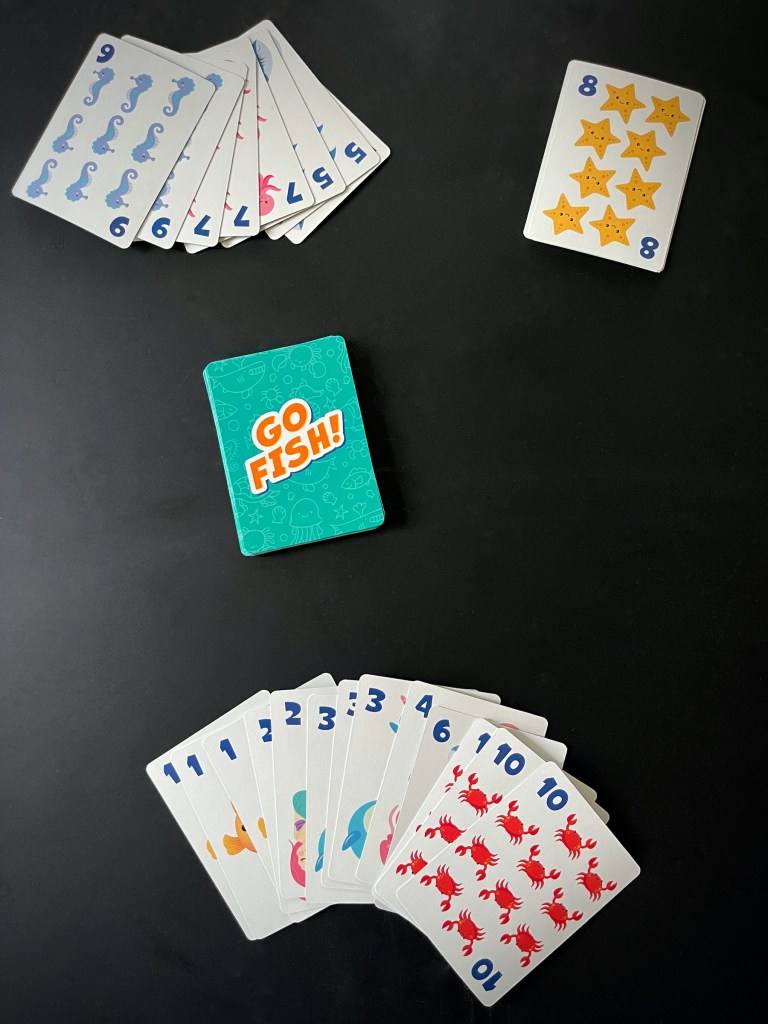
Part of the fun in raising Zoey is finding things that delight and educate her; I want to find fun, creative board games to play with her during our family game nights! This week we played Go Fish the LotFancy version for 2 to 4 players.

This specific Go Fish game is designed for kids and does a great job at reminding Zoey of the numbers she’s already learned and recognizing /collecting matching sets! I remember when I used to play this with regular playing cards, which could be fun to introduce her to at a later date! I remember we would sometimes combine two decks of playing cards so more people could play and/or we could play for longer! Good times!

So let’s play!

IN THE BOX
  • 40 cards
INSTRUCTIONS
  1. Players take turns trying to collect sets of 4 sea creatures and whomever collects the most sets, wins!
  2. Shuffle the cards and deal 5 to each player.
  3. Place the remaining cards face-down in a pile between the players. This is your “pool of aquatic animals”.
  4. The youngest player goes first, then play continues clockwise.
  5. On your turn, pick any player and ask them if they have a specific number card (it must be one you already have in your hand). If they do, they must give you all their cards with that number. You then get to take another turn! If they do not have that card, then they tell you to “Go Fish!” And you draw 1 card from the pool of aquatic animals. If you happen to draw a card with the number you asked for, show the card to the group, place it in your hand and you get another turn! Otherwise place the card in your hand and your turn is over.
  6. When a player collects 4 of the same sea creatures, they place them face up in front of them.
  7. If a player runs out of cards at any point, they draw one card from the pool of aquatic animals at the end of the current turn.
  8. When the pool of aquatic animals is empty, the game is over. The player with the most set of matching cards wins!

ENJOY!

The First 60 Minutes of Kena: Bridge of Spirits

Have you ever been undecided on what to play next? 

Should you buy that game? Should you install that game?

I’ve been there, and sometimes you just need to take a look at the graphics, hear the music, and learn a little about the plot to see if it resonates with you before taking the next step. I’m here to help! I am creating the first 30 to the first 60 minute videos of games; indie and mainstream, new and old!

This week let’s take a look at the first 60 minutes of Kena: Bridge of Spirits…

Do you want to play the rest? 

DIY – Up-cycled Coffee Can Plant Containers

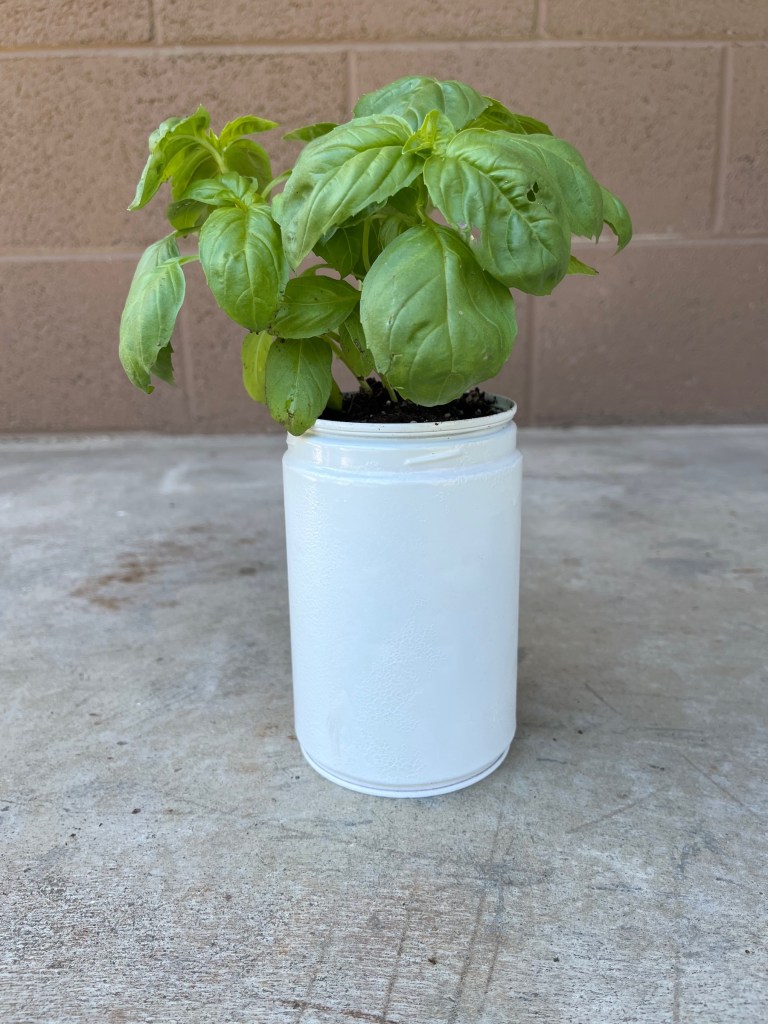
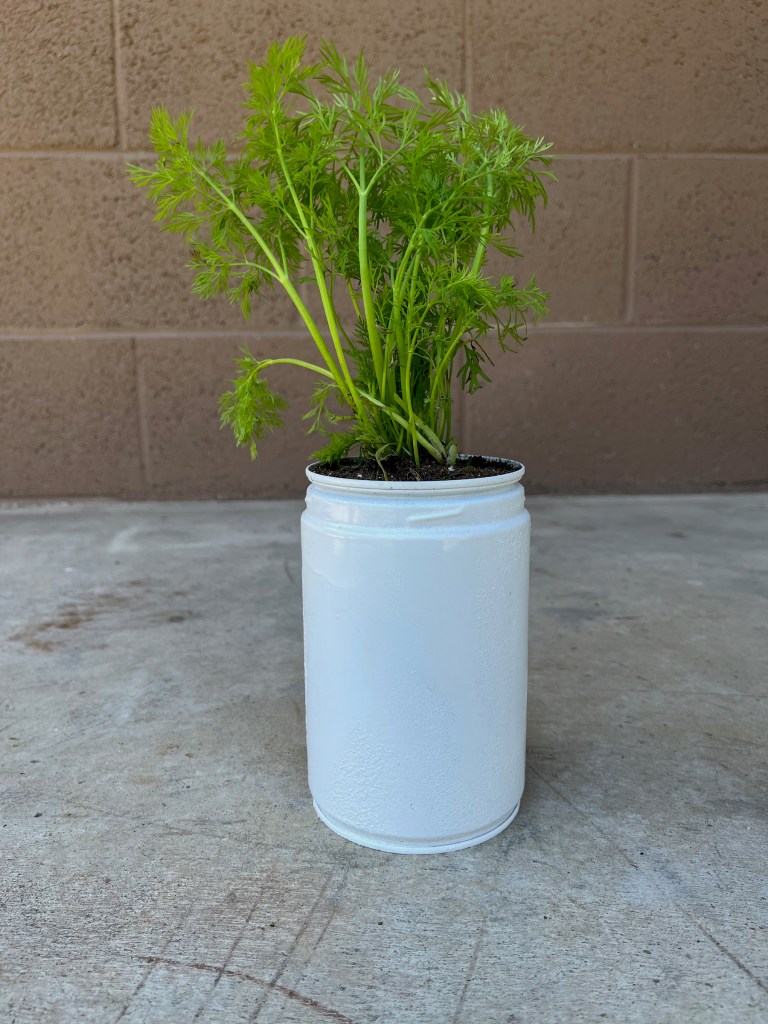
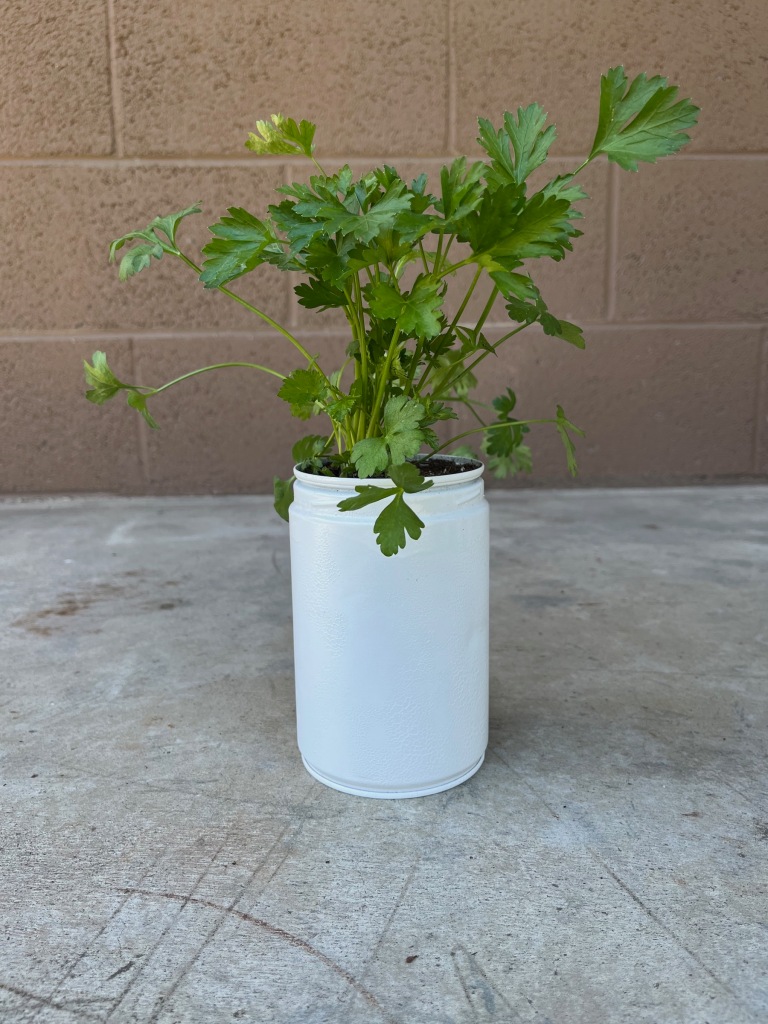
I created an up-cycled container herb garden using a hammer, nail, empty coffee cans and paint. This is a straightforward craft that’s perfect for DIYers of any level (beginners included)! To make it even more unique, you can choose what type/shape of can to use as well as whichever color of paint your heart desires! Have fun with it!

You can also choose what types of plants you want to place in these containers. Succulents are perfect and fresh herbs are fantastic! I’ve always wanted a small herb garden to pick and choose from when my husband or I are cooking and, now is the time!

SUPPLIES
  • Sturdy cans
  • Hammer
  • Nail
  • All-in-One spray paint (color of your choice)
  • Soil
  • Herbs of choice
INSTRUCTIONS
  1. Wipe down the outside of each can so it’s clean from any dust or debris.
  2. Flip the cans over and using a hammer and nail, gently tap drain holes into the bottom of each can. I poked 9 holes into the bottom of each can.
  3. In a well ventilated, paint-protected space, spray each can in several layers with your chosen spray paint. Allow each layer to dry before painting another. If there is more moisture in the air, it will take longer for each layer to dry. Allow for each layer to dry thoroughly before painting another or you will experience a bubbling/crackled effect on the paint. I liked this look, so I allowed for it.
  4. Once the final layer is on and the cans are dry, flip them back over and place a layer of soil in the bottom. Place your herbs in the can and surround with more soil to stabilize the planted herb.
  5. Set in a space that gets warmth and sunlight. Water from the bottom and enjoy!

The First 30 Minutes of Tunic

Have you ever been undecided on what to play next? 

Should you buy that game? Should you install that game?

I’ve been there, and sometimes you just need to take a look at the graphics, hear the music, and learn a little about the plot to see if it resonates with you before taking the next step. I’m here to help! I am creating the first 30 to the first 60 minute videos of games; indie and mainstream, new and old!

This week let’s take a look at the first 30 minutes of Tunic from Isometricorp Games…

Do you want to play the rest? 

Okami – Animal Tome and Stray Bead Guides

If there’s one thing I do when I play a game (besides trying to relax and enjoy myself), it’s look up information. I get curious or stuck, and I find myself turning to the internet for answers. There are a lot of good guides out there that are super helpful, but what I don’t see are an abundance of simple and clean visual guides that lay out all the information in one place.

I recently posted the first 60 minutes of Okami HD and in conjunction with that I wanted to re-post the Animal Tome Guide and Stray Bead Guide I made several years ago!

These visuals or infographic guides are organized into helpful sections and downloadable so you don’t need to keep hopping back online to check on the information.

Please let me know if you would like me to work on a guides for anything else within Okami HD or if there are any games you would like to see visual information or guides for in the future! I love helping people, discussing games and organizing information!

The First 60 Minutes of Okami HD

Have you ever been undecided on what to play next? 

Should you buy that game? Should you install that game?

I’ve been there, and sometimes you just need to take a look at the graphics, hear the music, and learn a little about the plot to see if it resonates with you before taking the next step. I’m here to help! I am creating the first 30 to the first 60 minute videos of games; indie and mainstream, new and old!

This week let’s take a look at the first 60 minutes of Okami HD…

Do you want to play the rest? 

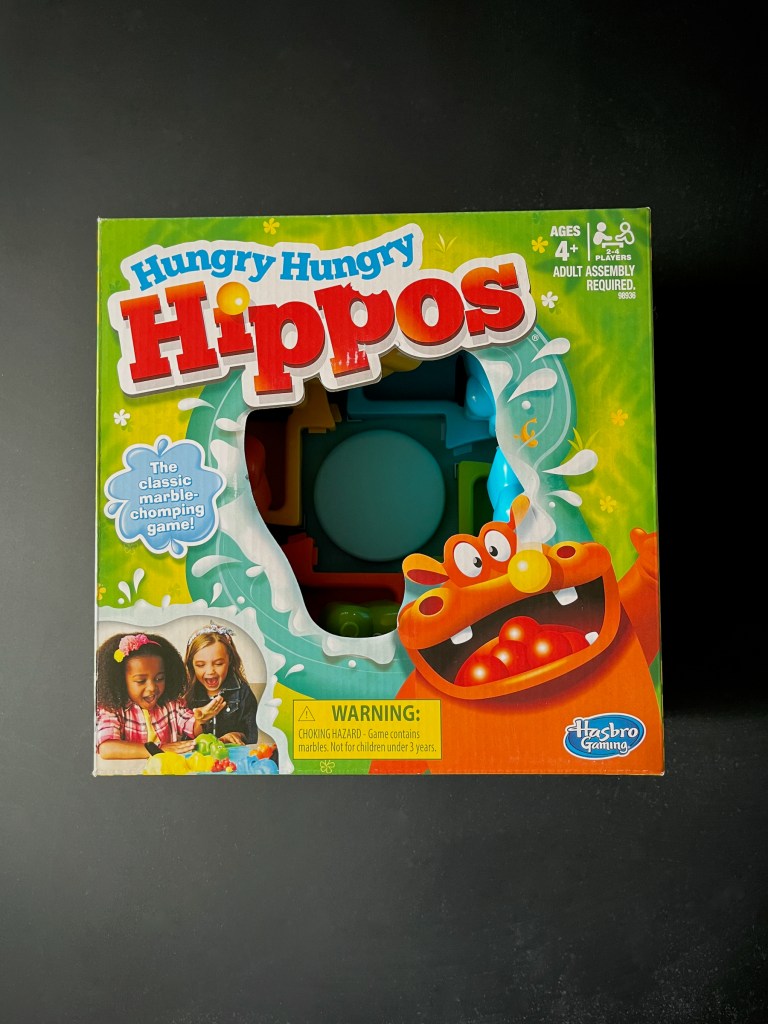
How to Play – Hungry, Hungry Hippos!

Part of the fun in raising Zoey is finding things that delight and educate her; I want to find fun, creative board games to play with her during our family game nights! This week we played the Hungry, Hungry Hippos by Hasbro for 2 to 4 players!

This game was a Christmas gift to Zoey from her aunt and uncle, and we love it! Zoey’s favorite color is yellow so I think she feels more drawn to the version where whomever chomps the yellow ball wins, rather than whoever chomps the most balls wins. Either way it’s a classic, fast-paced game we all can enjoy!

Let’s play!

IN THE BOX
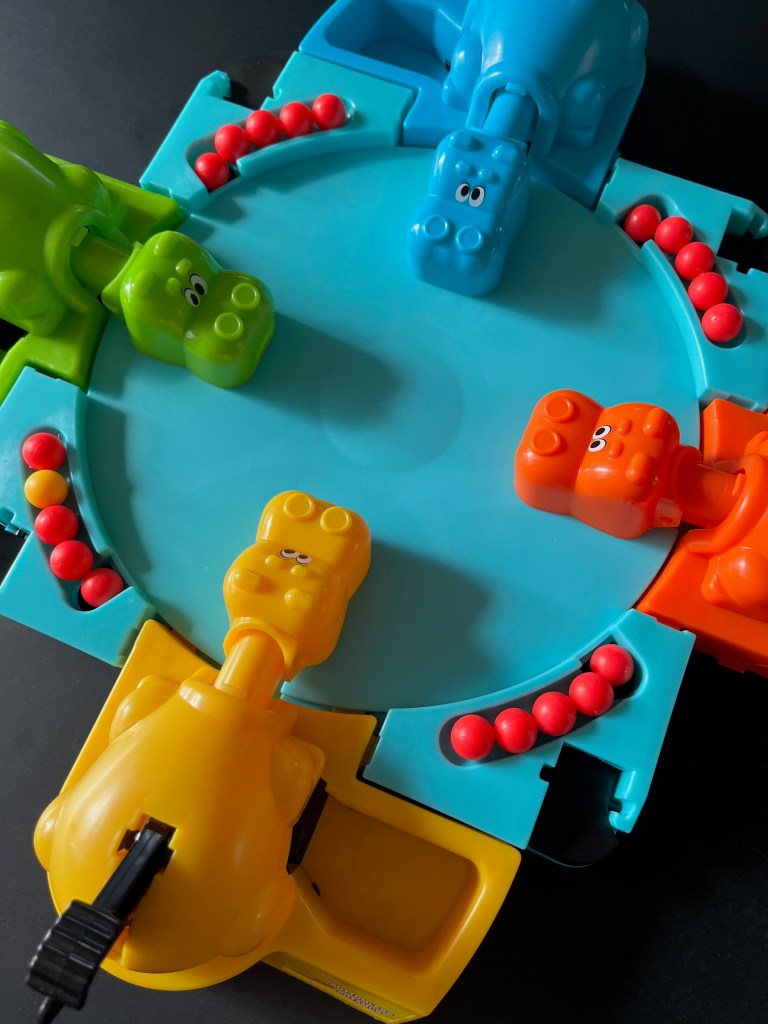
  • A game tray
  • 4 attachable hippos
  • 4 attachable marble release levers
  • 20 balls
INSTRUCTIONS
  • Each player selects a hippo and places 5 marbles into the marble release area near their hippo.

BEGINNER’S GAME

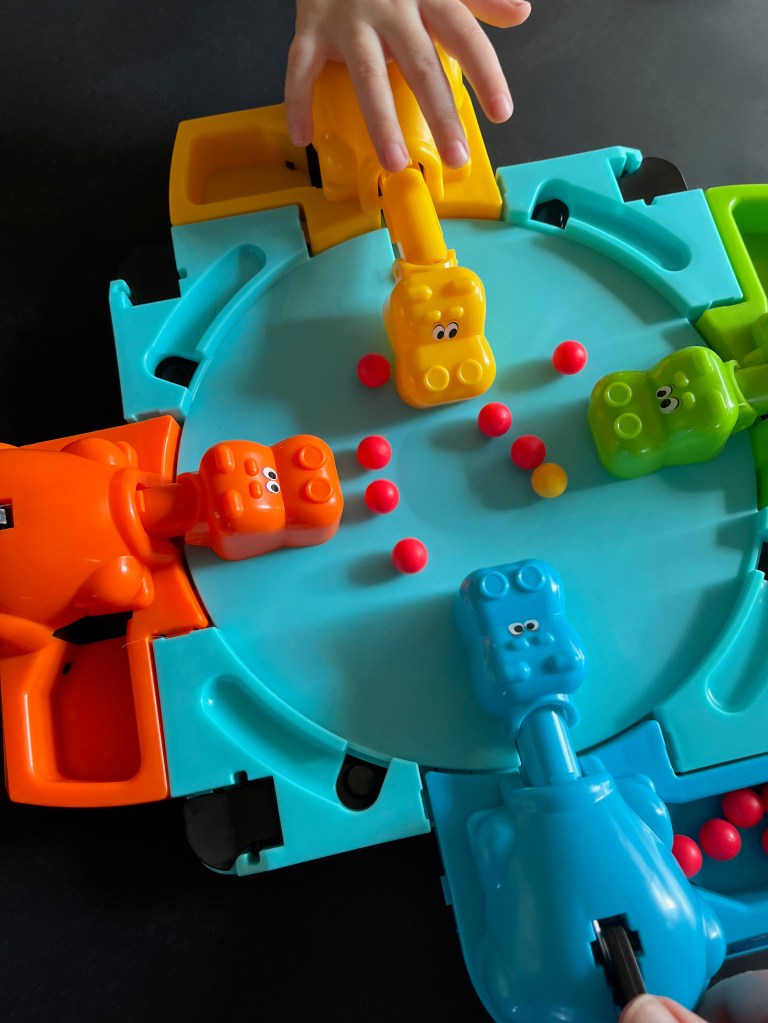
  1. One player is chosen to release a marble by pressing the marble release lever. As soon as the marble is released, all players try to make their hippos gobble it by pressing the hippo tails until someone succeeds.
  2. Moving clockwise, the next player releases a marble and the process is repeated.
  3. After all the players have been gobbled, each player counts up the marbles in their marble collecting area.
  4. Whomever has the most marbles wins the game!

ADVANCED

  1. All players release their marbles at the same time and (once someone says “Go!”) attempt to gobble as many marbles with their hippos as they can!
  2. After all the players have been gobbled, each player counts up the marbles in their marble collecting area.
  3. Whomever has the most marbles wins the game!

*Another variation is to see who has the yellow/golden marble at the end of the game, and whoever does wins!

ENJOY!
The First 30 Minutes of Bluey: The Video Game

Have you ever been undecided on what to play next? 

Should you buy that game? Should you install that game?

I’ve been there, and sometimes you just need to take a look at the graphics, hear the music, and learn a little about the plot to see if it resonates with you before taking the next step. I’m here to help! I am creating the first 30 to the first 60 minute videos of games; indie and mainstream, new and old!

This week let’s take a look at the first 30 minutes of Bluey: The Video Game…

Do you want to play the rest? 

The First 60 Minutes of Super Mario Bros. Wonder

Have you ever been undecided on what to play next? 

Should you buy that game? Should you install that game?

I’ve been there, and sometimes you just need to take a look at the graphics, hear the music, and learn a little about the plot to see if it resonates with you before taking the next step. I’m here to help! I am creating the first 30 to the first 60 minute videos of games; indie and mainstream, new and old!

This week let’s take a look at the first 60 minutes of Super Mario Bros. Wonder…

Do you want to play the rest? 

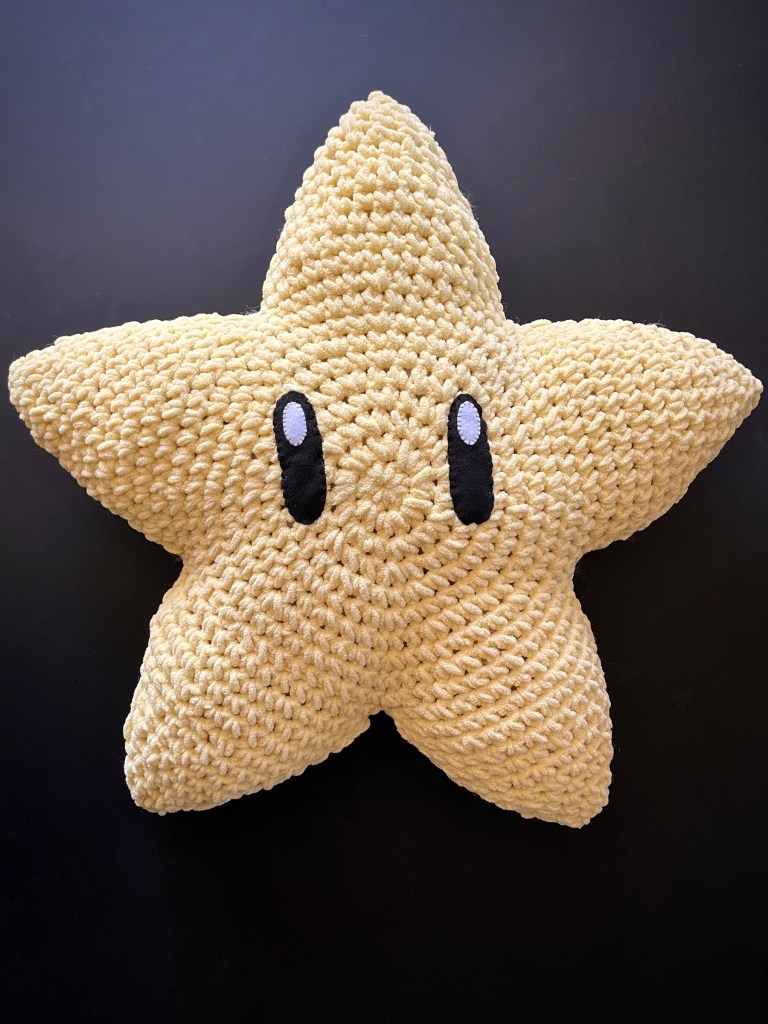
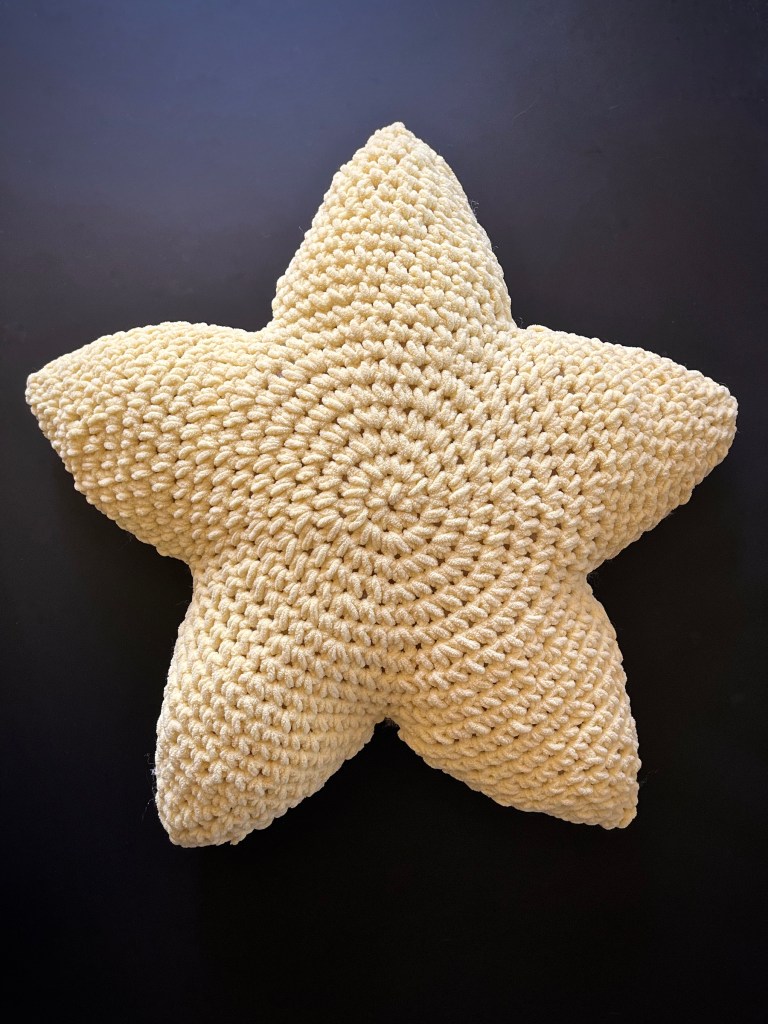
DIY Crochet – Super Mario Super Star

Welcome back friends! Do you crochet? I do! I feel calm and cozy when I’m crocheting, and fiercely proud whenever I complete a project.

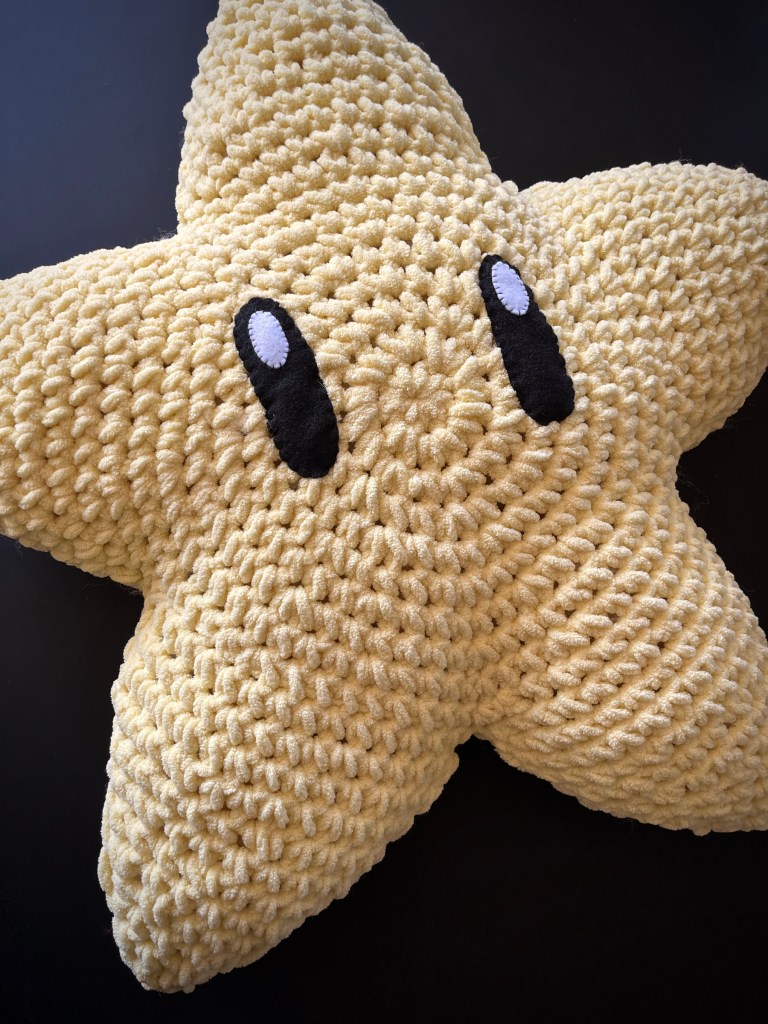
March 10th was Mario Day! In celebration I created this super soft and cuddly Super Star pillow! This pattern is intermediate and ideal for those who know their way around “magic rings”, “increases” and “decreases”. Any chenille-style yarn, size 6, can be used in this pattern, but for my example piece I used Bernat Baby Blanket Yarn in buttercup yellow.

Let’s get started!

SUPPLIES
  • Crochet hook (size 10 mm)
  • Chenille-style yarn (size 6)
  • Scissors
  • Yarn needle or small crochet hook
  • Fiber fill
  • Black felt
  • White felt
  • Black thread
  • Sewing needle
INSTRUCTIONS
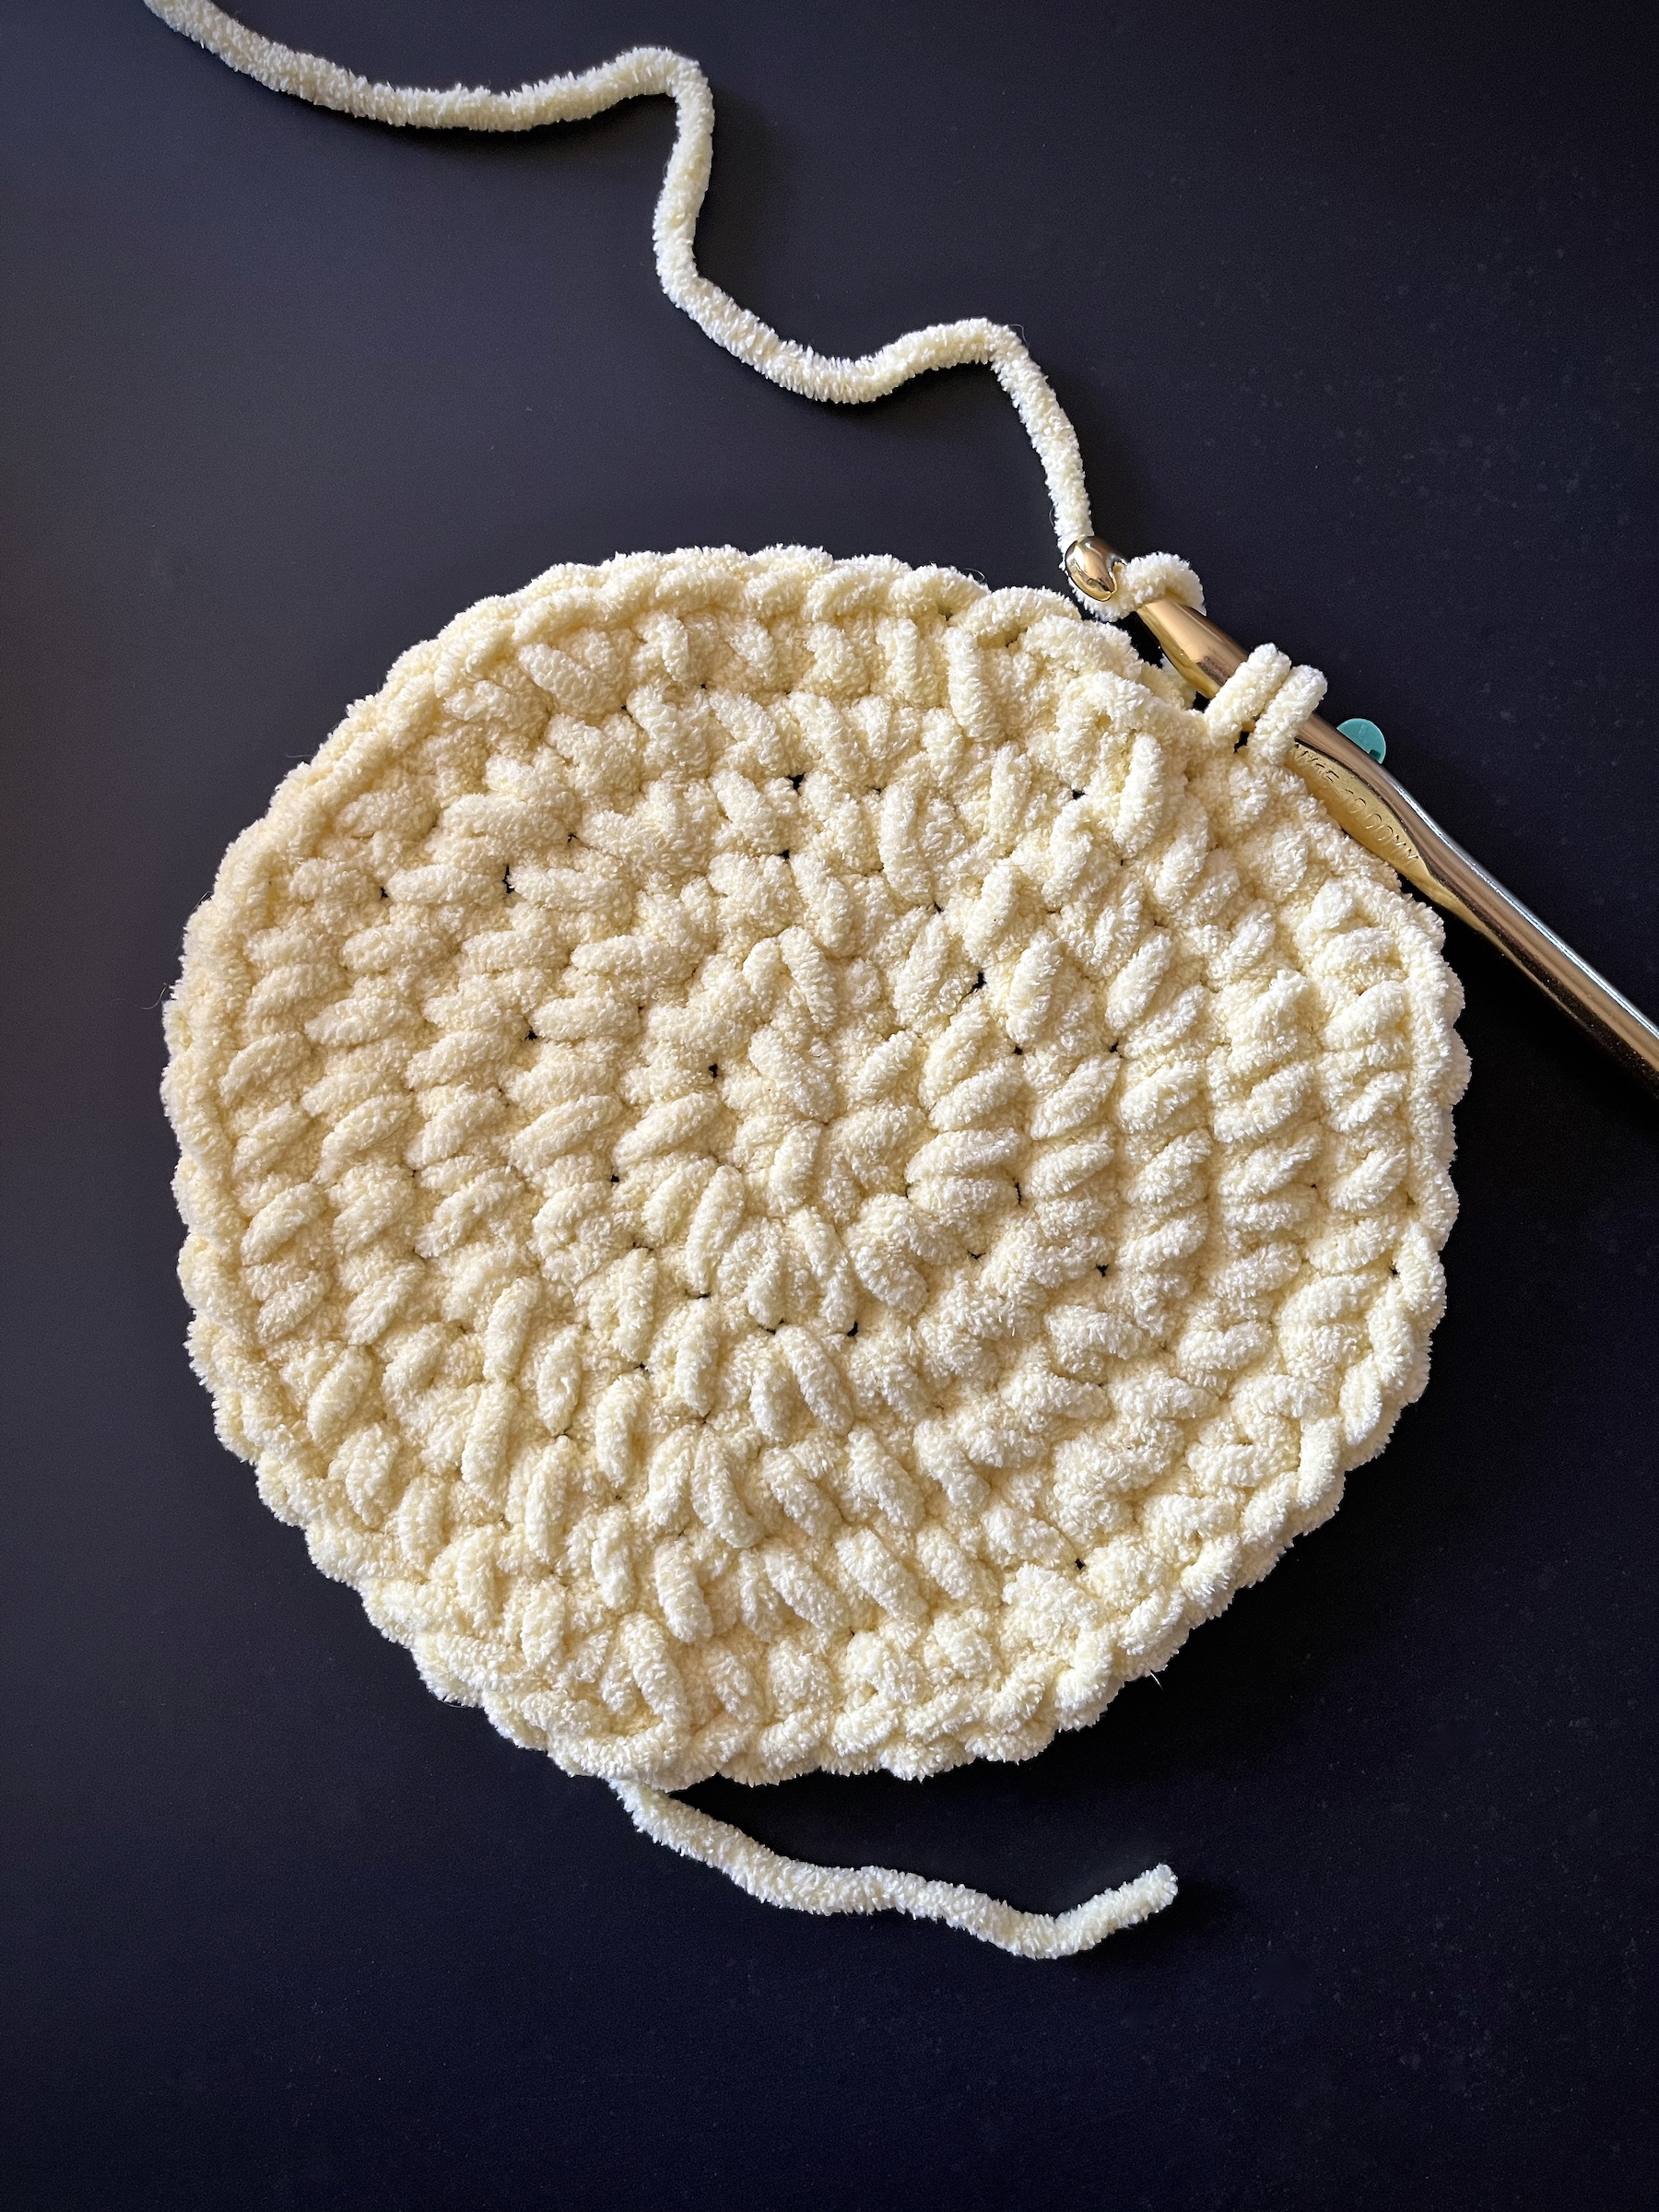
  1. Round 1: Create a magic ring with 8 single crochets (total of 8 stitches). Place a stitch marker in the last stitch of this round.
  2. Round 2: Increase in each stitch around (total of 16 stitches). Place a stitch marker in the last stitch of this round (henceforth remove it and move it up to the last stitch in each round after this one).
  3. Round 3: 1 single crochet, 1 increase, alternating around the round (24).
  4. Round 4: 1 single crochet, 1 increase, 1 single crochet, alternating around the round (32).
  5. Round 5: 3 single crochet, 1 increase, alternating around the round (40).
  6. Round 6: 2 single crochet, 1 increase, 2 single crochet, alternating around the round (48).
  7. Round 7: 5 single crochet, 1 increase, alternating around the round (56).
  8. Round 8: 3 single crochet, 1 increase, 3 single crochet, alternating around the round (64).
  9. Round 9: 7 single crochet, 1 increase, alternating around the round (72).
  10. Round 10: 4 single crochet, 1 increase, 4 single crochet, alternating around the round (80).
  11. Finish off the first center piece of the star by slip stitching into the next stitch, then cutting the yarn pulling the end through. Using a yarn needle, stitch the loose end of the yarn into the body of the center piece and set it aside.
  12. Repeat steps 1 through 10 to create a second center piece of the star. This time, do not slip stitch, leave the yarn attached and move the stitch marker to the last stitch.
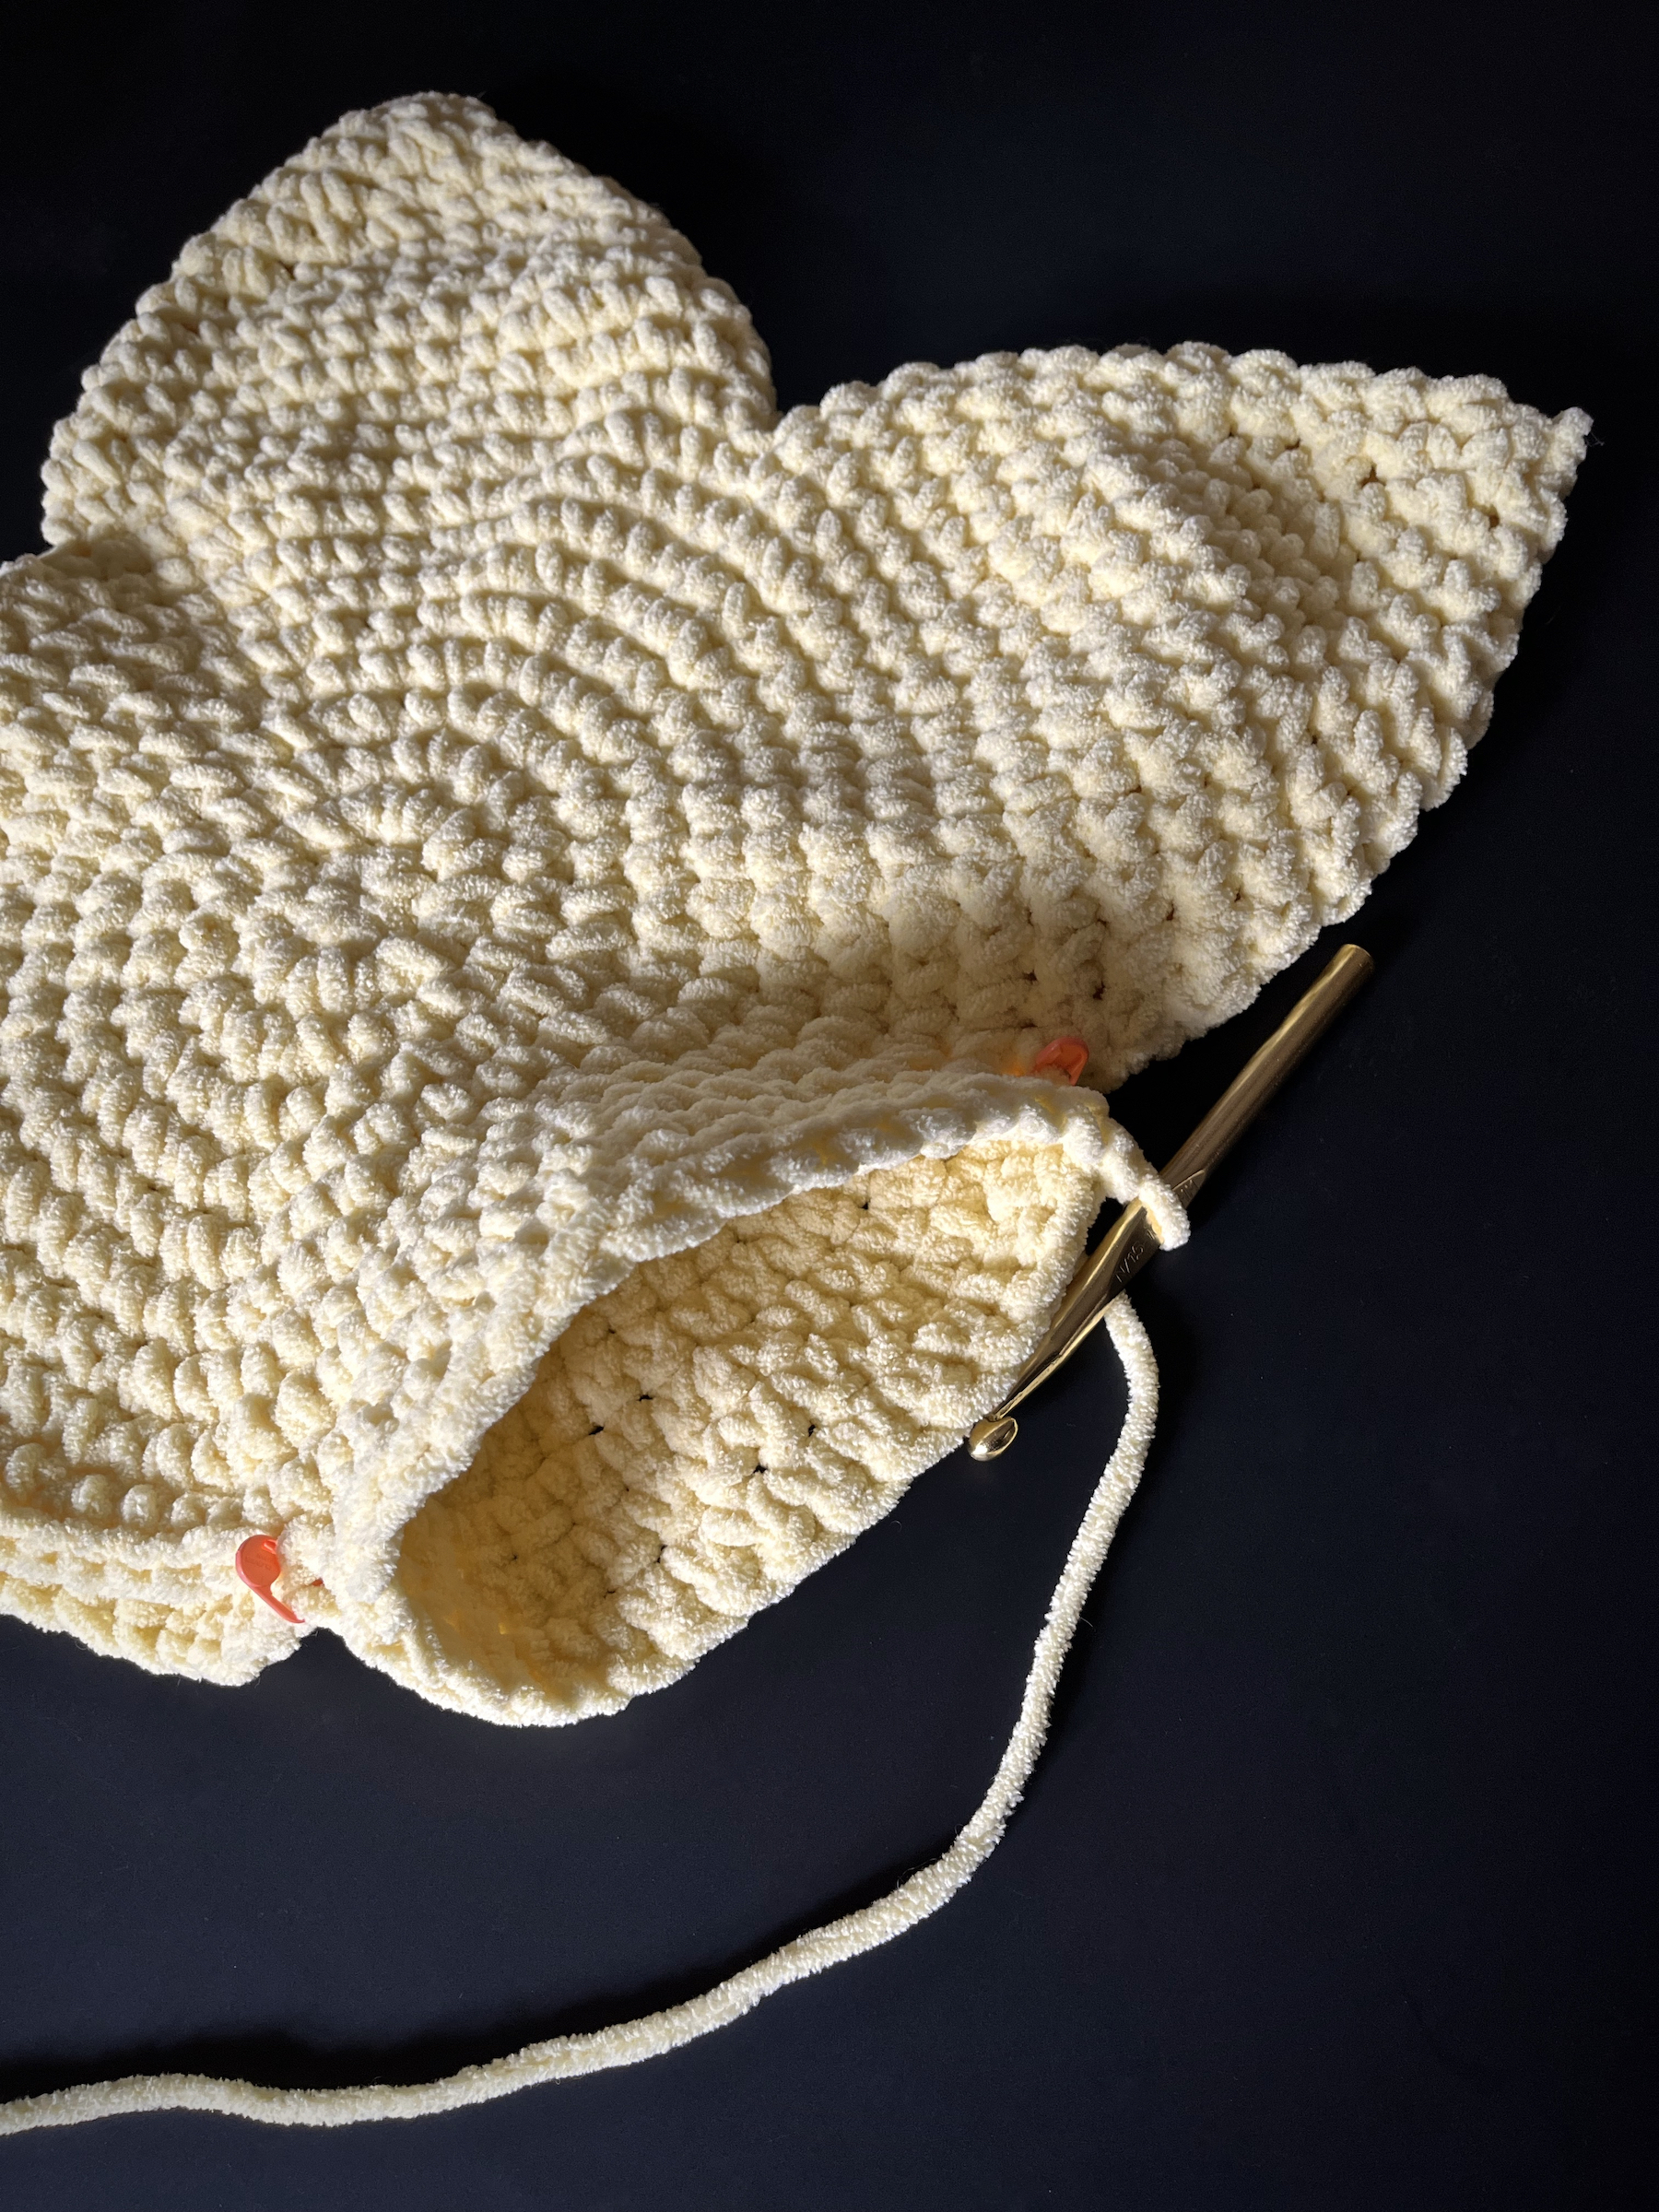
  13. On this second center piece that we have not tied off, count 16 stitches from the marker on your last stitch from the round before and put a stitch marker through the 16th stitch. Count 16 stitches from this marker and place another marker through that stitch. Continue this around your center piece until you have 5 markers total.
  14. Place the marked centerpiece over the tied-off centerpiece with the more textured sides both facing out, then re-pin the five markers through the aligned stitches of both centerpieces.
  15. Point Round 1: 16 single crochet down one side of the pinned centerpieces from marker to marker with the 16th stitch bringing both sides together just inside the next marker. Then turn your work and do 16 single crochet up the other centerpiece side to reach your starting point (32). Place a stitch maker in the last stitch of this round, which also joins both sides together.
  16. Point Round 2: Single crochet in each stitch around (32). Place a stitch marker in the last stitch of this round (henceforth remove it and move it up to the last stitch in each round after this one).
  17. Point Round 3: 14 single crochet, 1 decline, turn the project around and then 14 single crochet and 1 decline (30).
  18. Point Round 4: 4 single crochet, 1 decline, 4 single crochet, alternating around the point round (27).
  19. Point Round 5: 7 single crochet, 1 decline, alternating around the point round (24).
  20. Point Round 6: 3 single crochet, 1 decline, 3 single crochet, alternating around the point round (21).
  21. Point Round 7: 5 single crochet, 1 decline, alternating around the point round (18).
  22. Point Round 8: 2 single crochet, 1 decline, 2 single crochet, alternating around the point round (15).
  23. Point Round 9: 3 single crochet, 1 decline, alternating around the point round (12).
  24. Point Round 10: 1 single crochet, 1 decline, 1 single crochet, alternating around the point round (9).
  25. Point Round 11: 1 single crochet, 1 decline, alternating around the point round (6).
  26. Point Round 12: Decline 3 times (3).
  27. Cut off your yarn with a little bit of a tail. Attach a yarn needle and insert your needle through the top 3 stitches of the point and pull them tight to make a sharper point. Then stitch the rest of the tail into the body.
  28. To begin a new point with loose yarn, insert your hook into the first stitch, yarn over with your loose yarn and pull through, then complete the stitch by yarning over and pulling through this loop. This will anchor your loose yarn to the next point and mark the first stitch.
  29. Repeat steps 15 through 27 to create the next point. If you’re feeling lost, remember to always count your stitches. At the end of each round the amount of stitches should match the number I’ve put into parenthesis for that round.
  30. Continue repeating steps 15 through 27 until you have completed 4 points of the star, then stuff what you’ve completed. Do not worry about the holes at the base of each point, we will sew them up once we’ve completed the final point.
  31. Begin the last point and stuff it a little at a time as you stitch upwards. Finish the stuffing with chopstick and tie off.
  32. Once the star has been stuffed and completed with 5 points, use the same yarn and a yarn needle to sew up any holes, found at the base in between each point. Concealing any excess yarn by stitching it into the body of the star.
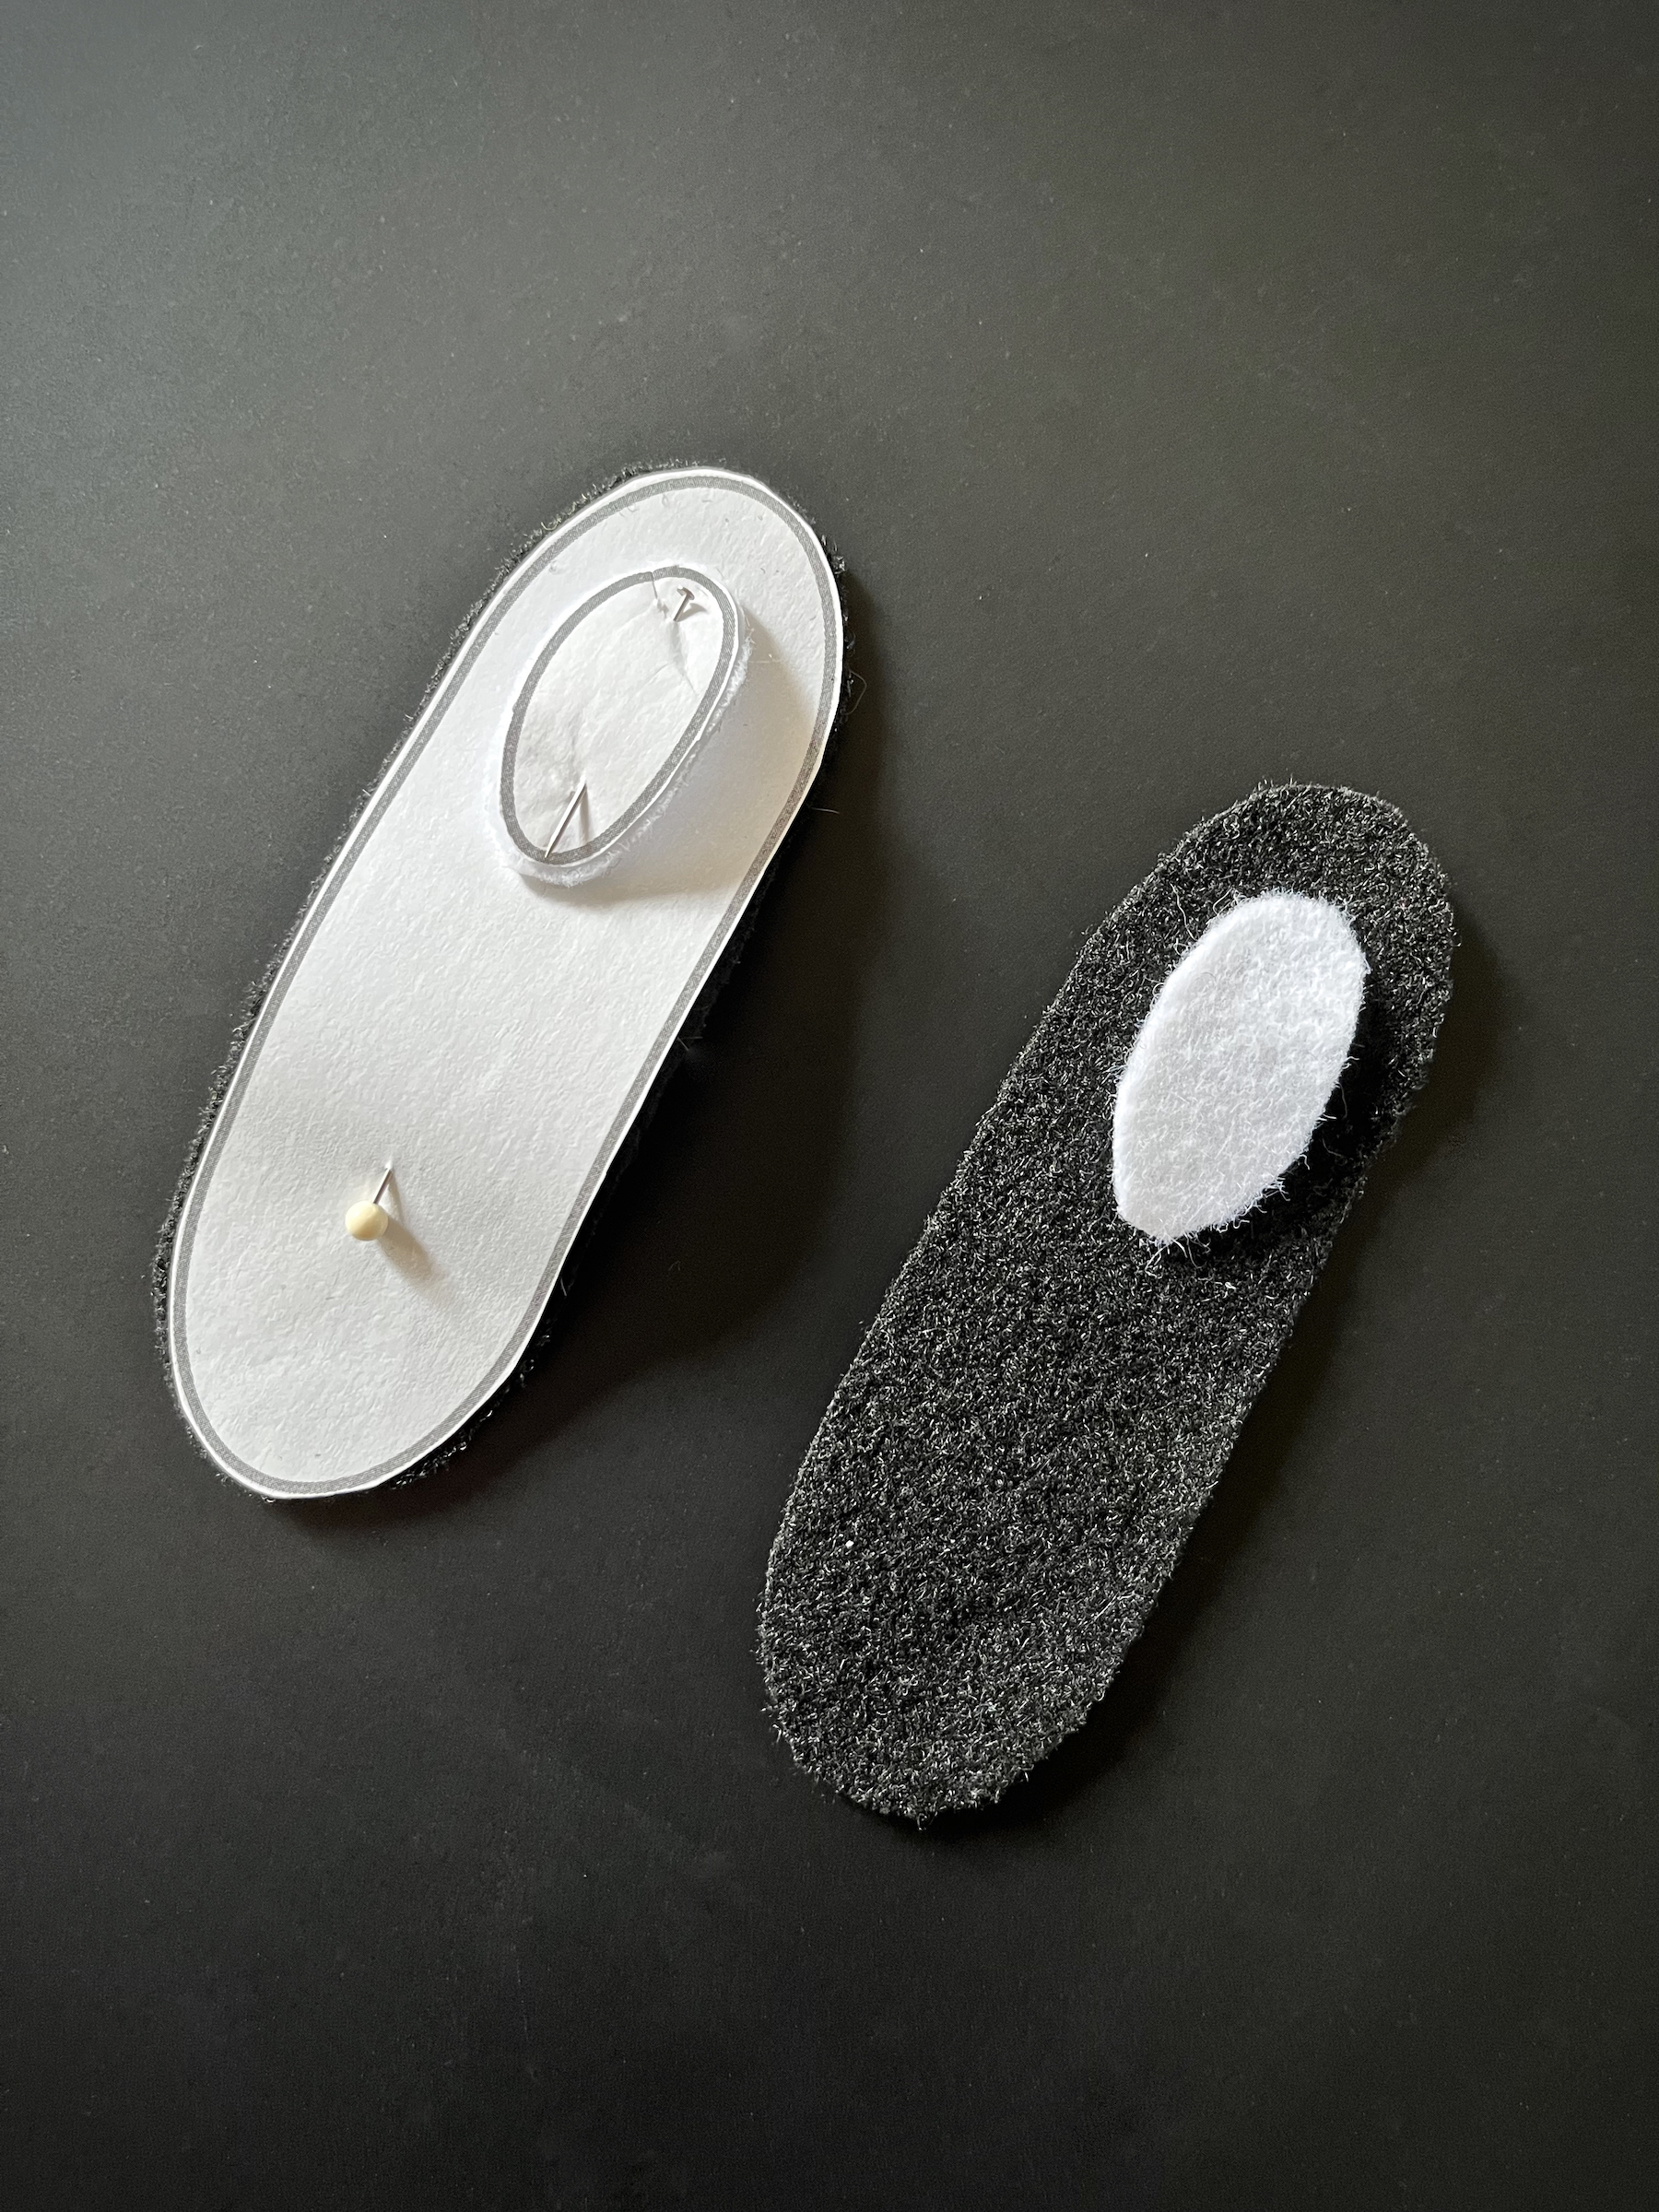
  33. Once the star has been completed. Cut out the pieces for the felt eyes using the patterns I’ve provided, and the black and white felt.
  34. Stitch the white highlights onto the black backgrounds, then stitch the eyes onto the pillow.
  35. Enjoy!