

Welcome back friends!
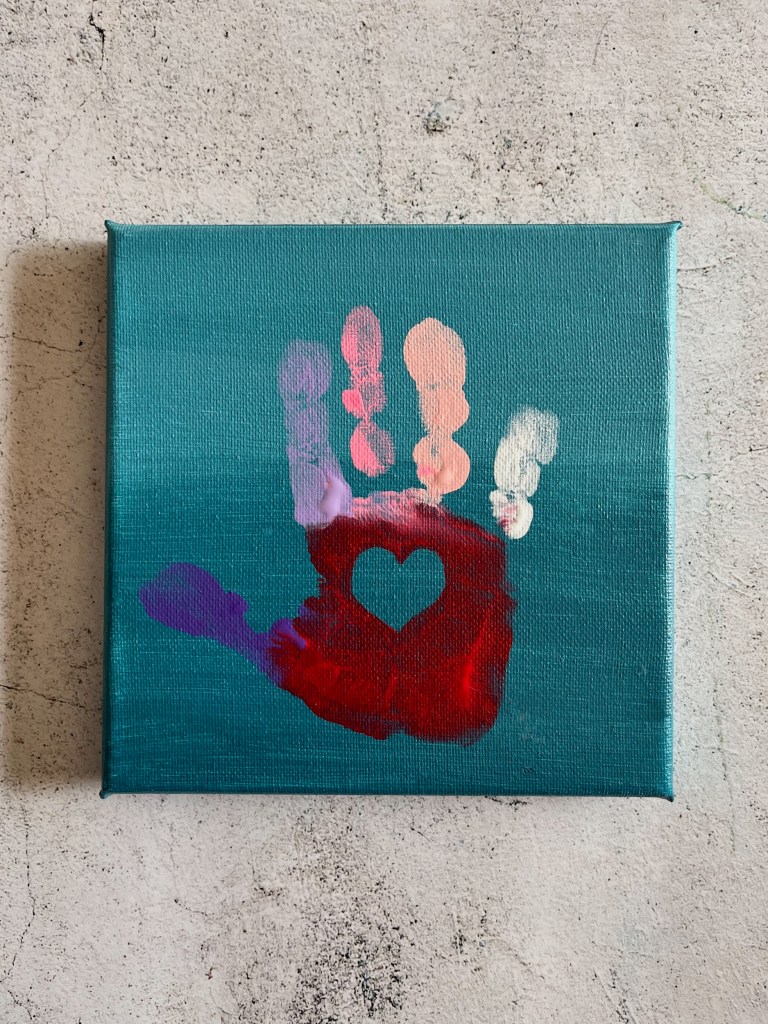
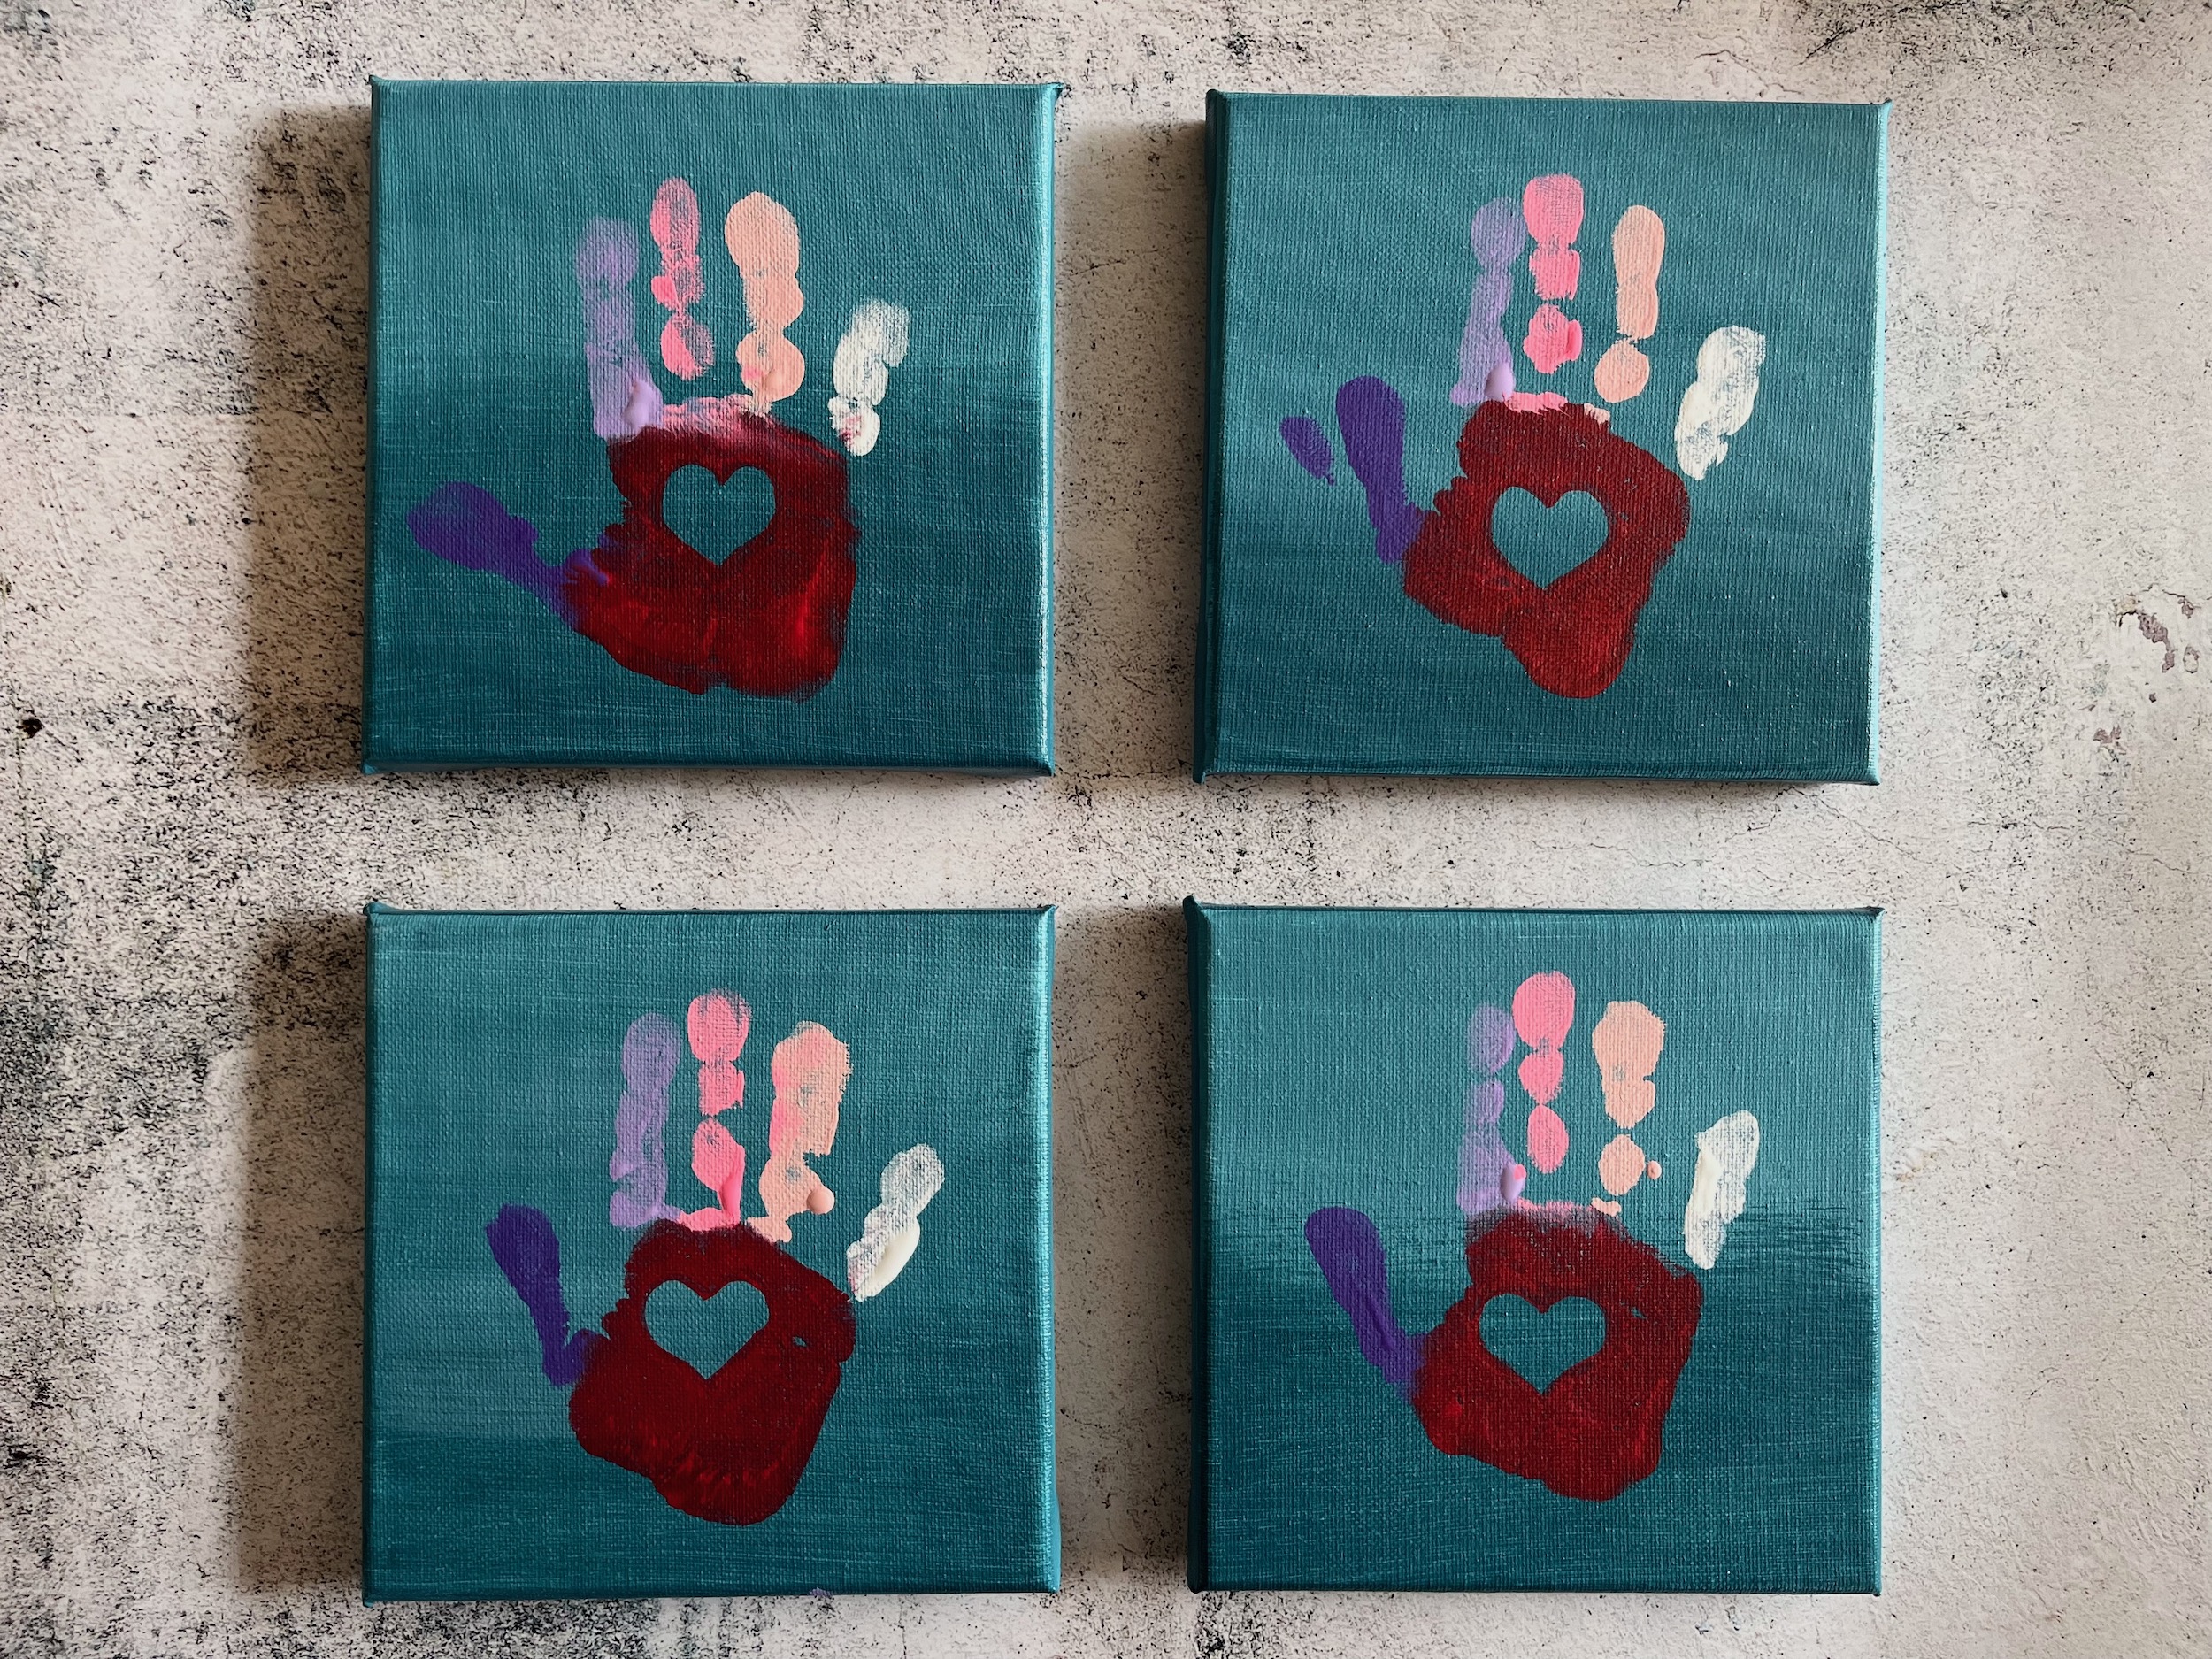
My little girl hasn’t quite reached the age of exchanging multitudes of valentines amongst her classmates and/or friends so I thought we would create a few fun pieces of artwork instead! These heart handprint paintings are the perfect Valentine for moms, dads, grandmas, grandpas, aunts and uncles; the sky is the limit!
Let’s have some fun and get painting!
SUPPLIES
- Small mounted canvas (large enough for a handprint)
- Foam paint brushes
- Acrylic paint
- Heart shaped paper, small
- Scissors
- Sticky tape
INSTRUCTIONS


- Select the colors you would like for a background, this can be one or more dependent on your preference.
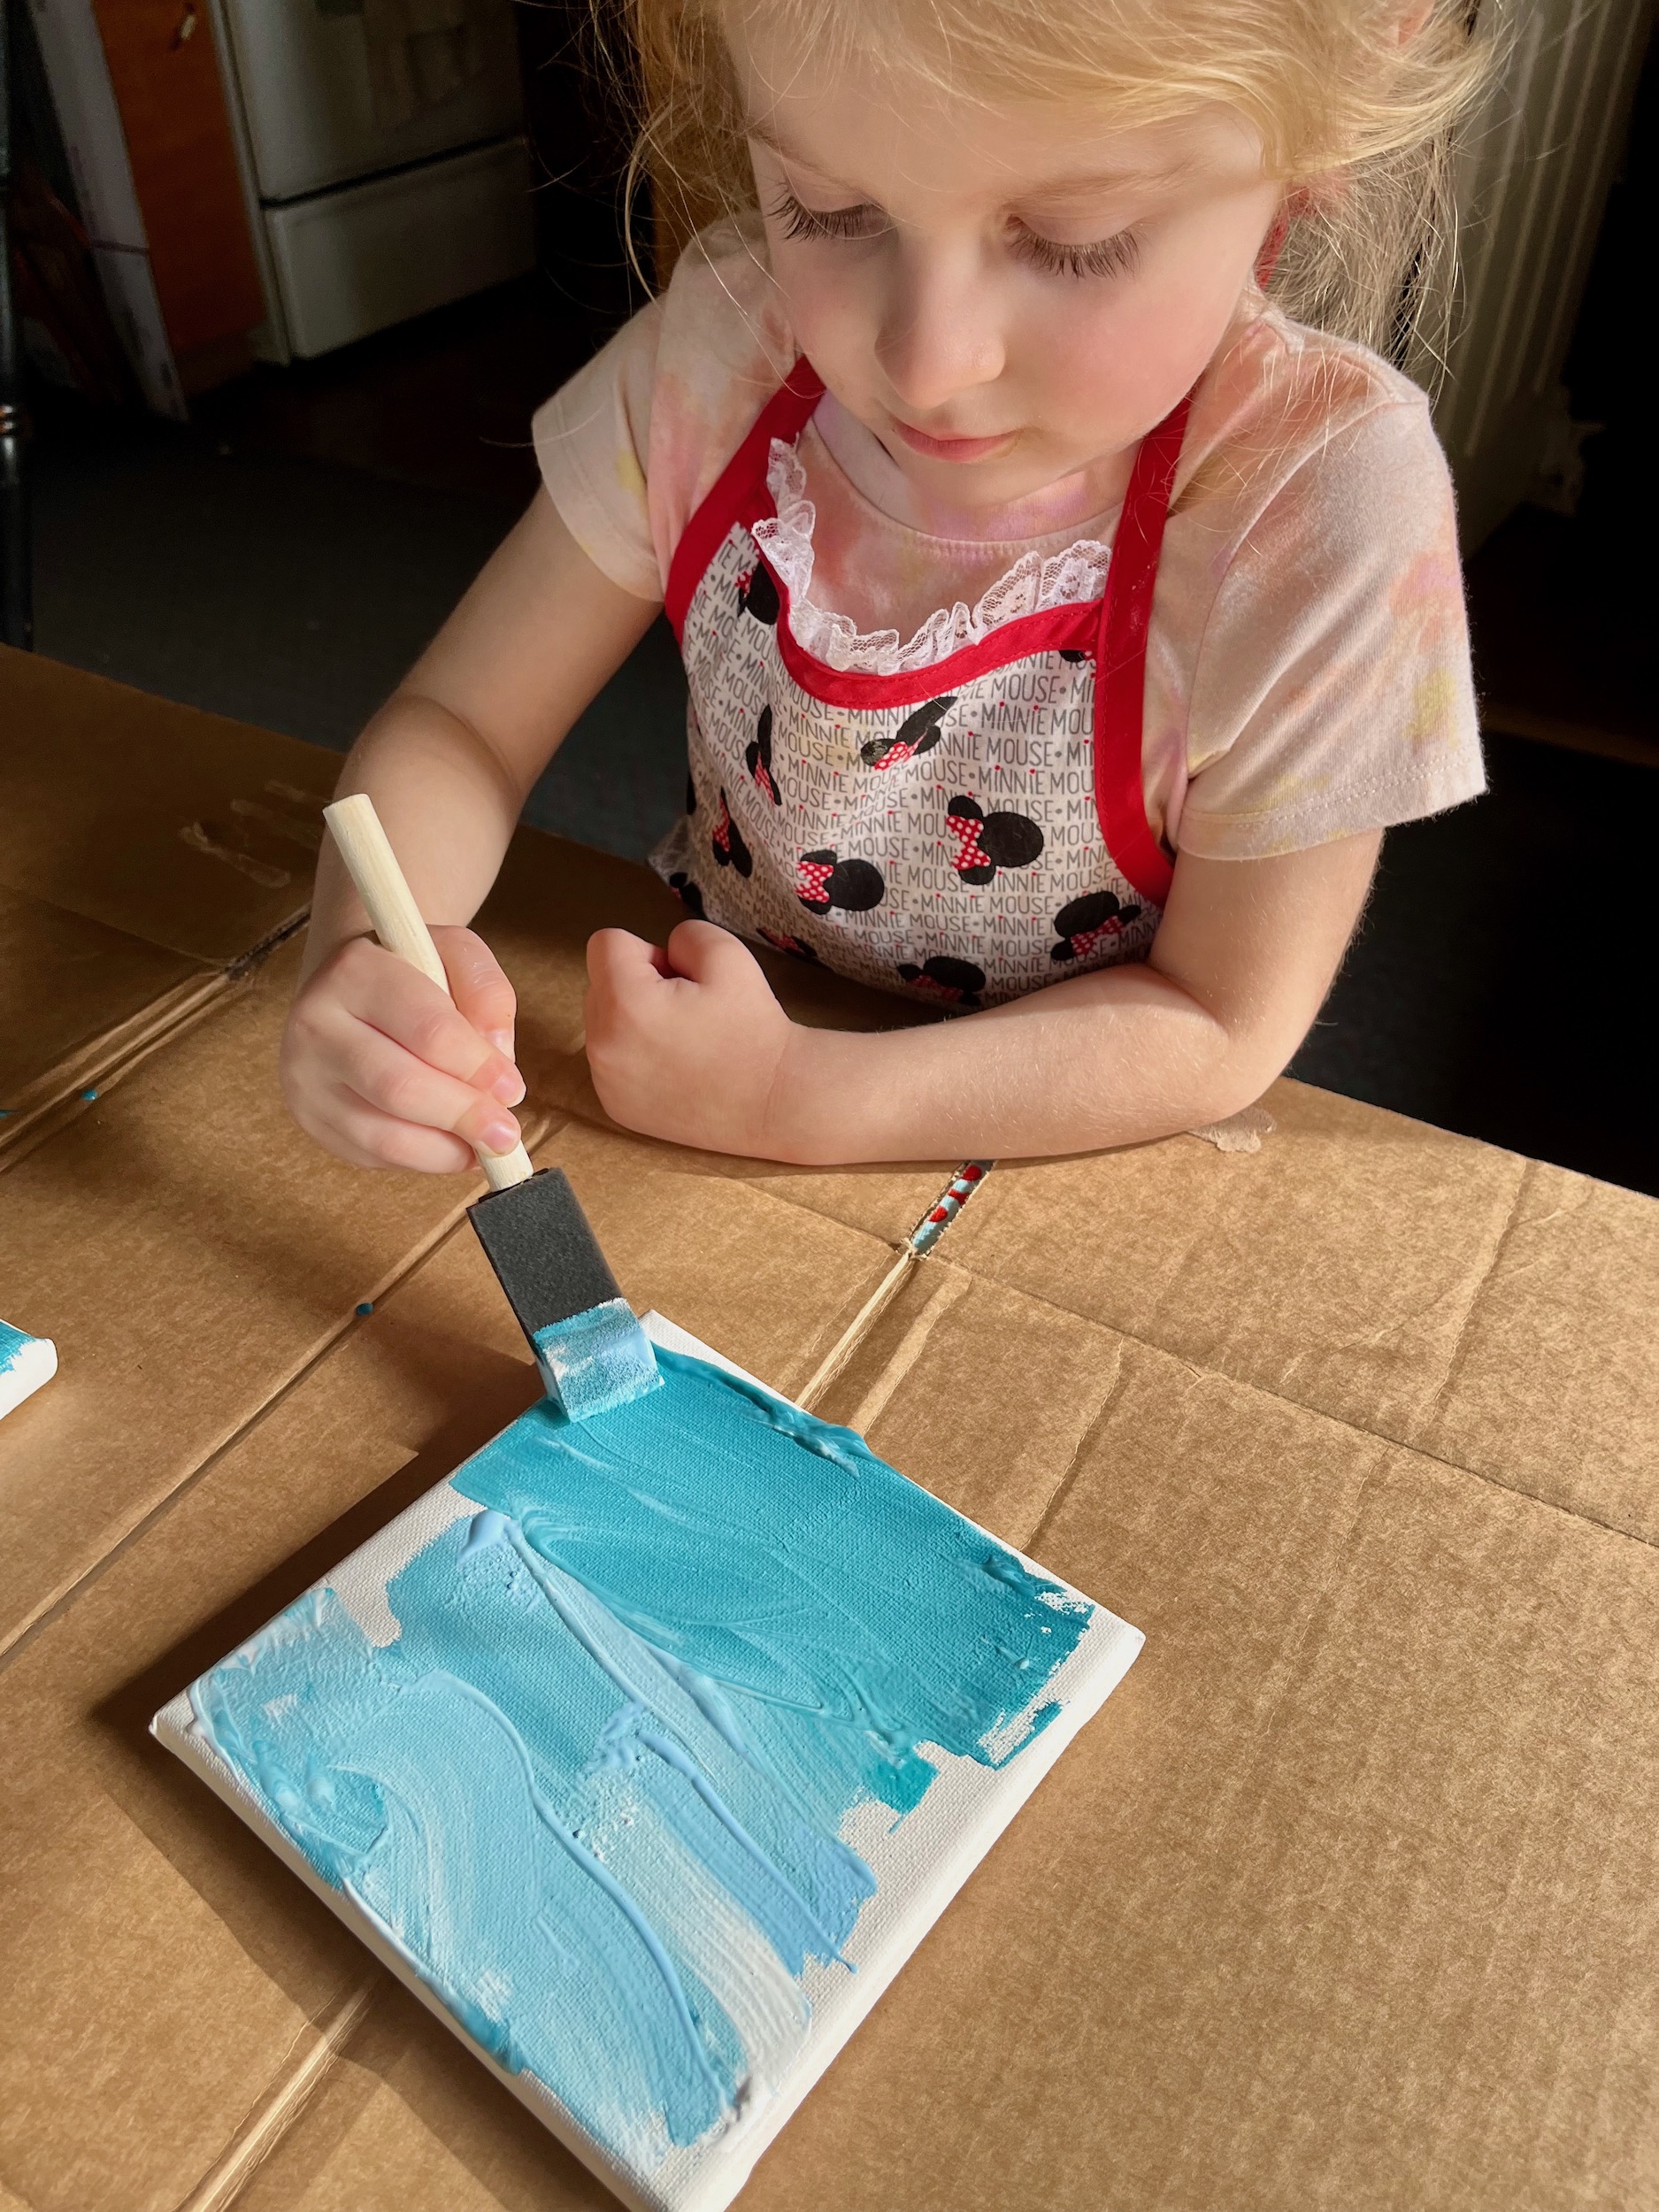
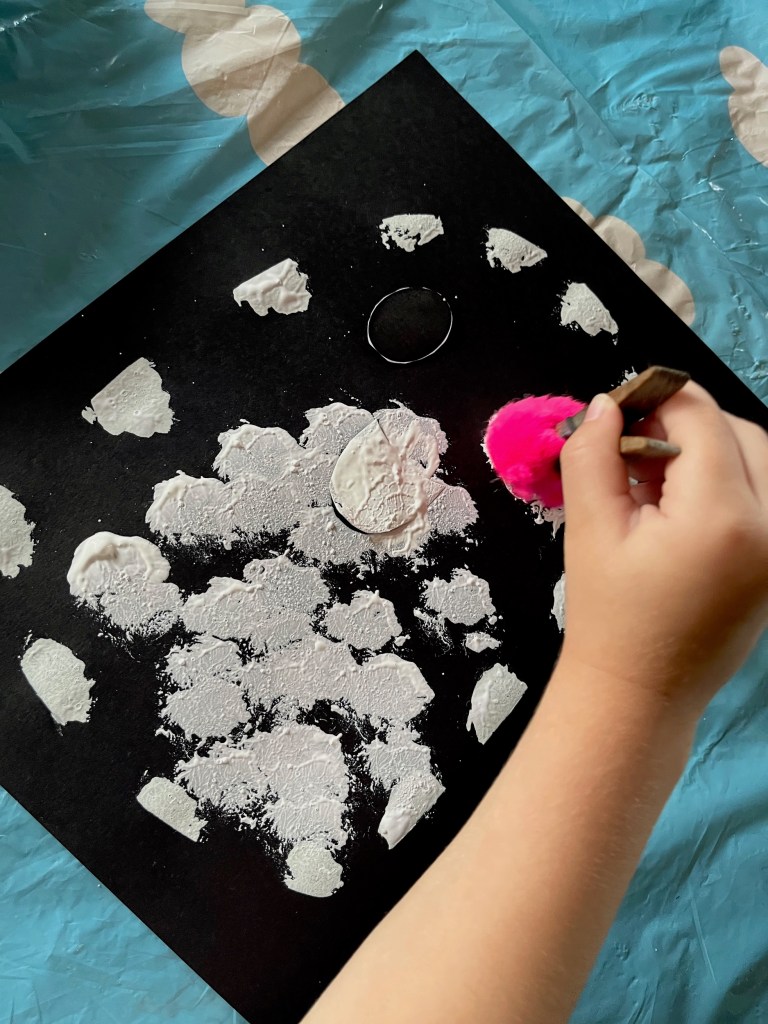
- Squeeze dots of the background paint color(s) you selected on the canvas in any pattern you prefer. I was going for a gradient look so I arranged my dots from light to dark.
- Using a a foam paint brush, you and your little one can spread and blend the paint over the canvas in back and forth strokes.
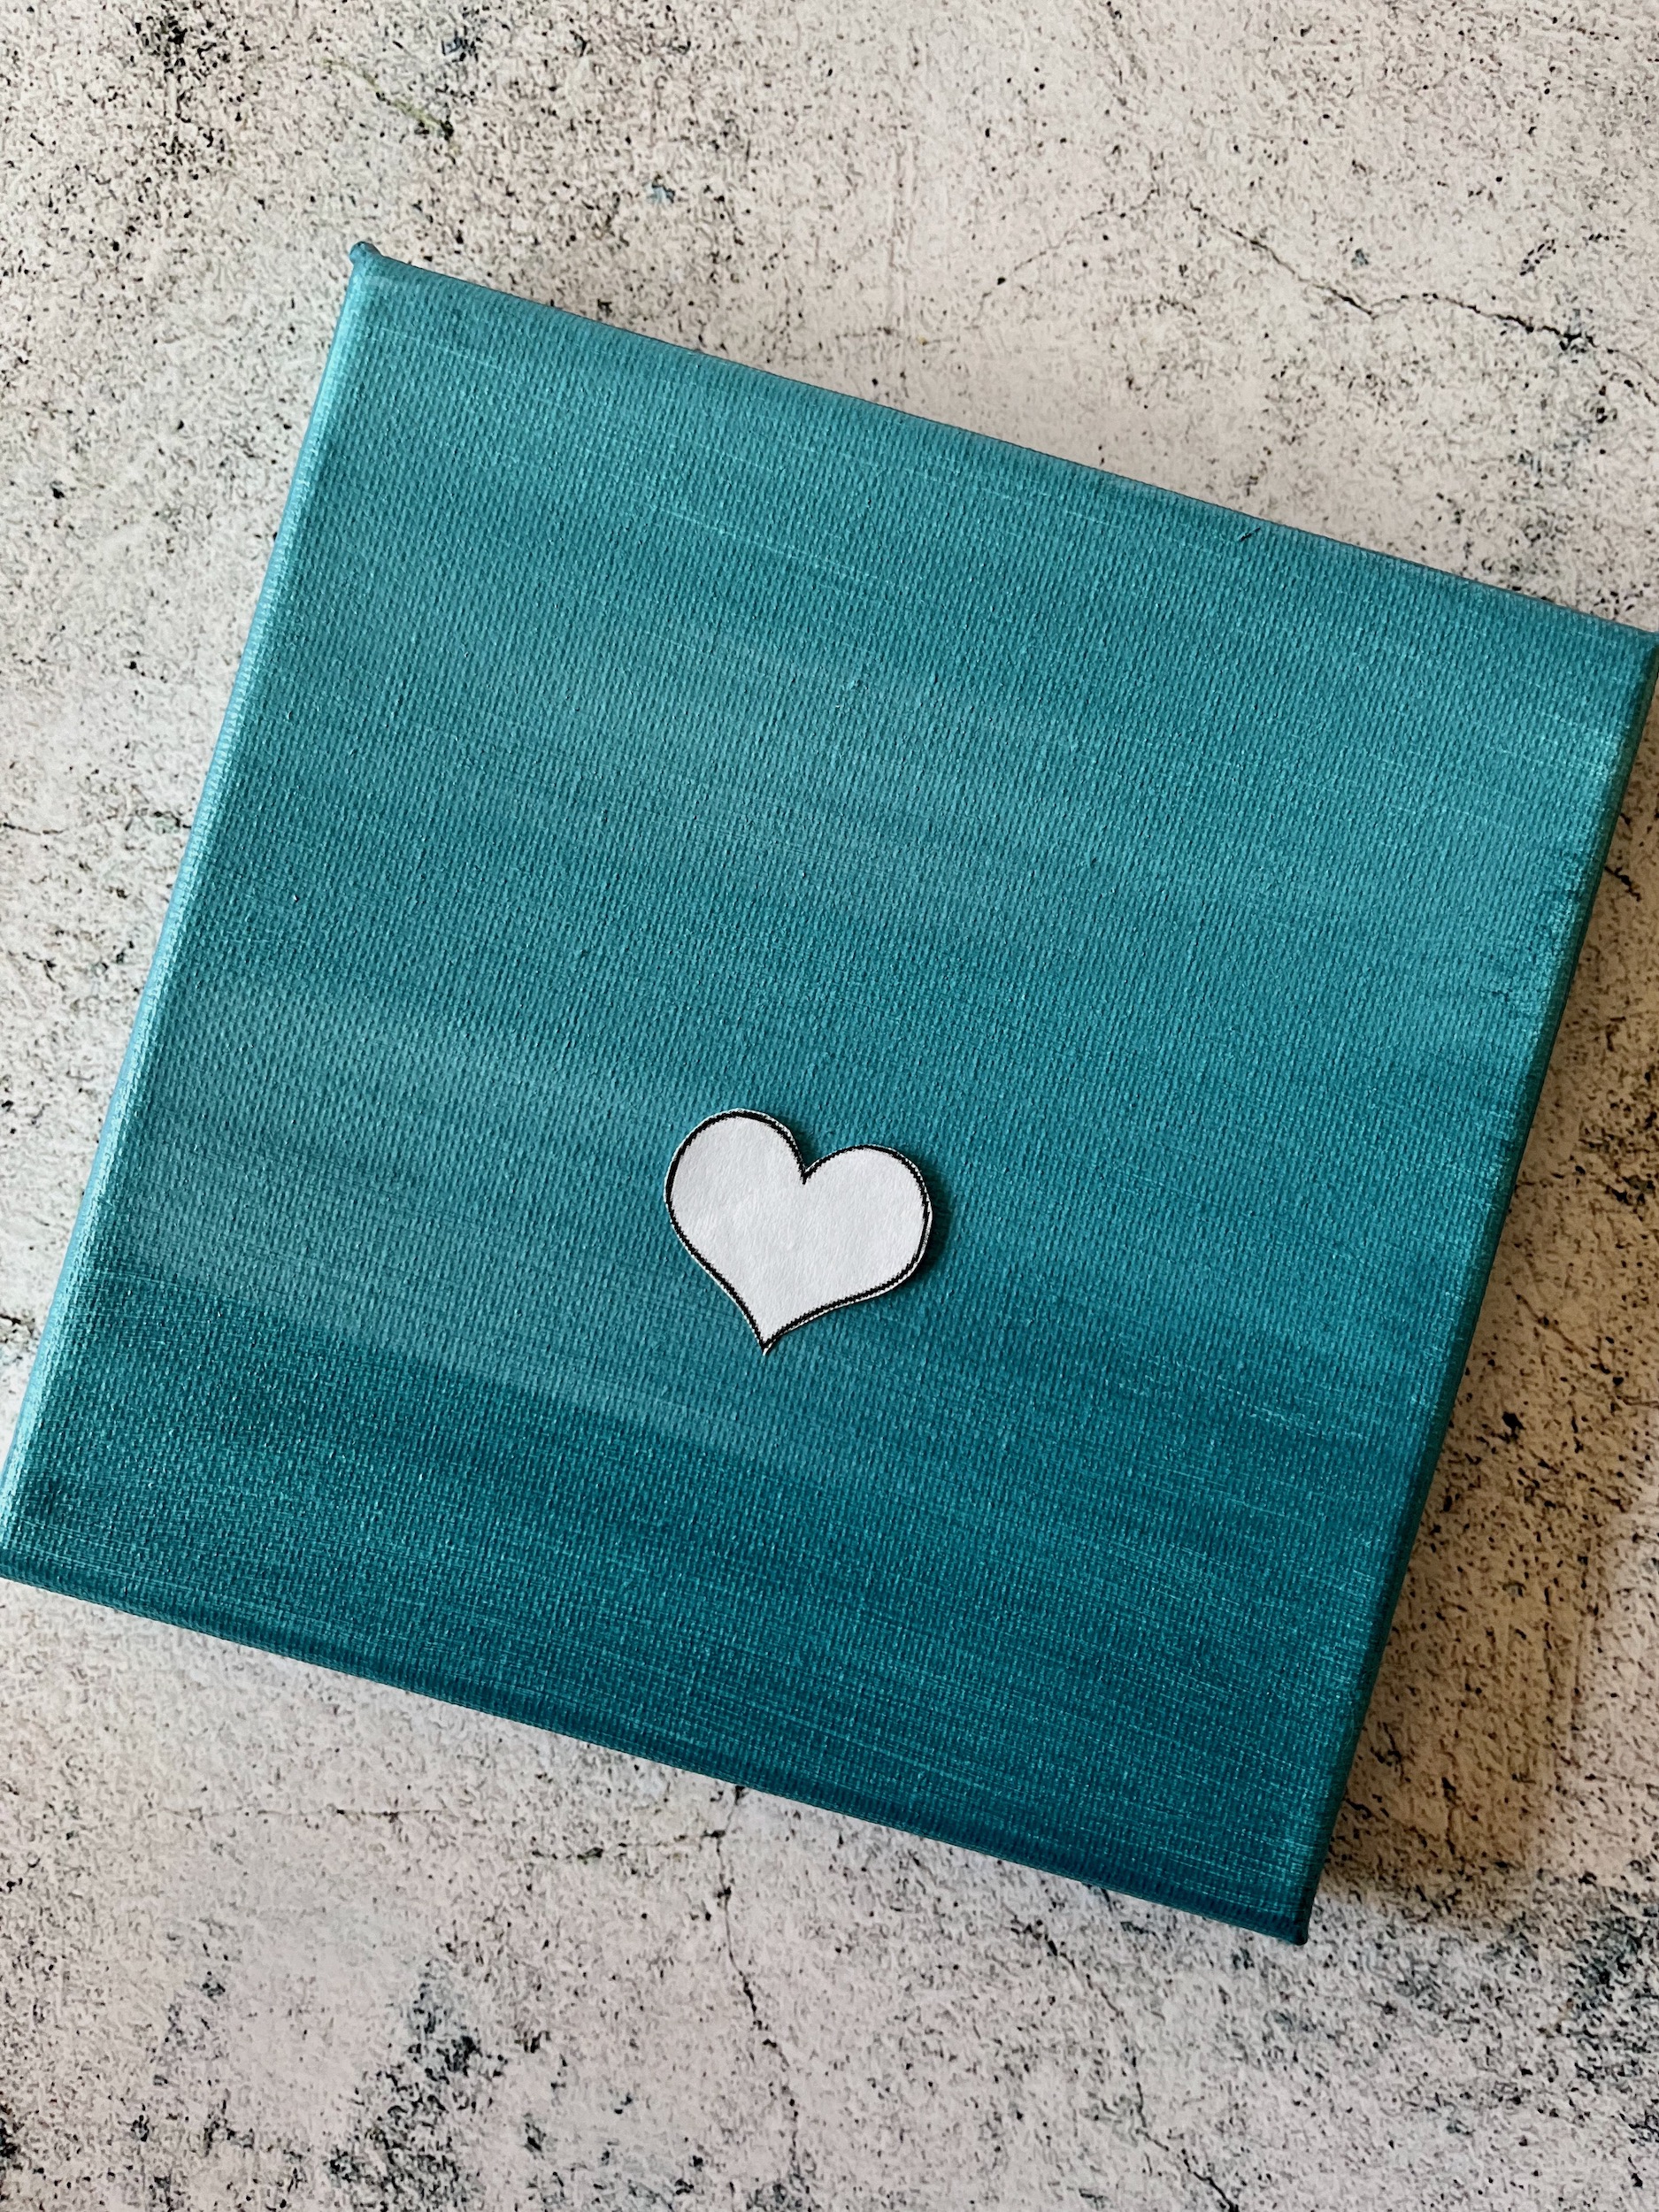
- For a completed look, paint the edges of the canvas if you have not already done so, then set it aside and allow it to fully dry.
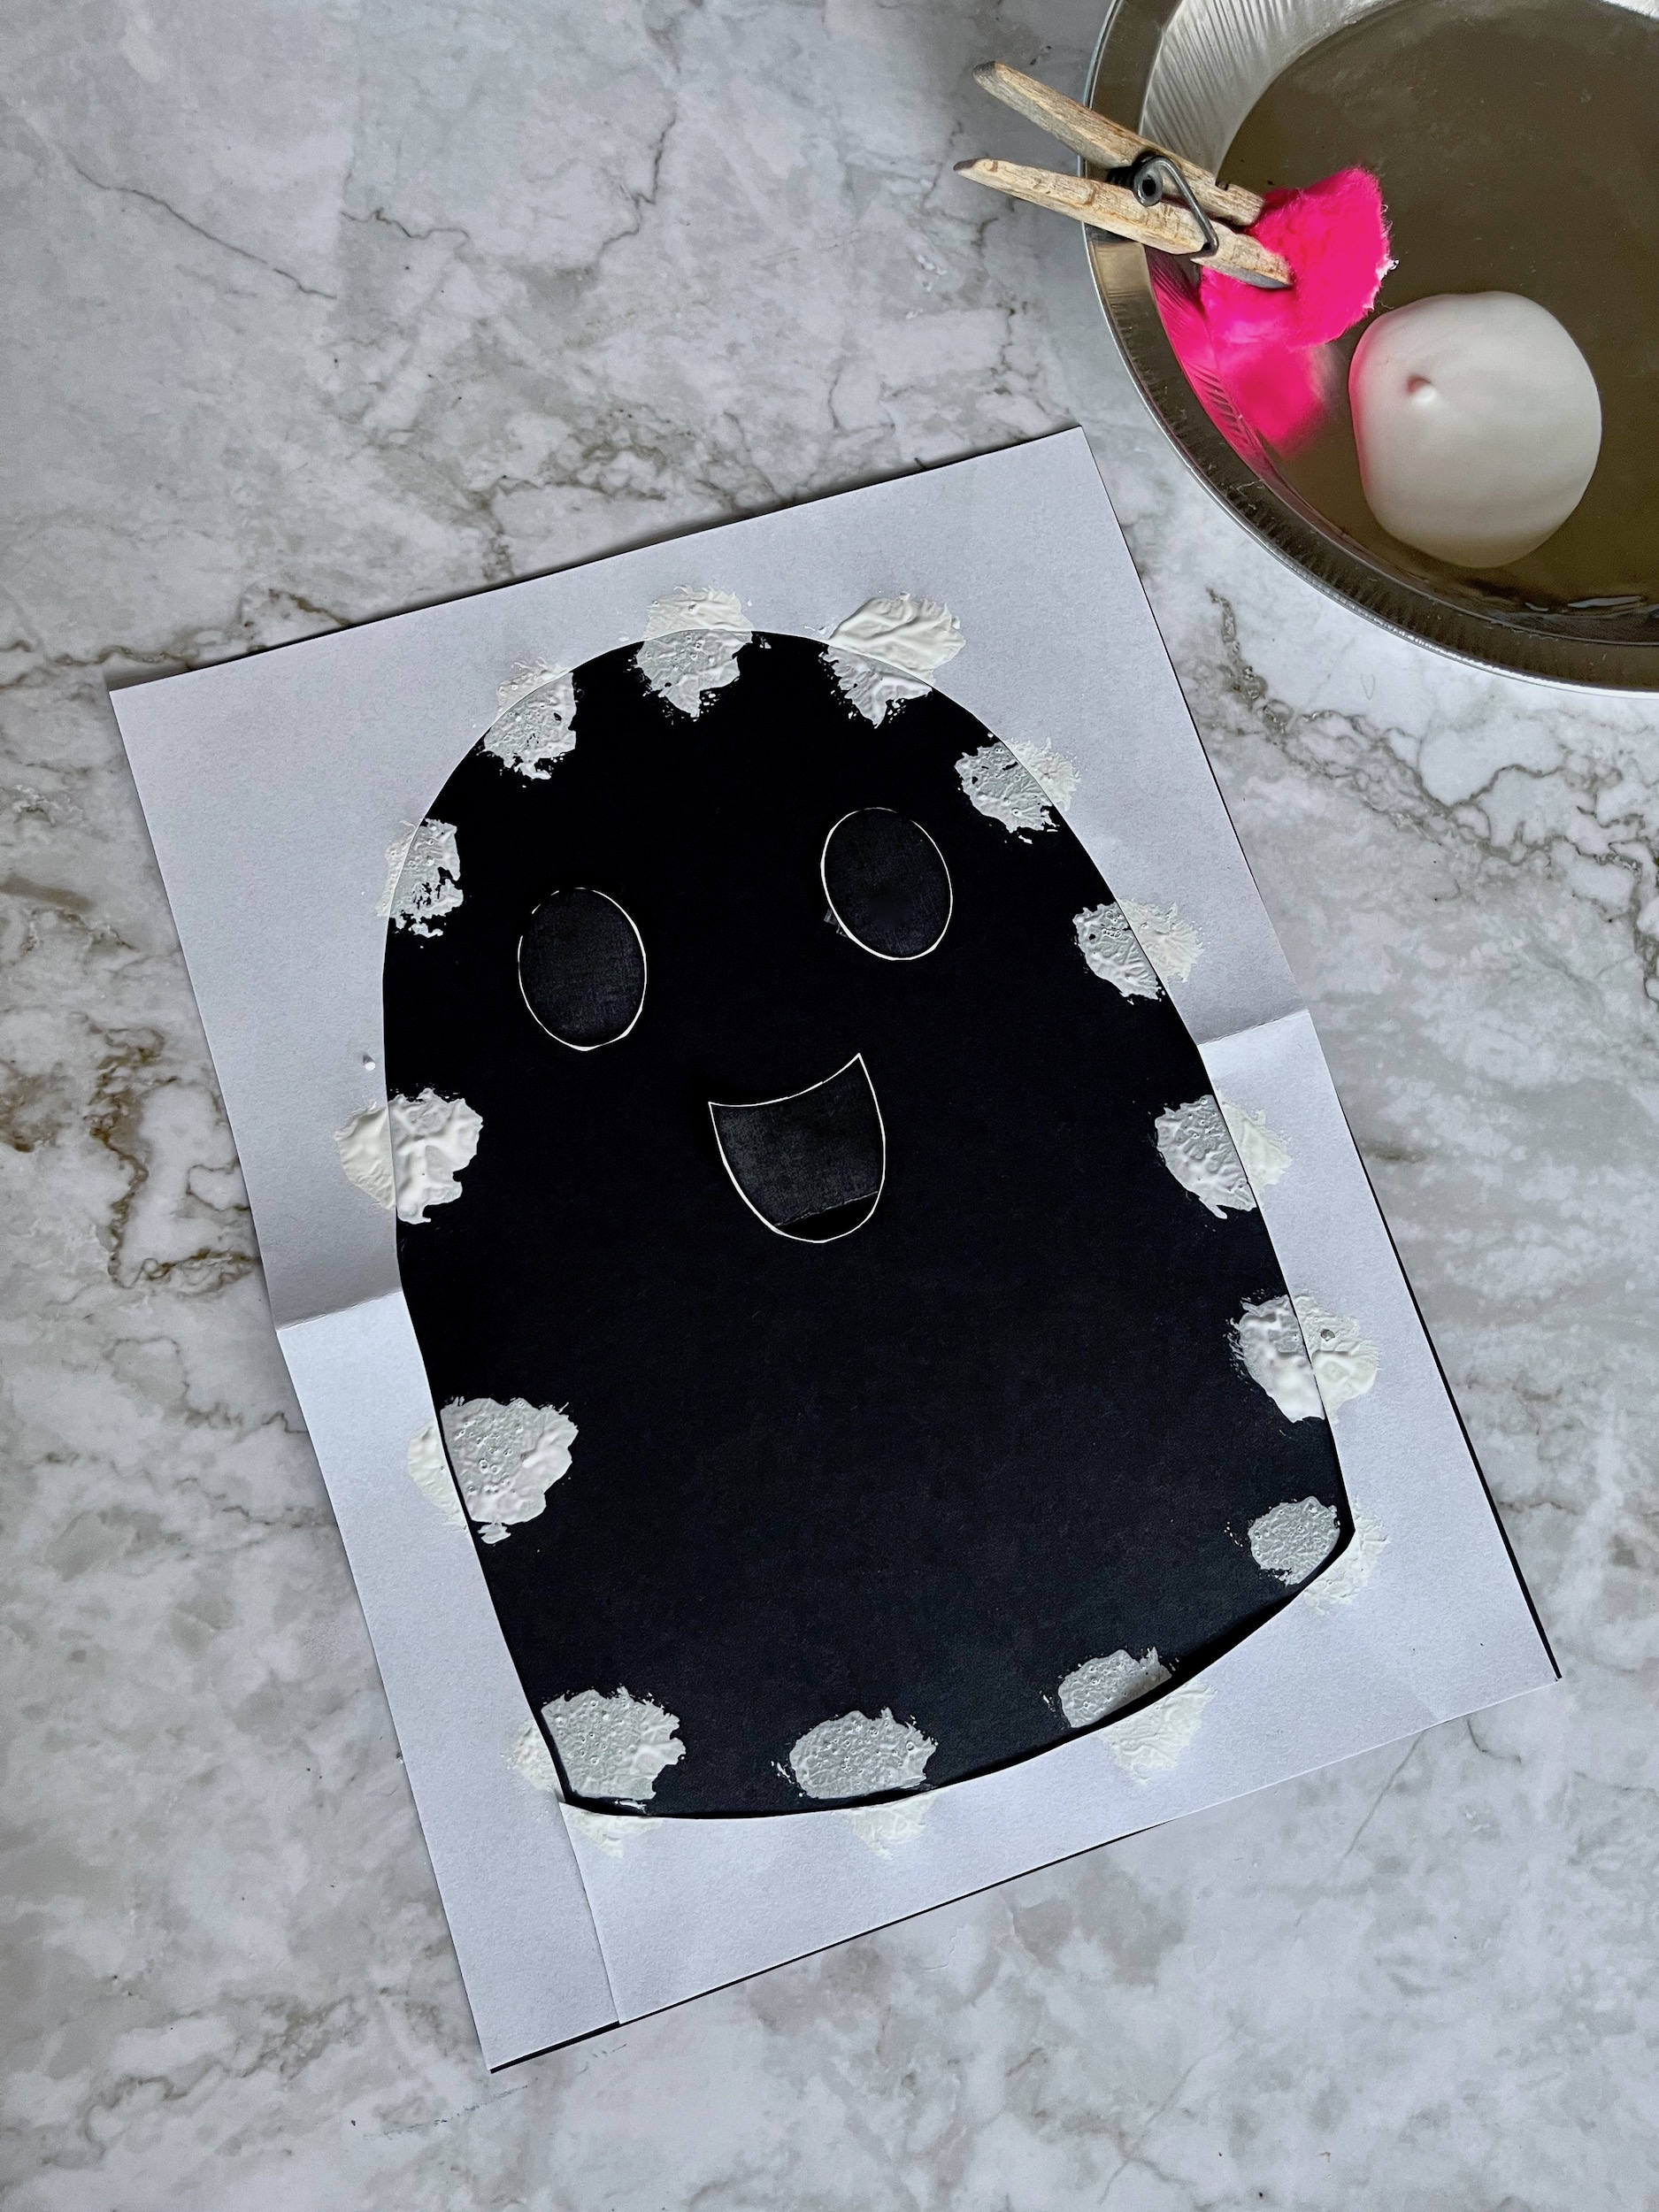
- Print and cut a heart out of paper and use sticky tape to attach it to the dry canvas.
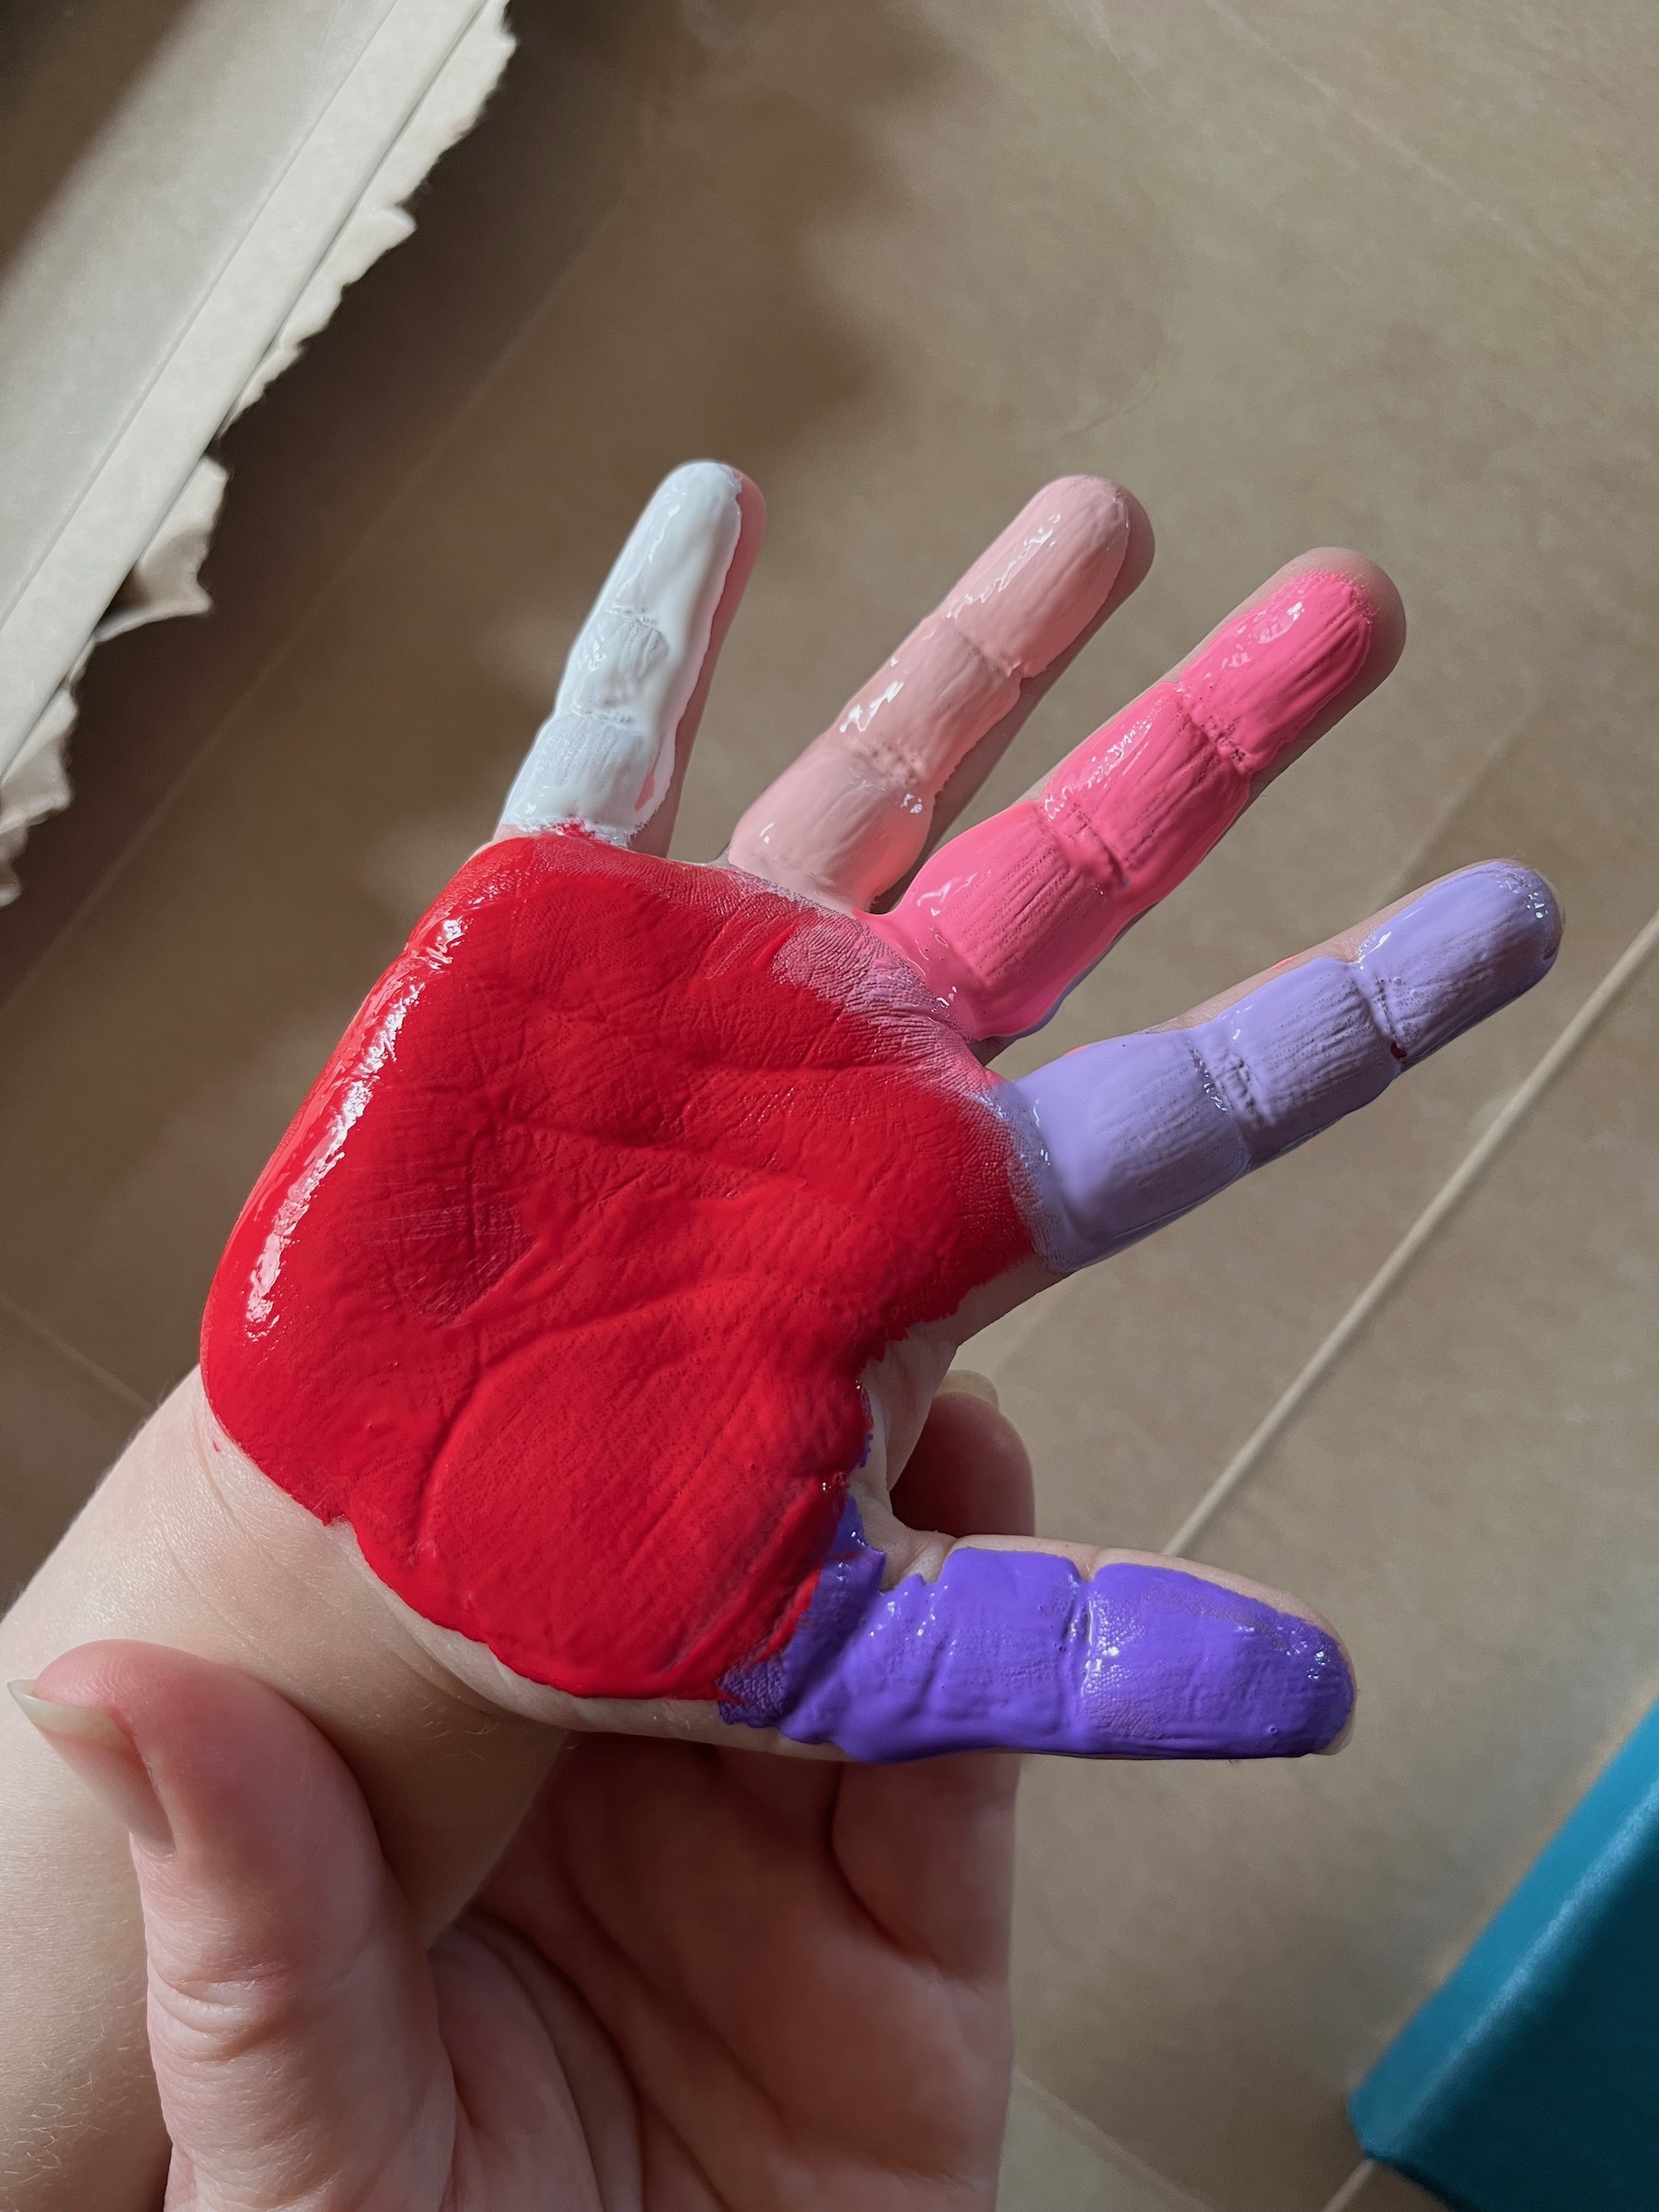
- Select the colors you would like to use to create the handprint, this could be one color or more, we did six, one for each finger and another color for the palm!
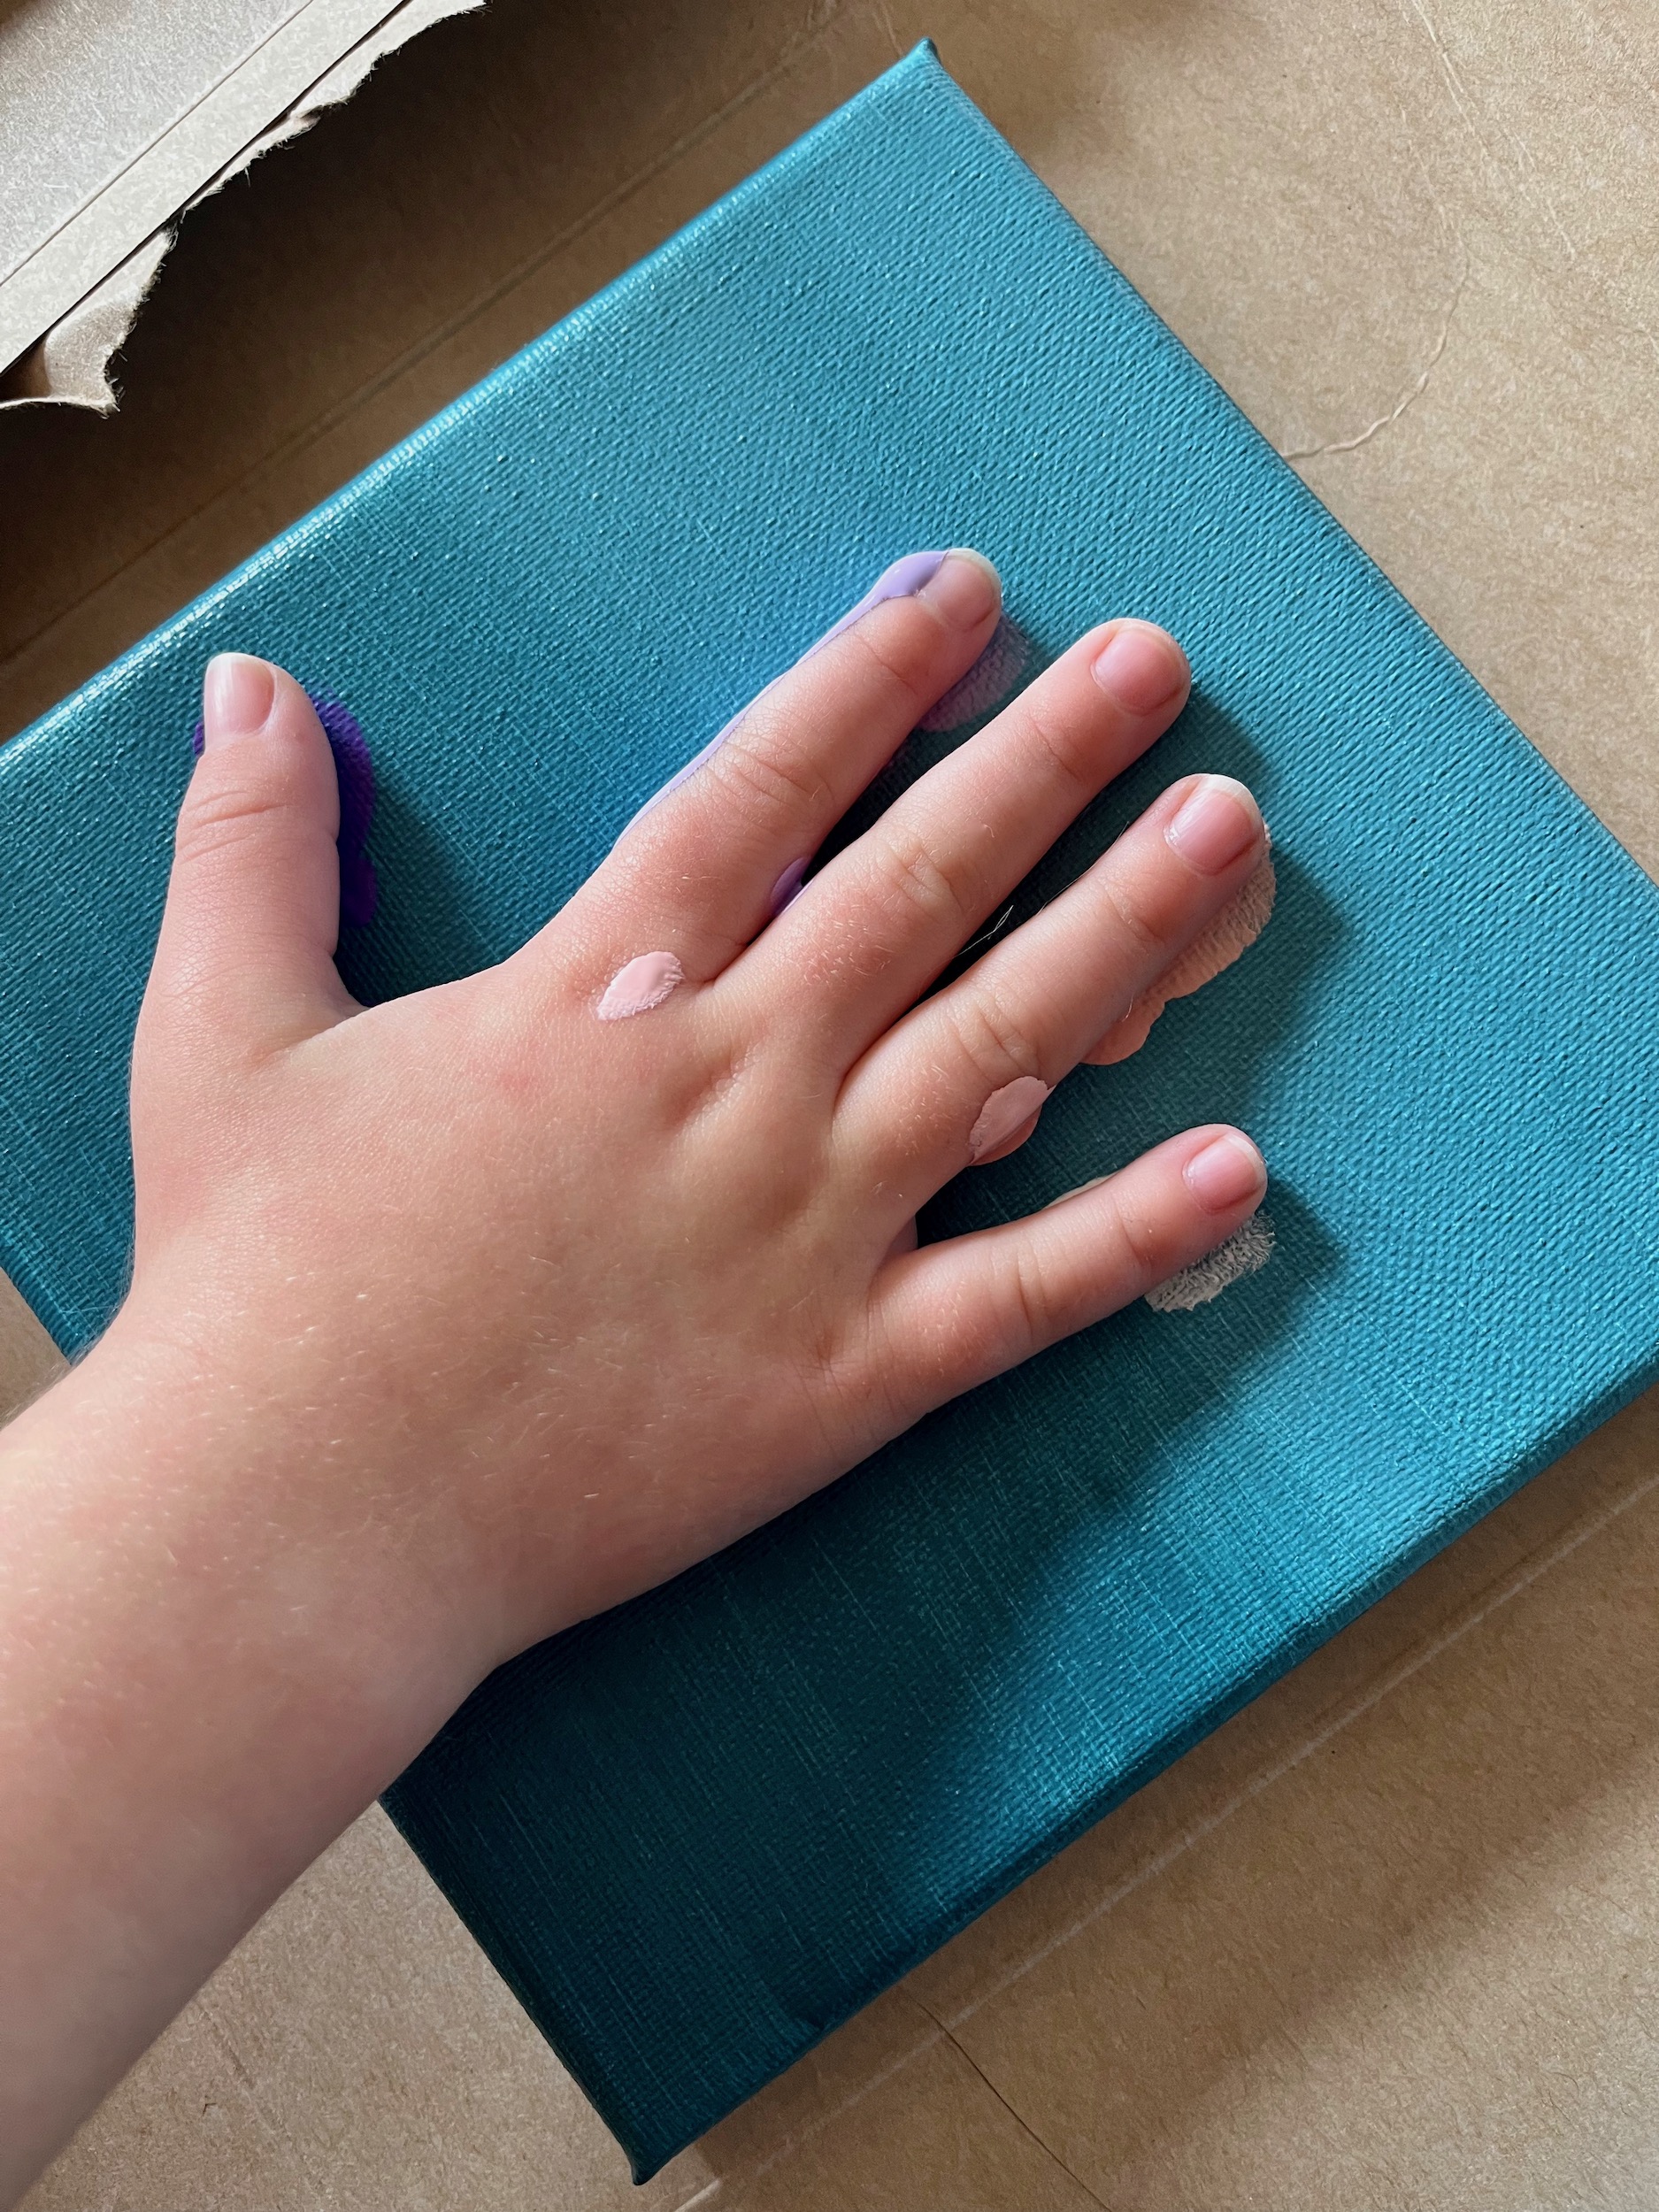
- Using a different foam paint brush for each color, brush the colors onto your little one’s hand. Gently press the painted hand down on the canvas, aligning the heart under their palm.
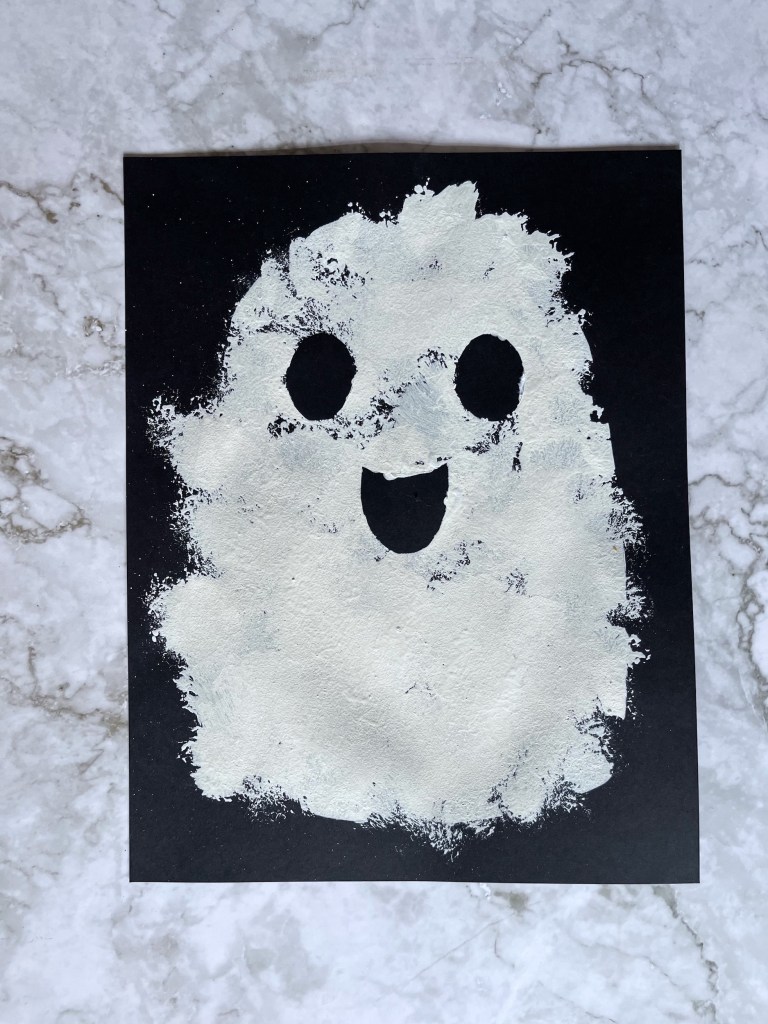
- Gently pull the hand away, then peel away the heart if it did not come off onto the hand.
- If needed, use a small paint brush to touch up the edges of the heart, then allow the painting to dry.
- Enjoy!


 Years ago, I purchased an old empty frame from a Goodwill store. I didn’t know exactly what I wanted to use it for, I just knew that I loved the decals on each corner and wanted to fix it up and give it a home. After years of procrastinating while the frame sat around and gathered dust, I finally decided to paint it and create a chalkboard.
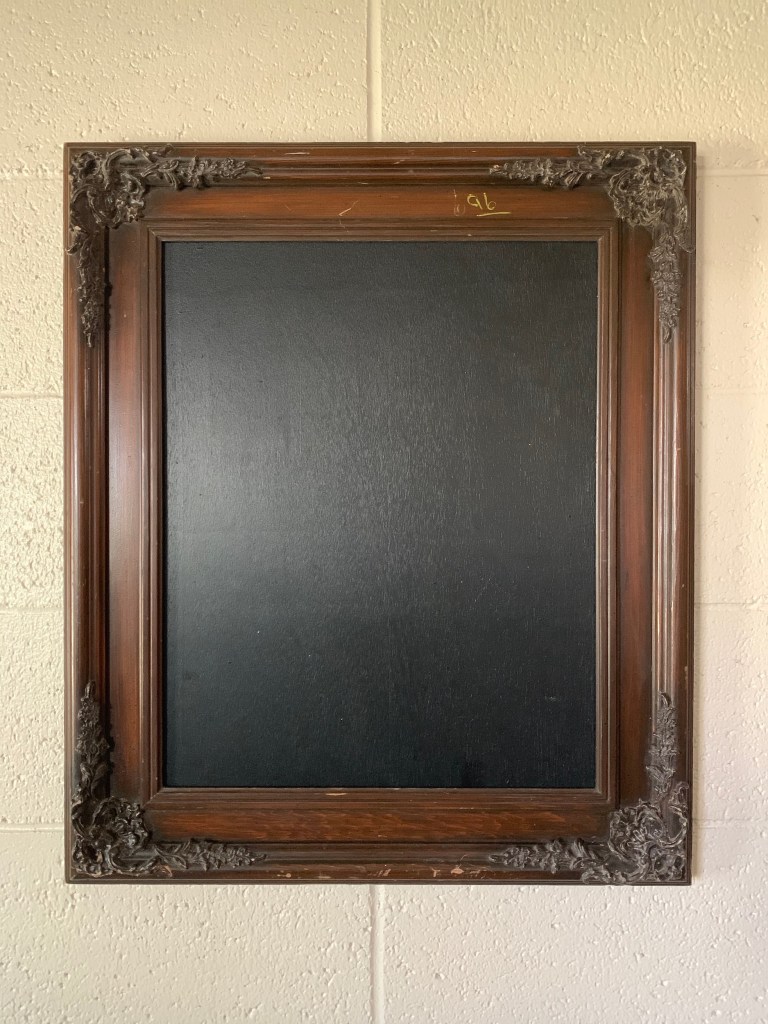 First, remove and sand one side of the mounting board to smooth it out. Once it’s as smooth as you prefer clean it off and prime it, then begin layering coats of chalkboard paint until you’ve reached your desired chalkboard depth and texture.
 Once both pieces are dry, you can reassemble the frame. Before writing or drawing on the chalkboard, you’ll need to prime it by coating it with chalk.
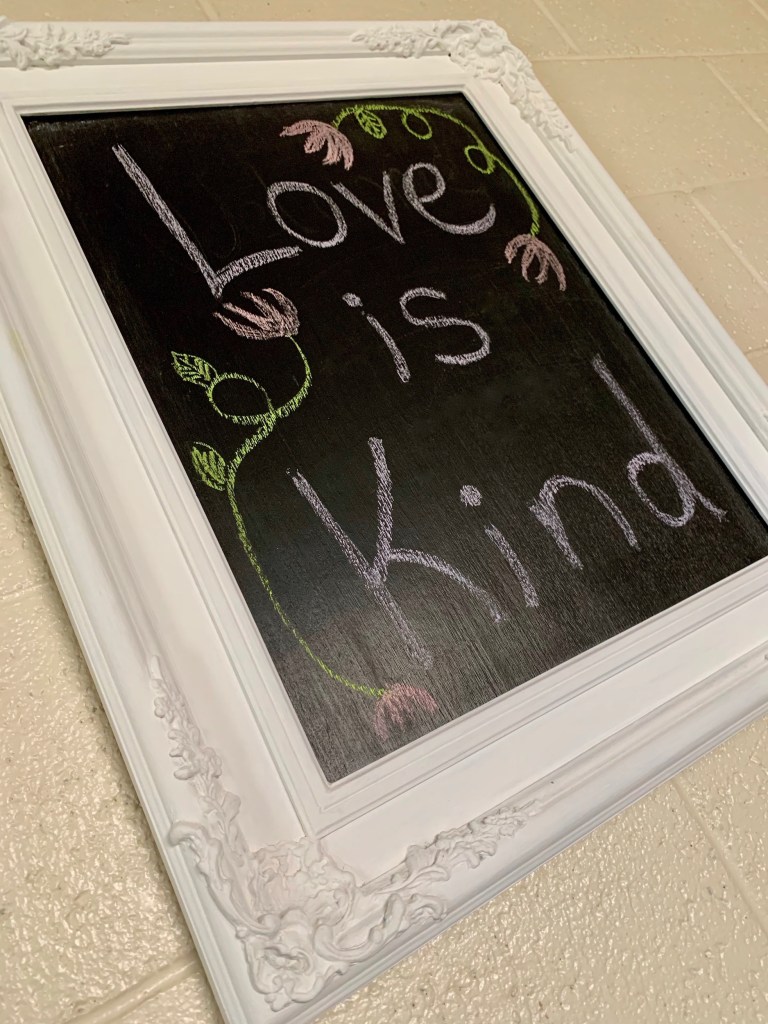
 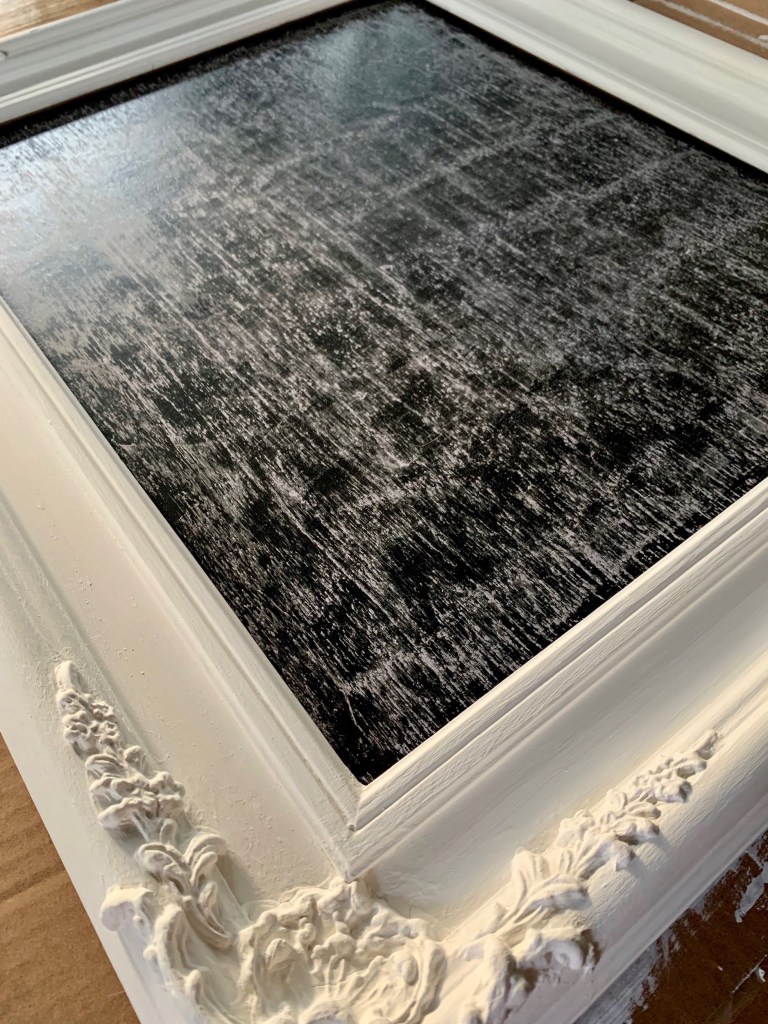 As you can see I just wrote the first thing that came to my mind here, but I intend on leaving this frame up as decor year round and changing it for different events, seasons or holidays!
