Have you ever been undecided on what to play next?
Should you buy that game? Should you install that game?
I’ve been there, and sometimes you just need to take a look at the graphics, hear the music, and learn a little about the plot to see if it resonates with you before taking the next step. I’m here to help! I am creating the first 30 to the first 60 minute videos of games; indie and mainstream, new and old!
This week let’s take a look at the first 30 minutes of Crash Bandicoot…
Welcome back friends! Do you crochet? I dabbled in crochet off and on for a few years, always fascinated, but never fully catching on. I kept at it, and suddenly, it clicked! I feel calm and cozy when I’m crocheting, and fiercely proud whenever I complete a project.
It’s that time of year for keeping warm! And, in the spirit of playing the Pete the Cat and the Missing Cupcakes game, I thought I’d make a blue crochet cat ear hat!
This hat is whimsical and cozy! The pattern is easy, and ideal for any level of crocheter (beginners included)! Any size 4 yarn can be used in this pattern, but for the Pete the Cat blue of my example piece, I used Red Heart yarn in the “soft navy” color. The size of the hat can also be adjusted for smaller heads by reducing the amount of rows to match half the circumference of the intended person’s head.
Let’s get started!
SUPPLIES
Crochet hook (size 5.50 mm)
Red Heart yarn (color: soft navy)
Scissors
Yarn needle or small crochet hook
INSTRUCTIONS
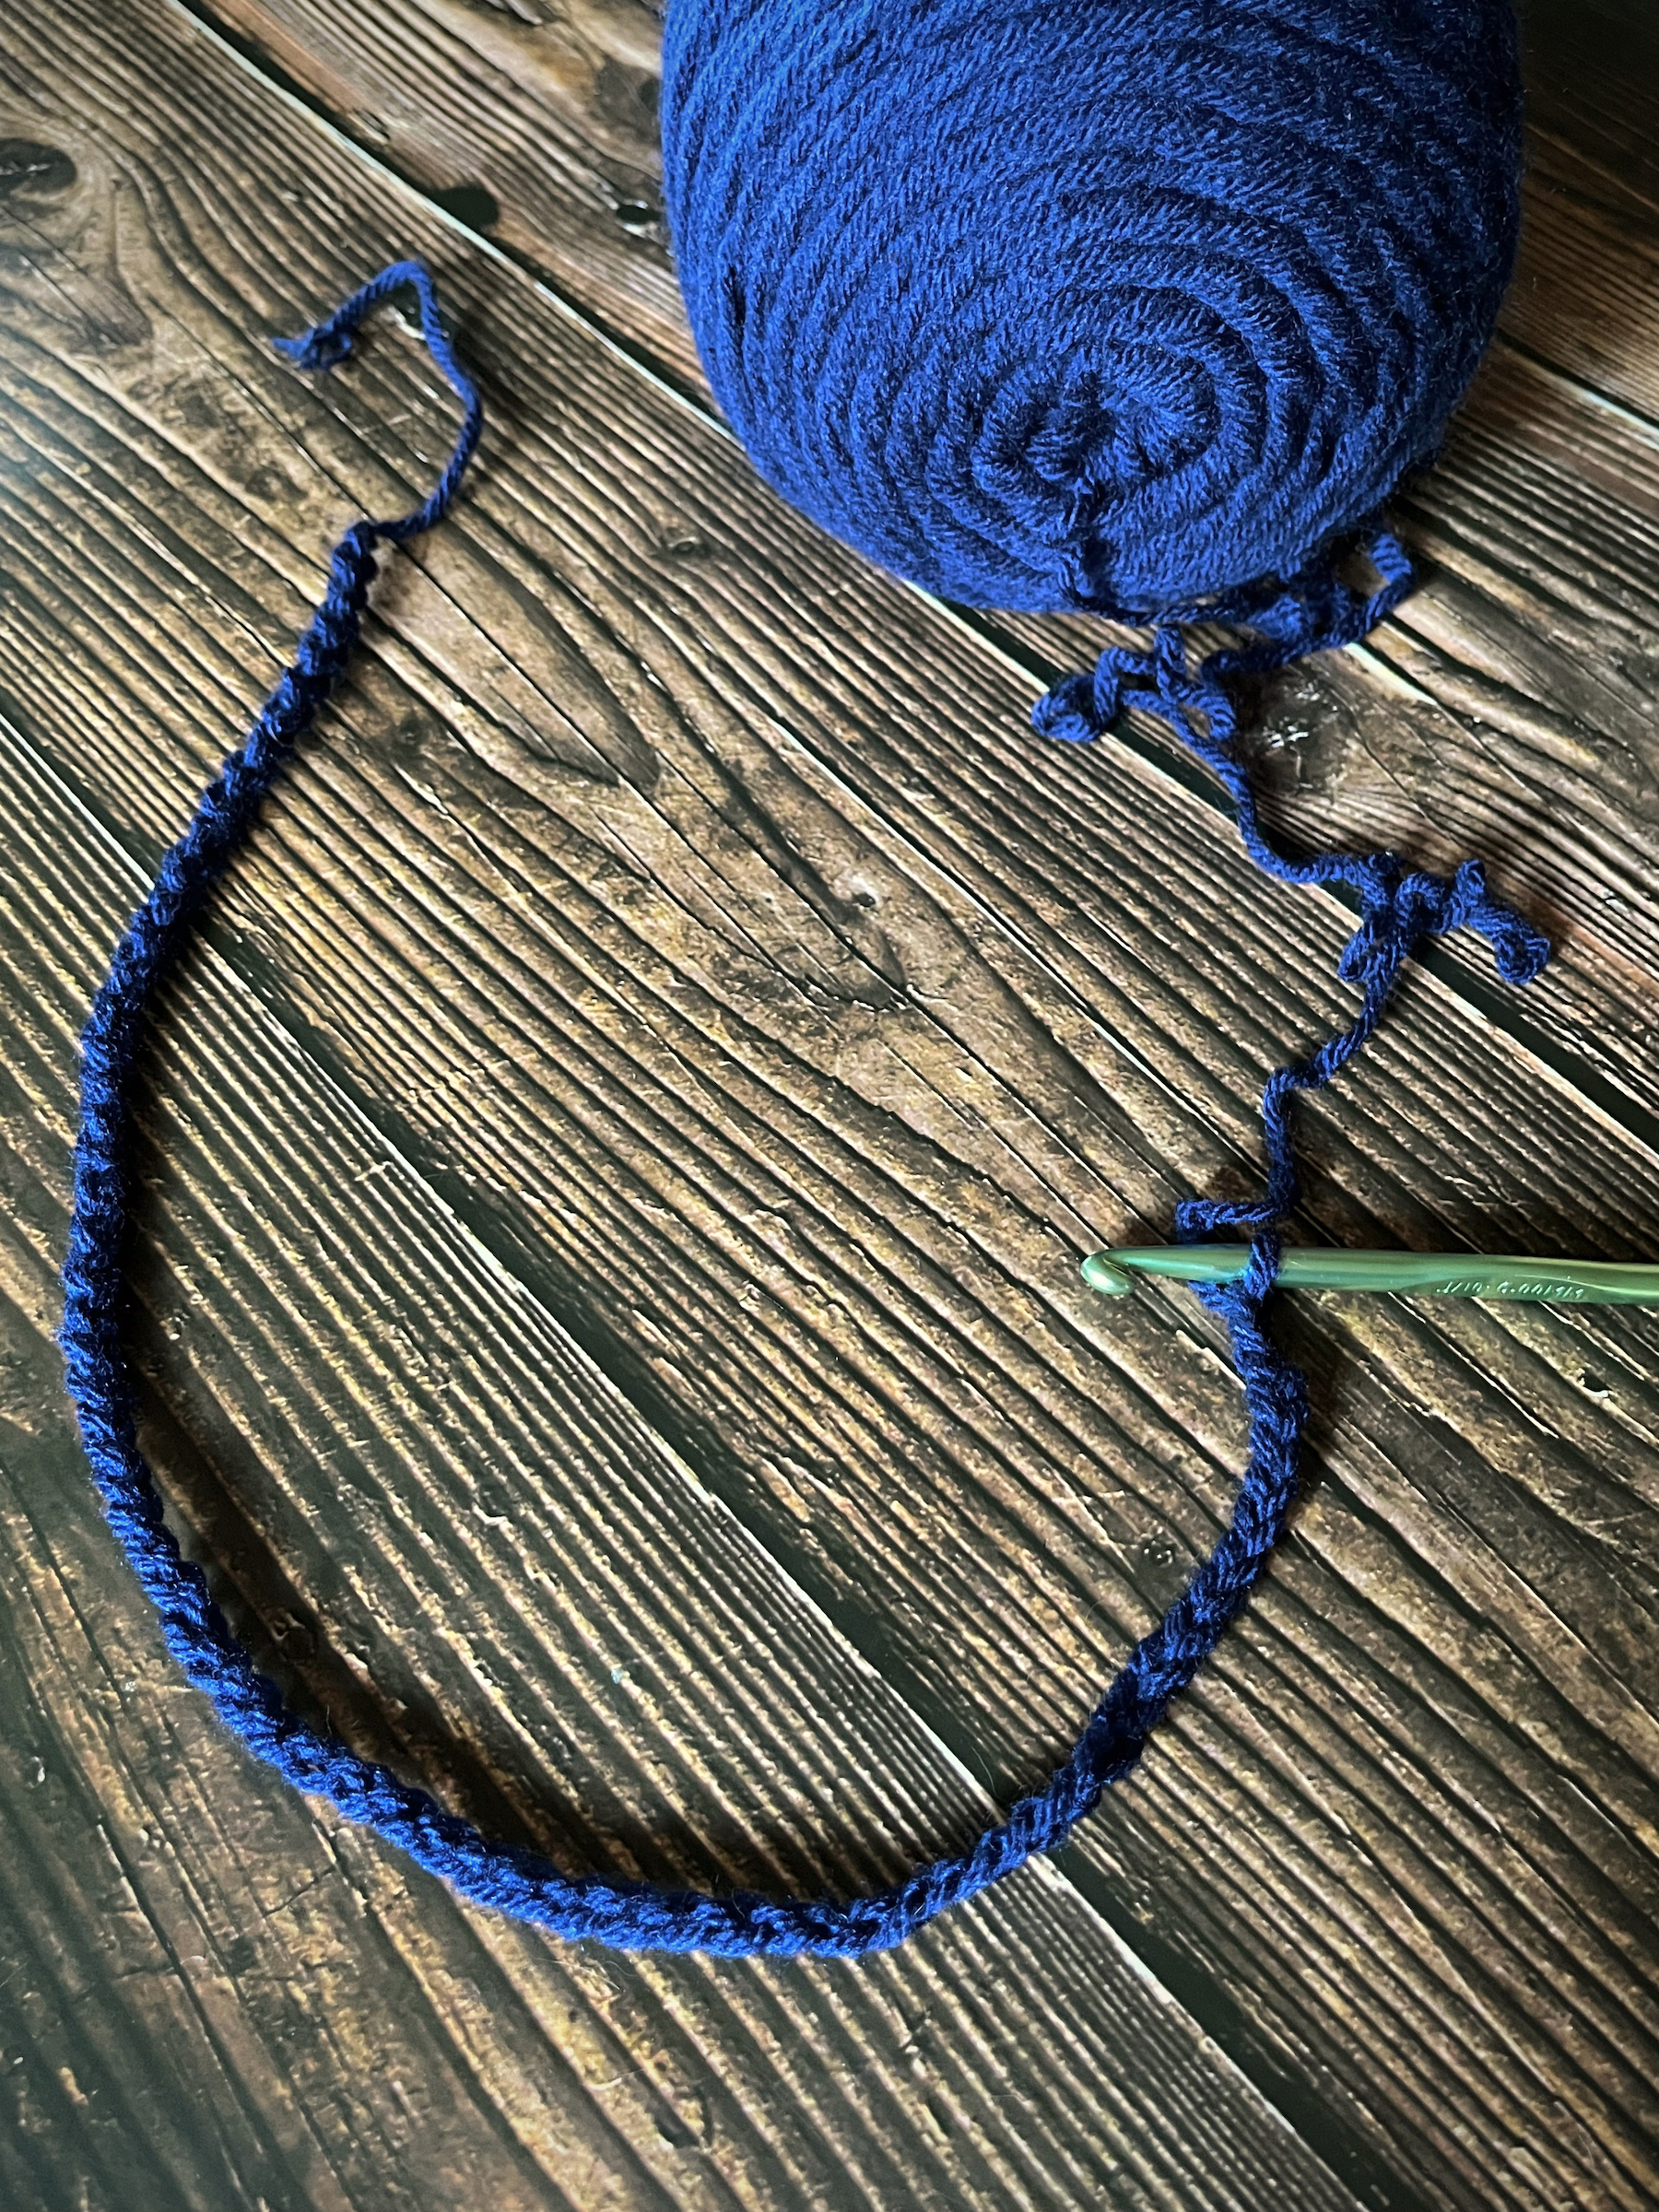
Create a slip knot and then at least 60 chain stitches (you can chain a few more if you want to make the brim wider). I wanted a wider brim/slouchier hat so I chained 70.
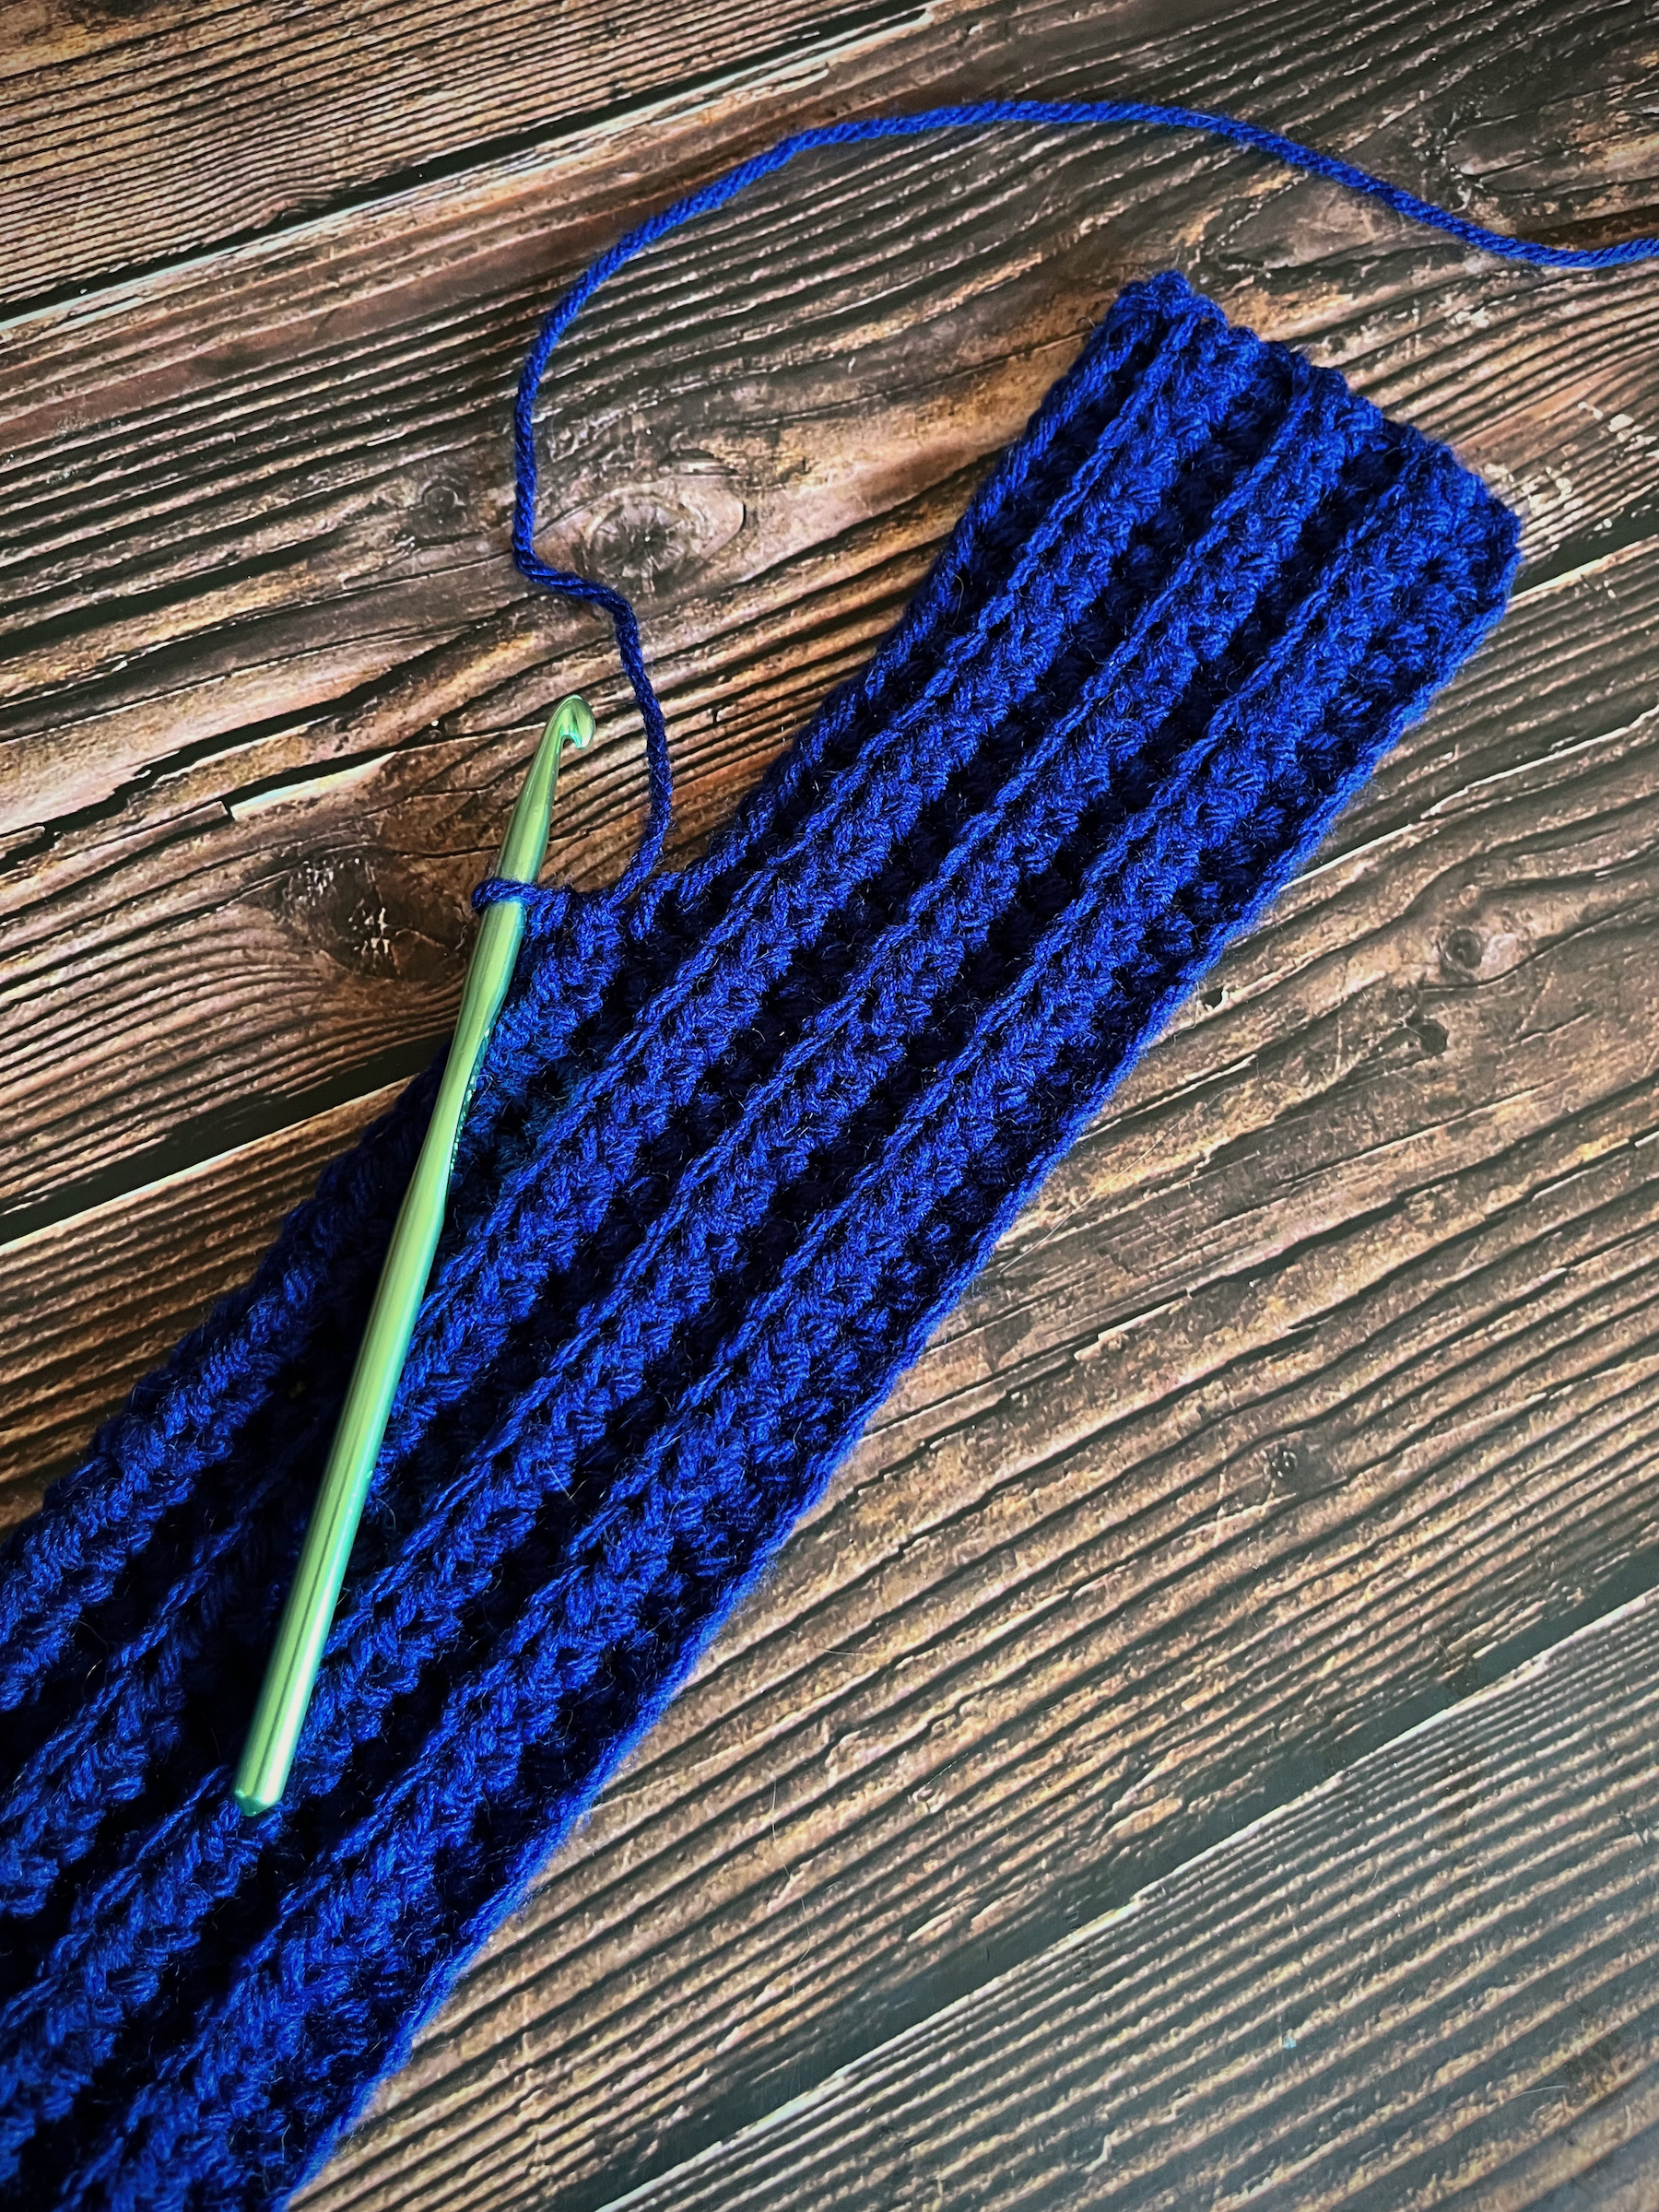
Turn your chain around and half double crochet (hdc) into the third stitch from the hook, then continue to hdc all the way across your chain.
Chain 2 and turn your work. Hdc into the back loop of the third stitch from the hook, then continue to hdc in the back loops of each stitch all the way across your project.
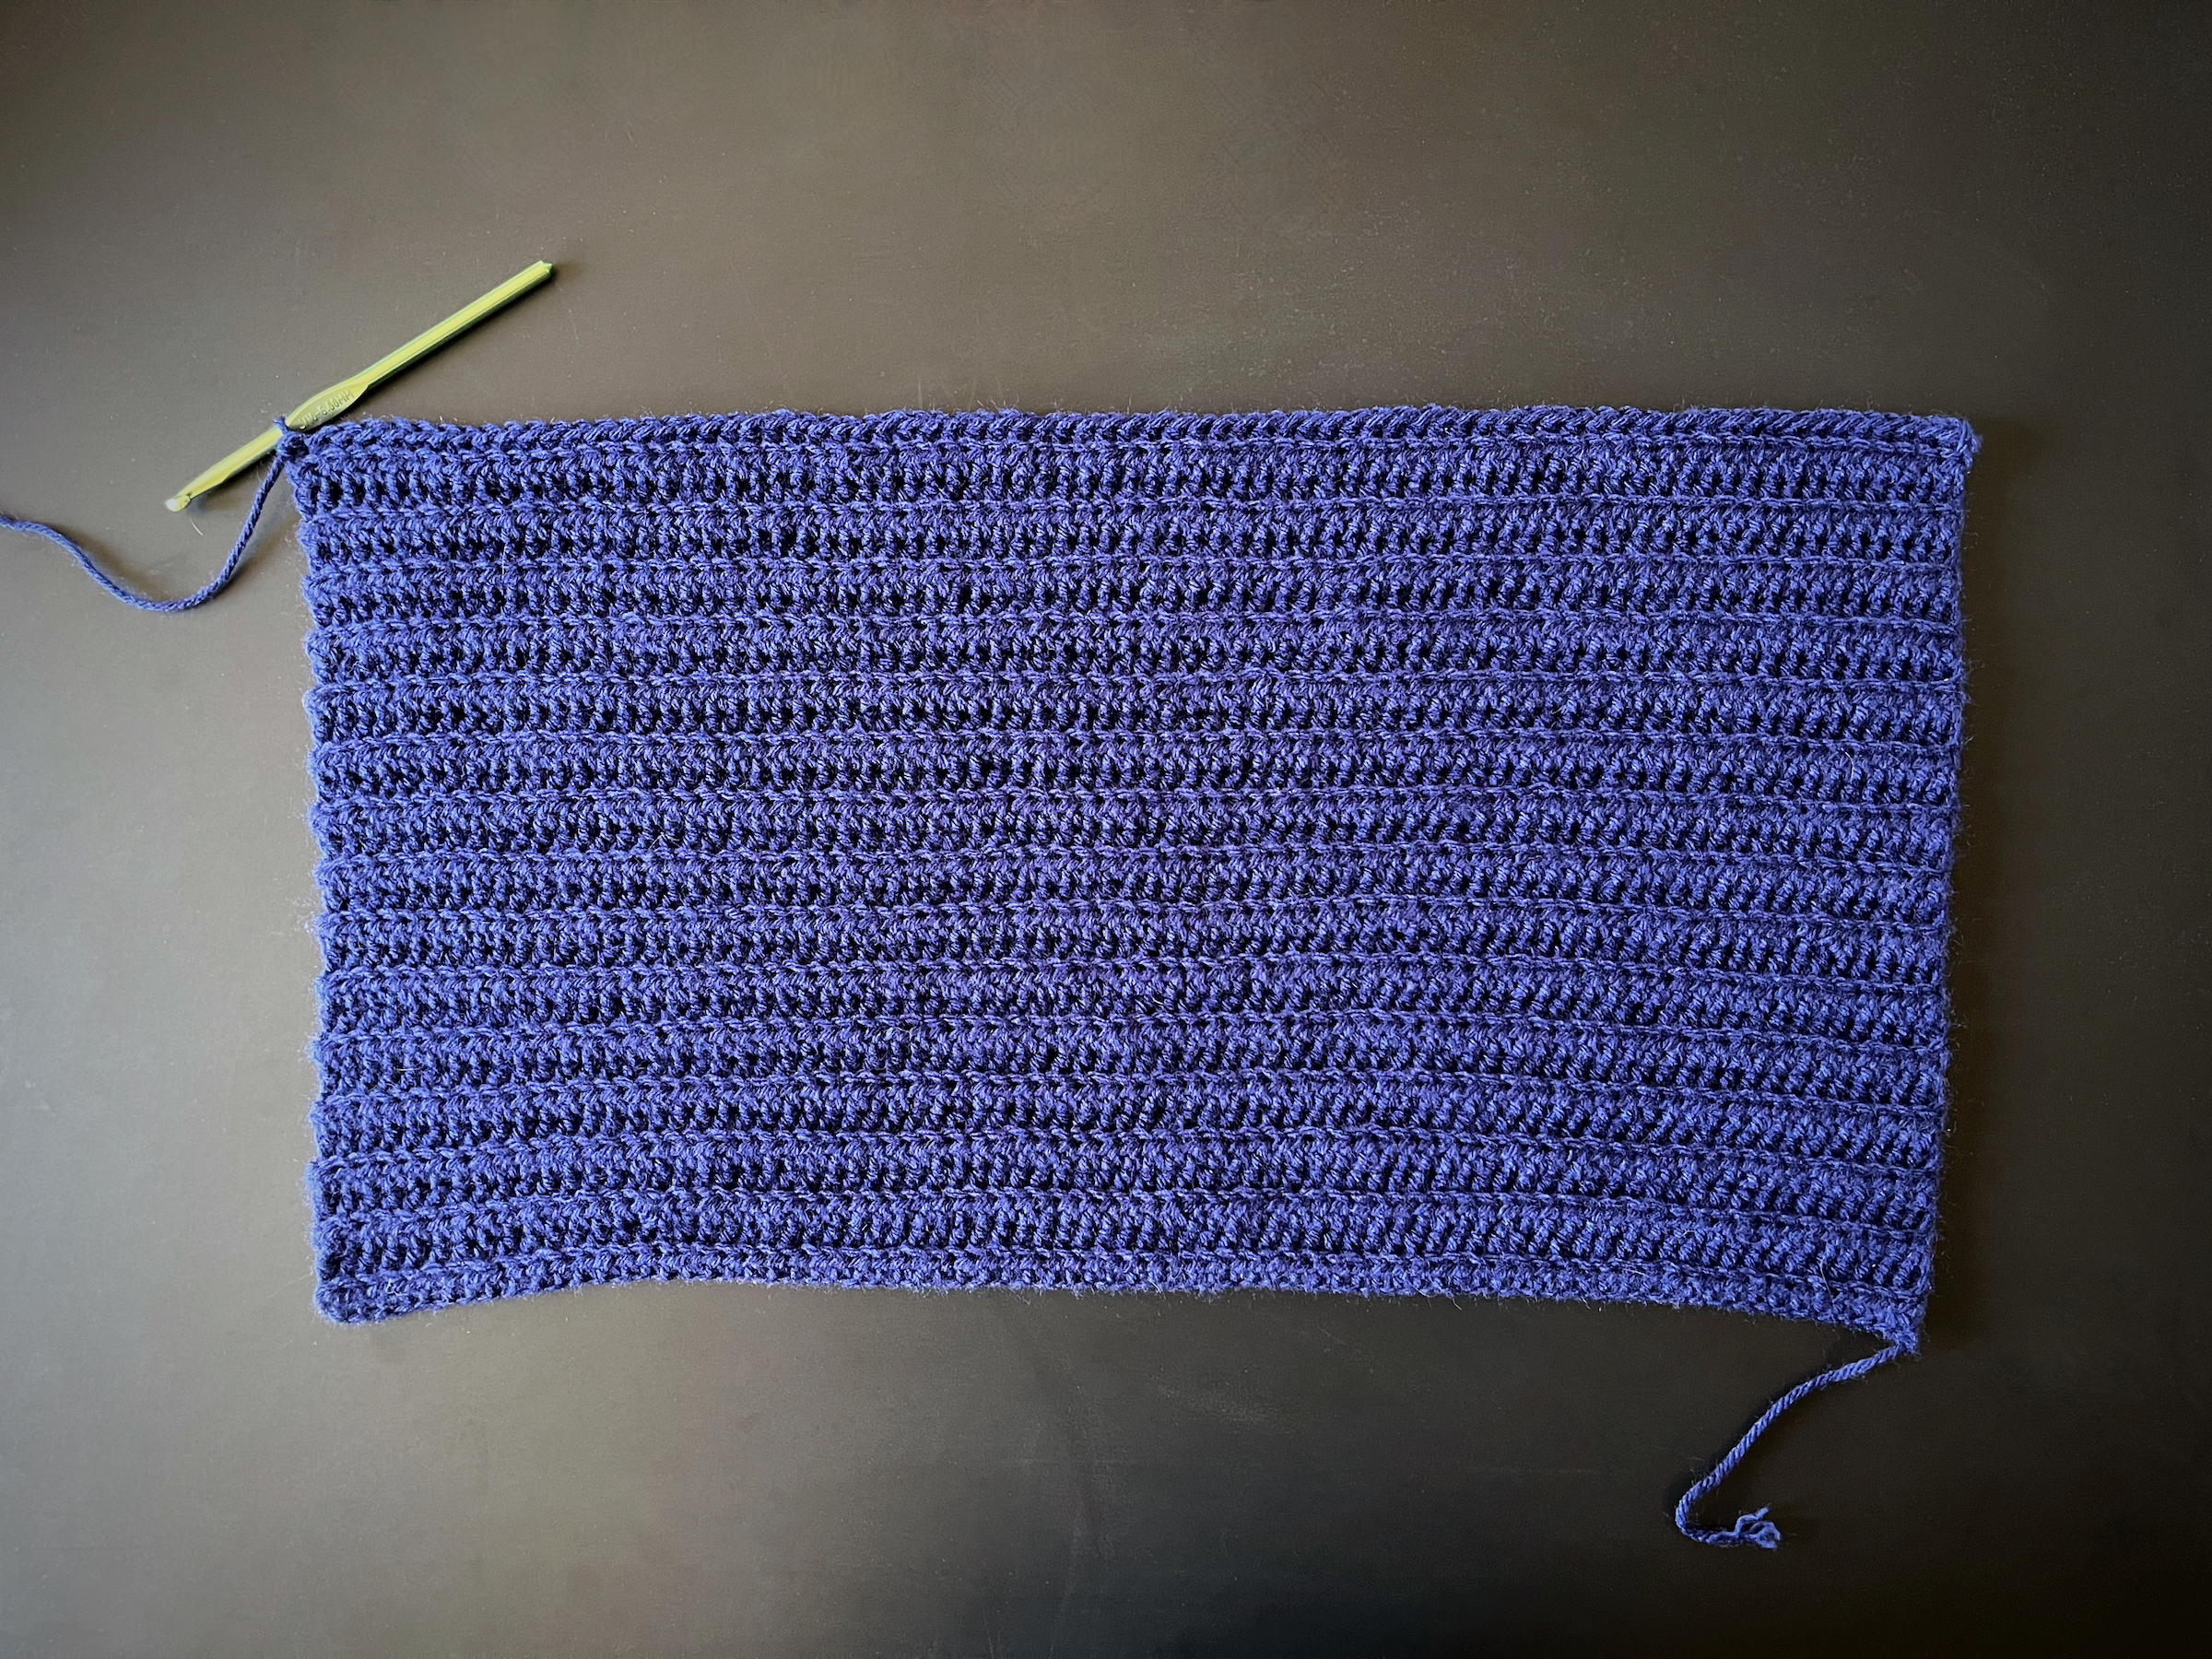
Repeat step 3 until there is a total of 28 to 30 hdc rows (the amount of rows can be adjusted so that the width of the project matches half of the circumference of your head).
After the last hdc of your last row, fold the length of the project in half (the fold will be the top of your hat where the “ears” form).
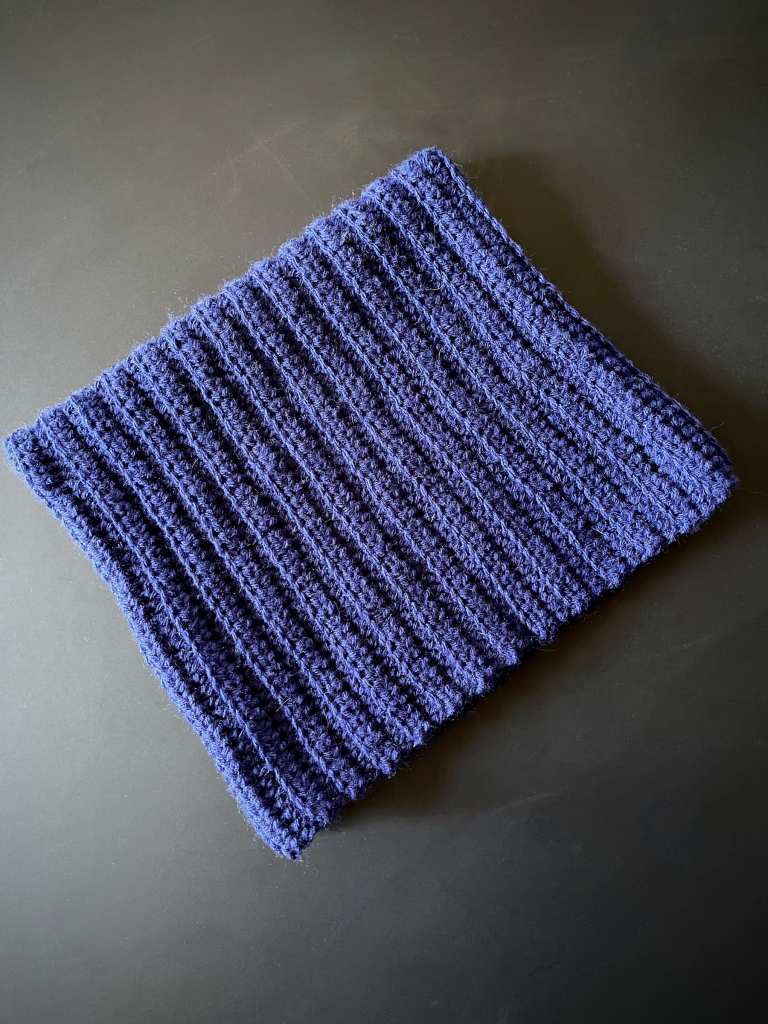
Using the yarn that is still attached, stitch up this side of the hat towards the fold. Insert your hook through the aligned stitches on either side and perform a single crochet to bring them together.
Once you’ve reached the top corner of the fold, tie a knot and cut the yarn. Use a yarn needle or a small crochet hook to weave the remaining yarn into the project.
Knot the tail from the beginning of the project to your yarn skein and repeat steps 6 and 7 up the other side of the hat.
Fold up the brim, place the hat on your head and adjust the ears to your preference!
Have you ever been undecided on what to play next?
Should you buy that game? Should you install that game?
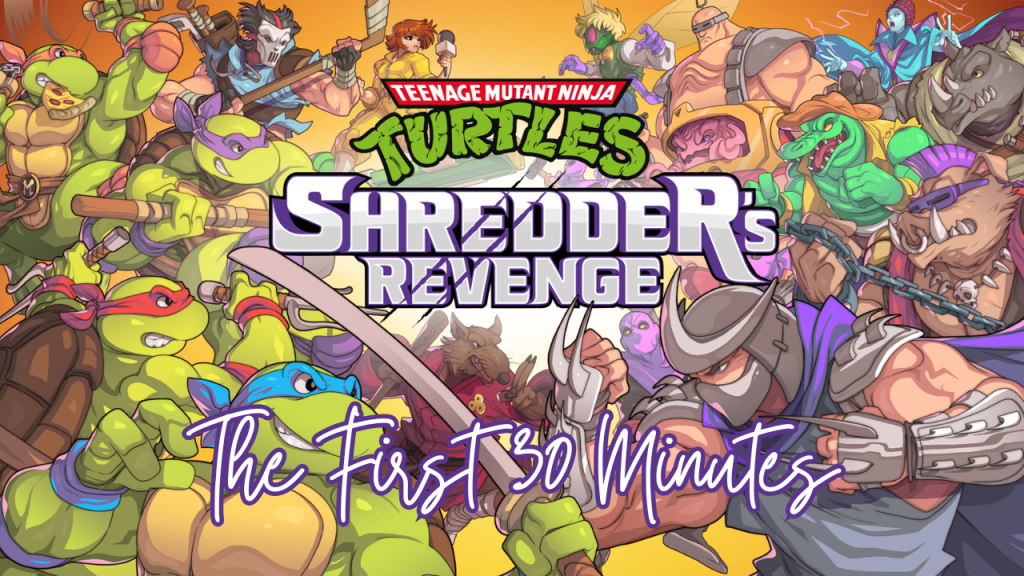
I’ve been there, and sometimes you just need to take a look at the graphics, hear the music, and learn a little about the plot to see if it resonates with you before taking the next step. I’m here to help! I am creating the first 30 to the first 60 minute videos of games; indie and mainstream, new and old!
This week let’s take a look at the first 30 minutes of Teenage Mutant Ninja Turtles: Shredder’s Revenge…
Part of the fun in raising Zoey is finding things that delight and educate her; I want to find fun, creative board games to play with her during our family game nights! This week we played Pete the Cat: The Missing Cupcakes Game by Briarpatch for 2 to 4 players!
Zoey loves Pete the Cat and loves cupcakes so this game is a perfect fit for her! It’s also enjoyable to play a cooperative game that we all work together to complete rather than always be competitive. Competition is great, but teamwork is a valuable skill too!
Let’s play!
IN THE BOX
4 game pieces
14 colorful cupcakes
20 birthday present cards
A Game board
A Game spinner
A Grumpy Toad & cupcake tray
INSTRUCTIONS
Each player chooses a character pawn and places it on one of the four corners of the game board (it is ok for 2 players to share a space).
Place all the cupcakes onto Grumpy Toad’s cupcake tray.
Shuffle the present cards and place them all, face down, next to Pete the Cat.
The youngest player goes first by spinning the spinner and moving clockwise around the board.
Players move around the board performing one of the following activities, based on the space landed on:
Present spots-The player picks up one present card and performs one activity (playing like charades, but sounds are okay). If someone guesses successfully, then the player who performed the activity takes two cupcakes from Grumpy Toad’s cupcake tray and places them on two of the open slots (shaded circles) on Pete the Cat’s birthday party table on the game board.
Activity spots-(animal, food, letters, music) If a player successfully completes one of the four activities, the player takes a cupcake from Grumpy Toad’s cupcake tray and places it on one of the open spots on Pete the Cat’s birthday party table:
Dog – Name an animal and say its sound (i.e. cow…moo!).
Apple – Name a yummy food.
ABC’s – Think of a letter and name something that starts with that letter (i.e. T…table).
Musical note – Sing a verse from a song (i.e. Twinkle, Twinkle Little Star) or make up a new song!
(Once something has been named by a player, other players cannot name the same thing. They must remember what others said and say something new.)
Grumpy Toad spots – Grumpy Toad decides he’s still hungry and, if there is a cupcake on Pete the Cat’s birthday party table, takes one (any) cupcake off the table and back to his cupcake tray.
Home spots – Relax, you’re home, not activity is performed.
After the player performs one of the above activities, his or her turn is over and play passes to the left.
When all the cupcakes have been taken from Grumpy Toad’s cupcake tray, the game ends and ALL the players celebrate the team victory by singing Happy Birthday to Pete the Cat!
Have you ever been undecided on what to play next?
Should you buy that game? Should you install that game?
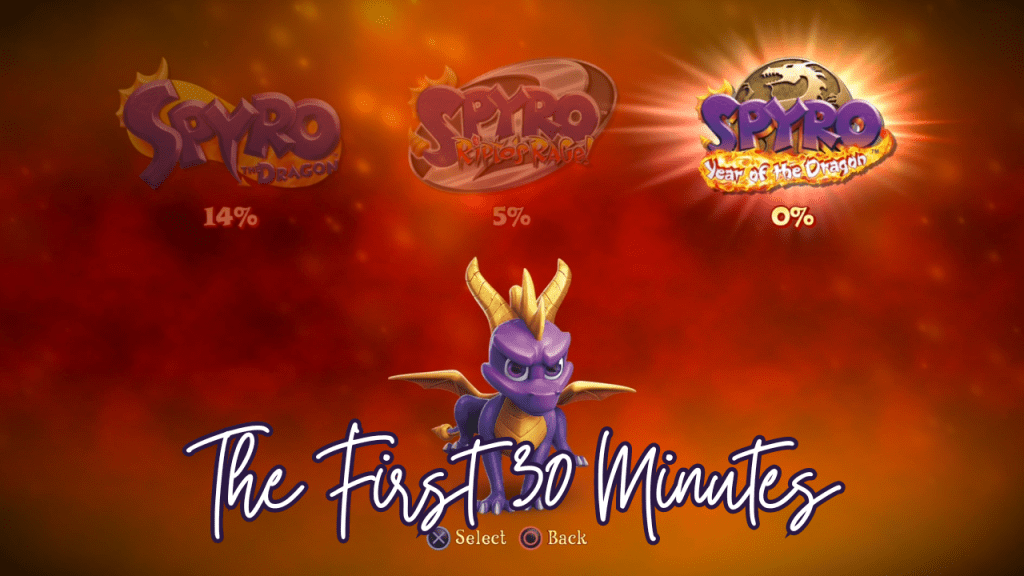
I’ve been there, and sometimes you just need to take a look at the graphics, hear the music, and learn a little about the plot to see if it resonates with you before taking the next step. I’m here to help! I am creating the first 30 to the first 60 minute videos of games; indie and mainstream, new and old!
This week let’s take a look at the first 30 minutes of Spyro: Year of the Dragon from the Reignited Trilogy…
Weekly family movie nights, now doesn’t that sound wonderful? Imagine it, getting into pajamas and snuggling up on the couch or pillow-strewn floor, munching on a special snack. There are many ways to create happy memories, and this is one of them!
We’ve already had three family movie nights this year and they were fun and relaxed. Our only rule is no screens except for the one the movie is featured on.
I’ve created a list of 90 non-Disney family movie ideas rated PG and under. I did not include many sequels for the sake of length, but most of the sequels are worth watching too! If you have any family favorite I did not include, please let us know!
Have you ever been undecided on what to play next?
Should you buy that game? Should you install that game?
I’ve been there, and sometimes you just need to take a look at the graphics, hear the music, and learn a little about the plot to see if it resonates with you before taking the next step. I’m here to help! I am creating the first 30 to the first 60 minute videos of games; indie and mainstream, new and old!
This week let’s take a look at the first 30 minutes of Spyro 2: Ripto’s Rage from the Reignited Trilogy…
Welcome back friends! Do you crochet? I dabbled in crochet off and on for a few years, always fascinated, but never fully catching on. I kept at it, and suddenly, it clicked! I feel calm and cozy when I’m crocheting, and fiercely proud whenever I complete a project.
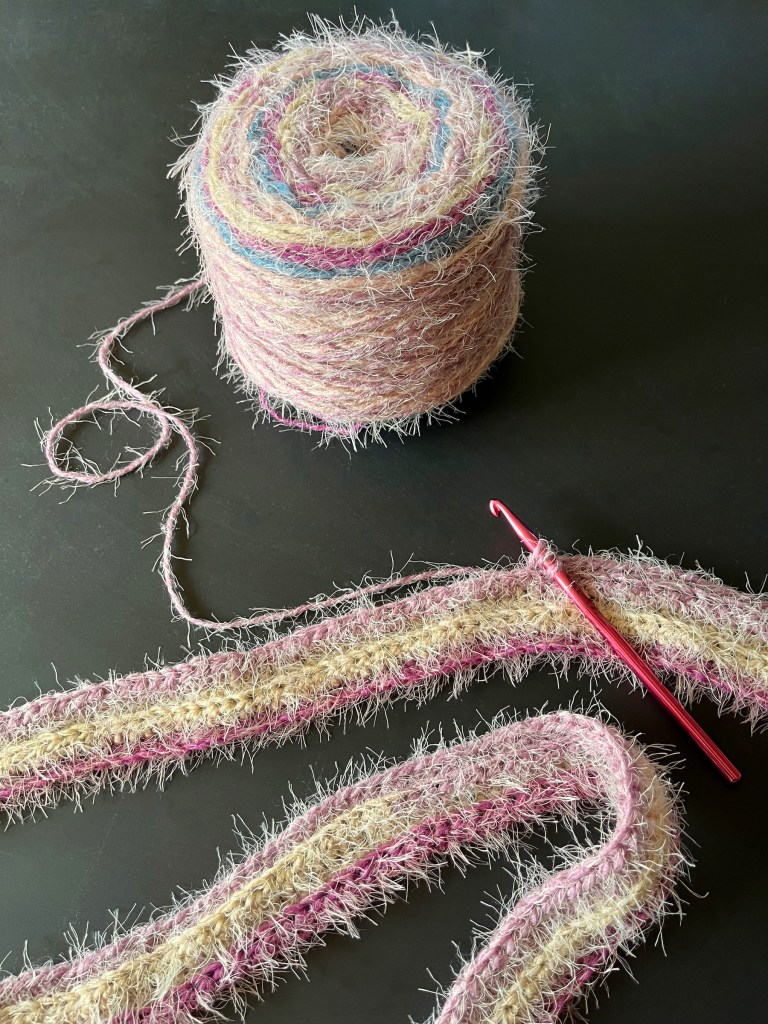
It’s that time of year for keeping warm! Whether you’d like to create a scarf for yourself or to gift to a friend, I’m here to help!
This scarf is cozy classic and ideal for any level of crocheter (beginners included)! Any bulky size 5 yarn can be used in this pattern, but for the soft and fuzzy results of my example piece, I used Carron Latte Cakes Yarn.
SUPPLIES
Crochet hook (size 6mm)
Carron Latte Cakes Yarn (Color: Rose Scented)
Scissors
Yarn needle or small crochet hook
INSTRUCTIONS
Create a slip knot, then chain 250 stitches.
Turn your chain around and half double crochet (hdc) into the third stitch from the hook. Continue to hdc in each stitch all the way across your chain.
Chain 2 and turn your work. Hdc into the back loop of the third stitch from the hook, then continue to hdc in the back loops of each stitch all the way across your project.
Repeat step 3 for the next thirteen rows for a total of 15 hdc rows. You are welcome increase the amount of rows if you’d prefer a wider scarf!
After the last hdc stitch of your last row, use the scissors to disconnect the yarn from the skein and pull the loose end through your crochet loop.
Using a yarn needle or a small crochet hook, weave the loose ends of the yarn into the surrounding scarf.
Have you ever been undecided on what to play next?
Should you buy that game? Should you install that game?
I’ve been there, and sometimes you just need to take a look at the graphics, hear the music, and learn a little about the plot to see if it resonates with you before taking the next step. I’m here to help! I am creating the first 30 to the first 60 minute videos of games; indie and mainstream, new and old!
This week let’s take a look at the first 30 minutes of Spyro the Dragon from the Reignited Trilogy…
Growing up reading The Velveteen Rabbit and then watching the Toy Story films, I became convinced (as I’m sure many children do) that toys are alive and they have feelings. This made giving them up extra hard, and although I had to say goodbye to a lot of them over the years to keep my room and storage from overflowing, I did save a lot of toys that were meaningful to me in the hopes I could pass them on to my future child (like I believe Andy should have done in Toy Story 3). Now we have a daughter and I cannot wait to share some of my beloved toys with her in the hopes that they will be beloved to her too.
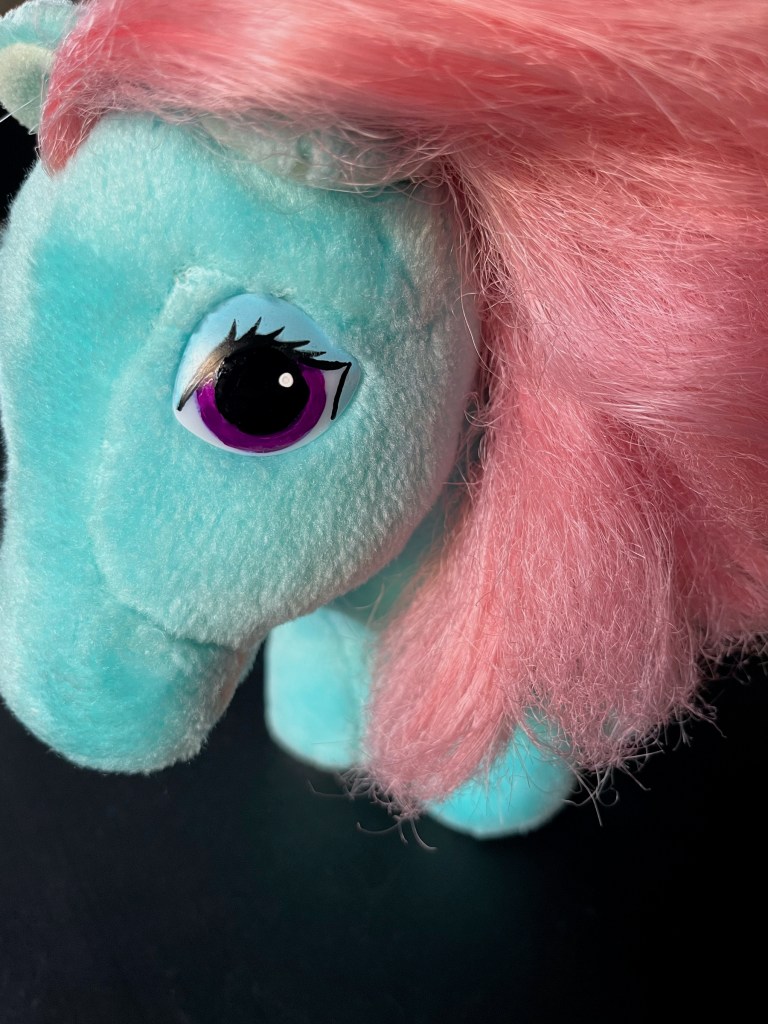
I dug through my parent’s garage and found my classic My Little Pony plushies (or Hasbro Softies) from the 1980s! In my memory they were in perfect condition, in reality their bodies are in good condition with no visible stains, but their manes and tails were a matted mess! I also noticed a great deal of their eye paint had scratched off!
I set to work cleaning, repairing and styling my My Little Ponies and now they are all ready for Zoey! I want to help you do the same so you can share them with your little ones, or collect them for yourself, the choice is yours!
First thing’s first let’s assess these ponies! The tags warn that these plushies are surface wash only; submerging them in water could ruin them, so let’s avoid that! I am fortunate that my pony plushies had very little discoloration or staining, so I used soap water to clean them. If I come across a dirtier plush, I will test other methods on them, so stay tuned!
SUPPLIES
Castile soap
Toothbrush
Washcloth
Conditioner
Detangler spray
Comb or wet brush
Small towel
Paper towels
Clothespin
Masking tape
Oil-based paint markers ( I used fine tip and wider)
INSTRUCTIONS
*Do not submerge this pony in water*
Create a sudsy mixture of castile soap and water in a small bowl. Dip your cleaning toothbrush into this mixture as needed and use it to gently clean the pony’s body.
Once you’ve cleaned the whole pony, dampen a soft washcloth and wipe away the soap.
While avoiding getting the pony’s body wet under a faucet, carefully wash and rinse the mane and tail using castile soap or shampoo.
Apply conditioner to the mane and tail. Allow it to sit for 5 to 10 minutes, then use a wet brush or a comb to gently brush through any tangles. If any of the knots are really stubborn, spraying a little detangler spray on them will help!
Avoiding the pony’s body again, carefully rinse the hair out and use a small towel to give the hair a couple of squeezes to remove any excess water.
While the pony’s hair is still damp, comb through it again so it’s smooth and set it with paper towels and a clothespin. Whichever way you want the pony’s mane to fall (sometimes it’s already decided for you) place a paper towel under the mane, against the body, then wrap the pony’s mane around its neck in that direction with a second paper towel over it and secure it with a clothespin. The tail could air dry, but you are always welcome to wrap a paper towel around it and tuck it between the pony’s legs to smooth it down.
Allow your pony to completely air dry (overnight or 24 hours), then remove the paper towels.
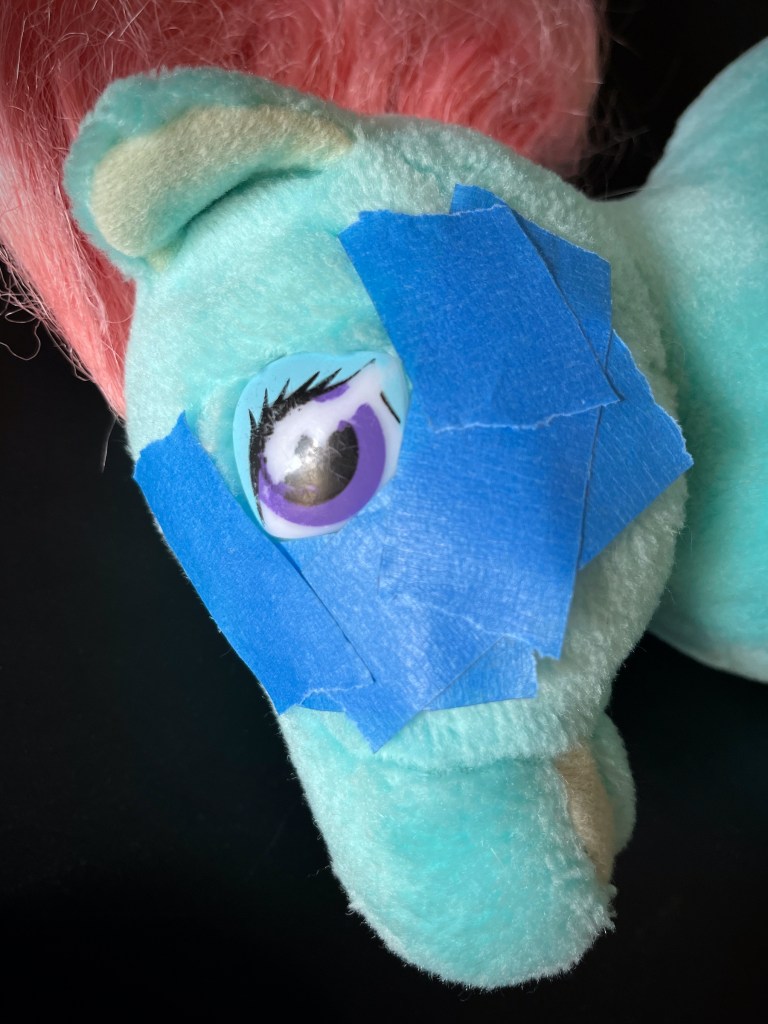
Once the pony is completely dry, we can repair their eyes. Before painting, use masking tape to cover the fur around each eye. I used oil-based paint pens and began with the pupil, coloring in the pupil. I did not have a color that perfectly matched the iris, so I chose the closest color and re-colored the whole iris to match. Use a finer tip for the eyelashes and liner. Allow this paint to dry and then add white highlight marks to each eye.
Once everything is fully dry, enjoy!
What My Little Ponies plushies do you have?How did they turn out? I hope you and your loved ones enjoy them!