If you’ve ever tried to sneak learning into playtime, you already know that games are a powerful tool. The best educational board games don’t just teach—they captivate. They turn math drills into monster adventures, reading practice into races, and logic into laughter.
Whether you’re a parent looking to build skills at home or a teacher stocking up your classroom shelf, these 10 educational board games for kids offer screen-free fun that’s as enriching as it is entertaining.
1. Zingo by ThinkFun
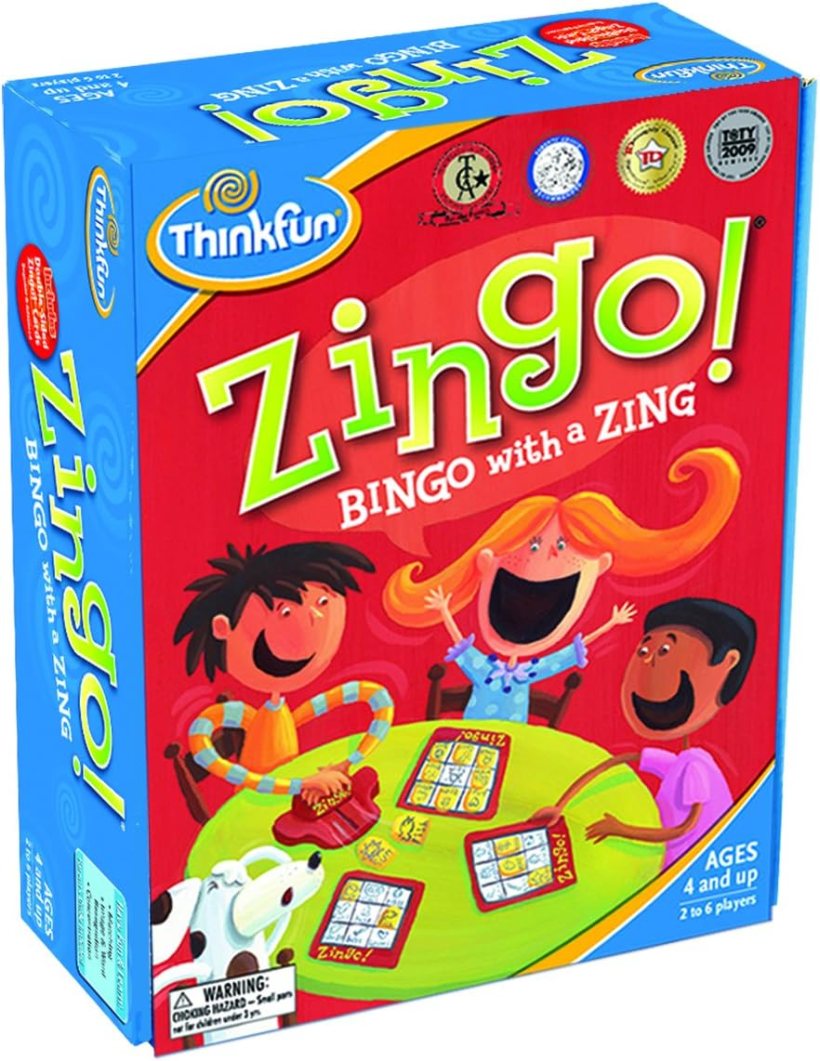
Ages: 4–8
Skills: Reading, vocabulary, matching
A fast-paced take on Bingo, Zingo uses a sliding tile dispenser and picture-word cards to help early readers learn common sight words. It’s great for building confidence and excitement around language.
Why kids love it: The satisfying “zing” of the tile dispenser and the race to shout “Zingo!”
2. Sum Swamp by Learning Resources

Ages: 5–7
Skills: Addition, subtraction, odd/even numbers
Players race through a swampy path by solving simple math problems. The game introduces early arithmetic in a playful, non-intimidating way.
Why kids love it: Dice, monsters, and math make a surprisingly addictive combo.
3. Outfoxed! by Gamewright
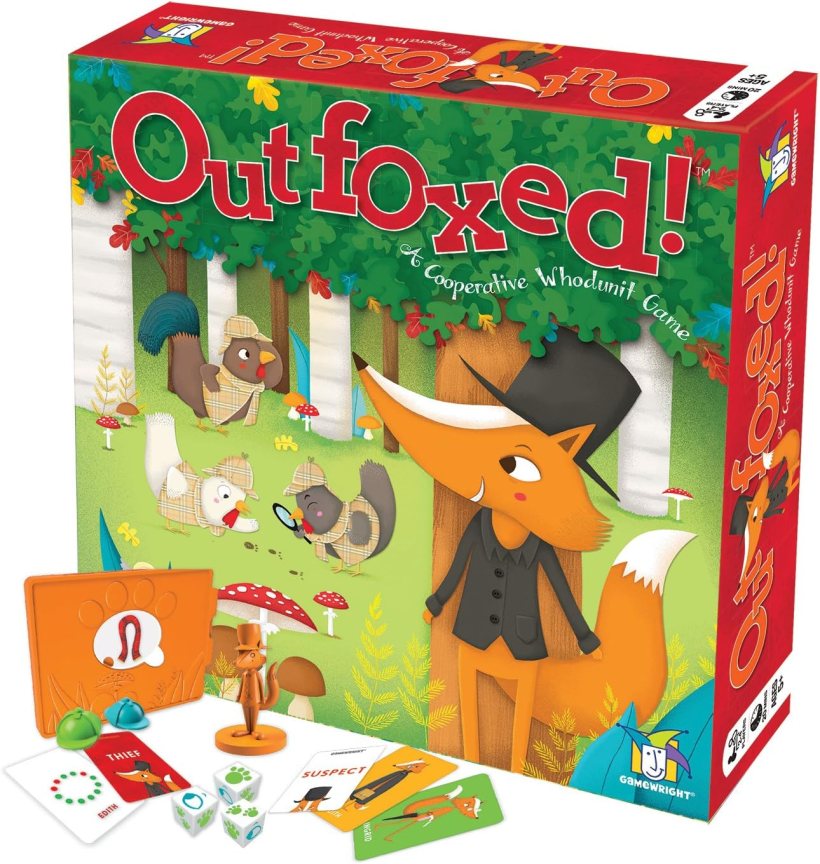
Ages: 5+
Skills: Deductive reasoning, logic, cooperation
A clever whodunit where kids play detectives solving a mystery before the sneaky fox escapes. Players use clues and deduction to eliminate suspects.
Why kids love it: It feels like solving a mystery—because it is!
4. Robot Turtles by ThinkFun
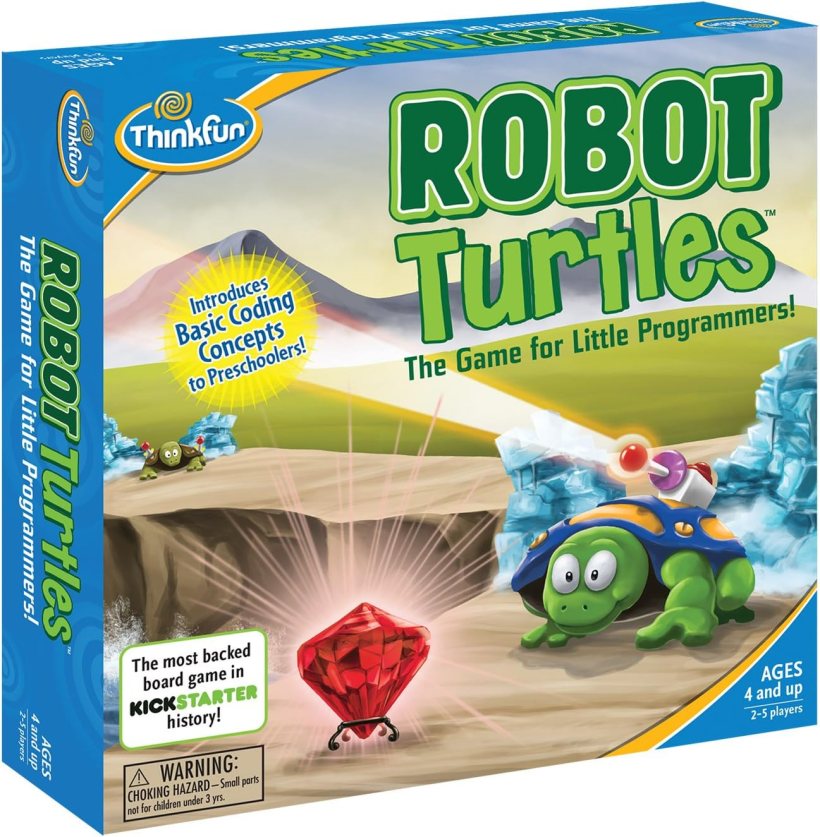
Ages: 4–8
Skills: Coding concepts, sequencing, problem-solving
Designed by a software engineer, this game teaches preschoolers the basics of programming—without a screen. Kids use directional cards to “program” their turtles to reach a goal.
Why kids love it: They get to “boss around” grown-ups who follow their code.
5. Hoot Owl Hoot! by Peaceable Kingdom
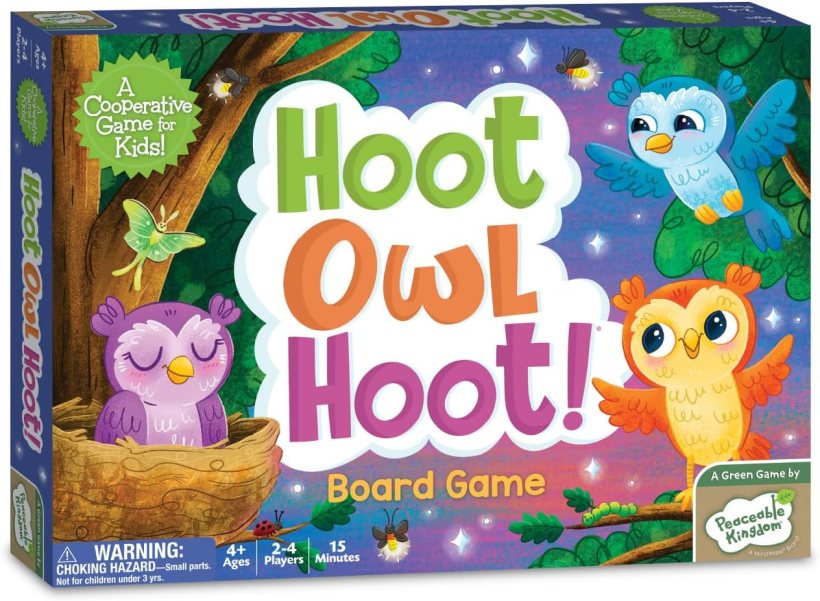
Ages: 4–8
Skills: Color recognition, turn-taking, teamwork
In this cooperative game, players work together to get owls back to their nest before sunrise. It’s a gentle, non-competitive game that still encourages planning and strategy.
Why kids love it: The thrill of racing the sun—and cheering each other on.
6. Sleeping Queens by Gamewright
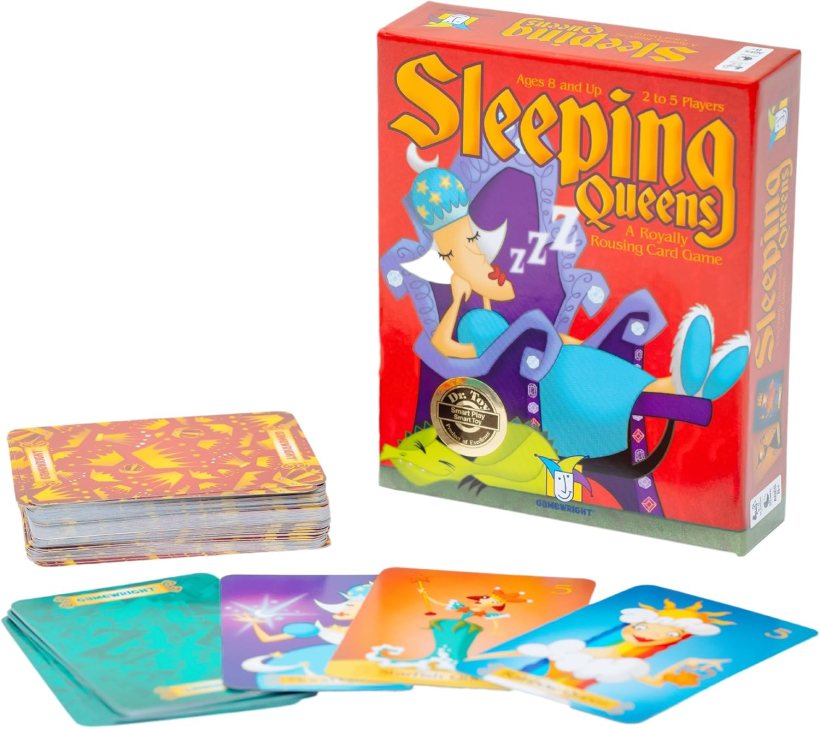
Ages: 6+
Skills: Math, memory, strategy
Invented by a child, this whimsical card game blends number play, memory, and a bit of luck as players try to wake sleeping queens while avoiding knights and potions.
Why kids love it: The quirky characters and the fast-paced action.
7. Math Dice Jr. by ThinkFun
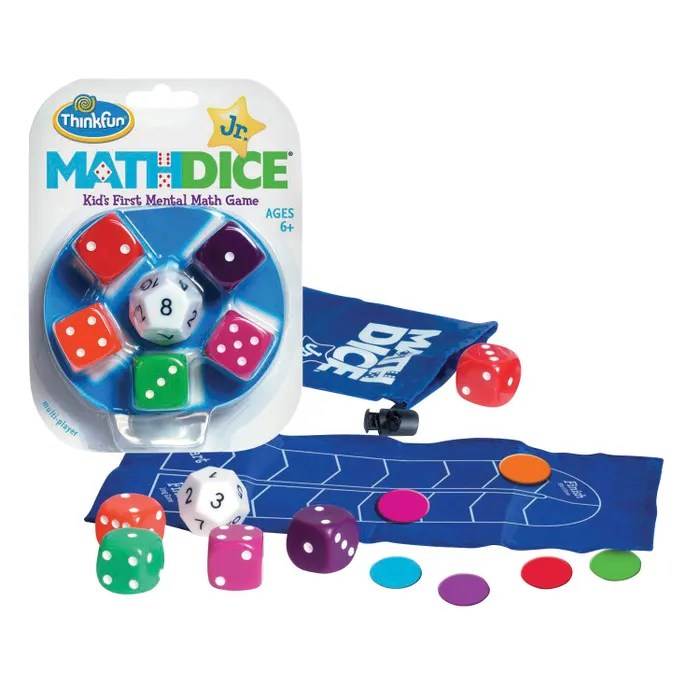
Ages: 6–10
Skills: Mental math, addition, subtraction
Roll the dice, add or subtract to hit the target number, and move your pawn forward. This quick game sharpens math fluency through fun repetition and strategic thinking.
Why kids love it: Dice make everything more exciting.
8. BrainBox: My First ABC (or other versions)
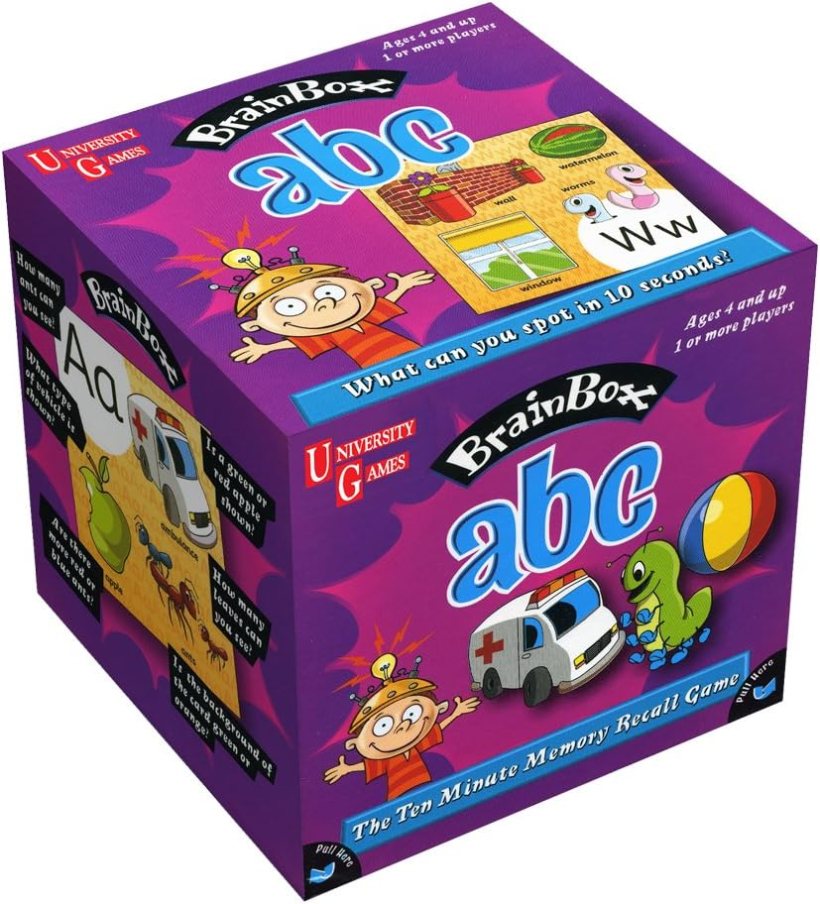
Ages: 4–8
Skills: Memory, language, observation
Players study a picture card for 10 seconds and then answer questions about it from memory. Versions include ABCs, animals, geography, and more.
Why kids love it: The 10-second memory challenge feels like a game show.
9. Race to the Treasure by Peaceable Kingdom

Ages: 5–8
Skills: Planning, collaboration, critical thinking
Another cooperative winner, this game has kids working together to build a path to a treasure before the ogre reaches it. It’s all about planning and teamwork.
Why kids love it: They get to outsmart a silly ogre together.
10. Guess in 10 Junior (Animal Kingdom, Countries, etc.)
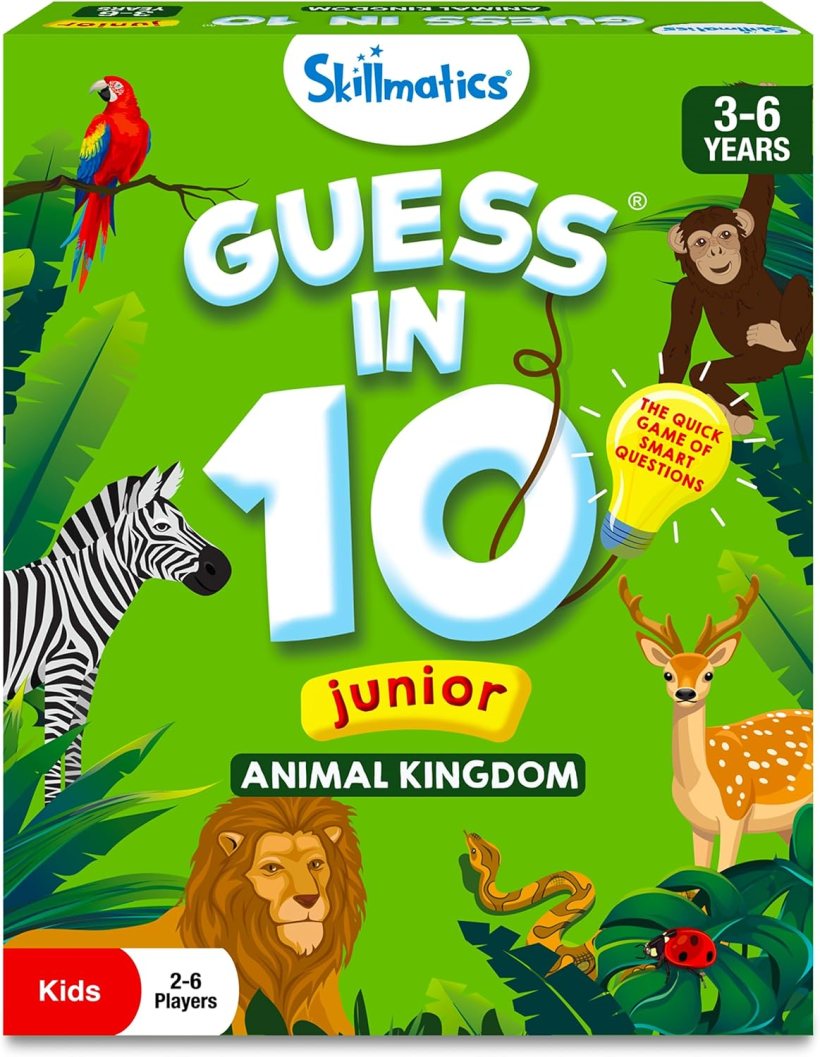
Ages: 5–10
Skills: Critical thinking, questioning, general knowledge
In this rapid-fire question game, players guess what’s on the card by asking yes/no questions. Versions cover animals, jobs, food, and more.
Why kids love it: The game encourages curiosity and feels like a trivia challenge.
Final Thoughts
Educational board games are more than just a rainy-day fix—they’re a chance to learn through laughter, build skills through strategy, and grow closer as a family or classroom. These games prove that when kids are having fun, learning comes naturally.
So next time you’re looking to boost math, reading, logic, or teamwork, skip the worksheet and grab one of these games instead. Your kids will thank you—and they won’t even realize they’re learning.