Baked Apple Cider Doughnut Recipe

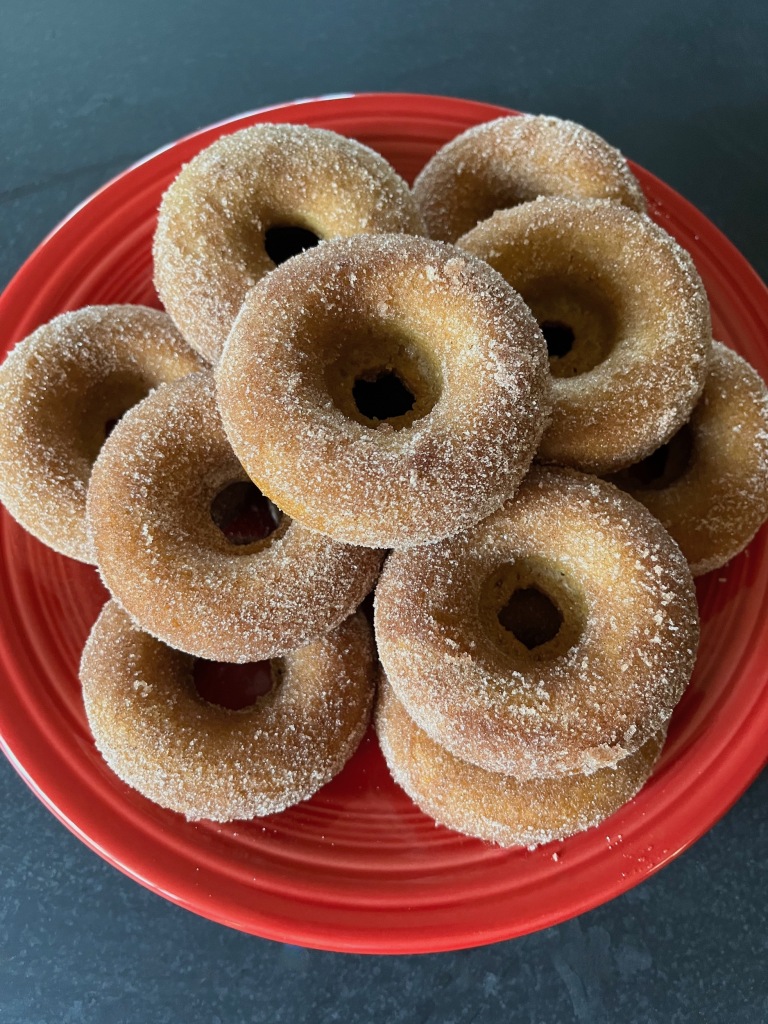
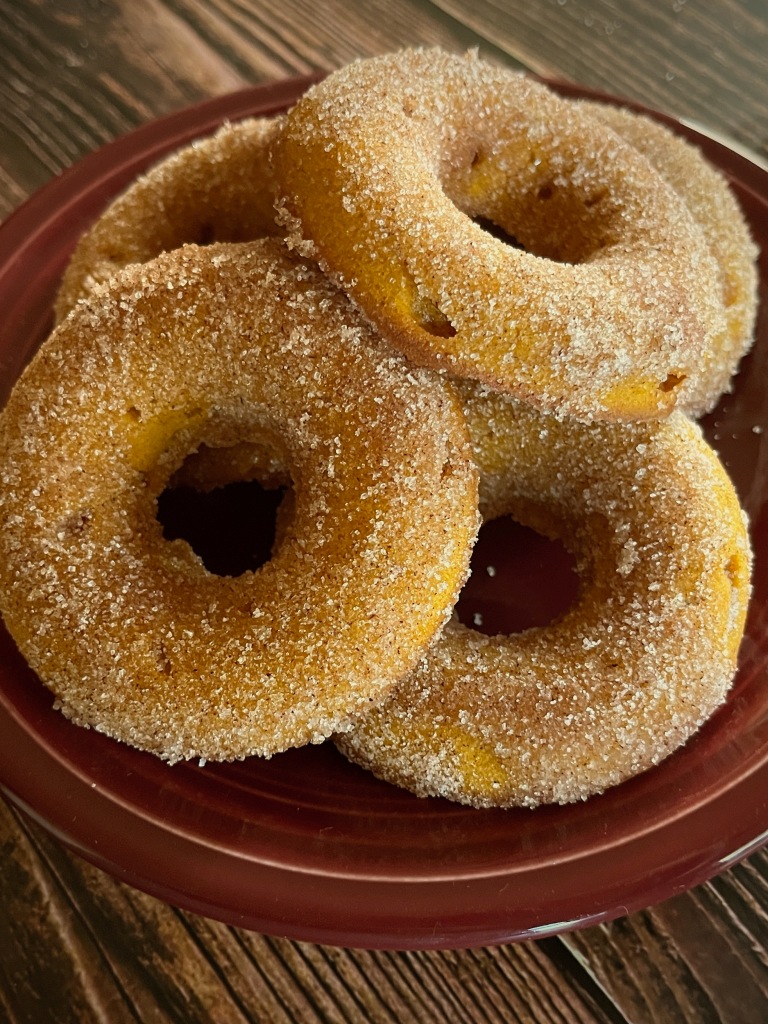
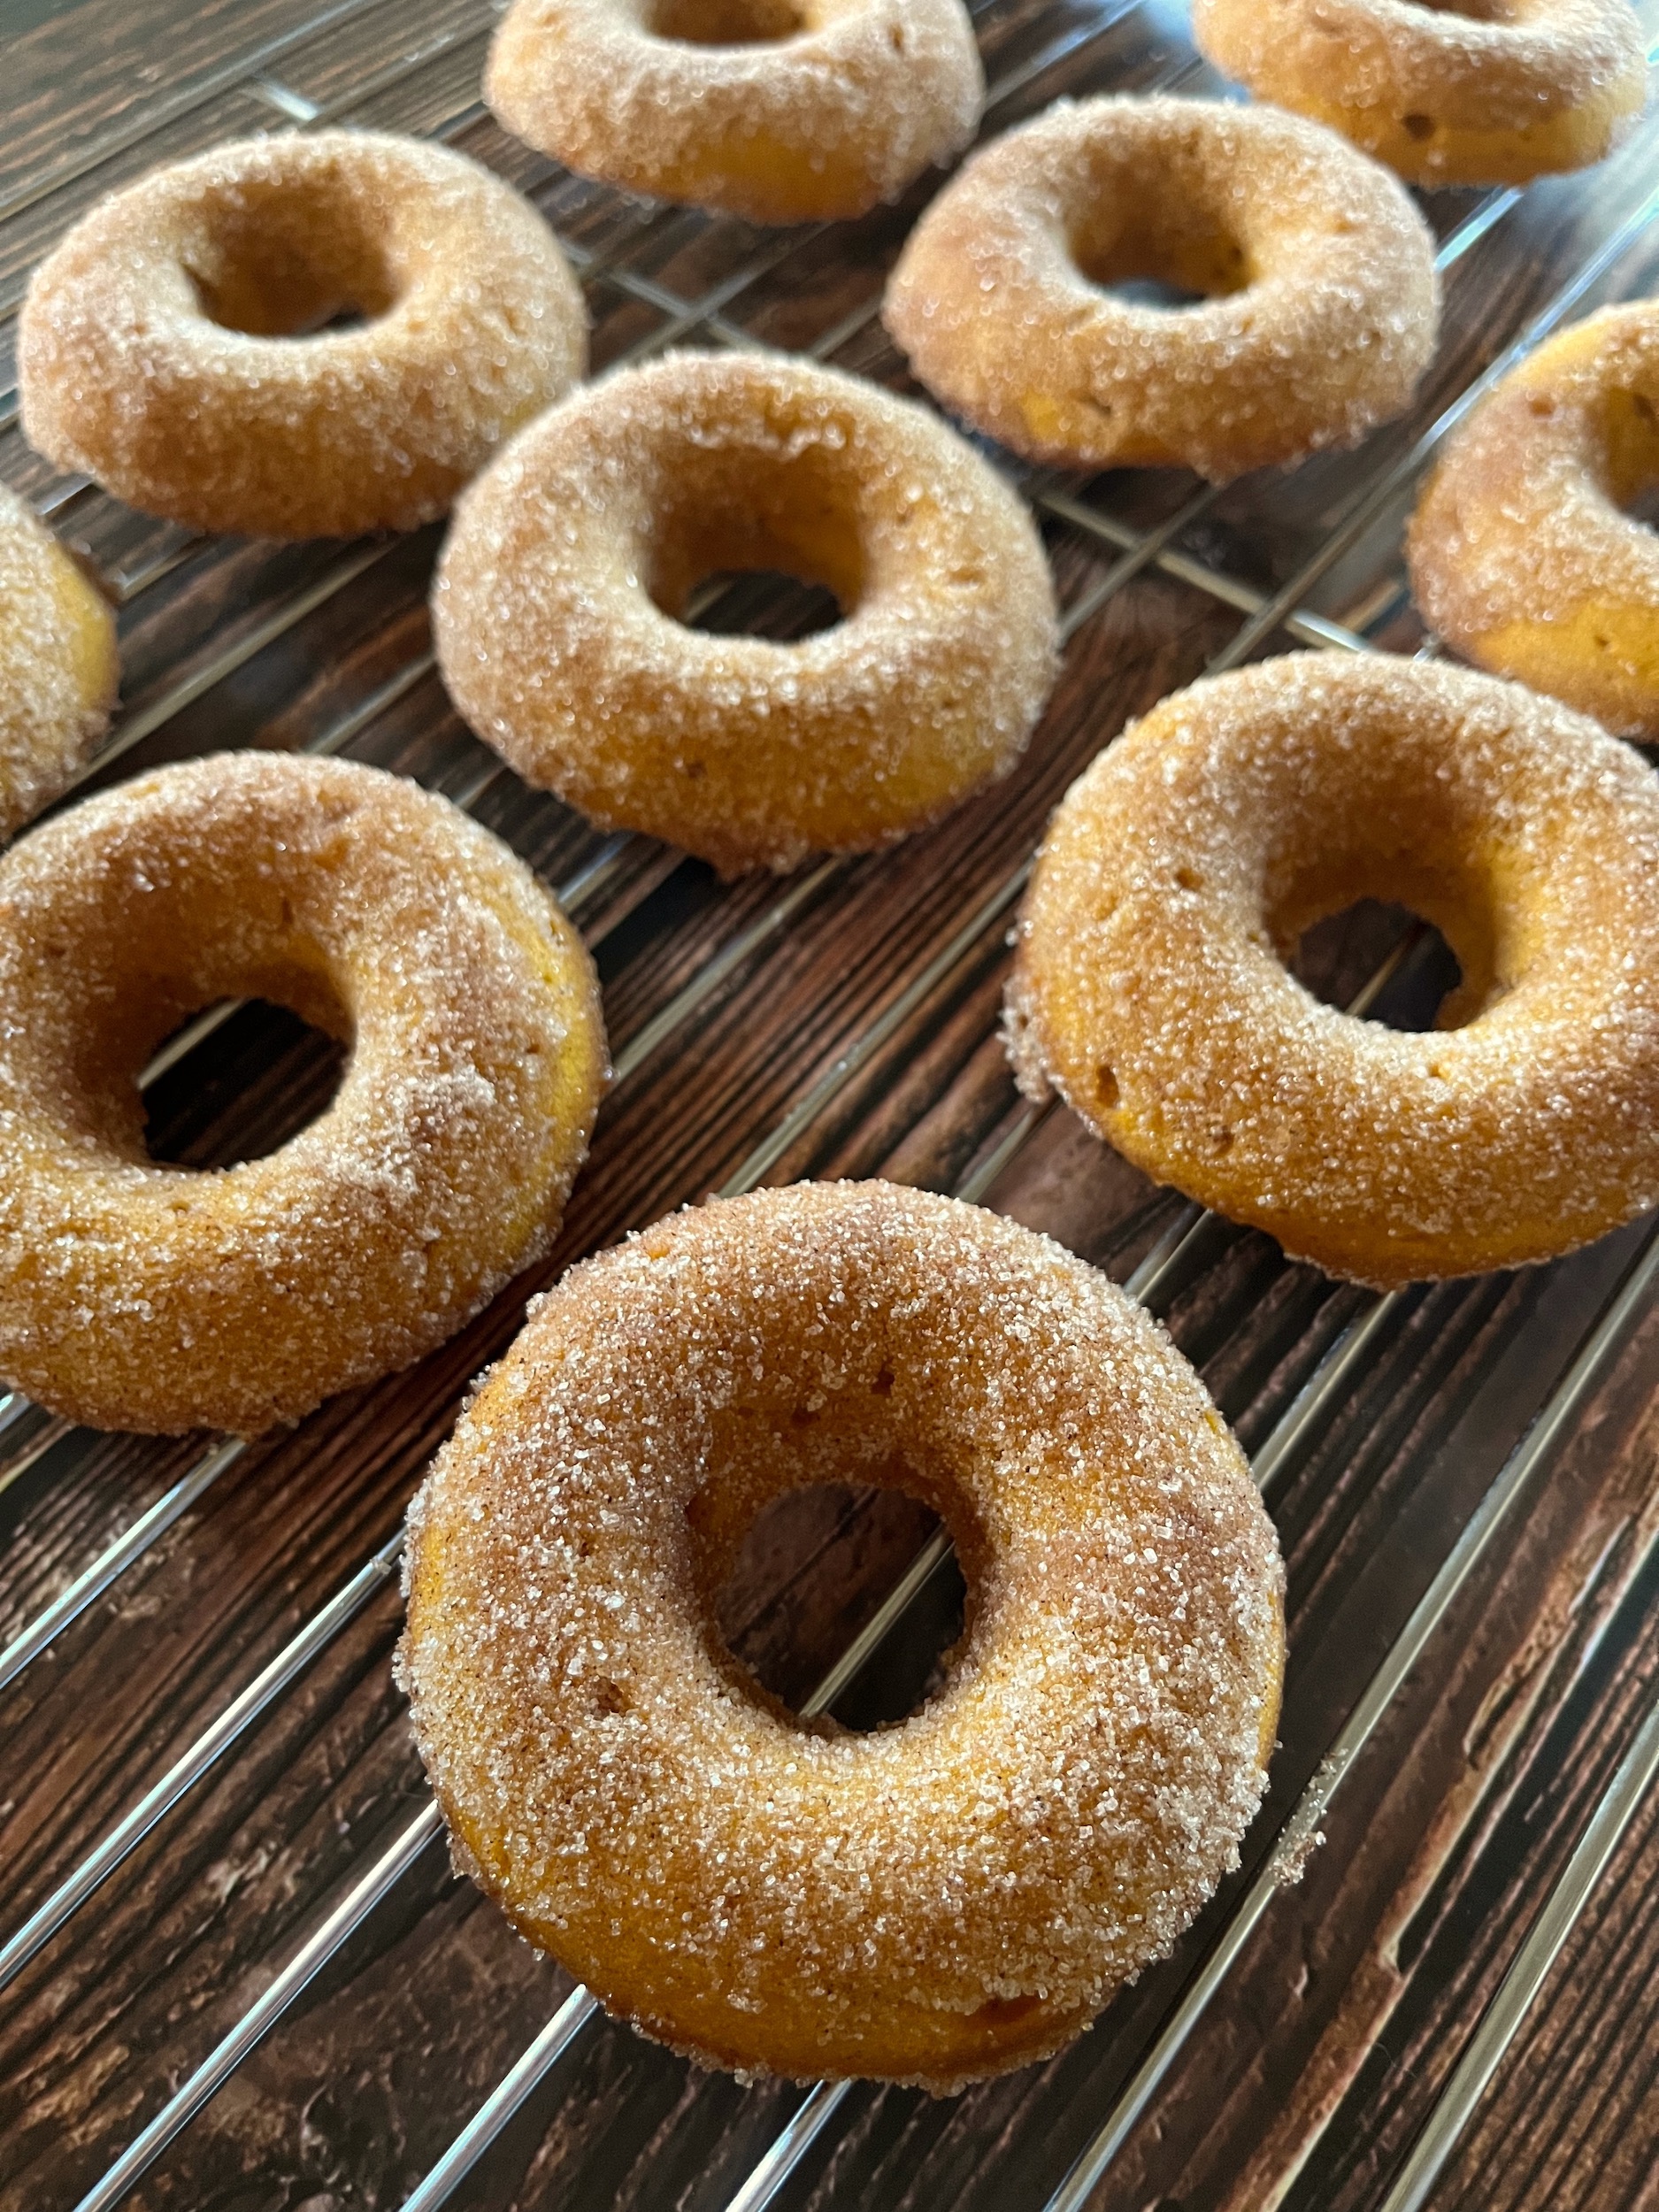
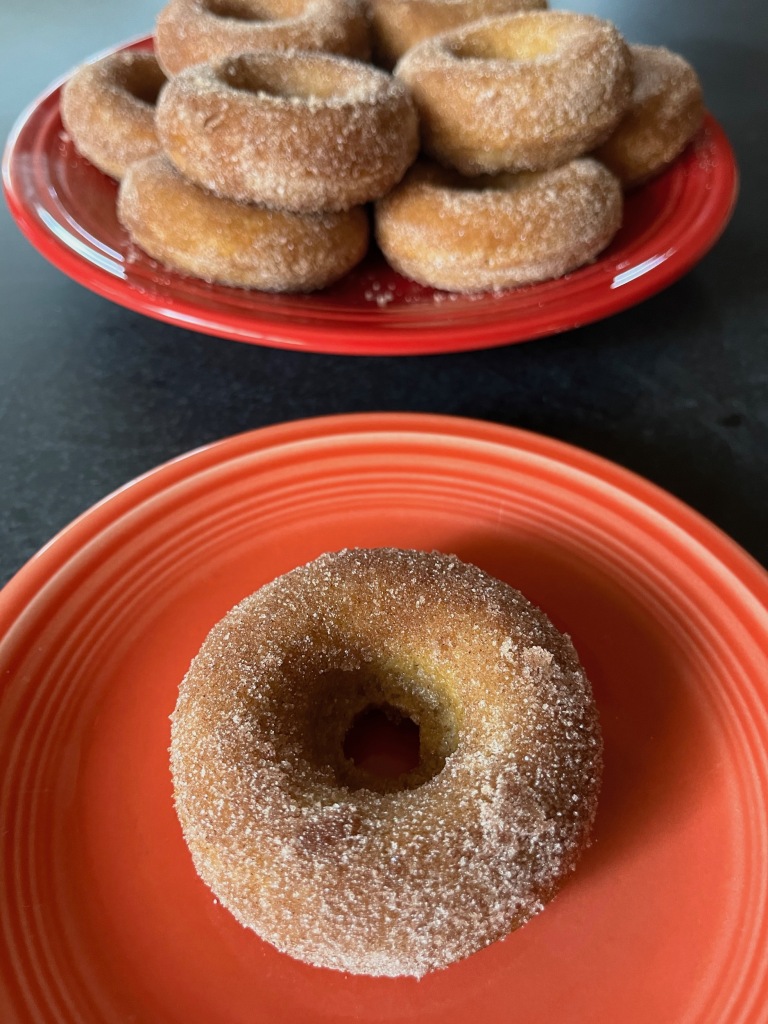
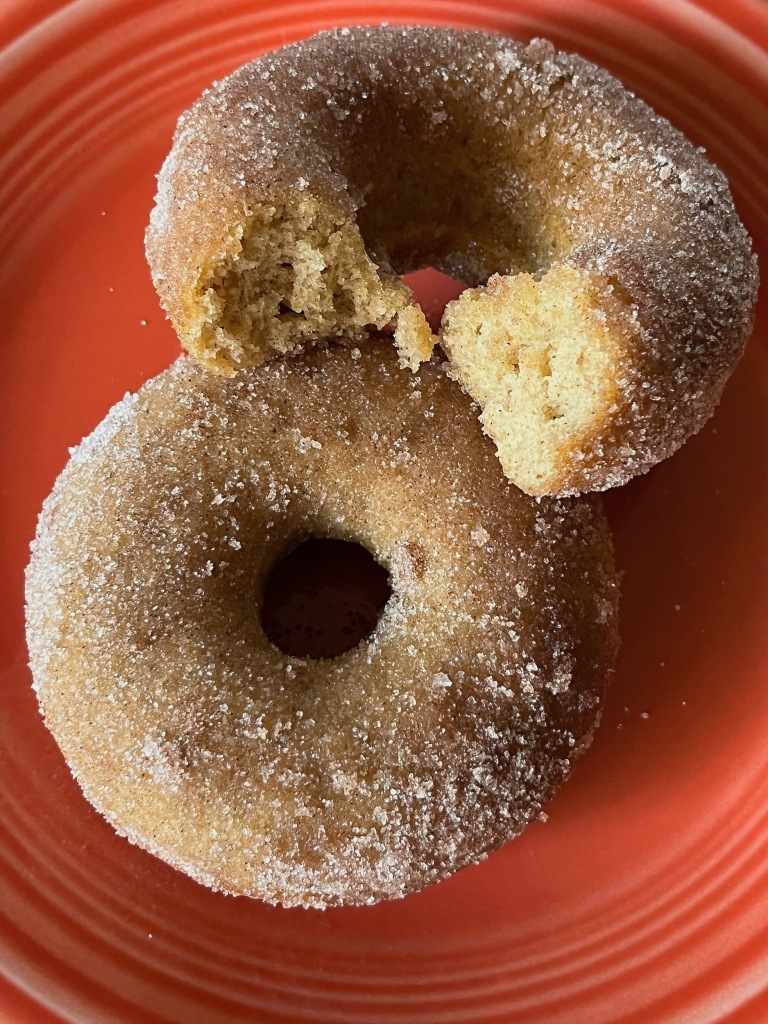
Welcome back friends! Who wants some fresh and fluffy, oven baked, cinnamon and sugar coated apple cider doughnuts to enjoy on one (or more) of these beautiful autumn mornings? Maybe at a table with some coffee or tea and a good book? I know I do, so let’s bake some!

DOUGHNUT INGREDIENTS
  • 1 1/2 cups of apple cider
  • 1 3/4 cups of all purpose flour
  • 1 teaspoon of baking powder
  • 1/2 teaspoon of baking soda
  • 1 teaspoon of ground cinnamon
  • 1/4 teaspoon of nutmeg
  • 1/2 teaspoon of kosher salt
  • 1 large egg
  • 1/3 cup of granulated sugar
  • 1/3 cup of dark or light brown sugar
  • 3 tablespoons of unsalted butter, melted
  • 1/2 cup of buttermilk (or milk)
  • 1 1/2 teaspoons of vanilla extract
TOPPING INGREDIENTS
  • 1 cup of granulated sugar
  • 2 teaspoons of ground cinnamon
  • 6 tablespoons of unsalted butter, melted
INSTRUCTIONS
  1. Reduce let’s reduce the apple cider. In a small saucepan, bring the apple cider to a gentle boil and let it simmer over medium heat until thick and reduced to about 1/3 cup (about 15 to 25 minutes), then set aside to cool.
  2. Preheat the oven to 350F and grease the doughnut pans with butter or nonstick spray, then set them aside.
  3. Whisk the flour, baking powder, baking soda, salt, and spices together in a large bowl, then set it aside.
  4. In another bowl, whisk the brown sugar, egg and sugar together until well combined. Then add the butter, buttermilk (or milk), reduced apple cider and vanilla; whisk again until well combined.
  5. Add the flour mixture to the apple cider mixture and beat until well combined and smooth.
  6. Transfer the batter into a disposable piping bag or a zip-top bag with a corner cut off. Pipe the batter into the prepare doughnut pans, filling each cavity 2/3 to 3/4 full.
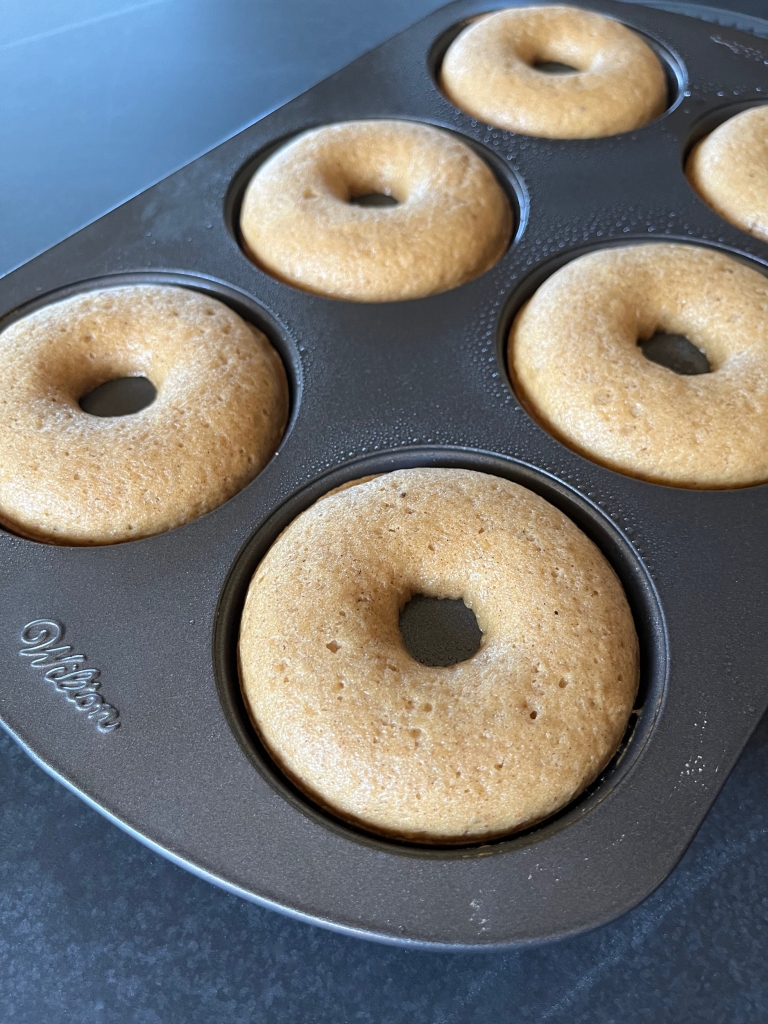
  7. Bake the doughnuts for about 10 minutes or until a toothpick comes out clean, then remove them from the oven. Allow them to cool in the pan for about 5 minutes and then transfer them onto a cooling rack.
  8. While the doughnuts are cooling in the pan, stir the sugar and cinnamon together in a shallow bowl and melt the topping butter in another bowl.
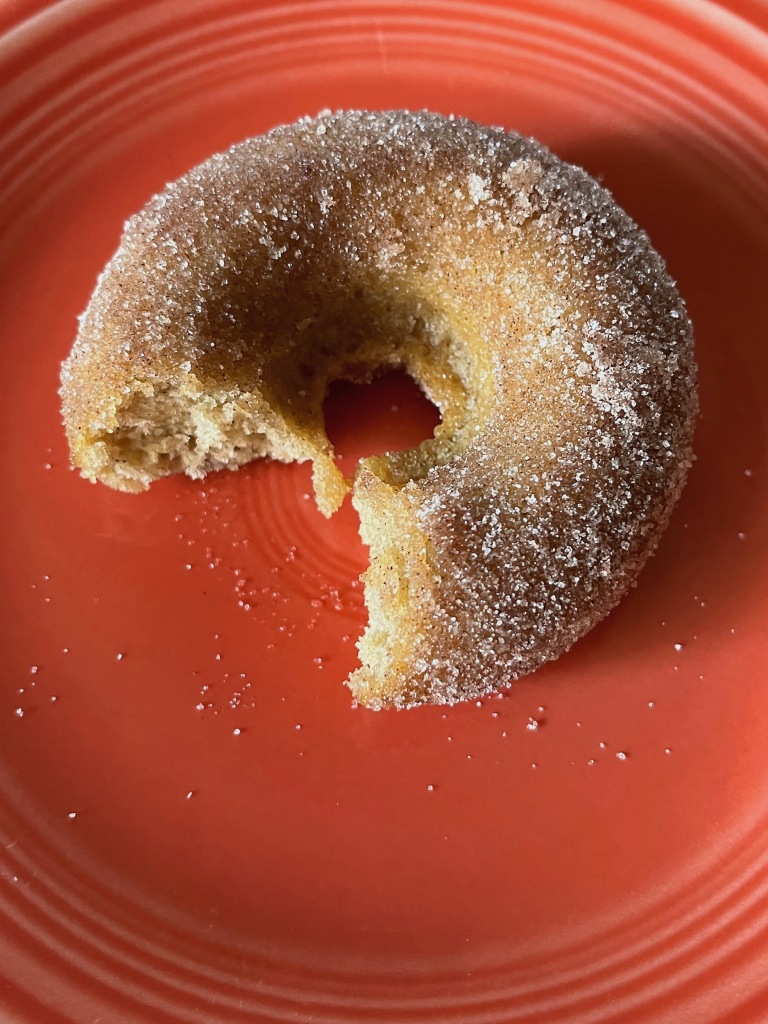
  9. Once the doughnuts have cooled to a comfortable handling temperature, brush or dip both sides of each one with butter and then dip each side in the cinnamon and sugar to coat.
  10. Enjoy!

*These doughnuts are best served immediately, but leftovers can e kept int he fridge for up to 3 days. Serve them warm or at room temperature.

DIY – Crochet Pumpkin with a Cinnamon Stick Stem

Welcome back friends! Do you crochet? I dabbled in crochet off and on for a few years, always fascinated, but never fully catching on. I kept at it, and suddenly, it clicked! I feel calm and cozy when I’m crocheting, and fiercely proud whenever I complete a project.

It’s that time of year for autumn decor! So let’s create a crochet pumpkin with a cinnamon stick stem!

SUPPLIES
  • Crochet hook (size 5.5mm)
  • Medium yarn (size 4)
  • Fiberfill stuffing
  • Scissors
  • Yarn needle
INSTRUCTIONS
  1. Create a slip knot and then chain 31 stitches.
  2. For this piece, we will be working in the back loop only for all stitches.
  3. Starting in the 2nd chain from the hook, create 3 slip stitches, 6 single crochets, 12 half double crochets, 6 single crochets and 3 slip stitches. Then chain 1 and turn the project around.
  4. Repeat step 3 until the project measures about 12 inches long across the center.
  5. Join the two short sides of the project together, and insert the hook into the back loop of the working stitches and the starting chain as you stitch the final row.
  6. Sew a running stitch along the bottom edges of the project and pull to gather. Then tie a knot, weave in some of the excess yarn, and cut off the rest.
  7. Turn the pumpkin project over and stuff it with fiberfill until it’s as plump as you want it.
  8. Sew a running stitch along the top of the pumpkin and pull to gather, leaving a hole large enough to insert a cinnamon stick. Then tie a knot, weave in some of the excess yarn and cuts off the rest.
  9. Insert a cinnamon stick into the hole you left for it at the top of the pumpkin. You can hot glue it in place or leave it loose like I did so that I can replace the cinnamon stick if it looses its smell!
  10. Place in your house an enjoy!

Homemade Baked Pumpkin Doughnut Recipe

Welcome back friends!

Who wants some fresh, oven-baked, cinnamon and sugar coated pumpkin doughnuts to enjoy on one (or more) of these beautiful Autumn mornings? Maybe at a table with some coffee or tea and a good book?

I know I do, so let’s bake some!

PUMPKIN DOUGHNUTS
  • 2 cups of all purpose flour
  • 2 teaspoons of baking powder
  • 1 teaspoon of kosher salt
  • 2 teaspoons of pumpkin pie spice
  • 1 15 oz can of pumpkin puree
  • 3 large eggs
  • 1 1/2 cups of sugar
  • 4 tablespoons of unsalted butter
  • 1 teaspoon of vanilla extract
  • 1/3 cup of vegetable oil
TOPPING
  • 3/4 cup of sugar
  • 2 teaspoons of ground cinnamon
  • 3 tablespoons of unsalted butter, melted
INSTRUCTIONS
  1. Pre-heat the oven to 350F.
  2. Whisk the flour, baking powder, salt, and pumpkin pie spice together in a medium bowl.
  3. Beat the pumpkin puree, eggs, sugar, butter, vanilla and vegetable oil together in a large bowl.
  4. Slowly add the flour mixture to the pumpkin mixture and beat until well combined.
  5. Fill 3, six cup nonstick doughnut pans with batter so each mold is almost full, then smooth the tops with a small spoon.
  6. Bake the doughnuts for about 15 minutes or until a toothpick comes out clean, then remove them from the oven and invert them onto a cooling rack.
  7. While the doughnuts are baking and/or cooling, stir the sugar and cinnamon together in a shallow bowl and melt the topping butter in another bowl.
  8. Once the doughnuts have cooled to a comfortable handling temperature, brush both sides of each one with butter and then dip each side in the cinnamon and sugar to coat.
  9. Enjoy!

Merlin’s Soft Ginger Cookie Recipe (The Sword in the Stone)

INTRODUCTION

Welcome back friends! This week we’ll be baking Merlin’s soft ginger cookies from Disney’s The Sword in the Stone.

This recipe is featured when Arthur drops in on Merlin for the first time. Of course Merlin is expecting him, with tea and these large delicious-looking cookies waiting for him!

I am a fan of chewy cookies and these are perfect! All the taste of a gingersnap or gingerbread, but with more bounce! They pair well with black tea, but I’m sure you could experiment with other types of beverages too!

MERLIN’S SOFT GINGER COOKIES
  • 2 1/4 cups of all-purpose flour
  • 2 teaspoons of ground ginger
  • 1 teaspoon of baking soda
  • 1/2 teaspoon of baking powder
  • 3/4 teaspoon of ground cinnamon
  • 1/2 teaspoon of ground cloves
  • 1/4 teaspoon of salt
  • 3/4 cup of butter, softened
  • 1 cup of sugar
  • 1 egg
  • 1 tablespoon of water
  • 1/4 cup of molasses
  • 2 tablespoons of sugar
INSTRUCTIONS
  1. In a large bowl, sift together the flour, baking soda, baking powder, cinnamon, cloves, ginger and salt, then set this bowl aside.
  2. In another large bowl, use a hand mixer to cream together the butter and the 1 cup of sugar until light and fluffy.
  3. Add the egg and then the molasses and water to the creamed butter, and mix again thoroughly.
  4. Slowly add in the dry ingredients and mix until fully incorporated. The dough will be soft and slightly sticky when ready.
  5. Cover the bowl and place it in the refrigerator to chill for at least one hour or more, then remove the dough from the refrigerator.
  6. Preheat the oven to 350F and line a large baking sheet with a baking mat or parchment paper. 
  7. Place the remaining 1/2 cup of granulated sugar to a small mixing bowl and set it aside.
  8. Scoop out portions of 1 to 2 tablespoons of dough, rolling them into balls bout an inch to an inch and a half in diameter. Toss each cookie dough ball in the bowl of sugar to coat, then place them on the prepared baking sheet.
  9. Bake the cookies for 8 to 10 minutes (this varies per oven so keep an eye on them) or until the top of the cookie begins to crinkle and the bottom sides turn golden brown.
  10. Let cookies rest on the baking sheet for 5 to 10 minutes. Then transfer them to a wire cooking rack to cool completely.
  11. Enjoy!

Homemade Apple Cider Recipe

Homemade Apple Cider
INTRODUCTION

Welcome back friends! Autumn is my favorite season and while pumpkin spice has its charms, I prefer apple cider!

My family and I are starting a new Halloween tradition this year that includes drinking apple cider (check back on Friday for more details) and I thought it would be special to create our own!

Please feel free to use this recipe to create some delicious apple cider for you and yours! This cider is sweet and spiced; I used all Honeycrisp apples, but you can experiment with the combination of apples to change the flavor!

Homemade Apple Cider
HOMEMADE APPLE CIDER

INGREDIENTS

  • 10 medium apples, quartered
  • 1 tablespoon of ground cinnamon
  • 2 teaspoons of ground cloves
  • 4 – 6 tablespoons of sugar
  • Water

INSTRUCTIONS

  • Place the apples, cinnamon, cloves and sugar into a crockpot, then add enough water to cover the apples.
  • Cover the crockpot and cook the contents on low for 6 hours.
  • Once the 6 hours have passed, use a spoon to gently crush the apples, then allow them to cook for 1 more hour.
  • Once cooked, turn off the heat and allow the contents to cool slightly.
  • Slowly ladle and strain the liquid through a fine mesh sieve into a large pot or pitcher, then strain it a second time; discard the solids.
  • Enjoy warm or cold!

Hen Wen’s Apple Porridge Recipe (The Black Cauldron)

Hen Wen's Apple Porridge Recipe
INTRODUCTION

Welcome back friends! This week we’ll be cooking Hen Wen’s Apple Porridge from Disney’s The Black Cauldron.

The Black Cauldron Movie Poster
Hen Wen's Apple Porridge Recipe

This recipe is featured in the beginning of the film, when Caer Dallben asks Taran to feed Hen Wen the porridge he prepared for her. 

This porridge looks much more appetizing than the one in the film. I couldn’t help myself! I thought to myself, if I wanted to eat porridge with apples, I’d want the apples to be cooked separately to develop their flavor more and I’m sure Hen Wen would approve!

Hen Wen's Apple Porridge Recipe
HEN WEN’S APPLE PORRIDGE

APPLES

  • 2 apples, peeled and cut into slices
  • 1/3 cup of water
  • Cinnamon
  • Brown sugar

PORRIDGE

  • 1 cup of old fashioned oats
  • 1 3/4 cups of whole milk
  • 1/8 teaspoon of salt
  • Cinnamon
  • Brown sugar

INSTRUCTIONS (APPLES)

  1. Peel and cut the apples into slices.
  2. Pour the water into a small sauce pan, then add the apples.
  3. Sprinkle the desired amount of cinnamon and brown sugar onto the apples and stir to distribute.
  4. Cover and cook until tender, stirring occasionally to evenly coat and cook the apples.
  5. Once cooked, remove from the heat and set aside for the porridge (see below).

INSTRUCTIONS (PORRIDGE)

  1. In a medium saucepan, boil the milk with the salt.
  2. Stir in the oats.
  3. Cook the oats for about 5 minutes over medium heat; stirring occasionally.
  4. Remove the porridge from the heat and sprinkle with brown sugar and cinnamon, then stir to distribute.
  5. Spoon the porridge into two bowls and arrange the cooked apple slices (see above) on top. I arranged mine into the shape of a rose and I believe next time I’ll cover the porridge completely.
  6. Enjoy!
Hen Wen's Apple Porridge Recipe