Homemade Cherry Nutmeg Muffins

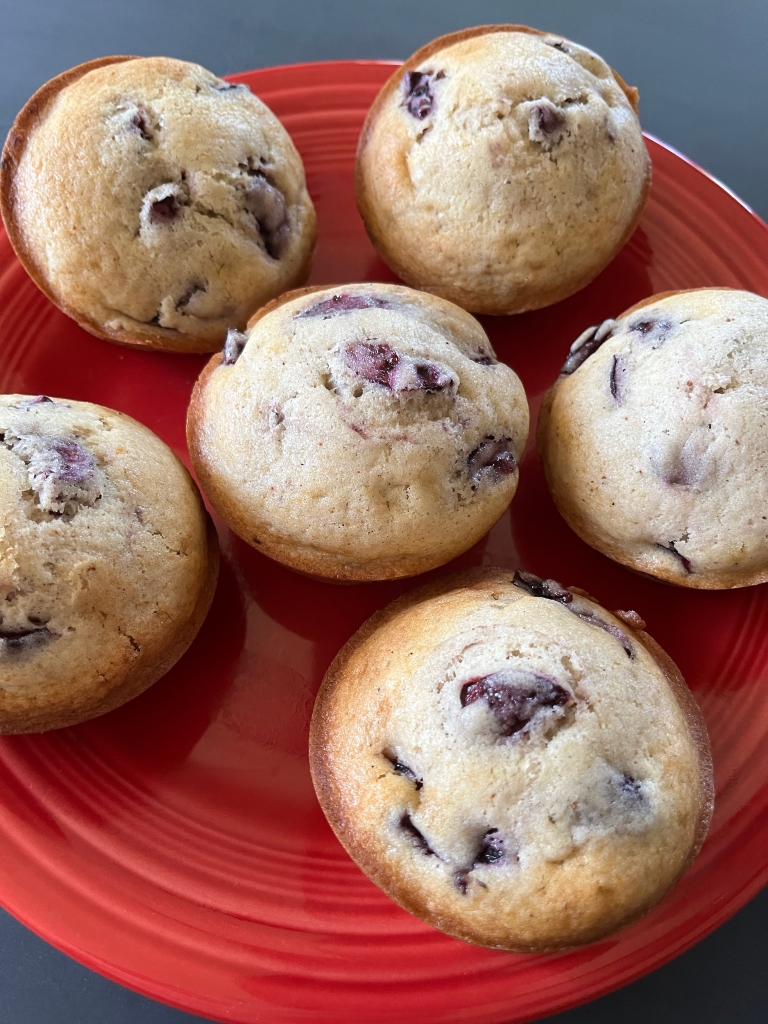
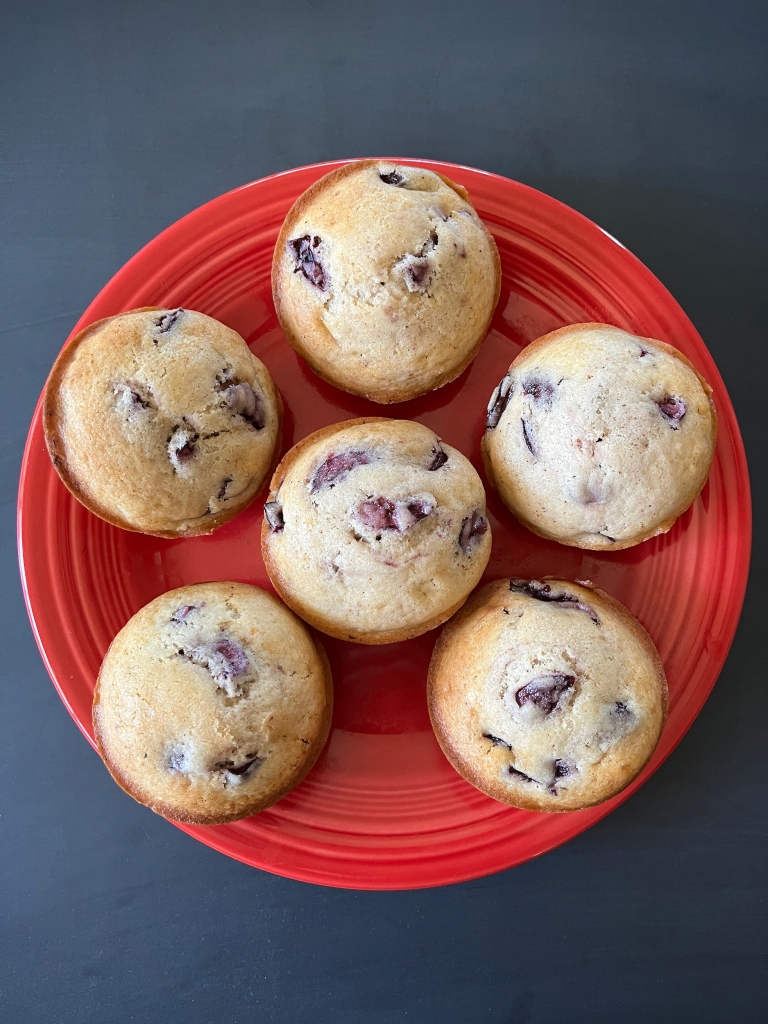
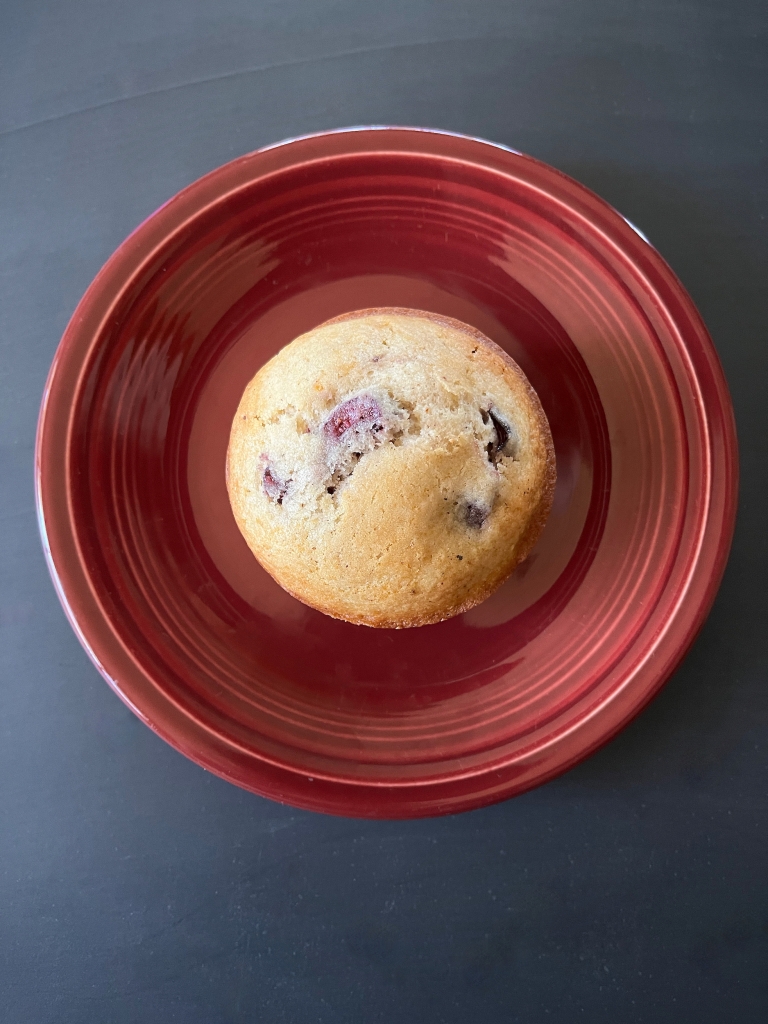
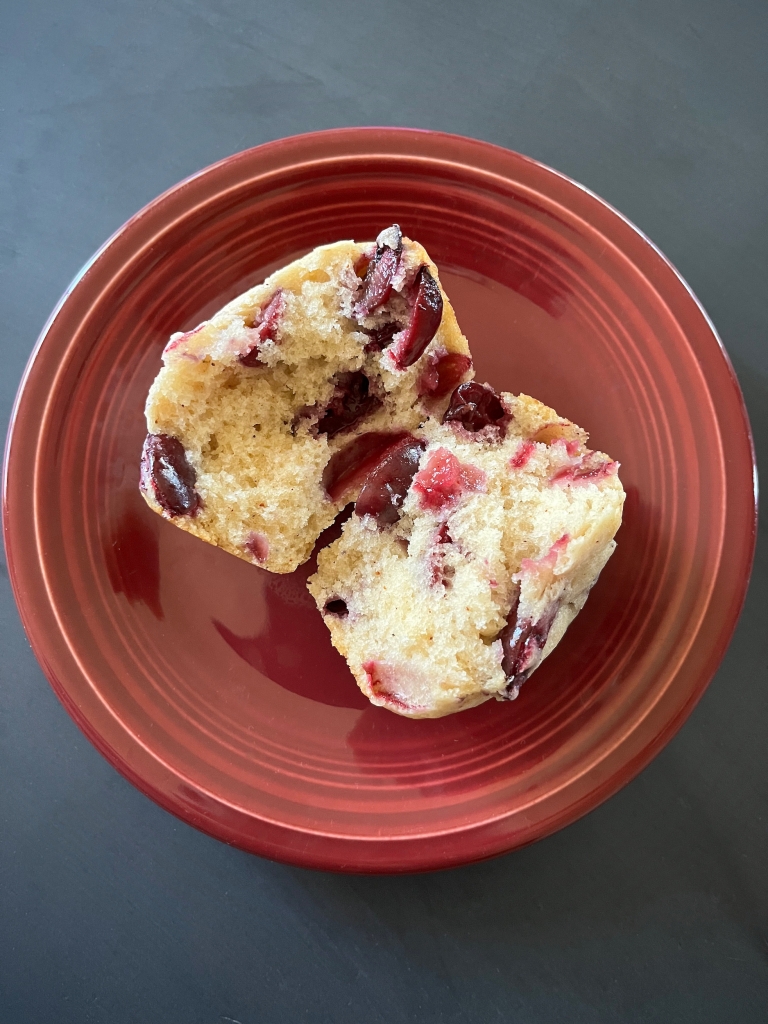
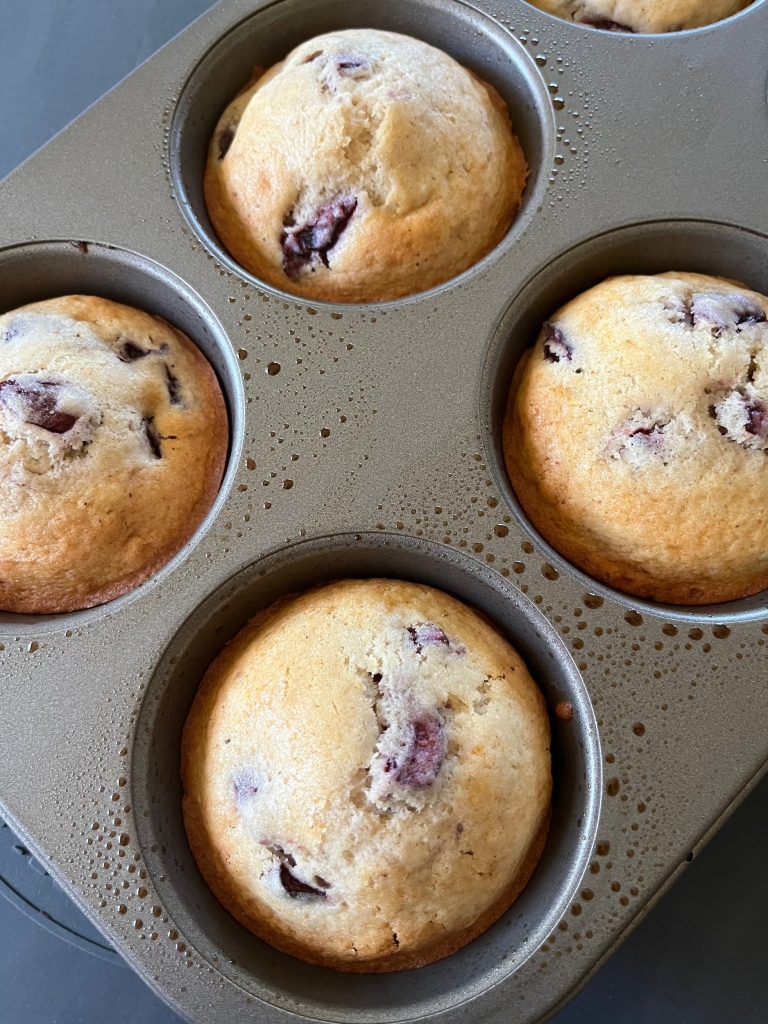
Welcome back friends! Summertime is still a good time for baked treats, especially muffins made with fresh cherries! I baked these cherry nutmeg muffins for my family, and they are perfect for breakfast or brunch! Let me show you how to make them!

INGREDIENTS
  • 1/2 cup butter, softened 
  • 1 cup of sugar
  • 1 cup of milk
  • 1 teaspoon of almond extract
  • 2 teaspoons of baking powder
  • 2 cups of flour
  • 1 1/2 teaspoons of nutmeg
  • 2 cups of cherries, pitted and quartered
INSTRUCTIONS
  1. Pre-heat the oven to 375 F and spray a jumbo muffin tin with non-stick cooking spray.
  2. In a large bowl, cream together the softened butter and sugar.
  3. Add the milk and almond extract to the butter/sugar combination and whisk until well incorporated, then set it aside.
  4. In a separate bowl, whisk together the baking powder, flour and nutmeg.
  5. Slowly add the dry ingredients in to the wet ingredients and mix until they are a well combined batter. Set the batter aside.
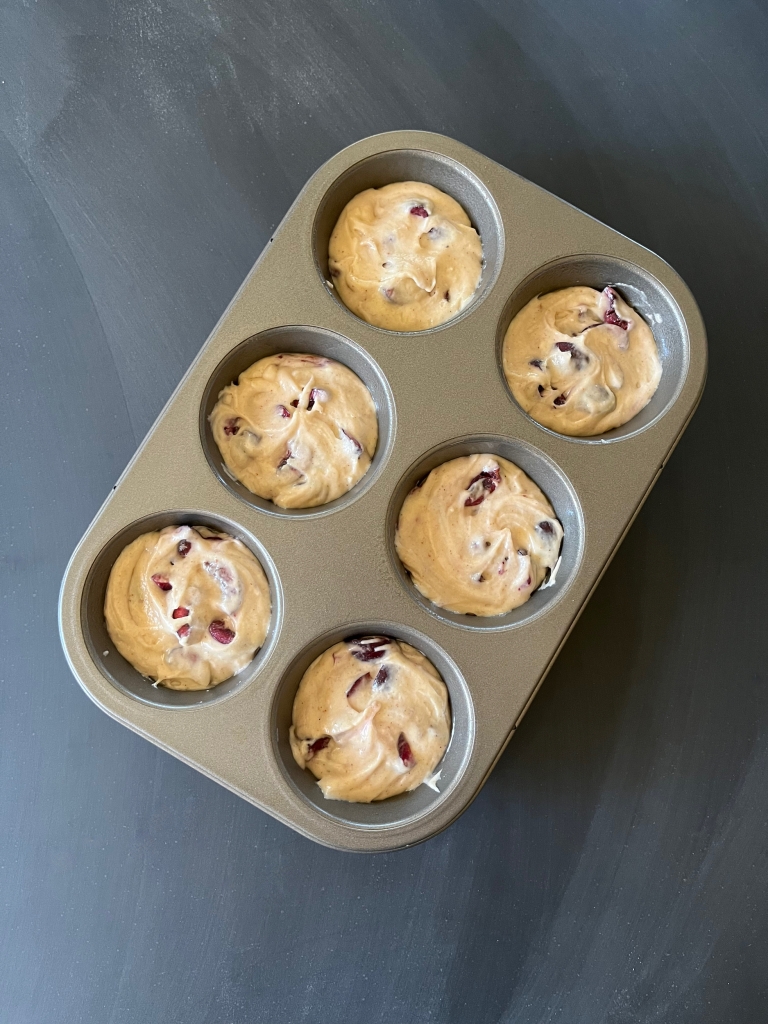
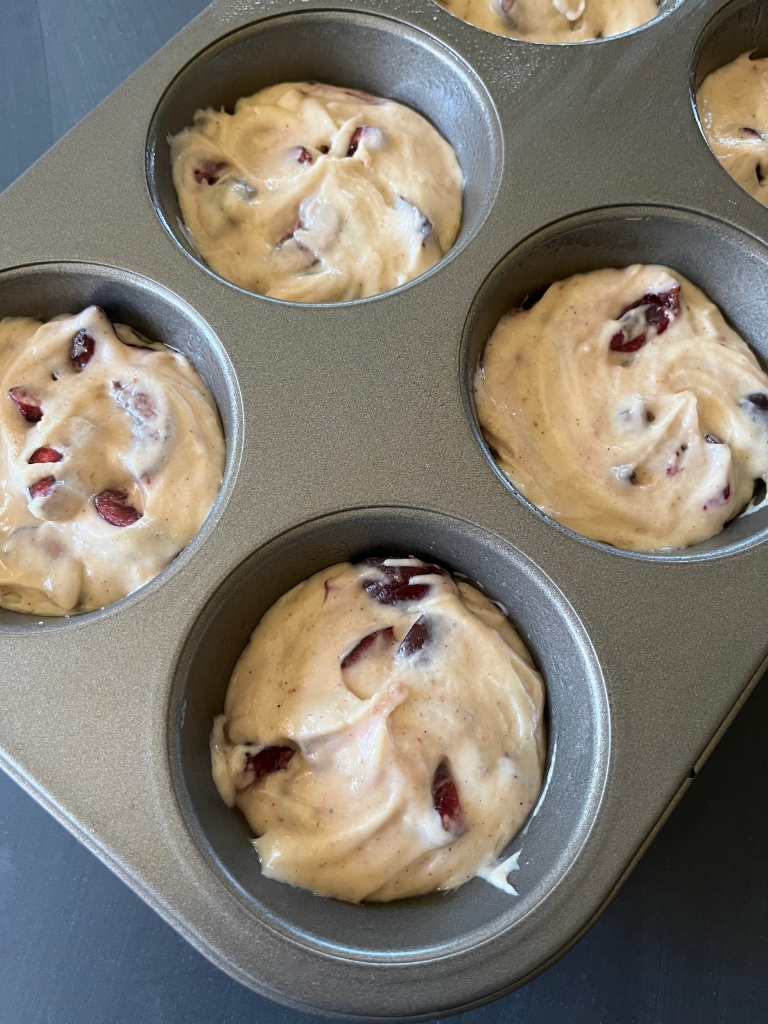
  6. After pitting and quartering the cherries, pat them dry with a paper towel and then dust them with flour (so they won’t sink to the bottom of your muffins) and gently fold them into the batter.
  7. Scoop the batter into the prepared jumbo muffin tin, filling each mould 3/4 of the way full.
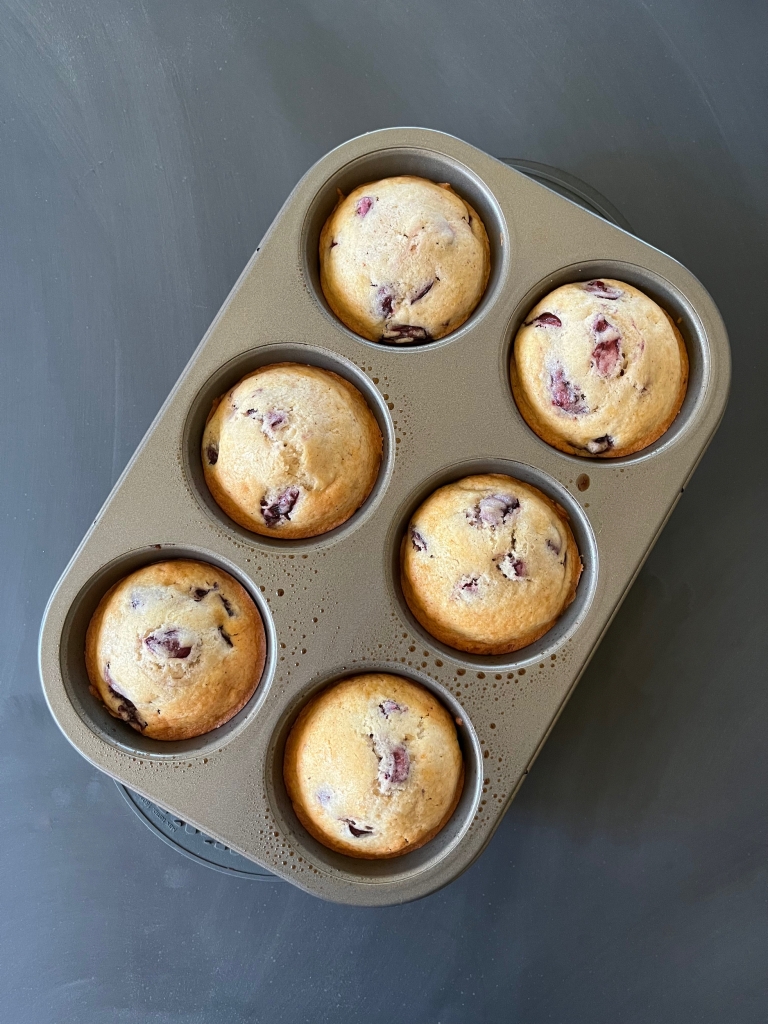
  8. Bake in the oven for 20 to 25 minutes or until a toothpick inserted in the center of each comes out clean!
  9. Allow to cool and enjoy!

How to Safely Brew Sun Tea

I have fond memories of my mom and my grandma making sun tea outside when I was a child. I never really drank any until I hit my pre-teen to teenage years, but it always looked so good glowing in the sunshine!

Now I know there is some controversy surrounding sun tea, regarding bacterial growth, and this can happen! If you do not correctly clean out the beverage container or dispenser between each use, if you leave the tea out in the sun for longer than 4 hours and/or if you put any sweetener or fruit in before setting it in the sunshine, there is the potential for harmful bacterial growth!

Fear not friends! I’ve made and drank multiple batches of sun tea with no problems! I’ve written instructions below on what to do to keep your sun tea clean and healthy! Let’s make some!

INGREDIENTS
  • Filtered water
  • Glass beverage container or dispenser
  • Tea bags
  • Honey, optional
INSTRUCTIONS
  1. Wash your glass beverage container or dispenser thoroughly with hot, soapy water and rinse well (if you are using a dispenser, this includes the spigot).
  2. Fill the container with clean, filtered water.
  3. Select which tea bags you would like to use and place them in the container with the tags on the outside. I used three tea bags for two quarts of water, but you can select how many for how strong you want your tea.
  4. Replace the lid on the container and set it outside in the sun for up to 4 hours, but no longer! If you leave it in the sun too long, there is a higher chance of bacterial growth!
  5. Once the tea is done, bring it inside and add any sweetener while it’s still warm from the sunshine. I used a few spoonfuls of my ginger and lemon infused honey.
  6. Once the sweetener of your choice has been stirred in to the warm tea, place the container in the refrigerator to chill.
  7. Enjoy!

Ginger and Lemon Infused Honey

Welcome back friends! I find homeopathic preventative care and remedies absolutely fascinating, and I am more than willing to give them a try!

This lemon and ginger infused honey is deliciously healthy for you! Ginger contains anti-inflammatory and antioxidant properties that have been known to help remedy stomach issues, combat cold and/or flu viruses and improve brain and heart health. Lemon is a natural detoxifier and contains antibacterial and antiviral properties. It’s also full of antioxidants and vitamin c to help boost the immune system. Raw honey has (you guessed it) even more antibacterial, antiviral, and antioxidant properties! It also contains enzymes that promote healthy gut flora and can help boost immunity and fight infection.

So many preventative and cleansing properties and it’s so easy to create and implement into everyday use! I personally create and use it to sweeten my tea. But it can also be taken by the spoonful or incorporated in to dishes!

Let’s make some!

INGREDIENTS
  • Fresh ginger, peeled
  • Lemon, sliced
  • Unpasteurized raw honey
  • Wooden spoon
  • Jar
INSTRUCTIONS
  1. First, sterilize the jar and lid. Wash them thoroughly with hot, soapy water and rinse well. Then submerge the jar lid in boiling water for 5 minutes and the jar for 10 minutes.
  2. Wash the ginger and peel it with a spoon, then thinly slice it into rounds. 
  3. Wash the lemon and thinly slice it into rounds.
  4. Add 2 to 3 tablespoons of honey to the jar, then begin alternating layers of ginger, lemon and honey until you’ve used all the ingredients and the ginger and lemon have been fully submerged (leave a small space at the top for the gases to build up).
  5. Use a wooden spoon to gently stir and move the ingredients around. This is to make sure the honey fully reaches all of the ginger and lemon with no air bubbles.
  6. Seal the lid and leave it to ferment for about two weeks in a cool dark place. During this time you will need to “burp” the jar daily. This means you must open the lid briefly to allow any built up gasses to release, then close it back up!
  7. Once fermentation is done and the honey has reached your desired taste, move the whole jar into the refrigerator to halt the fermentation process.

*Like most fermented foods, just keep an eye out for bad smells, mold, and other signs of spoilage. This doesn’t happen often, but if it does, it’s time to start a new ferment.

DIY – Bee Watering Station

Whether you keep a garden or not, bees are so essential to the plant life around us! They need water too, and sometimes sources of water are too deep for them to safely reach. To aid the bees while they are pollinating our plants, let’s create a decorative water dish for them to safely get a drink and keep moving!

SUPPLIES
  • 1 plant saucer
  • 1 plant pot (smaller than the plant saucer)
  • Small, foam paint brush
  • Paint palette (or a tray for your paint)
  • Non-toxic acrylic paint
  • Mod Podge
  • Glass gem marbles
INSTRUCTIONS
  1. Wipe the plant pot and saucer clean with a damp rag and allow to them to dry.
  2. To prime and seal the plant pot and saucer, spread an even layer of Mod Podge on them with a small foam paint brush. Allow them to dry before switching sides and/or applying new layers.
  3. Once the Mod Podge is dry, begin painting the plant pot and saucer with whichever color of non-toxic acrylic paint you prefer! Allow them to dry before switching sides and/or applying new layers.
  4. Apply the paint in layers until you’re happy with the color and texture.
  5. Once the paint is dry, seal the plant pot and saucer again with even layers Mod Podge. Allow them to dry before switching sides and/or applying new layers.
  6. Once the Mod Podge is dry, flip the plant saucer over and find its center. Place the bottom of the plant pot centered on the bottom of the plant saucer and use a pencil to trace around the edge.
  7. Remove the plant pot and carefully apply an even trail of glue just inside the traced circle on the bottom of the plant saucer.
  8. Immediately place the bottom of the plant pot on the bottom of the plant saucer over the circle of glue and press down gently. Leave the assembled water dish as it is, upside down, for at least 24 hours to dry before moving it.
  9. Now, Mod Podge should be left to fully cure for at least 3 weeks before filling the dish with water. Allow the Mod Podge to fully cure before moving on to the next step!
  10. Once the Mod Podge has fully cured (you will know it is when it is no longer tacky to the touch), fill the water dish with glass gem marbles and then with water.
  11. Place the Bee water station outdoors to hydrate those bees!
  12. Enjoy!

Brief Hiatus

Hello friends!

I hope this Spring is treating you all well!

We will return to our regular posting schedule soon! I am taking a brief hiatus to design journals and other paper products to be sold on Amazon and then Etsy. Once that is sustainable, I will return!

In the meantime, if there’s anything you’d like me to create, let me know in the comments and I will try to work it in!

Fun and Easy Non-alcoholic Butterbeer Recipe

Welcome back friends! With the release of Hogwarts Legacy, I am in a Harry Potter kind of mood, and craving some Harry Potter food!

Wowee, Butterbeer is sweet! It best enjoyed with something salty to counteract just how sweet it is! Another way to counteract the sweetness is to leave the whipped cream plain, no added sugar or sweetener, just the whipped cream. If you mix the whipped cream and the butterbeer it creates a perfectly balanced bite! Not too sweet!

Let’s make some!

INGREDIENTS
  • 1⁄2 cup of butterscotch syrup
  • 1⁄2 tablespoon of butter, melted
  • 1 cup of cream soda
  • Heavy whipping cream
INSTRUCTIONS
  1. Measure and pour the butterscotch syrup into a bowl.
  2. Add the melted butter to the butterscotch syrup and whisk gently until combined.
  3. Measure and pour the cream soda into the butter, butterscotch mixture and whisk gently again until combined, then set aside.
  4. In a separate mixing bowl, whip the heavy cream until it forms stiff peaks. 
  5. Pour the butterbeer into mugs of your choosing, leaving room for the whipped cream topping.
  6. Top the butterbeer with a few dollops of whipped cream and enjoy! 

DIY Heart Handprint Painting for Valentine’s Day

Welcome back friends!

My little girl hasn’t quite reached the age of exchanging multitudes of valentines amongst her classmates and/or friends so I thought we would create a few fun pieces of artwork instead! These heart handprint paintings are the perfect Valentine for moms, dads, grandmas, grandpas, aunts and uncles; the sky is the limit!

Let’s have some fun and get painting!

SUPPLIES
  • Small mounted canvas (large enough for a handprint)
  • Foam paint brushes
  • Acrylic paint
  • Heart shaped paper, small
  • Scissors
  • Sticky tape
INSTRUCTIONS
  1. Select the colors you would like for a background, this can be one or more dependent on your preference.
  2. Squeeze dots of the background paint color(s) you selected on the canvas in any pattern you prefer. I was going for a gradient look so I arranged my dots from light to dark.
  3. Using a a foam paint brush, you and your little one can spread and blend the paint over the canvas in back and forth strokes.
  4. For a completed look, paint the edges of the canvas if you have not already done so, then set it aside and allow it to fully dry.
  5. Print and cut a heart out of paper and use sticky tape to attach it to the dry canvas.
  6. Select the colors you would like to use to create the handprint, this could be one color or more, we did six, one for each finger and another color for the palm!
  7. Using a different foam paint brush for each color, brush the colors onto your little one’s hand. Gently press the painted hand down on the canvas, aligning the heart under their palm.
  8. Gently pull the hand away, then peel away the heart if it did not come off onto the hand.
  9. If needed, use a small paint brush to touch up the edges of the heart, then allow the painting to dry.
  10. Enjoy!

Homemade Valentine’s Bittersweet Fudge Recipe

Welcome back friends! Who would like to celebrate love and create some bittersweet fudge, sprinkled with a little salt this Valentine’s day? Usually I crave a sweeter chocolate, but this fudge has just enough sweet to cut through the bitter dark chocolate taste and if you add a little salt on top? Pure delicious!

Let’s make some!

INGREDIENTS
  • 16 ounces of Baker’s unsweetened chocolate
  • 14 ounce can of sweetened condensed milk
  • 2 teaspoons of vanilla
  • Kosher salt (optional)
INSTRUCTIONS
  1. Line an 8 or 9 inch square pan with foil. 
  2. Break the chocolate down in to smaller pieces and place it and the sweetened condensed milk into a double boiler.
  3. Melt the chocolate into the sweetened condensed milk, stirring to incorporate.
  4. Once the chocolate is melted, add the vanilla.
  5. Remove from the heat and spread the fudge on the bottom of the prepared pan. Sprinkle Kosher salt over the top of the fudge if desired.
  6. Refrigerate for two hours or until firm. 
  7. Use foil to lift fudge from pan before cutting into pieces. I used a heart cookie cutter to create heart shaped fudge pieces for my Valentine(s).
  8. Enjoy!

Savory Carrot and Tomato Soup Recipe

Welcome back friends! Who would like some rich and savory carrot and tomato soup on a cold afternoon or evening? I know I do! This soup is tangy and delicious, pairing well with toasted bread or grilled cheese sandwiches!

Let’s make some!

INGREDIENTS
  • 3 tablespoons of olive oil
  • 4 cloves of garlic, minced
  • 1 large yellow onion, diced
  • 1 1/2 lb. of carrots, peeled and cut into medallions
  • 1/4 teaspoon of black pepper
  • 1 teaspoon of ground cumin
  • 1 1/2 teaspoons of kosher salt
  • 2 cans of whole peeled tomatoes (28 ounces each)
  • 1 teaspoon of dried basil
  • 1/2 cup of plain greek yogurt
INSTRUCTIONS
  1. Warm the 3 tablespoons of olive oil in a dutch oven or large soup pan over medium heat.
  2. Add the garlic and onion and cook for about 5 minutes or until the onions begin to turn translucent.
  3. Stir in the carrots, black pepper, ground cumin and kosher salt and cook covered for about 10 minutes, stirring occasionally.
  4. After about 10 minutes have passed, add the the whole peeled tomatoes with their juices and the dried basil, stirring well to incorporate.
  5. Bring the soup to a boil, then reduce to a simmer and cover for about 20 minutes or until the carrots are soft. This may vary per oven, so keep an eye on them!
  6. Once the carrots are soft, remove the soup from the heat and use an immersion blender to carefully blend the soup until smooth.
  7. Stir in the greek yogurt and then use the immersion blender again to smooth it in.
  8. Allow to cool and enjoy!

Resist Gossip

“Great minds discuss ideas; average minds discuss events; small minds discuss people.” – Eleanor Roosevelt

Let’s be done with gossip. 

Gossip is not beneficial, it is not positive, it is not kind; it’s damaging, it’s negative, it’s hateful.

There are members of my extended family (and I know it doesn’t stop there) who treat gossiping with all the seriousness of their life’s purpose and it is beyond disturbing. My hands are not clean either, I’ve gossiped and it is thrilling when you’re right in the middle of gleaning and spreading all the juicy details, but it’s bad behavior and a bad habit. Bad habits are best dropped before becoming bad character.

I love my daughter and I do not want her growing up judging or disparaging others.  One of my resolutions is to stop gossiping and I invite anyone who’s reading this to join me. 

It’s time to stop; resist gossip.

I created this sticker, that can be purchased here and used as a reminder!