Sir Kay’s Turkey Leg Recipe

Sir Kay's Turkey Leg Recipe (Sword in the Stone)

INTRODUCTION

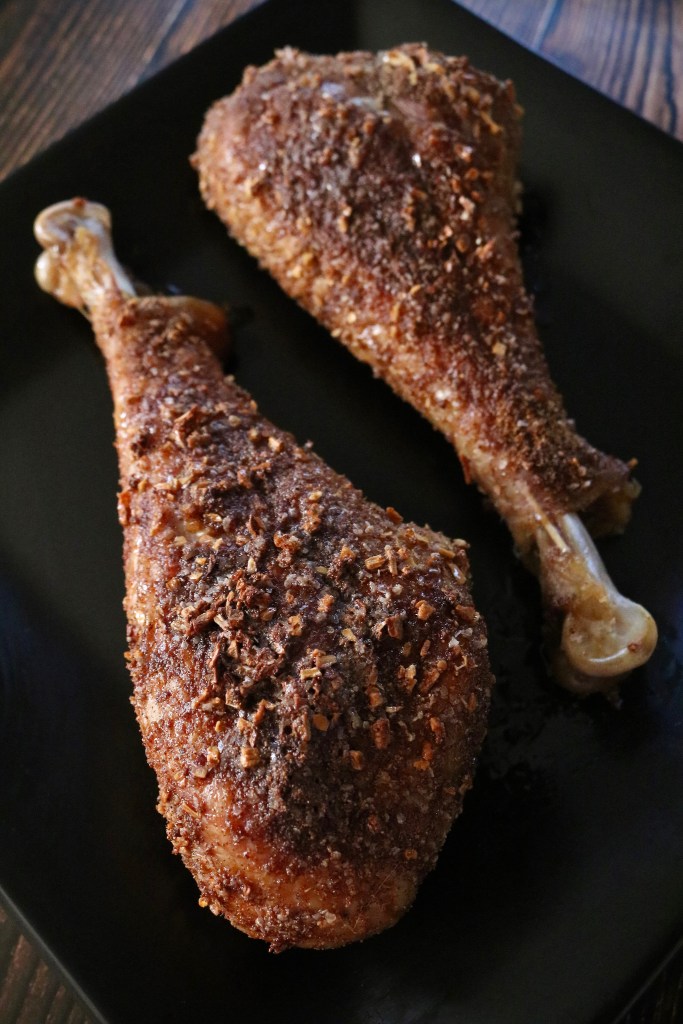
Welcome back friends! This week we are roasting the turkey legs Sir Kay eats in Disney’s The Sword in the Stone.

Sir Kay's Turkey Leg Recipe (Sword in the Stone)

This recipe is featured near the beginning of the film, in a scene that establishes Sir Kay’s contemptible nature. He munches on this turkey leg as he declares his indifference about Arthur’s whereabouts and safety. When I was little, I remember being fascinated at how easily he eats the meat off the bone.

Sir Kay's Turkey Leg Recipe (Sword in the Stone)

Sir Kay's Turkey Leg Recipe (Sword in the Stone)

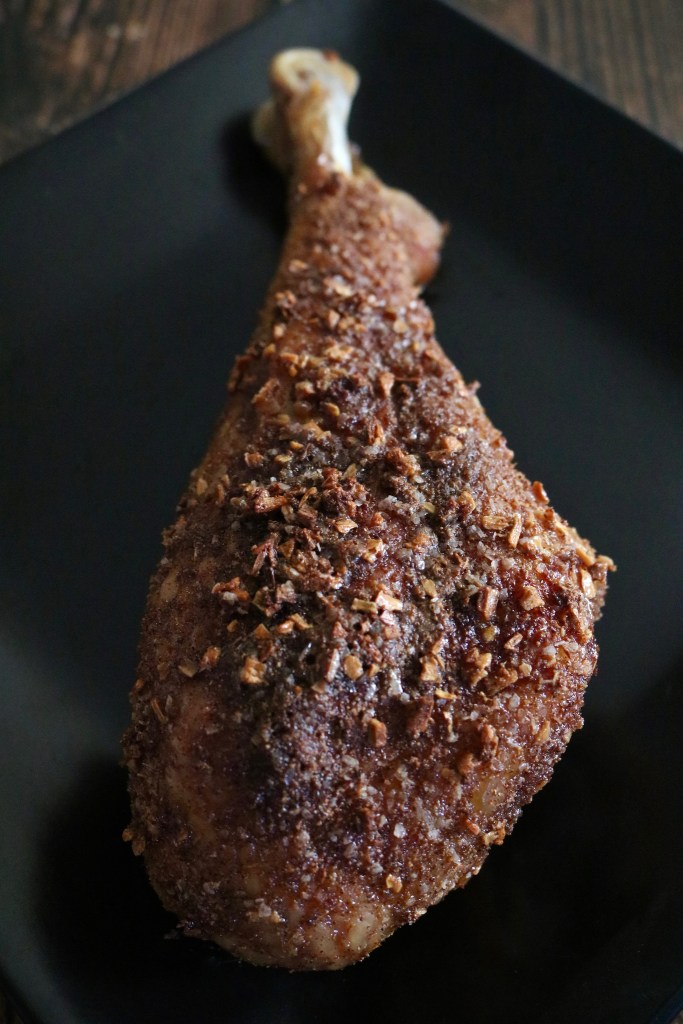
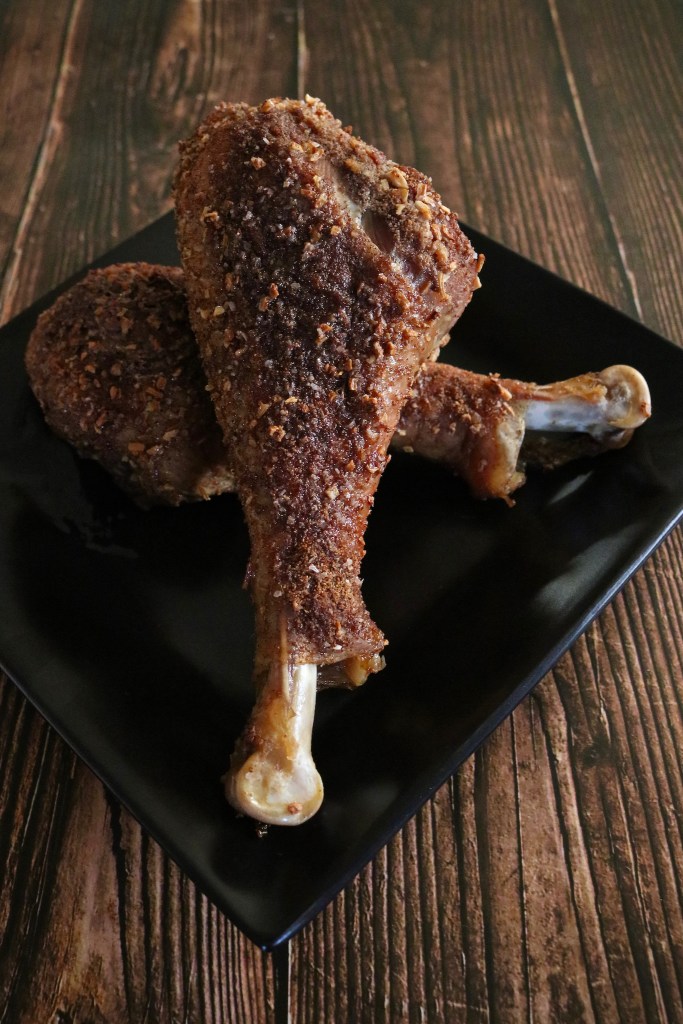
This was an experimental recipe to be sure, but super fun to research! I looked up what kind of spices cooks had available and used on their meat during the Sword in the Stone’s time period, then created this rub! It is delicious, but I will warn you it is rich. I would definitely pair it with something fresh like a salad or another fruit or vegetable.

Sir Kay's Turkey Leg Recipe (Sword in the Stone)

Sir Kay's Turkey Leg Recipe (Sword in the Stone)

TURKEY LEGS
  • 2 Turkey legs
  • 1/16 teaspoon of black pepper
  • 1/2 teaspoon of cinnamon
  • 1 tablespoon of garlic powder
  • 1/8 teaspoon of ginger
  • 1 tablespoon of minced onion
  • 1/8 teaspoon of nutmeg
  • 3/4 tablespoon of salt
  • 1 cup of chicken broth
  • Honey
INSTRUCTIONS (TURKEY LEGS)
  1. Combine the black pepper, cinnamon, garlic powder, ginger, minced onion, nutmeg and salt in a small bowl and set aside.
  2. Preheat the oven to 350 F.
  3. Pat the turkey legs dry and place them in a large roasting pan. 
  4. Rub and pat the seasoning over and into the turkey legs.
  5. Pour the chicken broth into the bottom of the pan around the turkey legs.
  6. Roast the turkey legs for about 1 hour and 20 minutes.
  7. Bring the drumsticks out of the oven and glaze with honey then put them back into the oven for 10 to 20 minutes or until a meat thermometer registers 170 F.
  8. Remove the roasting pan from the oven, cover it with foil, and let it stand for 10 minutes.
  9. Once cool enough to eat, remove the foil and enjoy!

Let’s Create Our Own Candles!

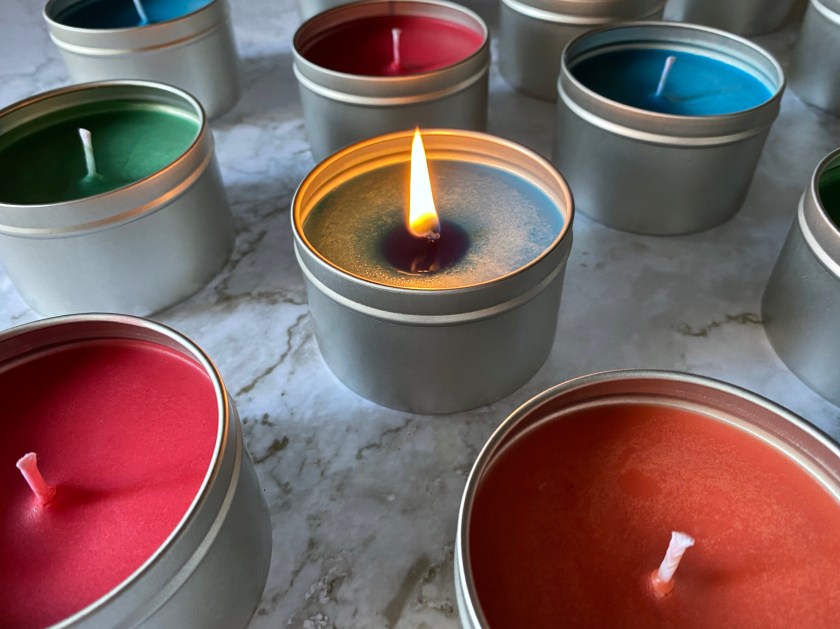
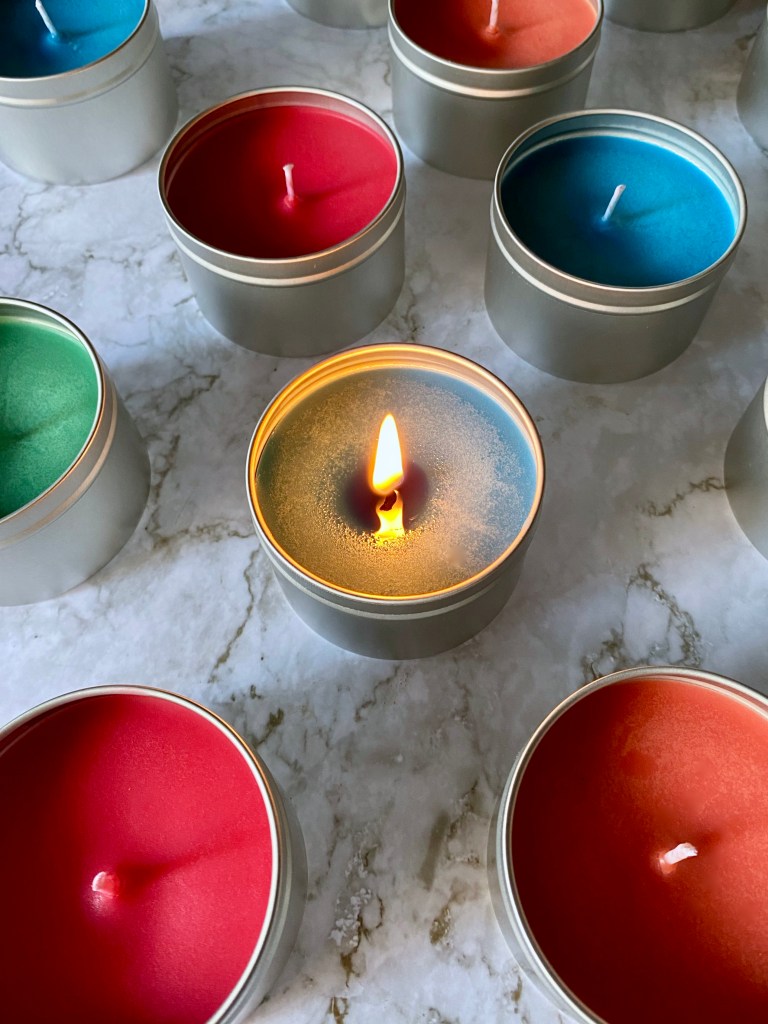
Lets Create Our Own Soy CandlesI bought a soy candle kit for myself several years ago, opened the box and looked at the supplies, then folded it back up and set it aside. For years! I don’t know if I felt intimidated or scared I’d get it wrong, but I’ve been missing out because it is pretty darn satisfying to make your own candles!

If you’re a beginner, like myself, I highly recommend starting with a candle kit. I purchased this kit from www.candlewic.com. Unfortunately I no longer see these or any kits available (this may change in the future), but they do sell all the supplies individually or you can purchase a kit from another reputable website, including Amazon, Bramble Berry, Candle Science, etc. Each kit should include instructions with specific temperatures to add any colors or scents. In this post, I’ve refined the instructions from my kit which you can reference to create your own candles or apply the basic principles if using another candle kit.

Lets Create Our Own Soy Candles

SUPPLIES

Lets Create Our Own Soy Candles

  • 12 candle containers (8 oz)
  • 12 pre-tabbed wicks
  • 12 glue stickers
  • Pouring pot
  • Thermometer
  • Stirring utensil
  • 4 pounds of soy wax
  • 4 different color dye blocks
  • 4 different fragrance oils (1 oz)
  • 3 bow tie wick bars
INSTRUCTIONS
  1. Prepare your candle containers. Place a glue sticker onto each pre-tabbed wick, then place one wick directly in the center of each candle container.

    Lets Create Our Own Soy Candles
  2. Place one pound of soy wax into the pouring pot. If you have a kit, this may already be measured out for you, if not use a kitchen scale.

    Lets Create Our Own Soy Candles
  3. Set the pouring pot into a large saucepan filled a third of the way with water and bring the water to a soft boil.
  4. Allow the wax to melt, then insert your thermometer and continue to heat until it reaches 175 F.
  5. At 175 F, add the color dye block and stir until it’s completely melted and blended with the wax.
  6. Remove the pouring pot from the water and allow the wax to cool to 140F.
  7. At 140 F, add the fragrance oil and stir until well incorporated.
  8. Carefully pour the dyed and fragrant wax into three of the prepared wax containers. One pound of wax, one color dye block and one ounce of fragrance can create three 8 ounce candles.

    Lets Create Our Own Soy Candles
  9. Center the wicks in the bow tie wick bars and allow them to cool and set completely on a level surface for at least 24 hours.

    Lets Create Our Own Soy Candles
  10. Once cooled and set, remove the bow tie wick bars and cut the wicks.

    Lets Create Our Own Soy Candles
  11. Enjoy!

    Lets Create Our Own Soy CandlesLets Create Our Own Soy Candles

I plan on using these in our home, but I would love to make more for family and friends! Do you use candles in your home? What is your favorite scent? Mine is Spruce or Mulled Cider, all the holiday feels!

Tiana’s Gumbo Recipe

Tiana's Gumbo Recipe From Disney's The Princess and the Frog

INTRODUCTION

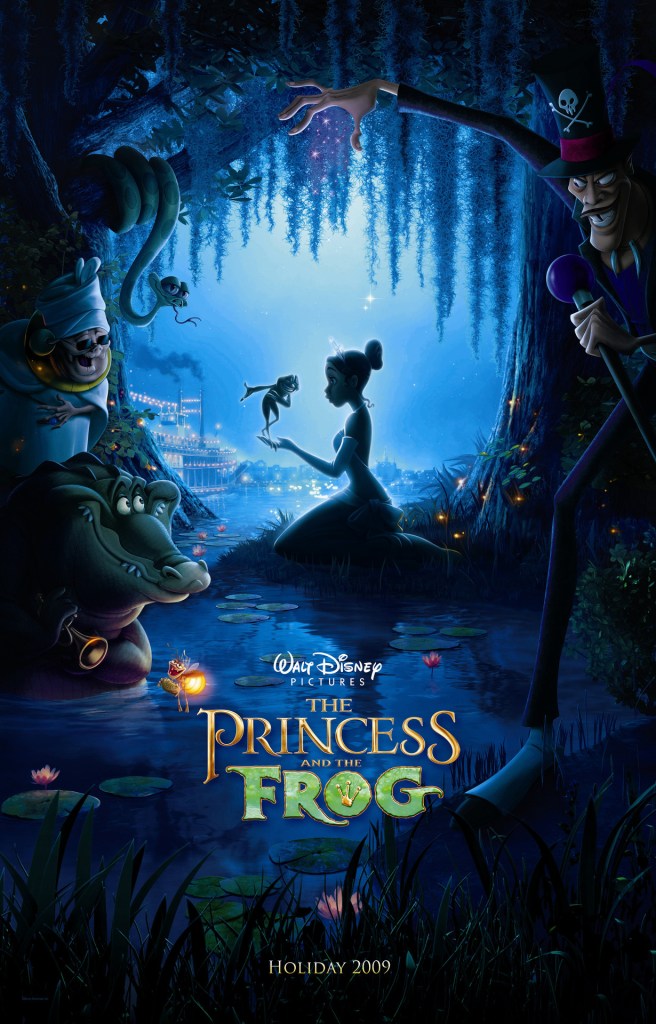
Welcome back friends! This week we will be cooking up Tiana’s gumbo from Disney’s The Princess and the Frog!

Tiana's Gumbo Recipe From Disney's The Princess and the Frog

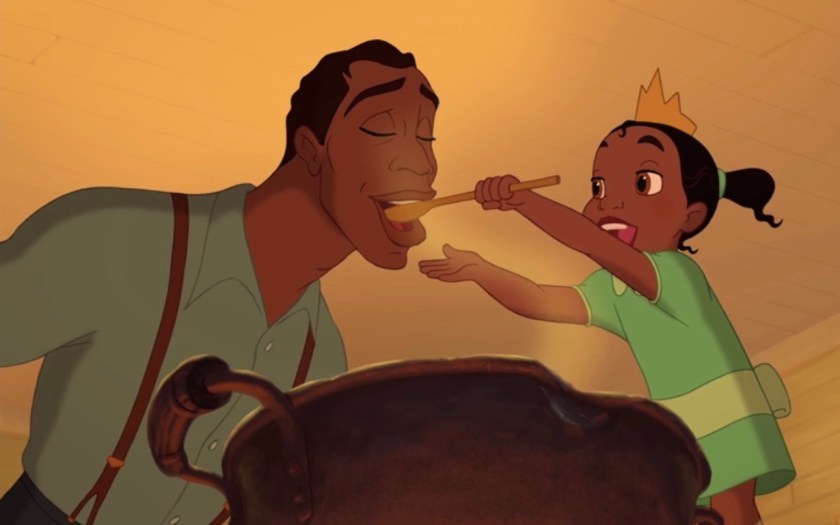
This recipe is featured at the beginning of the film when Tiana makes gumbo for her family and community. It’s one of my favorite moments in the movie, revealing the loving relationship she shared with her father and how much she looked up to him, her passion for cooking and her generosity within her community.

Tiana's Gumbo Recipe From Disney's The Princess and the Frog

Tiana's Gumbo Recipe From Disney's The Princess and the Frog

This recipe is delicious! Absolutely perfect for this time of the year or whenever you need something warm and comforting.

Tiana's Gumbo Recipe From Disney's The Princess and the Frog

Tiana's Gumbo Recipe From Disney's The Princess and the Frog

GUMBO
  • 1/4 cup of butter
  • 1/2 pound of smoked beef sausage, cut into 1/4-inch slices
  • 1/3 cup of flour
  • 1 green bell pepper, chopped
  • 1 cup of celery, chopped
  • 3 garlic cloves, minced
  • 1 cup of onion, chopped
  • 1 cup frozen orka, thawed
  • 1 14-ounce can of diced tomatoes, undrained
  • 2 1/2 cups of chicken broth
  • 1 bay leaf
  • 1/4 teaspoon of black pepper
  • 2 teaspoons of cajun or creole seasoning
  • 3/4 teaspoon of chili powder
  • 1/2 teaspoon of hot pepper sauce
  • 1 teaspoon of salt
  • 1  pound of frozen cooked shrimp
INSTRUCTIONS
  1. Melt the 1/4 cup of butter in a dutch oven and brown the sausage in it.
  2. Remove the cooked sausage and set it aside.
  3. Whisk the 1/3 cup of flour into the butter and meat drippings until combined.
  4. Continue to cook the roux, stirring constantly, for about 10 to 20 minutes or until it turns a dark amber-brown. If it’s cooking too quickly, or starts to smell faintly burnt, turn the heat down a little.
  5. Stir in the bell pepper, celery, garlic, onion and okra until they are completely coated in the roux.
  6. Cook these ingredients for about 5 minutes or until the vegetables have started to soften, stirring every 10-15 seconds.
  7. Once the vegetables have begun to soften, add the tomatoes and the chicken broth, stirring as you go to smooth the roux into the broth.
  8. Add the bay leaf, black pepper, cajun or creole seasoning, chili powder, hot pepper sauce and salt; stir to combine.
  9. Bring the gumbo to a boil, then reduce to a simmer.
  10. Simmer uncovered for 10 minutes, stirring occasionally.
  11. Stir in the shrimp, then cover and allow to simmer for about 5 minutes or until the shrimp thaw and cook through.
  12. Remove the bay leaf and serve the gumbo on its own or over cooked white rice. We recommend Jasmine Rice!
  13. Enjoy!

“Almost There” Lyric Page from Disney’s The Princess and the Frog

"Almost There" Lyric Page (The Princess and the Frog)
I love singing to Zoey and she loves being sung to! I used to know all the songs from Disney movies by heart, but I’m a little rusty. I’ve started making lyric pages to refresh my memory or teach me new songs I’ve never known!

“Almost There” from Disney’s The Princess and the Frog is so inspiring and invigorating. I typically sing this to her or play it for her while we’re playing and/or dancing. She can’t necessarily understand its positive message yet, but one day she will!

Please feel free to save these for quick reference, and let me know if there are any songs you would like to see lyric pages for!

Tiana’s “Bayou” Gumbo Recipe

Tiana's Bayou Vegetarian Gumbo Recipe

INTRODUCTION

Welcome back friends! This week we’ll be cooking up the gumbo Tiana makes in the bayou from Disney’s The Princess and the Frog!

Tiana's Bayou Vegetarian Gumbo Recipe

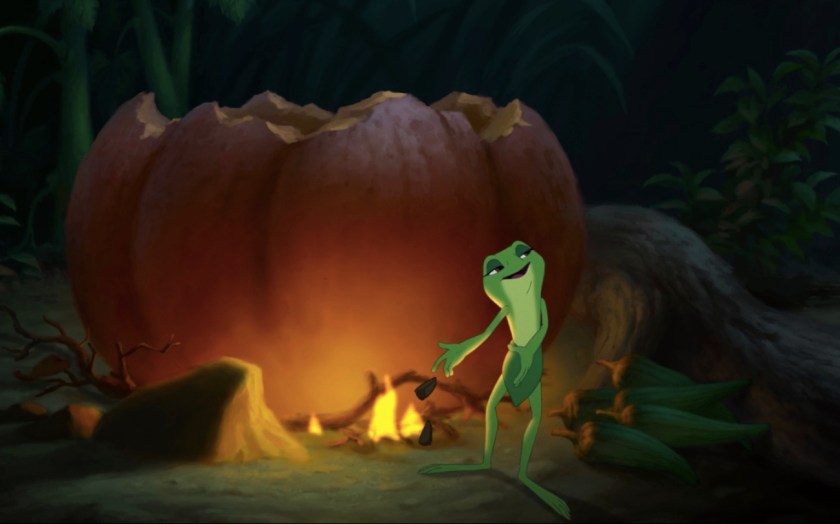
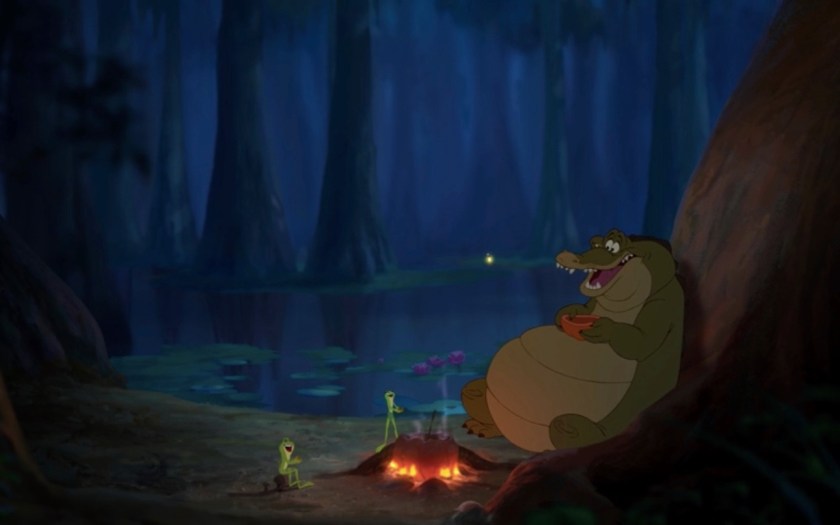
This recipe is featured on Tiana, Naveen, Louis and Ray’s journey through the bayou to reach Mama Odie. When they stop to rest for the night, she teaches Naveen how to help prepare the food and they learn a little more about one another. She is such a talented cook that she can still create a delicious gumbo from the ingredients on hand.

Tiana's Bayou Vegetarian Gumbo Recipe

Tiana's Bayou Vegetarian Gumbo Recipe

Tiana's Bayou Vegetarian Gumbo Recipe

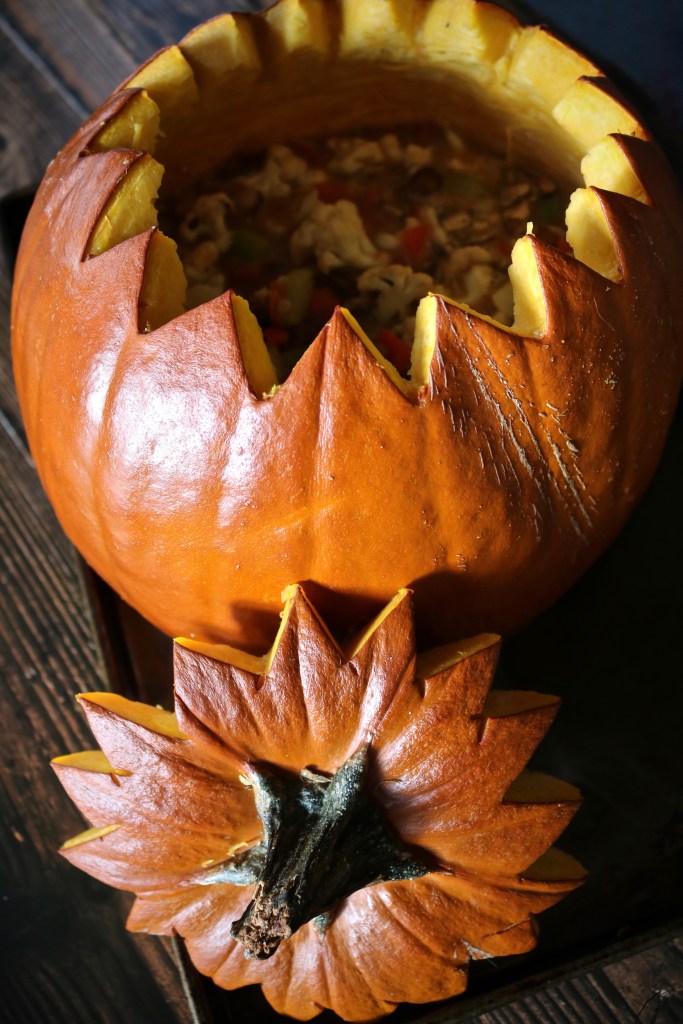
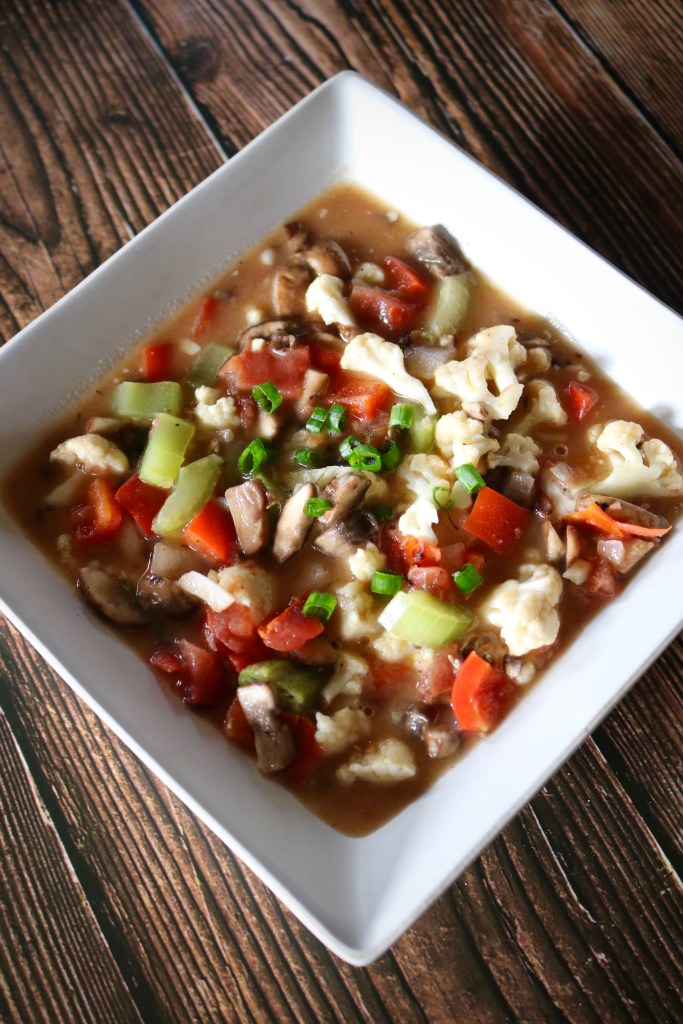
I used a little more than the ingredients she had on hand, but I did keep it to a vegetarian theme and baked it in a pumpkin, which was so fun! How often do you get to make food inside of a pumpkin?

Tiana's Bayou Vegetarian Gumbo Recipe

Tiana's Bayou Vegetarian Gumbo Recipe

“BAYOU” GUMBO IN A PUMPKIN
  • 1 medium-sized pumpkin
  • 1/2 cup of butter
  • 2/3 cups of all-purpose flour
  • 2 red bell peppers, cored and diced
  • 2 celery stalks, diced
  • 5 cloves of garlic, minced
  • 1 white onion, peeled and diced
  • 1 cup of fresh or frozen okra, chopped
  • 1 small cauliflower, chopped into florets
  • 1 lb. of baby bella or button mushrooms, diced
  • 14 ounce can of fire-roasted tomatoes
  • 1/2 teaspoon of cayenne
  • 2 teaspoons of Creole or Cajun seasoning
  • 1/2 teaspoon of dried thyme
  • 1 bay leaf
  • 3 cups of vegetable stock
  • 1 tablespoon of butter
  • Salt and pepper, to taste
  • Green onions (optional garnish)
INSTRUCTIONS
  1. Wash and dry the outside of the pumpkin, then cut the top off and thoroughly clean out the pulp and seeds.
  2. Place the pumpkin (and it’s top) on a baking sheet lined with foil and set aside.
  3. Melt the 1/2 cup of butter in a dutch oven, or large heavy-bottomed pot, over medium-high heat, then whisk in the flour until combined.
  4. Continue to cook the roux, stirring constantly, for about 20 minutes or until it turns a dark amber-brown. If it’s cooking too quickly, or starts to smell faintly burnt, turn the heat down a little.
  5. Stir in the bell peppers, celery, garlic, onion and okra until they are completely coated in the roux.
  6. Cook these ingredients for about 5 minutes or until the vegetables have started to soften, stirring every 10-15 seconds.
  7. Add the cauliflower, mushrooms, tomatoes, cayenne, creole/cajun seasoning, thyme, and the bay leaf.
  8. Cook and stir for another 5 to 10 minutes until the ingredients are well combined and the new additions have softened a little.
  9. While the ingredients cook, set the rack to the lowest point of your oven and pre-heat to 375 F.
  10. Carefully ladle this mixture into the pumpkin and slowly pour in the broth, stirring the ingredients a little to smooth out the broth.
  11. Place the tablespoon of butter on top of the gumbo and replace the pumpkin’s top.
  12. Bake the pumpkin in the oven for about an hour, but please keep an eye on it! When done, the outside of the pumpkin will turn a dark orange. The inside of the pumpkin should be slightly tender, but not overly so, we are not scraping the sides to use in our gumbo.
  13. Remove the baking sheet with the pumpkin from the oven and carefully remove the top. Remove the bay leaf, stir the contents and add salt and/or pepper to taste.
  14. Serve and enjoy!

Family Friendly Halloween Playlist 2020

Family Friendly Halloween Playlist 2020Welcome to the spooky month of October my friends!

My family and I have created a playlist of family friendly Halloween music for you and yours! Halloween may be celebrated a little differently this year, but that doesn’t mean we can’t kindle a little Halloween spirit!

This year we’ve decided to focus more on jazzy halloween inspired music with a few other songs sprinkled in that fit the mood. The Disney and Danny Elfman presence in this list is strong and I found myself wishing I could find more jazz covers of the Disney Villains songs.

Please let us know if we missed or left out any of your family friendly halloween favorites you feel should be included! We’d love to hear from you!

Family Friendly Halloween Playlist 2020

  •  Linus and Lucy | Vince Guaraldi Trio
  • Monsters, Inc. | Randy Newman
  • Charlie Brown Theme | Vince Guaraldi Trio
  • The Scare Floor | Randy Newman
  • Great Pumpkin Waltz | Vince Guaraldi Trio
  • The Piano Duet (The Corpse Bride) | Danny Elfman
  • Overture (The Nightmare Before Christmas) | Danny Elfman
  • This is Halloween | The Citizens of Halloweentown
  • Grim, Grinning Ghosts | The Haunted Mansion Happy Haunts
  • Sally’s Song | Catherine O’hara
  • Jack and Sally Montage | Danny Elfman
  • Jack’s Lament | Danny Elfman
  • Ball & Socket Lounge Music #1 | Danny Elfman
  • Remains of the Day | Danny Elfman
  • They Don’t Scare Me | Mickey Mouse
  • Monster Mash | Bobby “Boris” Pickett
  • The Munsters | Jack Marshall
  • Trust in Me | Scarlett Johansson
  • Snuff Out the Light | Eartha Kitt
  • Witchy Woman | The Eagles
  • I Put a Spell On You | Screamin’ Jay Hawkins
  • Friends on the Other Side | Keith David
  • Man with the Hex | The Atomic Fireballs
  • The Headless Horseman | Thurl Ravenscroft
  • Superstition | Stevie Wonder
  • Remains of the Day (Combo Lounge Version) | Danny Elfman
  • Cruella De Vil | Dr. John
  • Ball & Socket Lounge Music #2 | Danny Elfman
  • Little Birdie (Instrumental) | Vince Guaraldi Trio
  • Thanksgiving Theme | Vince Guaraldi Trio

Family Friendly Halloween Playlist on Spotify

DIY Pinched Felt Halloween Garland

DIY Halloween Pinched Felt Garland

Although Halloween may be celebrated a little differently this year, that doesn’t mean we can’t kindle a little Halloween spirit!

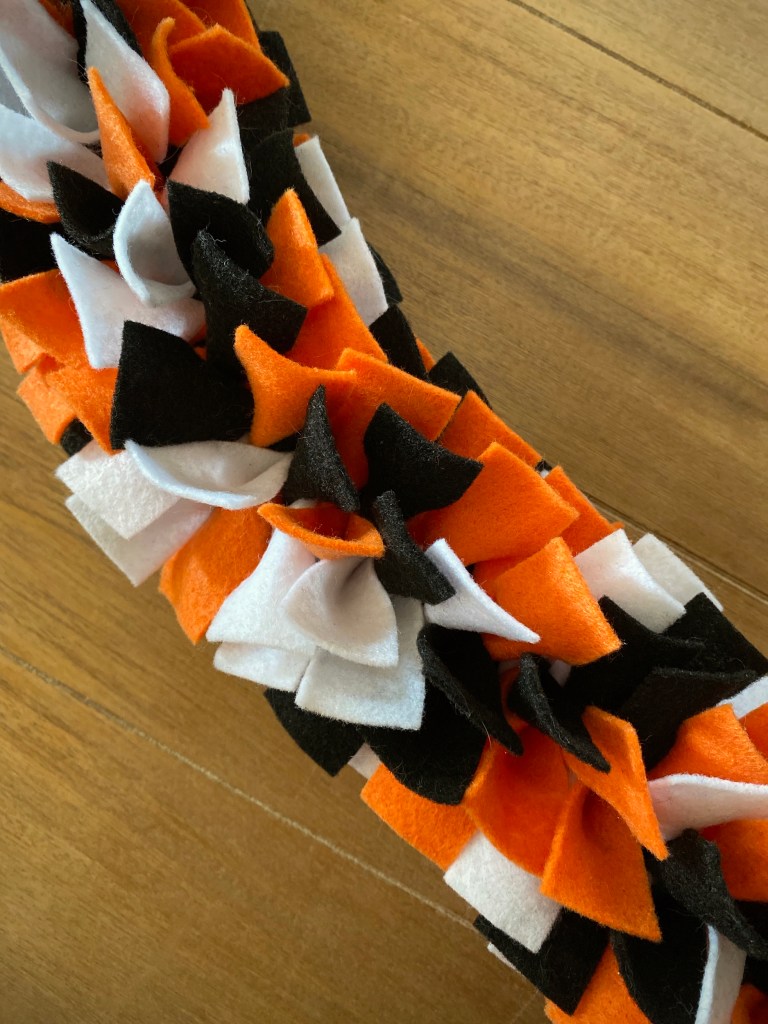
Today we’ll be making what I like to call a “pinched” felt garland. Pinched felt garlands are made by pinching small ribbons of different colored felts, poking a threaded needle through the pinched portion of the fabric, and stringing them close together onto a garland.

In the spirit of Halloween (and this tutorial), we’re going with traditional black, orange and white. Other fun variations would be candy corn colors or general fall colors so you can display it from the Autumn Equinox through Thanksgiving.

DIY Halloween Pinched Felt Garland

DIY Halloween Pinched Felt Garland

SUPPLIES
  • Black felt, cut into 1 x 3” strips
  • Orange felt, cut into 1 x 3” strips
  • White felt, cut into 1 x 3” strips
  • Scissors or a rotary cutter
  • Rotary mat
  • Ruler
  • Black cotton crochet thread, size 3
  • Needle
INSTRUCTIONS

DIY Halloween Pinched Felt Garland

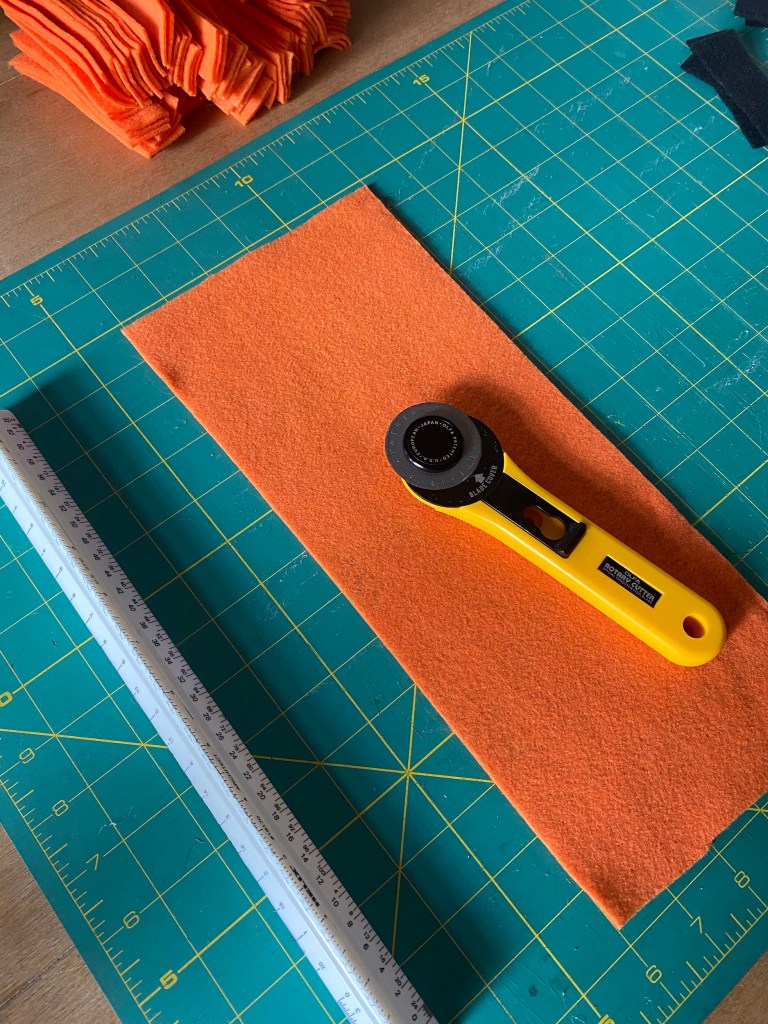
  1. Cut the felt into 1 x 3” strips. I started with about 200 pieces of each color, but I only used about 175 of the orange and white and 176 of the black. You can use fabric or sewing scissors to do this, or you can use a rotary cutter. If you use a rotary cutter, please make sure you have a cutting mat so you don’t damage the surface below the felt. I use a ruler to keep my cuts straight.

    DIY Halloween Pinched Felt Garland DIY Halloween Pinched Felt Garland

  2. Measure out 7 feet of the cotton crochet thread, 6 feet for the garland and 6 inches on either side for the ties and knots.
  3. Thread the needle, then knot the tip of the opposite end (I often triple each knot).
  4. Six inches from the first knot, tie another knot in the thread again to create a section to tie the garland up when it’s finished.
  5. Pinch the center of a black piece of felt and poke the needle through the folded pinched fabric and push it down to the knot.
  6. Pinch the center of an orange piece of felt and poke the needle through the folded pinched fabric and push it down onto the black piece.

    DIY Halloween Pinched Felt Garland

  7. Pinch the center of a white piece of felt and poke the needle through the folded pinched fabric and push it down onto the orange piece.
  8. Repeat steps 5, 6 and 7 until you’ve created 6 feet of pinched felt garland. The pieces of felt will be pretty close together to hide any exposed thread in between the pinched felt.

    DIY Halloween Pinched Felt Garland

  9. Thread one last piece of black felt to frame the garland and then tie a knot in the thread.
  10. Remove the needle and tie a knot on the very end of the thread, creating another tie section on this side of the garland.
  11. Hang or display your garland and enjoy!

DIY Halloween Pinched Felt Garland

Family Friendly Halloween Movies and Specials – G Rated

Family Friendly Halloween Movies and Specials - G Rated

Welcome to the spooky month of October my friends!
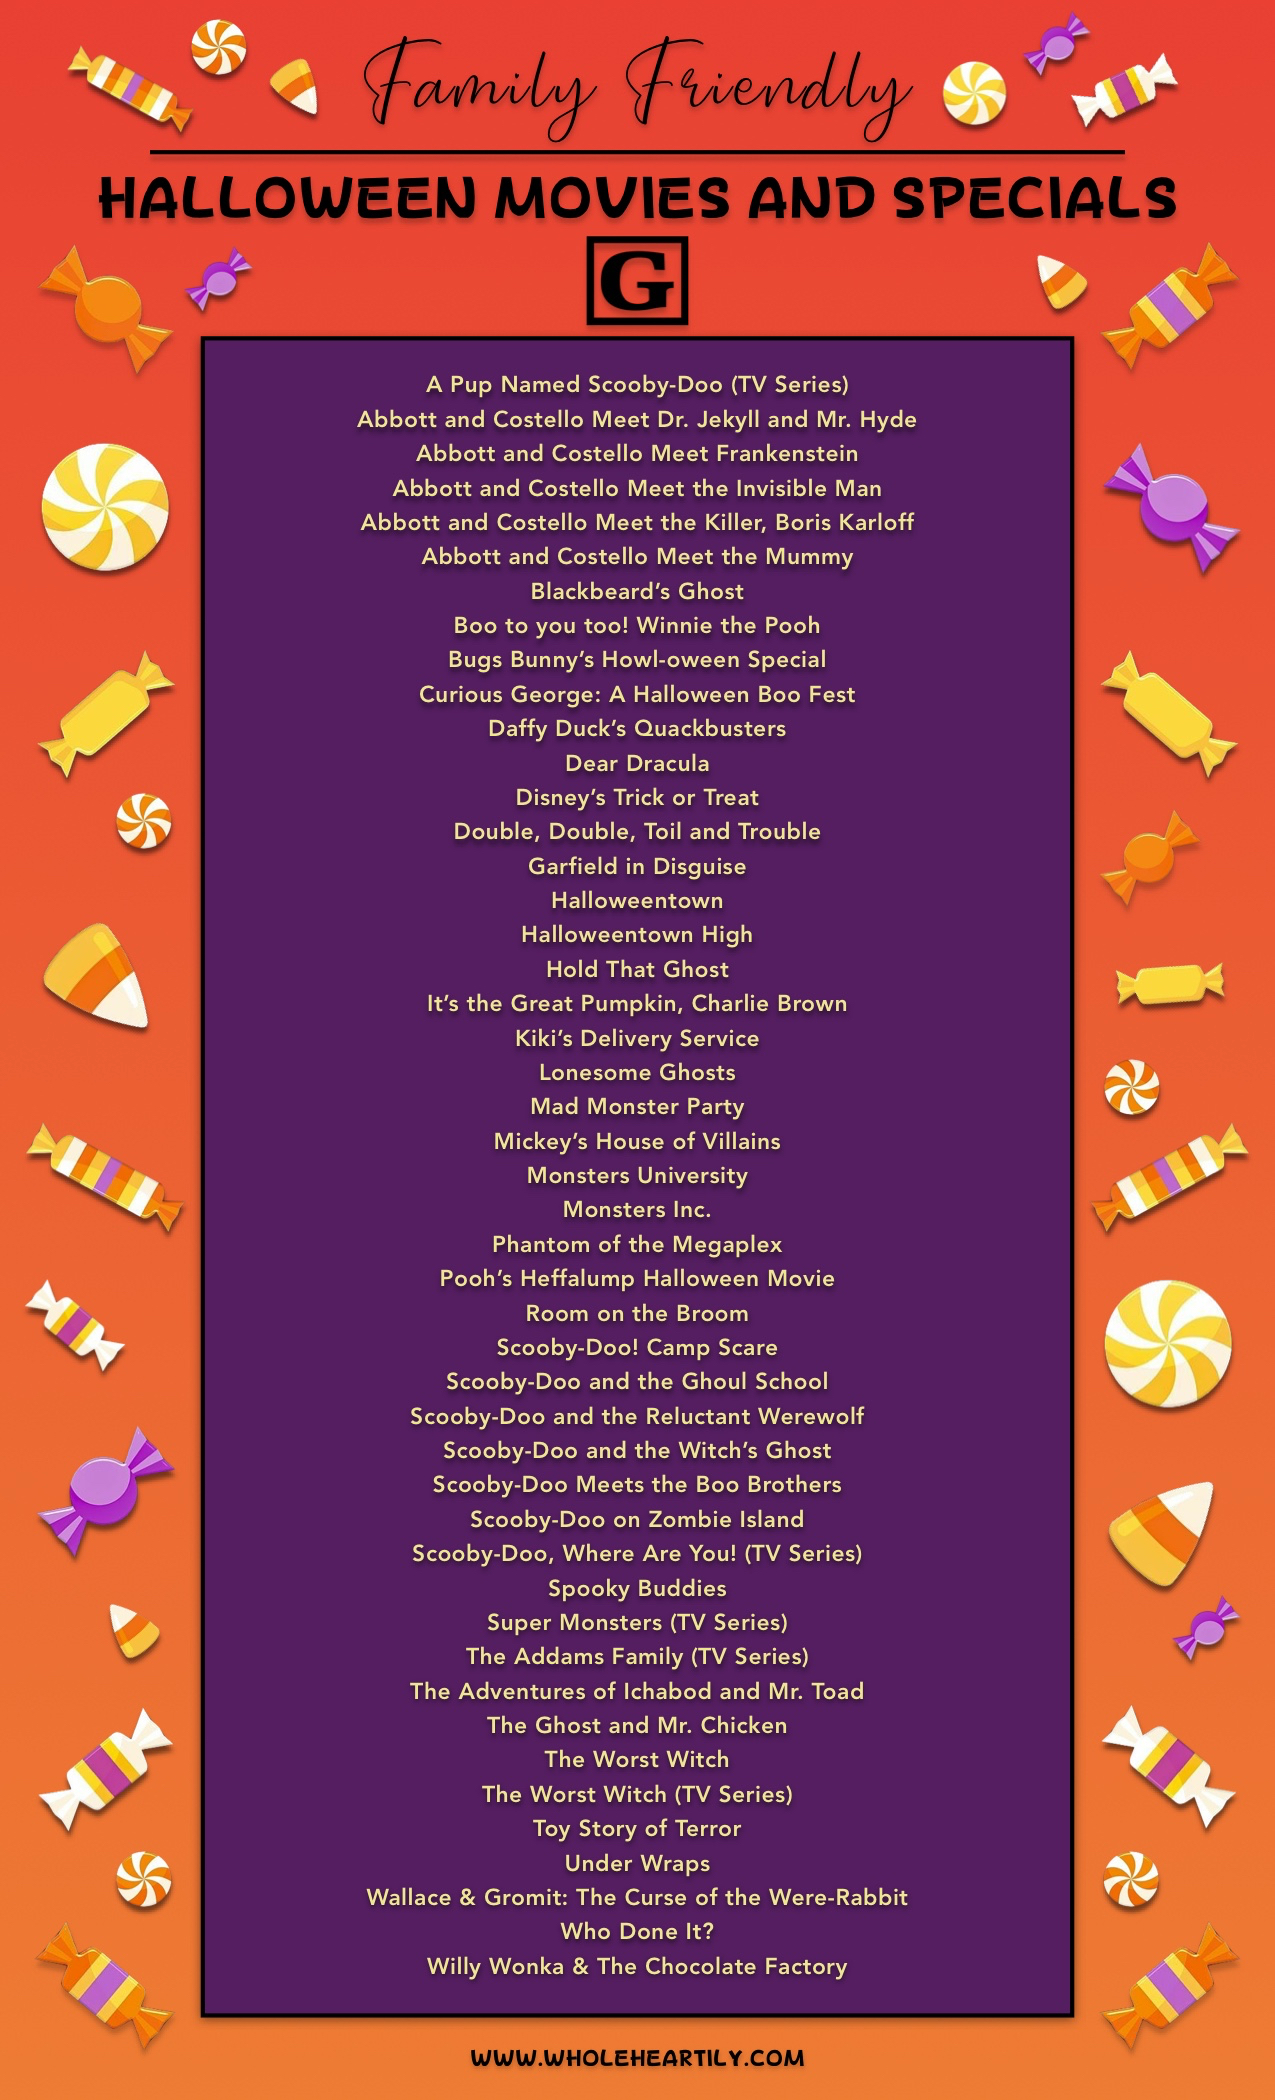
My family and I have created a list of family friendly Halloween movies and specials for you and yours! Halloween may be celebrated a little differently this year, but that doesn’t mean we can’t kindle a little Halloween spirit!

This year we’ve decided to focus on movies and specials that are rated G for general audiences, or good for all ages. Some of the older content has never been rated, but they were created under the Motion Picture Production Code, which was a set of moral guidelines used by motion picture studios from 1934 to 1968, and are thus pretty tame.

Please let us know if we missed or left out any of your family friendly (G-rated) halloween favorites you feel should be included! We’d love to hear from you!

Family Friendly Halloween Movies and Specials (G-rated)

DIY Autumn Leaves Sensory Bottle

DIY Autumn Leaves Sensory BottleI love Autumn, it has to be my favorite season of the year!

After creating a Summer-themed ocean wave bottle, I felt inspired to create a sensory bottle for each season and I immediately thought of swirling multi-hued Autumn leaves!  Part of the fun in raising Zoey is making things that teach and fascinate her. And, if I’m being completely honest, I find sensory bottles fascinating too, so let’s make one!

DIY Autumn Leaves Sensory Bottle

SUPPLIES
  • 16 ounce clear, plastic bottle
  • 6 ounces of hot water
  • Clear glue
  • Slender whisk
  • Glycerin
  • Leaf-shaped glitter
  • Regular glitter (optional)
  • More hot water
  • Glue for the lid

DIY Autumn Leaves Sensory Bottle DIY Autumn Leaves Sensory BottleDIY Autumn Leaves Sensory Bottle

INSTRUCTIONS
  1. Pour the 6 ounces of hot (as hot as your tap will run) water into your bottle.
  2. Add 2.5 to 3 ounces (or more) of glue to the hot water in your bottle. The more glue you add, the slower your leaves will swirl and fall.
  3. Whisk the glue in the hot water until well incorporated. You can also replace the lid of the bottle and shake, however this created a lot of foam bubbles for me. They will go away, but it will slow down your progress.
  4. Measure 1 to 2 tablespoons of Glycerin and whisk or replace the lid and shake again.
  5. Add your glitter. I used several different hues of leaf shaped glitter and a few pinches of regular gold glitter.
  6. Pour more hot water into the bottle. Stop before reaching the top, replace the lid and turn the bottle over several times to check how everything moves. At this point you can add more glitter, more glue to make it fall slower, and/or more glycerin to smooth everything out.
  7. After you’re satisfied with the flow of the bottle’s contents, remove the lid again and fill the bottle all the way to the top with the hot water.
  8. If your child is older and you worry about him/her undoing the lid, you can coat the inside of the lid with glue, then screw it back onto the bottle. This will secure the lid and make it harder for little ones to unscrew the lid and create a leak or spill the bottle’s contents.

DIY Autumn Leaves Sensory Bottle

Paper Mario: The Origami King – Not-Bottomless Hole Guides

Paper Mario: The Origami King - Red Streamer Not-Bottomless Holes Guide
If there’s one thing I do when I play a game (besides trying to relax and enjoy myself), it’s look up information. I get curious or stuck, and I find myself turning to the internet for answers. There are a lot of good guides out there that are super helpful, but what I don’t see are an abundance of simple and clean visual guides that lay out all the information in one place.

I’ve finished playing Paper Mario: The Origami King and I loved it! All of the characters are so charming (including those previously considered villains like Kamek) and no one more so than newcomer Olivia. Olivia is such a positive, charming, lovable character in all her naivety…and just like that I’ve realized I have a real soft spot for characters that view the world with wonder.

If you want to earn 100% completion and/or score the secret ending there’s a lot of work to do! In an effort to help, I’ve created guides to help you find all of the Not-Bottomless Holes.

These visual or infographic guides are separated by Streamer Color and then the areas within. The Not-Bottomless Holes are in no particular order, though I did my best to list them in a progressive way as you move through an area. I numbered them to clearly show how many are in each area with a detailed description on where to find them.

Please let me know if you would like me to work on a guide for the other collectibles within Paper Mario: The Origami King or if there are any games you would like to see visual information or guides for in the future! I love helping people, discussing games and organizing information!

Paper Mario: The Origami King - Blue Streamer Not-Bottomless Holes Guide
Paper Mario: The Origami King - Yellow Streamer Not-Bottomless Holes Guide
Paper Mario: The Origami King - Purple Streamer Not-Bottomless Holes Guide
Paper Mario: The Origami King - Green Streamer Not-Bottomless Holes Guide