The Benefits of Reading to Children

Stack of Children's BooksZoey’s Bedtime Story is a nighttime ritual I started last year, and this year, the adventure continues! I made a New Year’s resolution to read to Zoey every night this year and we have yet to miss a day!

Reading has always been very special to me. I remember my mom reading to me as a child and I believe it had a profound impact on my love for reading and books, not to mention my performance in school. I want to continue that tradition with Zoey. I want her to hear my voice, hear the diction and the pronunciation, see the beautiful images and eventually enjoy the stories. I imagine her sitting in my lap or lying cozy in her bed while I sit next to her and read, her eyes on the book with rapt attention. In reality, she sits on my lap for about five to ten seconds then tootles all over the room while I keep reading and trying to pull her attention back. I keep going because I know tat the more we read, the more she’ll settle in and pay attention.

There are many benefits of reading to children, no matter their age!

  • Increased attention span
  • Bonding between parent/guardian and child
  • Cognitive and language development
  • Creativity
  • Expanded vocabulary
  • Life lessons
  • Listening skills
  • Social and emotional development

So if you haven’t started reading to your little one(s) it’s not too late to start today! And if you’ve started reading to your little one(s) and their attention is anywhere but on you and the book don’t give up! Consistency is the key!

Please come follow along on my Instagram where I post which book we’re reading each night in my story, and every book I’ve read to her has been saved to the highlights on my profile.

I’ve started a Pinterest Board of all the books I would like to read to Zoey or share with her someday. Check it out to get inspired and please let me know if there are any children books you would recommend; we love sharing stories!

Homemade Teething Cookies Recipe

Homemade Teething Cookies RecipeLast week, we brought some of the beach to Zoey with edible “sand” made out of graham crackers and oatmeal. After she was done playing, I could not let good food go to waste so I made her some teething cookies with the remaining “sand”.

Not too sweet, but sweet enough to be called cookies instead of crackers, these treats are a hit! They are springy, yet firm enough to soothe her teething gums and she likes them!…Although so does my husband so I’m going to have to convince him not to eat all of them before she can knaw on a few.

Homemade Teething Cookies Recipe

INGREDIENTS
INSTRUCTIONS
  1. Grease a baking sheet and preheat the oven to 325 F.
  2. Combine the ingredients into a mixing bowl and stir them with a mixing spoon until a thick dough has formed. You may need to adjust the amount of water or coconut oil you add depending on how juicy your bananas are.
  3. Section the dough into smaller portions and (using a flat surface and a rolling pin) roll out your dough to 1/4 of an inch thick. You will need to use flour to keep the dough from sticking to the rolling pin and surfaces.
  4. With a circular cookie cutter or a drinking glass (I used a drinking glass), cut cookies out of the dough and place them onto the greased baking sheet.
  5. Cook each sheet of cookies for 12 to 15 minutes. Be careful they are hot! Use the spatula or a spoon to test their springiness. They should be firm yet springy when pressed as they are brought out of the oven.
  6. Allow the cookies to cool before serving. These can be stored in the refrigerator for a little more firmness.
  7. Serve and enjoy, but please watch your baby as they eat this to make sure they handle the texture well!

DIY Edible “Sand” for Sensory Playtime

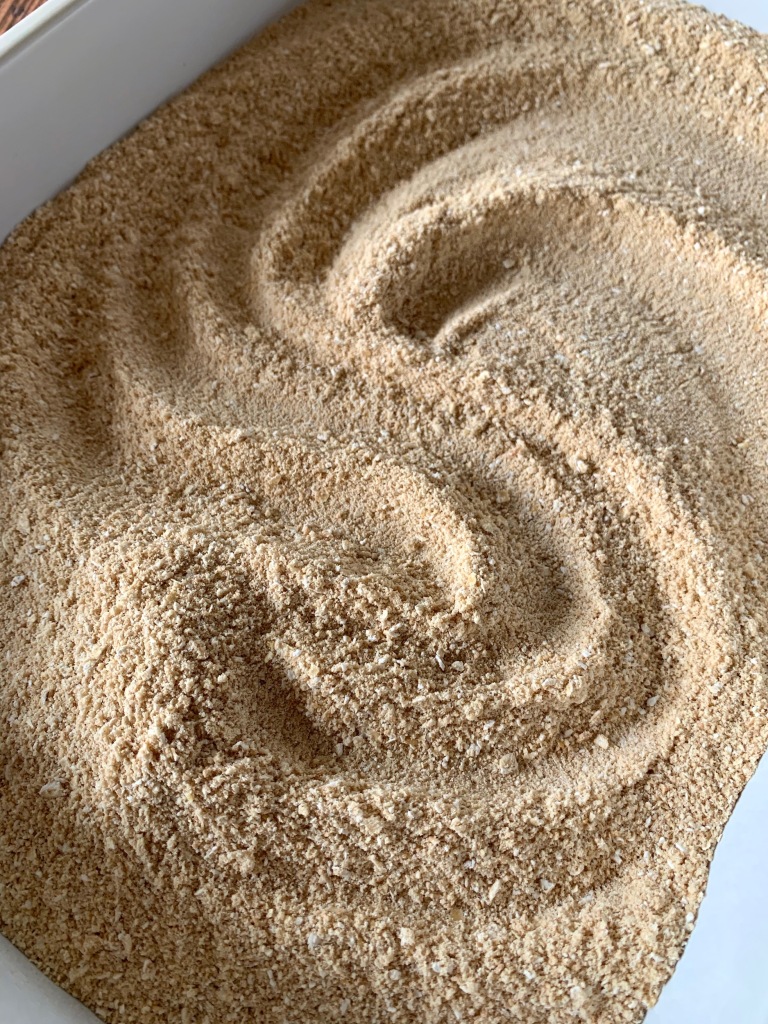
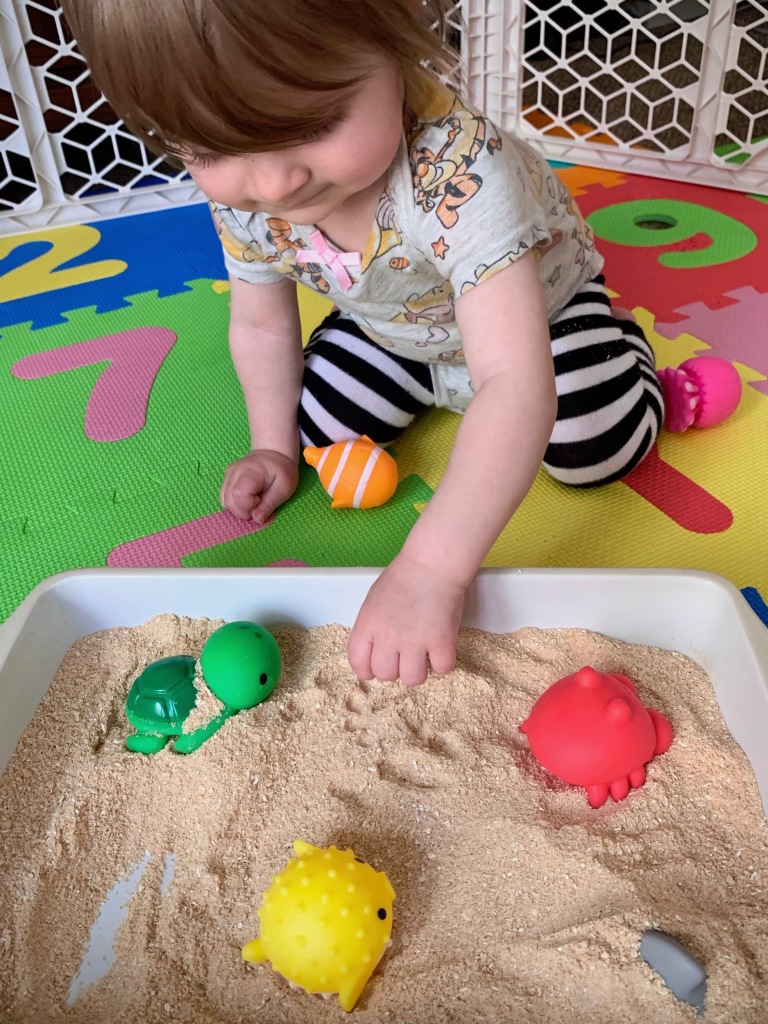
DIY Edible Sand for Sensory PlayIt’s the middle of Summer and I would love to take Zoey to the beach for the first time, but just about everything she picks up is quickly introduced to her mouth! I understand she’s figuring things out (and more power to her), but I’m not super enthusiastic about her ingesting beach sand. So, until she gets a little less eager to put everything in her mouth, why not bring a little beach experience to her?
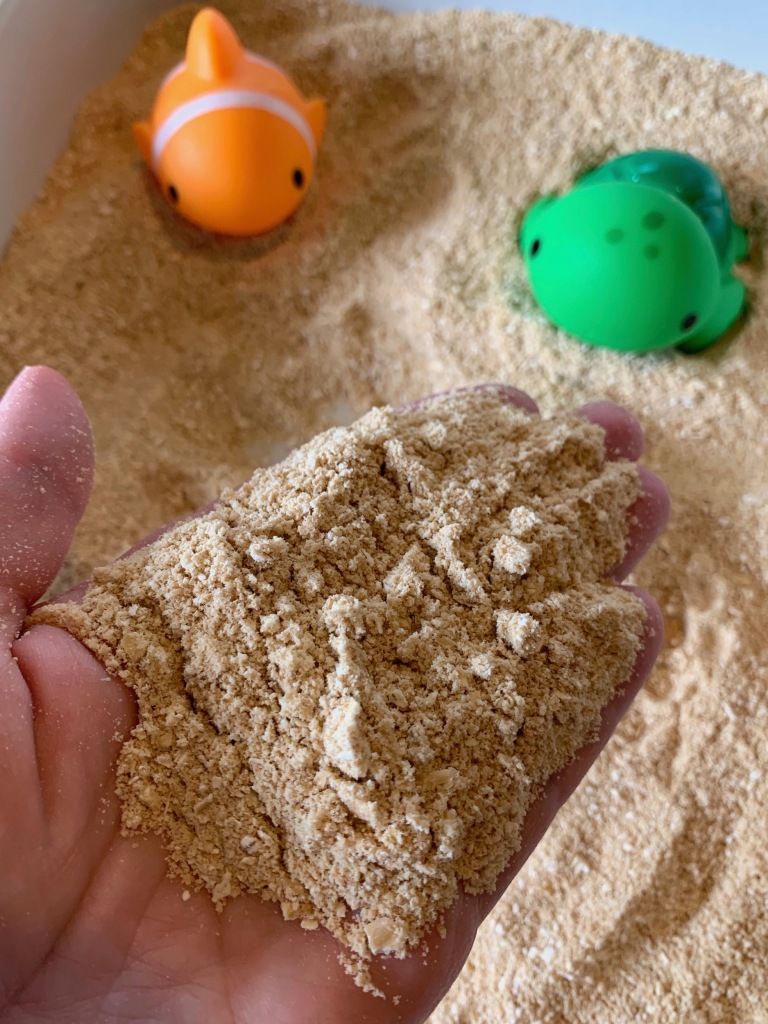
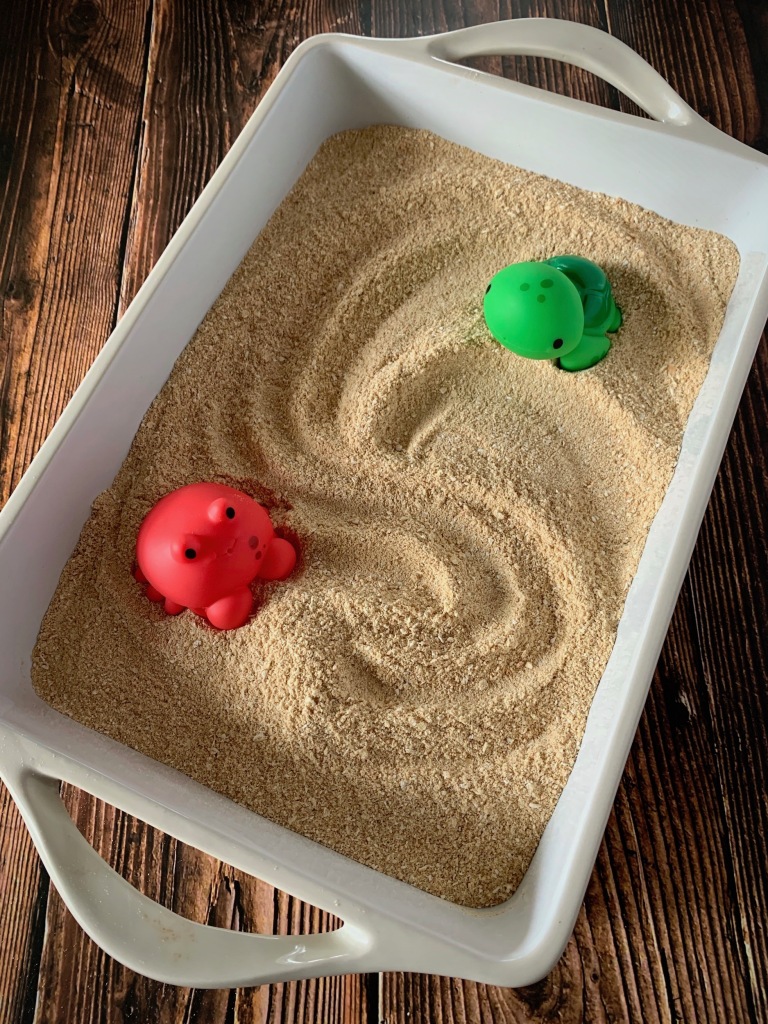
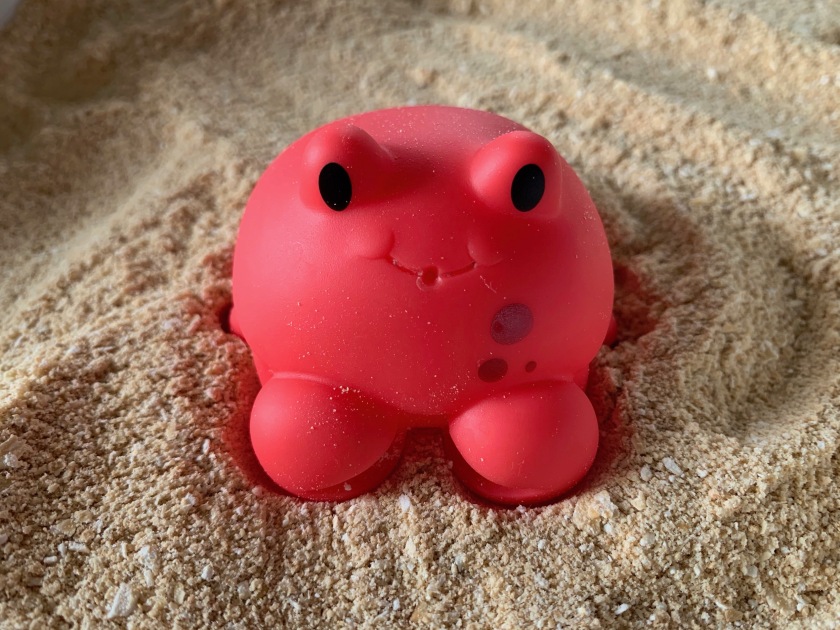
Part of the fun in raising Zoey is making things that teach and fascinate her. We can make edible “sand” that’s fun to play in and safe to eat out of graham crackers and oatmeal; let’s make it!

Check back next week for the homemade teething cookies I made with the remaining edible “sand”.

DIY Edible Sand for Sensory Play

SUPPLIES
  • 1 box of graham crackers.
  • 2 cups of oatmeal (I used whole grain old-fashioned oats)
  • A food processor
  • A mixing bowl
  • A mixing spoon
  • A container for playing in the “sand” (I used a heavy casserole dish)
  • Beach or ocean themed toys (optional)
INSTRUCTIONS
  1. Open the graham crackers and blend them in the food processor until they are a fine sand-like texture.
  2. Remove the graham crackers from the food processor and pour them into a mixing bowl.
  3. Measure the oatmeal into the food processor and blend it until it is also a fine sand-like texture.
  4. Remove the oatmeal from the food processor and add it to the mixing bowl with the graham crackers.
  5. Using a mixing spoon, stir the graham crackers and oatmeal together until well combined.
  6. Pour the edible “sand” into the container you’ve chosen for your baby to play in. I used a heavy casserole dish since Zoey’s not strong enough to flip it yet. You can always double or triple the graham cracker and oatmeal ratio if you want to fill a larger container.

    DIY Edible Sand for Sensory Play
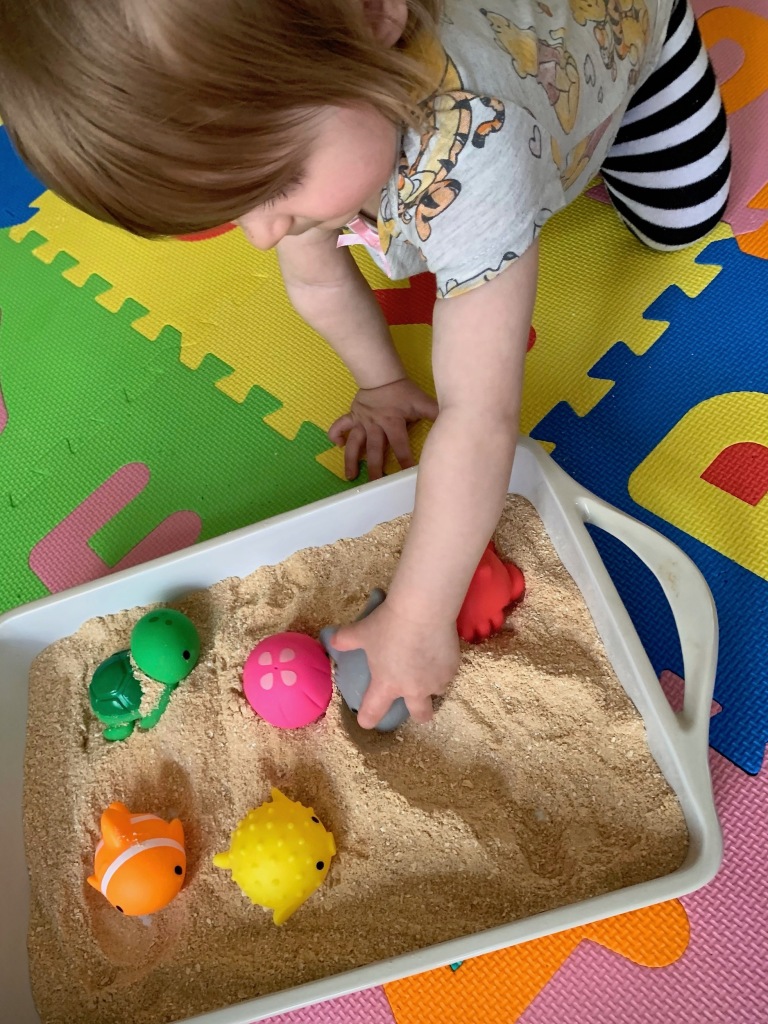
  7. Arrange beach and/or ocean themed toys in the sand for your little one to play with (optional).

    DIY Edible Sand for Sensory Play
  8. Introduce the edible “sand” to your baby and enjoy!

    DIY Edible Sand for Sensory PlayDIY Edible Sand for Sensory Play DIY Edible Sand for Sensory Play

DIY Frozen Mickey and Minnie Baby Treats using Candy Molds

DIY Frozen Mickey and Minnie Baby Treats using Candy MoldsDuring these Summer months, and even into Fall, we get some pretty warm and sometimes uncomfortably hot days. To cool Zoey off and soothe her teething gums, I thought it would be fun and refreshing to make some frozen treats using the food she already eats and candy molds!

DIY Frozen Mickey and Minnie Baby Treats using Candy Molds

SUPPLIES
  • Candy mold of your choice (I used Mickey and Minnie)
  • Baby food
  • Yogurt (optional)
INSTRUCTIONS
  1. Wash and dry the candy mold.

    DIY Frozen Mickey and Minnie Baby Treats using Candy Molds
  2. Choose the flavor of baby food and/or yogurt you would like to freeze and spoon it into the candy molds until it’s even with the top of the mold. I wiped the top of my mold down to make it look better, but you do not need to do this.

    DIY Frozen Mickey and Minnie Baby Treats using Candy MoldsDIY Frozen Mickey and Minnie Baby Treats using Candy Molds
  3. Place the mold in the freezer for an hour or more until the contents are frozen.

    DIY Frozen Mickey and Minnie Baby Treats using Candy Molds
  4. Remove the mold from the freezer and pop out one or two frozen treats at a time for baby to enjoy!

    DIY Frozen Mickey and Minnie Baby Treats using Candy MoldsDIY Frozen Mickey and Minnie Baby Treats using Candy Molds