Linguini’s Potato and Leek Soup Recipe (Ratatouille)

Welcome back friends! This week we are cooking Linguini’s soup from one of my favorite Disney and Pixar films, Ratatouille!

This is referred to as Linguini’s soup by the staff at Gusteau’s restaurant, but we all know Linguini made a mess of it and Remy couldn’t resist doctoring it up to make it more palatable before escaping from the kitchen.

It is never said what kind of soup this is, but judging by what Remy adds, we can conclude it is probably a variation of potato and leek soup! This soup is creamy and filling, the perfect cozy dinner on a cold night!

INGREDIENTS
  • 3 tablespoons of unsalted butter
  • 3 cloves of garlic, peeled and smashed
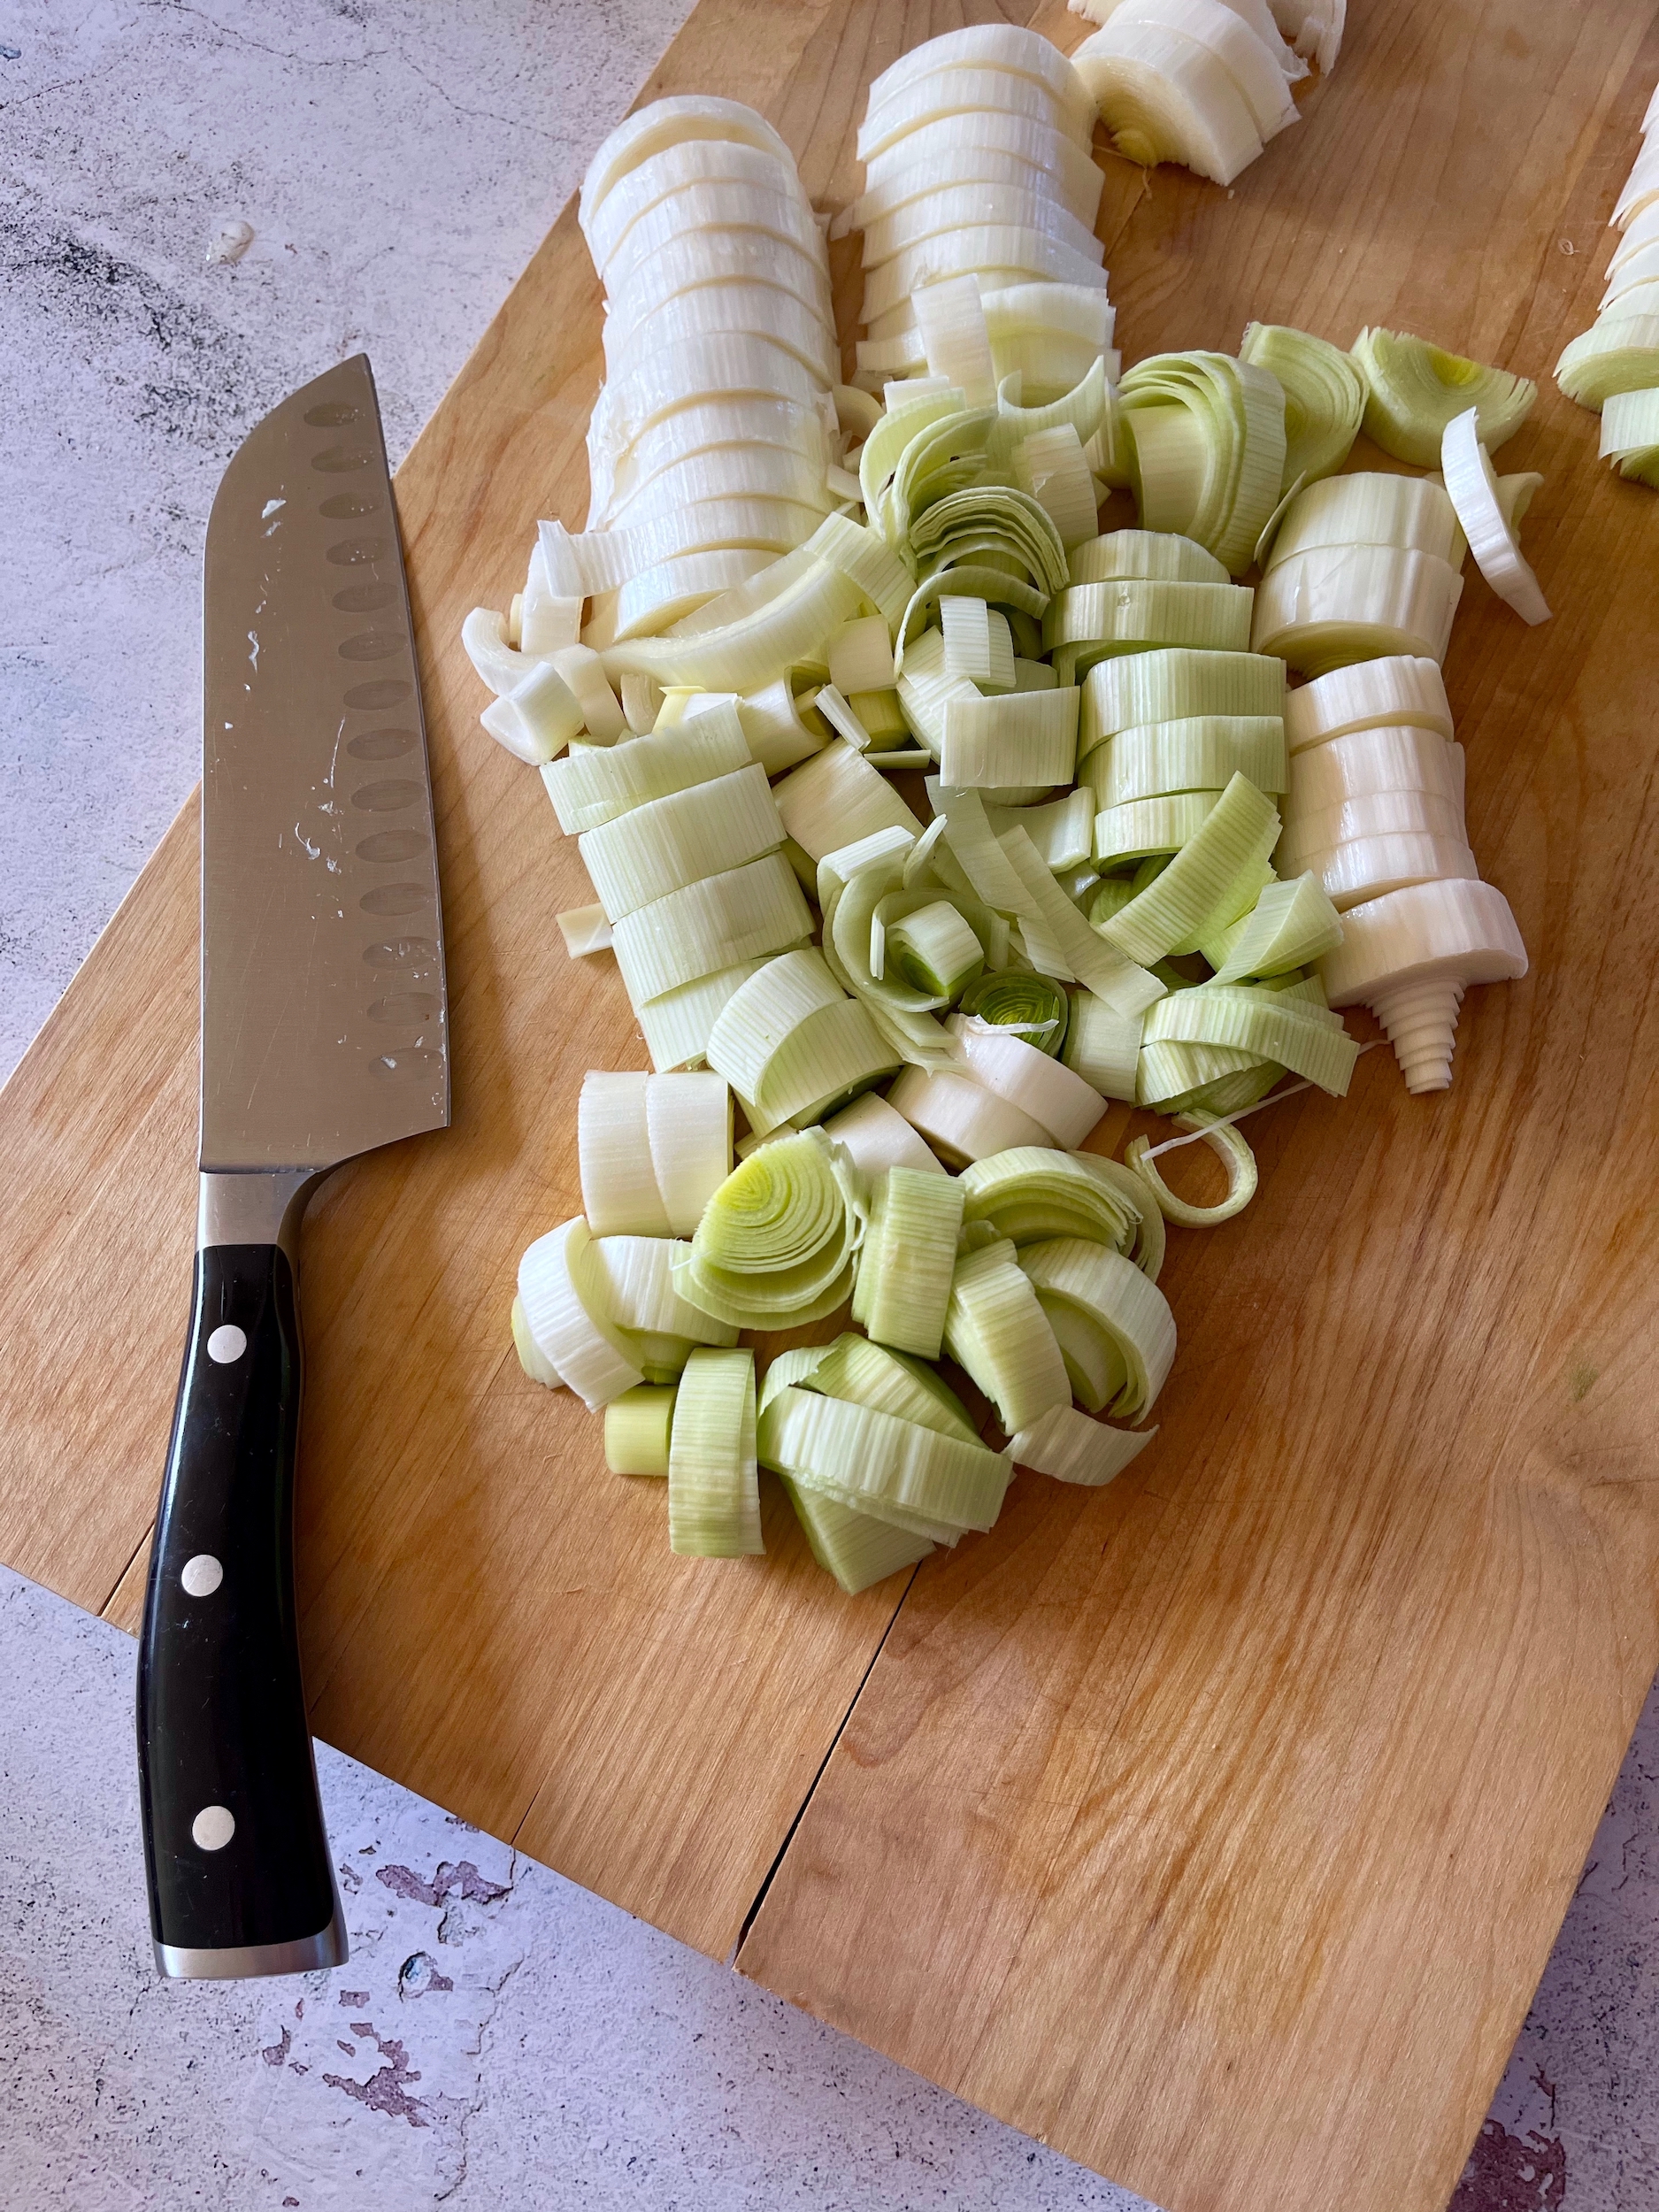
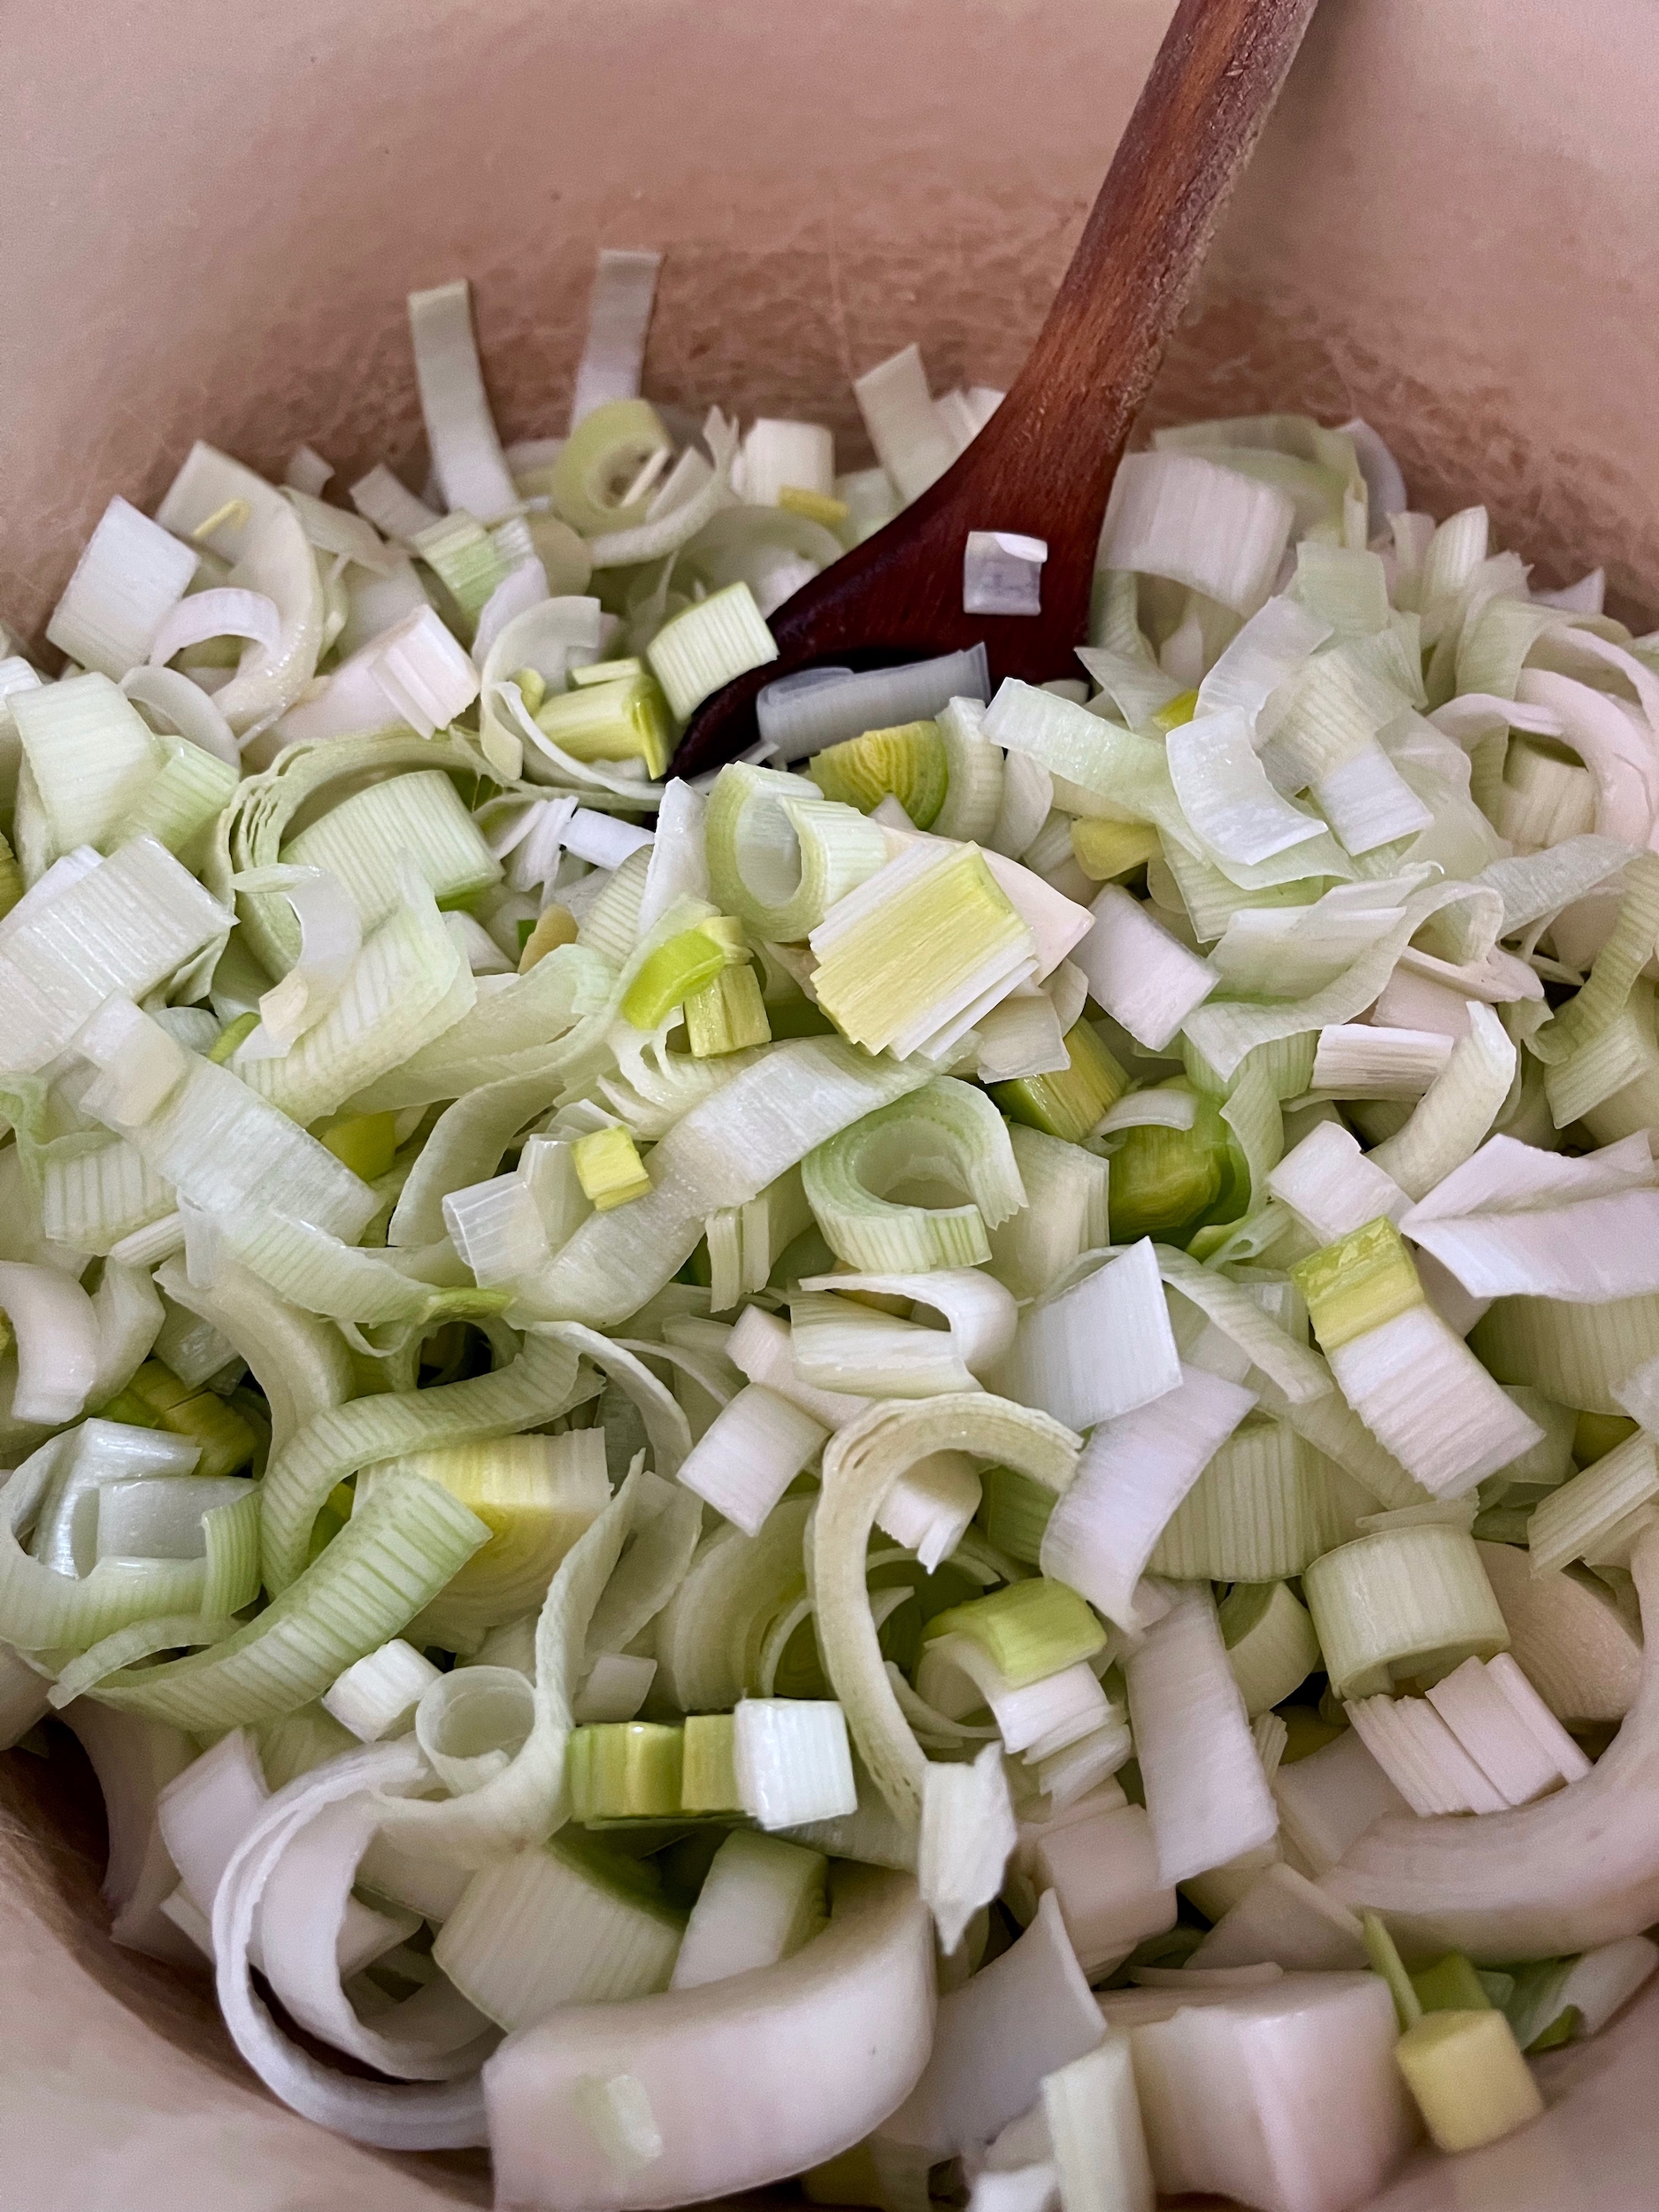
  • 4 large leeks, white and light green parts only, roughly chopped
  • 1⁄4 teaspoon of ground black pepper
  • 1 teaspoon of salt
  • 2 lb. of potatoes, peeled and roughly chopped
  • 6 cups of vegetable broth
  • 2 bay leaves
  • 3 sprigs of fresh thyme
  • 1 cup of heavy cream
  • Chives, finely chopped, for serving 
INSTRUCTIONS
  1. In a large soup pot or dutch oven, melt the butter over medium heat.
  2. Add the garlic, leeks, black pepper and salt. Cook, stirring regularly, until soft and wilted (about 10 to 15 minutes).
  3. Add the potatoes, broth, bay leaves and thyme to the pot, then bring to a boil.
  4. Cover the soup and turn the heat down to medium / low. 
  5. Simmer for 45 minutes, or until the potatoes are very soft.
  6. Remove from the heat, then remove the bay leaves and thyme sprigs. Purée the soup with an immersion blender until smooth. 
  7. Add the heavy cream, place back on the heat and bring to a simmer. 
  8. Taste and adjust the seasoning to your liking with salt and pepper. 
  9. Garnish with fresh herbs if desired and enjoy!

Trigger’s Blackberry Pie Recipe (Robin Hood)

INTRODUCTION

Welcome back friends! This week we’ll be baking Trigger’s Blackberry Pie from Disney’s Robin Hood!

This recipe is featured when Robin Hood is discovered at Prince John’s archery competition and a fight ensues. One of the Sheriff of Nottingham’s henchmen, Trigger the vulture, is hiding out in a pie booth surrounded by these pies.

Note to self: Blackberries have seeds! This pie is sweet, tart and delicious, but there are seeds from the blackberries that startled me before I expected them! You could strain the seeds out by forcing the blackberries through a sieve. This recipe calls for whole berries, but you can adjust accordingly if the seeds throw off your groove!

TRIGGER’S BLACKBERRY PIE

CRUST

  • 2 1/2 cups of all-purpose flour
  • 1 teaspoon of kosher salt
  • 1 cup of unsalted butter, chilled
  • 6-8 tablespoons of water, chilled

FILLING

  • 1 cup of sugar
  • 1/2 cup of flour
  • 4-6 cups of fresh blackberries
INSTRUCTIONS (CRUST)
  • Add the flour and salt to a bowl and whisk to combine.
  • Cut the chilled butter into cubes and add the cubes to the bowl of flour and salt. Using a pastry cutter, cut the butter into the flour mixture until well combined.
  • Begin adding the tablespoons of chilled water one at a time and stirring well after each addition until the dough forms.
  • Turn the dough out onto a clean flat surface and work it into a ball. Cut this ball in half and plastic wrap each piece, then set inside the refrigerator to chill for at least 1 hour.
  • Bring out the first half of the dough and roll it out until it is about 1/4 inch thick and large enough to fit into your pie pan. 
  • Gently pick up the rolled out dough and place it gently into the bottom of your pie pan, then smooth it in and trim the edges.
INSTRUCTIONS (FILLING)
  1. Pre-heat the oven to 425 F.
  2. Wash the blackberries and add them to a bowl.
  3. Add the sugar and stir until well coated, then add the flour and stir until well coated.
  4. Pour the filling into the prepared pie crust.
  5. Bring out the second half of the dough and roll it out until it is about 1/4 inch thick and large enough to cover your pie.
  6. Gently pick up the rolled out dough and place it gently over the top of the pie, then trim the edges.
  7. Using a fork or your fingers, crimp or pinch the edges.
  8. Add 3 to 4 slits for venting while the pie bakes.
  9. Cover the edges of the pie with a 2 to 3 inch strip of foil to prevent excessive browning.
  10. Bake for 45-55 minutes or until the crust is golden brown and juice begins to bubble through the slits in crust, remove the foil for the last 15 minutes of baking. 
  11. Remove from the oven and allow it to cool on the rack at least 2 hours or more to allow the filling to thicken.
  12. Enjoy!

WDP Roasted Peanut Recipe (Dumbo)

WDP Peanut Recipe
INTRODUCTION

Welcome back friends! We took a little break from creating Disney recipes, but I’ve missed this, so we’re picking things back up again! This month we’ll be roasting the peanuts from the WDP Circus in Disney’s Dumbo.

This recipe is featured twice in the film. Timothy mouse is snacking on them when he first meets Dumbo, and when Dumbo stretches his ears to fly, he sucks them up and sprays over all the rude elephants.

I love salted peanuts! These are brined to get the salted flavor within the the shell, then tossed with peanut oil and salt before roasting. These are a healthy and delicious snack, I hope you enjoy them!

WDP Peanut Recipe
WDP Peanut Recipe
WDP CIRCUS’S ROASTED PEANUTS
  • 1 1/2 pounds in-shell raw dried peanuts
  • 2 quarts of water
  • 1/2 cup of kosher salt
  • 2 tablespoons of peanut oil
  • 2 tablespoons of kosher salt
INSTRUCTIONS
  1. Thoroughly rinse the peanuts under cool water to remove any excess dirt.
  2. In a large bowl or pot, dissolve the 1/2 cup of salt in the water, then add the peanuts. 
  3. Place a plate over the water’s surface to ensure the peanuts are submerged and brine for 24 hours.
  4. Drain the water, and spread the peanuts on baking sheets in a single layer to dry (this may take several days).
  5. Once the peanuts are dry, preheat the oven to 350 degrees F.
  6. Place the peanuts in a large bowl and toss them with the peanut oil and salt until well coated.
  7. Spread the peanuts back out onto baking sheets in a single layer. 
  8. Roast in the oven for 40 to 45 minutes, rotating the pan(s) after 20 minutes. Everyone’s oven is different, so keep an eye on them so they won’t burn!
  9. Remove the peanuts from the oven. They will continue to “cook” and become crunchy as they cool.
  10. Allow them to cool before eating and enjoy!
WDP Peanut Recipe

Homemade Teething Cookies Recipe

Homemade Teething Cookies RecipeLast week, we brought some of the beach to Zoey with edible “sand” made out of graham crackers and oatmeal. After she was done playing, I could not let good food go to waste so I made her some teething cookies with the remaining “sand”.

Not too sweet, but sweet enough to be called cookies instead of crackers, these treats are a hit! They are springy, yet firm enough to soothe her teething gums and she likes them!…Although so does my husband so I’m going to have to convince him not to eat all of them before she can knaw on a few.

Homemade Teething Cookies Recipe

INGREDIENTS
INSTRUCTIONS
  1. Grease a baking sheet and preheat the oven to 325 F.
  2. Combine the ingredients into a mixing bowl and stir them with a mixing spoon until a thick dough has formed. You may need to adjust the amount of water or coconut oil you add depending on how juicy your bananas are.
  3. Section the dough into smaller portions and (using a flat surface and a rolling pin) roll out your dough to 1/4 of an inch thick. You will need to use flour to keep the dough from sticking to the rolling pin and surfaces.
  4. With a circular cookie cutter or a drinking glass (I used a drinking glass), cut cookies out of the dough and place them onto the greased baking sheet.
  5. Cook each sheet of cookies for 12 to 15 minutes. Be careful they are hot! Use the spatula or a spoon to test their springiness. They should be firm yet springy when pressed as they are brought out of the oven.
  6. Allow the cookies to cool before serving. These can be stored in the refrigerator for a little more firmness.
  7. Serve and enjoy, but please watch your baby as they eat this to make sure they handle the texture well!