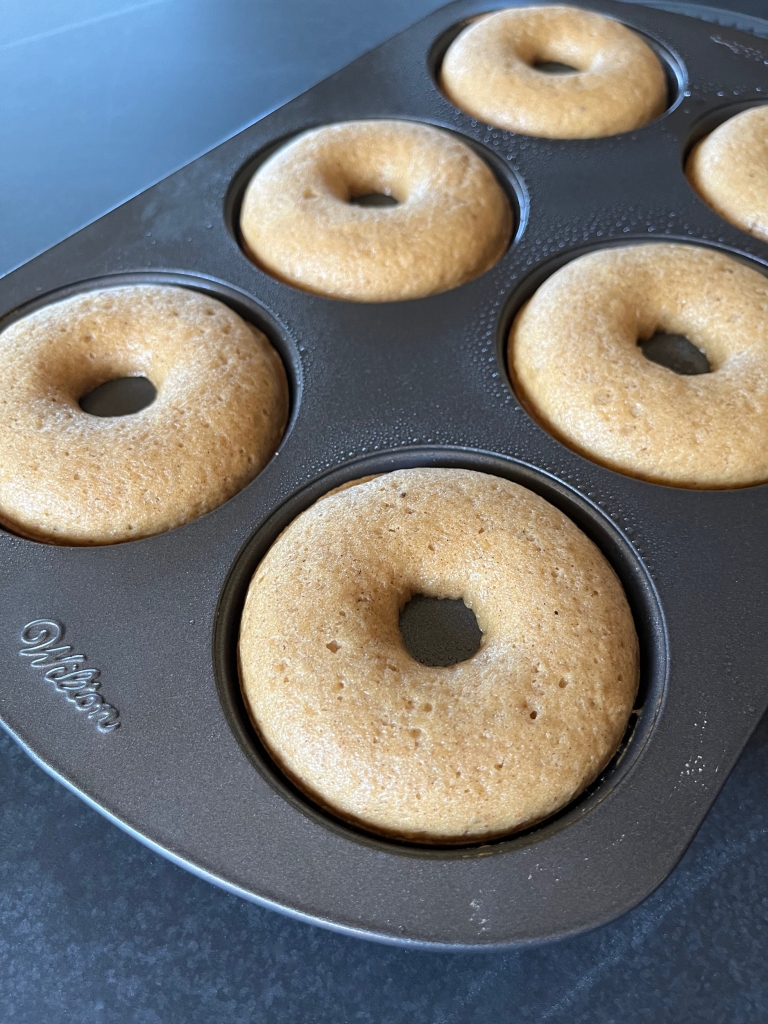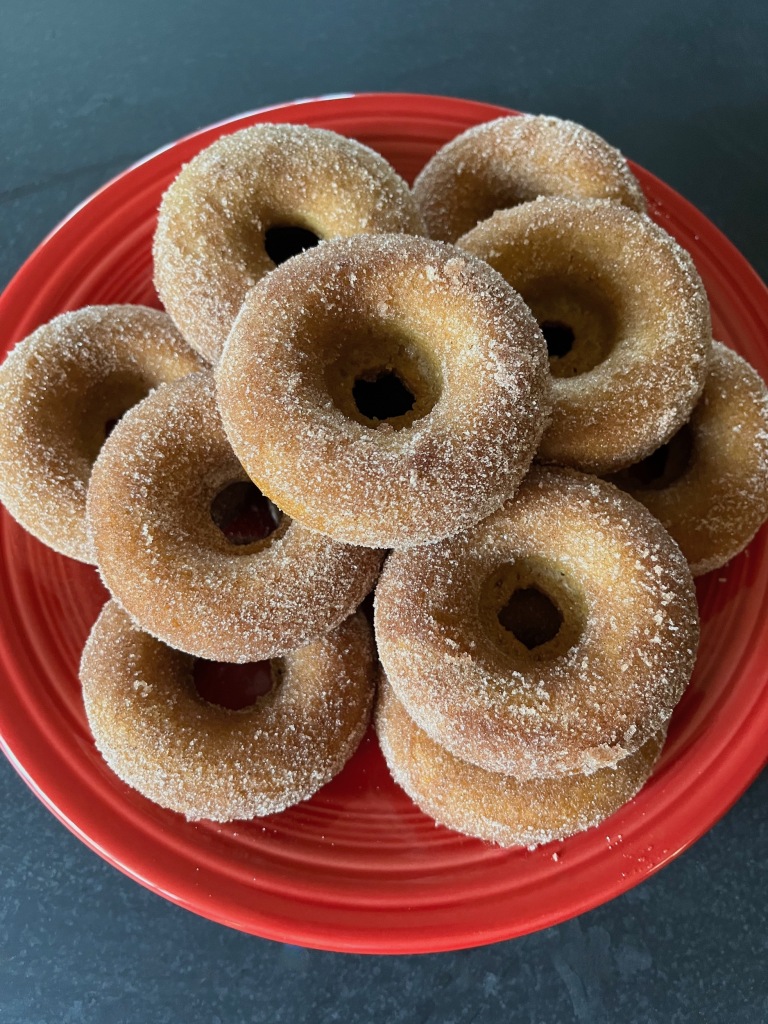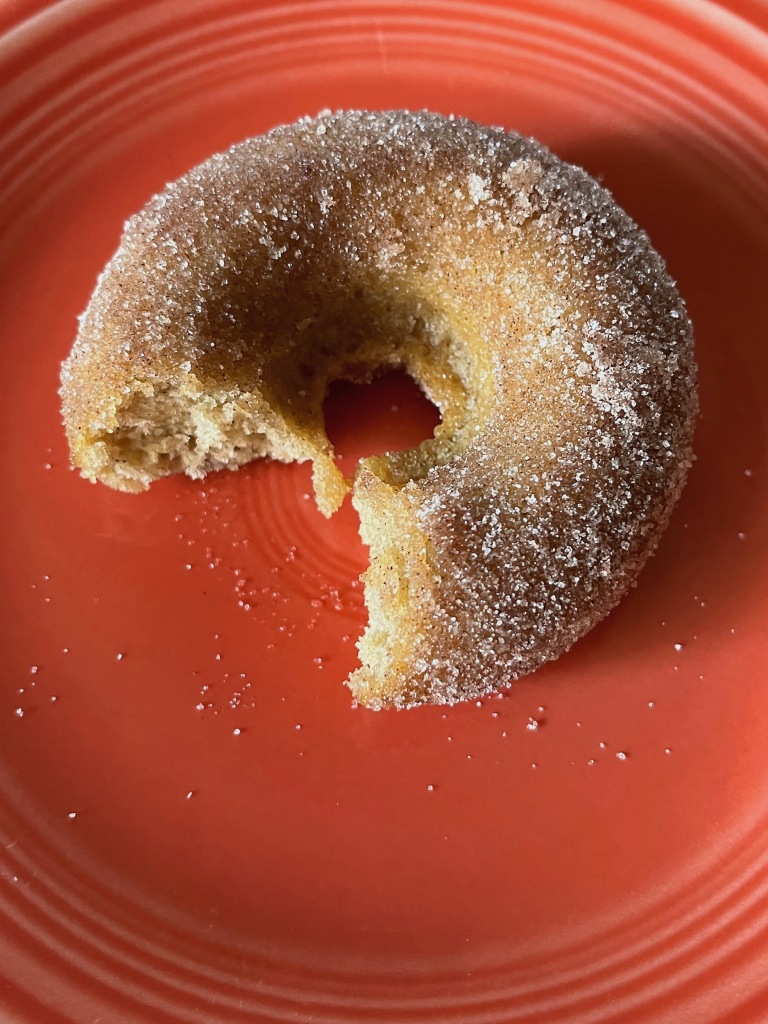
Baked Apple Cider Doughnut Recipe

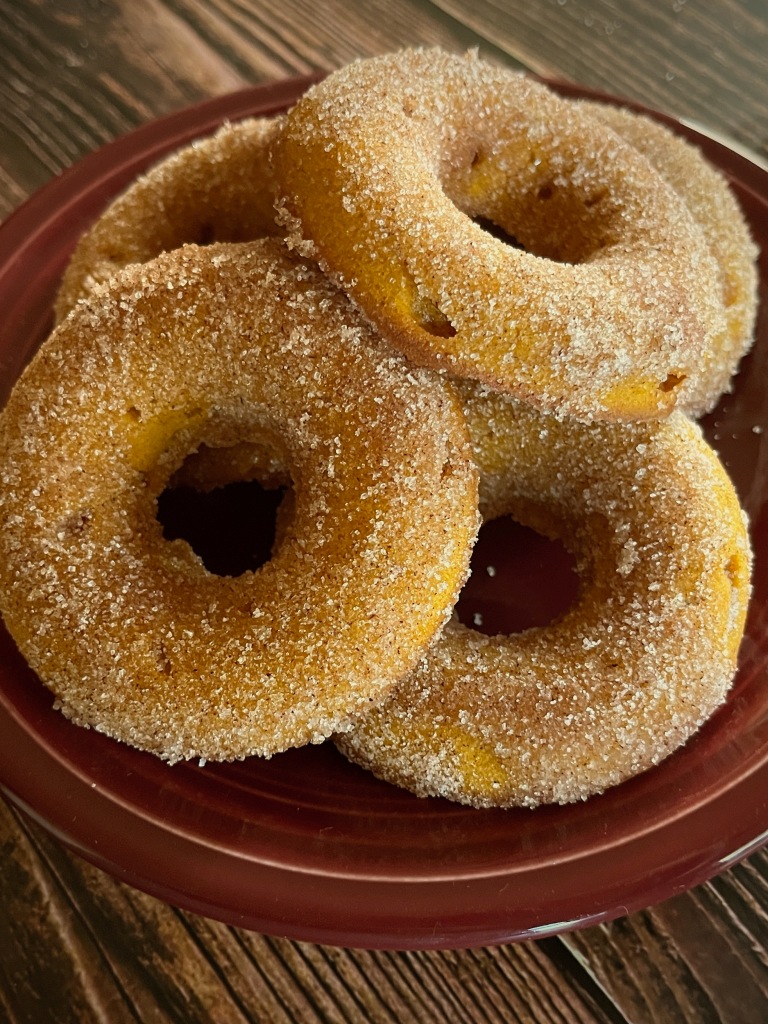
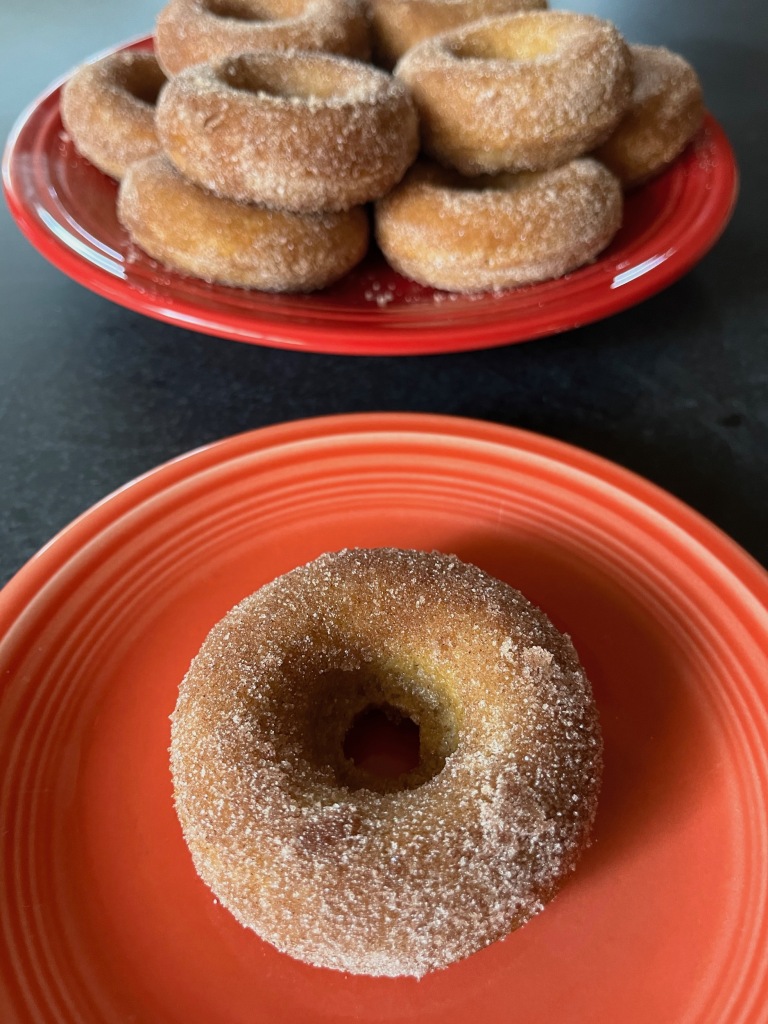
Welcome back friends! Who wants some fresh and fluffy, oven baked, cinnamon and sugar coated apple cider doughnuts to enjoy on one (or more) of these beautiful autumn mornings? Maybe at a table with some coffee or tea and a good book? I know I do, so let’s bake some!
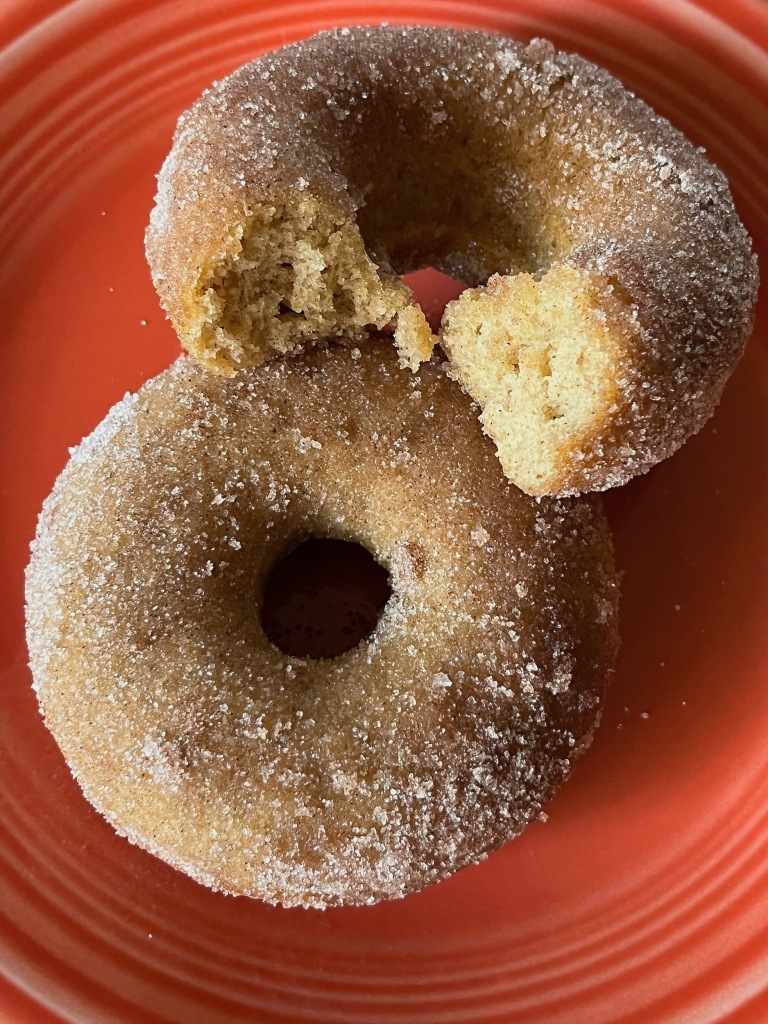
DOUGHNUT INGREDIENTS
  • 1 1/2 cups of apple cider
  • 1 3/4 cups of all purpose flour
  • 1 teaspoon of baking powder
  • 1/2 teaspoon of baking soda
  • 1 teaspoon of ground cinnamon
  • 1/4 teaspoon of nutmeg
  • 1/2 teaspoon of kosher salt
  • 1 large egg
  • 1/3 cup of granulated sugar
  • 1/3 cup of dark or light brown sugar
  • 3 tablespoons of unsalted butter, melted
  • 1/2 cup of buttermilk (or milk)
  • 1 1/2 teaspoons of vanilla extract
TOPPING INGREDIENTS
  • 1 cup of granulated sugar
  • 2 teaspoons of ground cinnamon
  • 6 tablespoons of unsalted butter, melted
INSTRUCTIONS
  1. Reduce let’s reduce the apple cider. In a small saucepan, bring the apple cider to a gentle boil and let it simmer over medium heat until thick and reduced to about 1/3 cup (about 15 to 25 minutes), then set aside to cool.
  2. Preheat the oven to 350F and grease the doughnut pans with butter or nonstick spray, then set them aside.
  3. Whisk the flour, baking powder, baking soda, salt, and spices together in a large bowl, then set it aside.
  4. In another bowl, whisk the brown sugar, egg and sugar together until well combined. Then add the butter, buttermilk (or milk), reduced apple cider and vanilla; whisk again until well combined.
  5. Add the flour mixture to the apple cider mixture and beat until well combined and smooth.
  6. Transfer the batter into a disposable piping bag or a zip-top bag with a corner cut off. Pipe the batter into the prepare doughnut pans, filling each cavity 2/3 to 3/4 full.
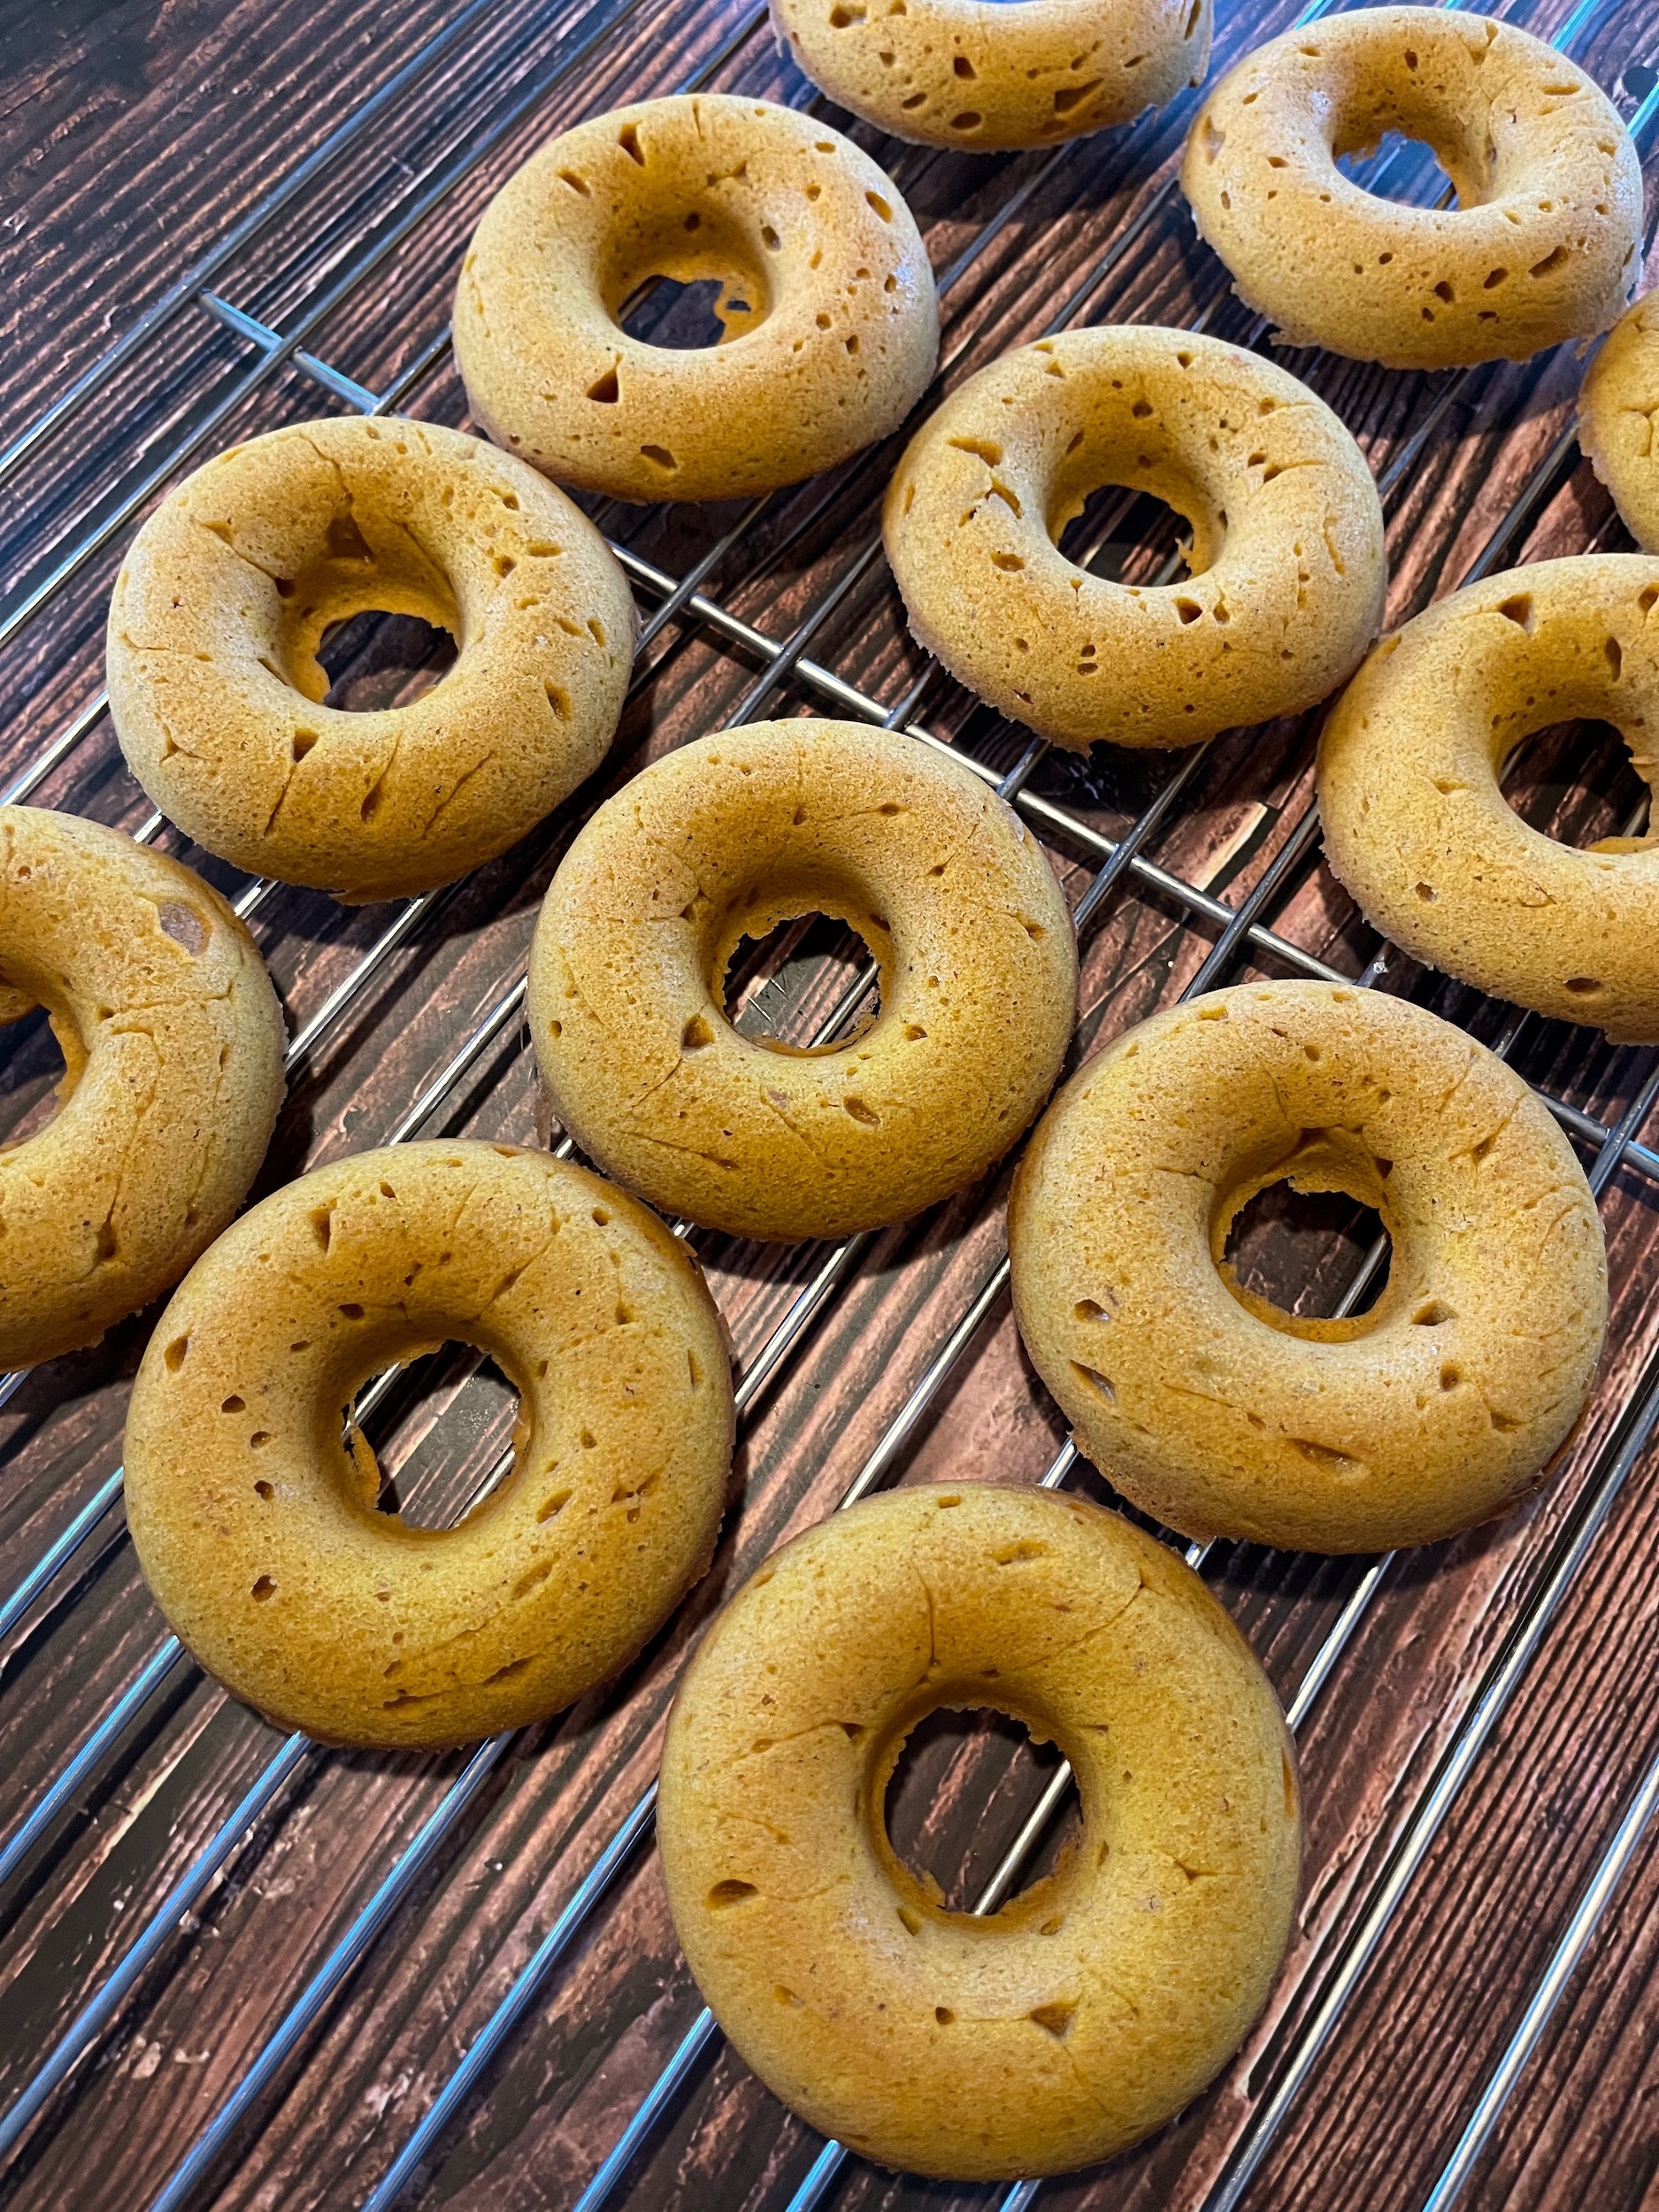
  7. Bake the doughnuts for about 10 minutes or until a toothpick comes out clean, then remove them from the oven. Allow them to cool in the pan for about 5 minutes and then transfer them onto a cooling rack.
  8. While the doughnuts are cooling in the pan, stir the sugar and cinnamon together in a shallow bowl and melt the topping butter in another bowl.
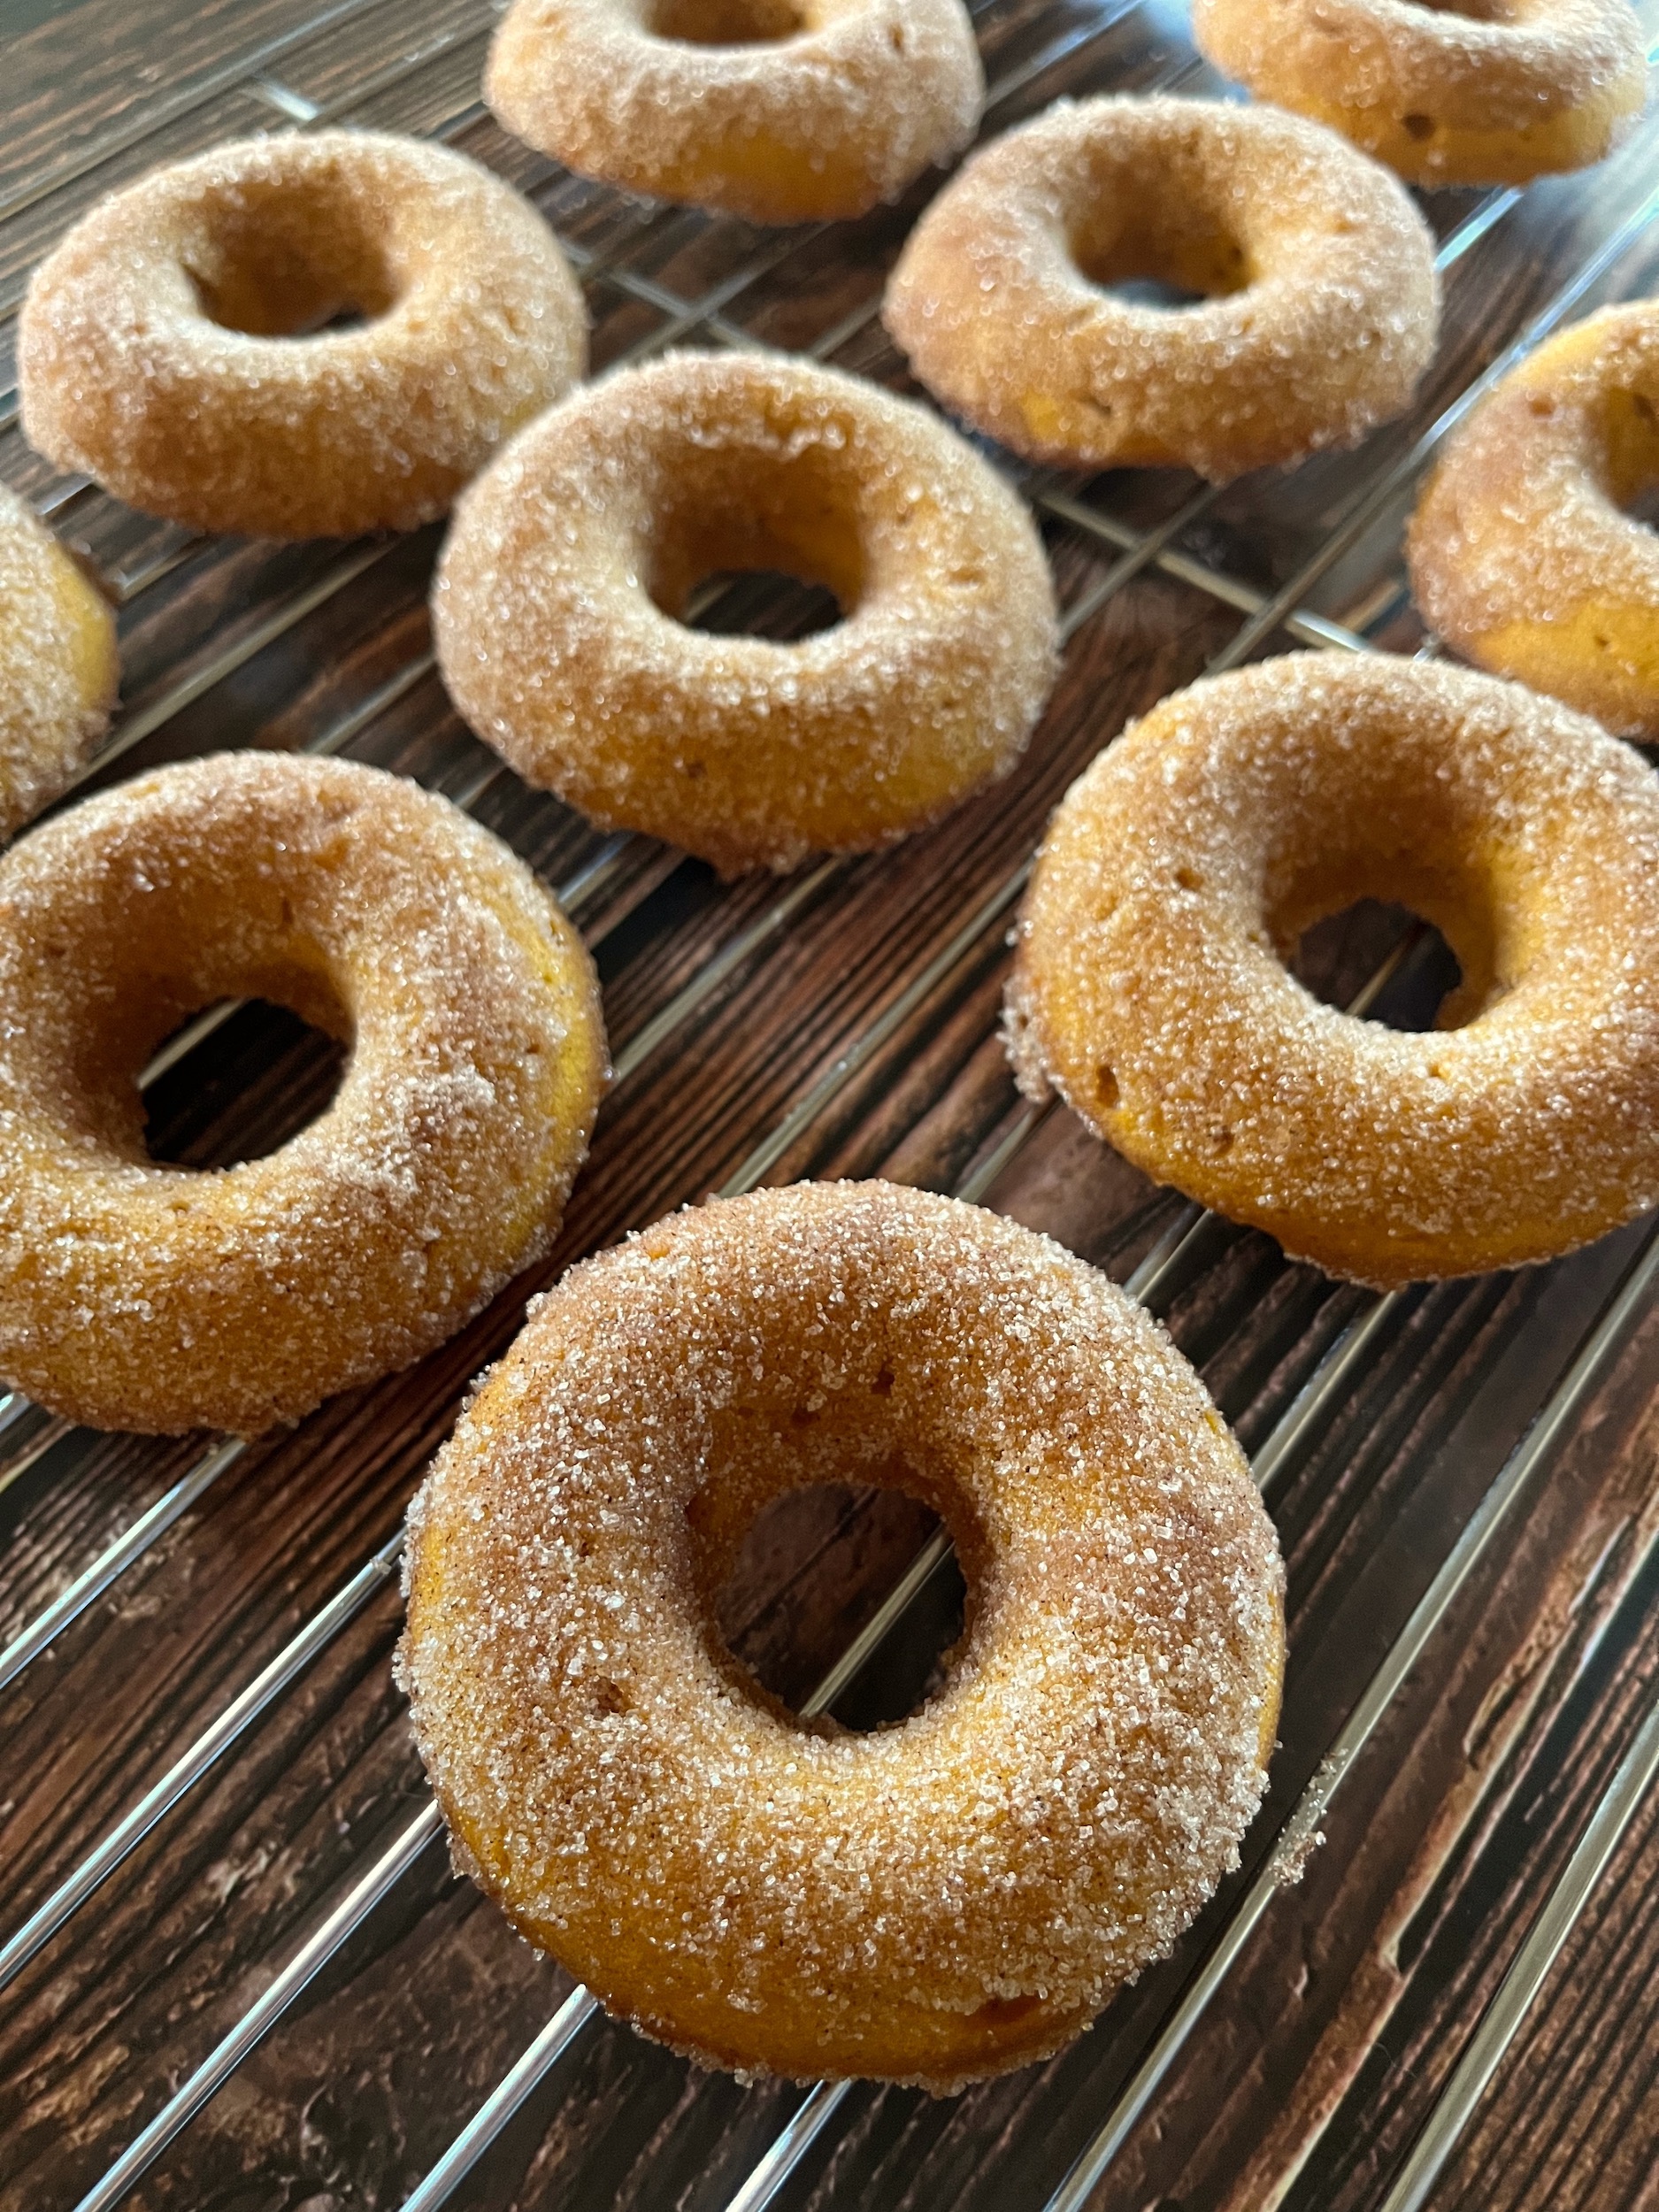
  9. Once the doughnuts have cooled to a comfortable handling temperature, brush or dip both sides of each one with butter and then dip each side in the cinnamon and sugar to coat.
  10. Enjoy!

*These doughnuts are best served immediately, but leftovers can e kept int he fridge for up to 3 days. Serve them warm or at room temperature.

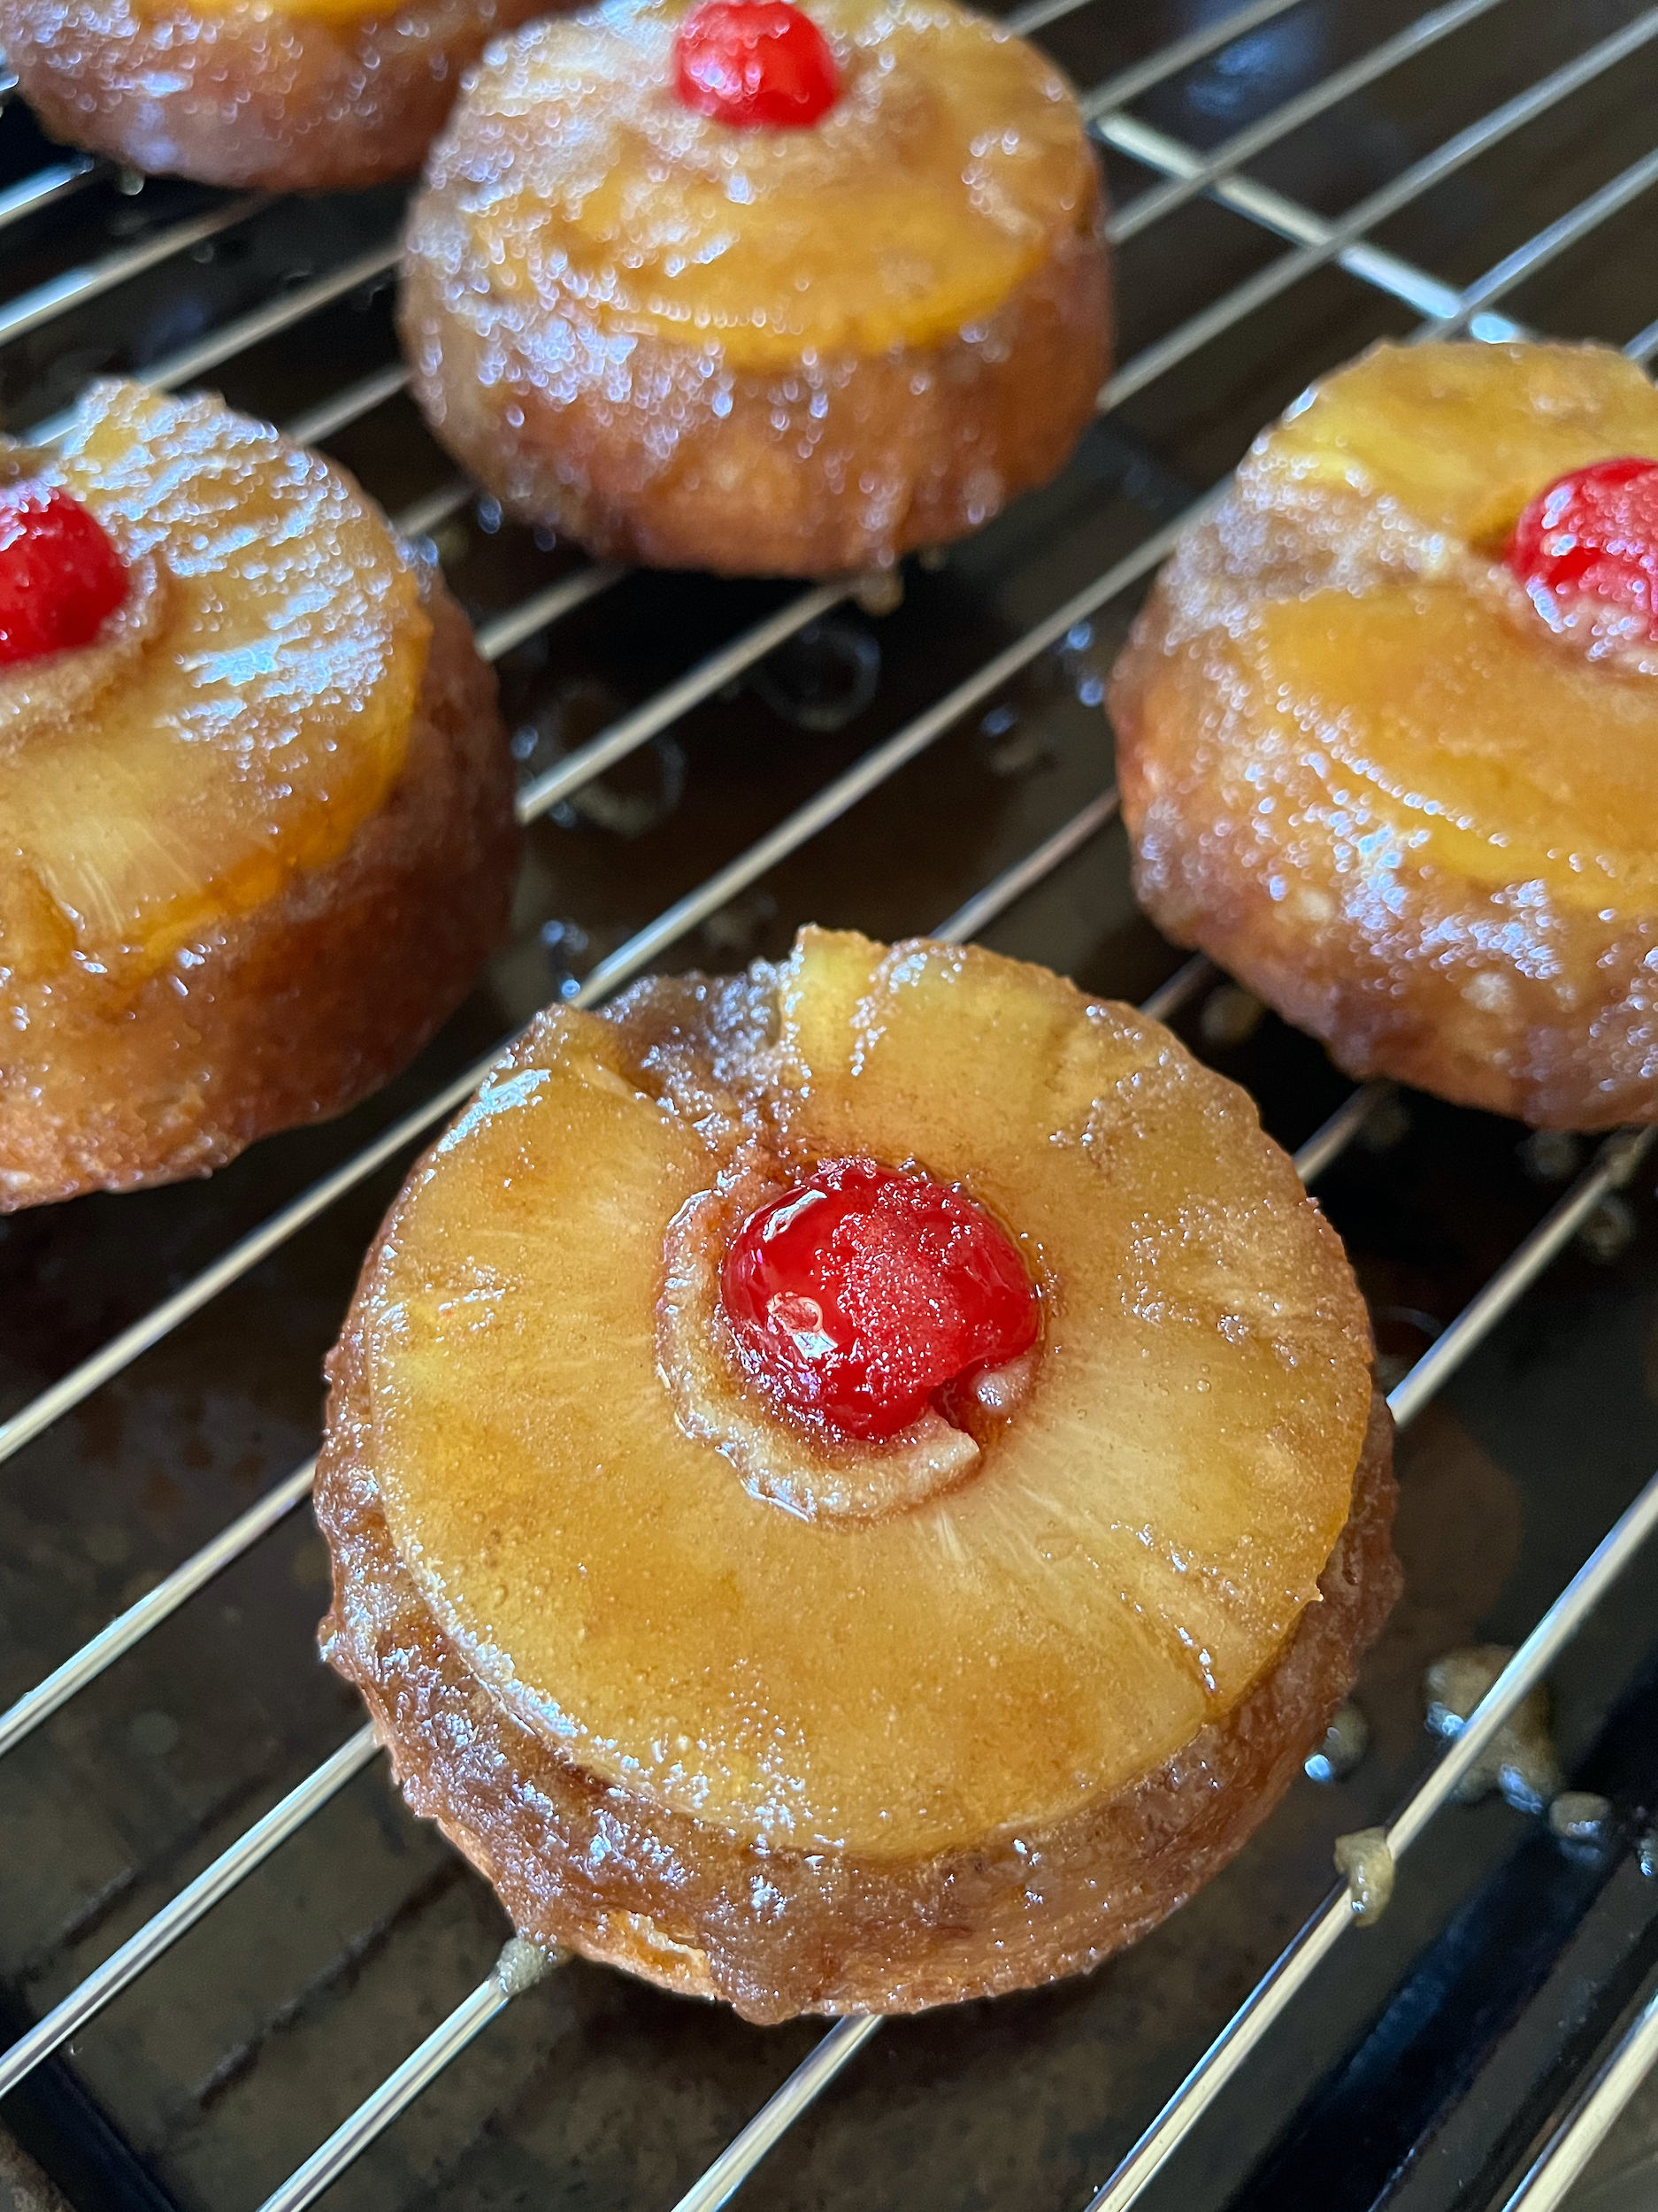
The Reluctant Dragon’s Pineapple Upside Down Cake Recipe

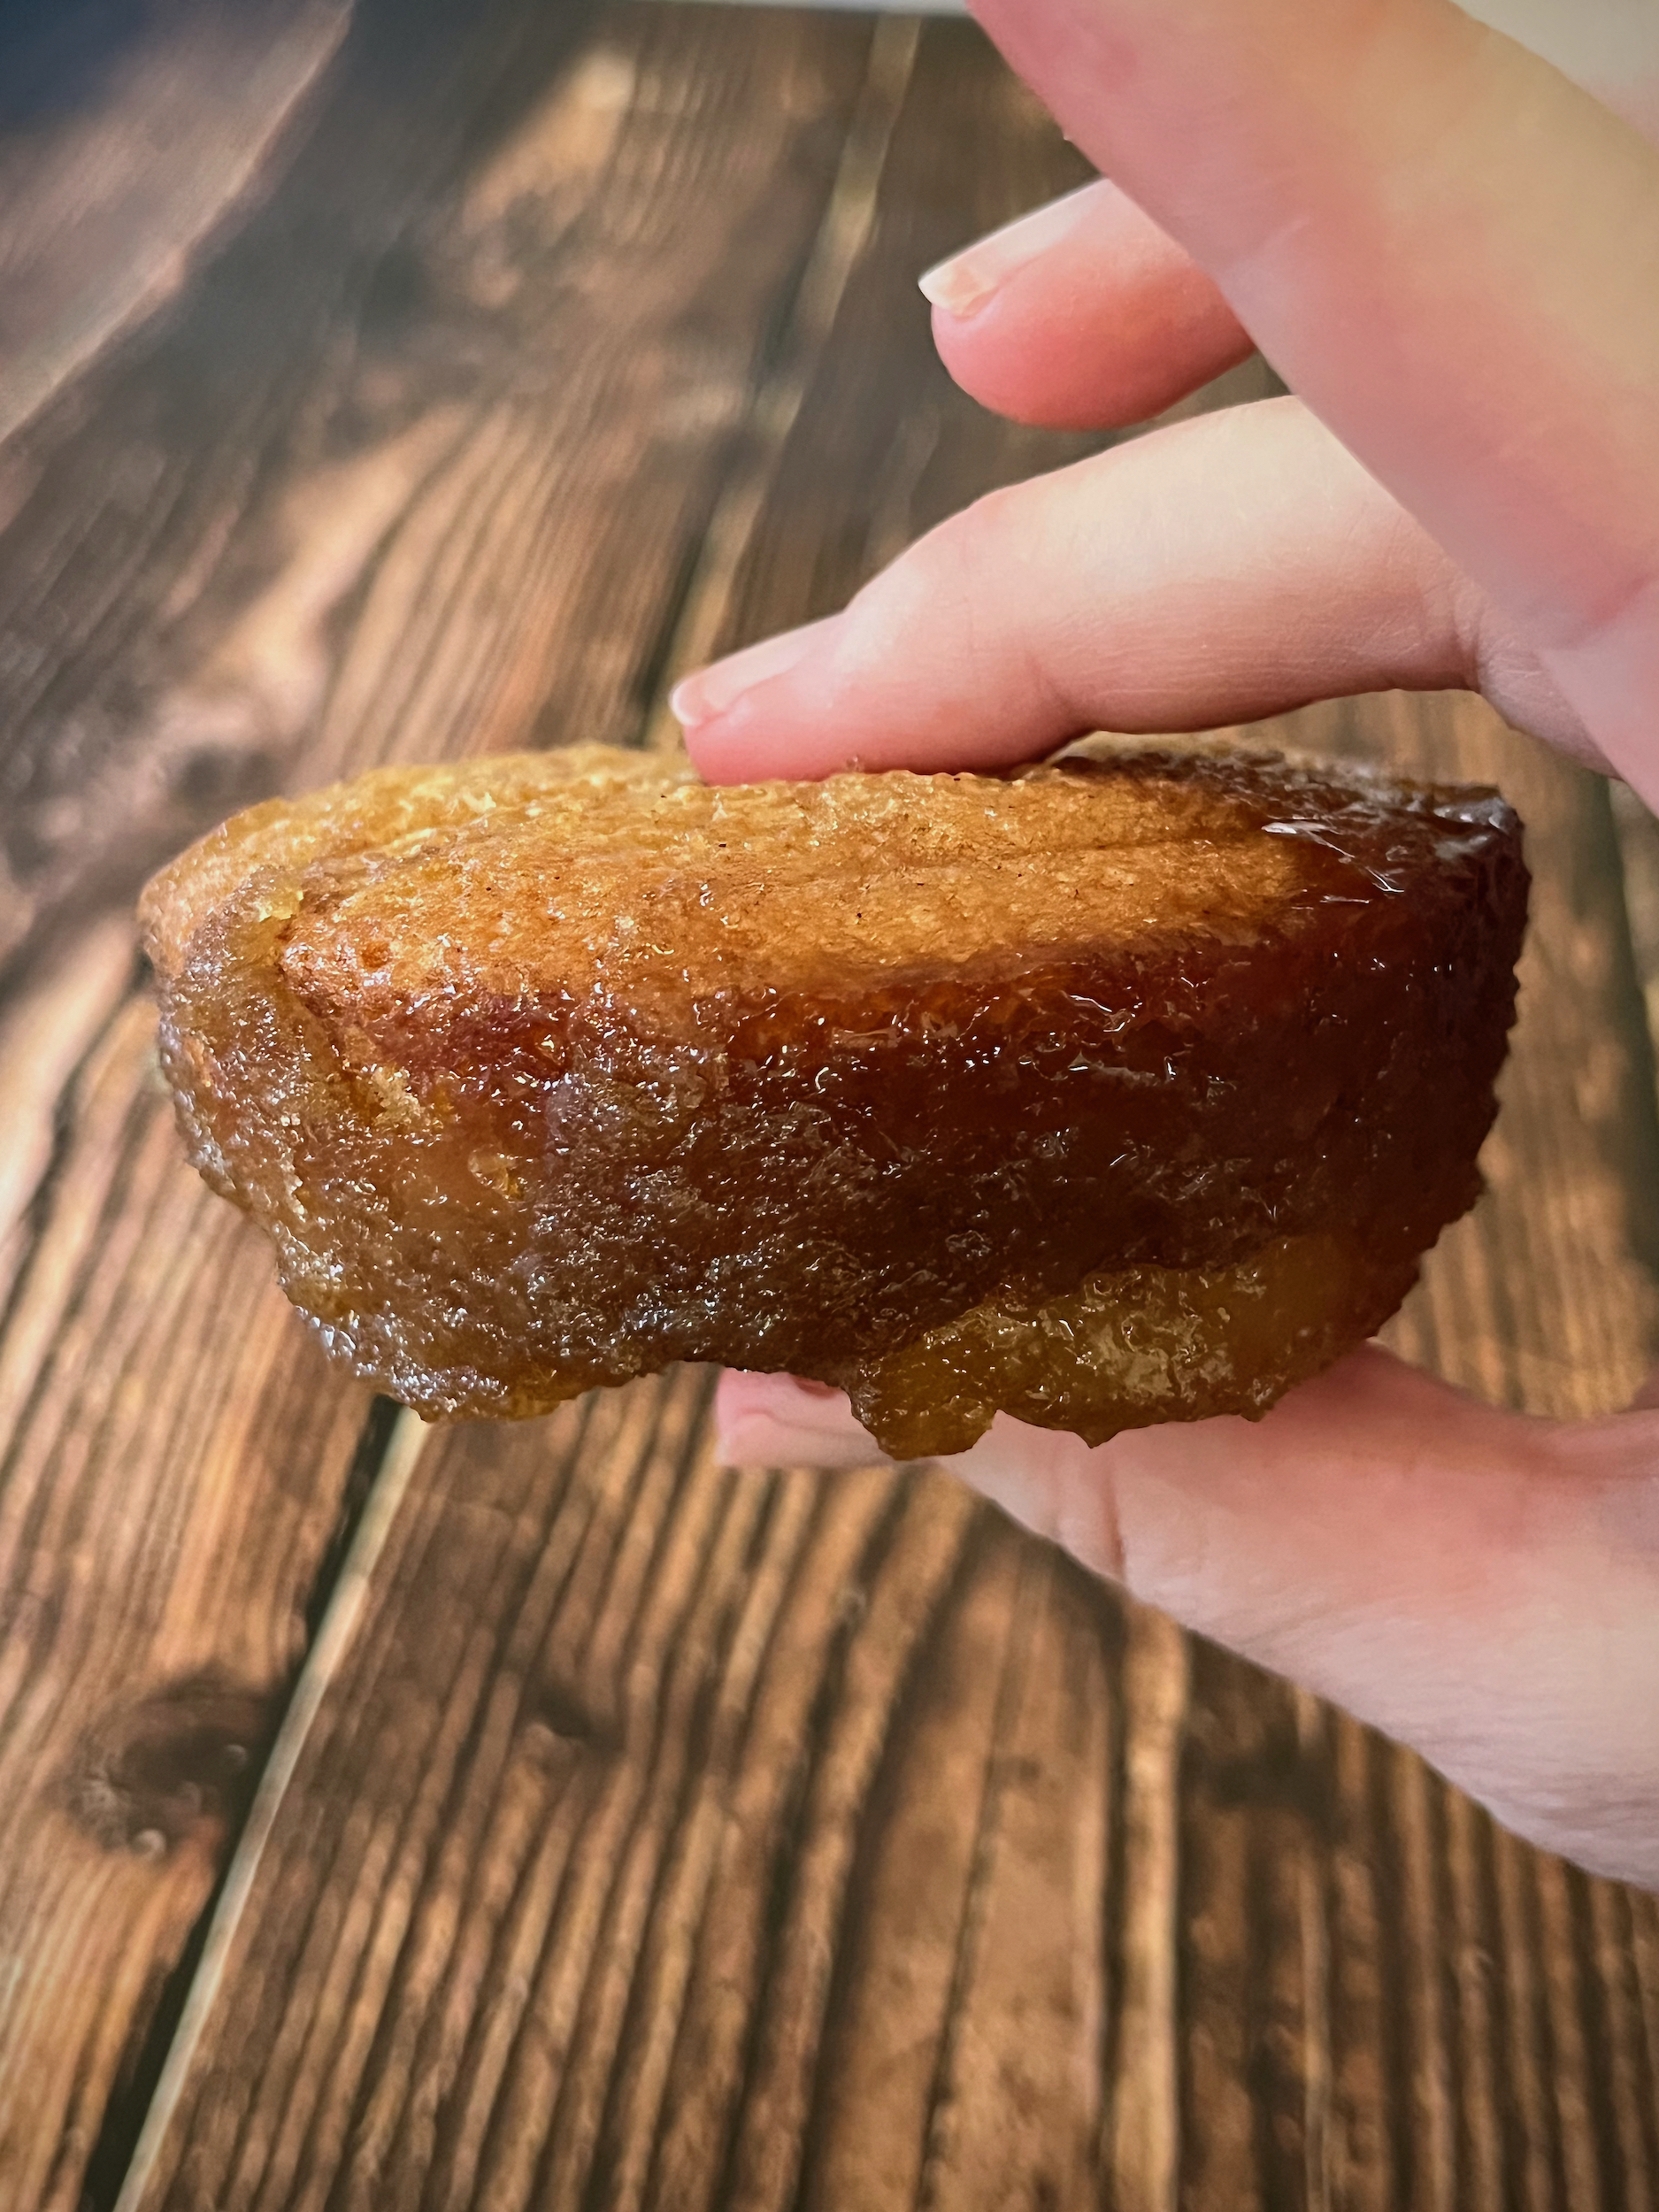
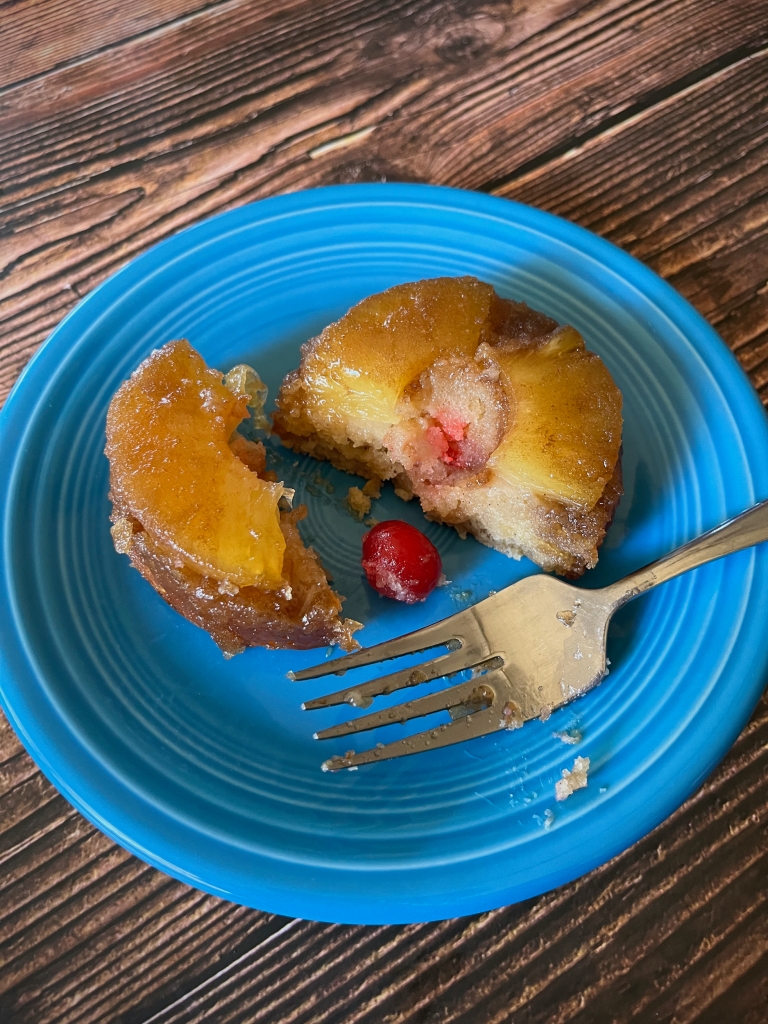
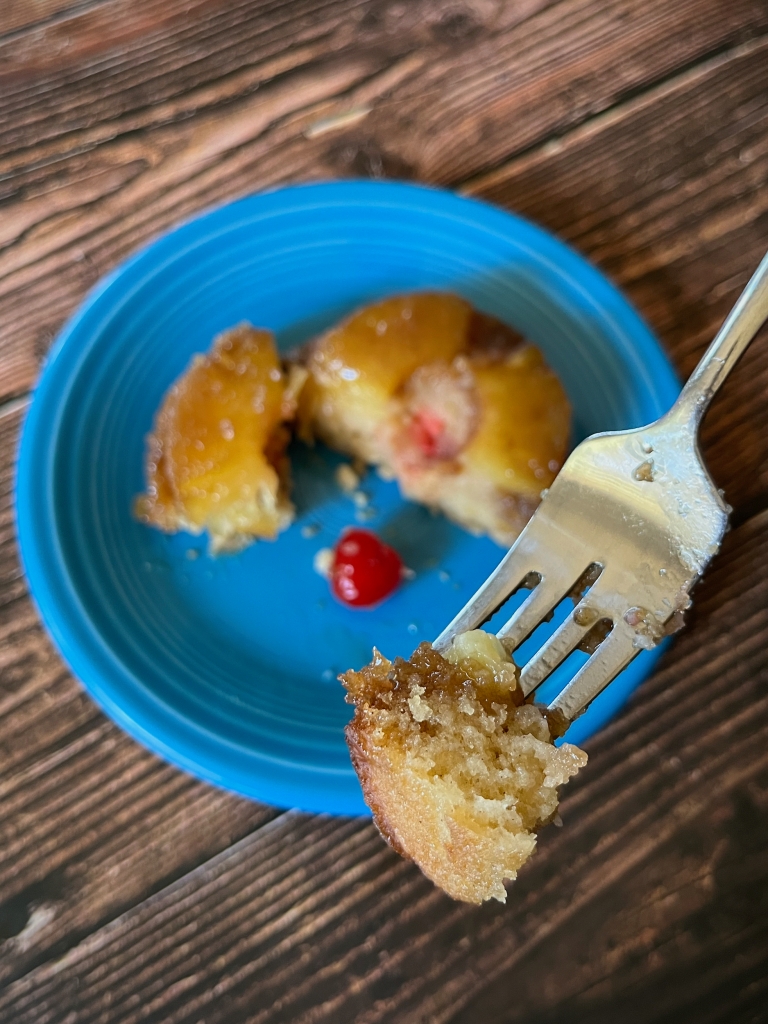
Welcome back friends! This week we’ll be baking miniature pineapple upside down cakes from Disney’s The Reluctant Dragon.

This recipe is featured when the dragon recites his poem “To An Upside-Down Cake” to the boy and Sir Giles.

Sweet little upside-down cake,

Cares and woes, you’ve got’em,

Poor little upside-down cake,

Your top is on your bottom.

Alas, little upside-down cake,

Your troubles never stop,

Because, little upside-down cake,

Your bottom’s on your top.

Now I do not see a pineapple nor cherry on his little cake, so I took artistic liberty and chose pineapple upside down cake; I have no regrets! These little cakes are delicious! My favorite part is the topping, all that brown sugar, mmmm!

INGREDIENTS

CAKES

  • 4 large eggs, at room temperature
  • 1/4 cup of dark brown sugar, packed
  • 1 1/4 cups of granulated sugar 
  • 1/2 cup of pineapple juice 
  • 2 teaspoons of pure vanilla extract
  • 2 1/4 teaspoons of baking powder
  • 1/2 teaspoon of cinnamon
  • 2 tablespoons of cornstarch
  • 1 1/2 cups of all purpose flour
  • 1/4 teaspoon of salt

TOPPING

  • 6 tablespoons of unsalted butter
  • 1 1/2 cups dark brown sugar (packed) 
  • 1/8 teaspoon of salt 
  • 1 teaspoon of vanilla extract
  • 10-12 pineapple rings
  • 10-12 maraschino cherries
INSTRUCTIONS
  1. Pre-heat oven to 350 F. Spray a jumbo muffin tin with non-stick cooking spray and set aside.
  2. Crack the eggs into a large mixing bowl and whisk until smooth. 
  3. Add the brown sugar, granulated sugar, pineapple juice and vanilla, then whisk again until smooth. 
  4. In a separate bowl, sift together the baking powder, cinnamon, cornstarch, flour and salt.
  5. Gradually add the dry ingredients into the wet ingredients and whisk until just combined (be sure not to over mix), then set the mixture aside while you make the topping. 
  6. In a small sauce pan, melt the butter over medium to low heat. 
  7. Add the brown sugar, salt, and vanilla.
  8. Cook for one minute, whisking constantly, then remove the saucepan from the heat. 
  9. Spoon two tablespoons of the topping into the bottom of each muffin tin, then place a pineapple ring over that with a cherry in the middle.
  10. Divide the cake batter evenly among the prepared tins, filling each muffin tin 3/4 of the way full. 
  11. Bake for 20 to 25 minutes, until the tops are puffed and golden brown and a toothpick inserted in the center of the cake comes out clean. 
  12. Remove from the oven and allow to cool in the pan for 5 minutes. Gently run a knife around the edge of each cake to help loosen any stuck bits, then gently place a wire cooling rack over a sheet pan (to help with the drips) on top and quickly flip over.
  13. Allow to cool and enjoy!

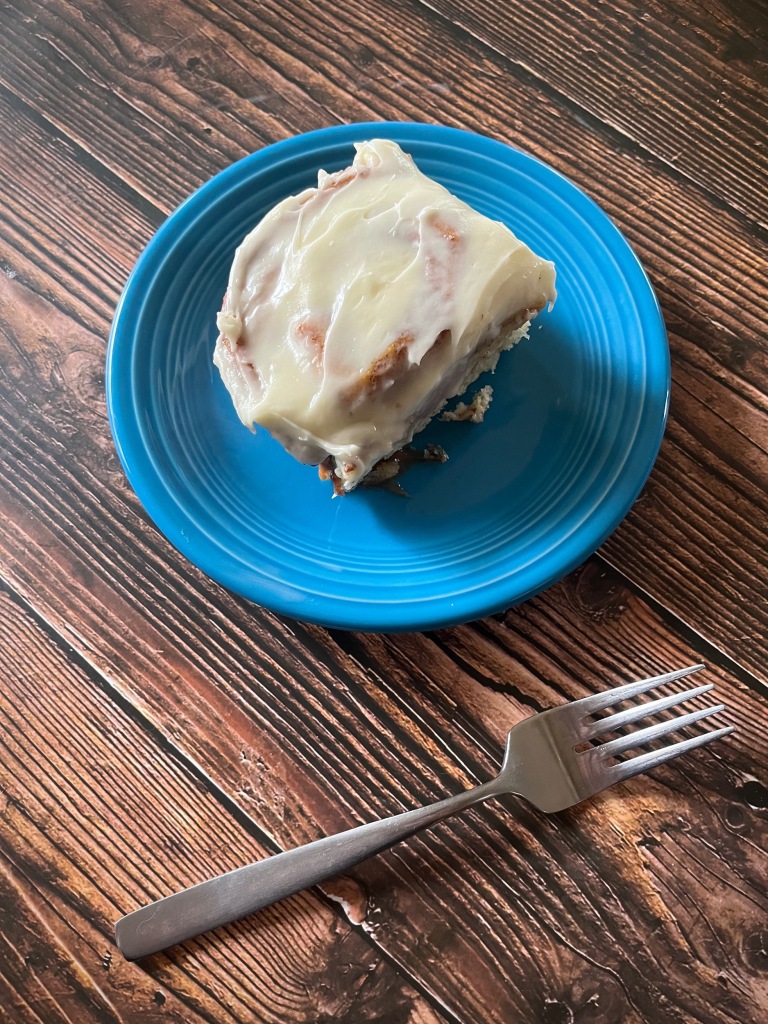
Homemade Comforting Cinnamon Roll Recipe

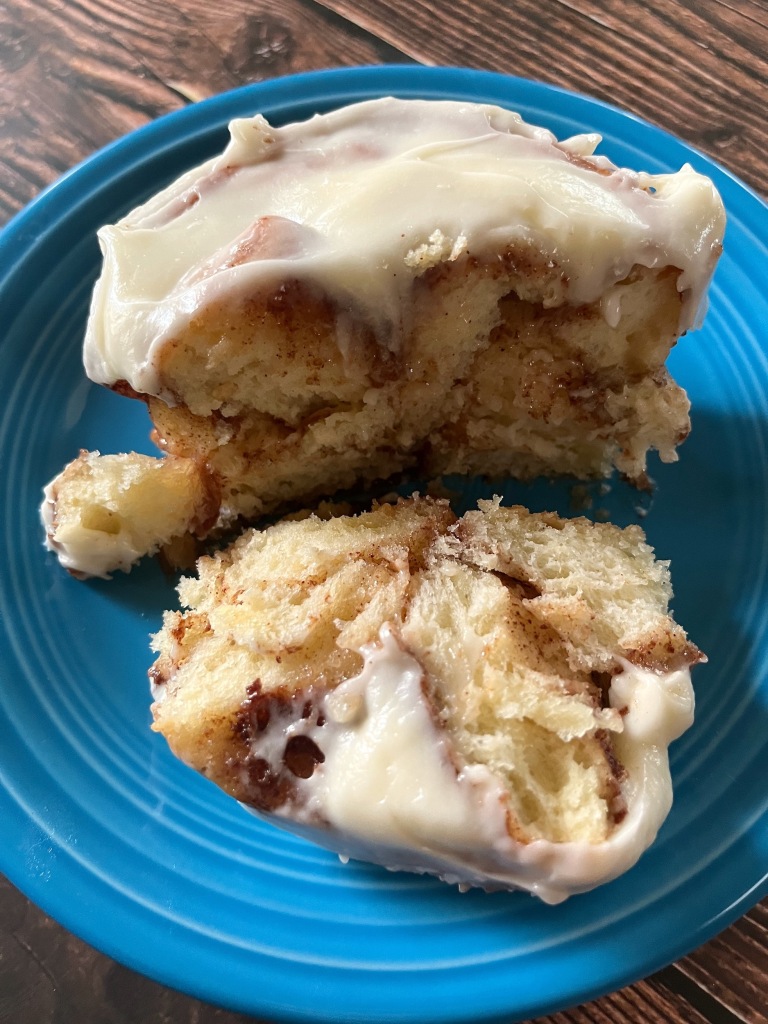
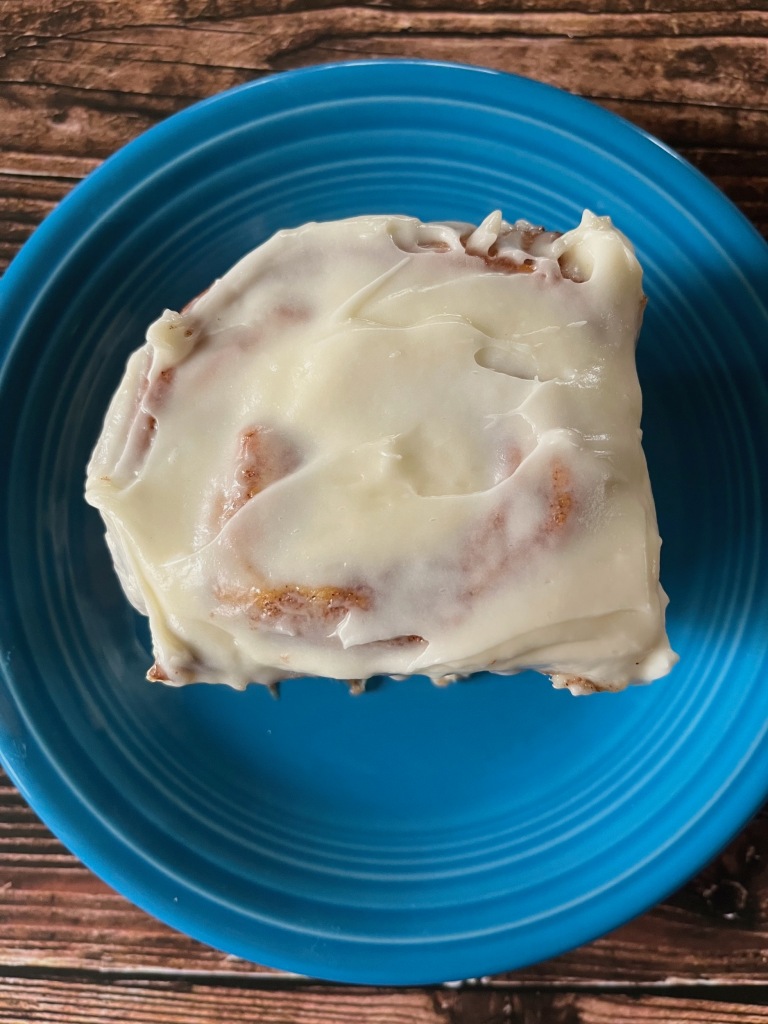
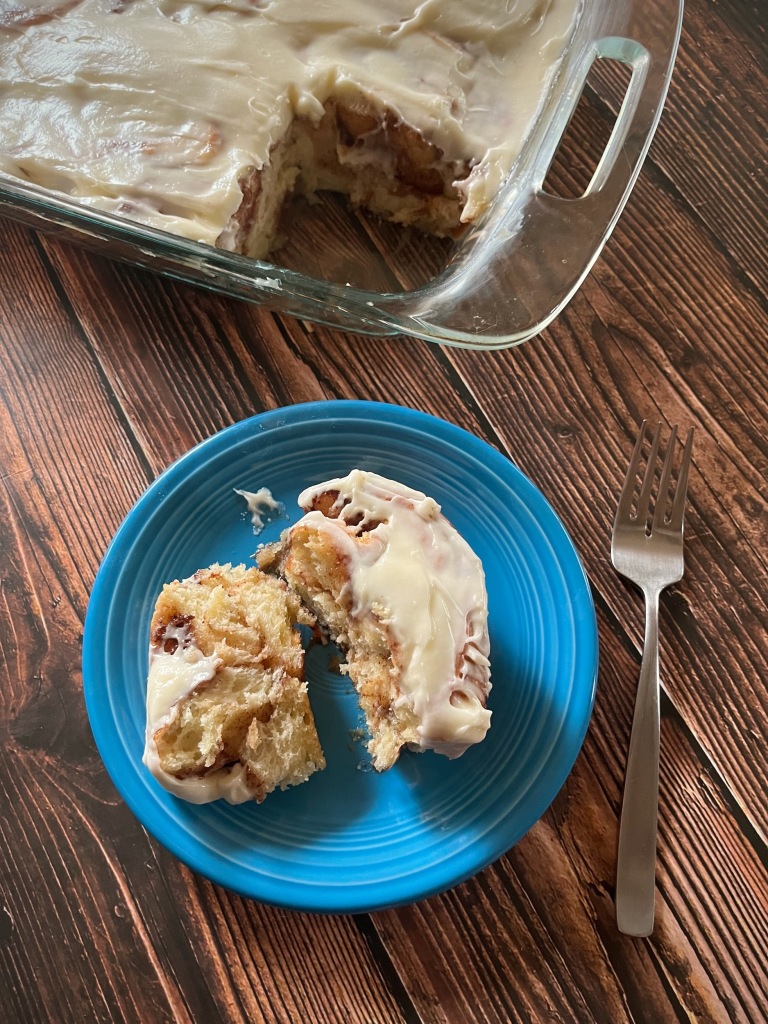
Welcome back friends! Who would like some warm and comforting, homemade cinnamon rolls on one (or more) of these cold winter mornings? Maybe at a table with some coffee or tea and a good book? Or maybe a good movie or show? I know I do, so let’s bake some!

INGREDIENTS

DOUGH

  • 1 cup of warm milk
  • 2 1/2 teaspoons of instant dry yeast
  • 1/2 cup of salted butter, softened
  • 2 large eggs, room temperature
  • 1/2 cup of granulated sugar
  • 4 1/2 cups of all-purpose flour, divided
  • 1 teaspoon of salt

FILLING

  • 1 cup of brown sugar, packed 
  • 1/2 cup of salted butter, softened
  • 2 tablespoons of cinnamon
  • 1 cup of heavy cream, divided

TOPPING

  • 1/3 cup of salted butter, softened 
  • 6 ounces of cream cheese, softened
  • 2 cups of powdered sugar
  • 1/2 tablespoon of vanilla extract
INSTRUCTIONS
  1. Pour the warm milk into a large bowl and sprinkle it with the yeast.
  2. Add the butter, eggs and sugar, then mix until well combined.
  3. Add 4 cups of the flour and the salt, then mix until well combined.
  4. Scrape the dough off the beater blade and knead for 5 to 7 minutes, or until the dough is elastic and smooth.
  5. Spray another large bowl with cooking spray and use a rubber spatula to remove the dough from the mixer bowl and place in the greased bowl.
  6. Cover the bowl and allow the dough to rise until doubled in size (about 30 minutes to an hour).
  7. While the dough is rising, prepare the filling. In a medium bowl, combine the soft butter, brown sugar, cinnamon and 1/2 cup of heavy cream; mixing it until well combined, then set it aside.
  8. Once the dough has risen, sprinkle a pastry mat generously with flour, and turn the dough onto the mat. Sprinkle the top of the dough with more flour.
  9. Flour a rolling pin and roll the dough to about 24” x 15” rectangle (though it does not have to be exact).
  10. Use a rubber spatula to smooth the filling over the whole dough rectangle.
  11. Starting at the long end, roll the dough up tightly.
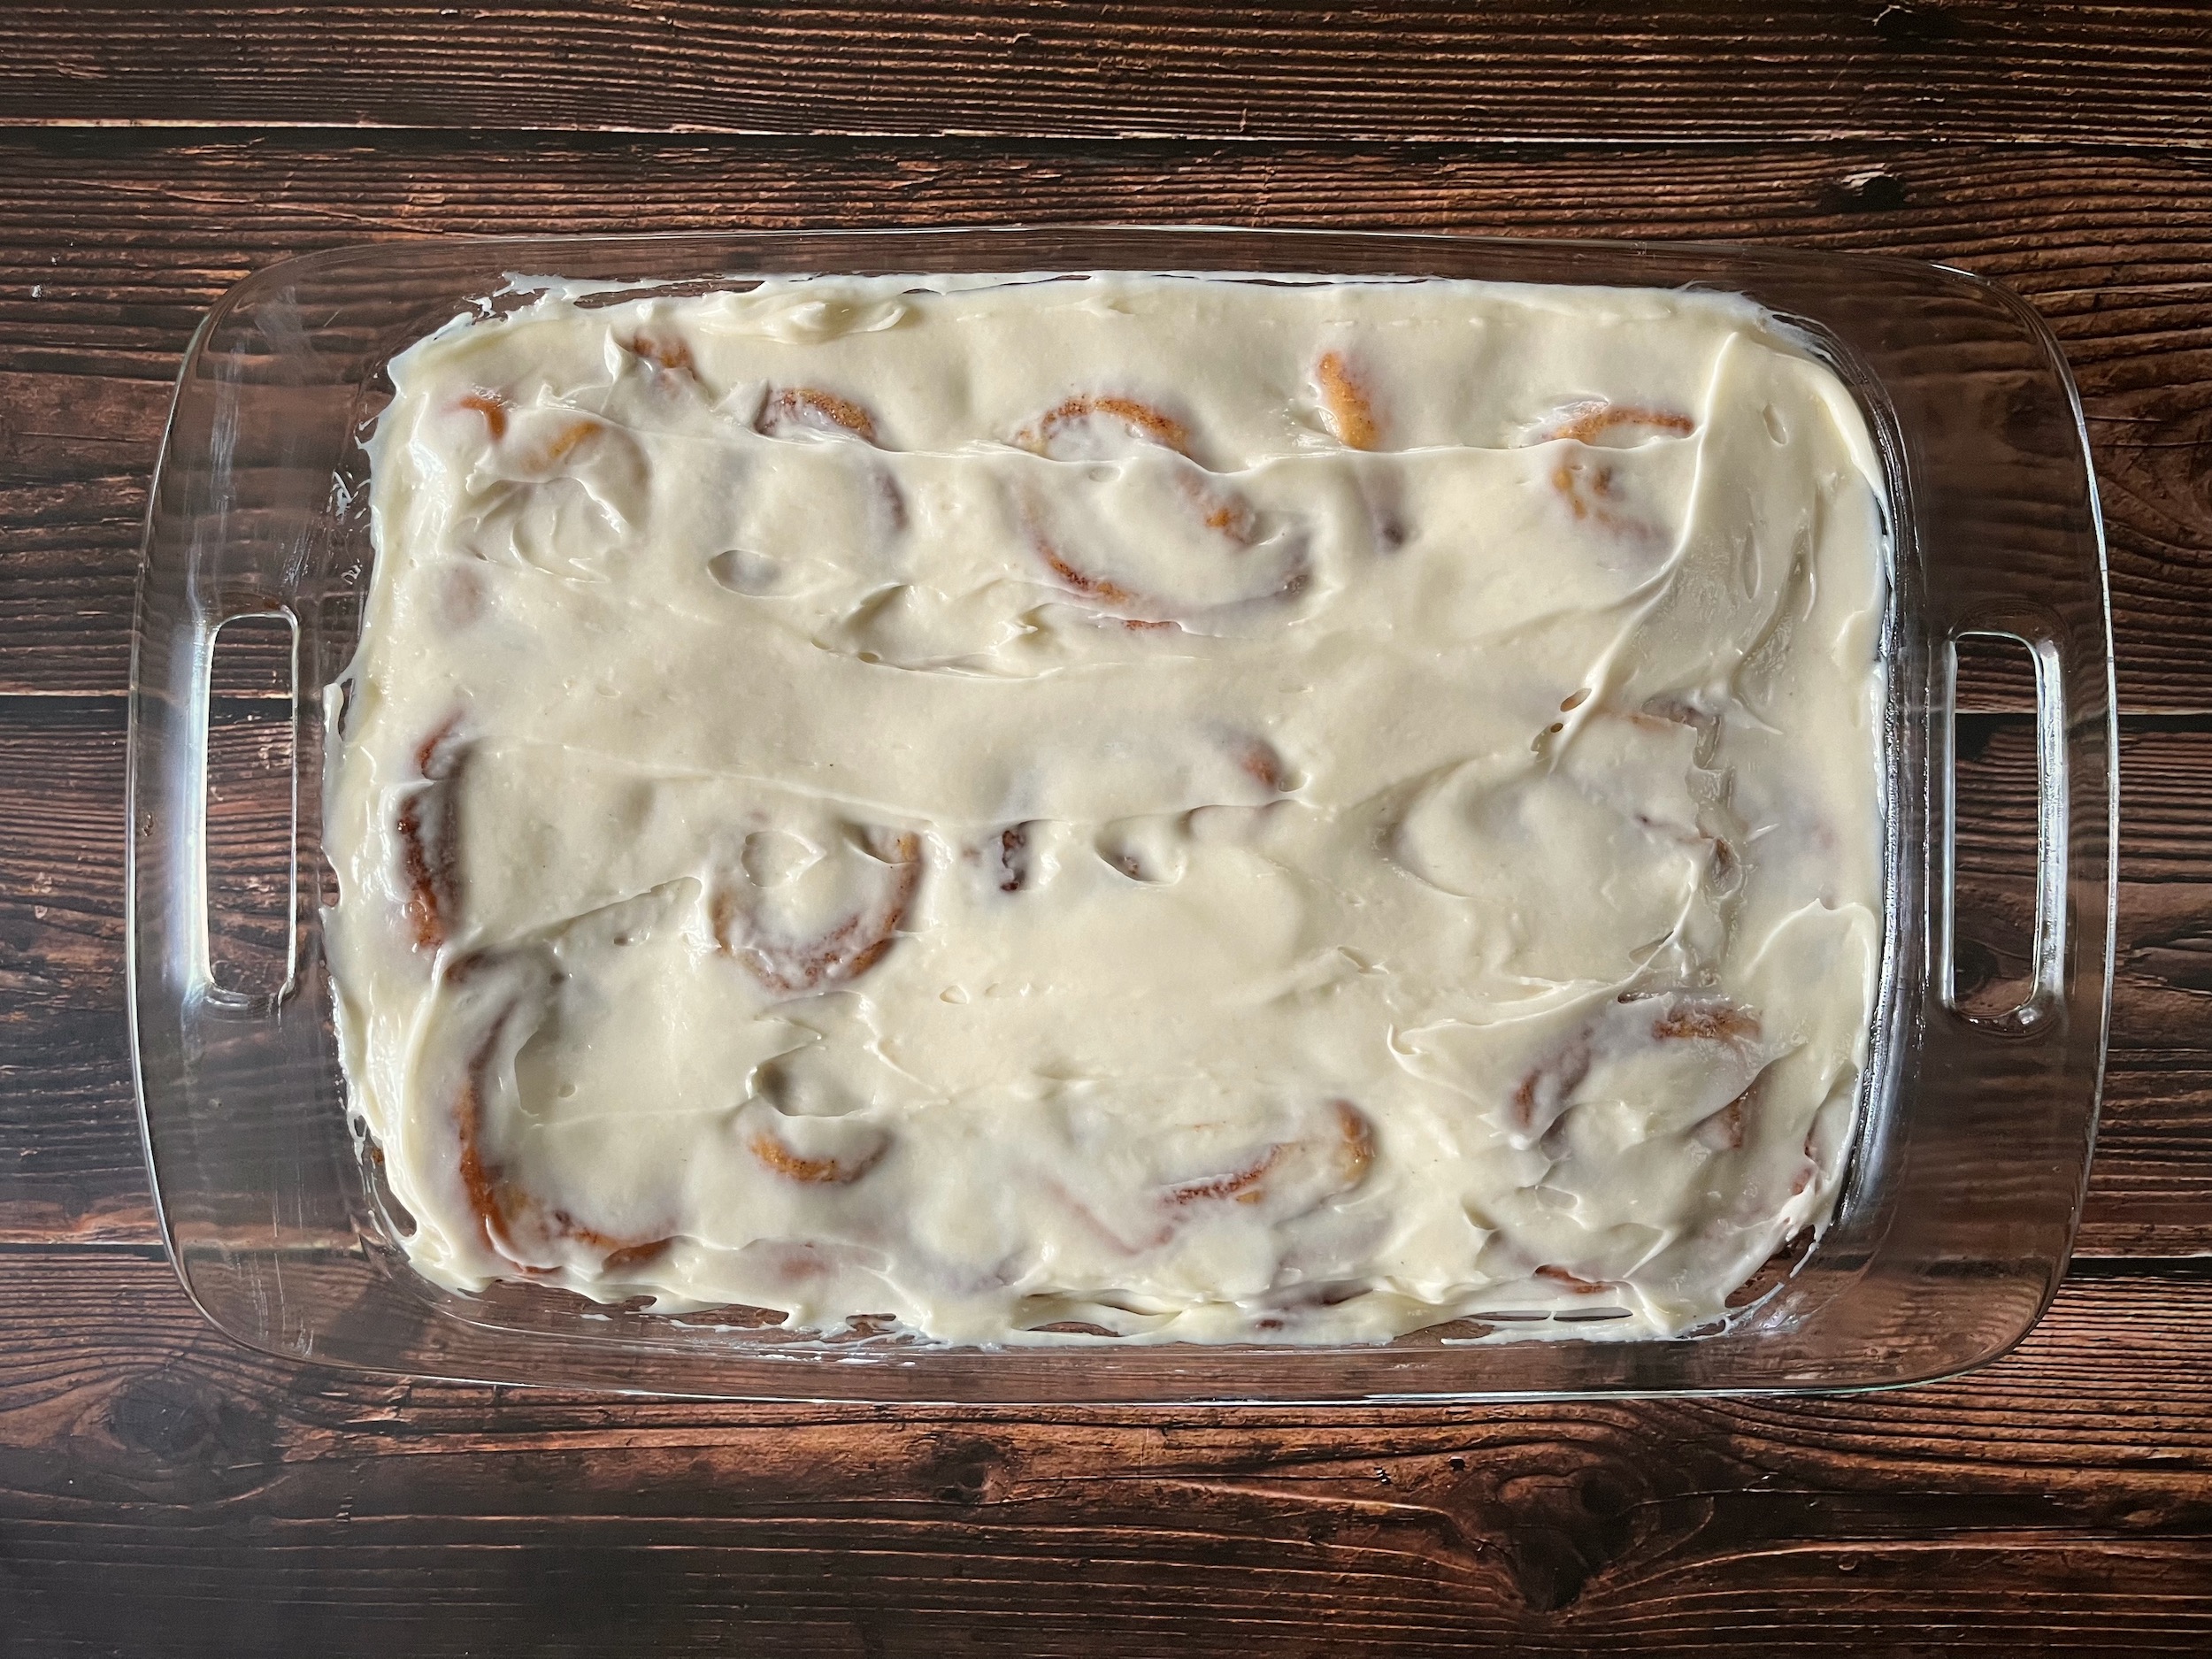
  12. Cut the roll into 12 slices and place in a greased 9×13” baking pan.
  13. Cover the pan and allow the rolls to rise for 20 minutes or until nearly double.
  14. Pre-heat the oven to 375F.
  15. Warm the remaining 1/2 cup of heavy cream until the chill is off, then pour if over the risen rolls, allow it to soak in and around.
  16. Bake for 20 to 22 minutes, until gold brown and the center rolls are cooked through. Time will vary so keep an eye on them! If they are getting too brown, cover with aluminum foil.
  17. While the rolls are cooling, prepare the cream cheese frosting. In a large bowl combine the cream cheese and butter, blending well.
  18. Add the vanilla extract and powdered sugar, then beat until combined.
  19. Spread the frosting over the cooled rolls.

*To save time in the mornings, you can also prepare the dough the night before. Make the dough and proceed to the second rise when the rolls are in the pan. Once risen, cover them up again and put them in the refrigerator until morning. In the morning, remove them from the refrigerator and allow them to sit for about 30 minutes before baking.

Homemade Peasant Bread Recipe

Welcome back friends! Who wants some fresh, oven baked peasant bread to enjoy on one (or more) of these beautiful autumn mornings? Or afternoons? Or evenings? Honestly, anytime is the right time for freshly baked bread!

So let’s bake!

HOMEMADE PEASANT BREAD
  • 4 cups of flour
  • 2 teaspoons of salt
  • 2 teaspoons of sugar
  • 2 teaspoons of yeast
  • 2 cups of lukewarm water
  • Butter, for greasing
INSTRUCTIONS
  1. Whisk together the flour, salt, sugar and yeast, then add the warm water and stir until well combined.
  2. Cover the bowl and allow the dough to rise for about 1 1/2 to 2 hours or until doubled in volume.
  3. Grease two bread pans with the butter, then set them aside.
  4. When ready, remove the cover from the bowl and using two forks gently pull the dough away from the sides of the bowl, then use the two forks again to split it in half down the middle.
  5. Transfer each half of the dough into a greased bread pan.
  6. Cover each pan and allow the dough to rise again for 20 to 30 minutes.
  7. Preheat the oven to 350F.
  8. Transfer your baking vessels to the oven and allow them to bake for 30 to 35 minutes or until golden all around.
  9. Allow to cool in the baking pan for at least 10 minutes, then turn out onto a cooling rack to finish cooling.
  10. Enjoy!

Homemade Ghostly Brownie Recipe

Welcome back friends!

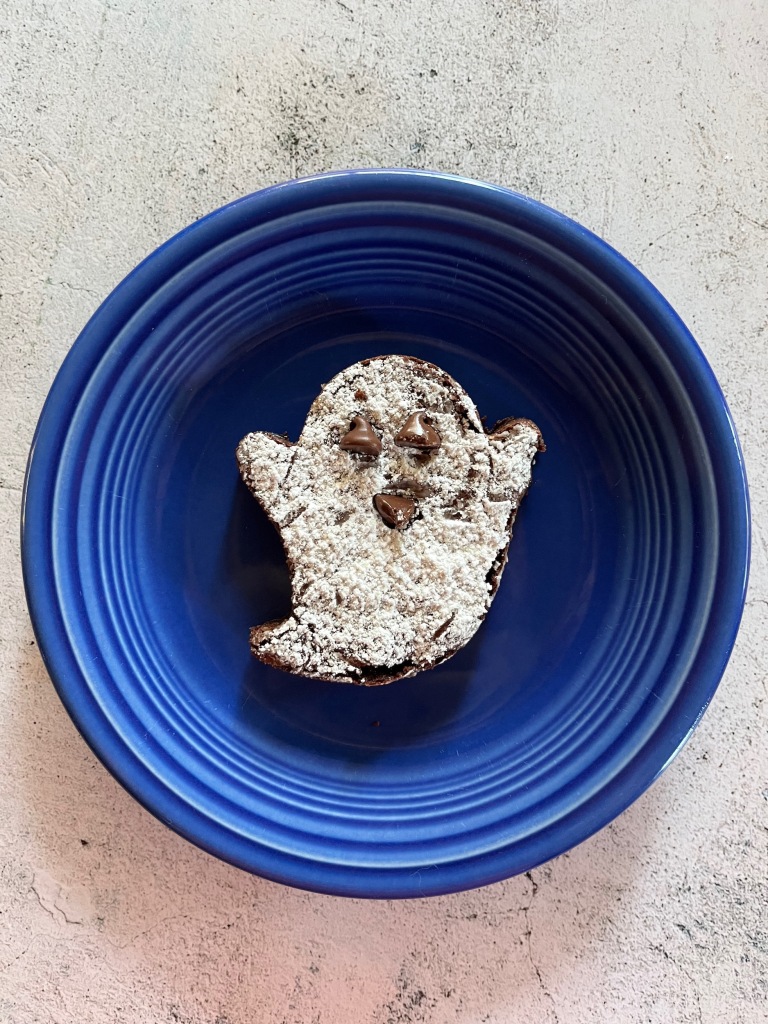
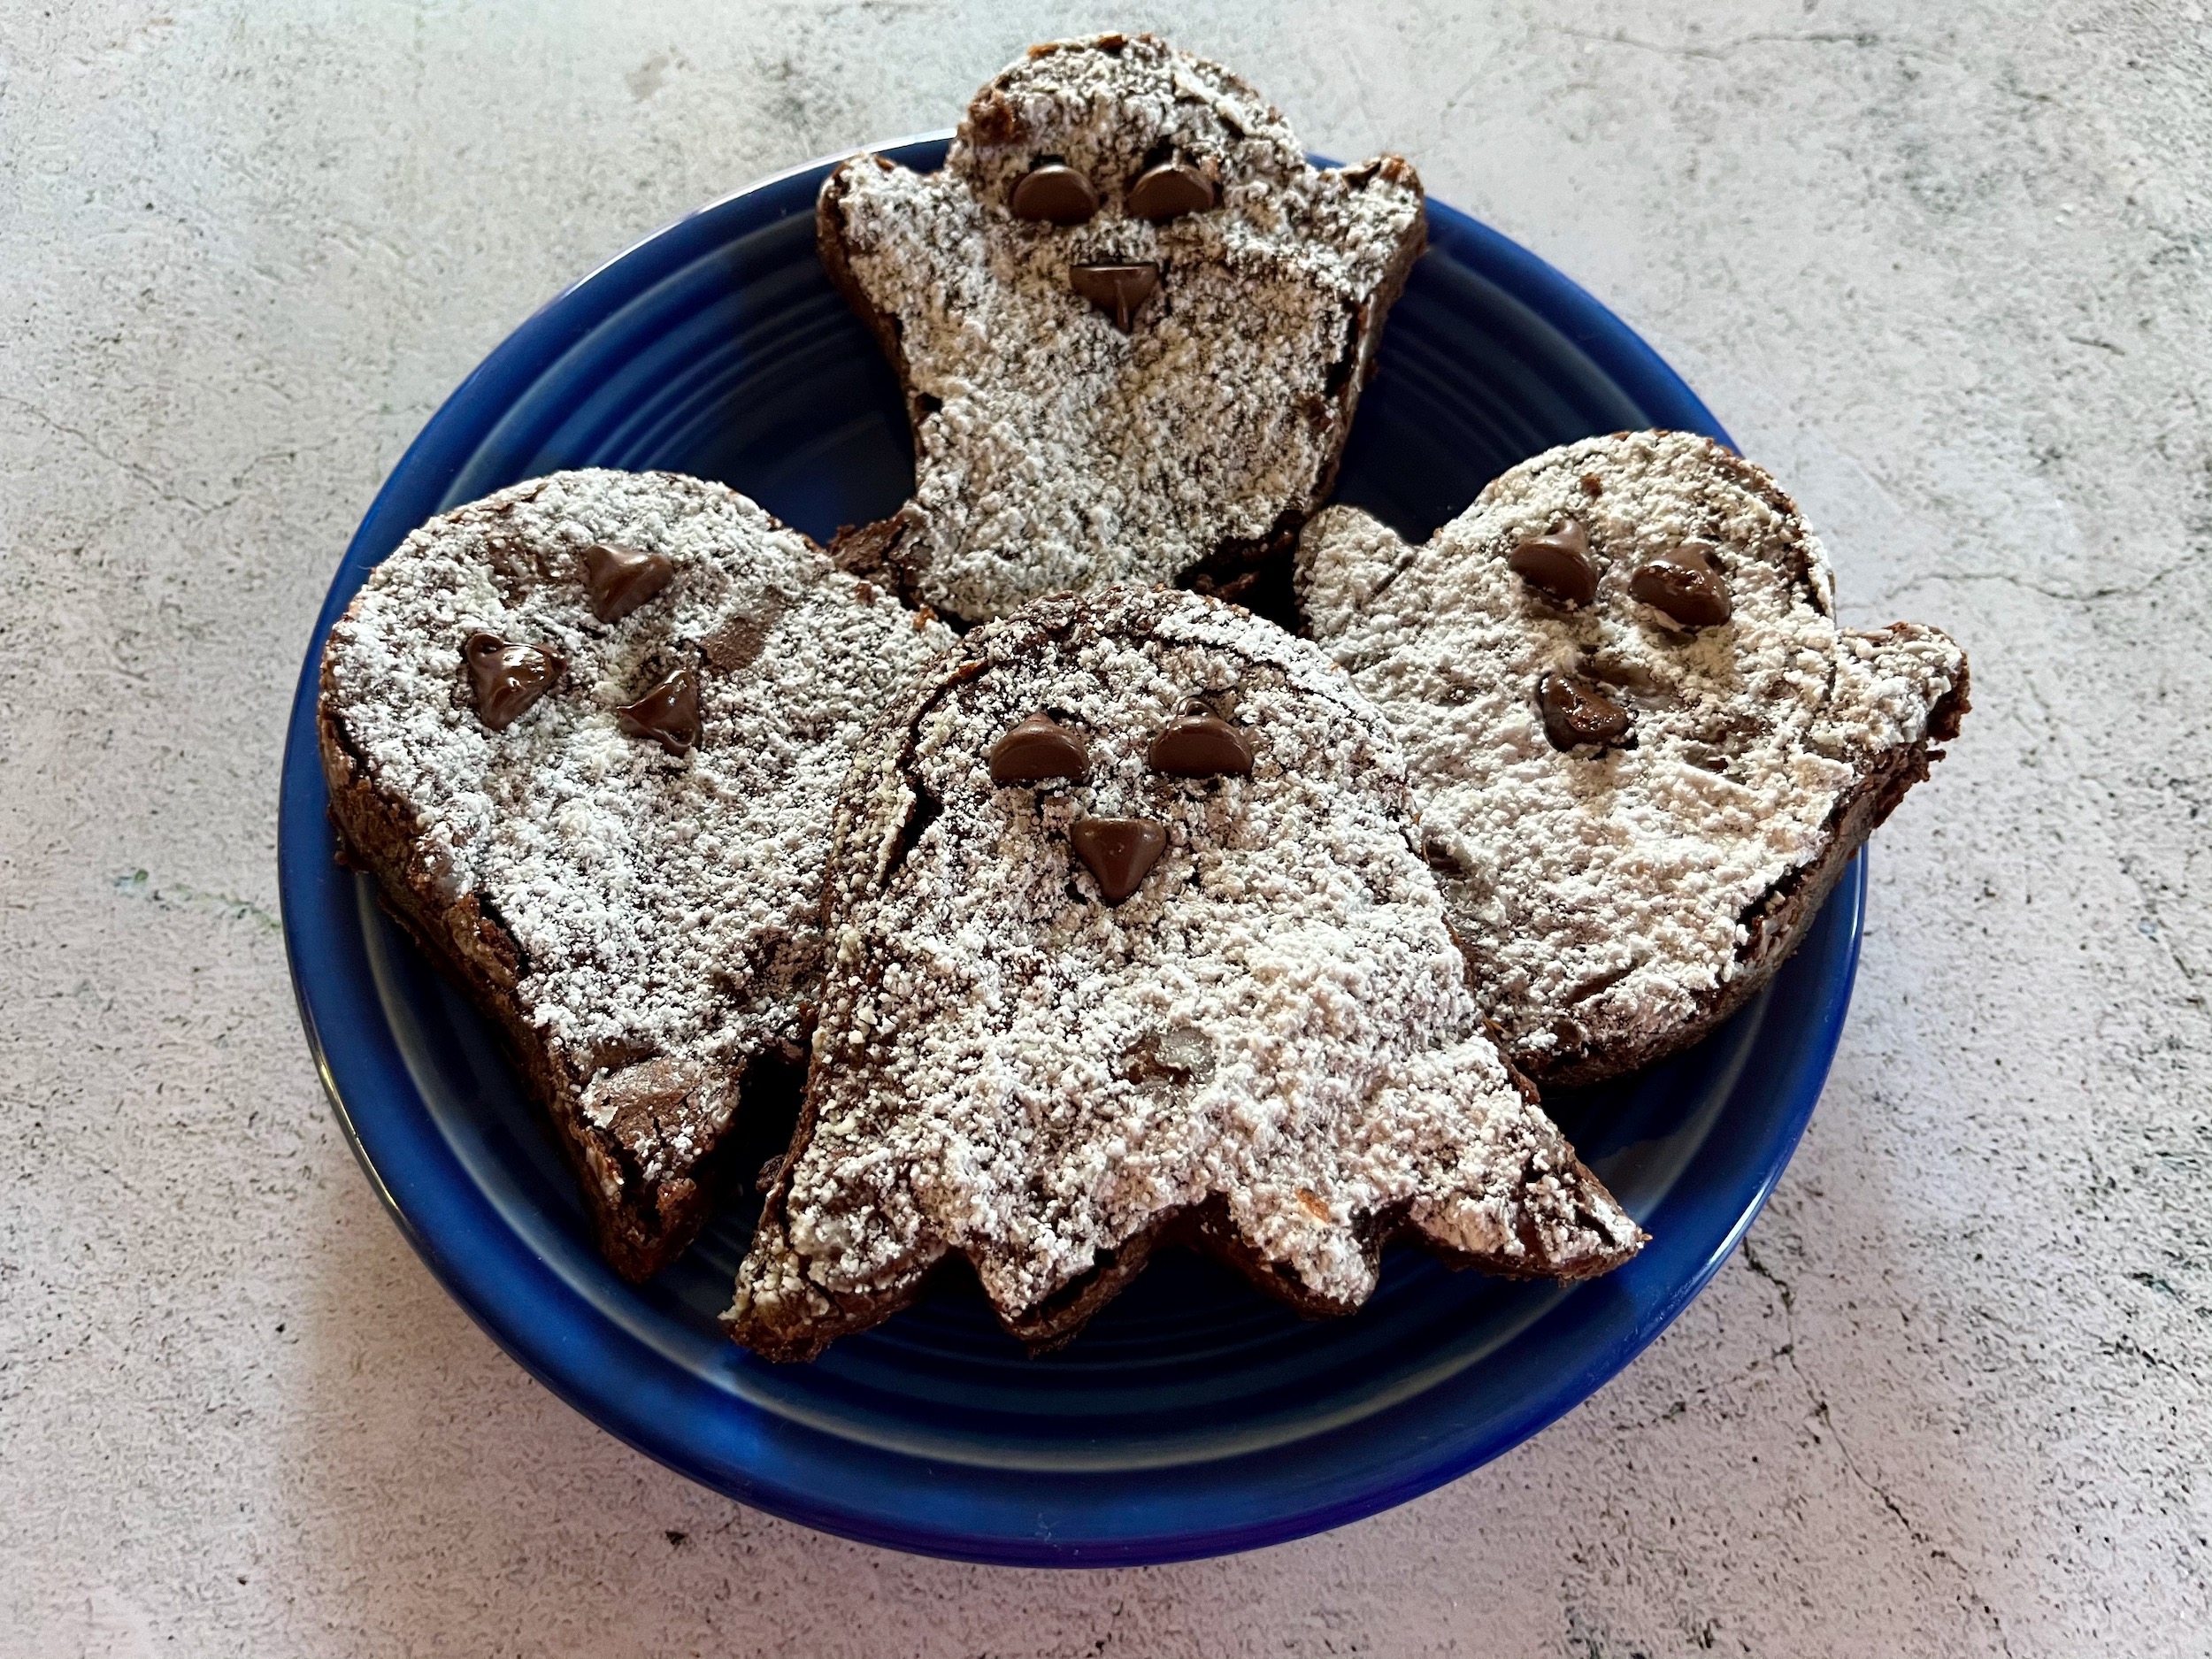
Who wants some fresh from scratch, oven baked ghostly brownies to enjoy on one (or more) of these beautiful autumn evenings? Maybe at a movie night, or a game night?

I know I do, so let’s bake some!

GHOSTLY BROWNIES
  • 1/2 cup of butter, melted
  • 2/3 cup of unsweetened cocoa powder
  • 1 1/3 cups of sugar
  • 2 tablespoons of vegetable oil
  • 2 large eggs, room temperature
  • 1/2 teaspoon of salt
  • 1 teaspoon of vanilla extract
  • 1/2 cup of flour
  • 1/2 cup of semi-sweet chocolate chips
  • Powdered sugar (for dusting)
INSTRUCTIONS
  1. Pre-heat the oven to 350F and coat a baking pan with cooking spray (I used a 13×9 pan).
  2. Combine the melted butter, oil, sugar and cocoa powder in a large bowl and whisk until smooth.
  3. Add the eggs, vanilla and salt.
  4. Slowly stir in the flour a little at a time until a thick batter forms, then fold in the chocolate chips.
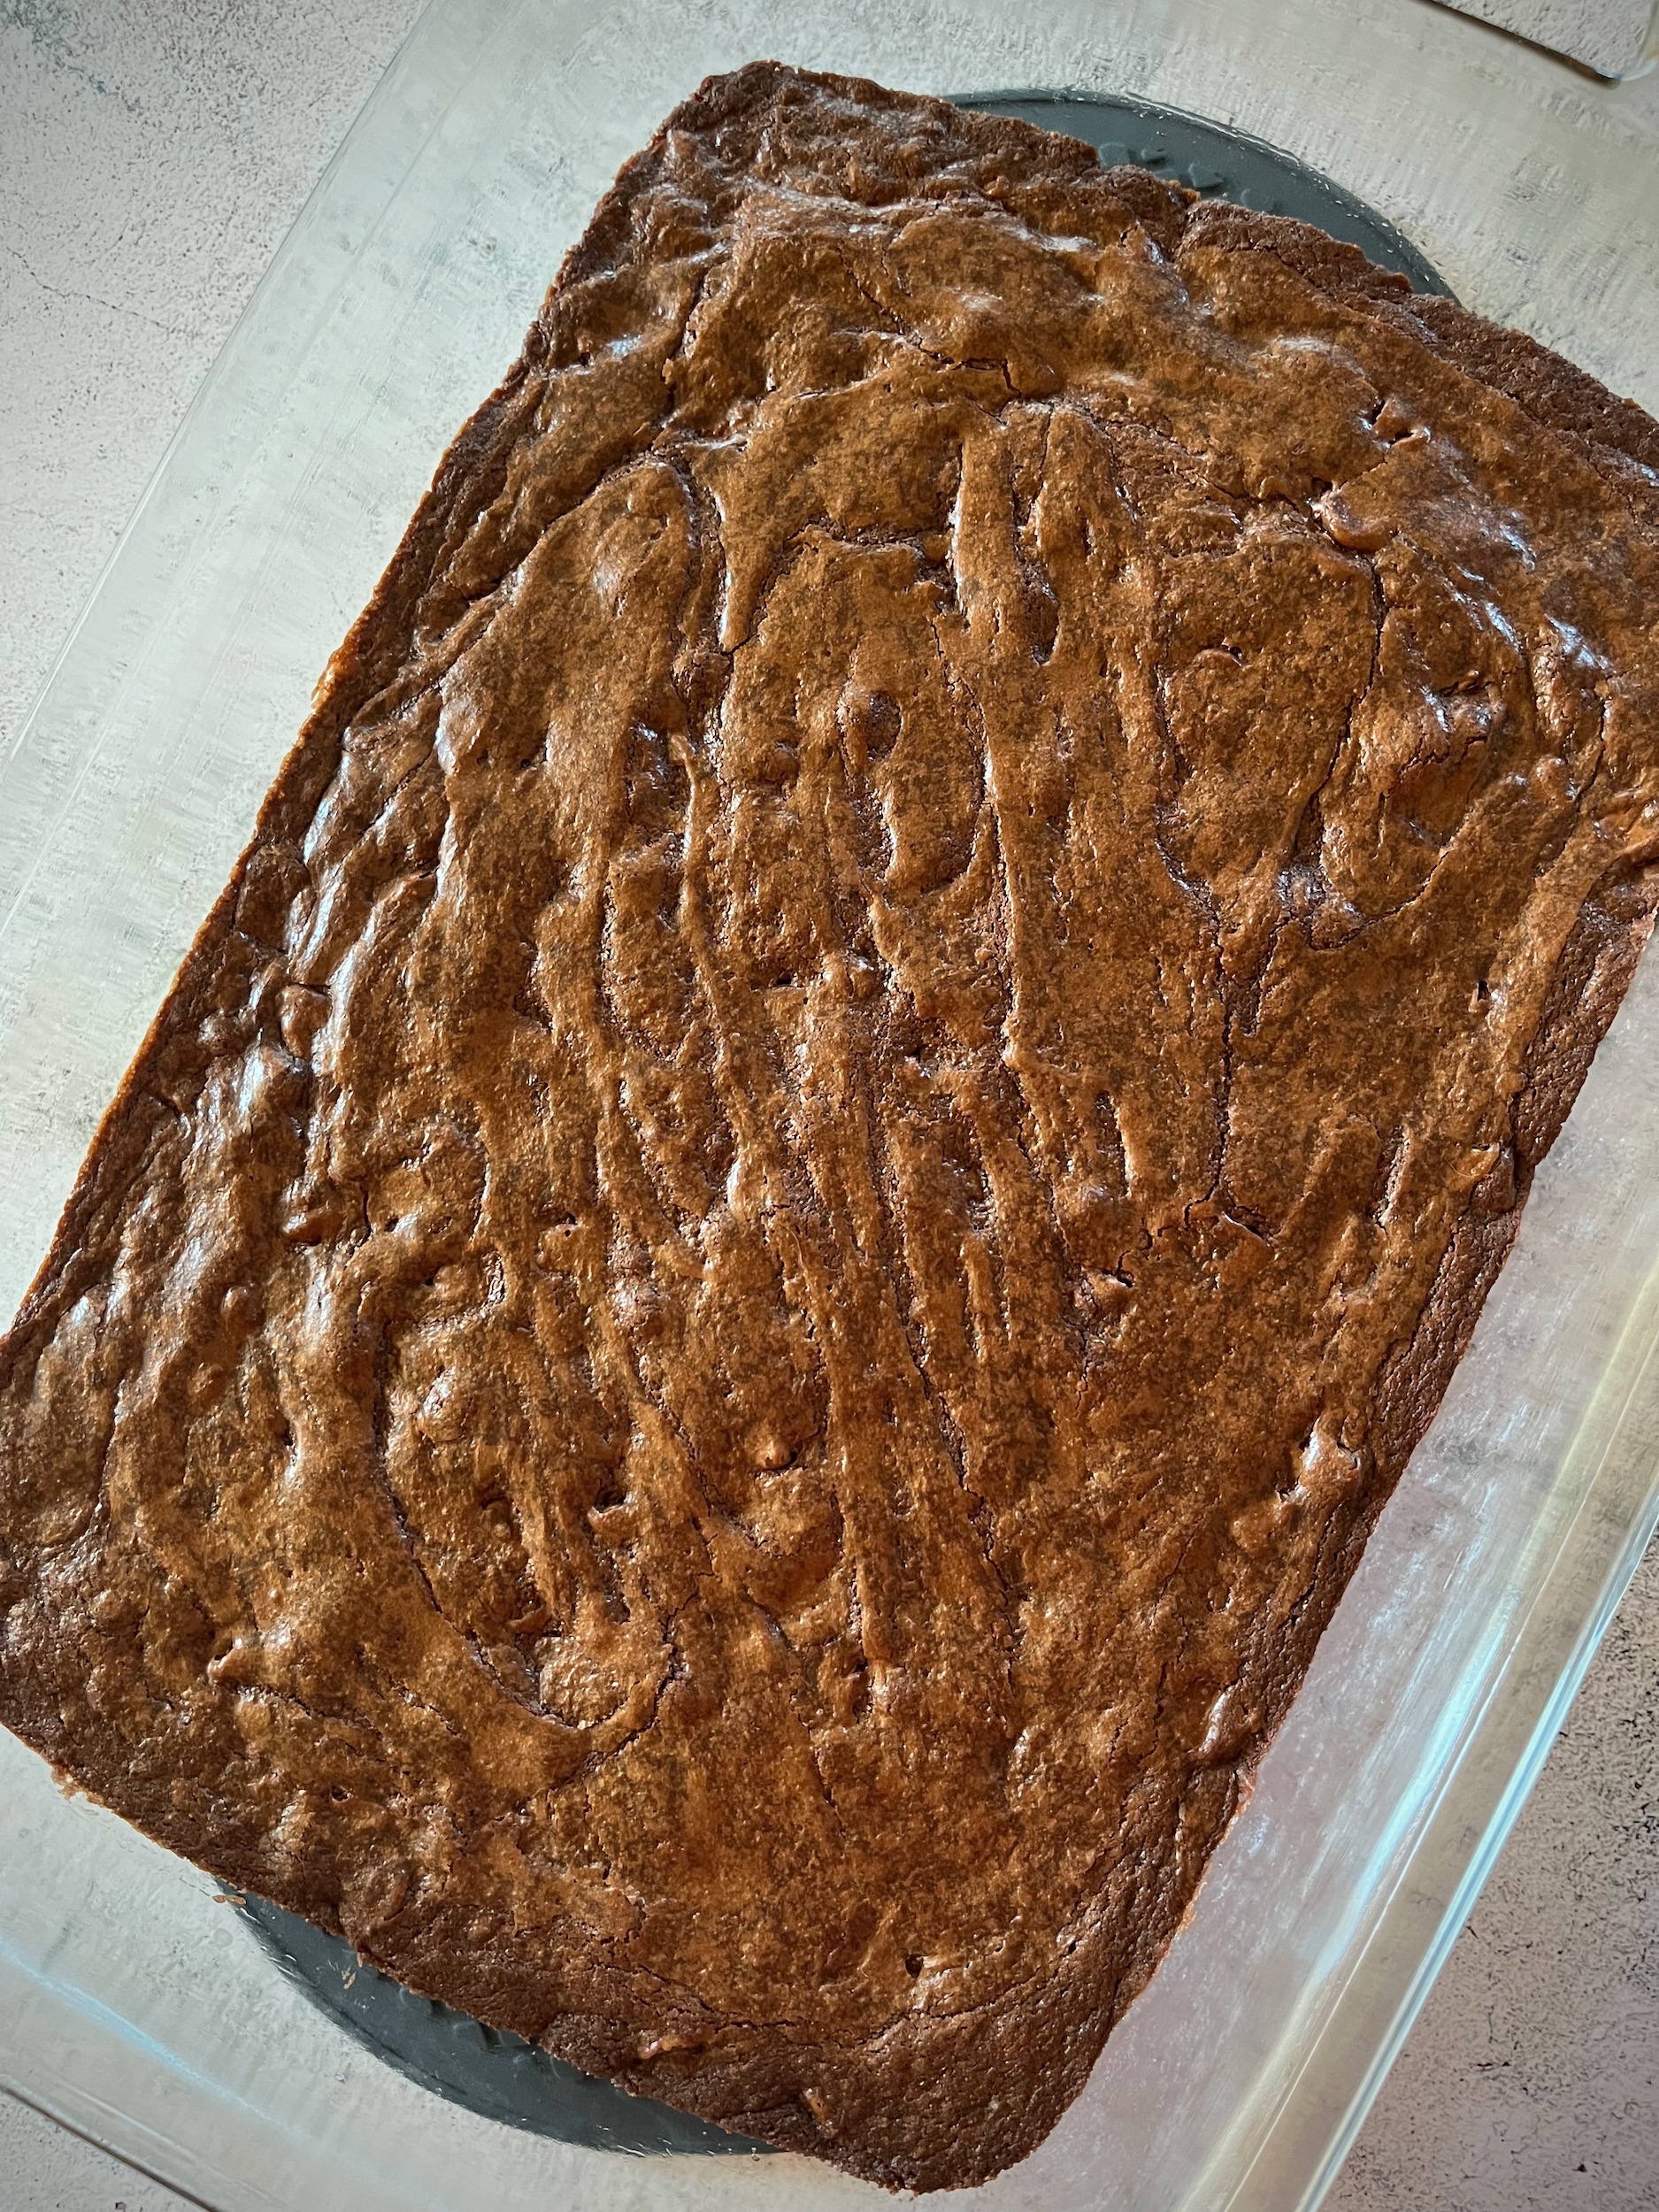
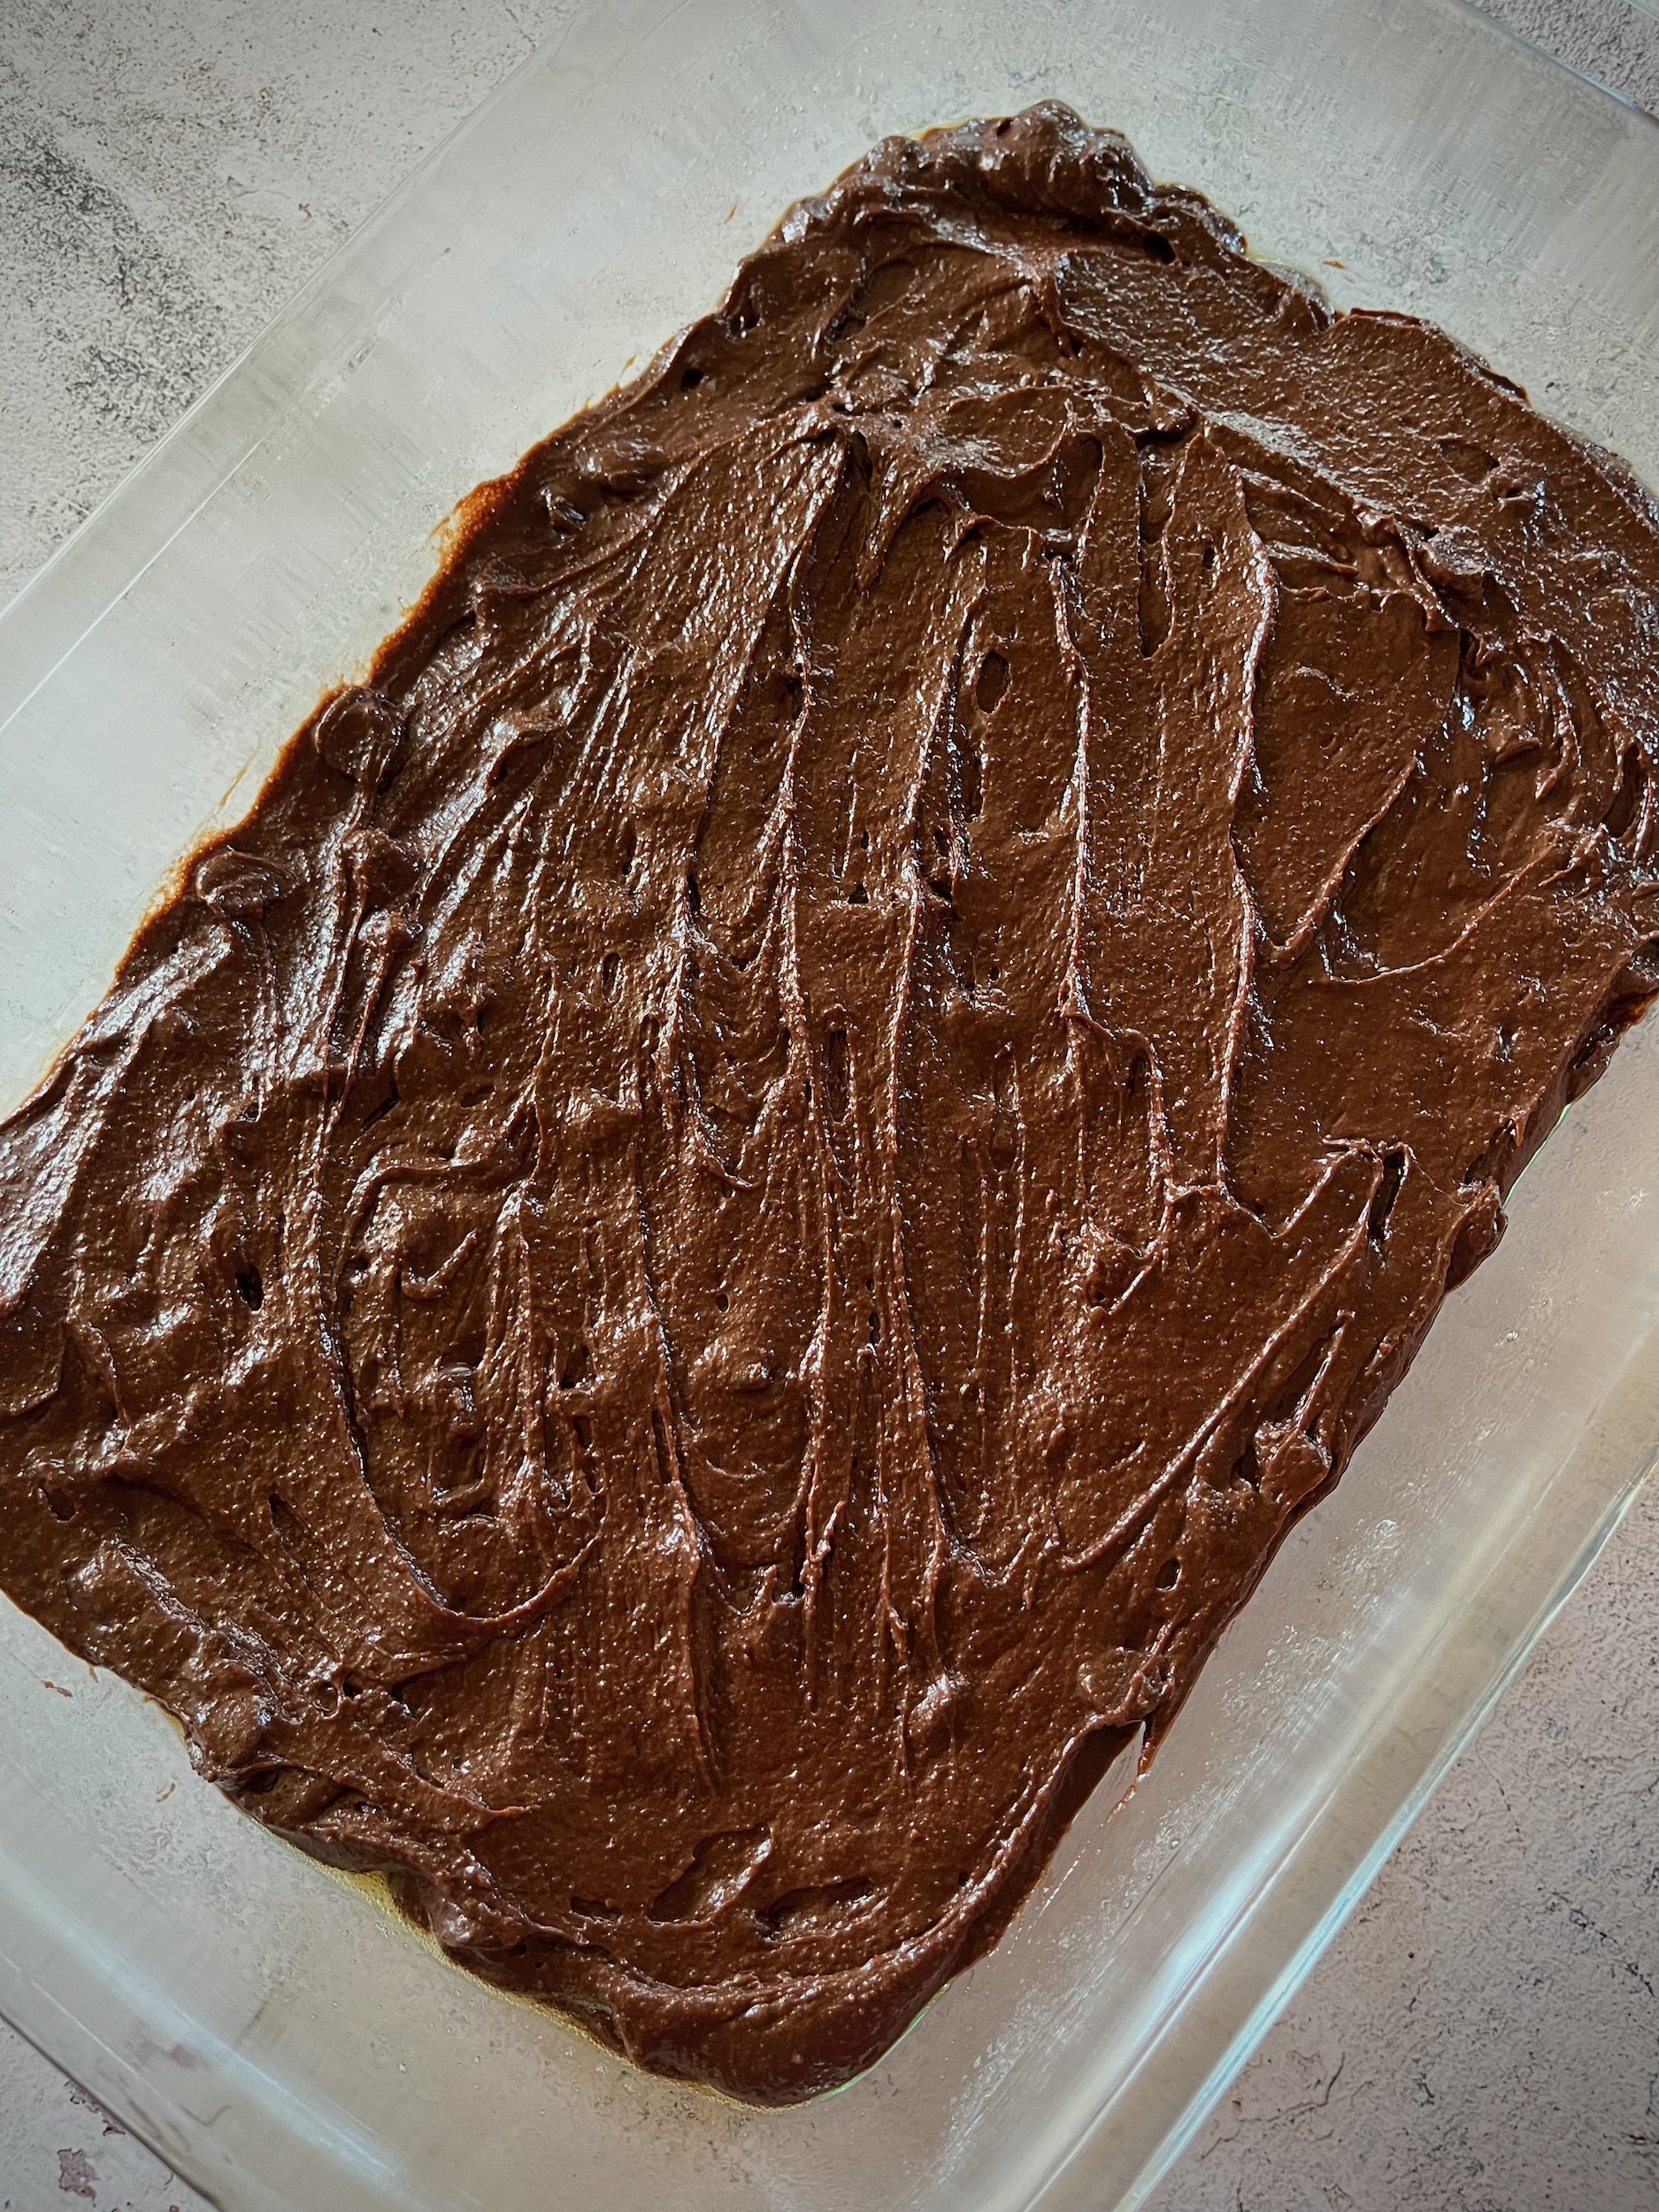
  5. Spread the batter into a prepared pan and bake for 21 to 25 minutes or until they become glossy around the edges and a toothpick comes out clean.
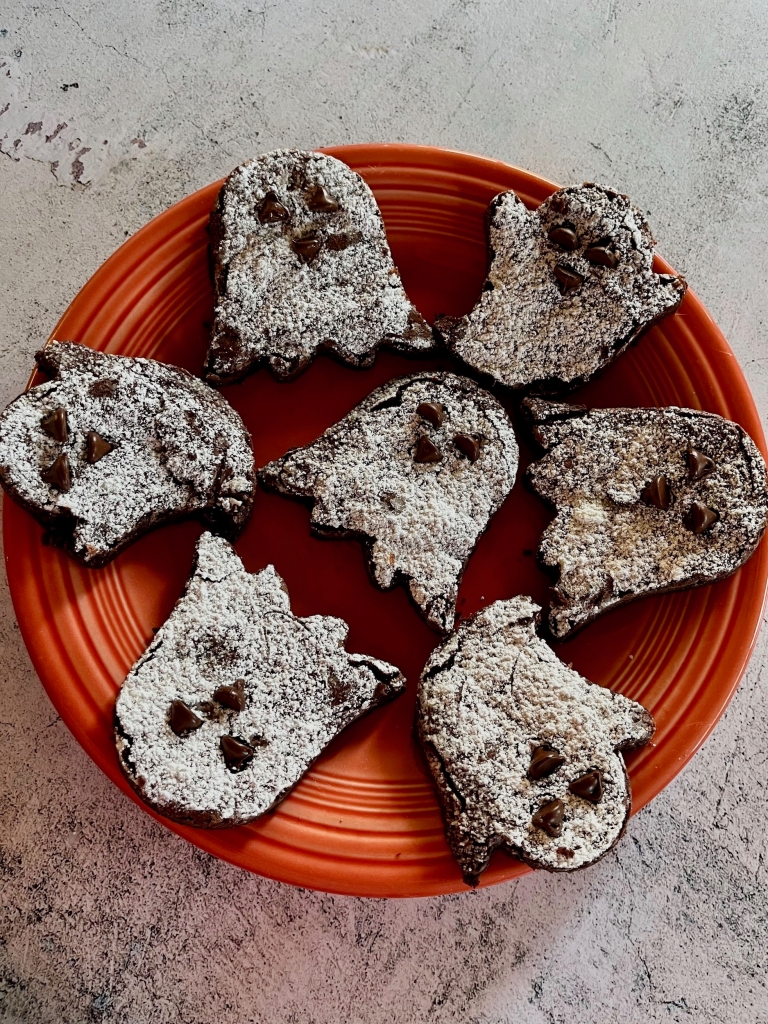
  6. Place a little powdered sugar into a sifter and lightly sift the tops of the brownies until white.
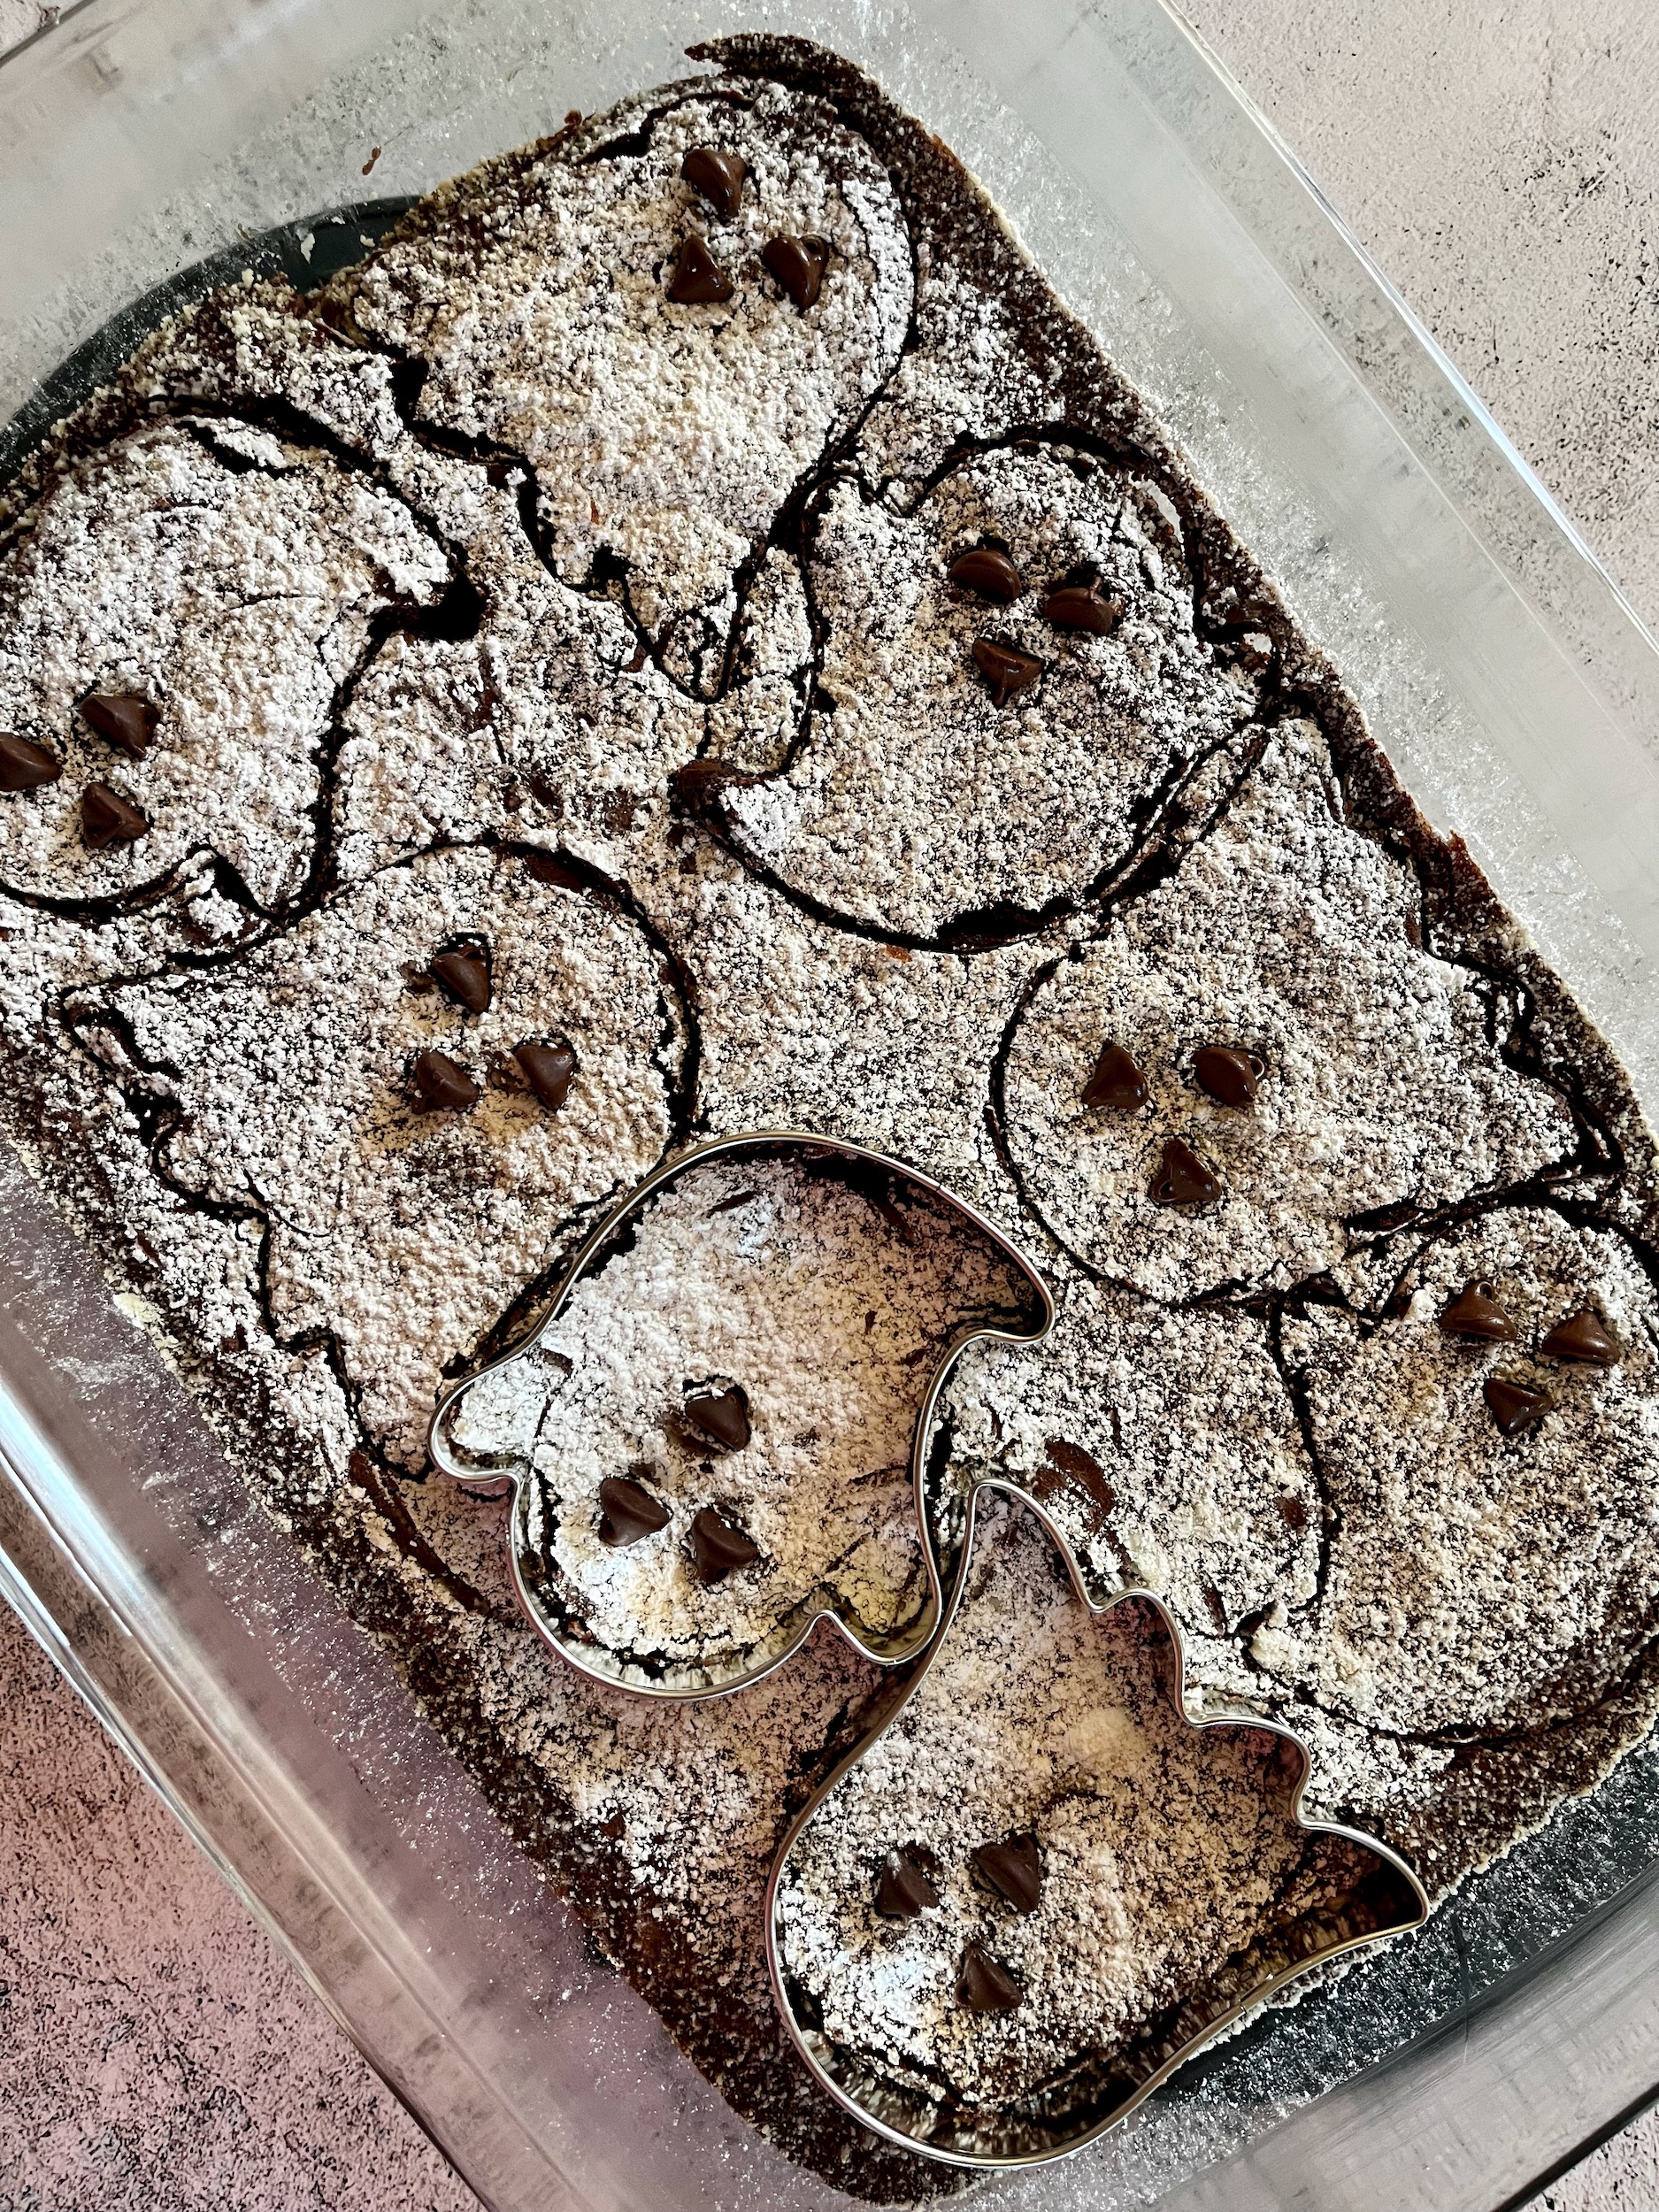
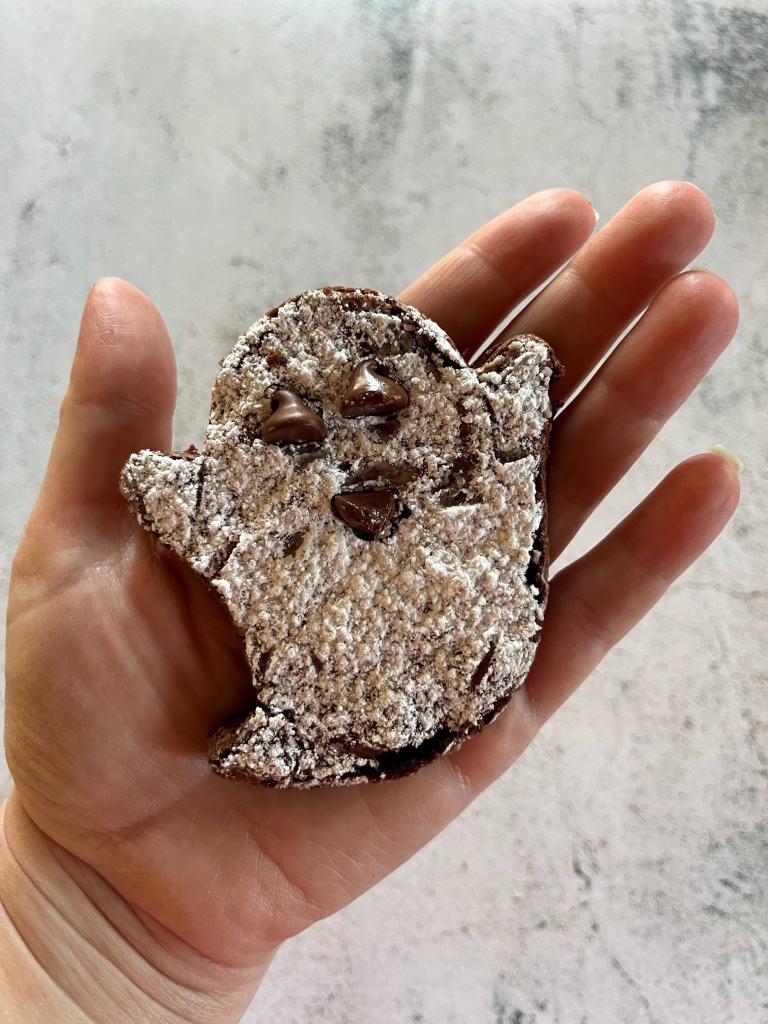
  7. Using a ghost shape cookie cutter, cut ghost shapes into the brownies (leave them where they are) and add 3 chocolate chips for the eyes and the mouth of each ghost.
  8. Allow the brownies to completely cool and solidify, then carefully remove the ghosts from the pan. I peeled away the edges and extra spaces first, then used a flat metal spatula to lift the ghosts out.
  9. Enjoy!

Homemade Baked Pumpkin Doughnut Recipe

Welcome back friends!

Who wants some fresh, oven-baked, cinnamon and sugar coated pumpkin doughnuts to enjoy on one (or more) of these beautiful Autumn mornings? Maybe at a table with some coffee or tea and a good book?

I know I do, so let’s bake some!

PUMPKIN DOUGHNUTS
  • 2 cups of all purpose flour
  • 2 teaspoons of baking powder
  • 1 teaspoon of kosher salt
  • 2 teaspoons of pumpkin pie spice
  • 1 15 oz can of pumpkin puree
  • 3 large eggs
  • 1 1/2 cups of sugar
  • 4 tablespoons of unsalted butter
  • 1 teaspoon of vanilla extract
  • 1/3 cup of vegetable oil
TOPPING
  • 3/4 cup of sugar
  • 2 teaspoons of ground cinnamon
  • 3 tablespoons of unsalted butter, melted
INSTRUCTIONS
  1. Pre-heat the oven to 350F.
  2. Whisk the flour, baking powder, salt, and pumpkin pie spice together in a medium bowl.
  3. Beat the pumpkin puree, eggs, sugar, butter, vanilla and vegetable oil together in a large bowl.
  4. Slowly add the flour mixture to the pumpkin mixture and beat until well combined.
  5. Fill 3, six cup nonstick doughnut pans with batter so each mold is almost full, then smooth the tops with a small spoon.
  6. Bake the doughnuts for about 15 minutes or until a toothpick comes out clean, then remove them from the oven and invert them onto a cooling rack.
  7. While the doughnuts are baking and/or cooling, stir the sugar and cinnamon together in a shallow bowl and melt the topping butter in another bowl.
  8. Once the doughnuts have cooled to a comfortable handling temperature, brush both sides of each one with butter and then dip each side in the cinnamon and sugar to coat.
  9. Enjoy!

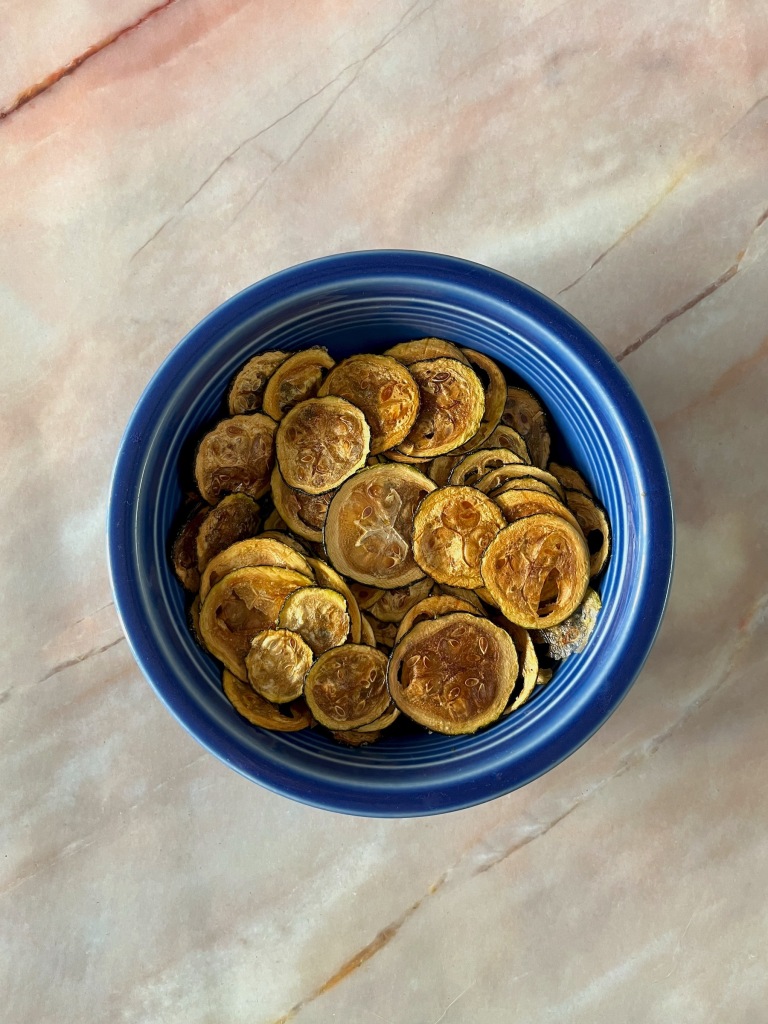
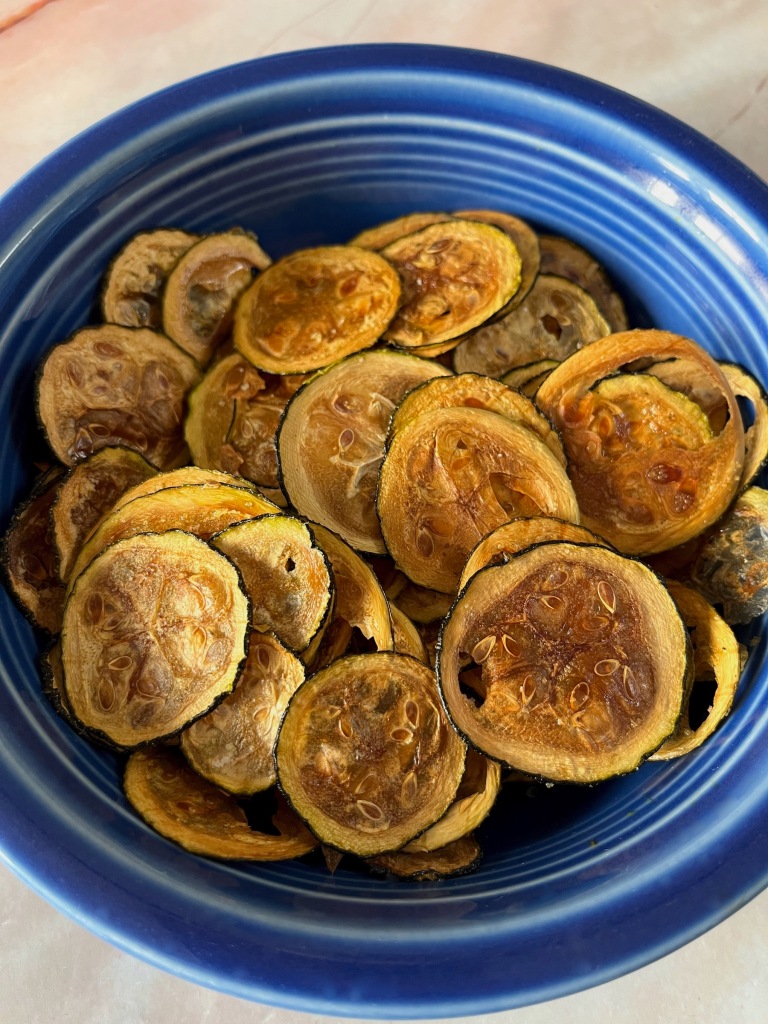
Healthy Homemade Snack – Baked Zucchini Chips

I love a good snack, snacks are delicious! Are they good for you? Ehhh it’s always up for debate, but if you are going to eat something between meals, perhaps while you’re cozying up to watch a movie or play a game, why not make it a healthier choice?

I think most nutritionists agree that anything deep-fried should be consumed in moderation or not at all, but chips are sooooo good! The solution? Let’s create our own oven-baked chips! And not just potato chips, let’s create some delicious vegetable chips too! This way we are regulating exactly what is going into and/or on to our chips with no deep-frying to be found!

INGREDIENTS

  • 2 tablespoons of olive oil
  • 4 large zucchini
  • Salt

INSTRUCTIONS

  1. Preheat the oven to 240 F.
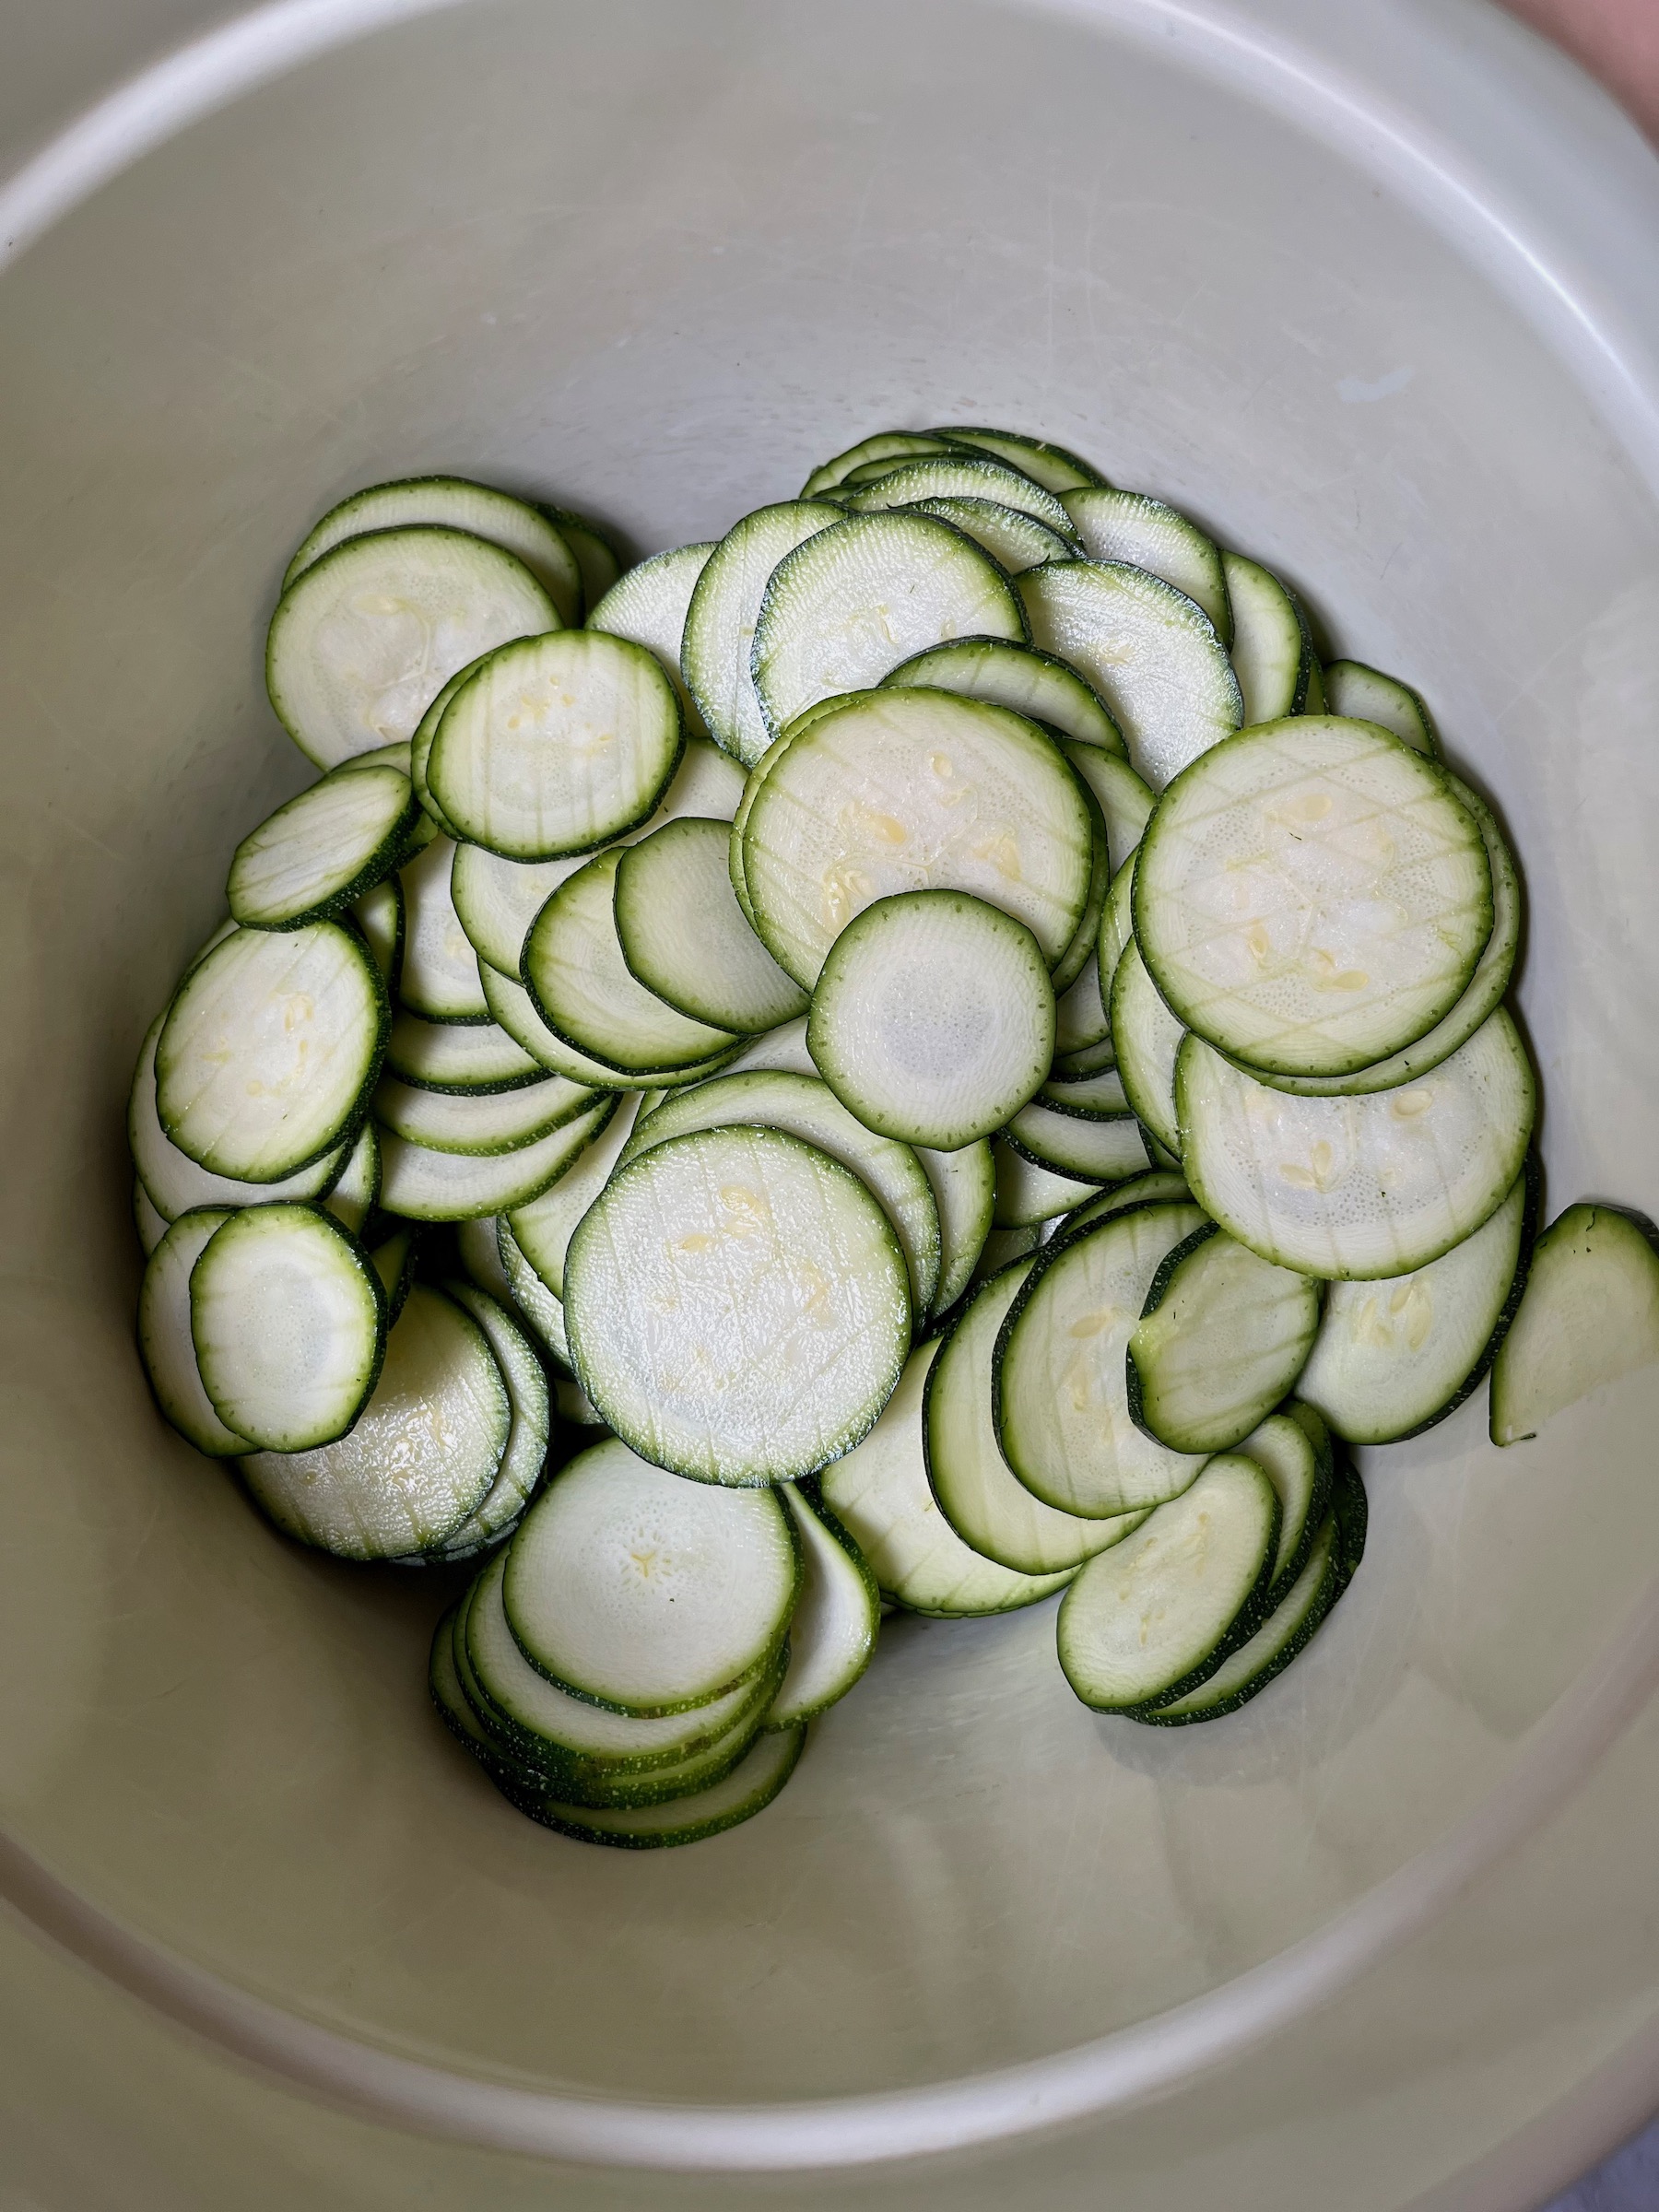
  2. Wash the zucchini, then use a mandolin to uniformly slice them into thin chips.
  3. Place the zucchini slices on a clean dish towel or paper towels. Cover them with another dish towel or paper towels and set a baking sheet on them, pressing own slightly to remove excess moisture.
  4. After drying, place the zucchini slices into a bowl and toss them with olive oil and a few pinches of salt (how much depends on your preference).
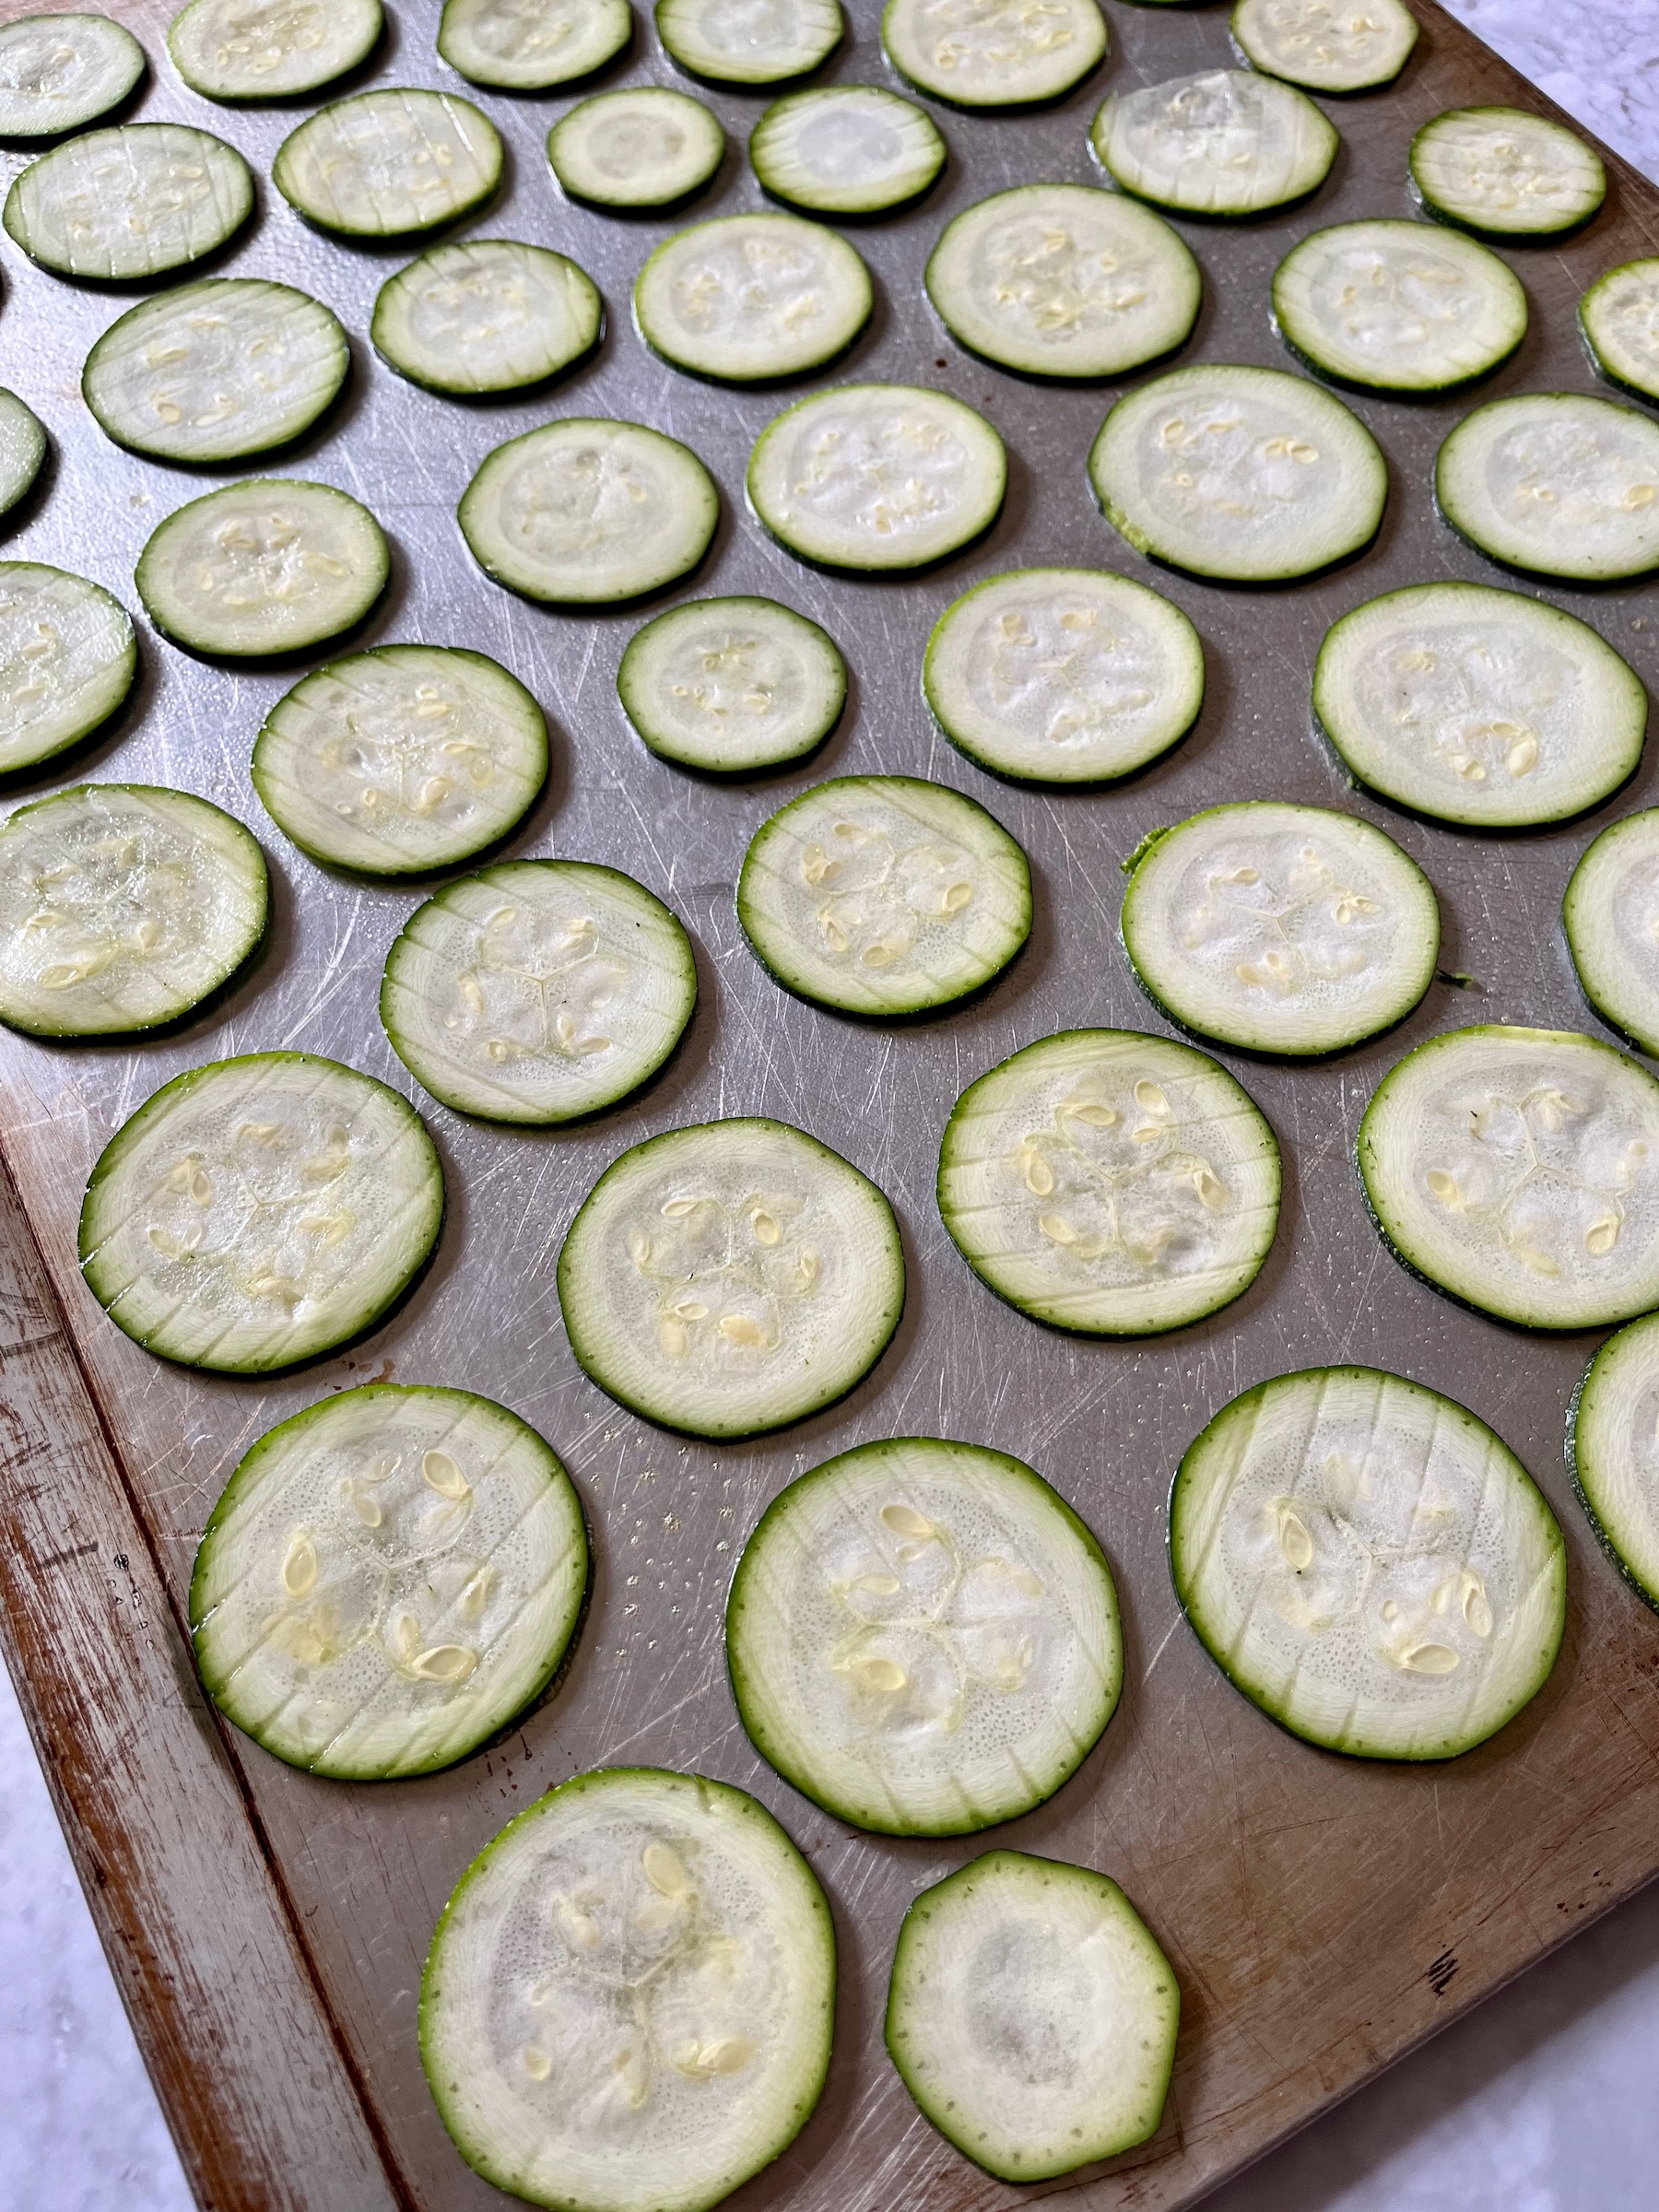
  5. Coat a large baking sheet (or more) with cooking spray or cover with parchment paper.
  6. Place the zucchini slices on the baking sheets in a single layer.
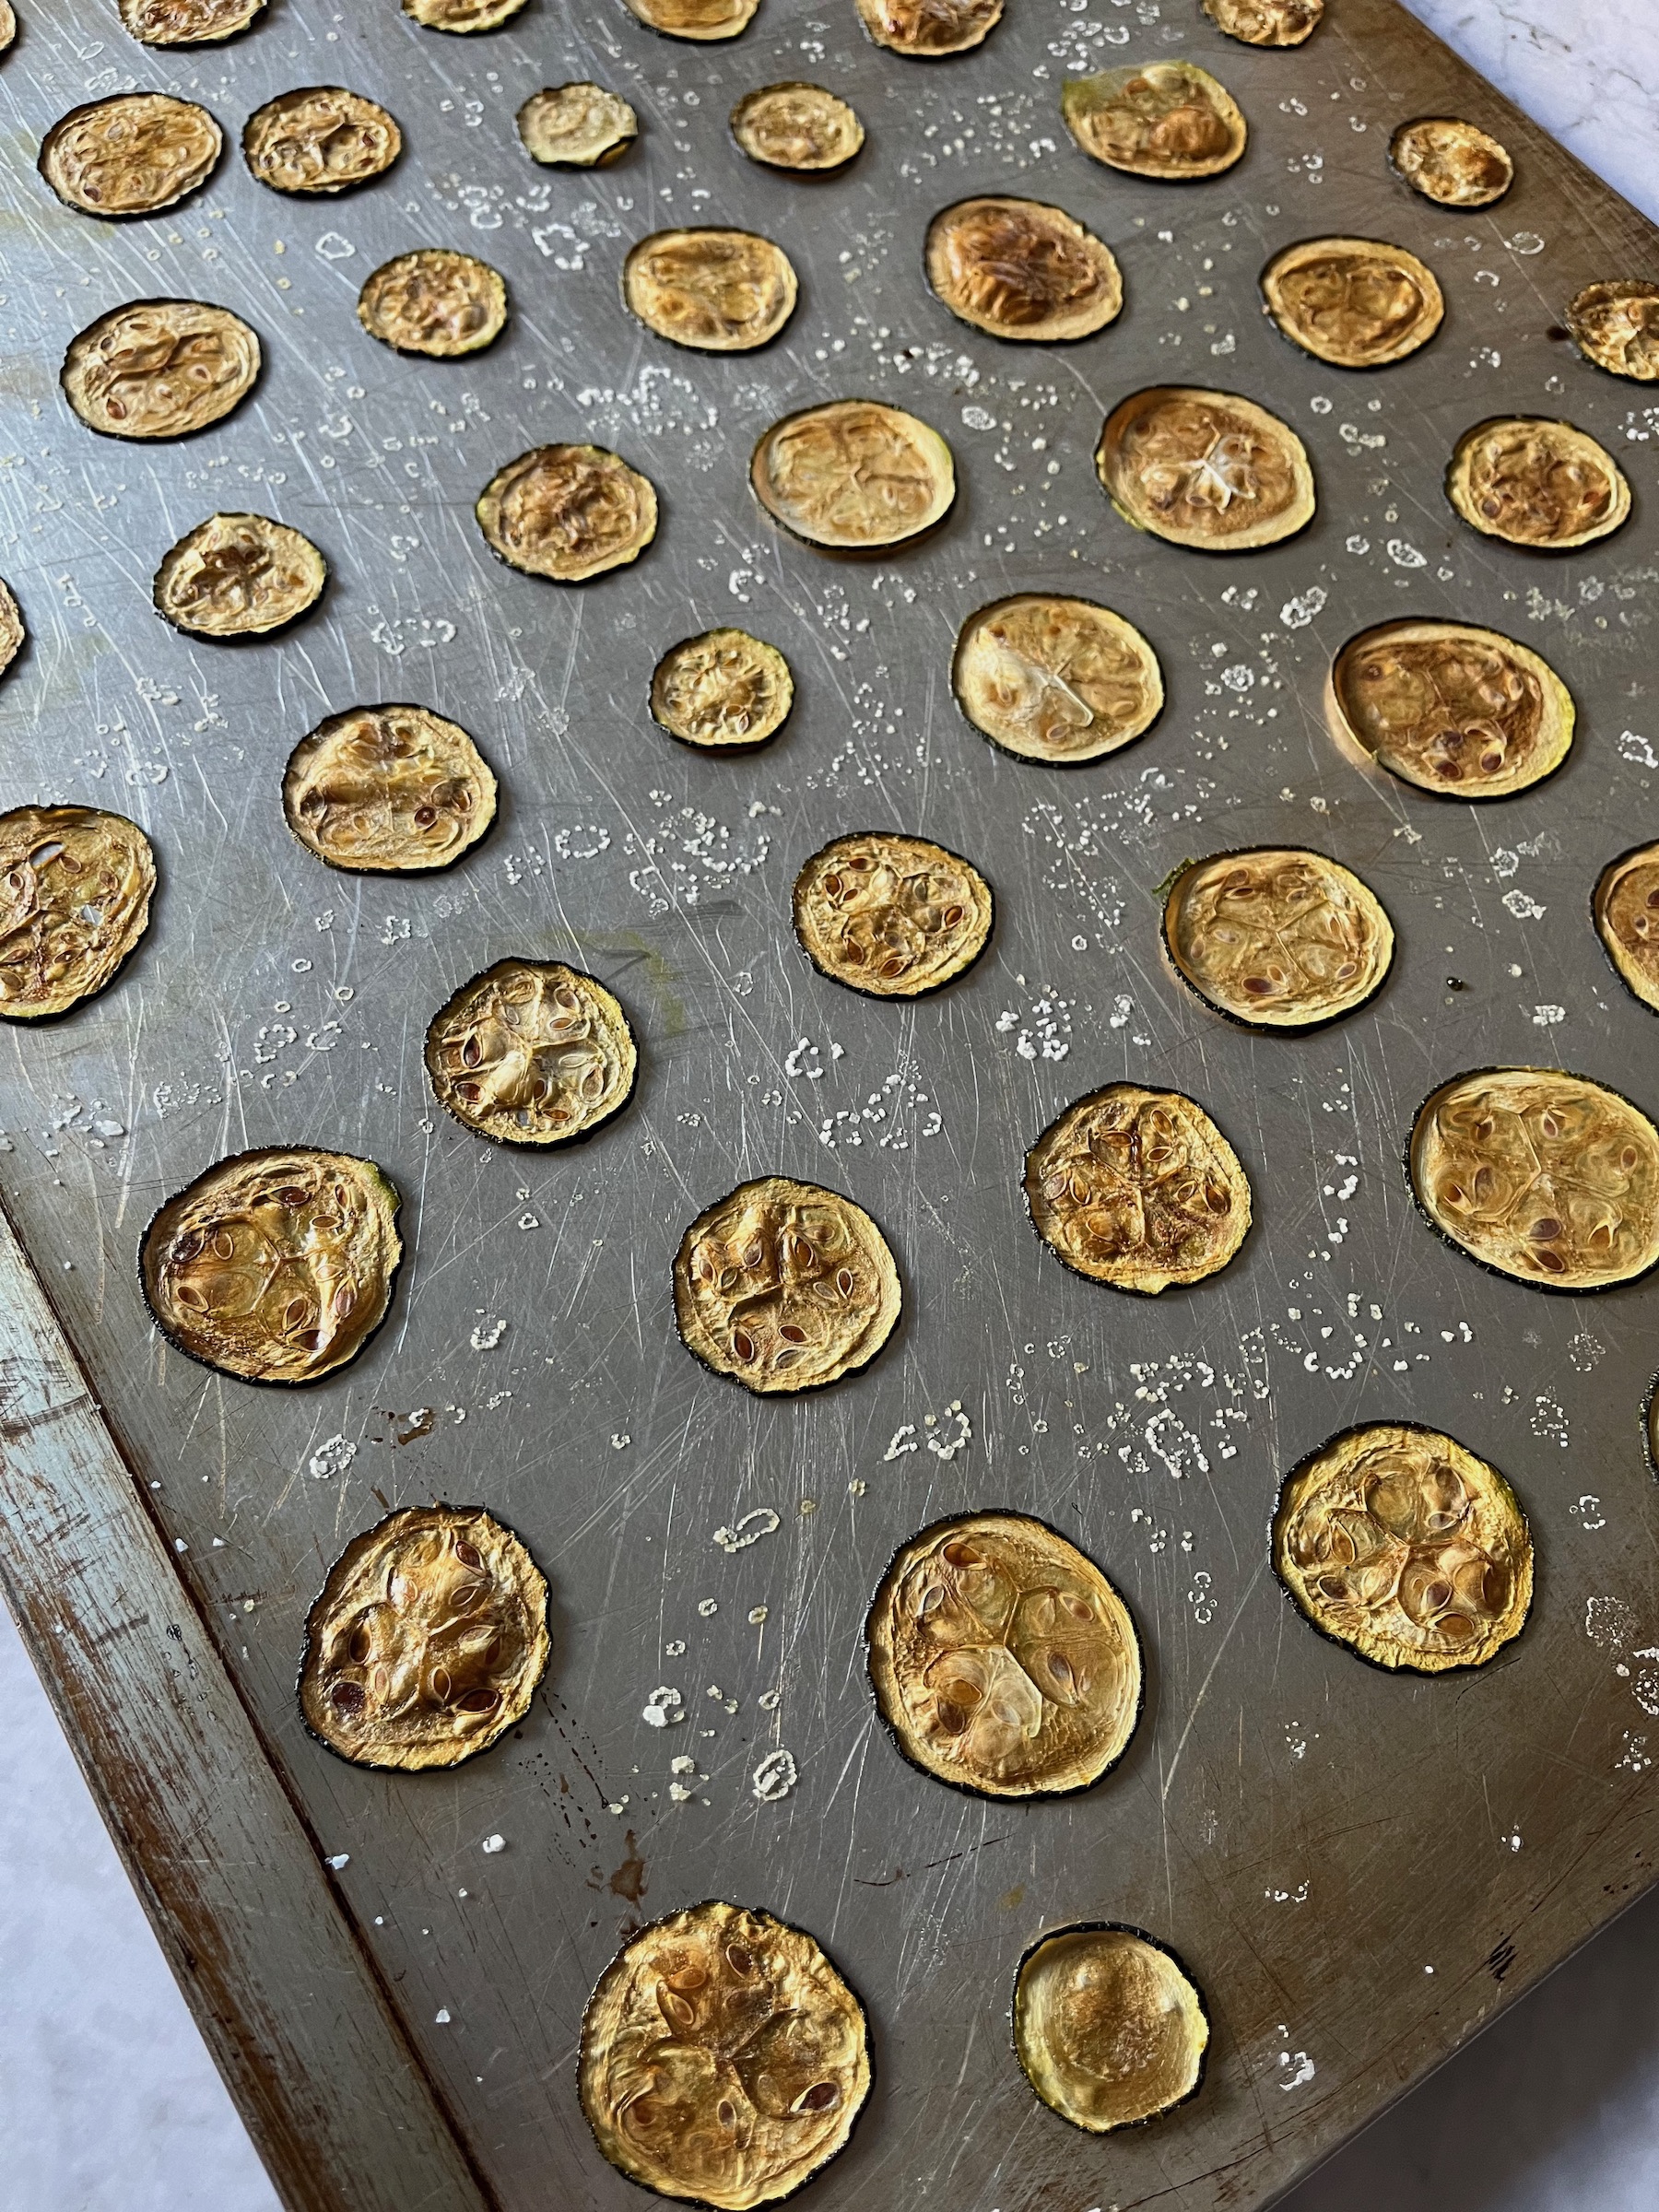
  7. Bake for 1 1/2 to 2 hours until crisp and golden.
  8. Allow the chips to cool completely. 
  9. Enjoy!

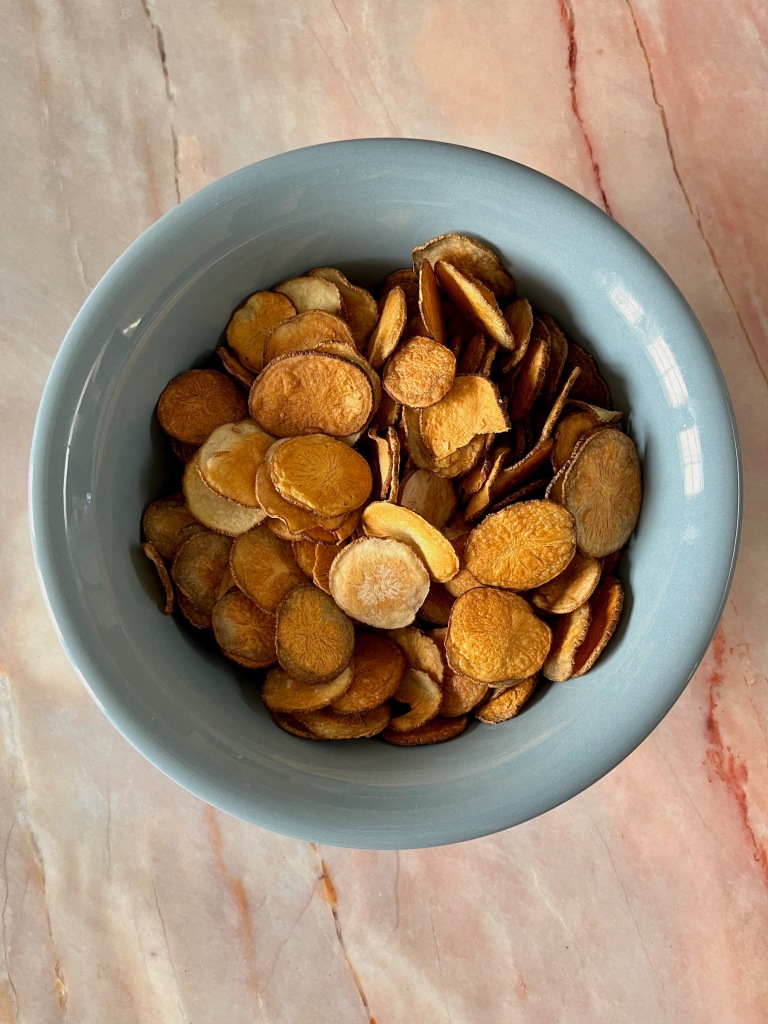
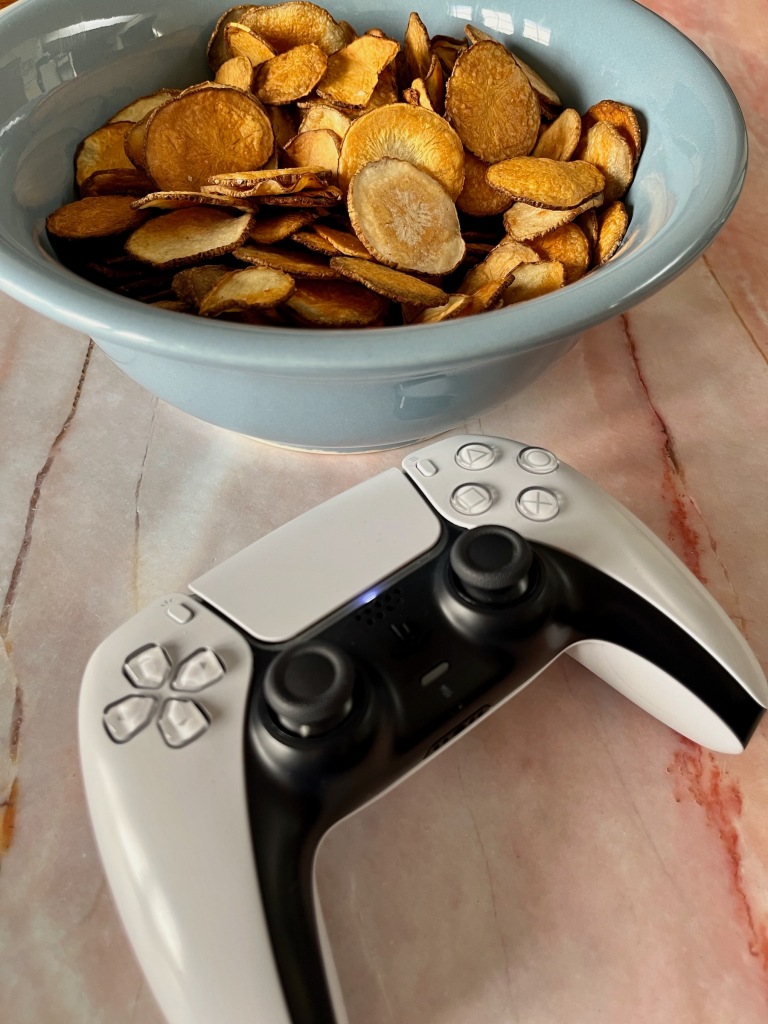
Healthy Homemade Snack – Baked Potato Chips

I love a good snack, snacks are delicious! Are they good for you? Ehhh it’s always up for debate, but if you are going to eat something between meals, perhaps while you’re cozying up to watch a movie or play a game, why not make it a healthier choice?

I think most nutritionists agree that anything deep-fried should be consumed in moderation or not at all, but chips are sooooo good! The solution? Let’s create our own oven-baked chips! This way we are regulating exactly what is going into and/or on to our chips with no deep-frying to be found!

INGREDIENTS

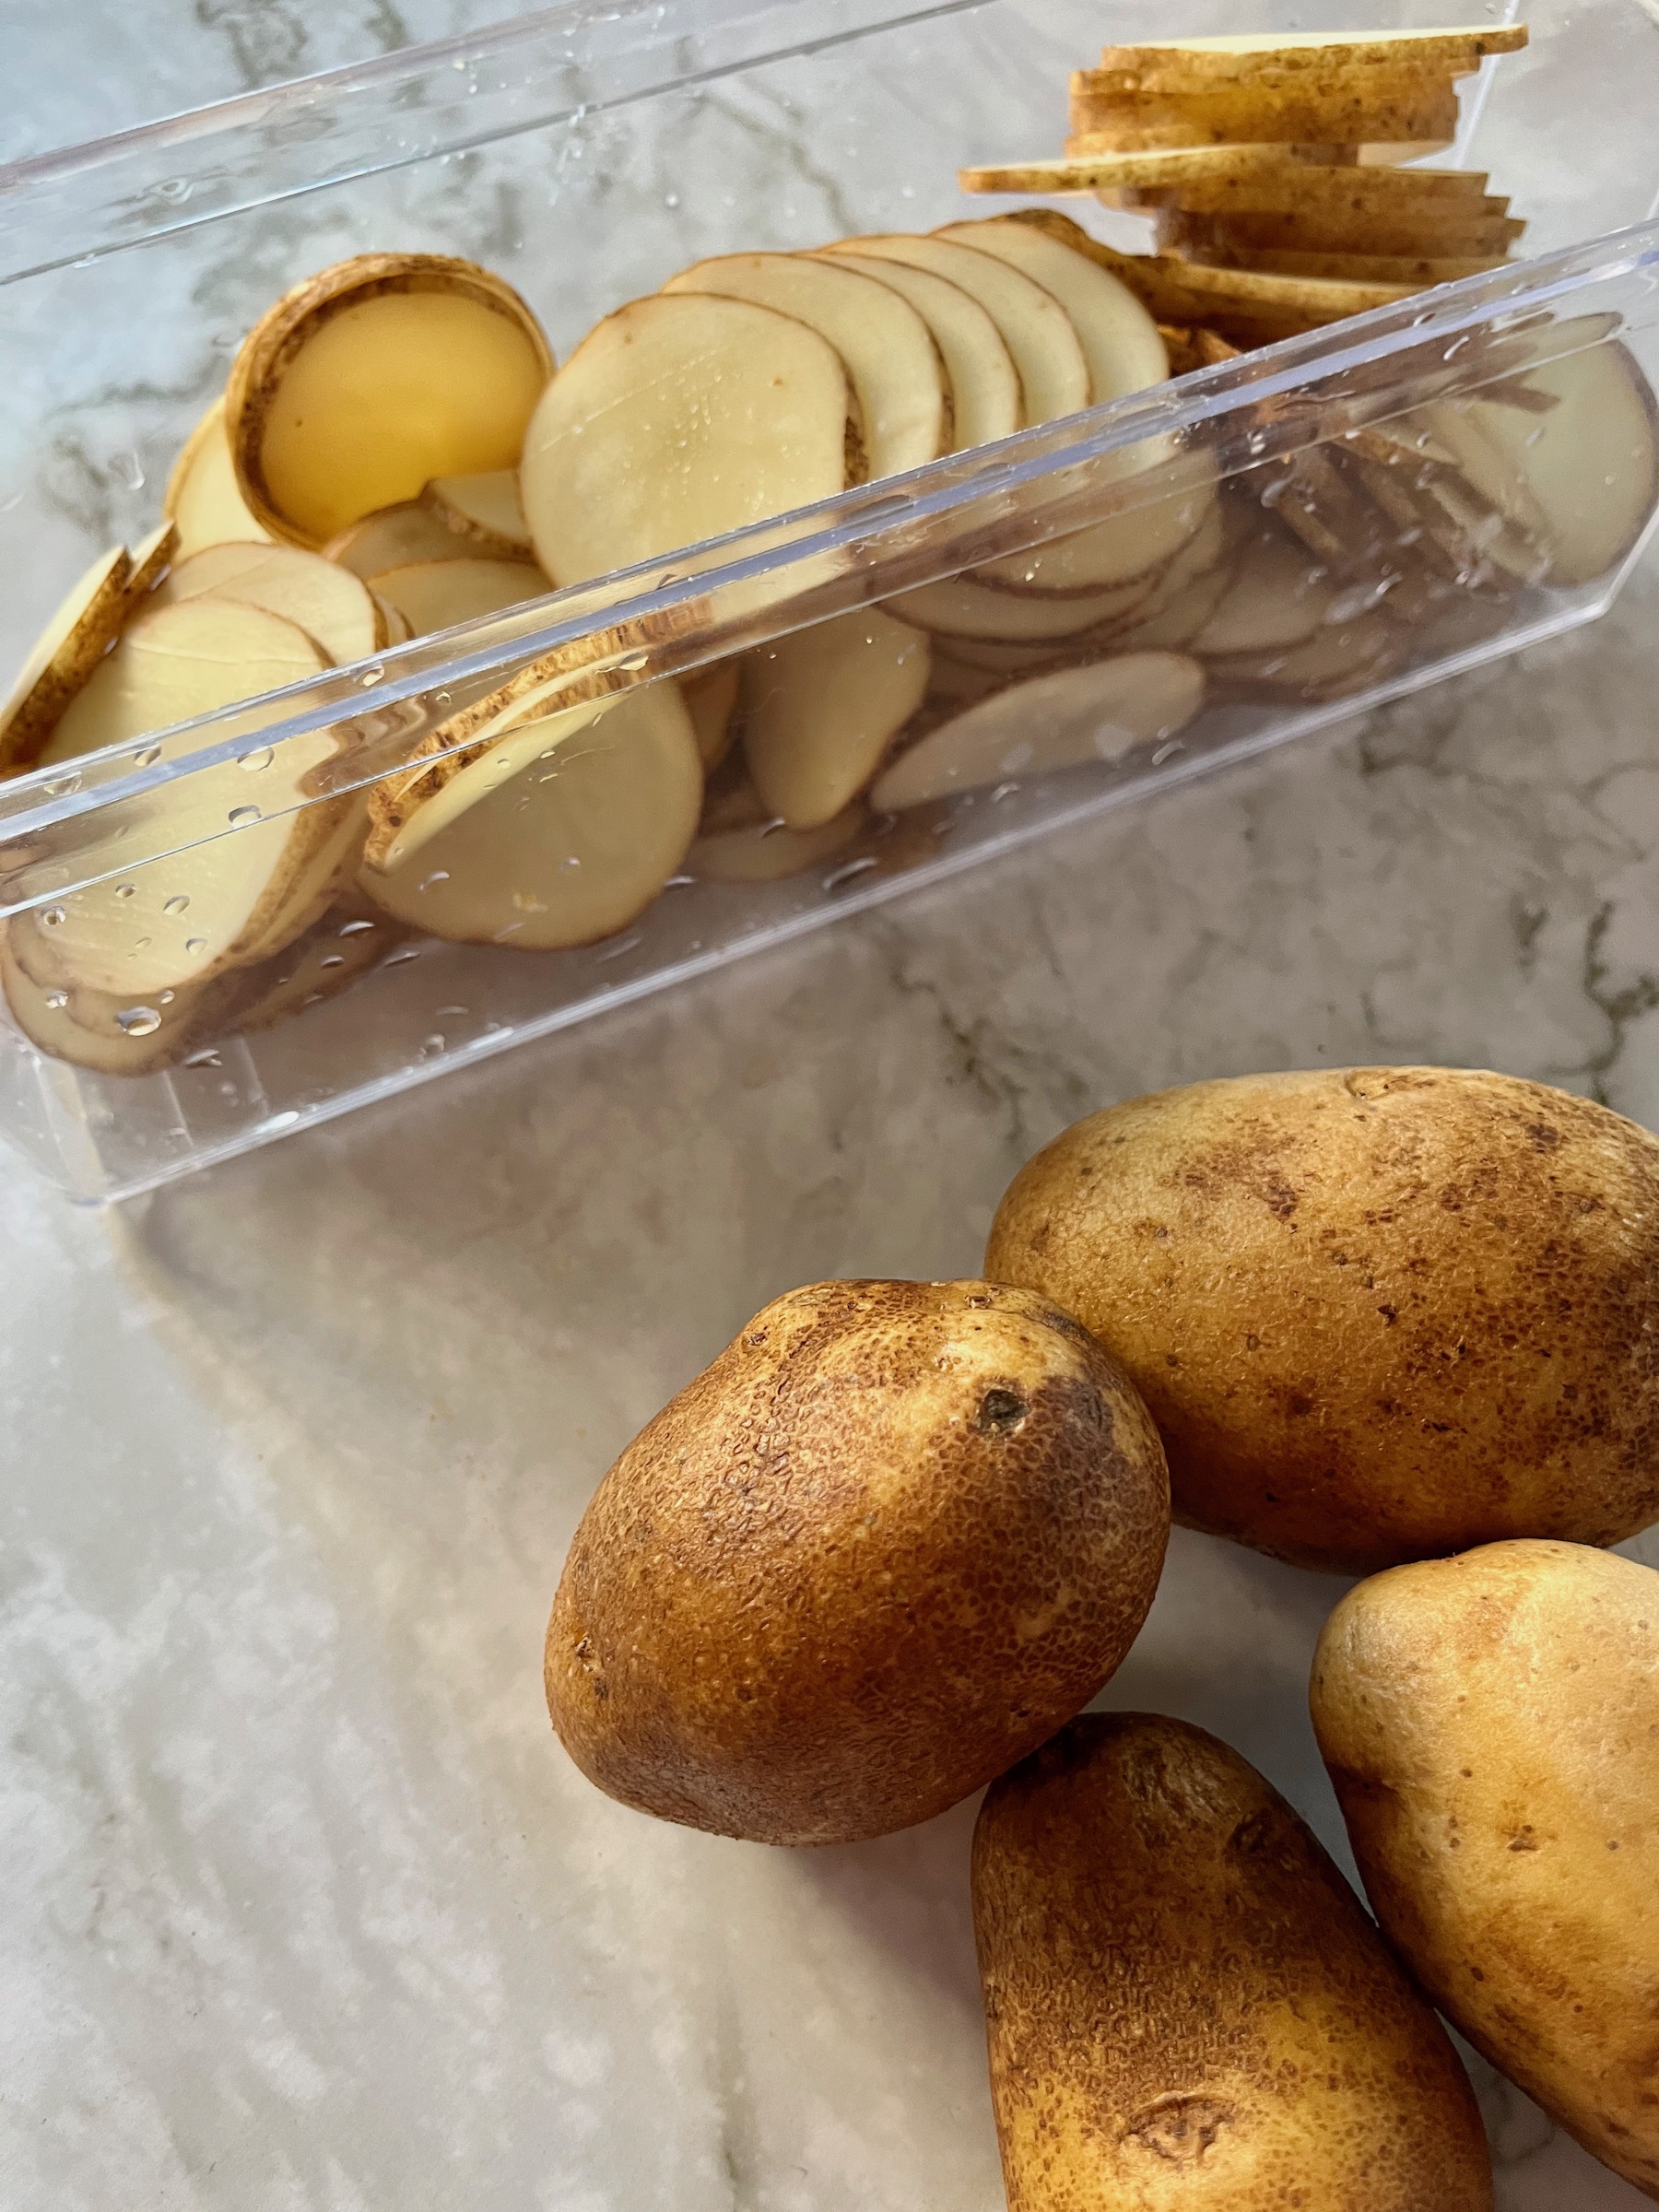
  • 1 pound of russet potatoes
  • 1 tablespoon of olive oil
  • 1/4 teaspoon of salt

INSTRUCTIONS

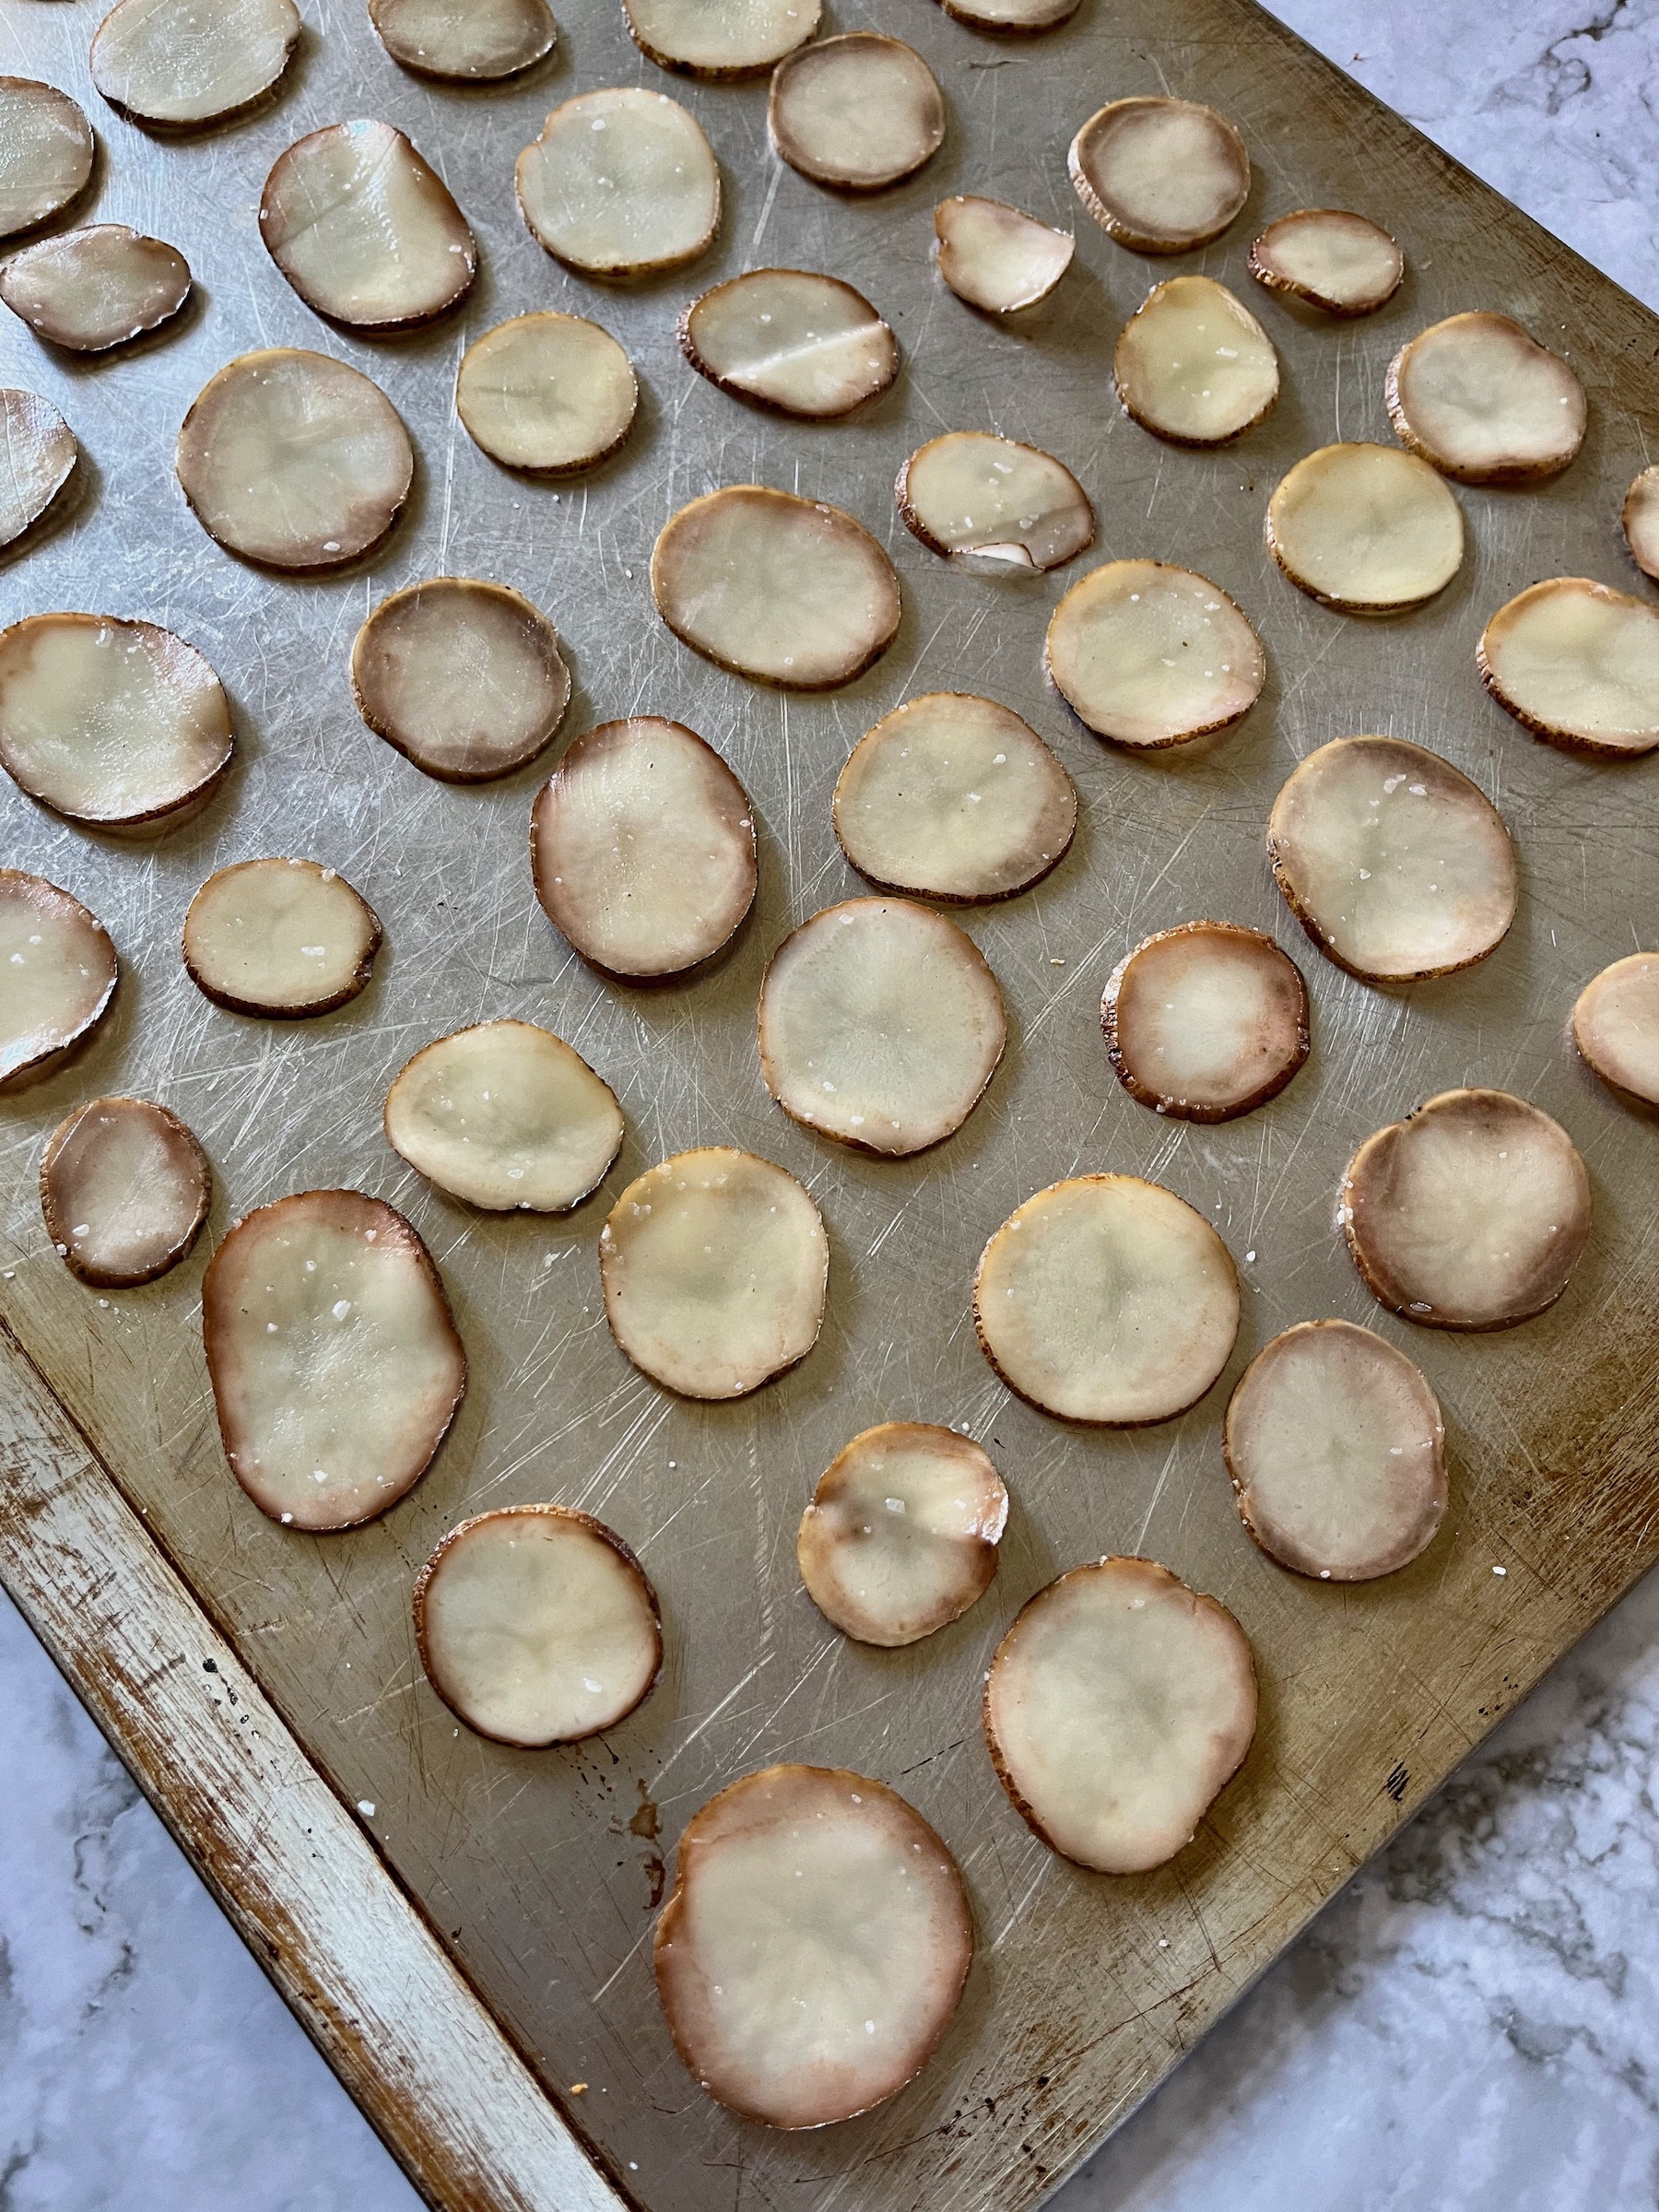
  1. Wash the potatoes, then use a mandolin to uniformly slice them into thin chips.
  2. Place the potato slices into a large bowl and cover them with cold water. 
  3. Cover the bowl and place it in the refrigerator to soak for at least 30 minutes to overnight.
  4. Drain the potato slices and pat them dry.
  5. Preheat the oven to 450 F.
  6. Coat a large baking sheet (or more) with cooking spray.
  7. In a large bowl, toss the potato slices together with the olive oil and salt to coat evenly. 
  8. Spread the potato slices in a single layer on the prepared baking sheet.
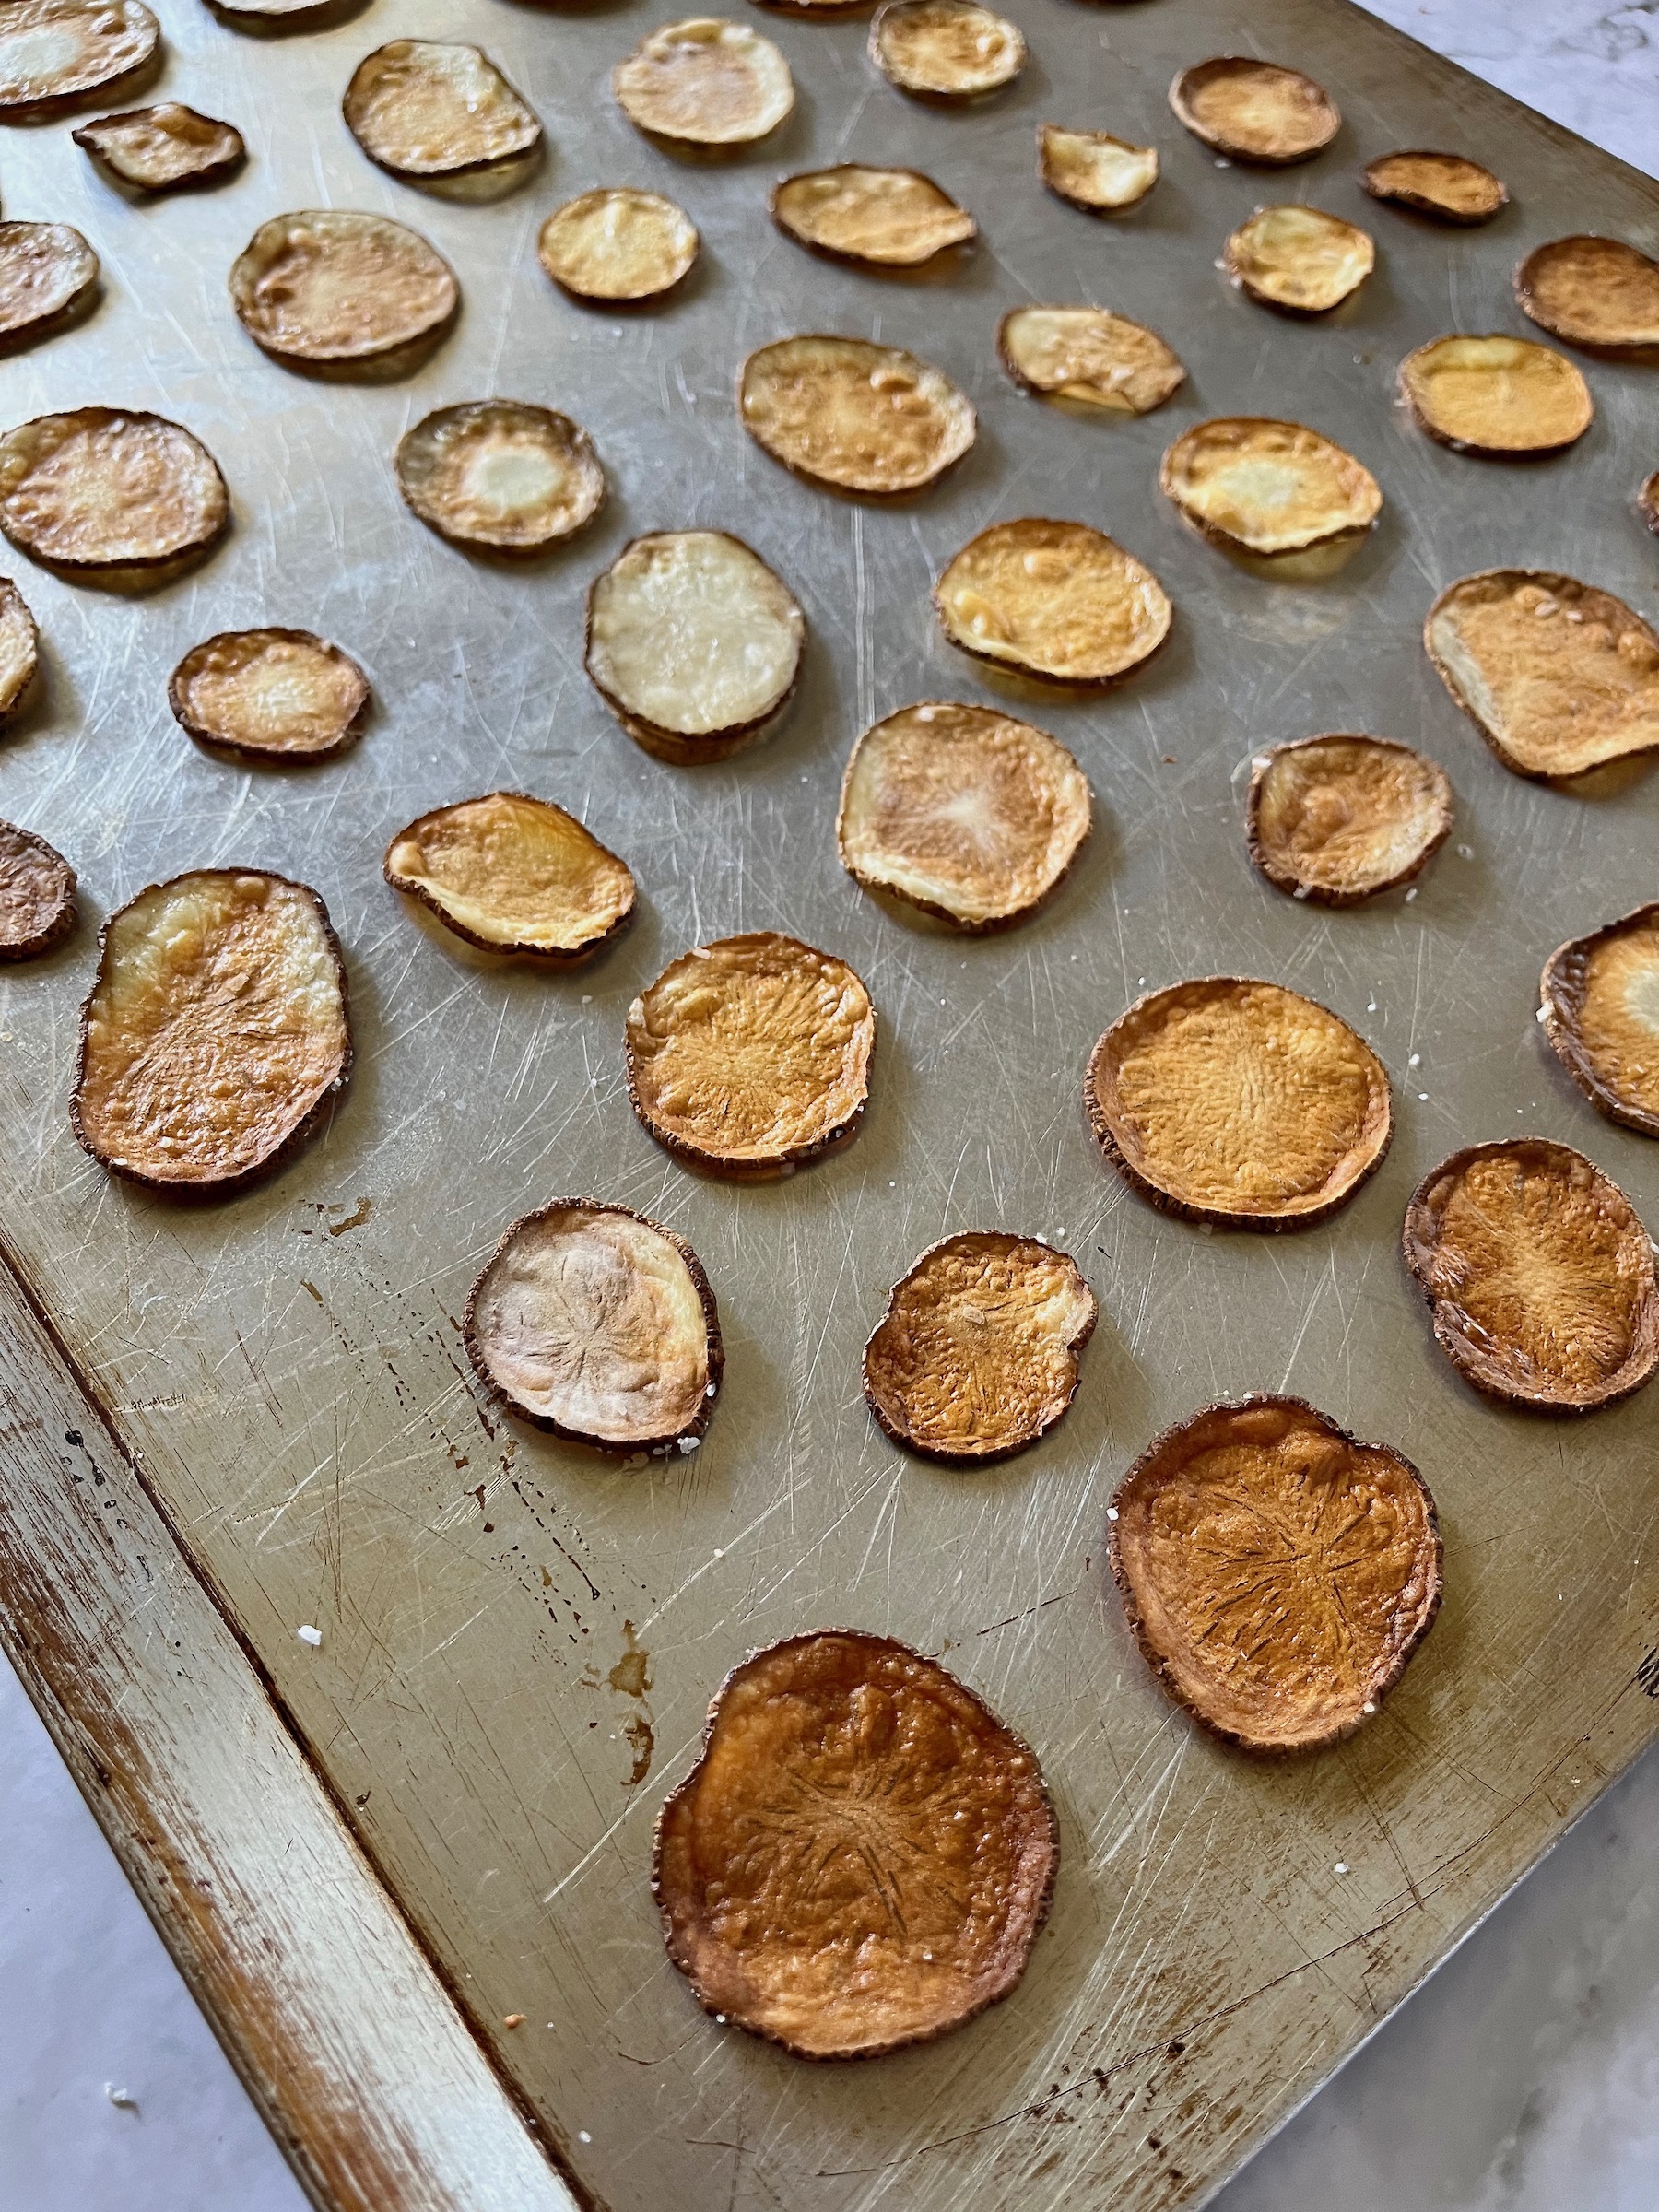
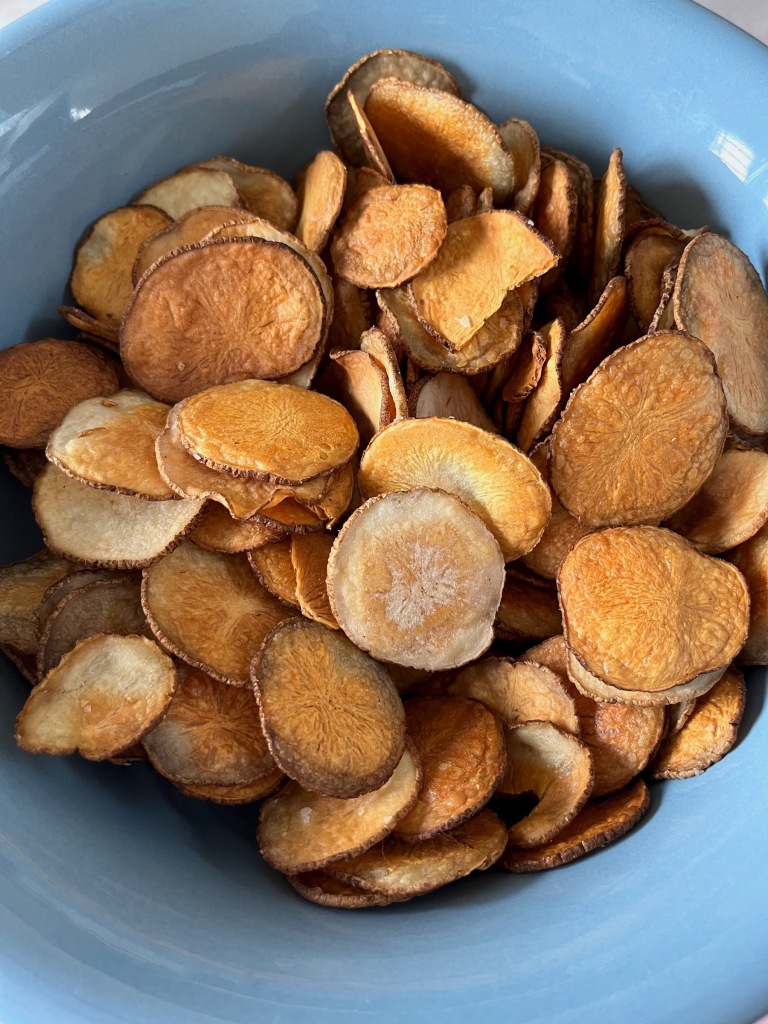
  9. Place in the oven and bake for 10 to 12 minutes, or until the chips are a very light golden color and appear crunchy. Keep a careful eye on the potatoes to make sure they don’t brown and overcook.
  10. Allow the chips to cool completely. 
  11. Enjoy!

Mushu’s Happy Porridge Recipe (Mulan)

Mushu's Happy Porridge Recipe from Disney's Mulan.INTRODUCTION

Welcome back friends! This week we’ll be cooking the happy porridge Mushu serves to Mulan in Disney’s Mulan.

Mushu's Happy Porridge and Faa Family Dumpling Recipe from Disney's Mulan.This recipe is featured when Mulan is about to start her training. Mushu wakes her up the first morning with this happy breakfast to get her day started!

Mushu's Happy Porridge Recipe from Disney's Mulan.You can see little grains of rice in the porridge Mushu holds out to Mulan so to stay as true to the recipe from the film as I could I made congee. Congee is a type of porridge created with rice and enjoyed in China. It’s super easy to make and super delicious! I also chose to make the eggs in a muffin tin and the bacon on a baking sheet so I could cook them all at once and it was easier to keep them in the correct shape for the happy face on the porridge.
Mushu's Happy Porridge Recipe from Disney's Mulan.MUSHU’S HAPPY PORRIDGE
  • 4 cups of chicken broth
  • 4 cups of water
  • 1 cup of jasmine rice
  • Salt to taste
INSTRUCTIONS (PORRIDGE)
  1. Bring the 4 cups of water and 4 cups of chicken broth to a boil in a medium to large pot.
  2. Add the rice and bring the combination back to a boil.
  3. Lower the heat and let it gently simmer with a partially closed lid, stirring occasionally to prevent the rice from sticking to the bottom of the pot.
  4. The longer the porridge cooks the thicker it will get, keep in mind it also gets thicker after it’s cooled off. Once you are happy with the consistency, remove your porridge from the heat.
  5. Season with salt to your taste.
  6. Serve Mushu’s happy porridge in a bowl, arranging 2 cooked eggs and a bacon slice (see below) to look like a happy face on top.
  7. Enjoy!
BACON AND EGGS
  • 8 eggs
  • 4 slices of bacon
INSTRUCTIONS (BACON AND EGGS)
  1. Preheat the oven to 350F.
  2. Grease 8 cups of a muffin or cupcake tin.
  3. Gently crack and place an uncooked egg into each greased cup of the muffin or cupcake tin. I personally only used the yolk and half of the white of each egg, but you can use the whole egg if preferred!
  4. Line a baking sheet with aluminum foil.
  5. Cut each slice of bacon in half and line the pieces out on the prepared baking sheet.
  6. Place the eggs and bacon in the preheated oven to cook. The eggs will take about 15 minutes and the bacon will take about 25 minutes, but keep an eye on them as every oven is different!
  7. Carefully (because they’re hot) remove the eggs and bacon from the pans and arrange them on the porridge (see above).
  8. Enjoy!