

INTRODUCTION
Welcome back friends! I hope this post finds you and your loved ones safe and healthy! This week we’ll be baking Jack Jack’s Num Num Chocolate Chip Cookies from Disney and Pixar’s Incredibles 2.
 This recipe is featured when Lucius Best (Frozone) checks in on Bob Parr (Mr. Incredible) in his new homemaking role. Bob is struggling with Jack Jack’s abundant powers, but has discovered he will temporarily settle down for cookies.
 These chocolate chip cookies are slender, soft and scrumptious. Pixar recently released an official recipe for Jack Jack’s cookies that looks and tastes absolutely fantastic, but the cookies come out much thicker-looking than the ones in the film so I decided to create my own independent recipe for the fun of it. I imagine Jack Jack wouldn’t discriminate!


JACK JACK’S NUM NUM COOKIES
- 1 cup of butter, softened
- 1 1/2 cups of packed brown sugar (I used dark)
- 1 teaspoon of vanilla extract
- 2 large eggs
- 2 1/4 cups of cake flour
- 1 teaspoon of baking soda
- 1 teaspoon of salt
- 2 cups of semi-sweet chocolate chips
INSTRUCTIONS (COOKIES)
- Using a mixer, cream the butter and brown sugar.
- Add the vanilla and then the eggs in one at a time, mixing after each egg.
- In a separate bowl, combine the cake flour, baking soda and salt with a whisk.
- Slowly add the dry ingredients to the wet, mixing well after each addition until a thick fluffy dough forms.
- Using a mixing spoon, fold in the 2 cups of semi-sweet chocolate chips until well-distributed throughout the dough.
- Cover the bowl and place it in the refrigerator for about 24 hours. This step is optional if you’re in a rush for the cookies, but they will spread a little less if chilled.
- After the dough has chilled, preheat the oven to 325F and prepare a baking sheet with parchment paper.
- Remove the dough from the refrigerator and using a small ice cream scoop or a regular spoon (I used a spoon), begin portioning out the dough into balls of cookie dough (about 1 1/4 to 1 1/2 inches in diameter), and placing them on the baking sheet.
- Place the baking sheet in the oven and bake for about 14 minutes. Baking time may vary depending on your oven so please keep an eye on the cookies and find a time that works for you.
- Remove the cookies from the oven when they are golden brown on the edges and allow them to cool on the pan for about 2 minutes. Then remove them from the pan and allow them to completely cool on a wire rack.
- Enjoy!

 Part of the fun in raising Zoey is making things that delight her; I want to create lasting, meaningful toys for her that are made with love and will be loved! Wooden toys are classic and beautiful, when created and treated right, they can last a lifetime; so let’s make some!


 During these Summer months, and even into Fall, we get some pretty warm and sometimes uncomfortably hot days. To cool Zoey off and soothe her teething gums, I thought it would be fun and refreshing to make some frozen treats using the food she already eats and candy molds!


 INTRODUCTION
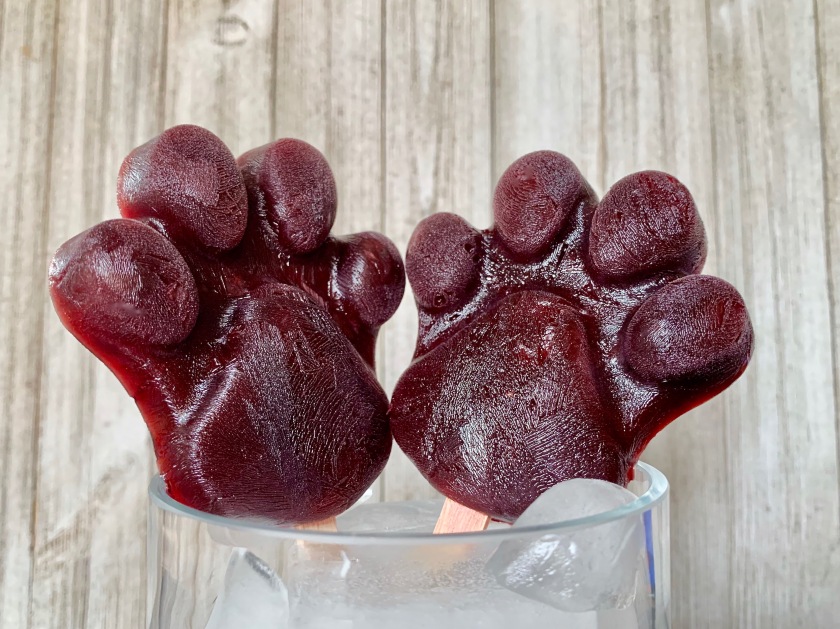
 Pawpsicles are featured after Nick and Fennec hustle a jumbo-pop from Judy and Jumbeaux Cafe’s owner, then turn it into their own smaller pawpsicles to sell for a profit.
 These are sweet, juicy and delicious, although they start to melt quickly so eat quickly! I wanted to use real fruit to make these with only minimal sugar added. Quite honestly, these probably would have been just as delicious without adding any sugar. I think I want to try that too!
 PAWPSICLES
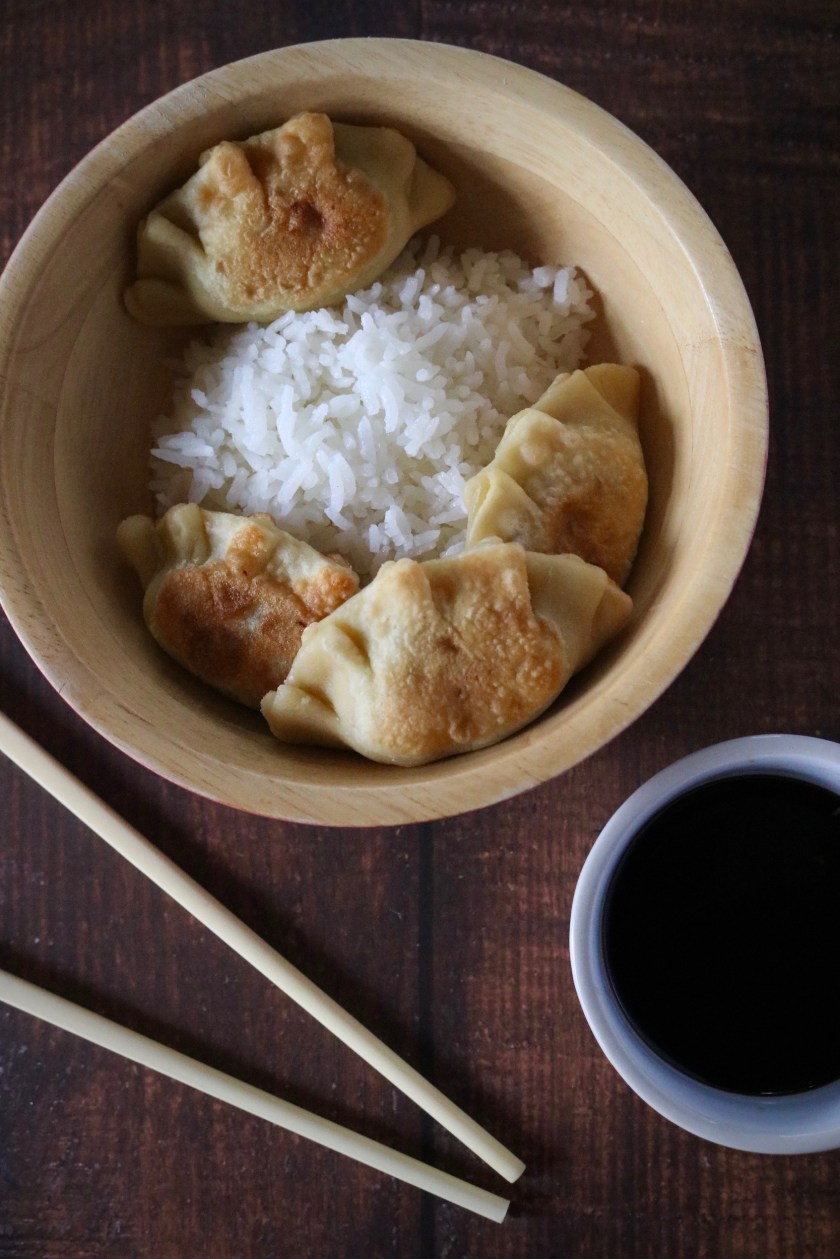 INTRODUCTION
 This recipe is featured twice, once when the Hua family is eating dinner before Mulan departs for training, and again when Mushu pulls one out to roast towards the end of the film.
 Dumplings, in this case potstickers, are delicious! This recipe would have been (and could be) easier if I had used store-bought wonton wrappers, but I was looking in the wrong place and couldn’t find them. It’s a happy accident though, now the whole recipe has been made from scratch!

 DUMPLING DOUGH
 INTRODUCTION
 You can see little grains of rice in the porridge Mushu holds out to Mulan so to stay as true to the recipe from the film as I could I made congee. Congee is a type of porridge created with rice and enjoyed in China. It’s super easy to make and super delicious! I also chose to make the eggs in a muffin tin and the bacon on a baking sheet so I could cook them all at once and it was easier to keep them in the correct shape for the happy face on the porridge.
 MUSHU’S HAPPY PORRIDGE
 INTRODUCTION
 These doughnuts are featured during a breakfast scene after Lady retrieves Jim Dear’s paper. Darling offers Lady a doughnut and Jim Dear offers her coffee to dunk it in.
 I knew I wanted to make old fashioned buttermilk doughnuts with a simple glaze. I considered making cake donuts, but deep frying seemed like so much more fun! If you’ve never deep fried anything before, be very careful! I use a very heavy dutch oven and a frying thermometer, heating the oil up a little at a time so it doesn’t get too hot too fast!
 DOUGHNUTS (DONUTS)
 INTRODUCTION
 Spaghetti and meatballs are quite fun to make and did I mention delicious? I had to stop myself from snacking on the meatballs before I was done making the pasta! My only regret is that I didn’t make the pasta or the sauce completely from scratch. I chose the timesavers path and used pre-packaged pasta, canned tomatoes and tomato paste. The good news is, most of us do not have time to make everything from scratch, but I do look forward to revisiting this recipe in the future to bring you everything from scratch!
 SAUCE
SAUCE