DIY Crochet – Cat Ear Beanie Hat

Welcome back friends! Do you crochet? I dabbled in crochet off and on for a few years, always fascinated, but never fully catching on. I kept at it, and suddenly, it clicked! I feel calm and cozy when I’m crocheting, and fiercely proud whenever I complete a project.

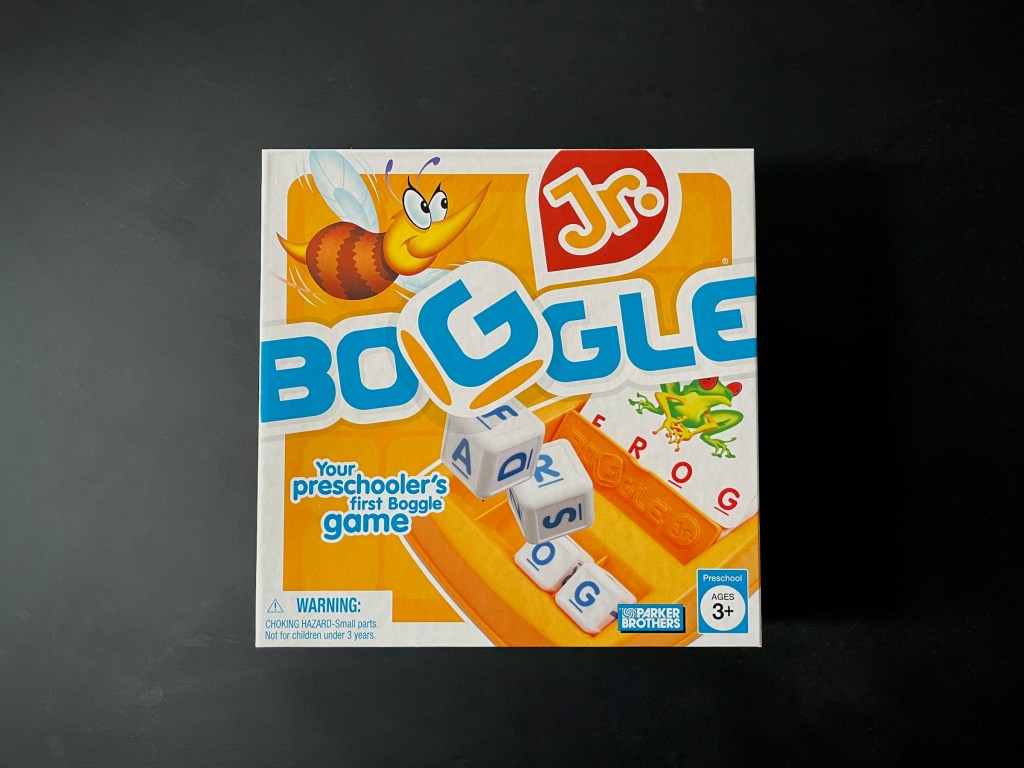
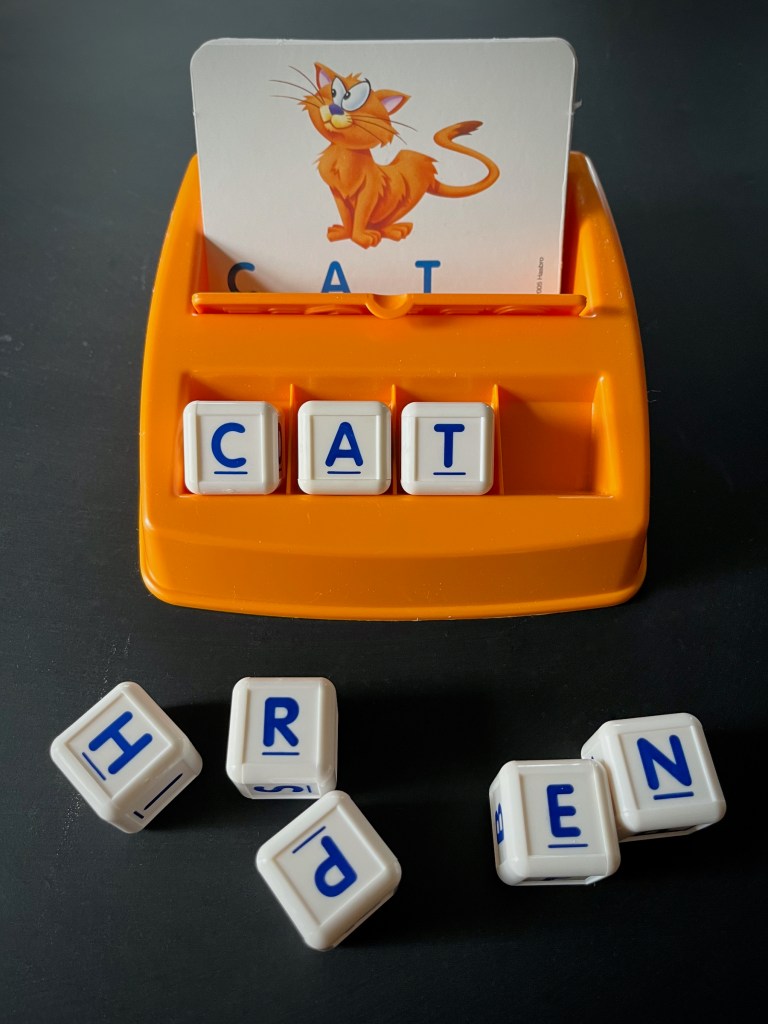
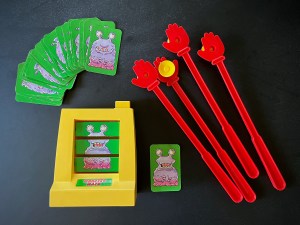
It’s that time of year for keeping warm! And, in the spirit of playing the Pete the Cat and the Missing Cupcakes game, I thought I’d make a blue crochet cat ear hat!

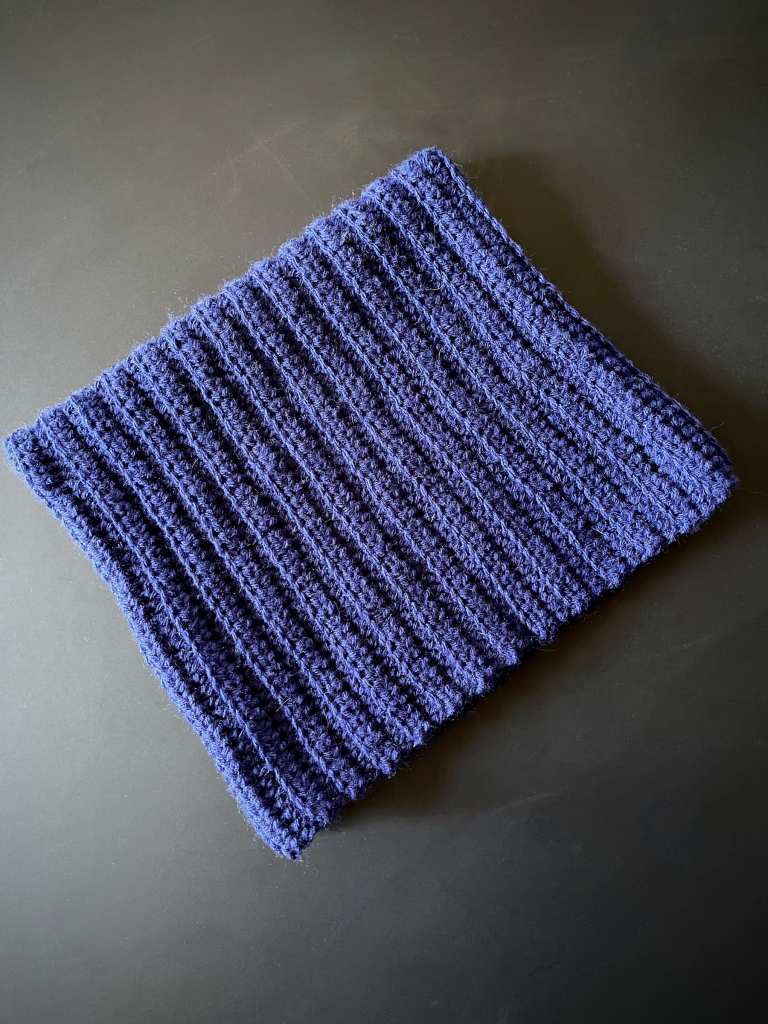
This hat is whimsical and cozy! The pattern is easy, and ideal for any level of crocheter (beginners included)! Any size 4 yarn can be used in this pattern, but for the Pete the Cat blue of my example piece, I used Red Heart yarn in the “soft navy” color. The size of the hat can also be adjusted for smaller heads by reducing the amount of rows to match half the circumference of the intended person’s head.

Let’s get started!

SUPPLIES
  • Crochet hook (size 5.50 mm)
  • Red Heart yarn (color: soft navy)
  • Scissors
  • Yarn needle or small crochet hook
INSTRUCTIONS
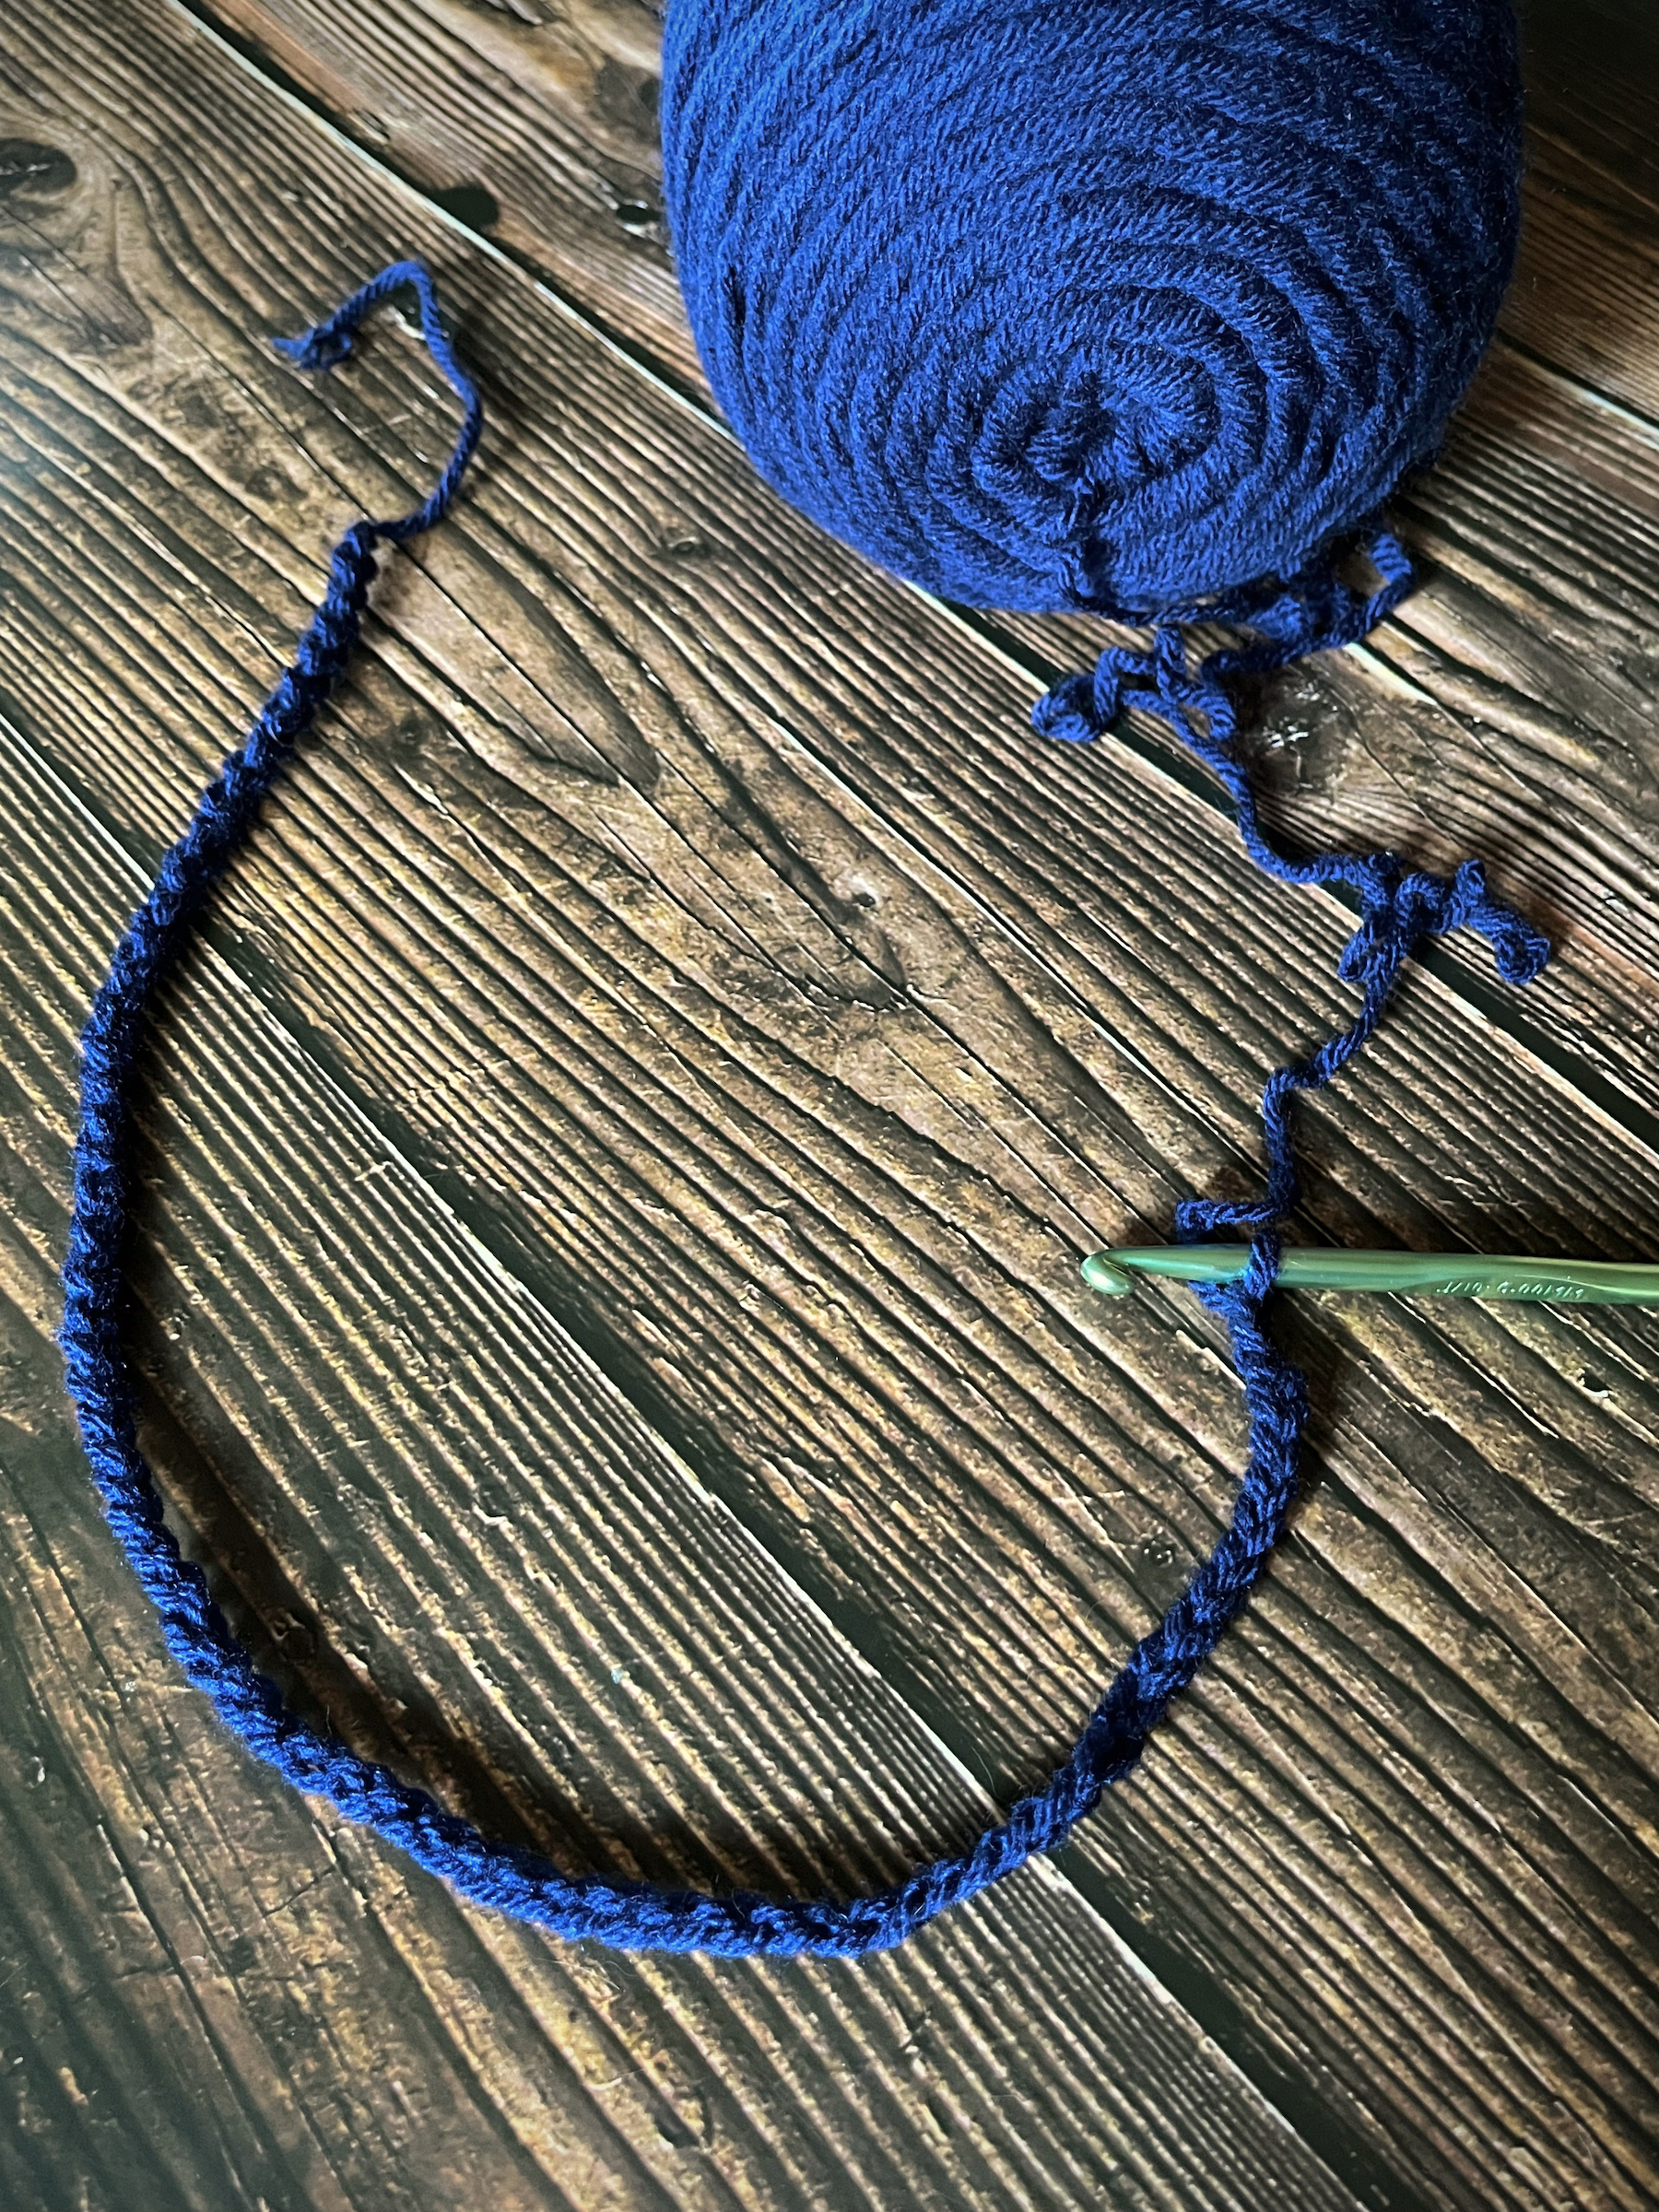
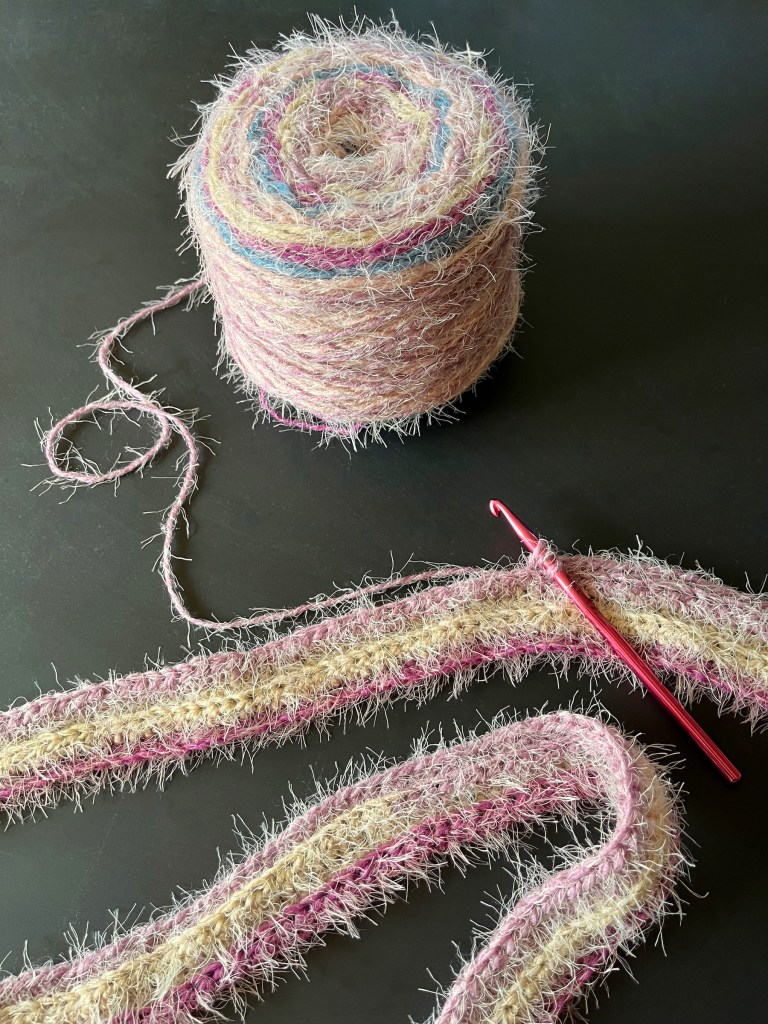
  1. Create a slip knot and then at least 60 chain stitches (you can chain a few more if you want to make the brim wider). I wanted a wider brim/slouchier hat so I chained 70.
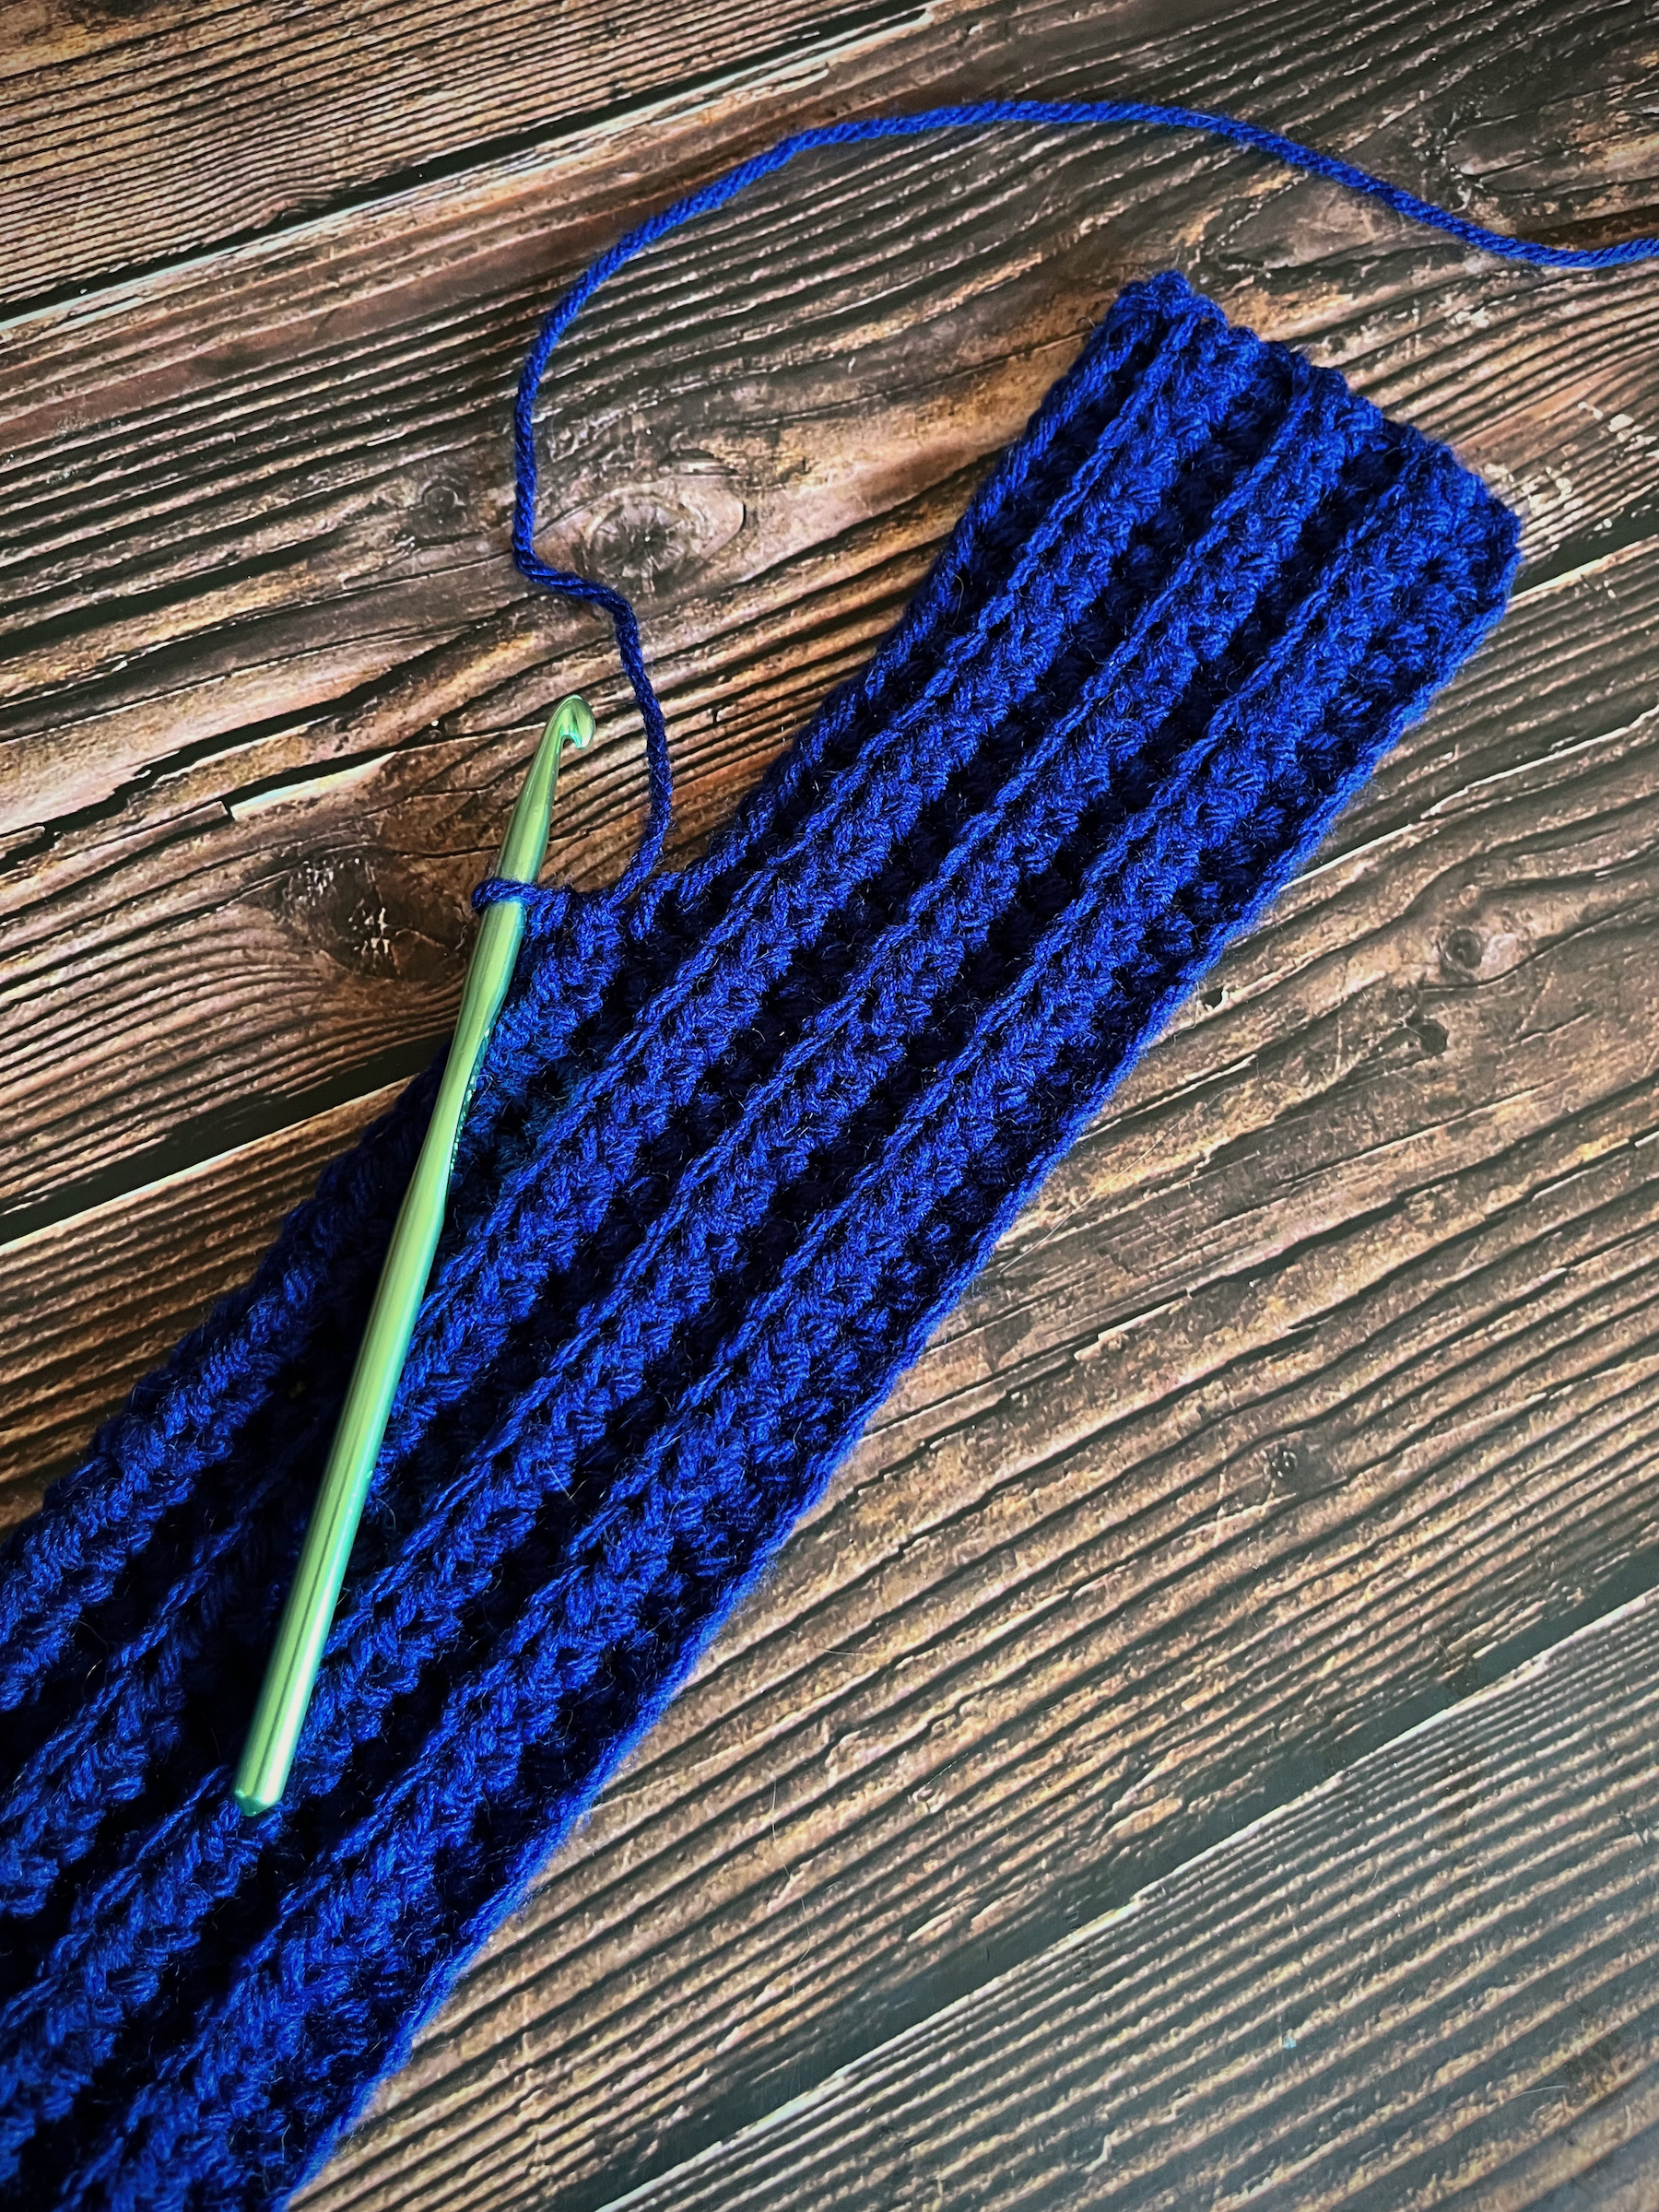
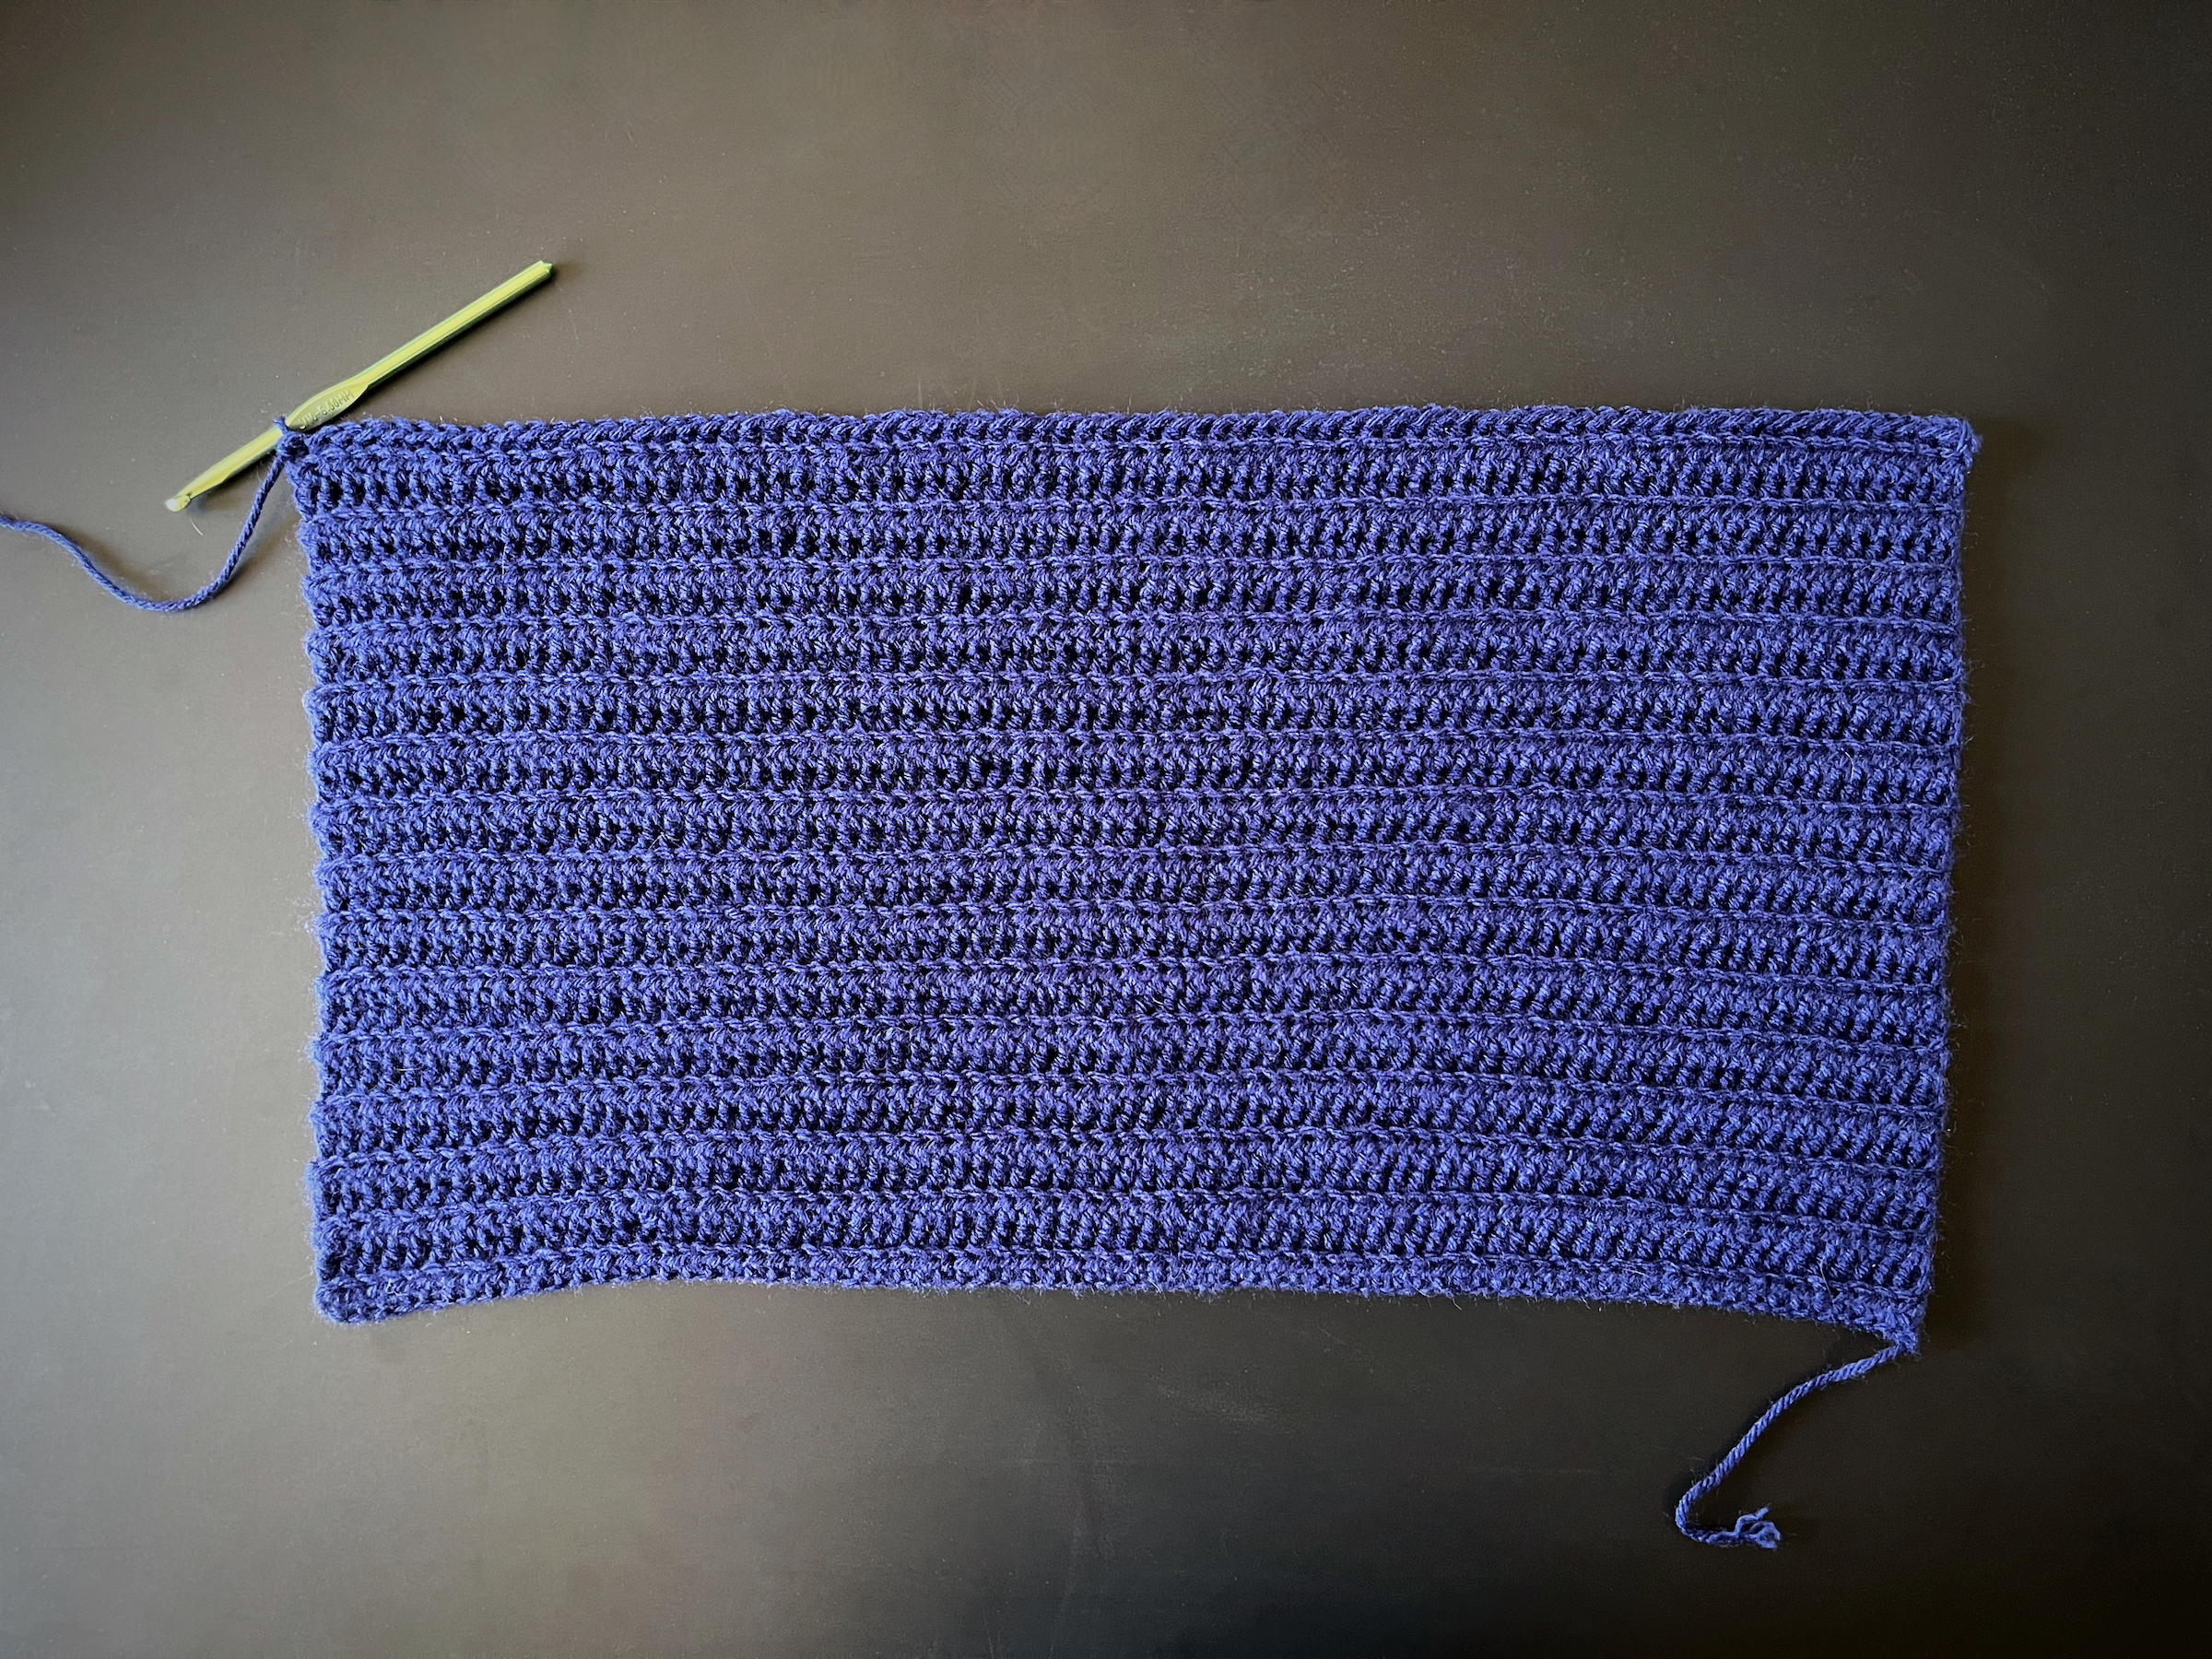
  2. Turn your chain around and half double crochet (hdc) into the third stitch from the hook, then continue to hdc all the way across your chain.
  3. Chain 2 and turn your work. Hdc into the back loop of the third stitch from the hook, then continue to hdc in the back loops of each stitch all the way across your project.
  4. Repeat step 3 until there is a total of 28 to 30 hdc rows (the amount of rows can be adjusted so that the width of the project matches half of the circumference of your head).
  5. After the last hdc of your last row, fold the length of the project in half (the fold will be the top of your hat where the “ears” form).
  6. Using the yarn that is still attached, stitch up this side of the hat towards the fold. Insert your hook through the aligned stitches on either side and perform a single crochet to bring them together. 
  7. Once you’ve reached the top corner of the fold, tie a knot and cut the yarn. Use a yarn needle or a small crochet hook to weave the remaining yarn into the project.
  8. Knot the tail from the beginning of the project to your yarn skein and repeat steps 6 and 7 up the other side of the hat.
  9. Fold up the brim, place the hat on your head and adjust the ears to your preference!
  10. Enjoy!

DIY Crochet – Warm, Fuzzy Scarf Pattern

Welcome back friends! Do you crochet? I dabbled in crochet off and on for a few years, always fascinated, but never fully catching on. I kept at it, and suddenly, it clicked! I feel calm and cozy when I’m crocheting, and fiercely proud whenever I complete a project.

It’s that time of year for keeping warm! Whether you’d like to create a scarf for yourself or to gift to a friend, I’m here to help! 

This scarf is cozy classic and ideal for any level of crocheter (beginners included)! Any bulky size 5 yarn can be used in this pattern, but for the soft and fuzzy results of my example piece, I used Carron Latte Cakes Yarn.

SUPPLIES
  • Crochet hook (size 6mm)
  • Carron Latte Cakes Yarn (Color: Rose Scented)
  • Scissors
  • Yarn needle or small crochet hook
INSTRUCTIONS
  1. Create a slip knot, then chain 250 stitches.
  2. Turn your chain around and half double crochet (hdc) into the third stitch from the hook. Continue to hdc in each stitch all the way across your chain.
  3. Chain 2 and turn your work. Hdc into the back loop of the third stitch from the hook, then continue to hdc in the back loops of each stitch all the way across your project.
  4. Repeat step 3 for the next thirteen rows for a total of 15 hdc rows. You are welcome increase the amount of rows if you’d prefer a wider scarf!
  5. After the last hdc stitch of your last row, use the scissors to disconnect the yarn from the skein and pull the loose end through your crochet loop.
  6. Using a yarn needle or a small crochet hook, weave the loose ends of the yarn into the surrounding scarf.
  7. Wrap around your neck and get cozy!

How to Play – Boggle Jr.

Part of the fun in raising Zoey is finding things that delight and educate her; I want to find fun, creative board games to play with her during our family game nights! This week we played Boggle Jr. by Hasbro for 1 to 2 players! 

This game will help children with their spelling in a fun, rewarding way! If this means setting up a reward system for if they could finish all the 3 letter words, then the 4 letter words and then the combined deck, do it! Education should be fun and rewarding! I could see improvement in Zoey’s word recognition and spelling almost immediately.

Let’s play!

IN THE BOX
  • Boggle Jr. game tray
  • 8 letter cubes
  • 30 picture/word cards (double-sided)
INSTRUCTIONS

Game # 1: Match it-Spell it

  1. Shuffle and stack the picture/word cards so the 3-letter words are all face up and turned in the same direction.
  2. Place the stack in the tray above the cube slots, facing the child (the word cover is flipped down & out of use).
  3. Point to the picture on the card and ask the child what it is — i.e. a pig, a jar, a pie, the sun, etc.
  4. Point to the word below the picture and say the word, then spell the word out loud letter by letter.
  5. Go back to the first letter and have the child find that letter on one of the cubes and place the cube in the first slot of the tray, directly under the letter as it appears on the card.
  6. Proceed through the other two letters until the 3-letter word is spelled out in cubes under the card.
  7. Reinforce what the child has just accomplished by saying the word and spelling together. Give the child the top card and proceed through the rest of the remaining 3-letter words in the same manner.
  8. Next play with 4-letter word cards. Then shuffle the cards and play with 3 and 4 letter words mixed.

Game # 2: Cover it-Spell it

  1. Shuffle and stack the picture/word cards so the 3-letter words are all face up and turned in the same direction.
  2. Place the stack in the tray above the cube slots, facing the child (the word cover is flipped up & in use).
  3. The child glances at the word under the cover, then hides it again. Now he/she is no longer matching letters with letter, but is actually spelling the word from memory.
  4. Next play with 4-letter word cards. Then shuffle the cards and play with 3 and 4 letter words mixed.
  5. For two players the children take turns. Each time a child successfully spells a word from memory, he or she wins that card and continues to the next.
  6. If a child spells a word incorrectly, that card is placed on the bottom of the pile of cards and that child’s turn ends. When the card comes up again, the player whose turn it is attempts to spell the word.
  7. The children alternate turns until all the cards have been used, whoever has won more cards during the game wins!

ENJOY!

How to Play – Candy Land

Part of the fun in raising Zoey is finding things that delight and educate her; I want to find fun, creative board games to play with her during our family game nights! This week we played Candy Land by Hasbro for up to 4 players! 

This is one of my childhood favorites that I hope will also be one of Zoey’s childhood favorites. Gameplay is relatively easy with movement based on drawing cards and associating colors, but the board is very busy to navigate. Zoey is currently more interested in playing independently with the gingerbread characters than progressing the game, but we’re hoping her attention will change over time!

Let’s play!

IN THE BOX
  • A game-board
  • 4 gingerbread character pawns
  • 64 cards
INSTRUCTIONS
  1. Open up the game board and place it on a flat surface.
  2. Shuffle the cards and place them facedown in a pile with easy reach of all the players.
  3. The youngest player takes the first turn. Play then passes to the left of that player and onward.
  4. Each player picks a gingerbread character pawn and places it as the start of the path near the four children.
  5. The youngest player goes first, play then passes to the left.
  6. On your turn, draw one card from the deck and then move the gingerbread pawn as directed. Always move towards the castle, unless a picture directs you to move backwards on the path.
    • When you draw a picture card, move your pawn forward or backward on the path of to the pink picture space on the board that matches the pink pictures pace on your card. For example if you draw a lollypop card, move your pawn to the pink space on the board that shows the lollipop.
    • Two or more gingerbread pawns can be on the same space at the same time.
    • When you draw a card with one color block, move your pawn forward toward the castle to the first matching color space on the path.
    • When you draw card that has two color blocks, move your pawn forward toward the castle to the second matching color space on the path.
    • There are two shortcuts on the path, Gummy Pass and Peppermint Pass. If your gingerbread lands by exact count on the yellow space below Gummy pass, or the blue space below Peppermint Pass you can take the shortcut immediately to yellow space above Gummy Pass or the yellow space above Peppermint Pass.
    • There are two licorice spaces on the path. If you land on one of these sticky spaces by exact count, your gingerbread pawn is stuck there for one turn.
  7. Your turn is over. Place the used card in a discard pile.
  8. If you are the first person to reach the multi-colored rainbow space, you’ve reached King Kandy’s Castle. You win!

ENJOY!

How to Play – Yeti in My Spaghetti

Part of the fun in raising Zoey is finding things that delight and educate her; I want to find fun, creative board games to play with her during our family game nights! This week we played Yeti in my Spaghetti by Play Monster for 2+ players! 

This is a fun one with lots of laughs! Zoey does not “carefully or strategically” remove the noodles yet, she’s our wild card, and more often than not, she causes the yeti to fall to the bottom of the bowl! Set up is very easy, so if this happens too quickly it’s easy to reset and play another round!

Let’s play!

IN THE BOX
  • A bowl
  • A yeti
  • 30 noodles
INSTRUCTIONS
  1. Place the bowl on a flat, level surface.
  2. Arrange the noodles over the top of the bowl, criss-crossing in a random way.
  3. Gently set the yeti on top of the noodles (in the middle is best).
  4. The oldest player goes first, carefully and strategically removing a noodle by sliding, slipping, pushing, lifting, etc! Be careful not to disturb the Yeti enough to let him fall into the bowl.
  5. If you touch a noodle, then that is the one you must remove, no touching and testing the placement of the noodles!
  6. You may use both hands to remove a noodle, but you can only use one hand at a time.
  7. If you successfully remove a noodle and the yeti does not fall to the bottom of the bowl, the player to your left goes next, and so on.
  8. If the Yeti falls to the bottom of the bowl during your turn (or immediately after your turn before the next player goes), the game is over! If the Yeti shifts or ends hanging by a noodle, keep playing. The game stops only when he falls completely to the bottom of the bowl!
  9. The player who last successfully removed a noodle before the player who made the yeti fall is the winner!

ENJOY!

Chocolate, Chocolate Chip Pumpkin Bread Recipe

Welcome back friends! 

Who wants some fresh, oven baked chocolate, chocolate chip pumpkin bread to enjoy on one (or more) of these beautiful autumn mornings? Maybe at a table with some coffee or tea and a good book? 

I know I do, so let’s bake some!

INGREDIENTS
  • 2 cups of all-purpose flour
  • 1/2 cup of cocoa powder
  • 1⁄2 teaspoon of baking powder
  • 1 teaspoon of baking soda
  • 1 teaspoon of ground cinnamon
  • 1 teaspoon of ground cloves
  • 1 teaspoon of ground nutmeg
  • 1⁄2 teaspoon of salt
  • 3⁄4 cup of unsalted butter, softened
  • 2 cups of sugar
  • 2 large of eggs
  • 1 15-oz can of pumpkin puree
  • Powdered sugar (optional)
  • 2/3 cups of chocolate chips
INSTRUCTIONS
  1. Set an oven rack to the middle position and pre-heat it to 325F. 
  2. Grease two 8 x 4-inch loaf pans with butter, then dust with flour.
  3. In a medium bowl, combine the flour, cocoa powder, baking powder, baking soda, cinnamon, cloves, nutmeg and salt. Whisk until well combined, then set aside. 
  4. In a large bowl, beat the butter and sugar on medium speed until just blended. Add the eggs one at a time, beating well after each addition and continue to beat until very light and fluffy, then incorporate the pumpkin.
  5. Slowly add the flour mixture to the pumpkin mixture and mix on a low speed until well combined. 
  6. Fold in the chocolate chips and gently stir until combined.
  7. Divide the batter evenly into the two prepared pans, and bake for 65 – 75 minutes, or until a cake tester inserted into the center comes out clean. 
  8. Let the loaves cool in the pans for about 10 minutes, then turn out onto a wire rack to cool completely. 
  9. Place powdered sugar into a sifter and lightly dust the top of each loaf.
  10. Enjoy!

The First 30 Minutes of Lake

Have you ever been undecided on what to play next? 

Should you buy that game? Should you install that game?

I’ve been there, and sometimes you just need to take a look at the graphics, hear the music, and learn a little about the plot to see if it resonates with you before taking the next step. I’m here to help! I am creating the first 30 to the first 60 minute videos of games; indie and mainstream, new and old!

This week let’s take a look at the first 30 minutes of Lake…

Do you want to play the rest? 

Baked Apple Cider Doughnut Recipe

Welcome back friends! Who wants some fresh and fluffy, oven baked, cinnamon and sugar coated apple cider doughnuts to enjoy on one (or more) of these beautiful autumn mornings? Maybe at a table with some coffee or tea and a good book? I know I do, so let’s bake some!

DOUGHNUT INGREDIENTS
  • 1 1/2 cups of apple cider
  • 1 3/4 cups of all purpose flour
  • 1 teaspoon of baking powder
  • 1/2 teaspoon of baking soda
  • 1 teaspoon of ground cinnamon
  • 1/4 teaspoon of nutmeg
  • 1/2 teaspoon of kosher salt
  • 1 large egg
  • 1/3 cup of granulated sugar
  • 1/3 cup of dark or light brown sugar
  • 3 tablespoons of unsalted butter, melted
  • 1/2 cup of buttermilk (or milk)
  • 1 1/2 teaspoons of vanilla extract
TOPPING INGREDIENTS
  • 1 cup of granulated sugar
  • 2 teaspoons of ground cinnamon
  • 6 tablespoons of unsalted butter, melted
INSTRUCTIONS
  1. Reduce let’s reduce the apple cider. In a small saucepan, bring the apple cider to a gentle boil and let it simmer over medium heat until thick and reduced to about 1/3 cup (about 15 to 25 minutes), then set aside to cool.
  2. Preheat the oven to 350F and grease the doughnut pans with butter or nonstick spray, then set them aside.
  3. Whisk the flour, baking powder, baking soda, salt, and spices together in a large bowl, then set it aside.
  4. In another bowl, whisk the brown sugar, egg and sugar together until well combined. Then add the butter, buttermilk (or milk), reduced apple cider and vanilla; whisk again until well combined.
  5. Add the flour mixture to the apple cider mixture and beat until well combined and smooth.
  6. Transfer the batter into a disposable piping bag or a zip-top bag with a corner cut off. Pipe the batter into the prepare doughnut pans, filling each cavity 2/3 to 3/4 full.
  7. Bake the doughnuts for about 10 minutes or until a toothpick comes out clean, then remove them from the oven. Allow them to cool in the pan for about 5 minutes and then transfer them onto a cooling rack.
  8. While the doughnuts are cooling in the pan, stir the sugar and cinnamon together in a shallow bowl and melt the topping butter in another bowl.
  9. Once the doughnuts have cooled to a comfortable handling temperature, brush or dip both sides of each one with butter and then dip each side in the cinnamon and sugar to coat.
  10. Enjoy!

*These doughnuts are best served immediately, but leftovers can e kept int he fridge for up to 3 days. Serve them warm or at room temperature.

How to Play – Monster Mash

Part of the fun in raising Zoey is finding things that delight and educate her; I want to find fun, creative board games to play with her during our family game nights! This week we played Monster Mash by Parker Brothers (and others) for up to 4 players! 

If you can’t tell from the packaging, this is a game from my childhood that my mom saved because we loved it so much! There are newer versions being sold now (like this one by Cra-Z-Art), but the premise is the same; press the button on the monster-maker, then find the matching monster and claim it before the other players do!

Let’s play!

IN THE BOX
  • A monster-maker machine
  • 27 monster cards
  • 4 thwacker hands with suction cups
INSTRUCTIONS
  1. Remove everything from the game box, and set the monster-maker machine on the playing surface so that everyone can see the monster that appears on it.
  2. Spread the monster cards face-up in the middle of the playing area so that no cards overlap and everyone can easily reach them.
  3. Each player takes a thwacker hand and the player closest to the monster-maker machine will press the button to start each new round.
  4. The monster-maker machine randomly selects and shows one monster for all the monster hunters to mash and capture. Look closely at the monster on the machine when the button pops up!
  5. Quickly all the players try to find the face-up monster card that matches the monster on the machine and mash it with their thwacker hand so that the suction cup picks up the card (if two players slap the monster card at the same time, the player whose thwacker hand is at the bottom of all the thwacker hands captures the card).
  6. If a player picks up the wrong monster card, he or she simply returns it face-up to the middle of playing area and everyone keeps hunting.
  7. The player who picks up and captures the correct monster card places it face-up in front of him or her. This ends the round everyone stops hunting.
  8. To start a new round, press the button on the monster-maker machine.
  9. If the monster-maker machine shows a monster that has already been shown and captured, players can try to capture it from the player that has it in front of him or her, unless that player mashes it first with his or her thwacker.
  10. Game play continues until one player captures 5 monsters, the first player to do this is the monster mash winner!

ENJOY!

The First 30 Minutes of Fall of Porcupine

Have you ever been undecided on what to play next? 

Should you buy that game? Should you install that game?

I’ve been there, and sometimes you just need to take a look at the graphics, hear the music, and learn a little about the plot to see if it resonates with you before taking the next step. I’m here to help! I am creating the first 30 to the first 60 minute videos of games; indie and mainstream, new and old!

This week let’s take a look at the first 30 minutes of Fall of Porcupine…

Do you want to play the rest?