How to Play – Monster Mash

Part of the fun in raising Zoey is finding things that delight and educate her; I want to find fun, creative board games to play with her during our family game nights! This week we played Monster Mash by Parker Brothers (and others) for up to 4 players! 

If you can’t tell from the packaging, this is a game from my childhood that my mom saved because we loved it so much! There are newer versions being sold now (like this one by Cra-Z-Art), but the premise is the same; press the button on the monster-maker, then find the matching monster and claim it before the other players do!

Let’s play!

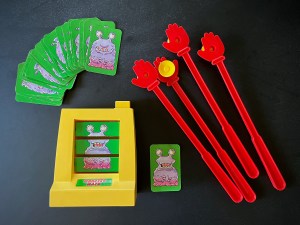
IN THE BOX
  • A monster-maker machine
  • 27 monster cards
  • 4 thwacker hands with suction cups
INSTRUCTIONS
  1. Remove everything from the game box, and set the monster-maker machine on the playing surface so that everyone can see the monster that appears on it.
  2. Spread the monster cards face-up in the middle of the playing area so that no cards overlap and everyone can easily reach them.
  3. Each player takes a thwacker hand and the player closest to the monster-maker machine will press the button to start each new round.
  4. The monster-maker machine randomly selects and shows one monster for all the monster hunters to mash and capture. Look closely at the monster on the machine when the button pops up!
  5. Quickly all the players try to find the face-up monster card that matches the monster on the machine and mash it with their thwacker hand so that the suction cup picks up the card (if two players slap the monster card at the same time, the player whose thwacker hand is at the bottom of all the thwacker hands captures the card).
  6. If a player picks up the wrong monster card, he or she simply returns it face-up to the middle of playing area and everyone keeps hunting.
  7. The player who picks up and captures the correct monster card places it face-up in front of him or her. This ends the round everyone stops hunting.
  8. To start a new round, press the button on the monster-maker machine.
  9. If the monster-maker machine shows a monster that has already been shown and captured, players can try to capture it from the player that has it in front of him or her, unless that player mashes it first with his or her thwacker.
  10. Game play continues until one player captures 5 monsters, the first player to do this is the monster mash winner!

ENJOY!

The First 30 Minutes of Fall of Porcupine

Have you ever been undecided on what to play next? 

Should you buy that game? Should you install that game?

I’ve been there, and sometimes you just need to take a look at the graphics, hear the music, and learn a little about the plot to see if it resonates with you before taking the next step. I’m here to help! I am creating the first 30 to the first 60 minute videos of games; indie and mainstream, new and old!

This week let’s take a look at the first 30 minutes of Fall of Porcupine…

Do you want to play the rest? 

DIY – Crochet Pumpkin with a Cinnamon Stick Stem

Welcome back friends! Do you crochet? I dabbled in crochet off and on for a few years, always fascinated, but never fully catching on. I kept at it, and suddenly, it clicked! I feel calm and cozy when I’m crocheting, and fiercely proud whenever I complete a project.

It’s that time of year for autumn decor! So let’s create a crochet pumpkin with a cinnamon stick stem!

SUPPLIES
  • Crochet hook (size 5.5mm)
  • Medium yarn (size 4)
  • Fiberfill stuffing
  • Scissors
  • Yarn needle
INSTRUCTIONS
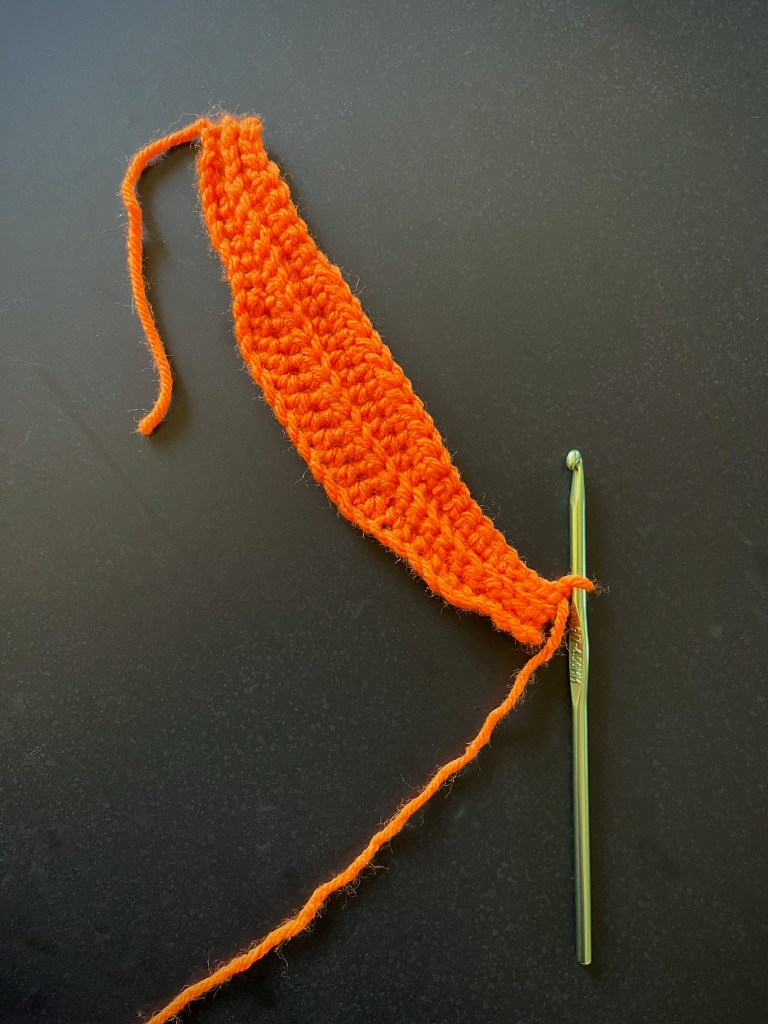
  1. Create a slip knot and then chain 31 stitches.
  2. For this piece, we will be working in the back loop only for all stitches.
  3. Starting in the 2nd chain from the hook, create 3 slip stitches, 6 single crochets, 12 half double crochets, 6 single crochets and 3 slip stitches. Then chain 1 and turn the project around.
  4. Repeat step 3 until the project measures about 12 inches long across the center.
  5. Join the two short sides of the project together, and insert the hook into the back loop of the working stitches and the starting chain as you stitch the final row.
  6. Sew a running stitch along the bottom edges of the project and pull to gather. Then tie a knot, weave in some of the excess yarn, and cut off the rest.
  7. Turn the pumpkin project over and stuff it with fiberfill until it’s as plump as you want it.
  8. Sew a running stitch along the top of the pumpkin and pull to gather, leaving a hole large enough to insert a cinnamon stick. Then tie a knot, weave in some of the excess yarn and cuts off the rest.
  9. Insert a cinnamon stick into the hole you left for it at the top of the pumpkin. You can hot glue it in place or leave it loose like I did so that I can replace the cinnamon stick if it looses its smell!
  10. Place in your house an enjoy!

How to Play – The Sneaky, Snacky Squirrel

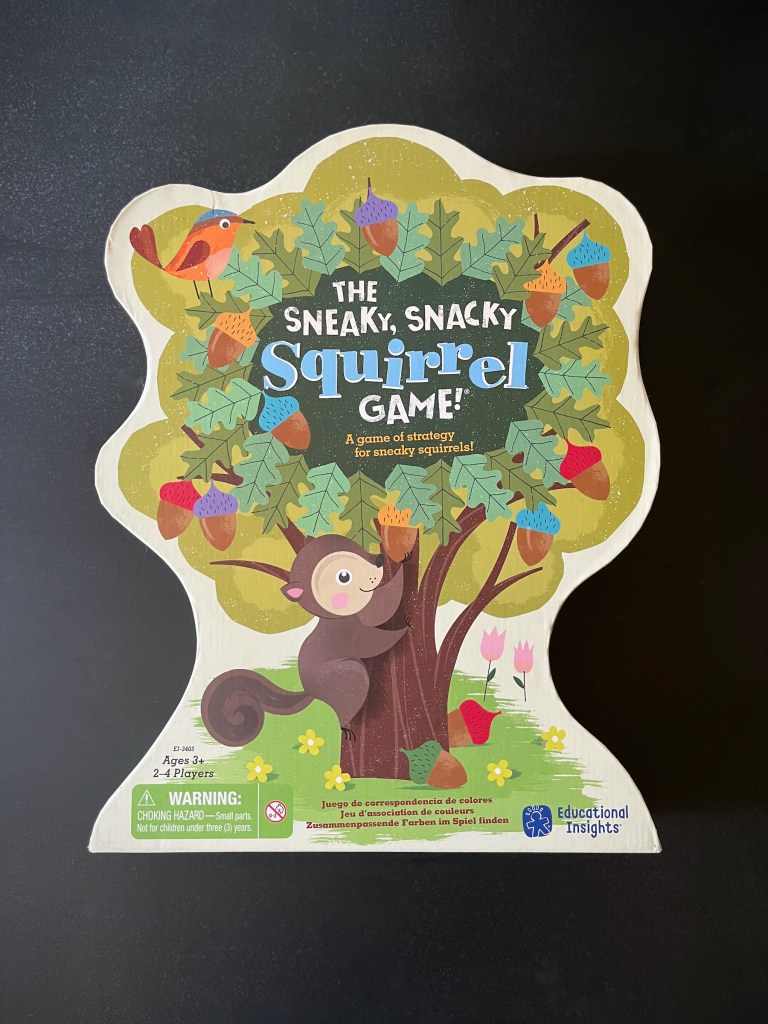
Part of the fun in raising Zoey is finding things that delight and educate her; I want to find fun, creative board games to play with her during our family game nights! This week we played The Sneaky Snacky Squirrel Game by Educational Insights for up to 4 players! 

Zoey has loved this game since before she even knew how to play! She would pull everything out and play with the Squirrel and the acorns, honestly it’s surprising that there are no missing pieces! Then we learned how to play the game together, and she loves it even more! She loves picking up the acorns with the squirrel squeezer; we find it super fun and easy collecting and replacing the acorns to the tree stumps and back.

Let’s play!

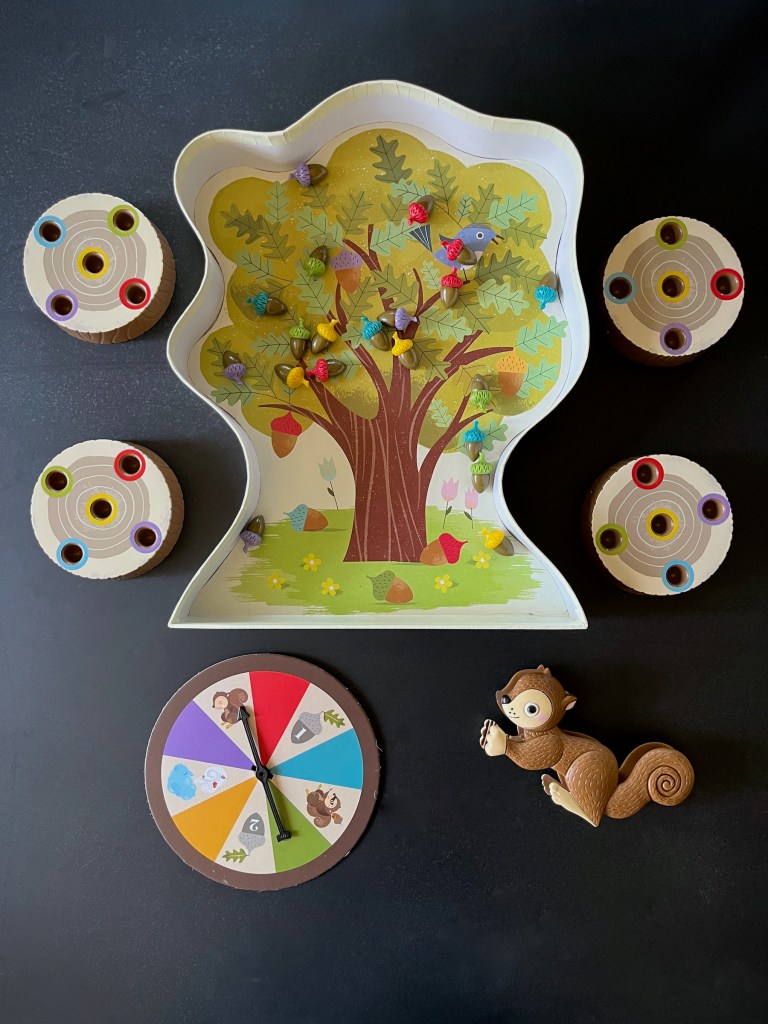
IN THE BOX
  • A game-board (part of the box)
  • A squirrel squeezer
  • A spinner
  • 20 acorns in five colors
  • 4 tree stumps
INSTRUCTIONS
  1. Remove everything from the game box, then scatter the acorns onto the tree on the inside bottom of the box.
  2. Give each player a tree stump.
  3. The youngest player takes the first turn. Play then passes to the left of that player and onward.
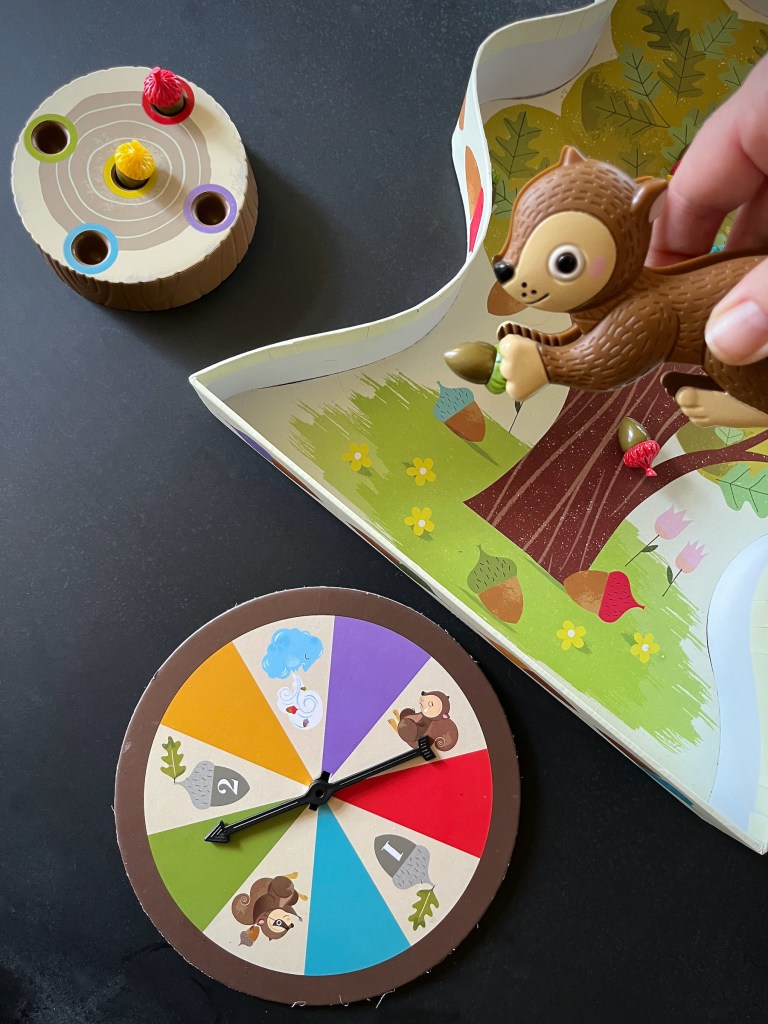
  4. On your turn, hold the squirrel squeezer, spin the spinner, then follow the directions below according to your spin. Then it’s the next player’s turn.
    • Color: If the wheel stops on a color, use the squirrel squeezer to grab a matching acorn and place it in a matching hole in your tree stump. If that hole is already full, skip your turn.
    • One acorn: Pick any one acorn from the tree and use the squirrel squeezer to pick it up and place it on your tree stump.
    • Two acorns: Pick any two acorns from the tree and use the squirrel squeezer to pick them up and place them on your tree stump.
    • The Sneaky Squirrel: Use the squirrel squeezer to steal any colored acorn you need in your tree stump from another player’s tree stump.
    • Sad Squirrel: Pass the squirrel squeezer to the player on your left and skip your turn.
    • Squirrel Storm: Oh no! A furious storm blew all of your acorns back into the tree! Put them back and skip your turn.
  5. If you’re the first player to collect all of the acorns to match the ones on your tree stump, you win!

ENJOY!

Homemade Hot Cocoa Mix Recipe

Welcome back friends! Who wants some warm and comforting hot cocoa on a cold winter morning or evening? Maybe with some homemade marshmallows and a good book or movie? I know I do, so let’s make some mix!

HOT COCOA MIX
  • 3/4 cup of natural unsweetened cocoa powder 
  • 1 1/2 cups of dry nonfat or whole milk powder
  • 1 cup of powdered sugar
  • 3/4 cup of white chocolate chips
  • 1/4 teaspoon of salt
INSTRUCTIONS
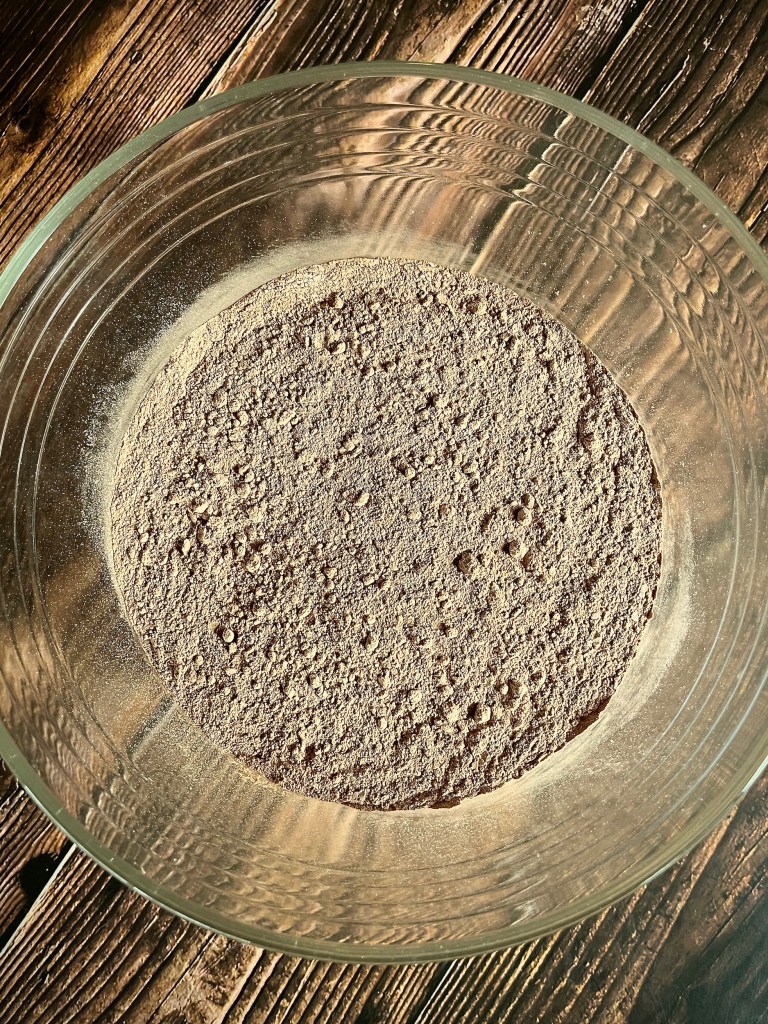
  1. Whisk together the cocoa powder, milk powder, powdered sugar and salt in a large bowl, then add the white chocolate chips and stir again to evenly distribute them.
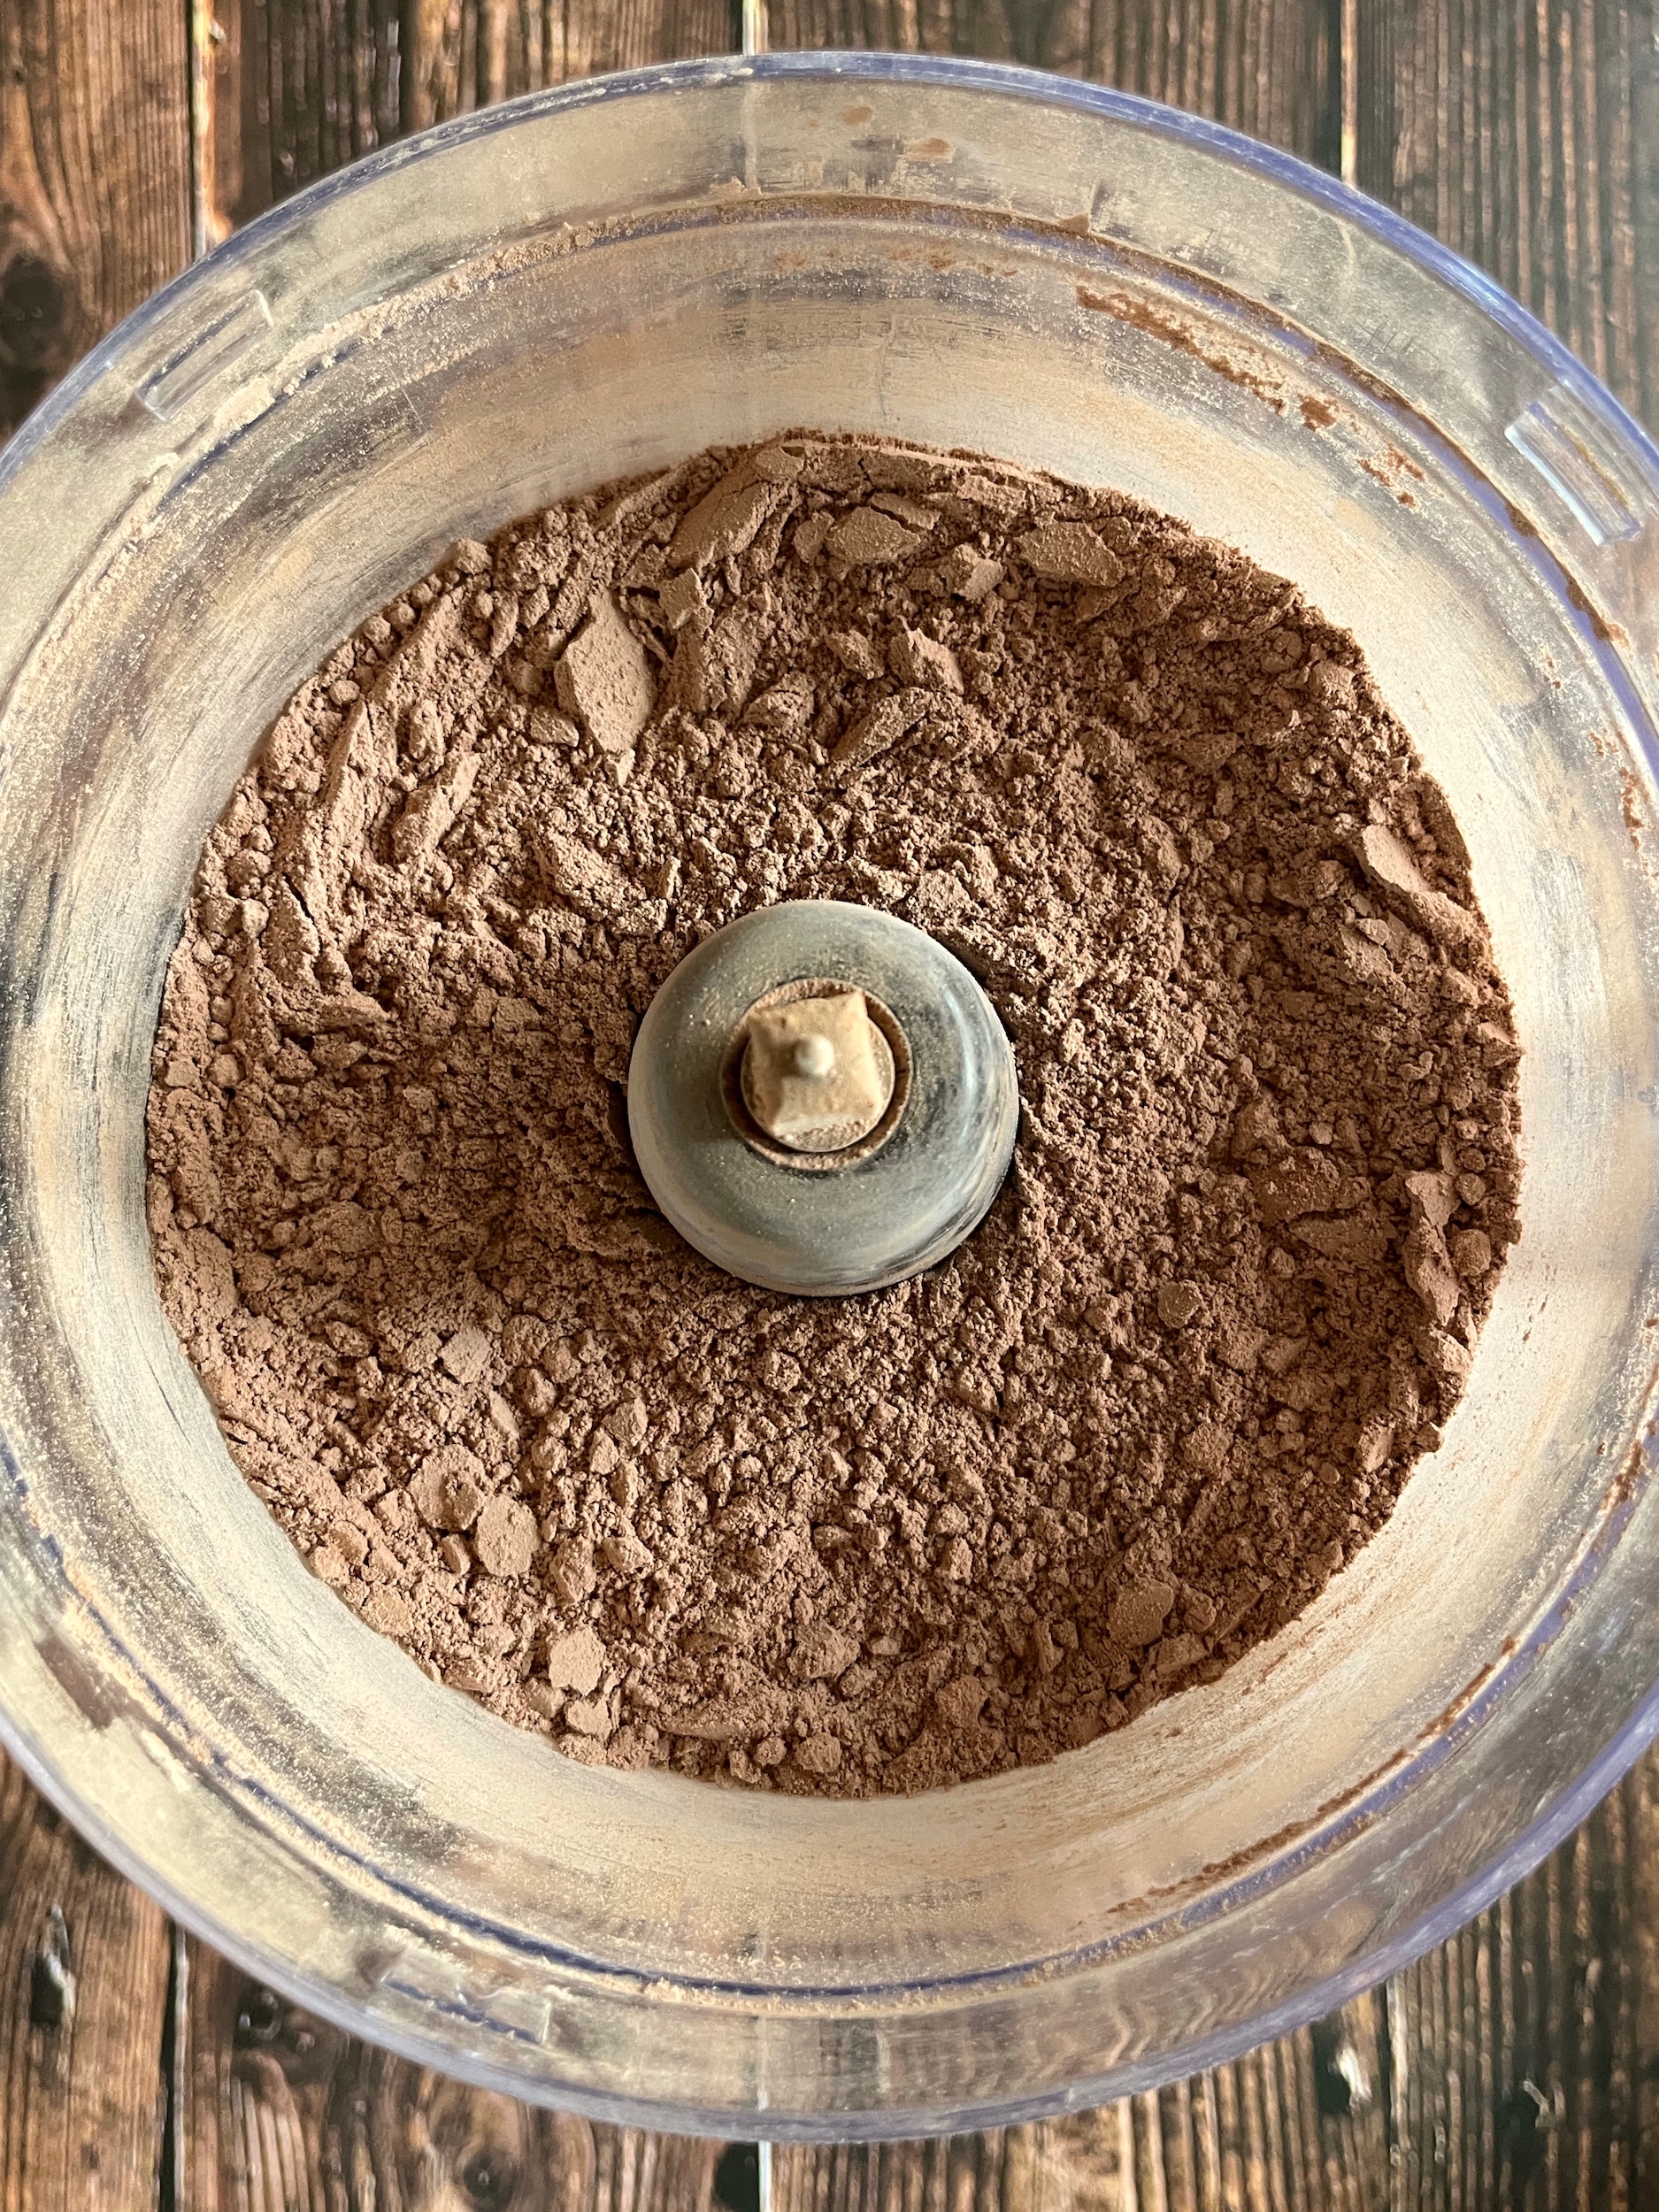
  2. Add the mixture to a food processor and pulse until everything is finely ground and smooth.
  3. This dry cocoa mix can be store in an airtight container for up to 3 months.
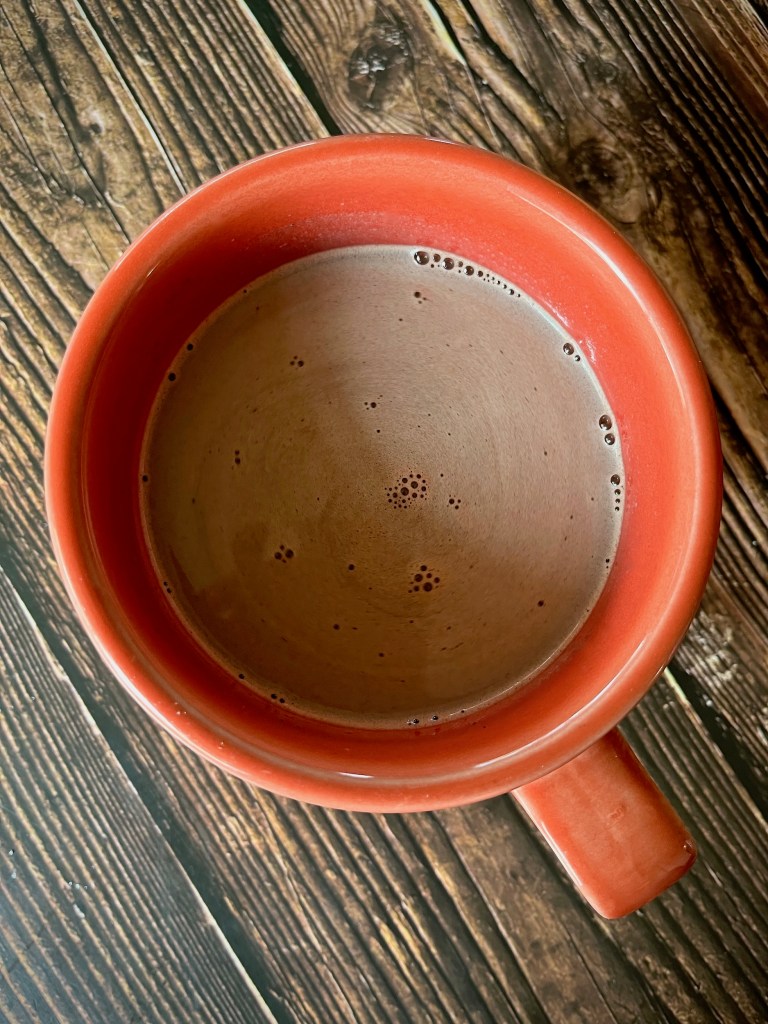
  4. To make hot cocoa, put 1/4 to 1/3 cup of the cocoa mix in a mug and stir in 1 cup of hot milk (whichever milk you prefer).
  5. Top with whipped cream or miniature marshmallows, if desired and enjoy!

Homemade Buttery Tortilla Recipe

Welcome back friends! 

Who wants some warm, buttery and freshly made tortillas to use for breakfast, lunch or dinner? 

I know I do, so let’s make some!

BUTTERY TORTILLAS
  • 3 cups of flour 
  • 1 tablespoon of baking powder
  • 2 teaspoons of salt
  • 1/2 cup of butter
  • 1 cup of water
INSTRUCTIONS
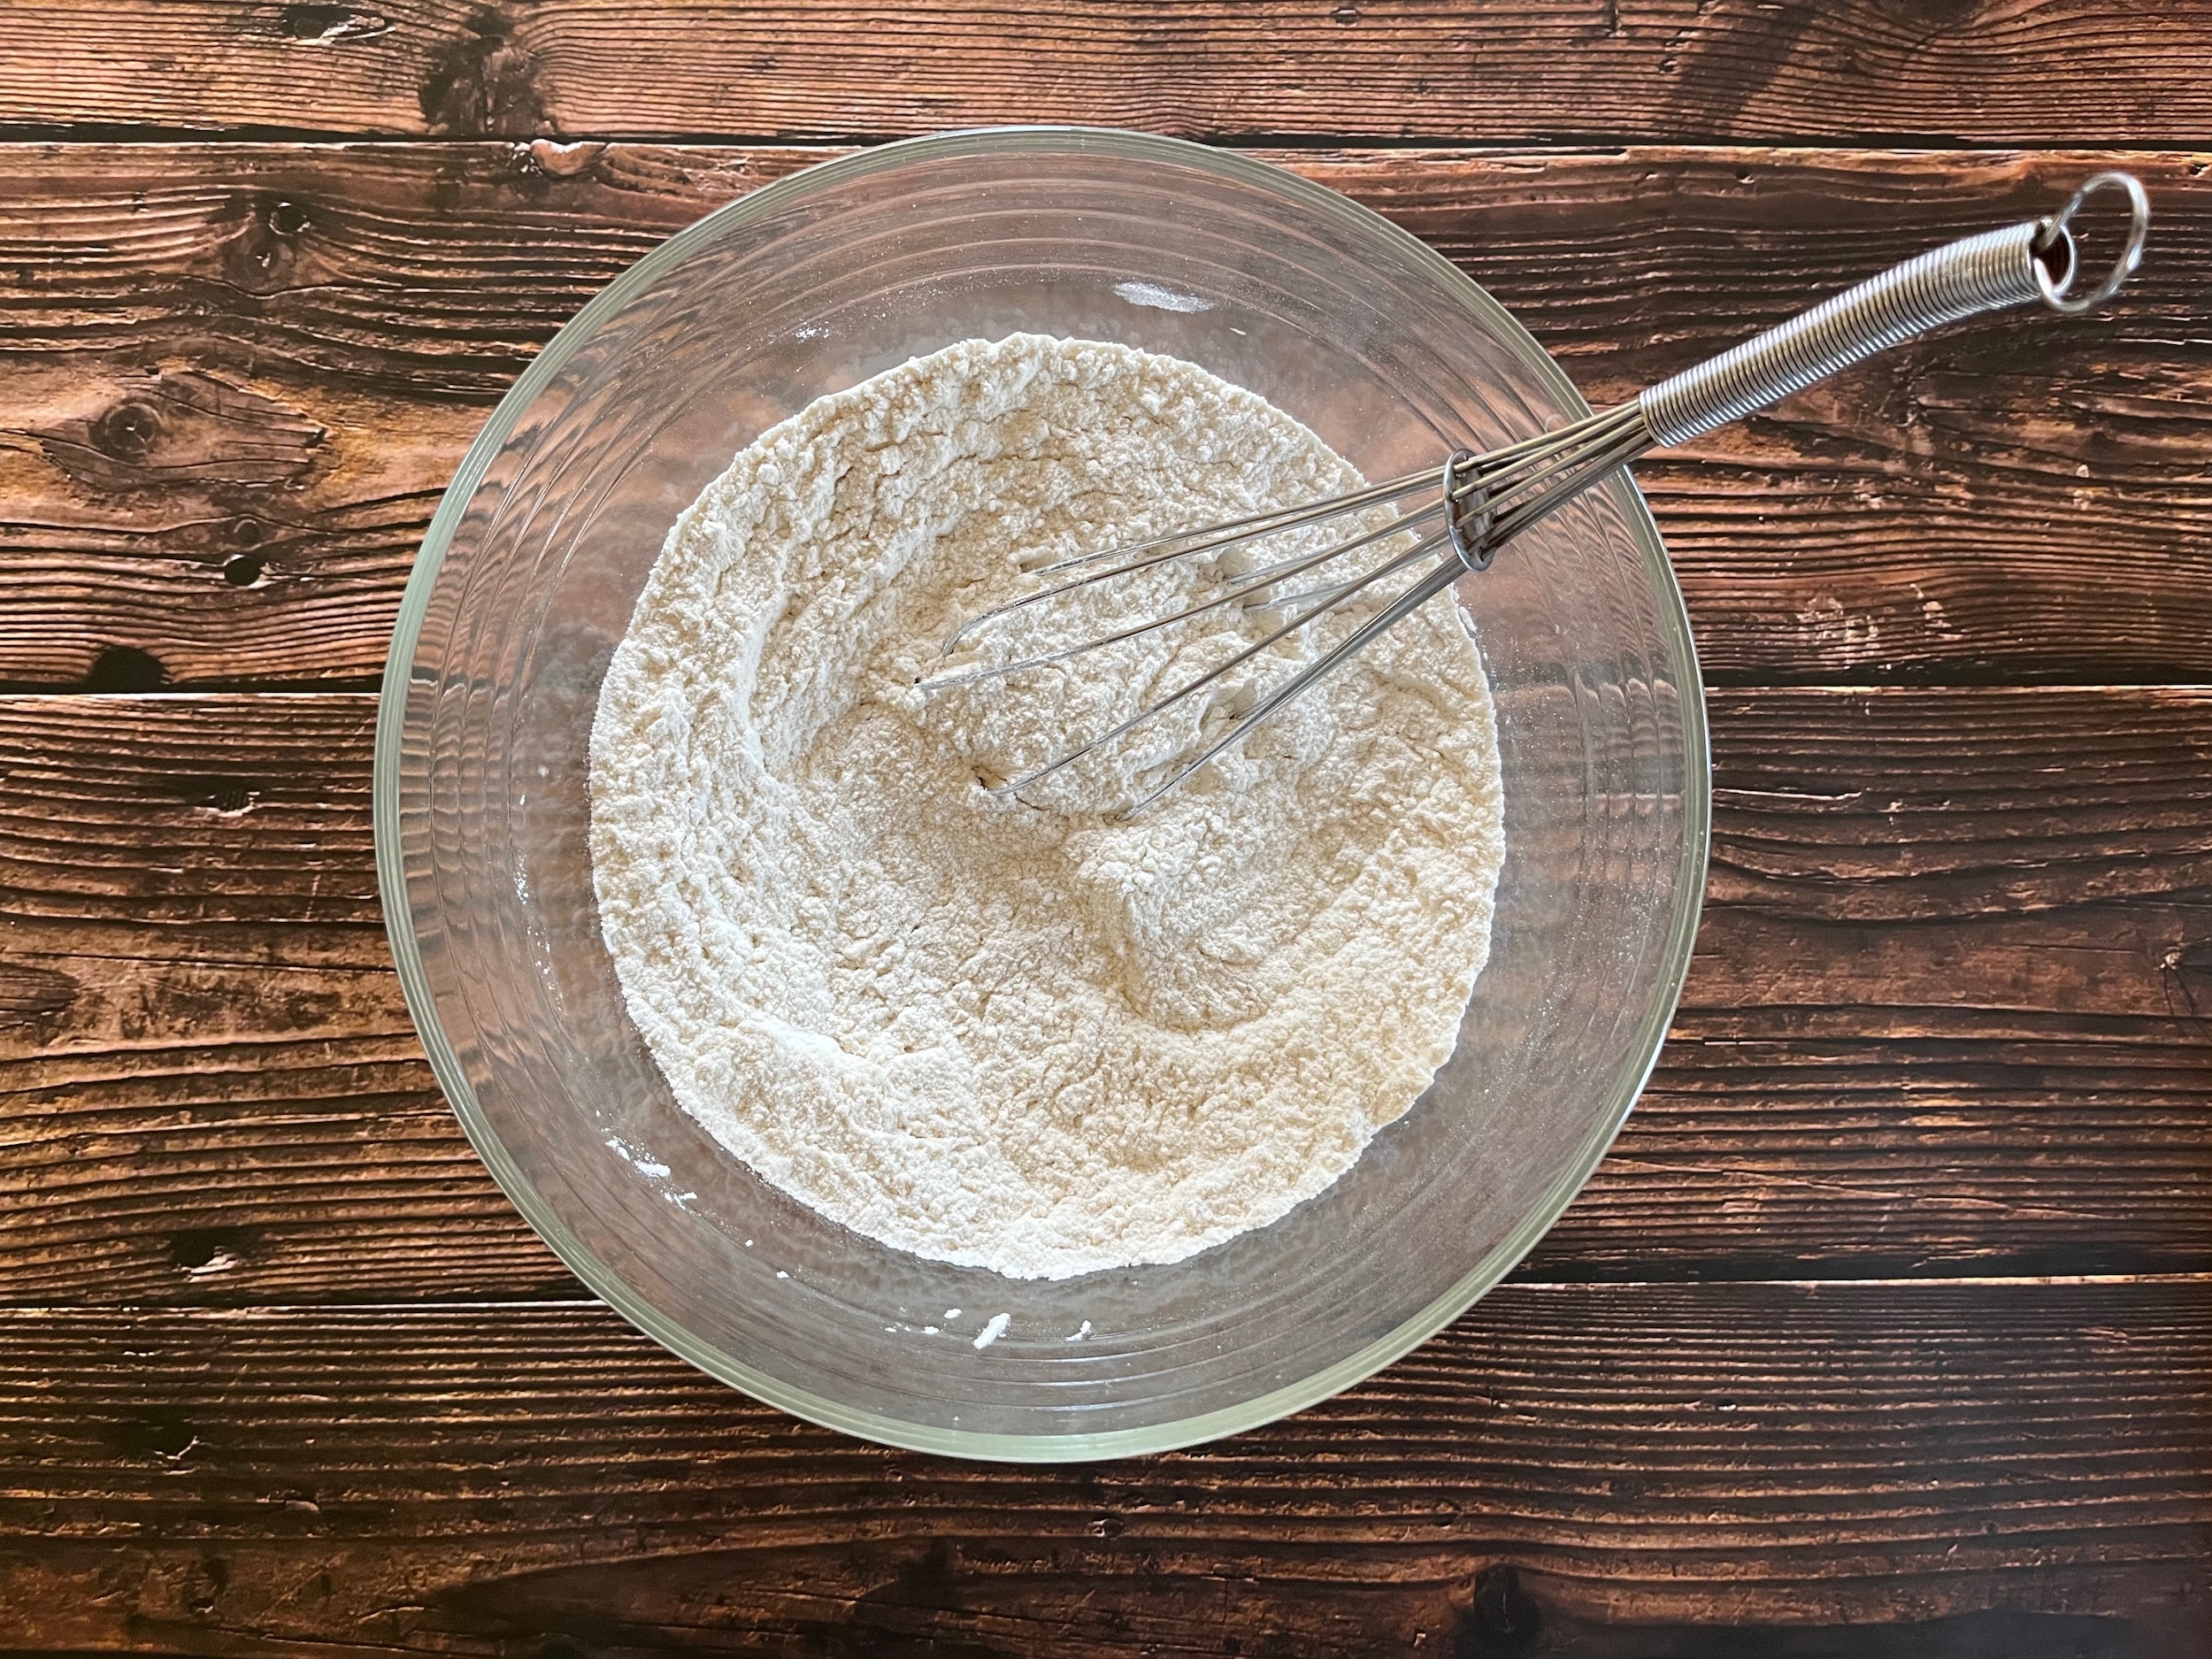
  1. Add the flour, baking powder and salt to a large bowl and whisk to combine.
  2. Melt 1/2 cup of butter in 1 cup of water and stir until well combined.
  3. Gently pour the butter and water mixture into the flour mixture and mix with your hands until a dough forms, then knead that dough into a smooth ball.
  4. Put the dough ball back into the bowl and cover it with plastic. 
  5. Allow the dough to rest for 10 to 15 minutes, then remove it and separate it out into smaller balls of dough.
  6. Transfer them back into the bowl, cover them with plastic, and allow them to rest for another 10 to 15 minutes.
  7. Pre-heat your pan or skillet to a medium heat.
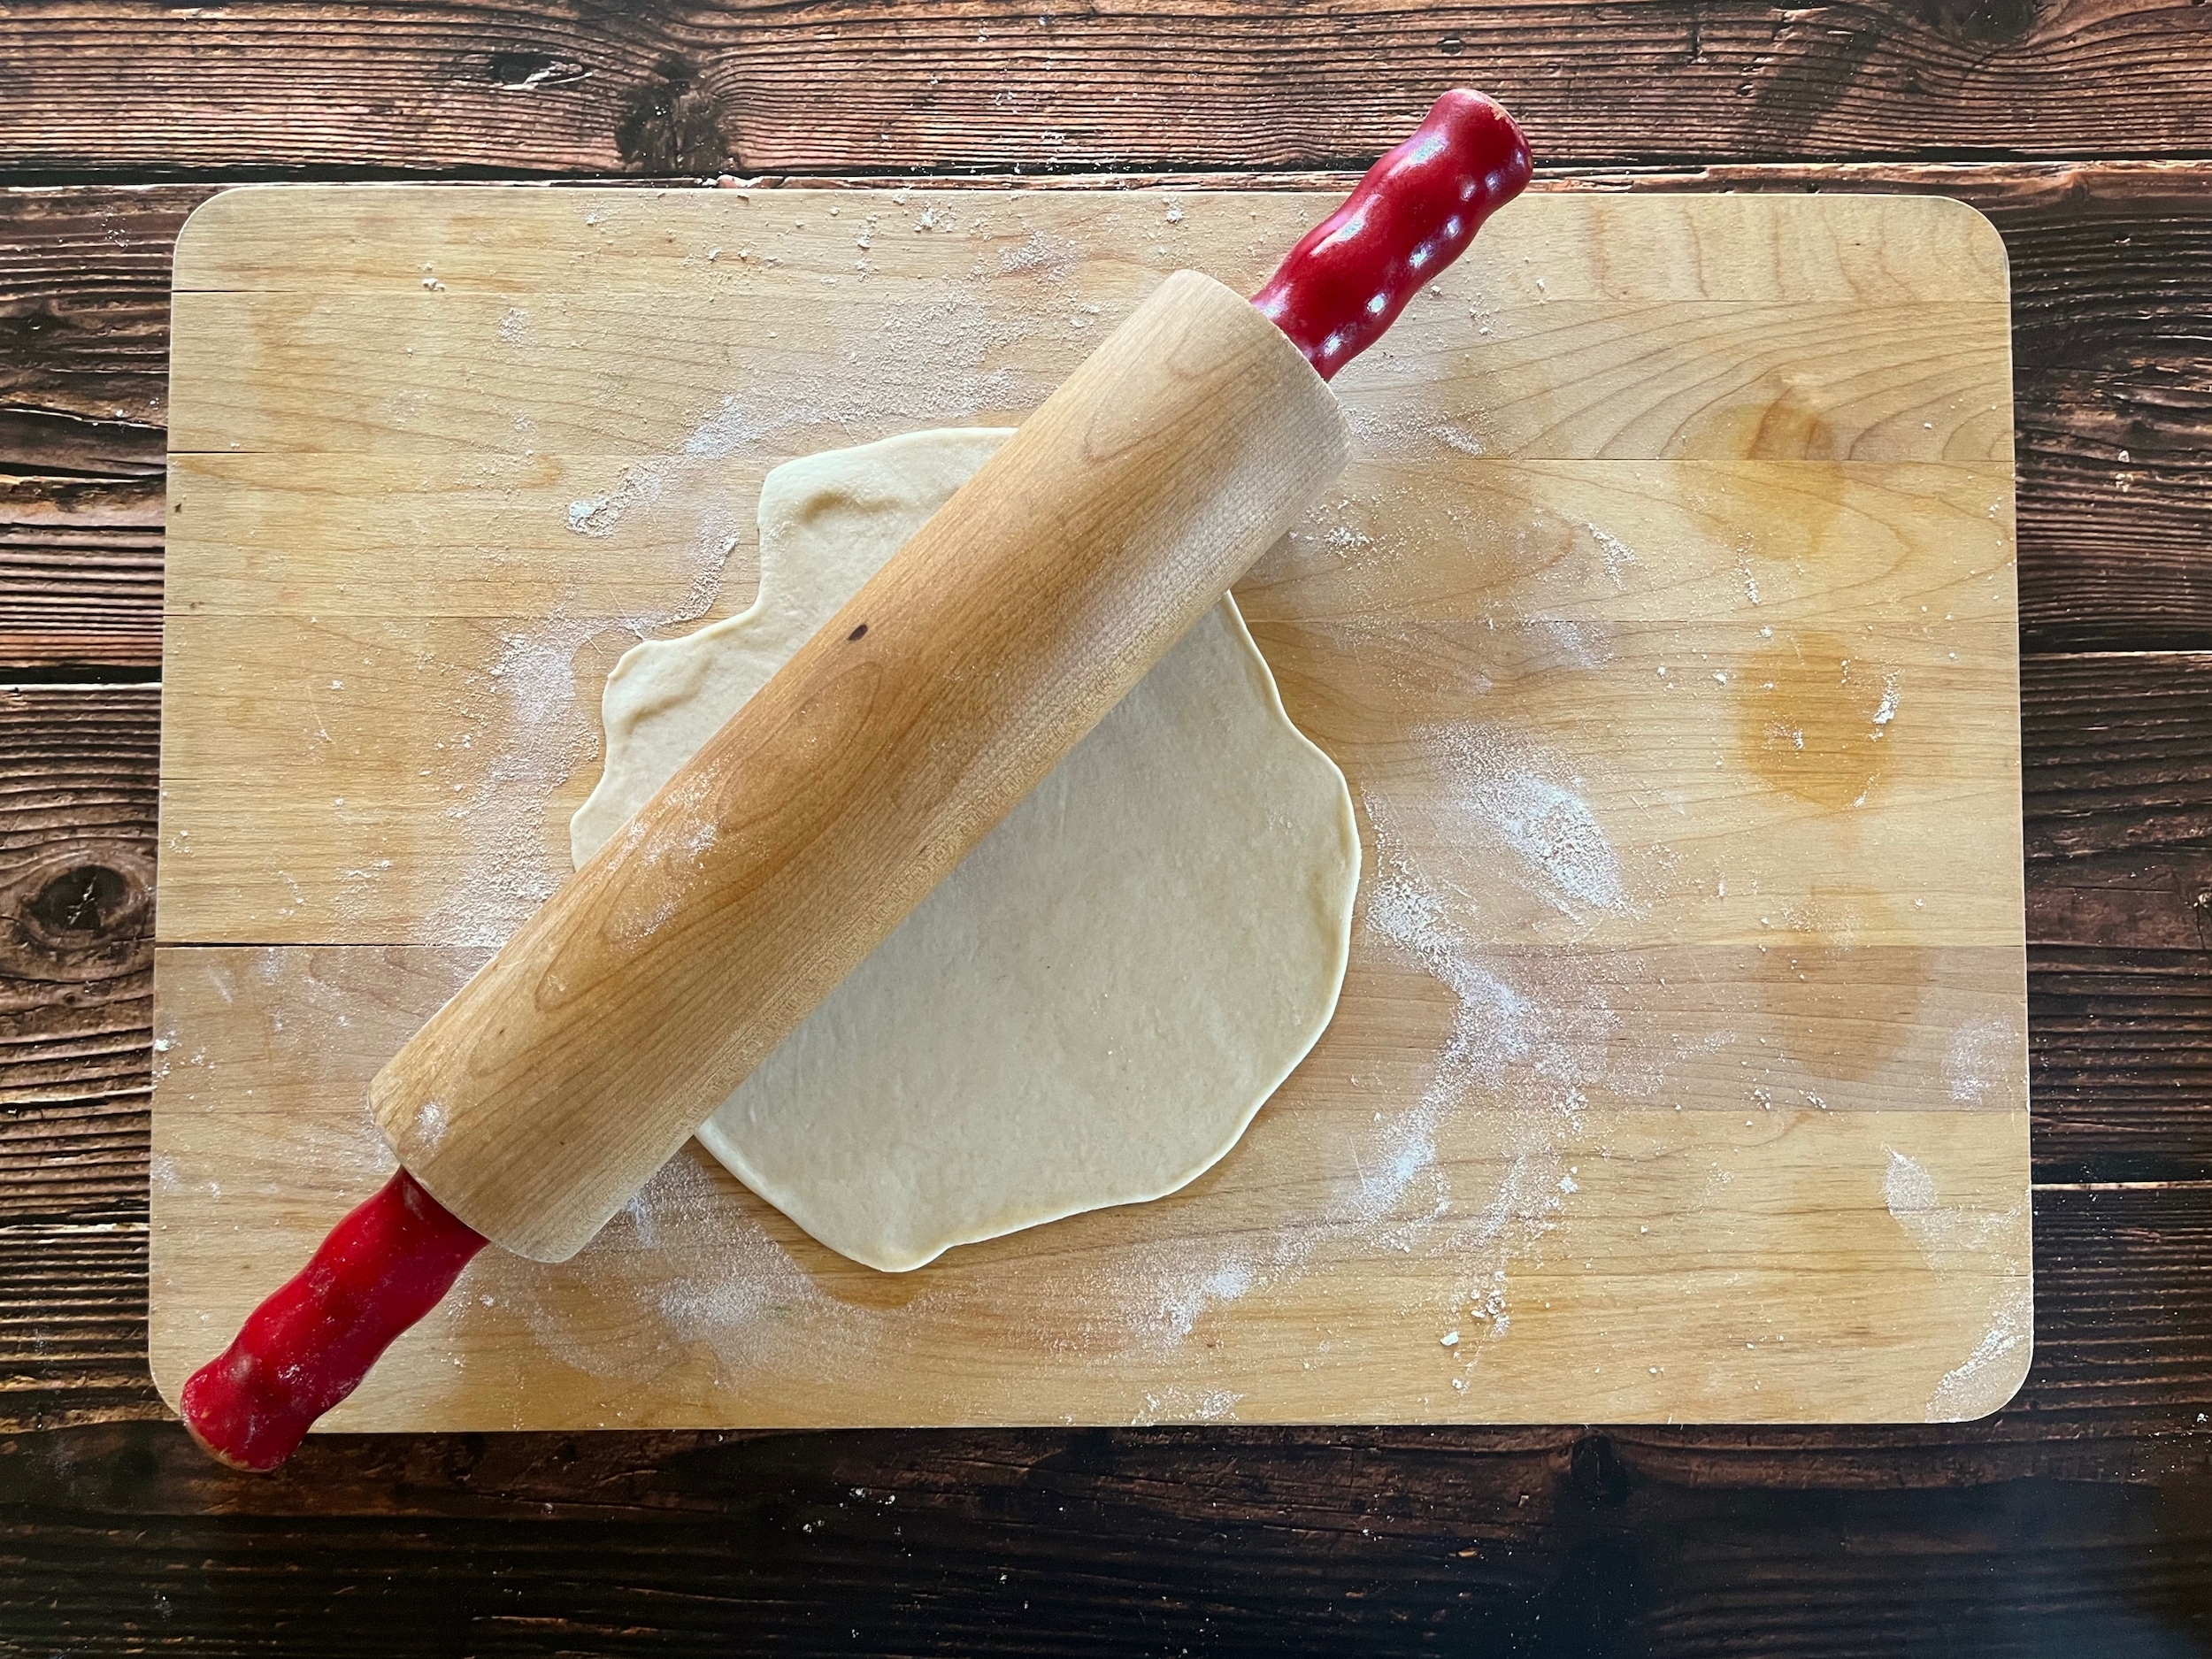
  8. On a lightly floured surface, roll out a ball of dough into an 8 to 10 inch round.
  9. Place your tortilla in the middle of the pan.
  10. When bubbles form, flip your tortilla and cook for an additional 30 seconds, then remove it from the heat.
  11. Repeat steps 8 through 10 until all of the tortillas are cooked!
  12. Enjoy!

Homemade Pumpkin Bread Recipe

Welcome back friends! 

Who wants some fresh, oven baked pumpkin bread to enjoy on one (or more) of these beautiful autumn mornings? Maybe at a table with some coffee or tea and a good book? 

I know I do, so let’s bake some!
PUMPKIN BREAD
  • 2 cups of all-purpose flour
  • 1⁄2 teaspoon of baking powder
  • 1 teaspoon of baking soda
  • 1 teaspoon of ground cinnamon
  • 1 teaspoon of ground cloves
  • 1 teaspoon of ground nutmeg
  • 1⁄2 teaspoon of salt
  • 3⁄4 cup of unsalted butter, softened
  • 2 cups of sugar
  • 2 large of eggs
  • 1 15-oz can of pumpkin puree
  • Powdered sugar (optional)
INSTRUCTIONS
  1. Set an oven rack to the middle position and pre-heat it to 325F. 
  2. Grease two 8 x 4-inch loaf pans with butter, then dust with flour.
  3. In a medium bowl, combine the flour, baking powder, baking soda, cinnamon, cloves, nutmeg and salt. Whisk until well combined, then set aside. 
  4. In a large bowl, beat the butter and sugar on medium speed until just blended. Add the eggs one at a time, beating well after each addition and continue to beat until very light and fluffy, then incorporate the pumpkin.
  5. Slowly add the flour mixture to the pumpkin mixture and mix on a low speed until well combined. 
  6. Divide the batter evenly into the two prepared pans, and bake for 65 – 75 minutes, or until a cake tester inserted into the center comes out clean. 
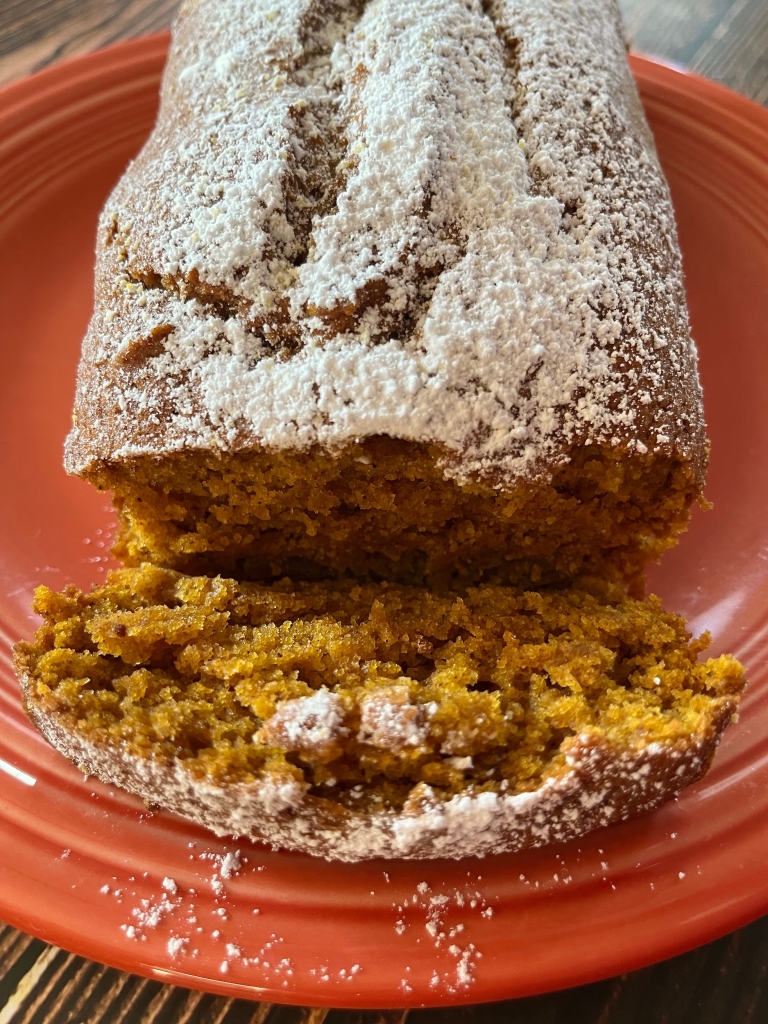
  7. Let the loaves cool in the pans for about 10 minutes, then turn out onto a wire rack to cool completely. 
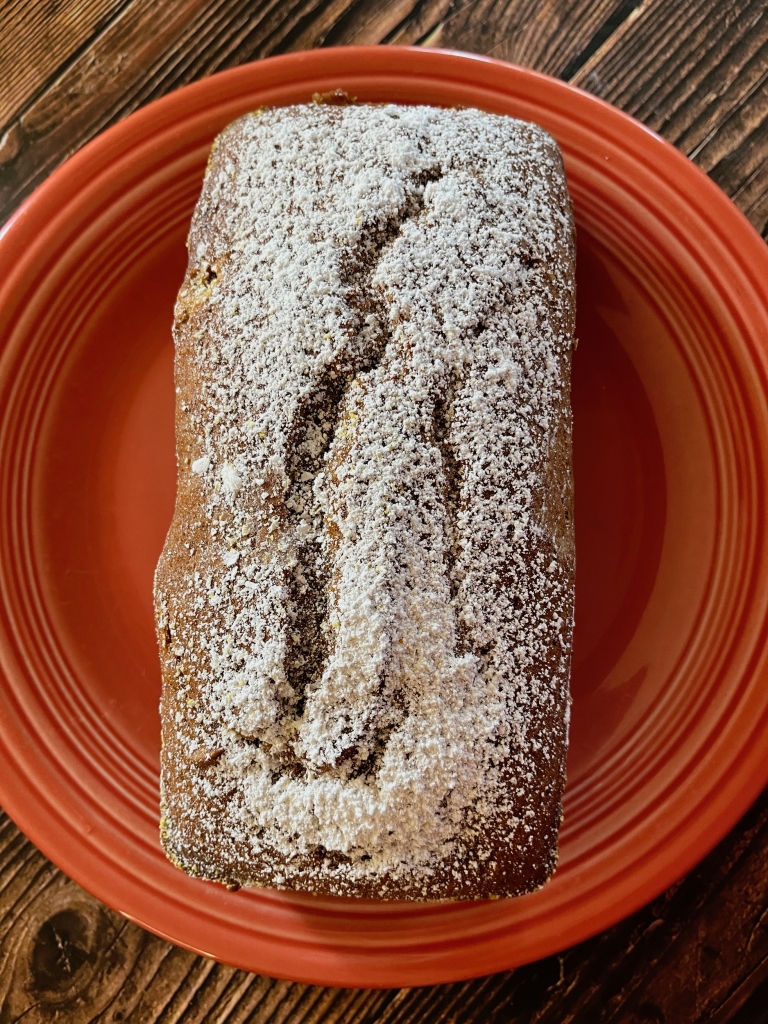
  8. Place powdered sugar into a sifter and lightly dust the top of each loaf.
  9. Enjoy!

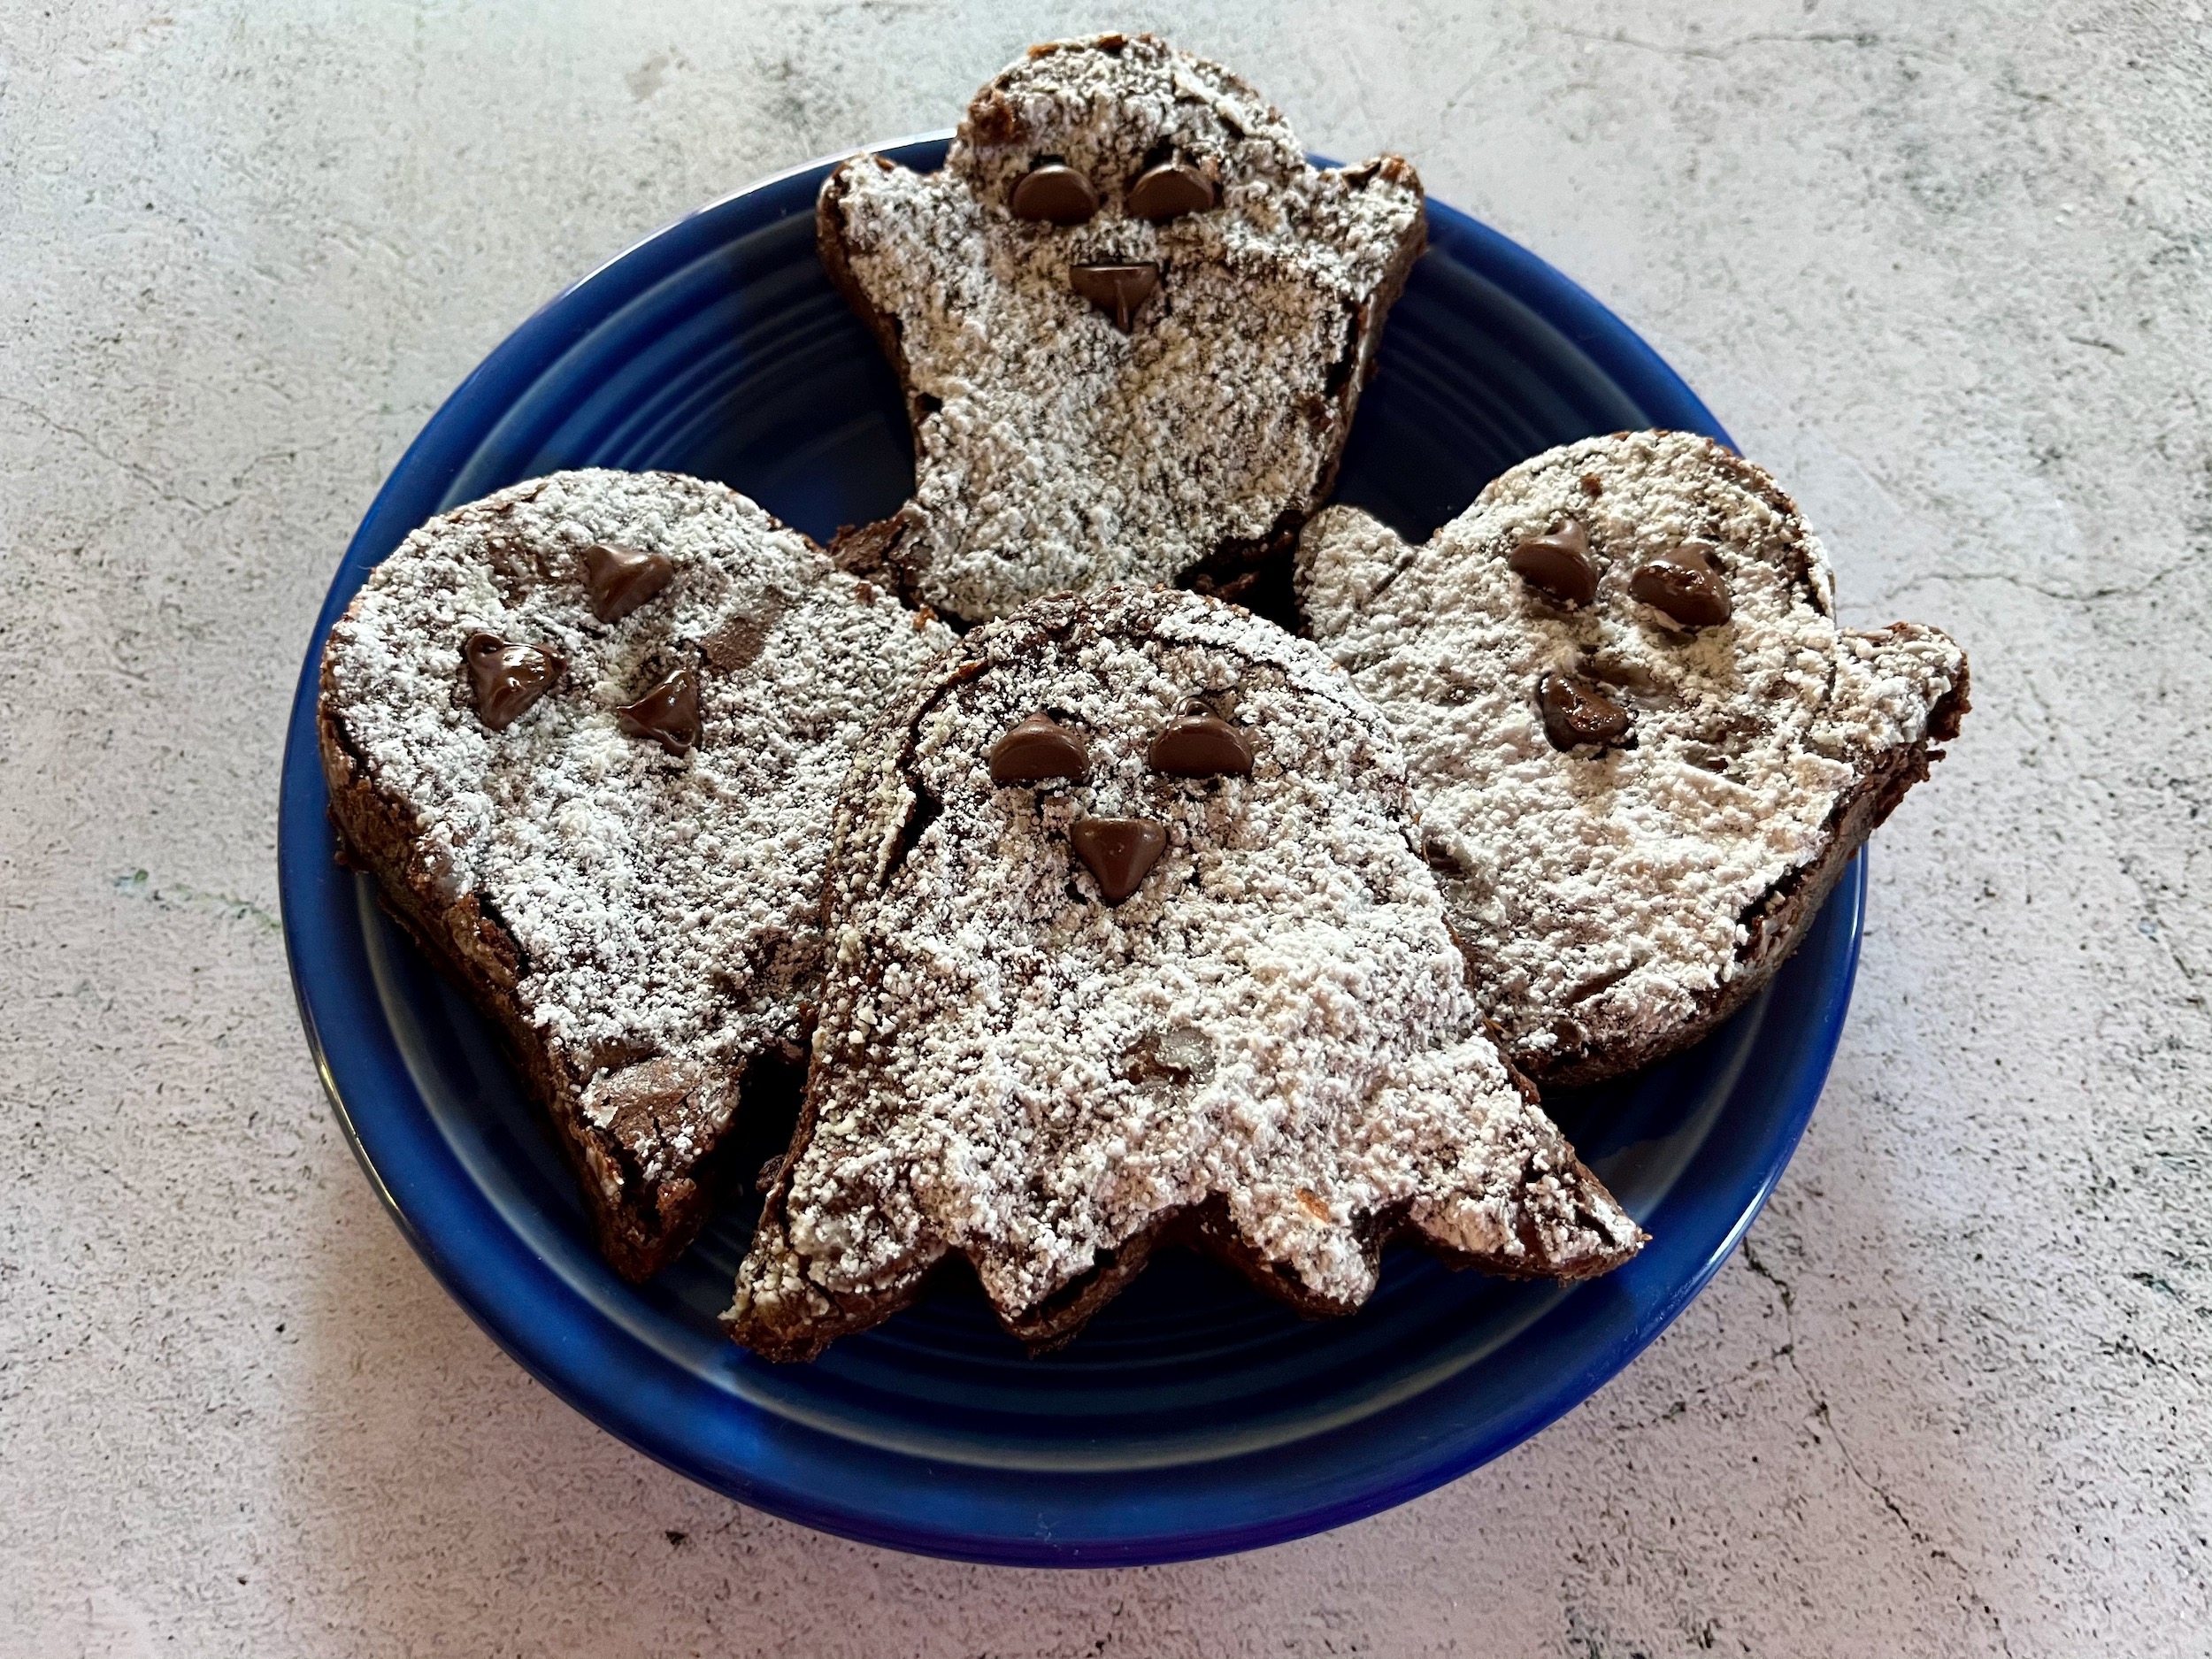
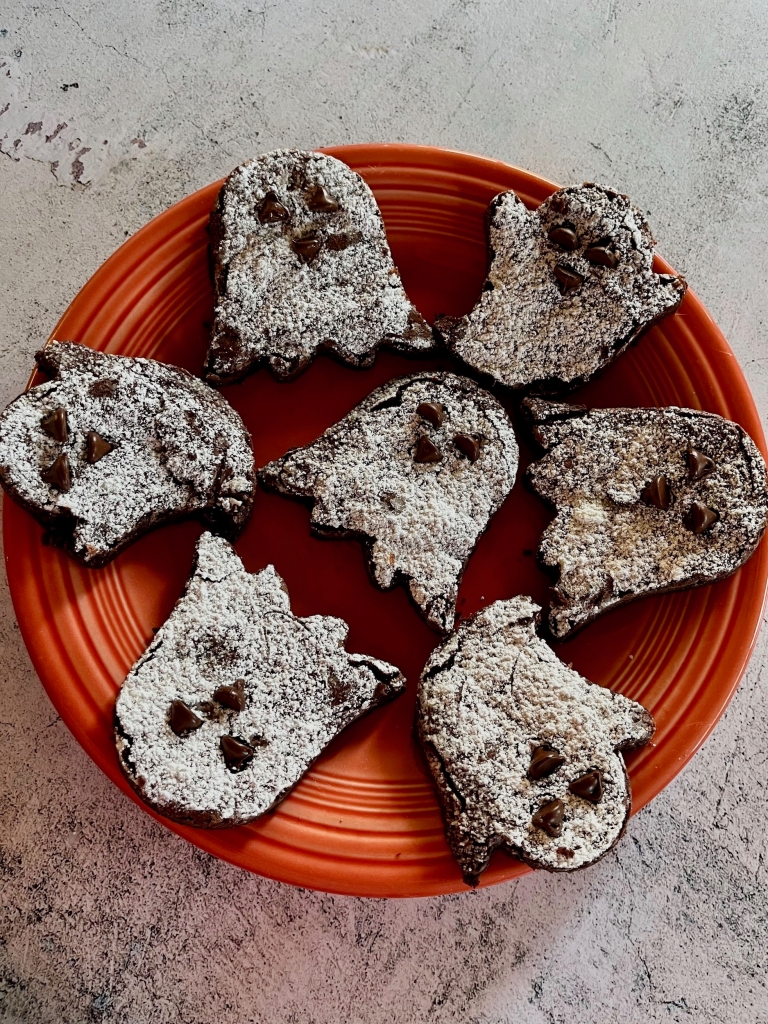
Homemade Ghostly Brownie Recipe

Welcome back friends!

Who wants some fresh from scratch, oven baked ghostly brownies to enjoy on one (or more) of these beautiful autumn evenings? Maybe at a movie night, or a game night?

I know I do, so let’s bake some!

GHOSTLY BROWNIES
  • 1/2 cup of butter, melted
  • 2/3 cup of unsweetened cocoa powder
  • 1 1/3 cups of sugar
  • 2 tablespoons of vegetable oil
  • 2 large eggs, room temperature
  • 1/2 teaspoon of salt
  • 1 teaspoon of vanilla extract
  • 1/2 cup of flour
  • 1/2 cup of semi-sweet chocolate chips
  • Powdered sugar (for dusting)
INSTRUCTIONS
  1. Pre-heat the oven to 350F and coat a baking pan with cooking spray (I used a 13×9 pan).
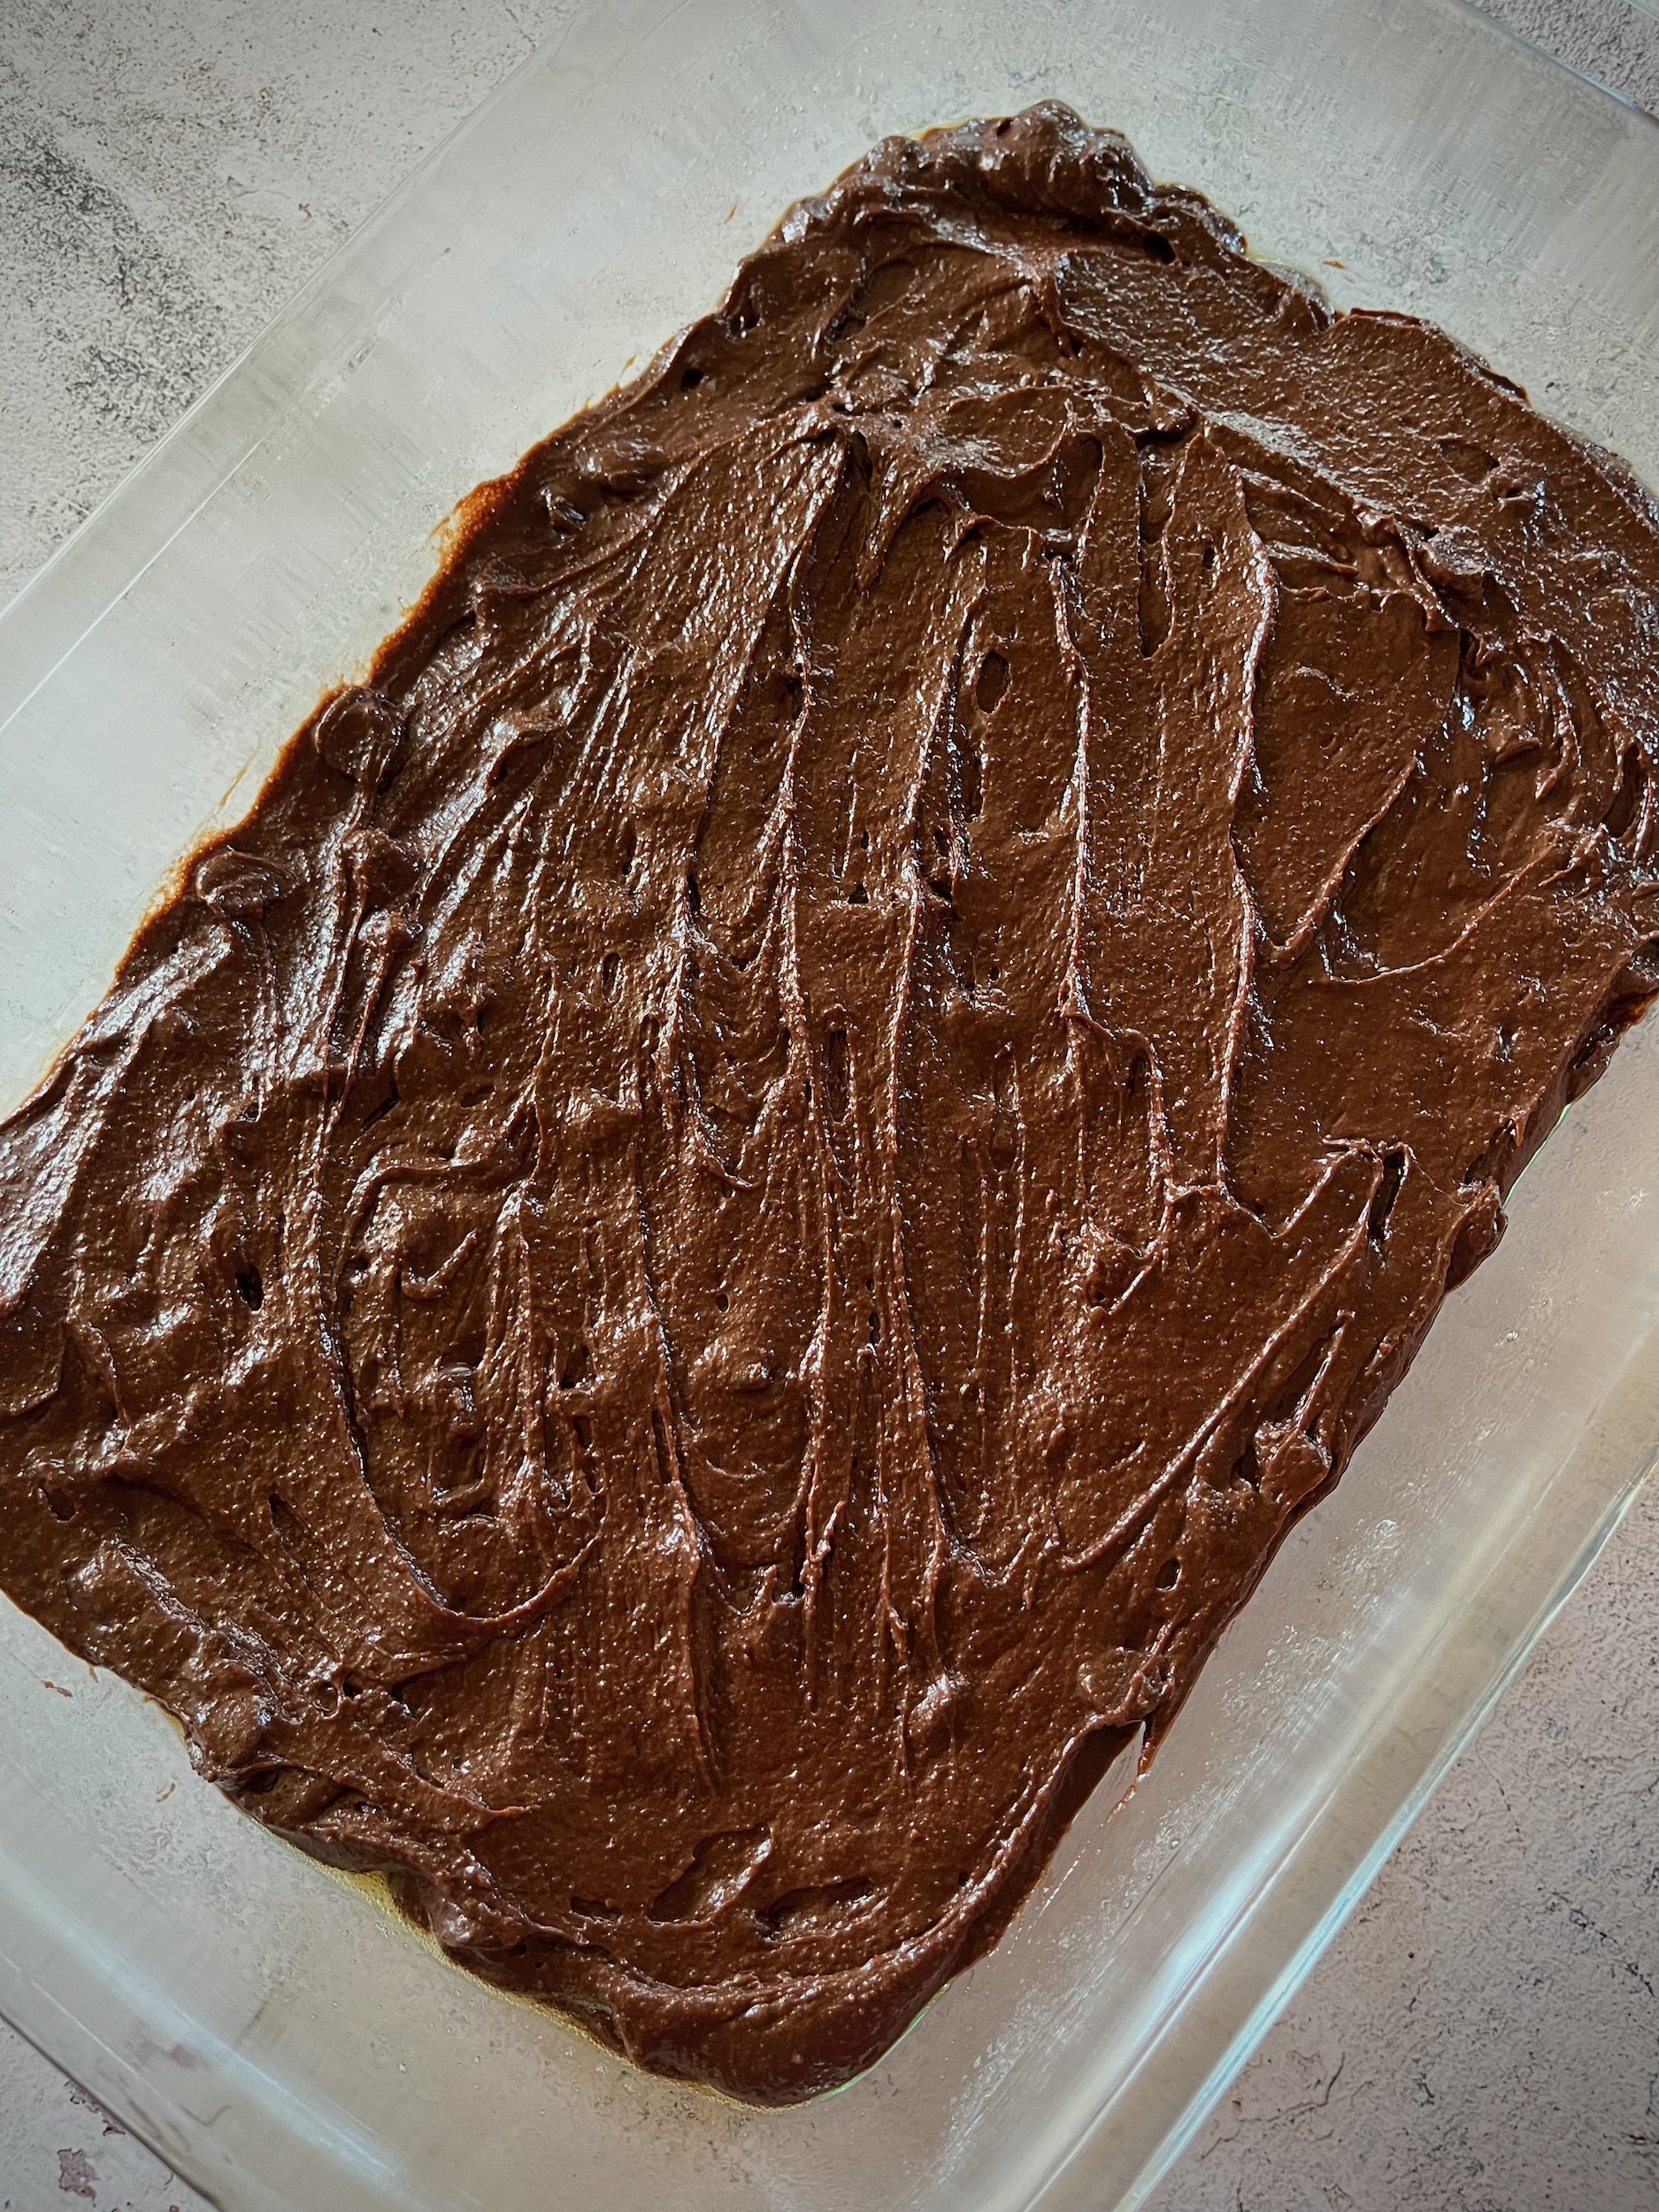
  2. Combine the melted butter, oil, sugar and cocoa powder in a large bowl and whisk until smooth.
  3. Add the eggs, vanilla and salt.
  4. Slowly stir in the flour a little at a time until a thick batter forms, then fold in the chocolate chips.
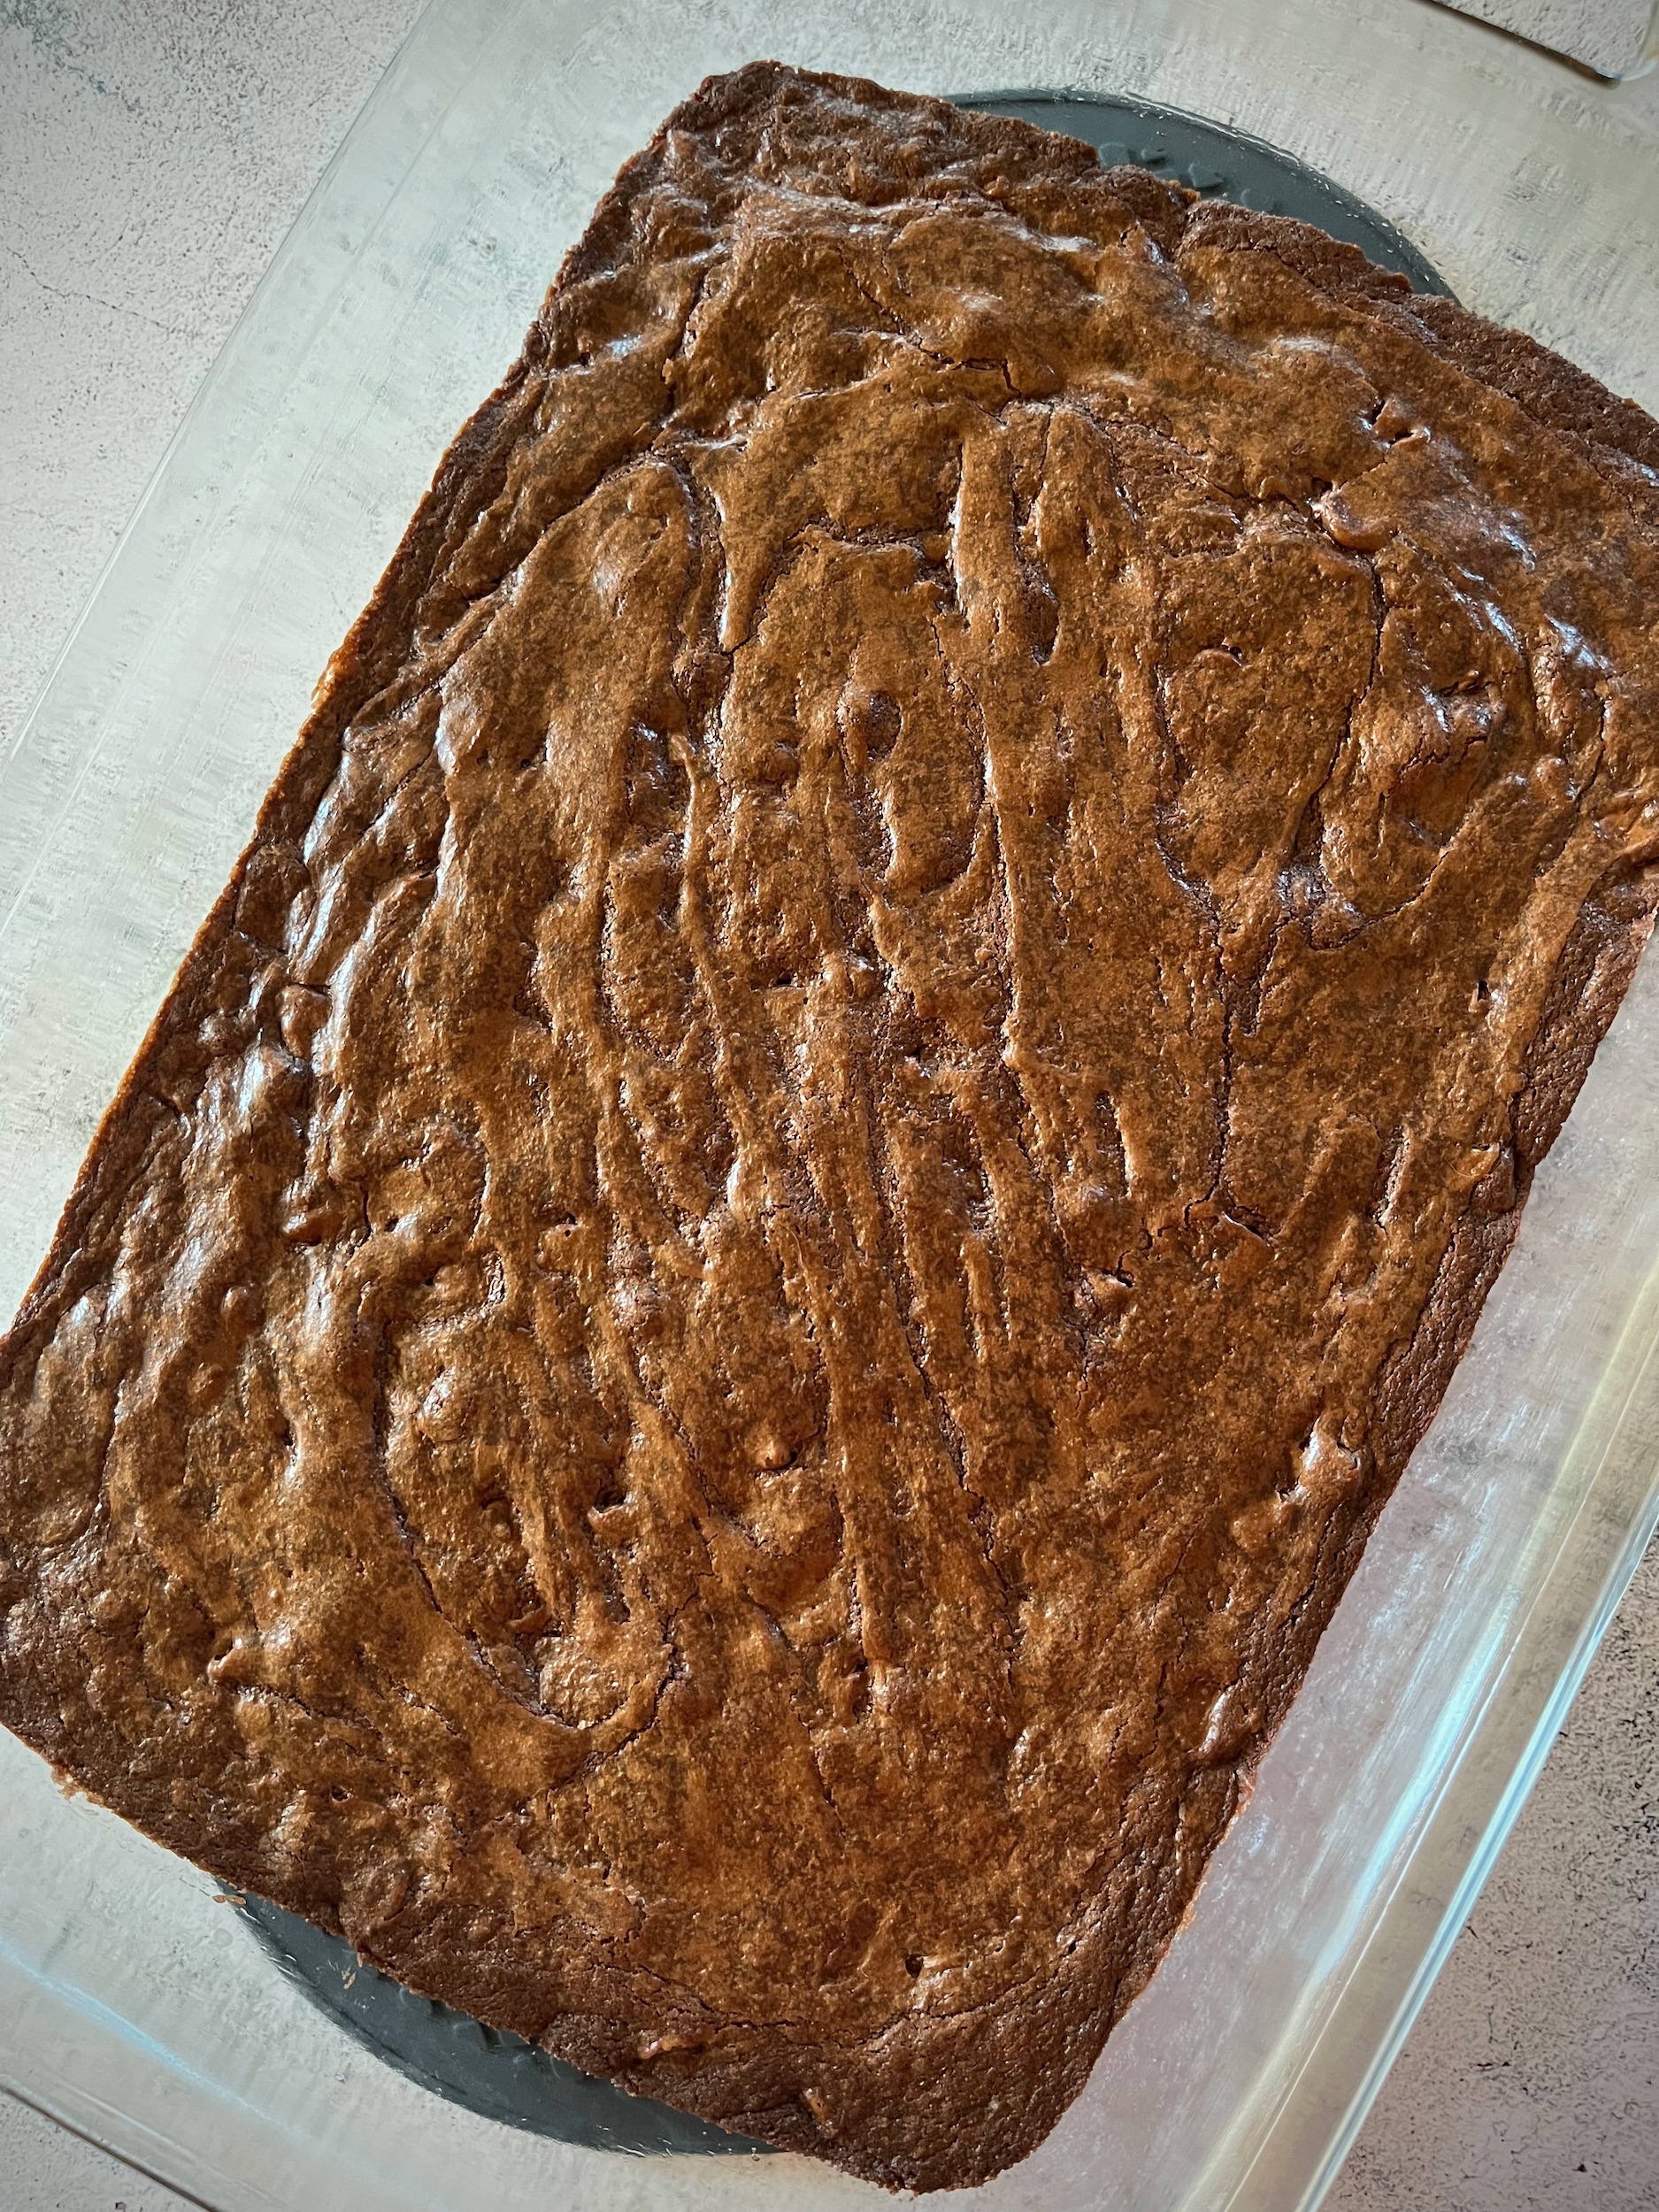
  5. Spread the batter into a prepared pan and bake for 21 to 25 minutes or until they become glossy around the edges and a toothpick comes out clean.
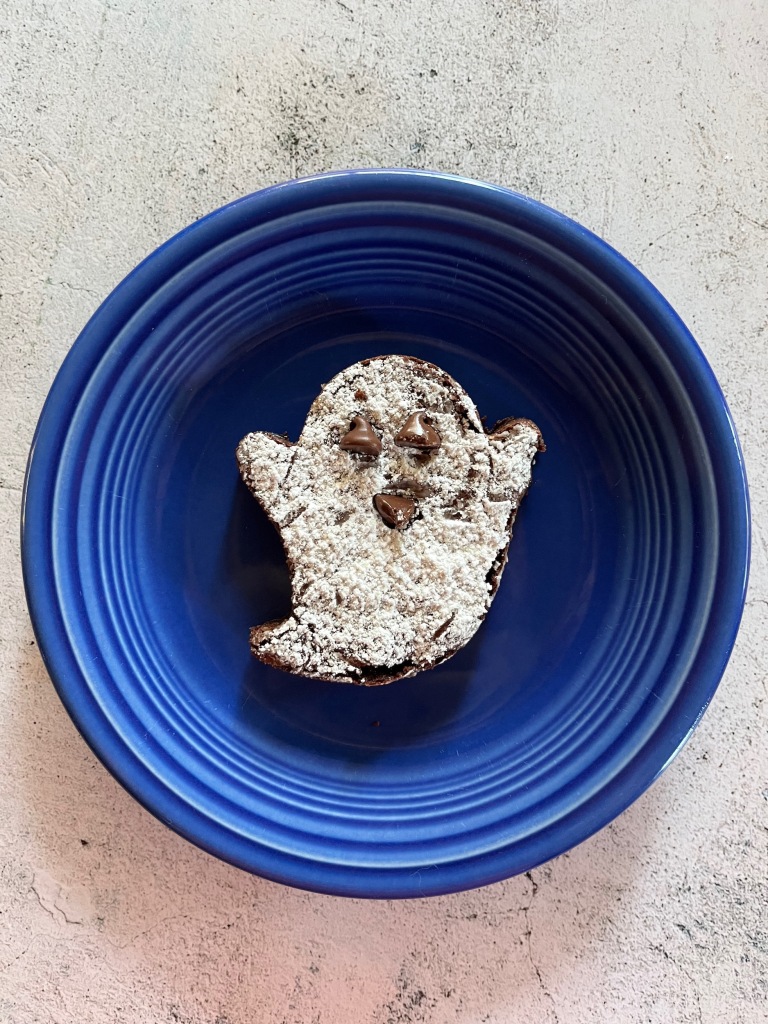
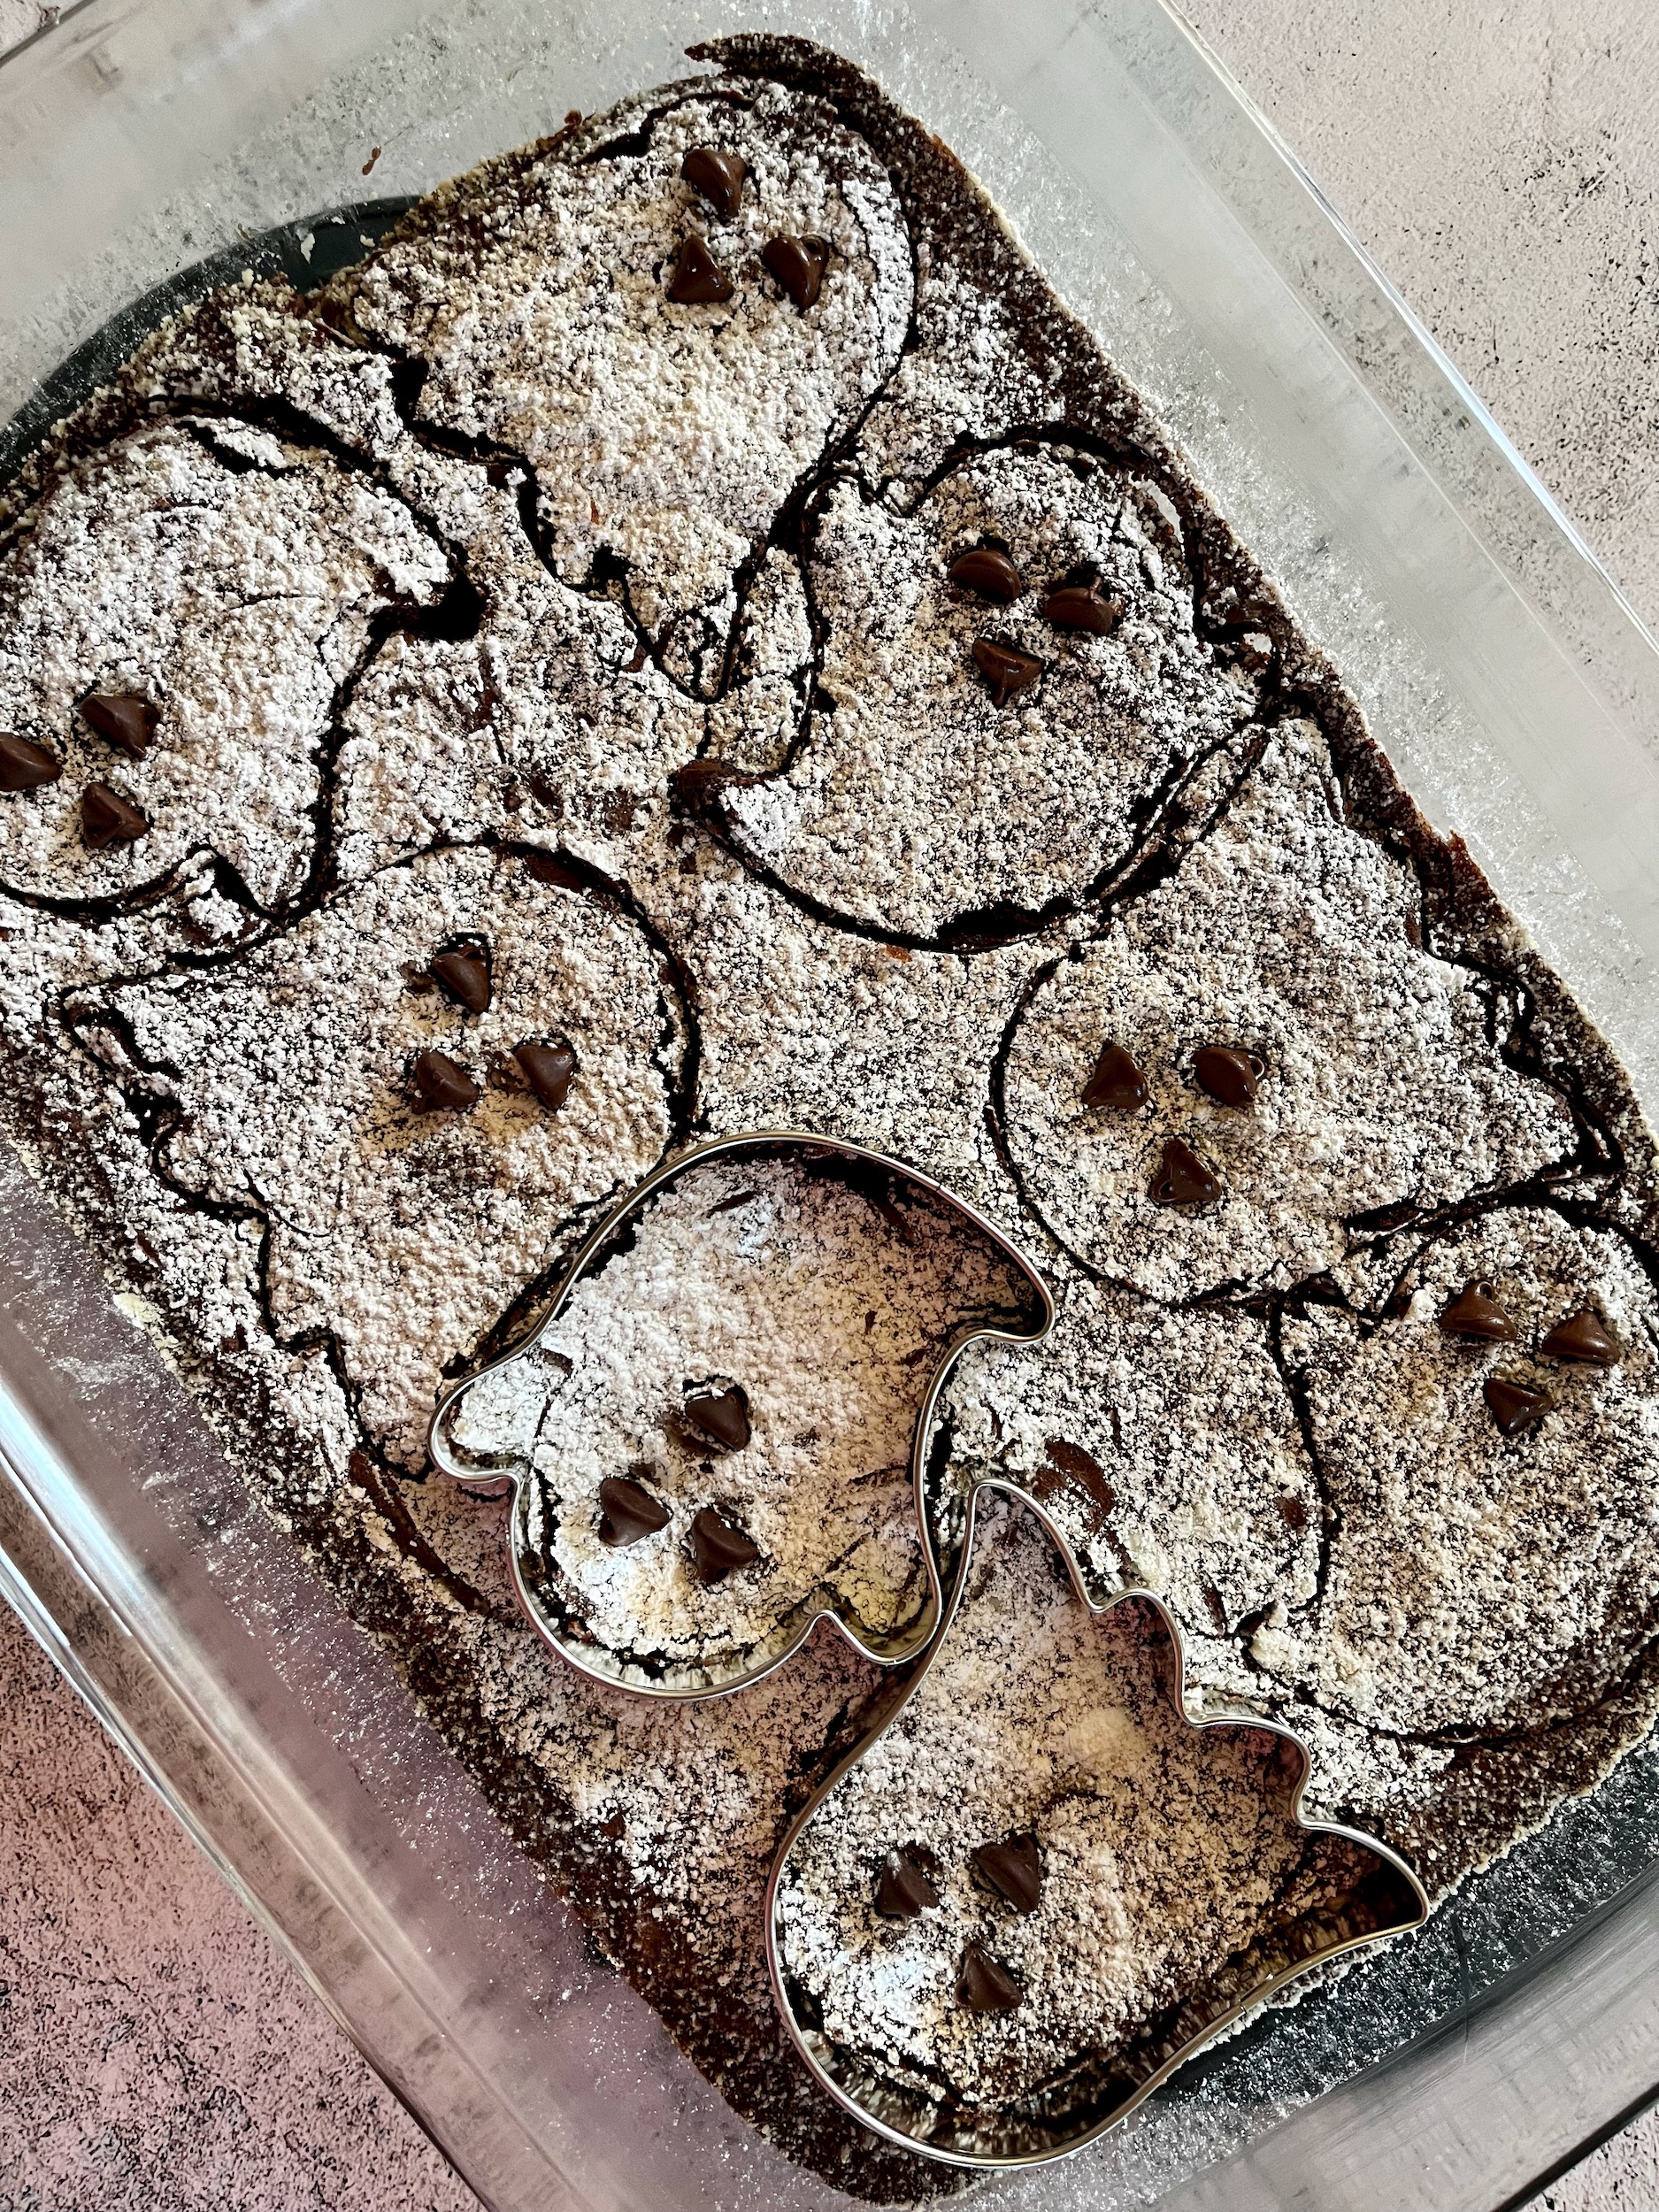
  6. Place a little powdered sugar into a sifter and lightly sift the tops of the brownies until white.
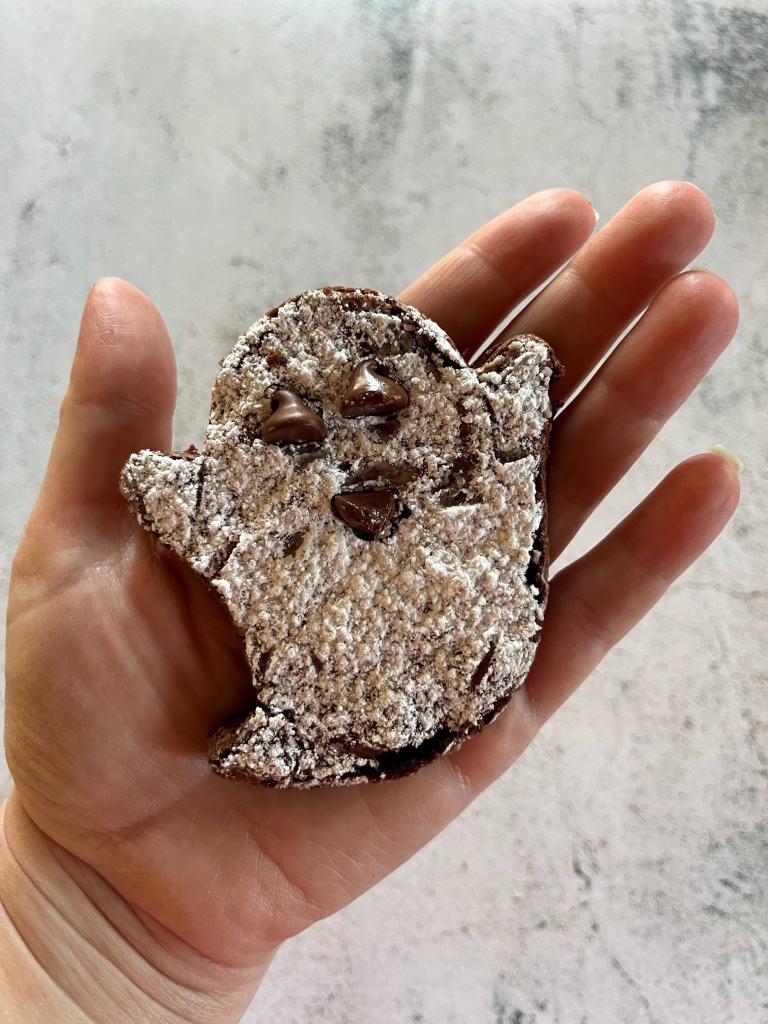
  7. Using a ghost shape cookie cutter, cut ghost shapes into the brownies (leave them where they are) and add 3 chocolate chips for the eyes and the mouth of each ghost.
  8. Allow the brownies to completely cool and solidify, then carefully remove the ghosts from the pan. I peeled away the edges and extra spaces first, then used a flat metal spatula to lift the ghosts out.
  9. Enjoy!

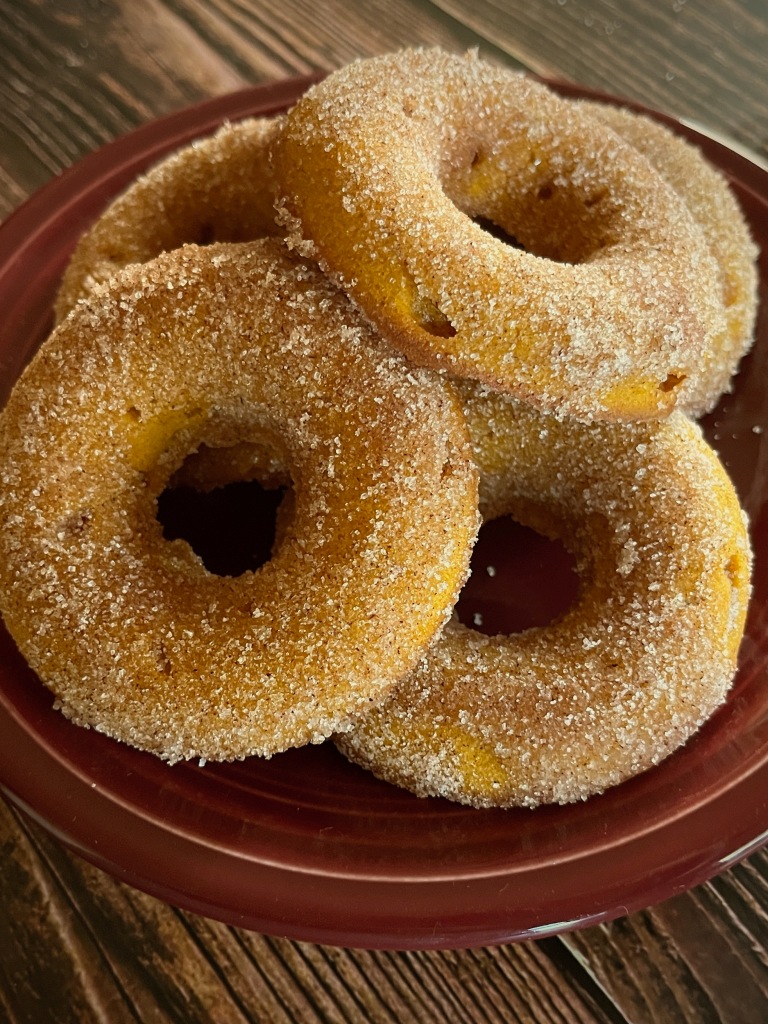
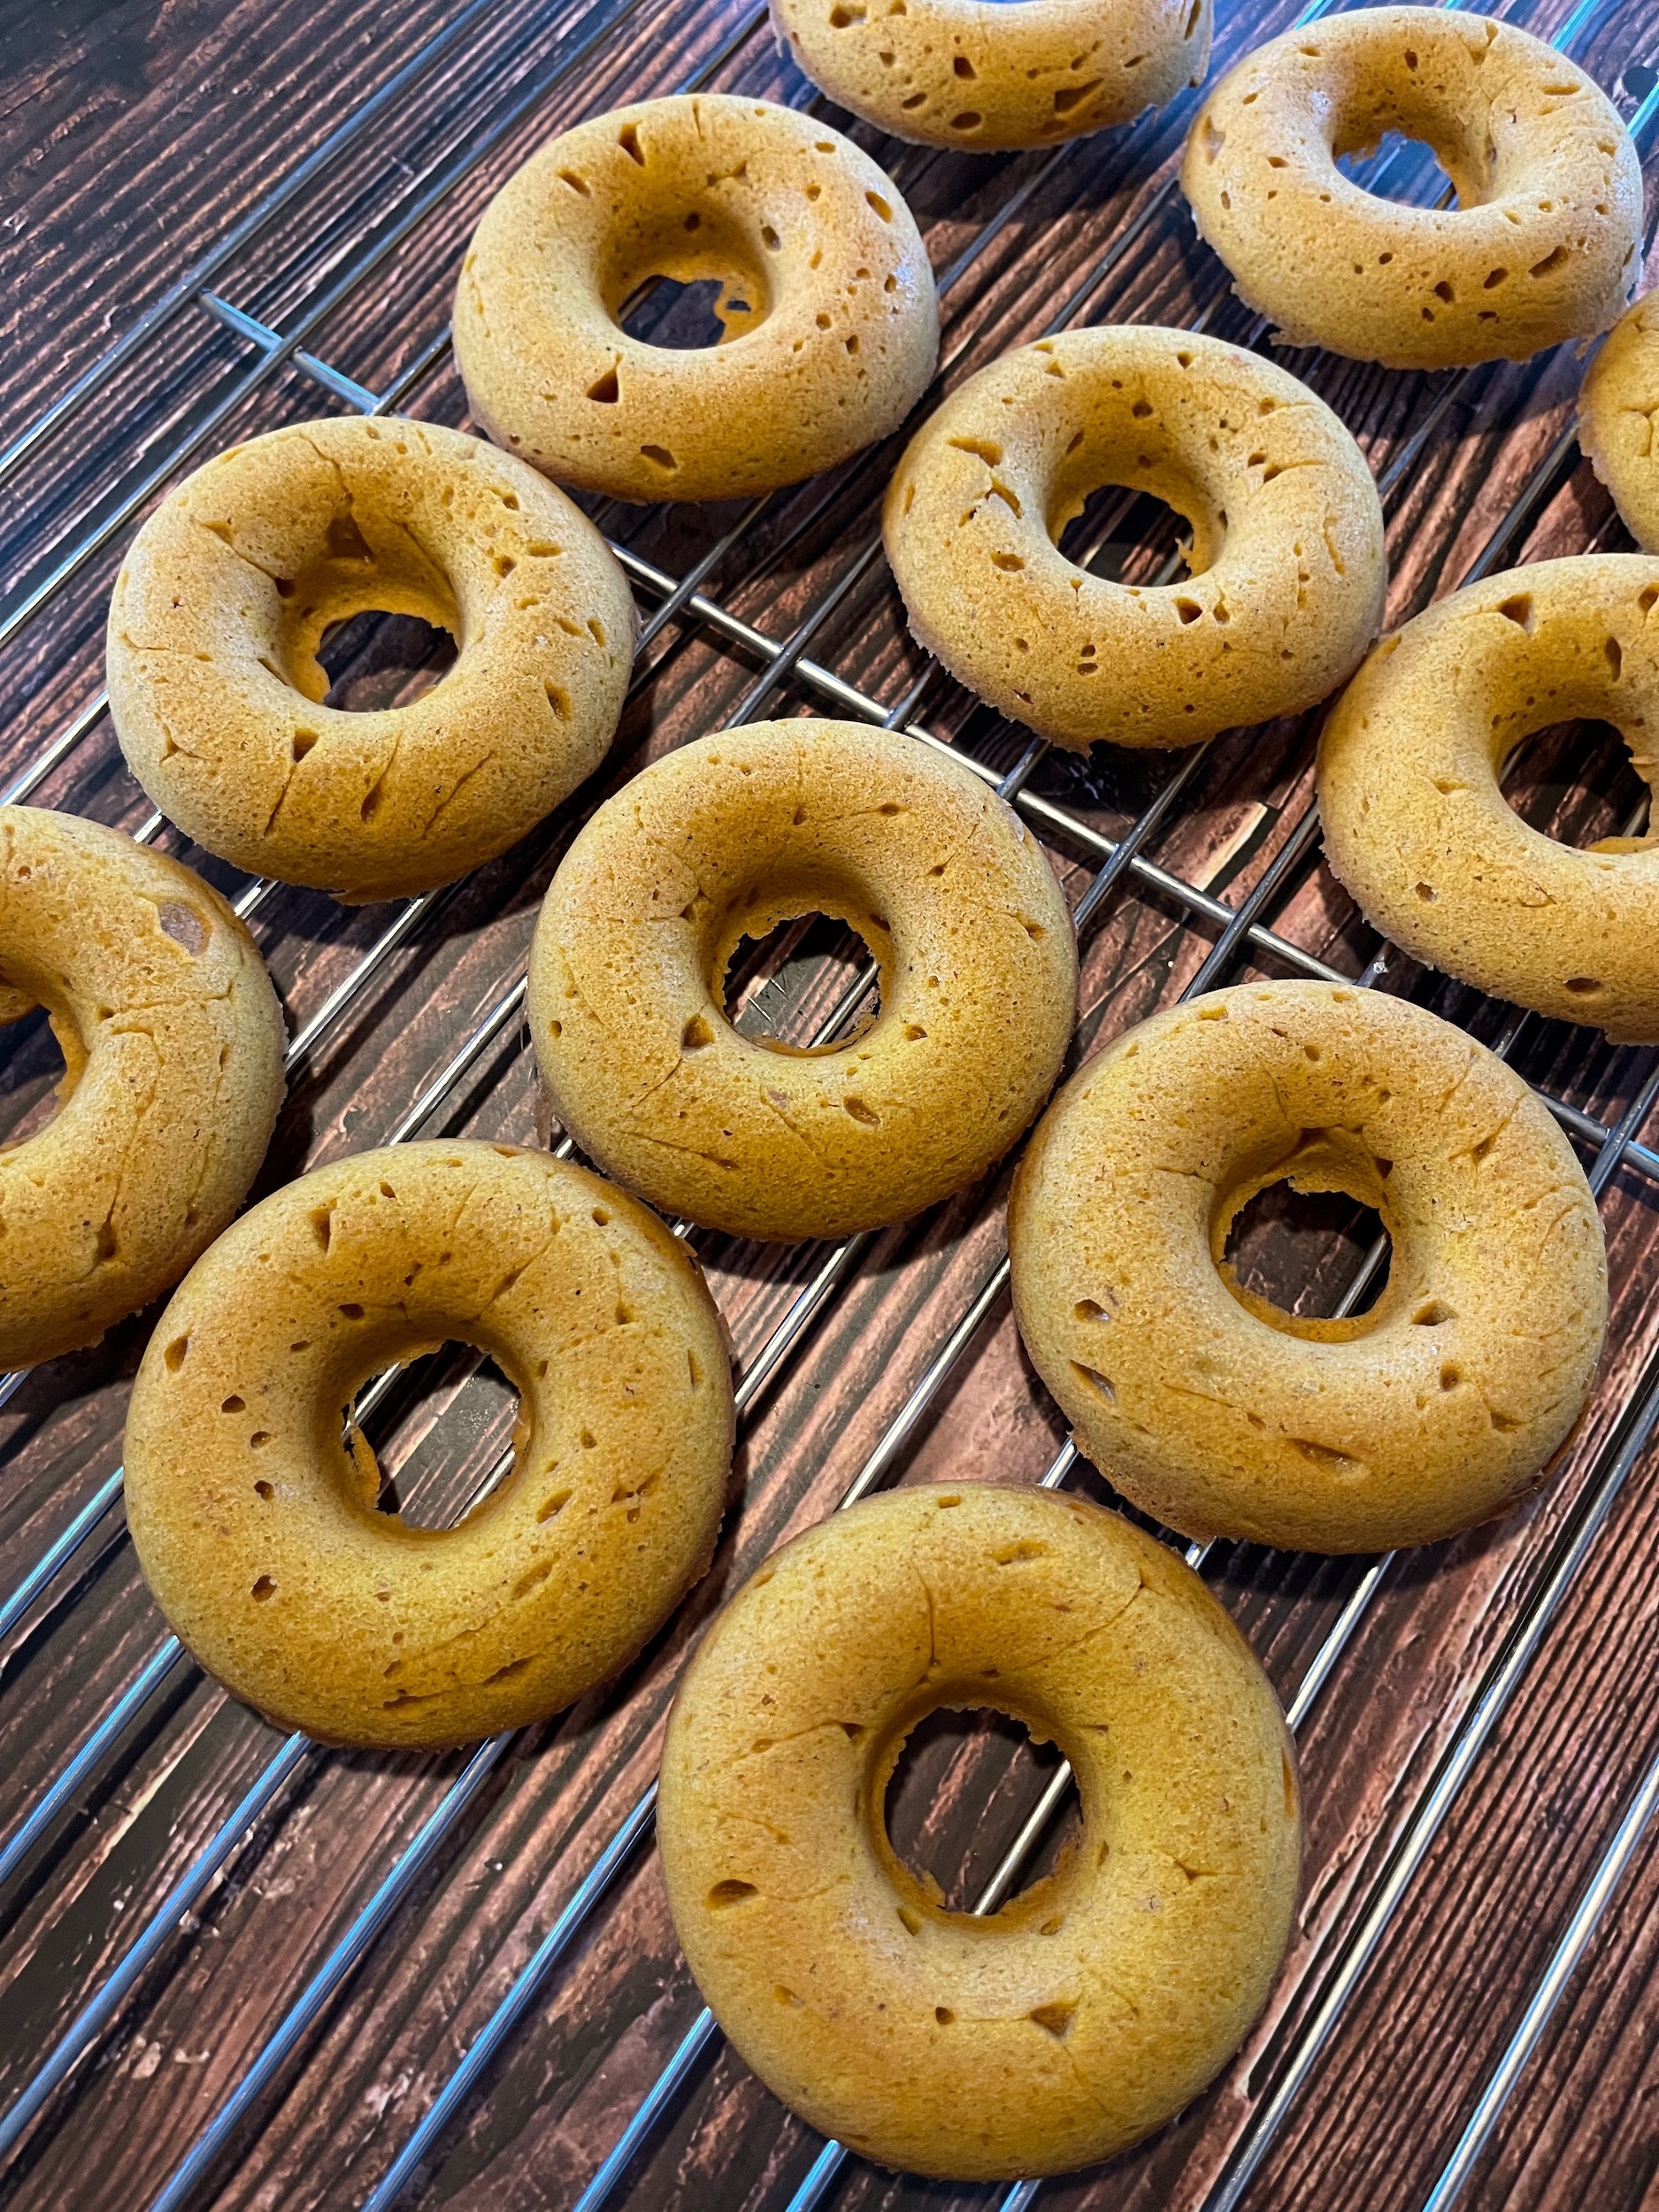
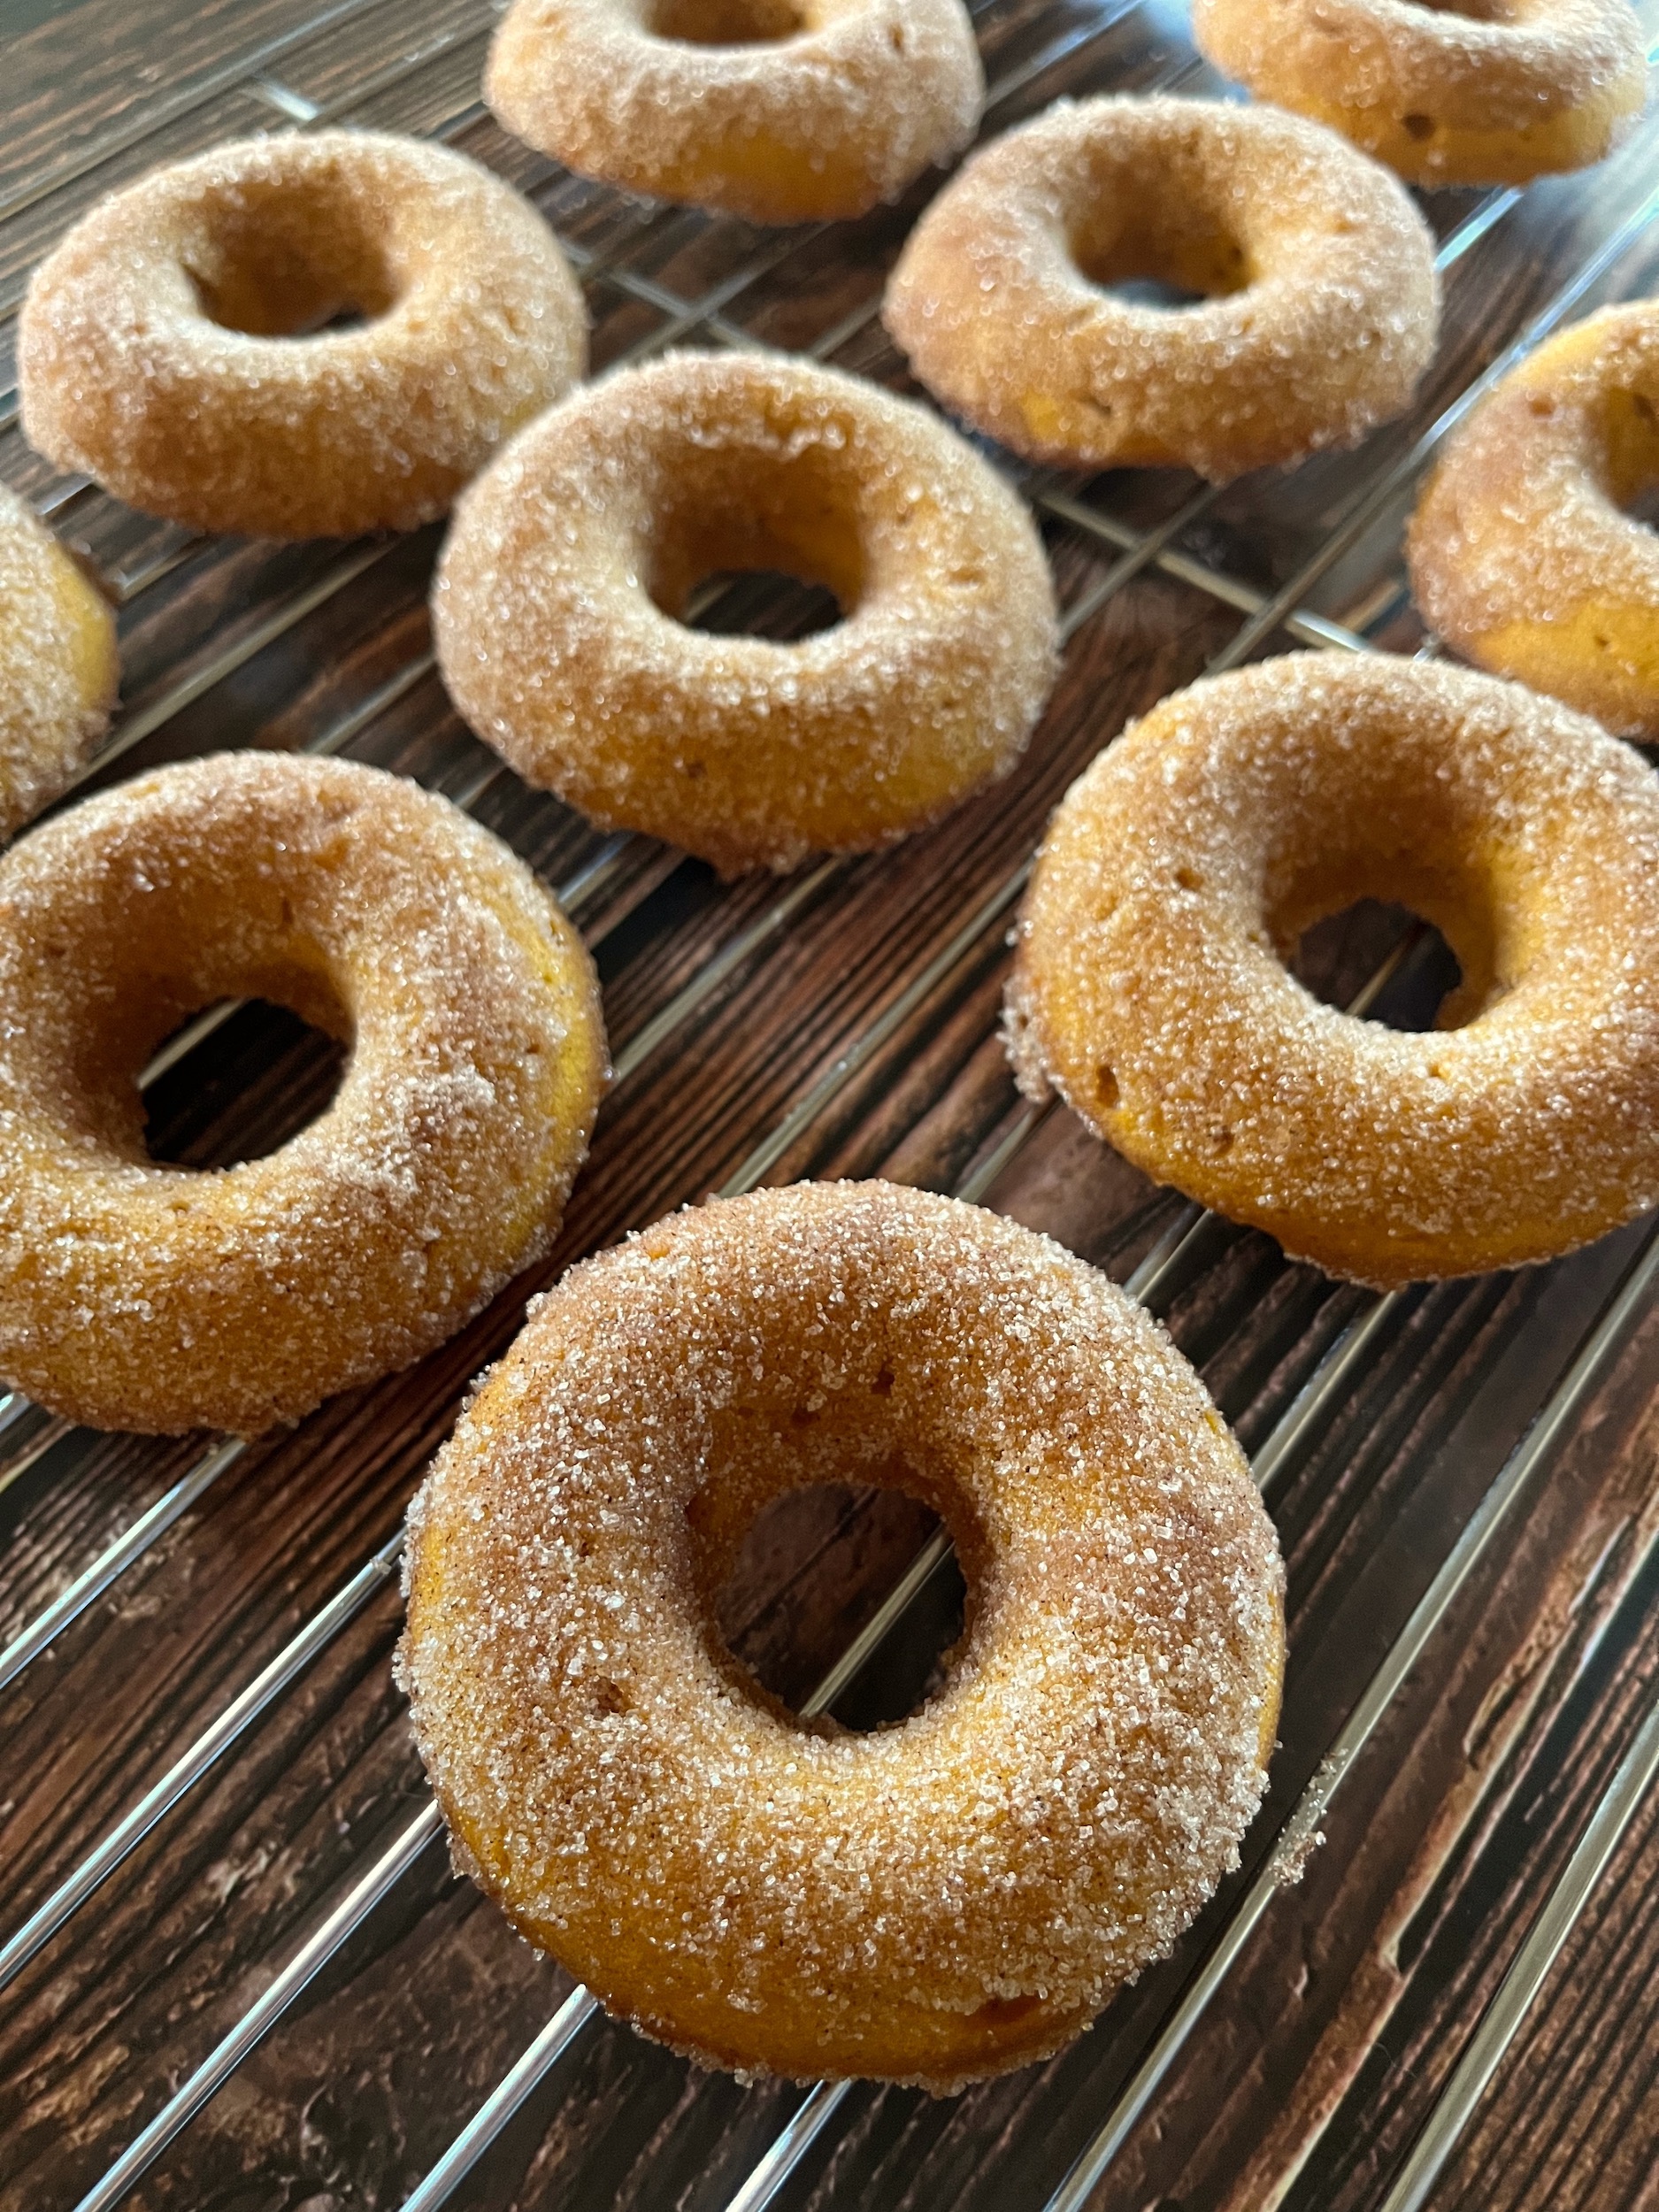
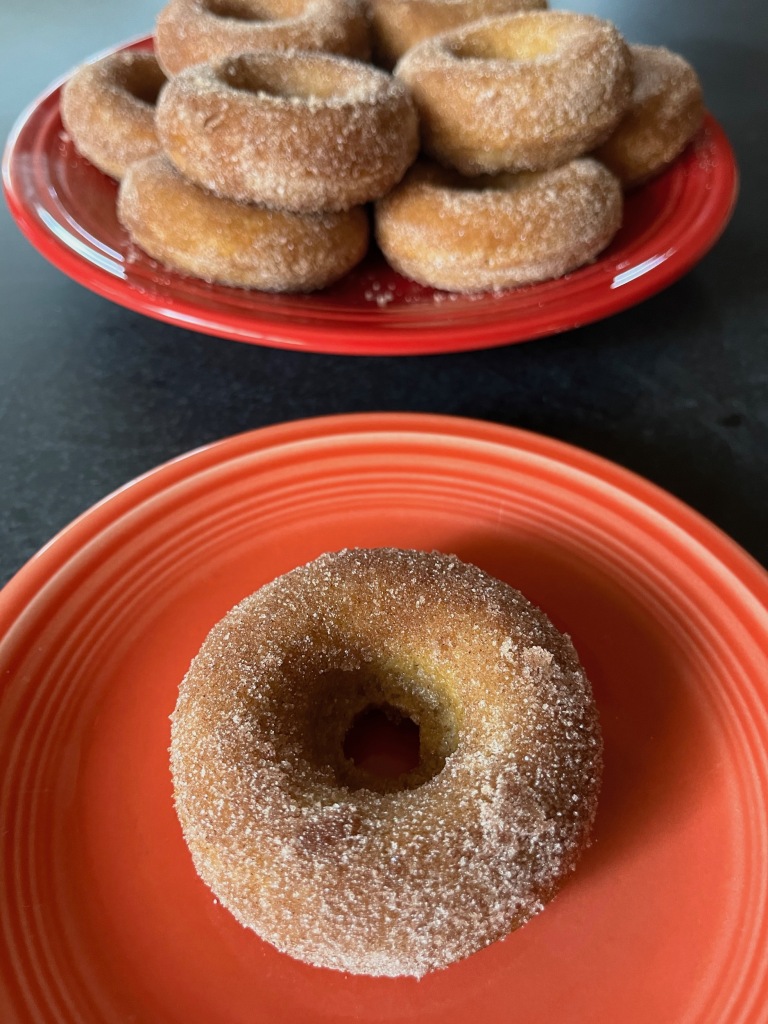
Homemade Baked Pumpkin Doughnut Recipe

Welcome back friends!

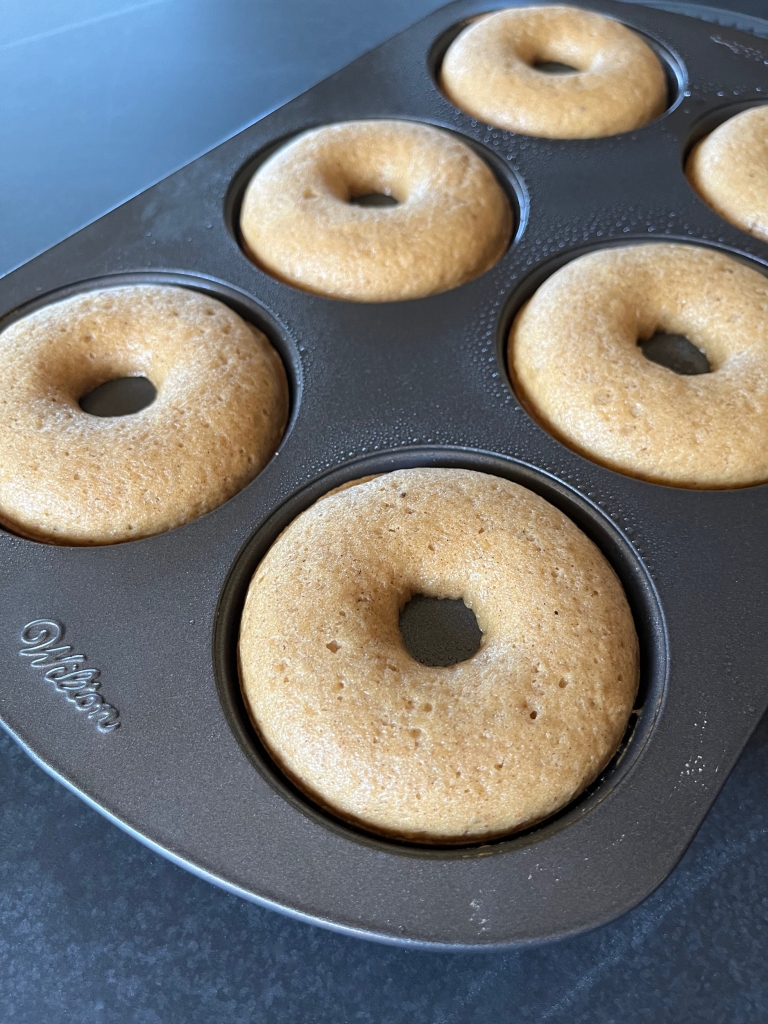
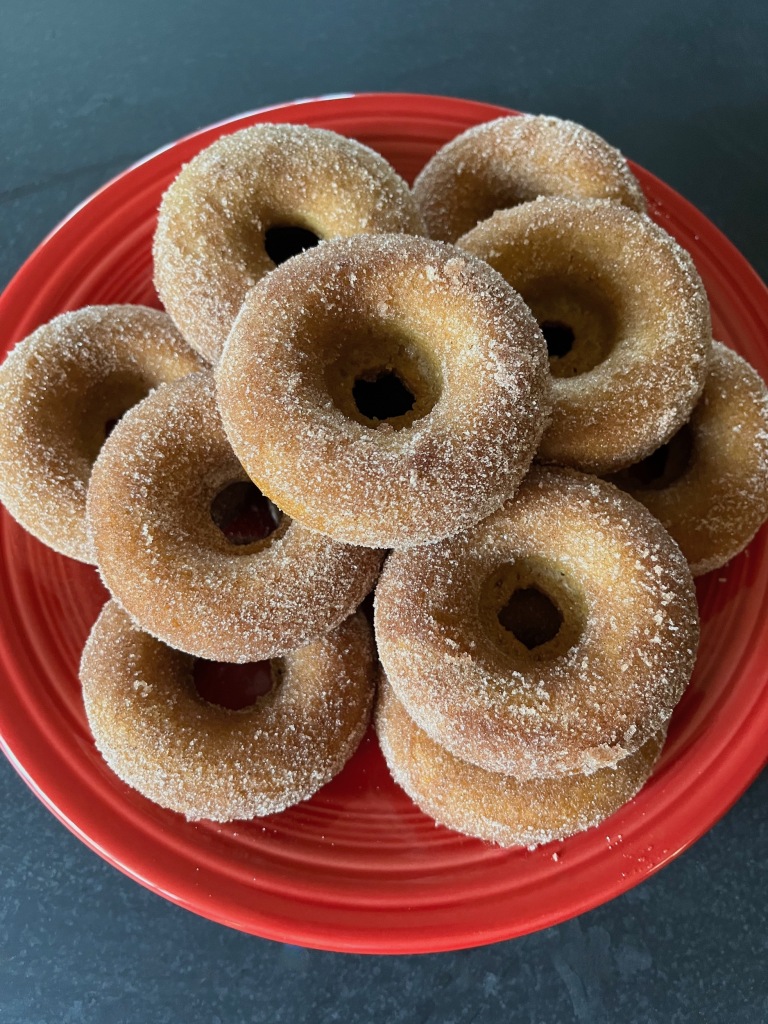
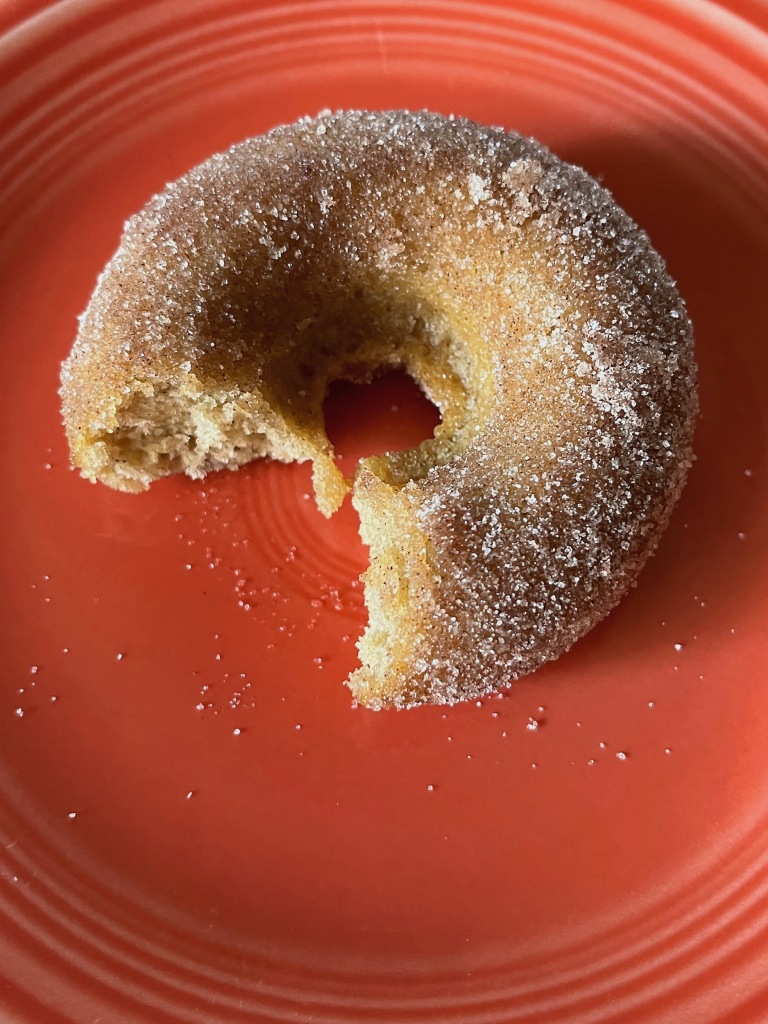
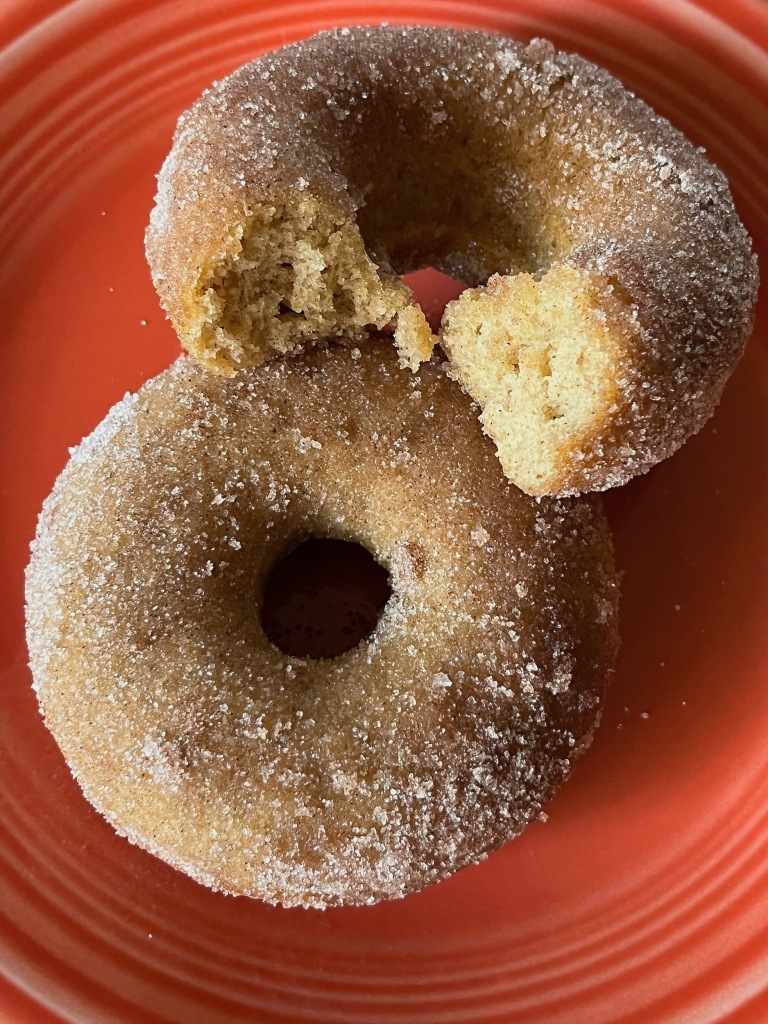
Who wants some fresh, oven-baked, cinnamon and sugar coated pumpkin doughnuts to enjoy on one (or more) of these beautiful Autumn mornings? Maybe at a table with some coffee or tea and a good book?

I know I do, so let’s bake some!

PUMPKIN DOUGHNUTS
  • 2 cups of all purpose flour
  • 2 teaspoons of baking powder
  • 1 teaspoon of kosher salt
  • 2 teaspoons of pumpkin pie spice
  • 1 15 oz can of pumpkin puree
  • 3 large eggs
  • 1 1/2 cups of sugar
  • 4 tablespoons of unsalted butter
  • 1 teaspoon of vanilla extract
  • 1/3 cup of vegetable oil
TOPPING
  • 3/4 cup of sugar
  • 2 teaspoons of ground cinnamon
  • 3 tablespoons of unsalted butter, melted
INSTRUCTIONS
  1. Pre-heat the oven to 350F.
  2. Whisk the flour, baking powder, salt, and pumpkin pie spice together in a medium bowl.
  3. Beat the pumpkin puree, eggs, sugar, butter, vanilla and vegetable oil together in a large bowl.
  4. Slowly add the flour mixture to the pumpkin mixture and beat until well combined.
  5. Fill 3, six cup nonstick doughnut pans with batter so each mold is almost full, then smooth the tops with a small spoon.
  6. Bake the doughnuts for about 15 minutes or until a toothpick comes out clean, then remove them from the oven and invert them onto a cooling rack.
  7. While the doughnuts are baking and/or cooling, stir the sugar and cinnamon together in a shallow bowl and melt the topping butter in another bowl.
  8. Once the doughnuts have cooled to a comfortable handling temperature, brush both sides of each one with butter and then dip each side in the cinnamon and sugar to coat.
  9. Enjoy!

Family Friendly Autumnal Activity Ideas

Welcome back Autumn! Every year I look forward to the Autumn and the warmth it generates inside my home and soul. Where I live, September and October are still rather warm on some days, and turn wet and cold as the months progress toward Winter.  I cannot get enough of the rain this time of year. The cold, wet weather begins to take over outside, driving us all inside to be together and warm. There’s nothing like cuddling up with people you love, reading a good book, watching a movie or playing a video game while the weather misbehaves outside.
I intend to spend a lot of time with my family this year and came up with some family friendly ideas I’d like to experience with Zoey! Follow along and try some of these activities for yourself, this is a time we should all enjoy!

We intend to:

  • Bake bread.
  • Bake cookies for family and/or friends.
  • Collect acorns and make art.
  • Collect leaves and make art.
  • Collect rocks and make art.
  • Make nature pressings or rubbings.
  • Donate to a food bank.
  • Go on a hayride.
  • Go puddling in the rain.
  • Have an indoor picnic on a stormy day.
  • Make a bird feeder.
  • Make Halloween decorations.
  • Go trick or treating!
  • Make fresh tortillas.
  • Make homemade play dough.
  • Make stovetop popcorn.
  • Pick apples.
  • Bake apple pie.
  • Drink apple cider.
  • Make caramel apples.
  • Pick out pumpkins at a pumpkin patch.
  • Give pumpkins a bath.
  • Carve, decorate and/or paint pumpkins.
  • Bake pumpkin bread. 
  • Roast pumpkin seeds.
  • Roast s’mores.