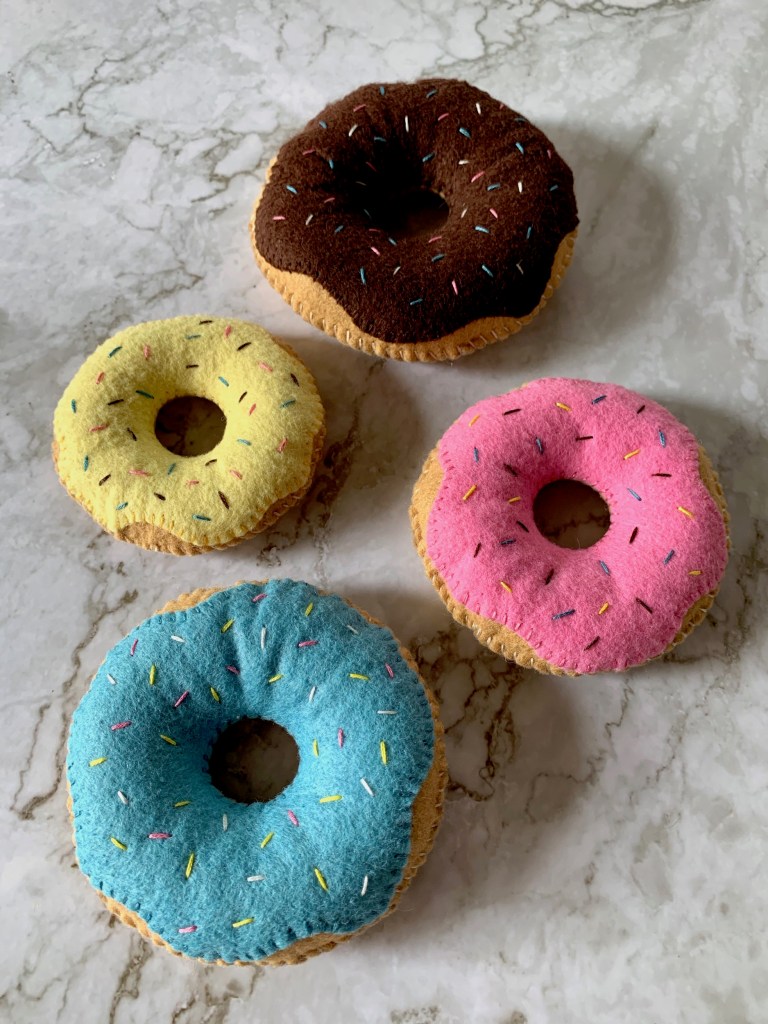
 Part of the fun in raising Zoey is making things that teach and fascinate her. I’ve seen the stacking toy done in so many fun and creative ways, but I don’t believe I’ve seen a felt doughnut stacking toy yet, so let’s make one!
My Dad, Zoey’s Grandpa Kev, made the base of this toy. If you do not have access to a competent woodworker/carpenter to make a base, I would recommend using the base of another stacking toy. You can switch out between the rings that came with the toy and felt doughnuts!
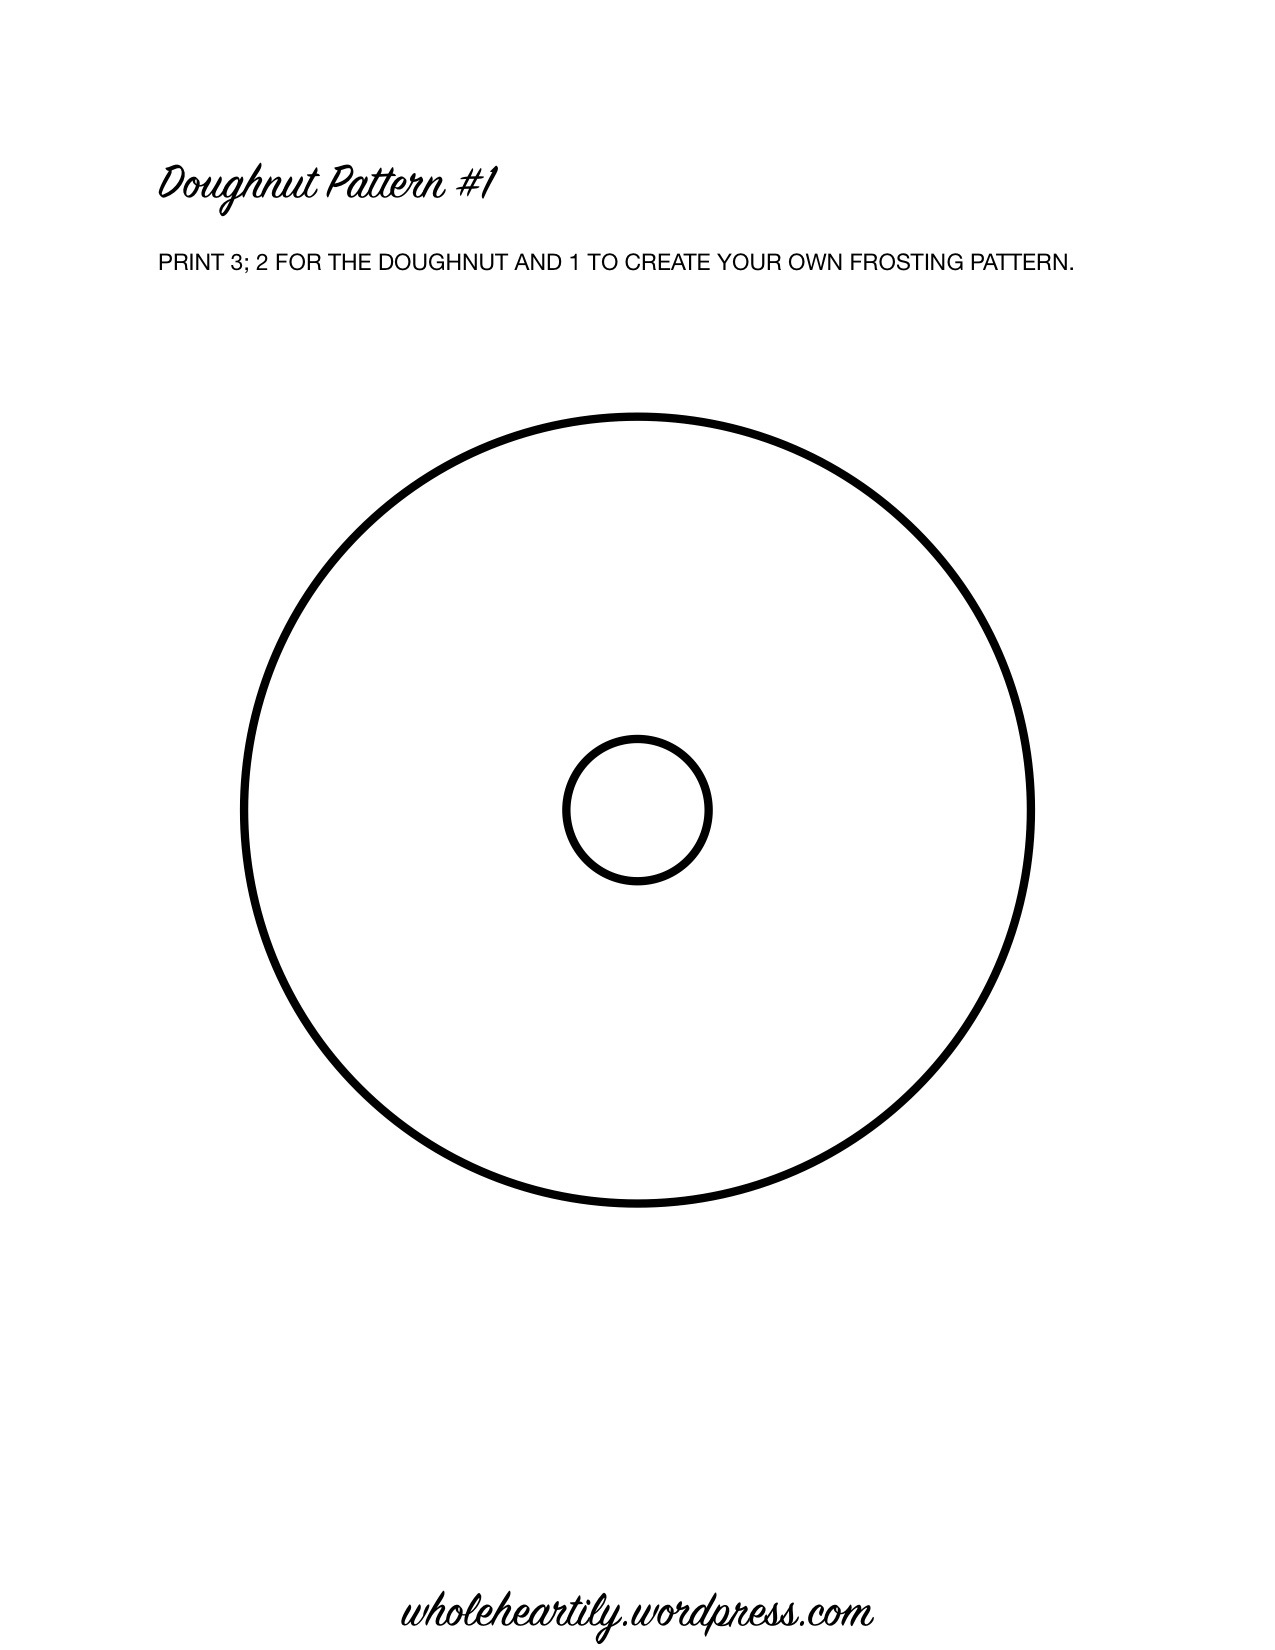
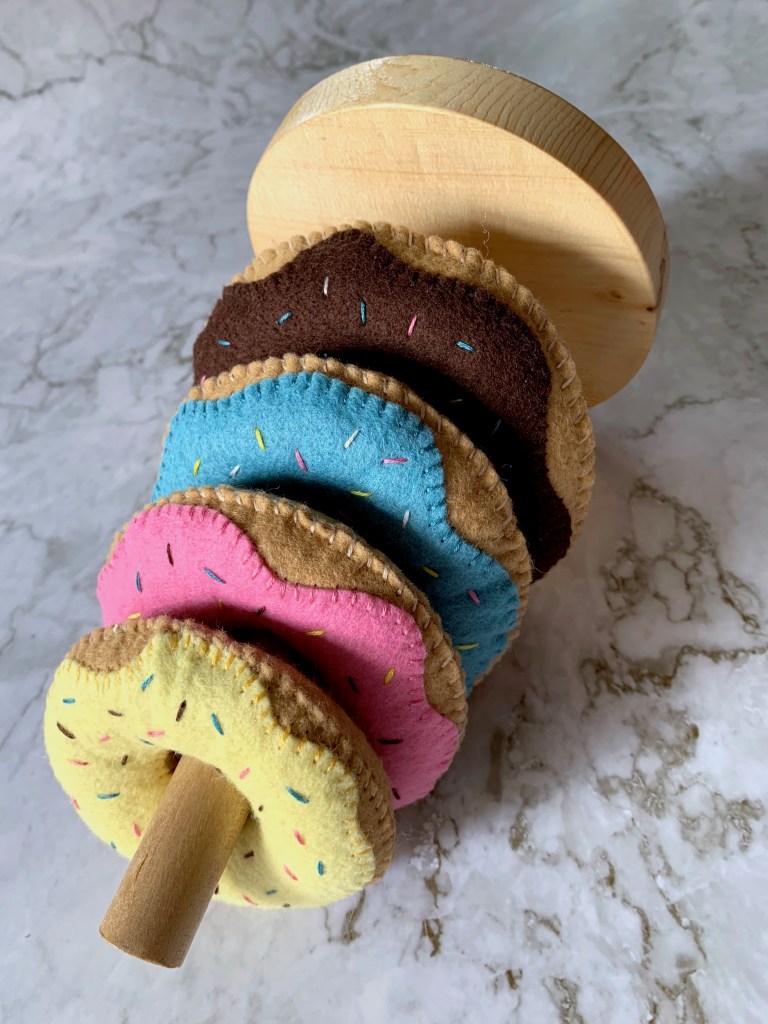 I have provided the patterns I used to make the four different sizes of donuts for my stacking toy. You’re welcome to use them if the base of your toy closely resembles mine, or you can make them as play food without the base. Another option would be to create your own patterns using the measurements of your base and a compass.

SUPPLIES
- Doughnut and frosting patterns
- Scissors
- 4 sheets (9” x 12”) of a doughnut colored felt of your choice
- A skein of closely matching doughnut colored embroidery thread
- 4 sheets (9” x 12”) of frosting colored colored felt of your choice
- 4 skeins of closely matching frosting colored embroidery thread
- Embroidery needle
- Fiber filling (stuffing)
INSTRUCTIONS
- Print 3 copies each of the two supplied pattern pages.
- Use the first two copies to cut out a pair of each size of circle, one for either side of the doughnut.
- Create your own wavy frosting pattern within each of the circles on the third pages, and cut those patterns out for your frosting.
- Lay the circular patterns on the felt you’ve chosen for you doughnuts and pin them in place.
- Lay the frosting patterns on the felt you’ve chosen for the frosting; these can be all the same color, or different colors.
- Cut around the patterns. You can do this directly or trace around the edges of the patterns with a pen, then remove the patterns and cut out each shape.
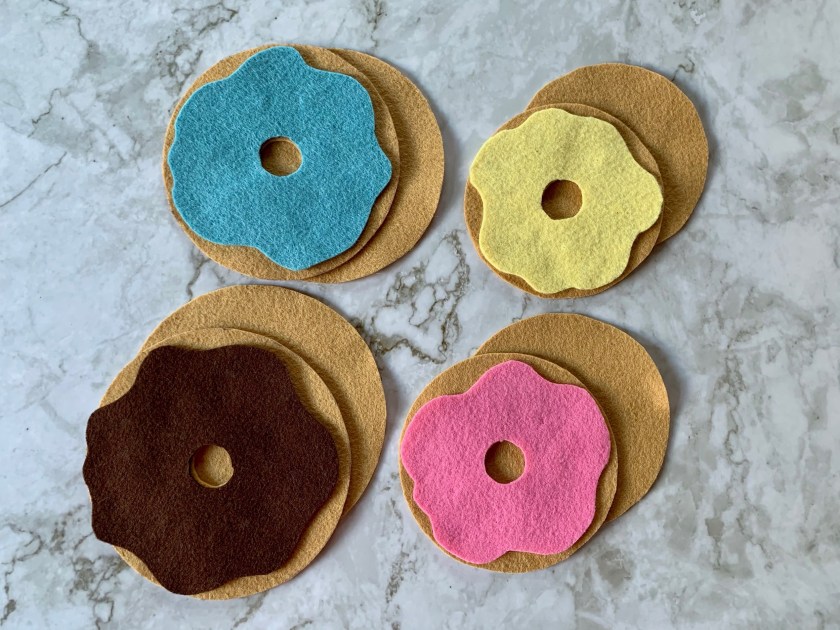
- Place the frosting for each doughnut on one of the doughnut halves, aligning the center holes, and pin them to keep them secure.
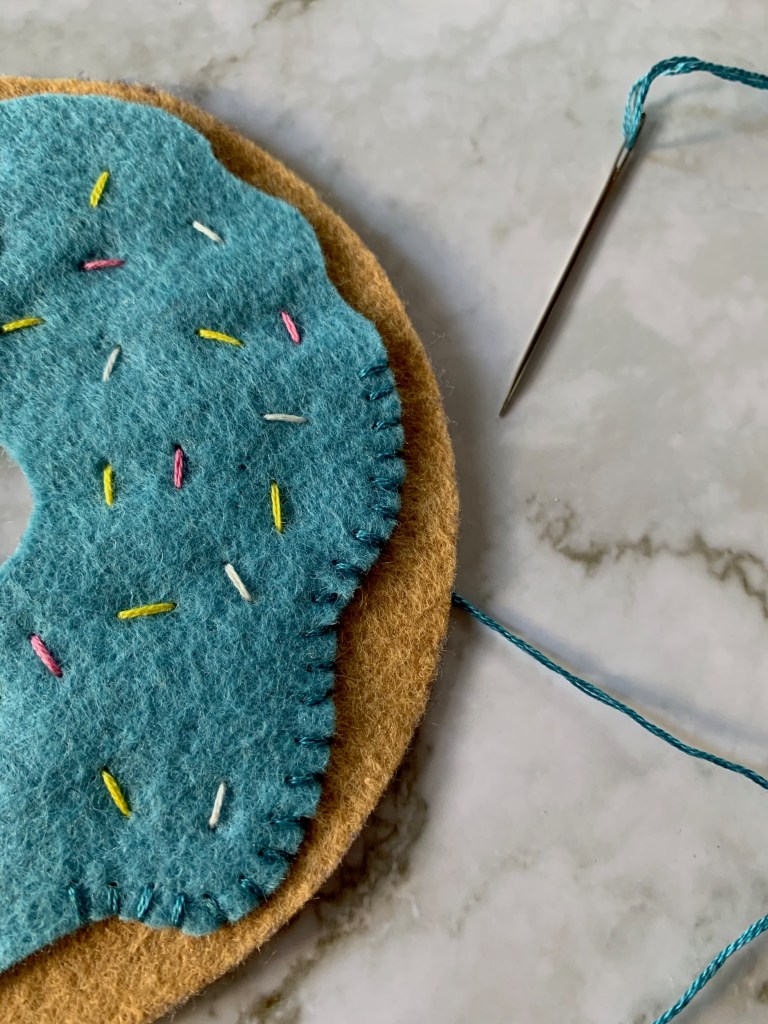
- Cut a length each of three different colored embroidery threads for the sprinkles; there are 6 strands in each embroidery thread, split them in half three by three and peel them apart.
- Thread the needle with your first sprinkle color, and poke the threaded needle up from the bottom of the top of the doughnut, emerging through the top of the frosting, and pull it through. Create a sprinkle size length in any direction you choose and poke the needle back down through the frosting to underneath the doughnut. Repeat this process all around the doughnut in a pattern you prefer and tie it off underneath.


- Remove the pins, repeat this process and create sprinkles in two more colors.
- Thread the needle with thread that matches the color of your frosting. Begin using neat whip stitches around the outside edges of the frosting starting with your knot underneath the top half of the doughnut.

- Using the same thread color as your frosting, align the bottom half of the doughnut to the top, frosted half and use neat whip stitches around the center hole. To hide your thread, knot it and pull it up through the bottom of the frosted layer to begin. When finished, poke the needle through the bottom doughnut layer, but only come through the middle in between the top and bottom of the doughnut to tie off your knot.
- Thread the needle with embroidery thread the color of your doughnut. Once again, use neat whip stitching along the outside edge of your doughnut, concealing the knot inside. About two thirds around, stop stitching and begin adding stuffing. Keep stitching and stuffing as space allows until you’ve made your doughnut whole.

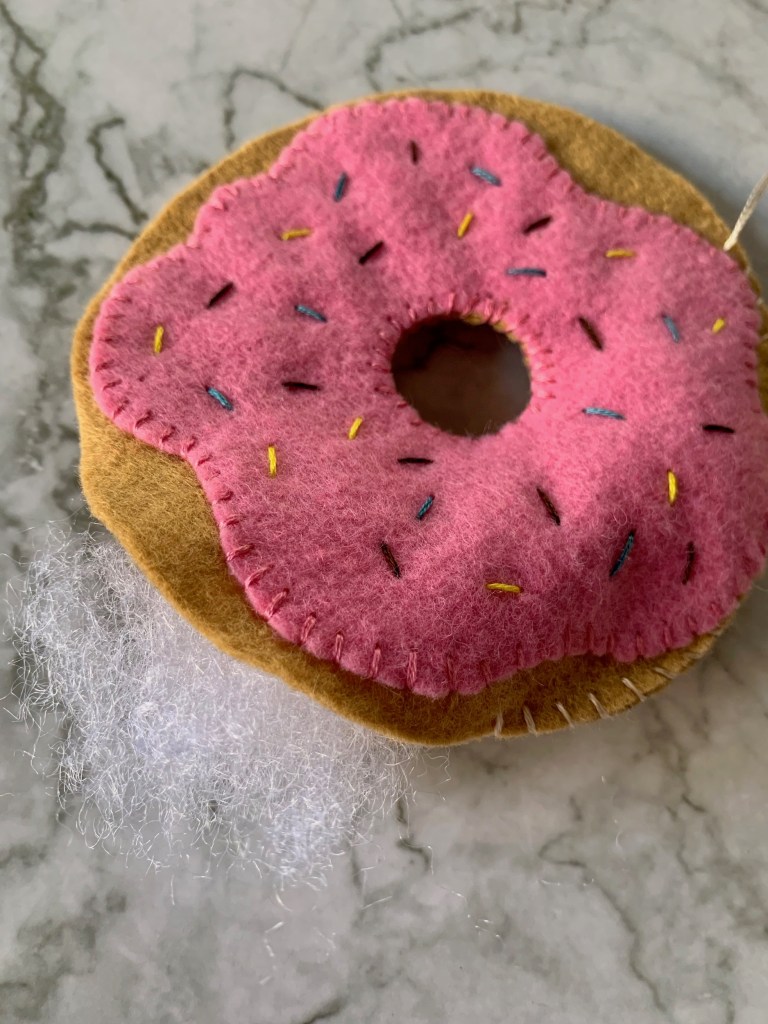
- To conceal the knot, tie a knot at the base of your string still attached to the doughnut and pull it within the edges of the doughnut, going through the stuffing and coming out somewhere near he center hole, then trim this piece off.
- Repeat steps 7 through 10 to complete each size doughnut.

- Enjoy!
 INTRODUCTION
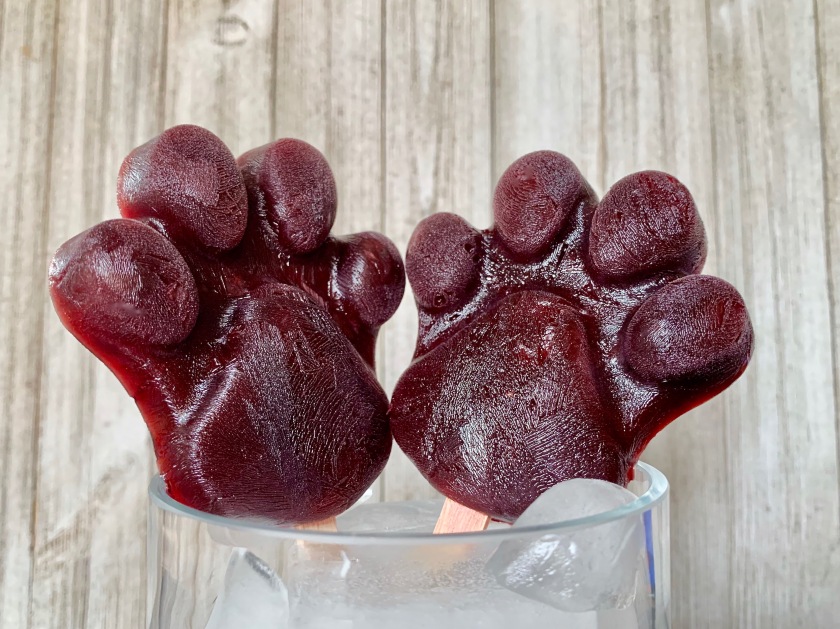
 Pawpsicles are featured after Nick and Fennec hustle a jumbo-pop from Judy and Jumbeaux Cafe’s owner, then turn it into their own smaller pawpsicles to sell for a profit.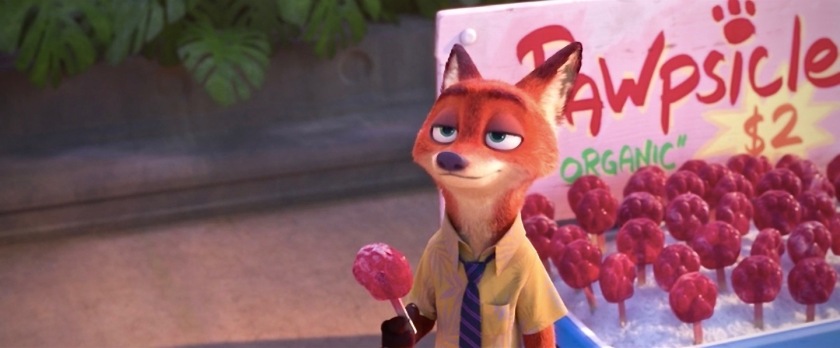
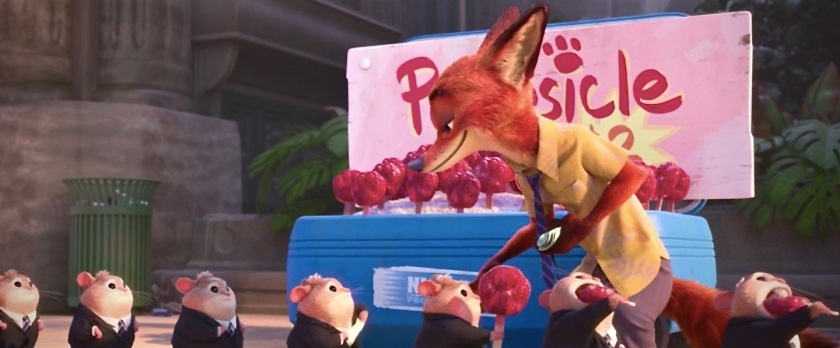 These are sweet, juicy and delicious, although they start to melt quickly so eat quickly! I wanted to use real fruit to make these with only minimal sugar added. Quite honestly, these probably would have been just as delicious without adding any sugar. I think I want to try that too!
 PAWPSICLES
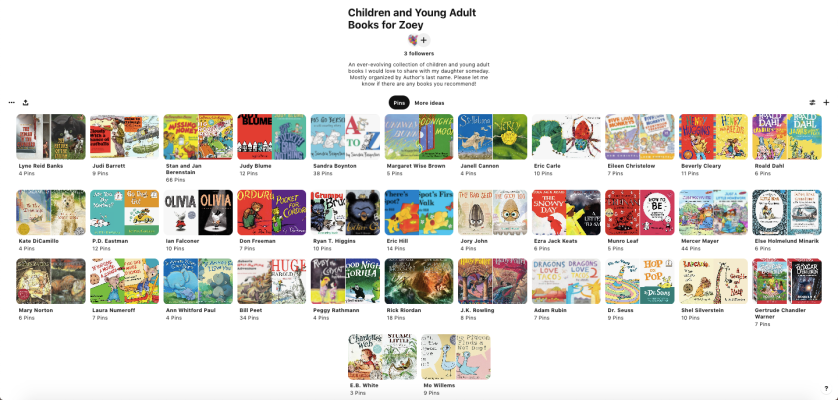 Reading has always been very special to me. I remember my mom reading to me as a child and I believe it had a profound impact on my love for reading and books, not to mention my performance in school. I want to continue that tradition with Zoey. I want her to hear my voice, hear the diction and the pronunciation, see the beautiful images and eventually enjoy the stories.
 I’ve also started a
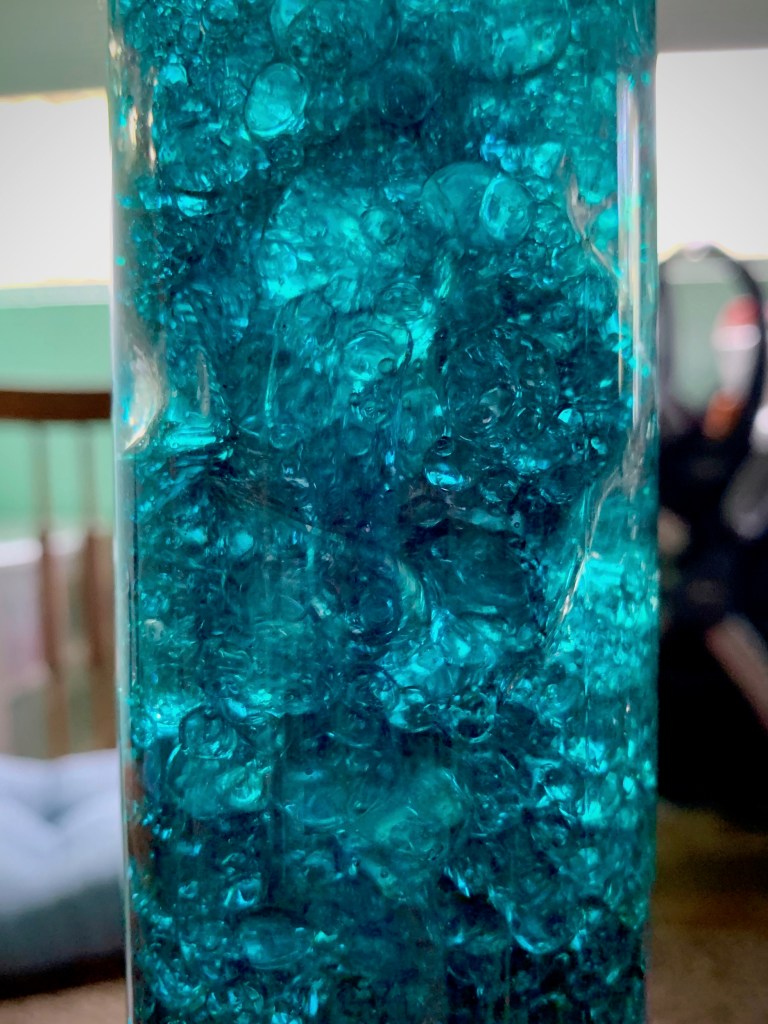
 With Summer solstice right around the corner, I was thinking about the beach and got inspired to make an ocean wave sensory bottle (not to mention I had all the ingredients already on hand)! Part of the fun in raising Zoey is making things that teach and fascinate her. And, if I’m being completely honest, I find sensory bottles fascinating too, so let’s make one!


 I’m always on the look-out for a fun, entertaining way to pass the time, like a good tabletop game! I purchased Kanoodle by educational insights, as a stocking stuffer for my husband and we ignored it for too long! This game is a great way to pass the time and a good way to stimulate your brain!
 Kanoodle is a solitaire game for ages 7 and up, of two and three dimensional puzzles to solve using up to 12 puzzles pieces called “noodles”. You pick a puzzle from the included booklet, and put the intended number of noodles on the board as shown on the diagram. Do not move noodles that are already in position and solve each puzzle by filling up the empty space with the remaining noodles.
 I have completed all of the two dimensional puzzles, I am now working on the three dimensional puzzles and I intend to complete them all! Check it out!
 Years ago, I purchased an old empty frame from a Goodwill store. I didn’t know exactly what I wanted to use it for, I just knew that I loved the decals on each corner and wanted to fix it up and give it a home. After years of procrastinating while the frame sat around and gathered dust, I finally decided to paint it and create a chalkboard.
 First, remove and sand one side of the mounting board to smooth it out. Once it’s as smooth as you prefer clean it off and prime it, then begin layering coats of chalkboard paint until you’ve reached your desired chalkboard depth and texture.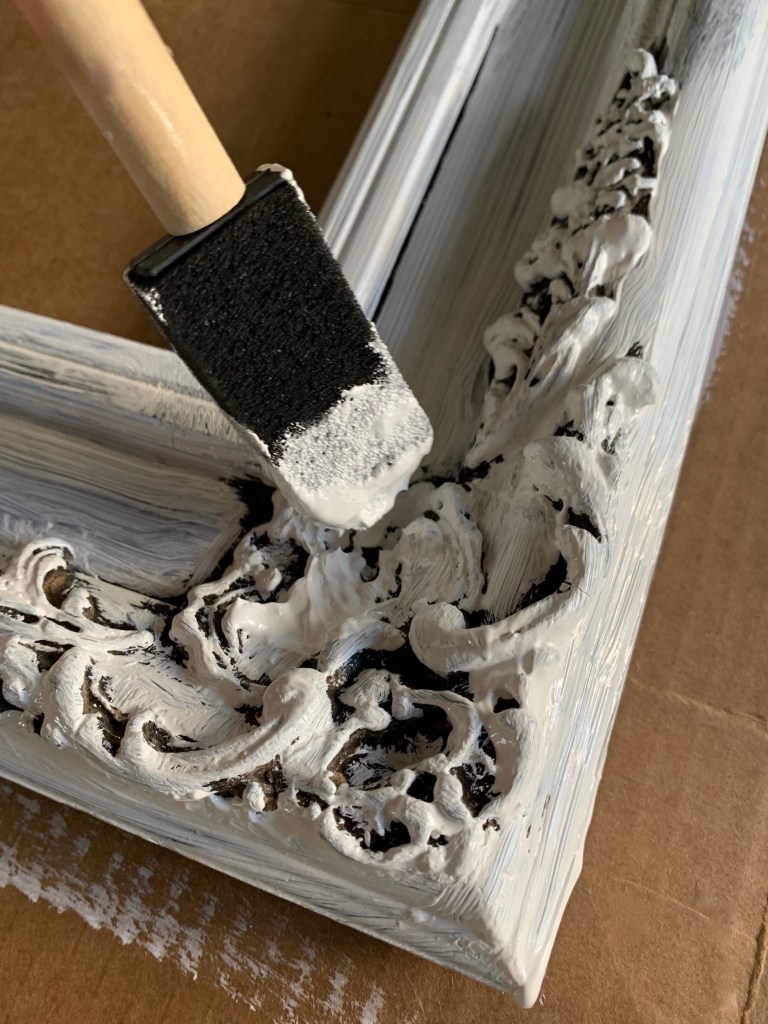
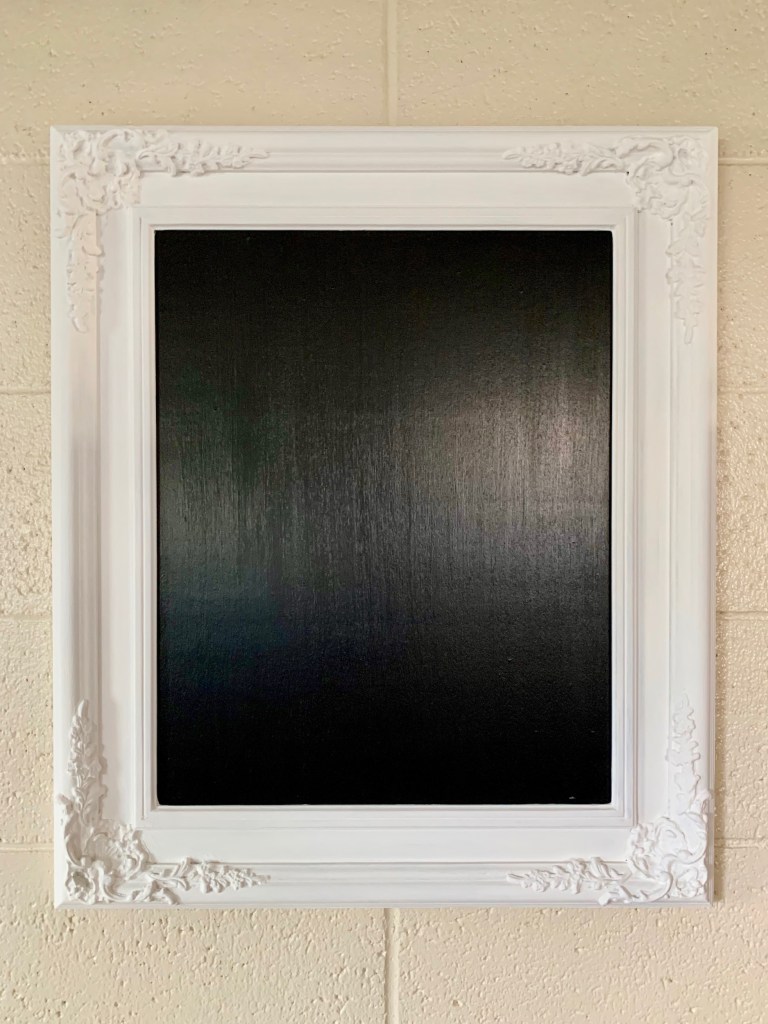 Once both pieces are dry, you can reassemble the frame. Before writing or drawing on the chalkboard, you’ll need to prime it by coating it with chalk.
  As you can see I just wrote the first thing that came to my mind here, but I intend on leaving this frame up as decor year round and changing it for different events, seasons or holidays!
 Playing video games is one of my favorite ways to decompress and relax. If I can’t be playing, then listening to video game news and chatter via podcasts or videos comes in a close second, especially when it gives me something to look forward to!